Magic begins from the seemingly sleeping branches. Do you wish you had a rose bush that blooms all year round, from just one small branch. No drugs, no chemicals, just a few natural ingredients and a little patience.
If you love the sophistication of roses and the timeless beauty that nature brings, this method is for you. To create a new rose bush, choosing the right cuttings is the first step and the key to success.
1. Rose Cutting Propagation – Prepare Cuttings
Select and trim
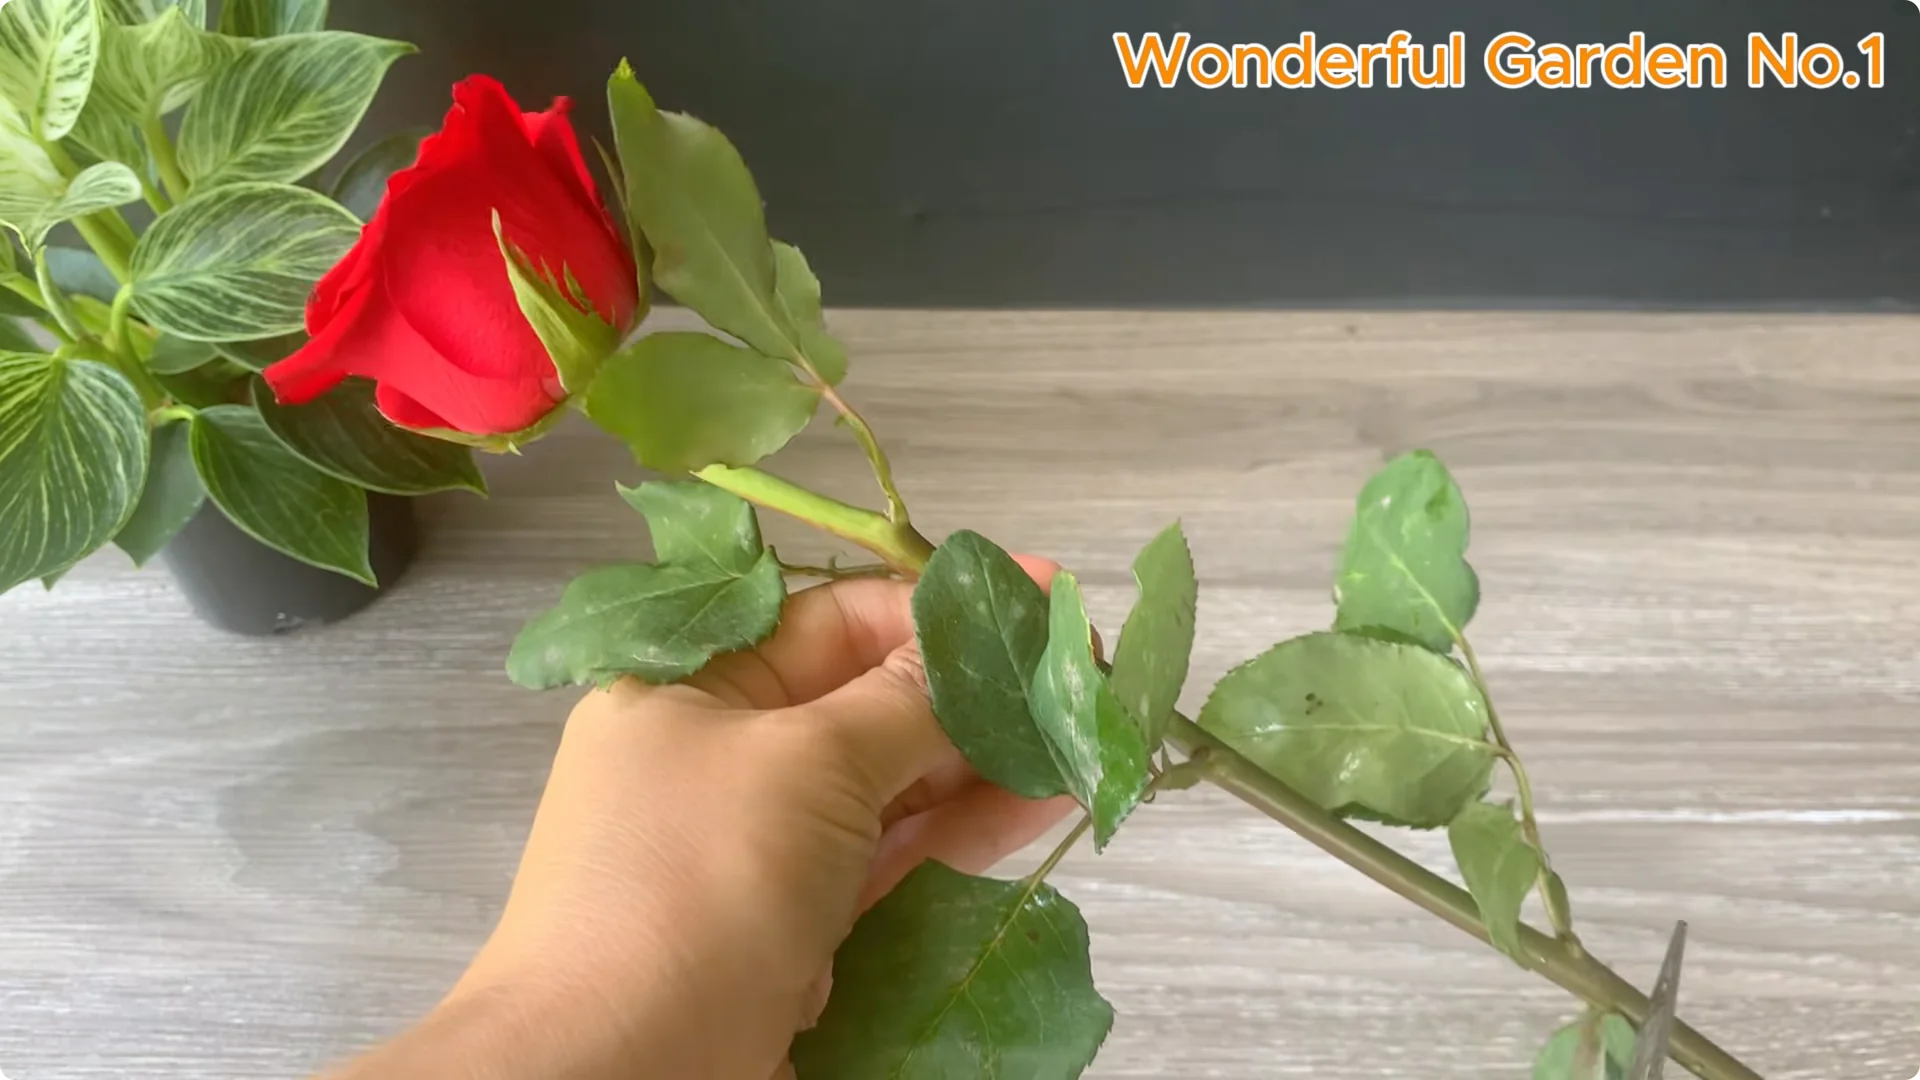
Choose a rose that is just mature, not too old, not too young. Cut a section about 15 to 20 cm long.
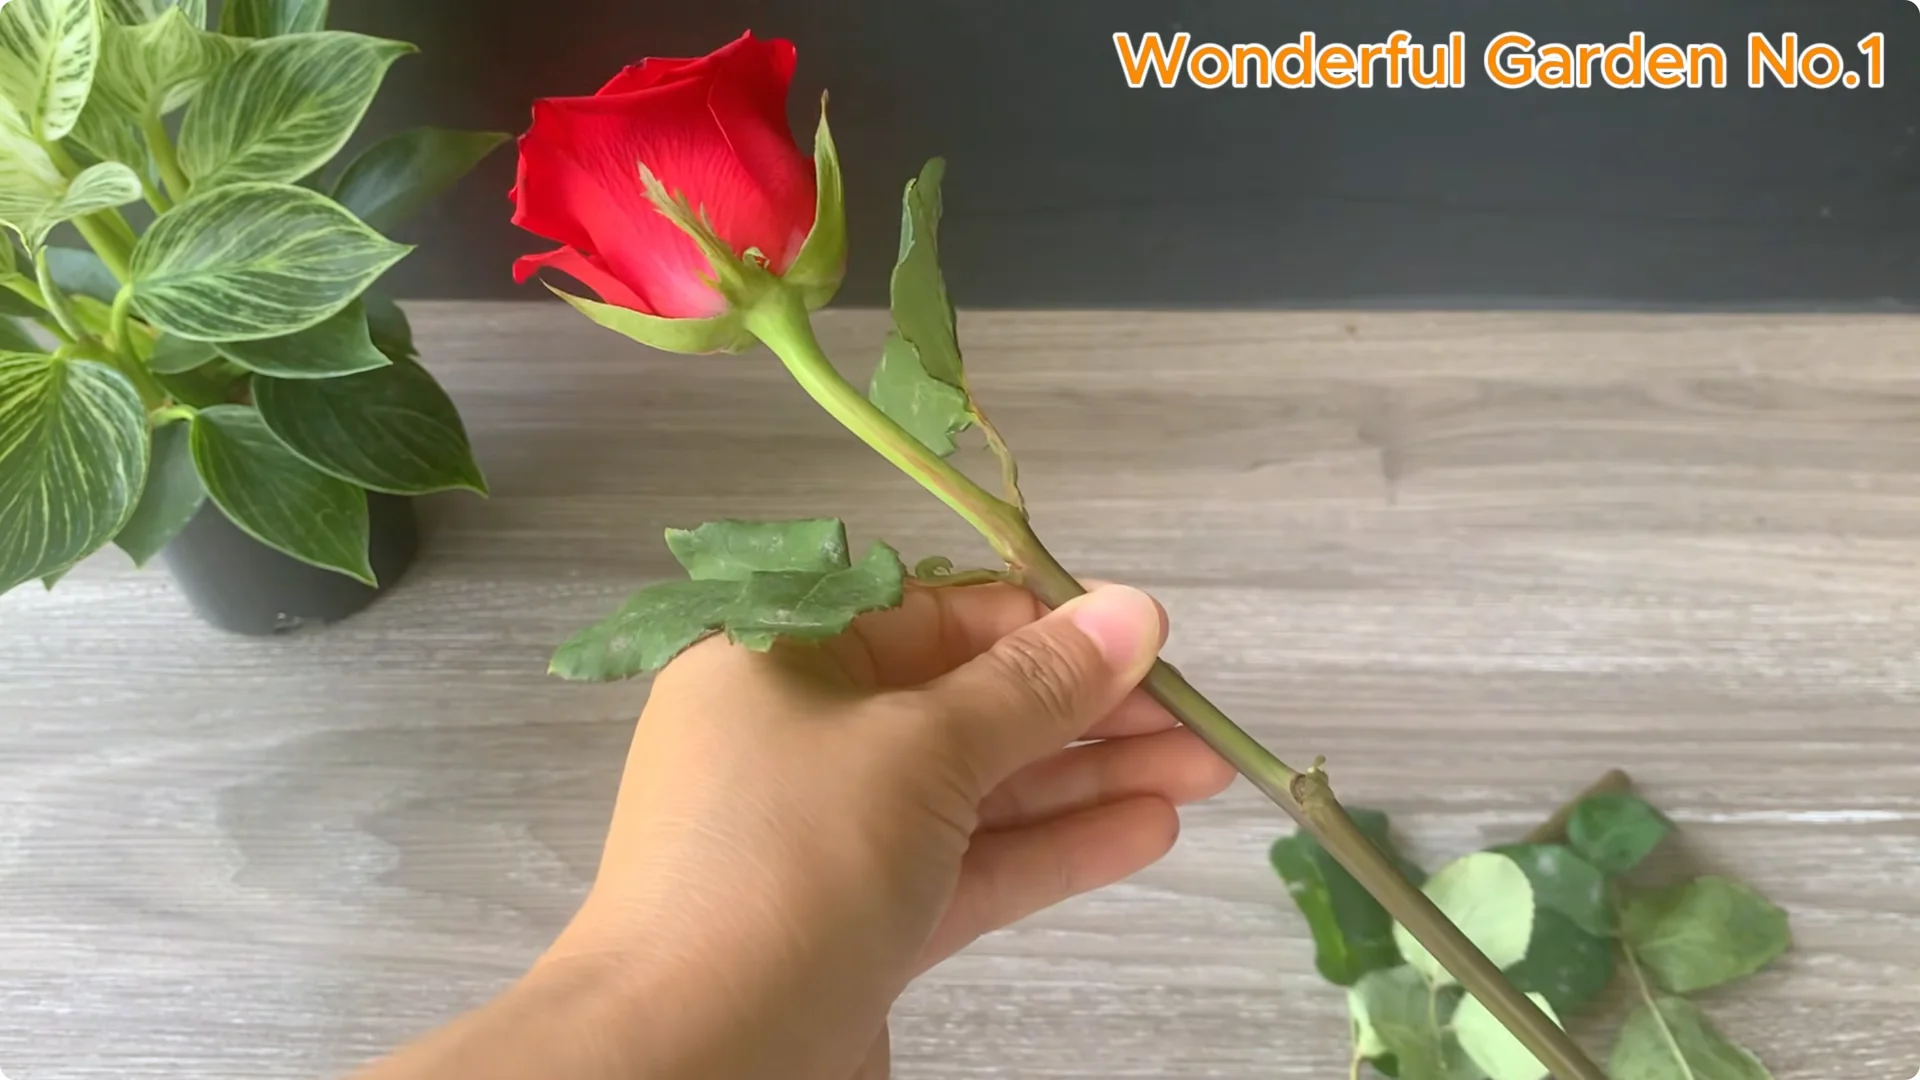
Gently remove all the lower leaves to avoid water logging. Leave only one to two leaves on the top. The branch can continue to photosynthesize without too much effort.
Cut the base of the branch at a 45 degrees angle to increase the water absorption area and help the plant root more easily. Make sure the branch has at least three leaf nodes. This is where new shoots and roots will develop later.
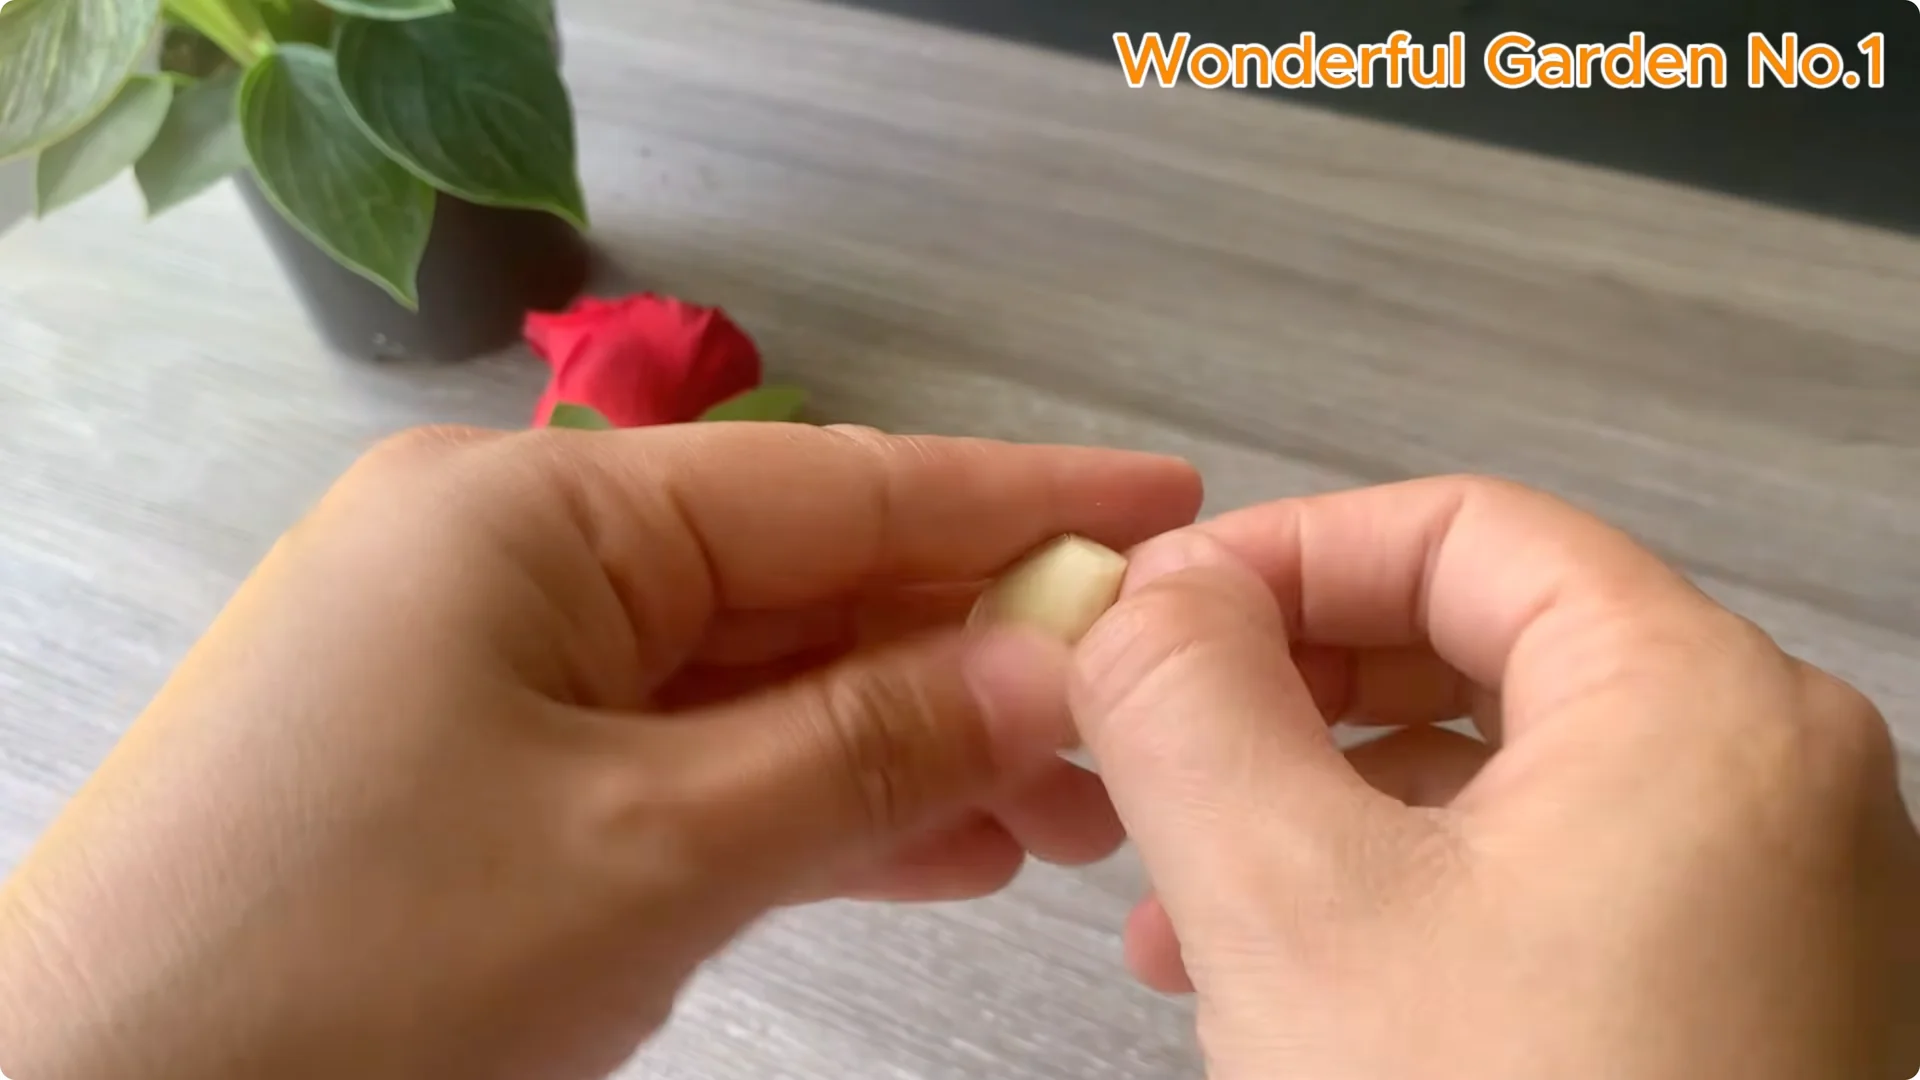
Guard the cut
Use one clove of garlic, fresh or dry, to gently rub on the cut. Garlic helps fight bacteria, prevents root rot, and stimulates the branch to quickly grow roots naturally.
Simple measures
If you like keeping measurements simple, see this 1 spoon rooting method for rose cuttings.
2. Rose Cutting Propagation – Natural Rooting Solution
Banana and garlic base
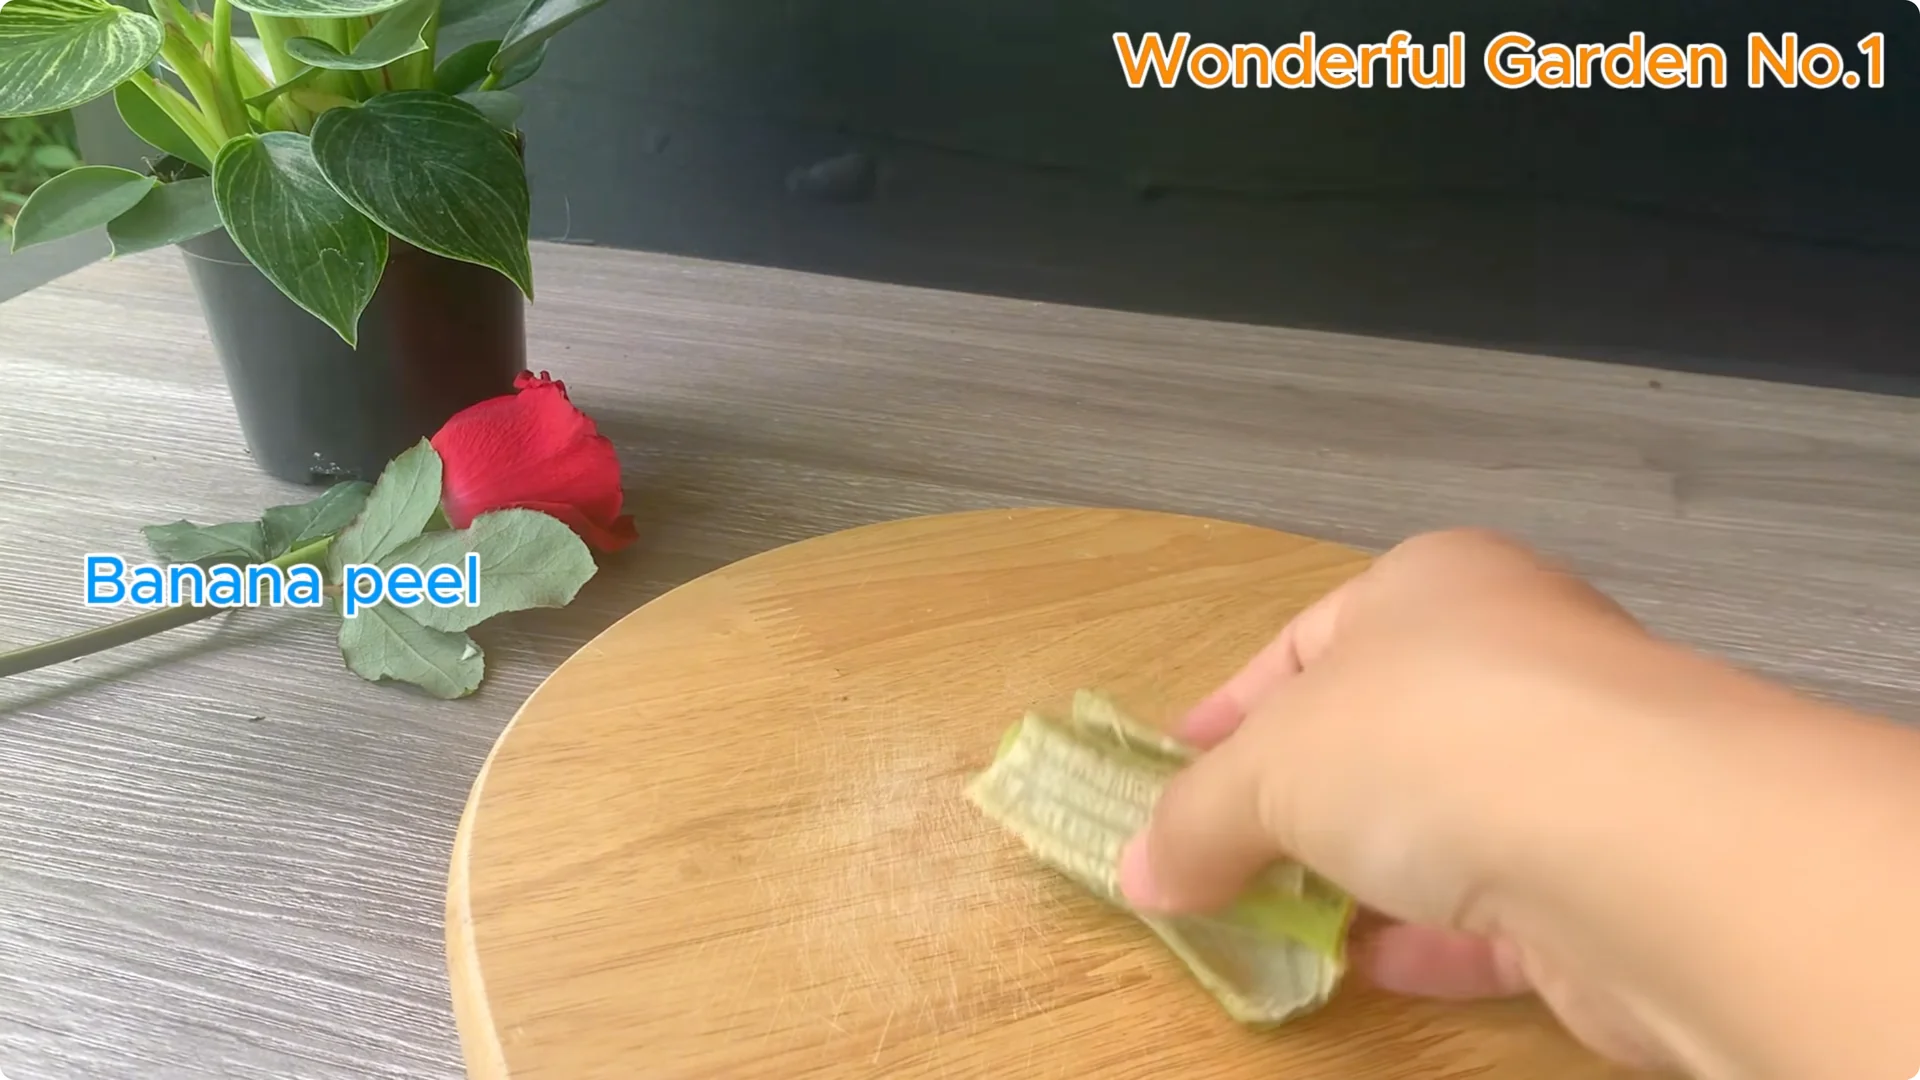
Take one half banana peel, cut into small pieces, and put in a glass cup. Cut as small as possible to release nutrients better. Banana peels are rich in potassium and phosphorus, which help stimulate strong root growth while also nourishing cuttings naturally and safely.
Add one peeled and minced garlic clove to the prepared banana peel cup. Garlic has strong antibacterial properties, which help prevent mold and root rot while also stimulating healthy root growth.
Milk, water, and honey
Take 100 ml of fresh milk and put it in the prepared cup containing banana peel and garlic. Fresh milk provides calcium, protein, and vitamins. It boosts root growth and strengthens cuttings naturally.
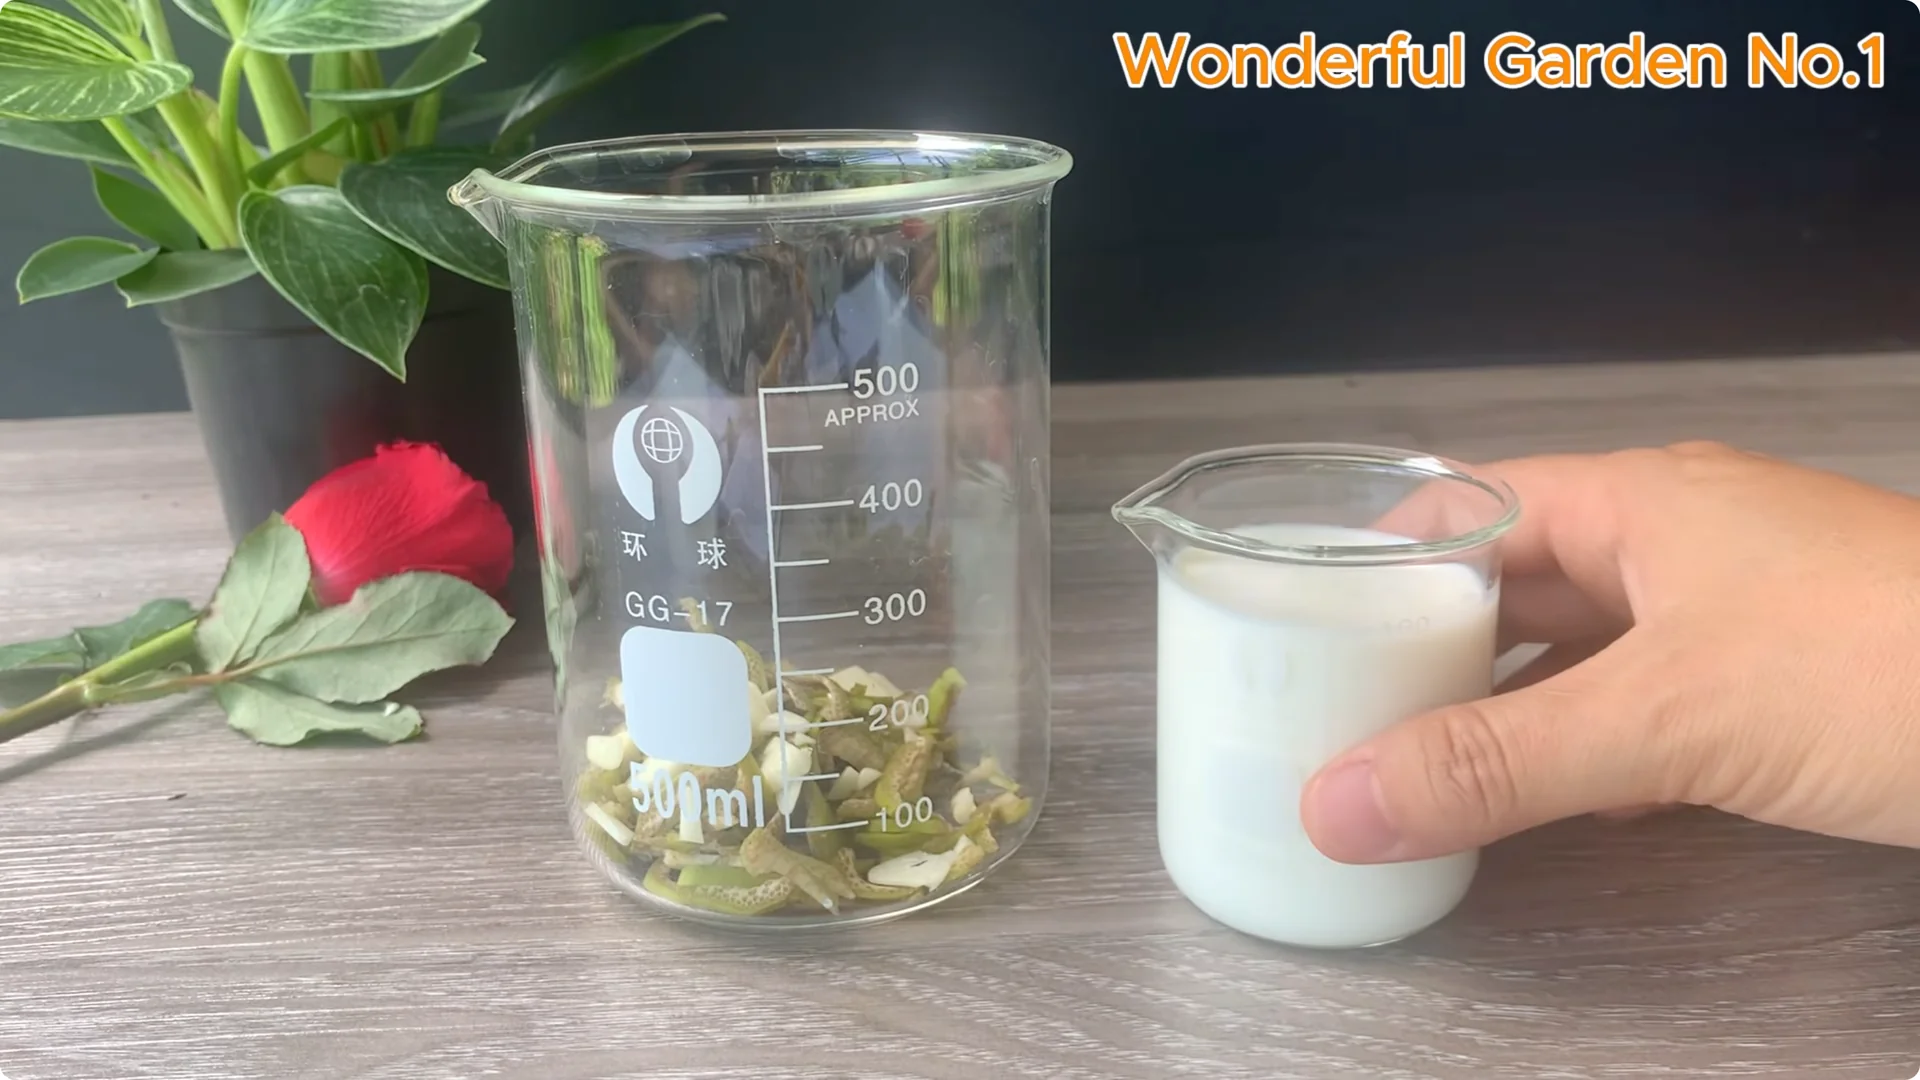
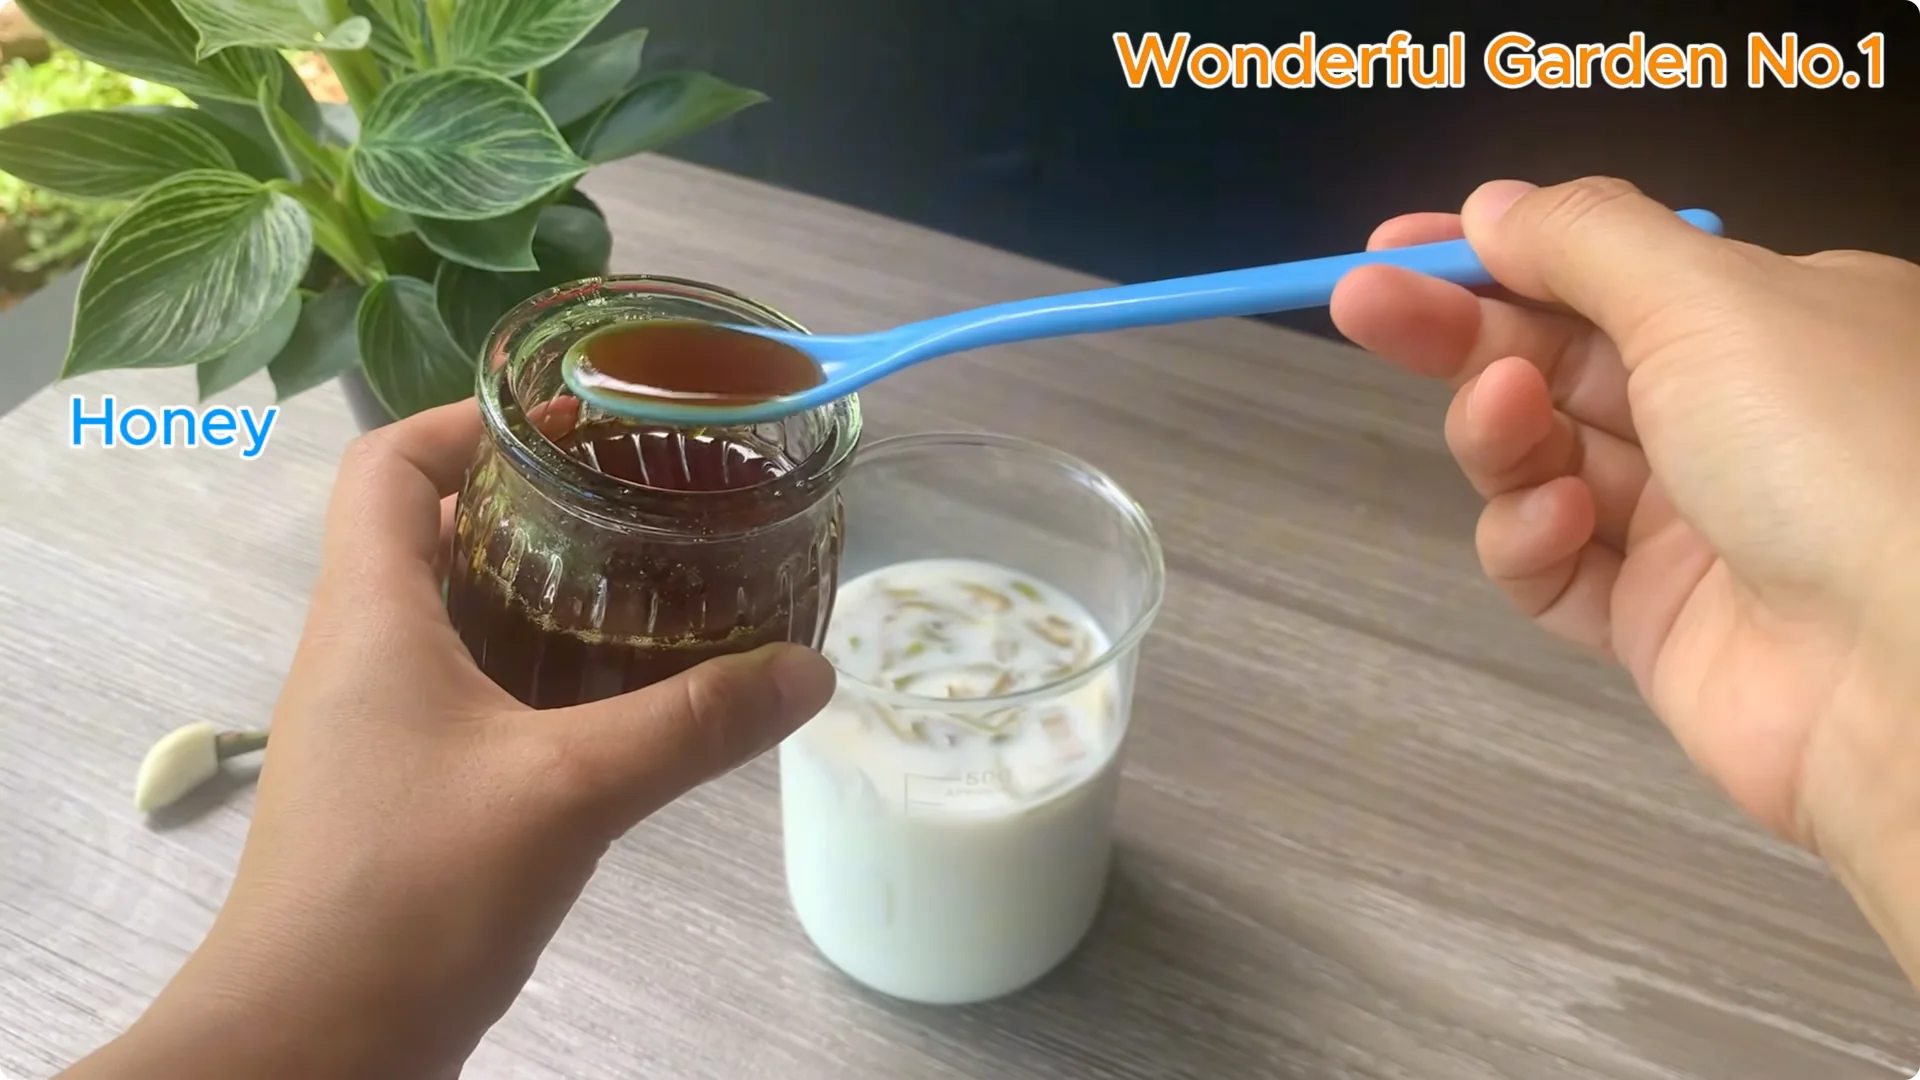
Add 300 ml of filtered water to dissolve the ingredients, creating a natural root stimulant solution that is easily absorbed into the cuttings. Add one teaspoon of honey to the mixture. Stir well.
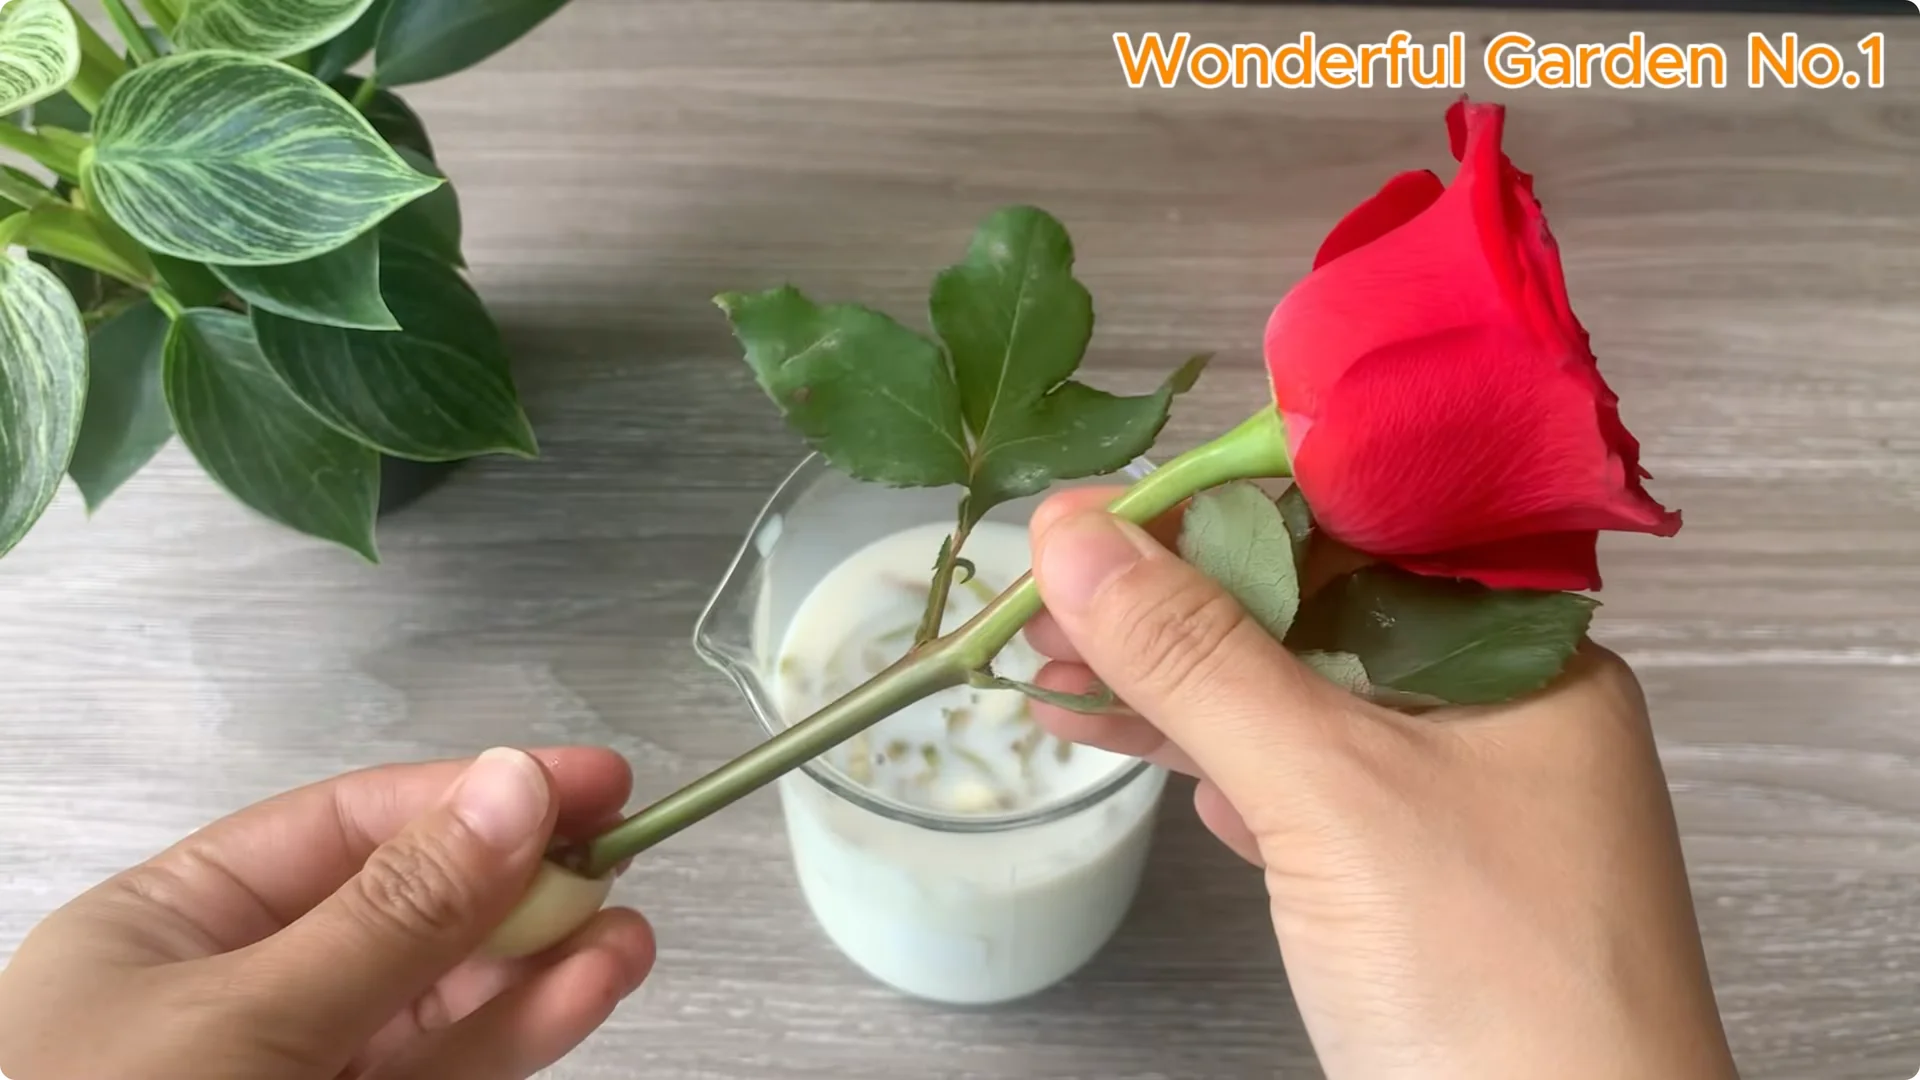
Soak for uptake
Gently soak the base of the rose stem in the cup of solution about 20 to 30 minutes. This helps the nutrients penetrate deeply, stimulating the formation of faster and healthier roots.
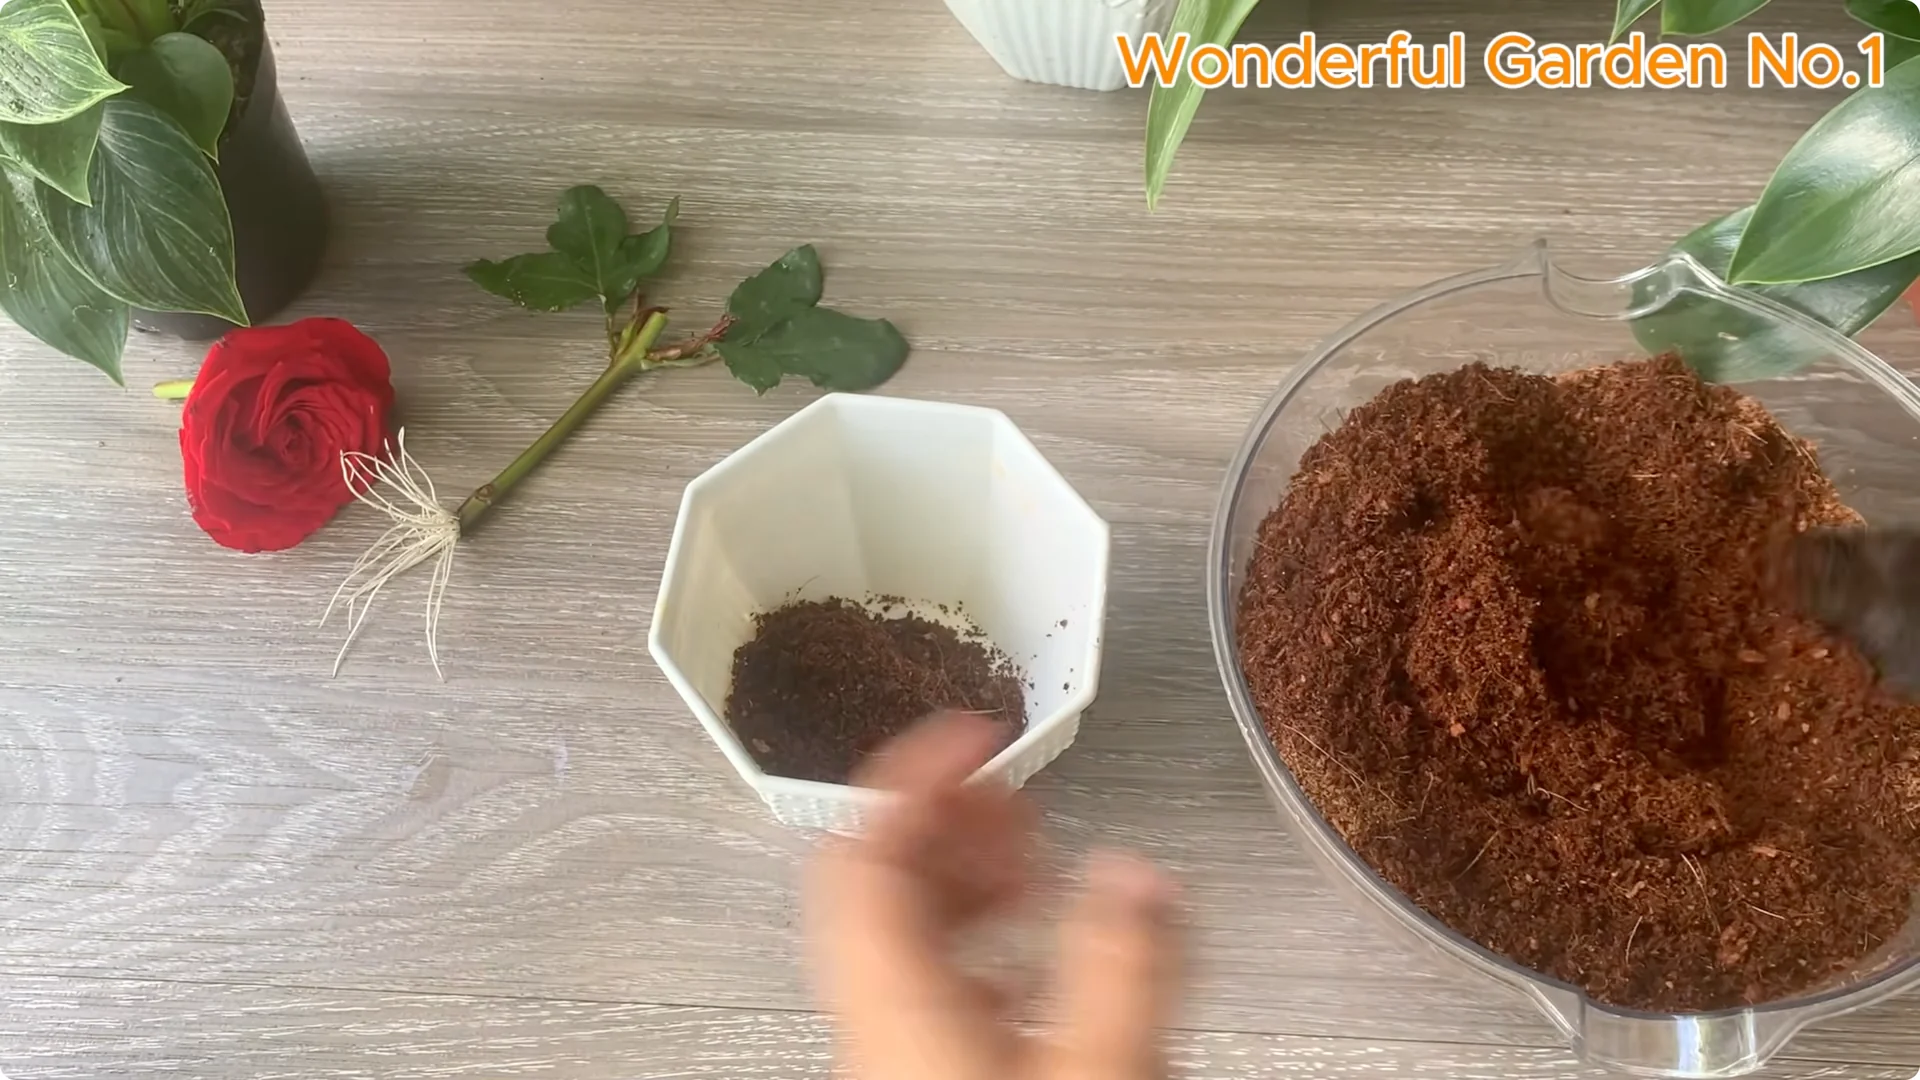
3. Rose Cutting Propagation – Growing Environment
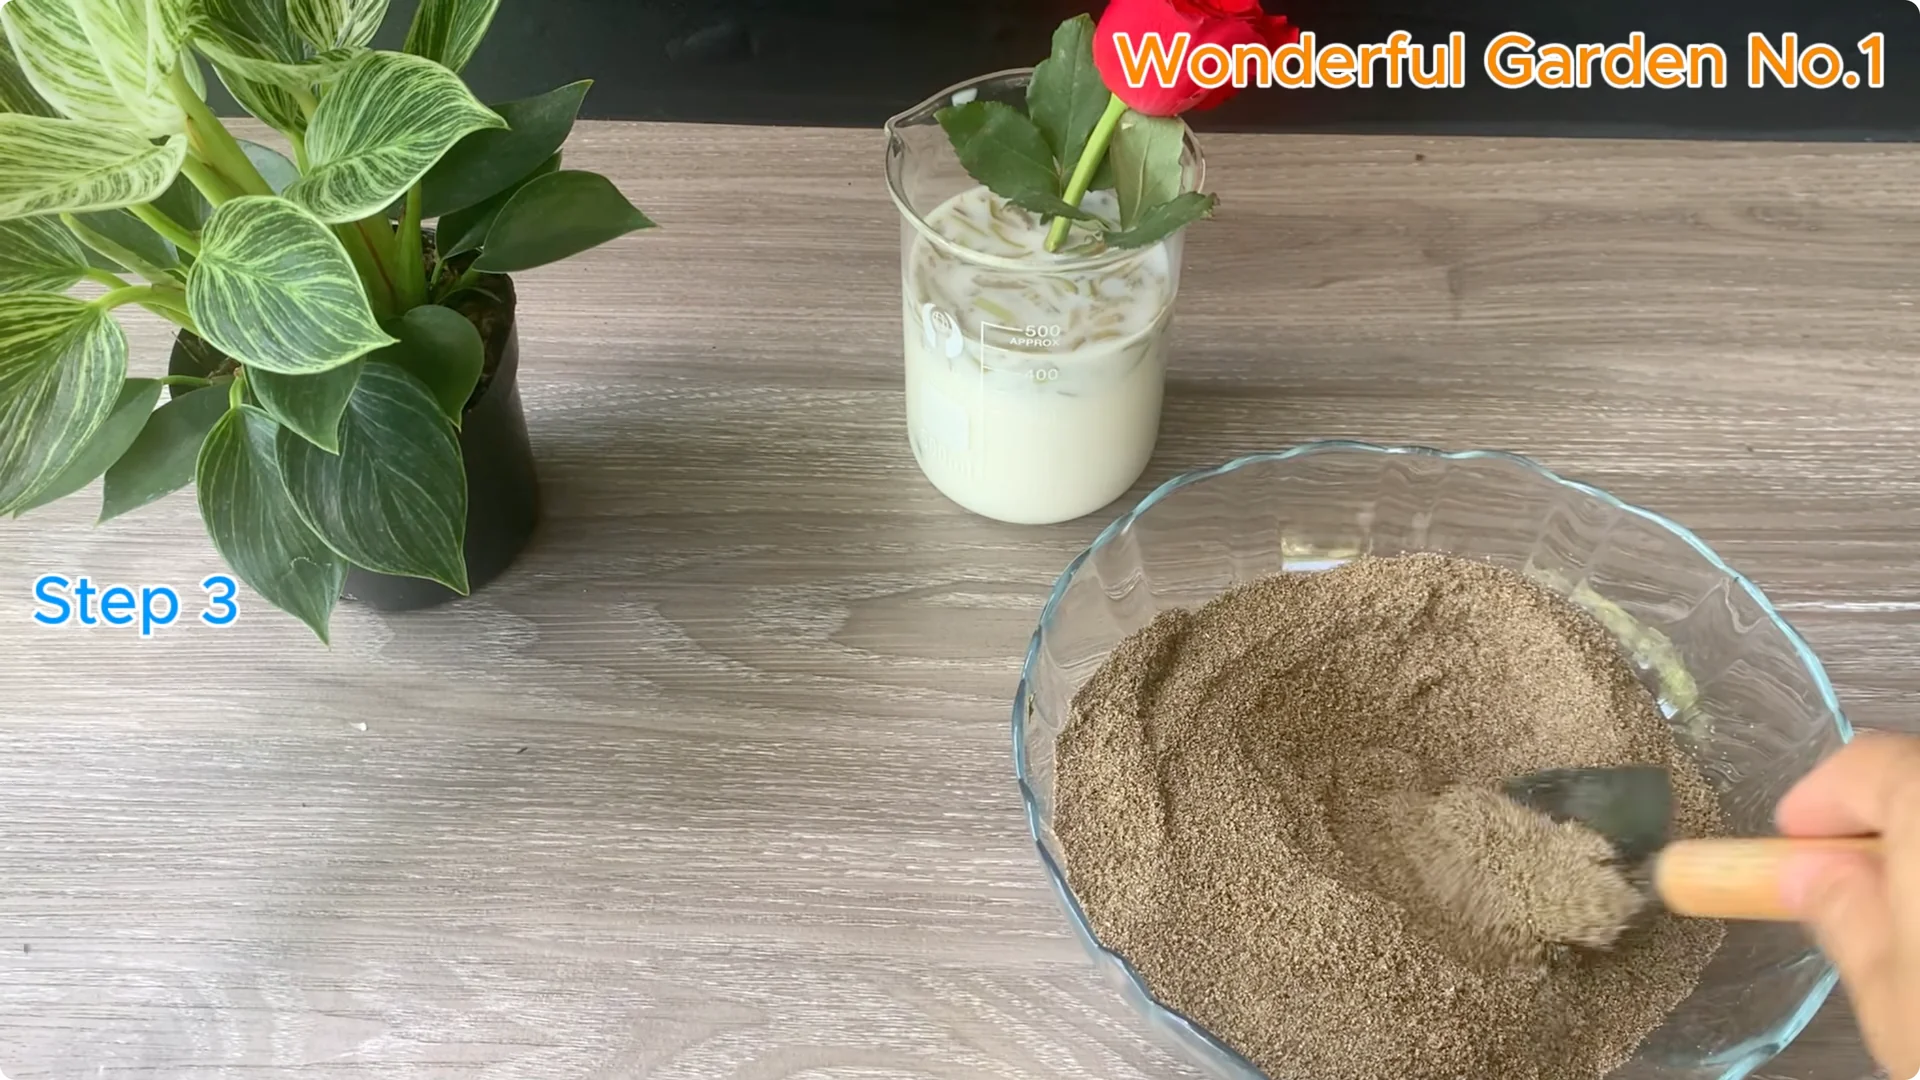
Sand medium and cup
Use clean sand as the growing medium. A simple yet extremely effective choice. Choose a plastic or glass cup that is of moderate height.
Fill the cup about three quarters full with clean, well-draining sand. Sand helps drain water quickly, keeping the base of the branches from becoming waterlogged while creating airy conditions for young tree roots to easily develop.
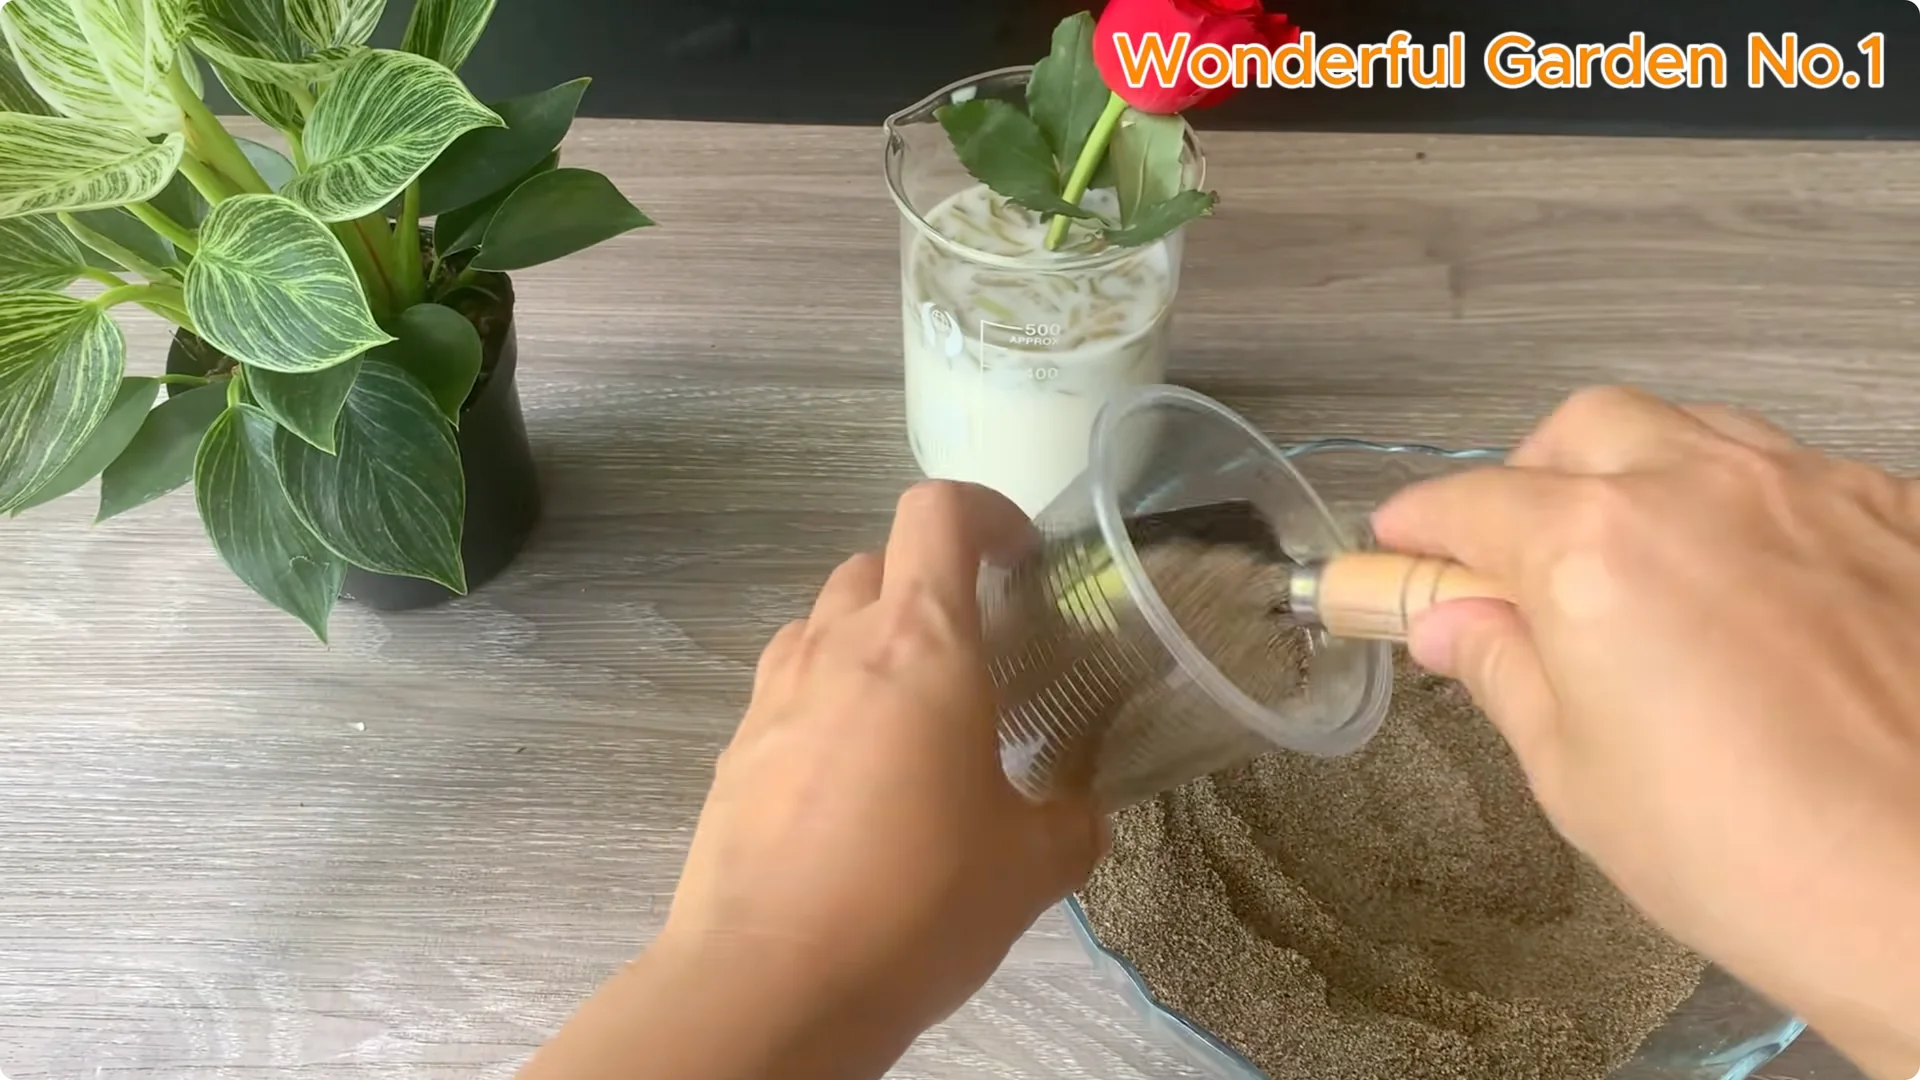
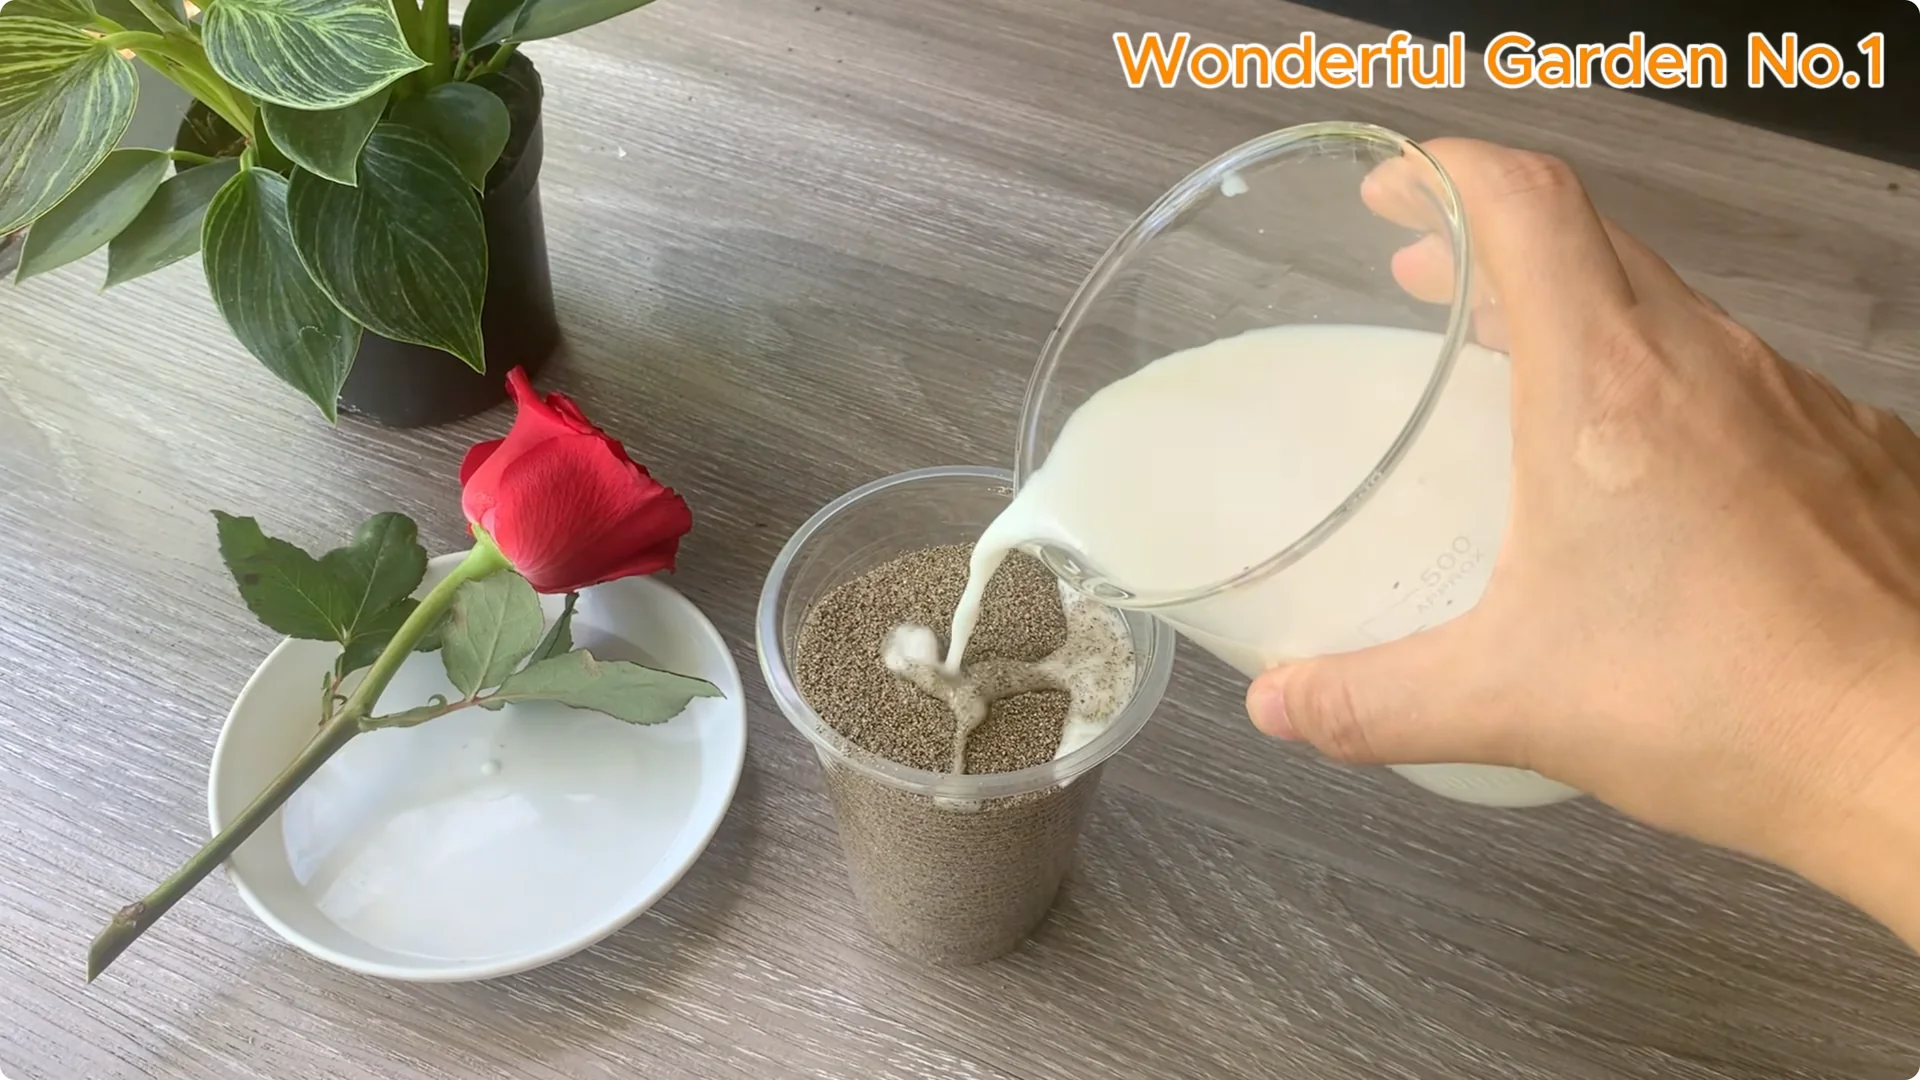
Prime the sand
After soaking the cutting in the rooting mixture for about 20 to 30 minutes, use a sieve or cheesecloth to strain out the residue, keeping only the clear liquid. Lightly water the filtered rooting solution into the sand enough to keep the sand evenly moist but not too wet.
Set and cover
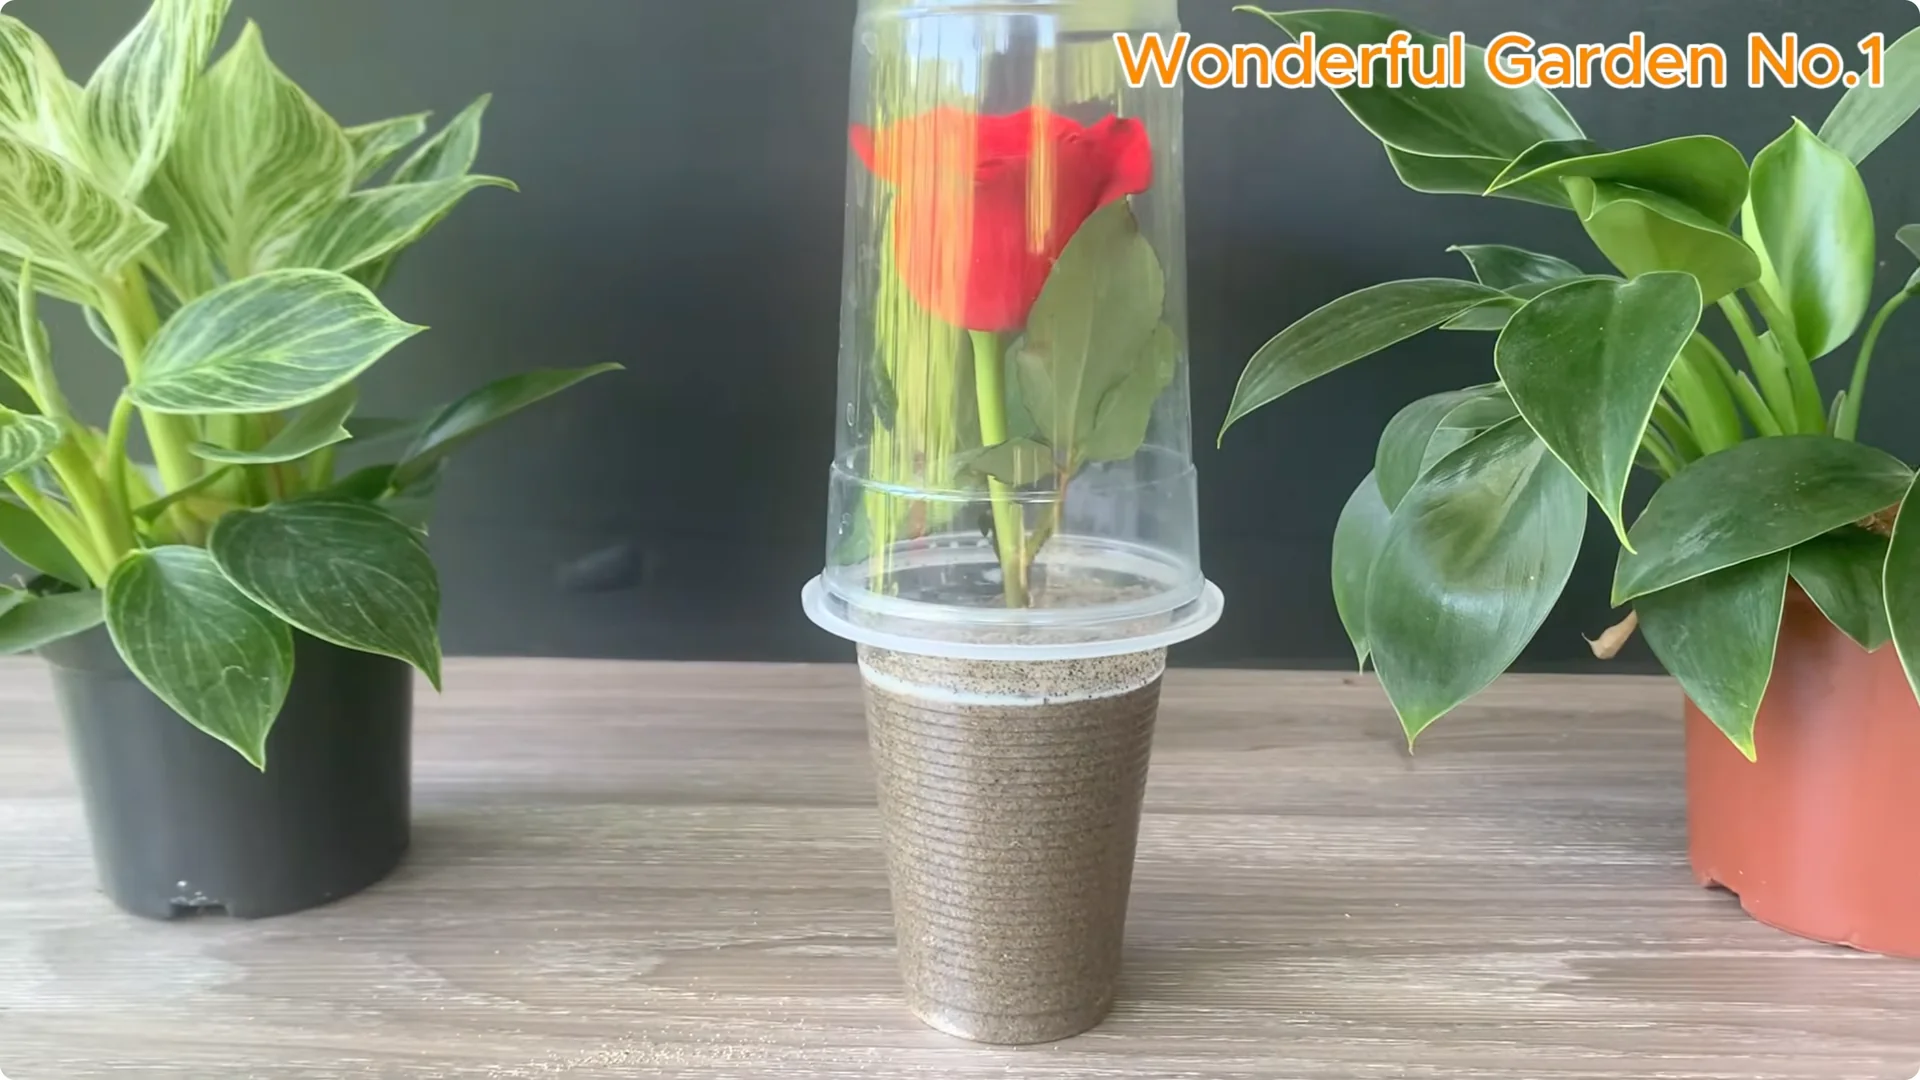
Place the base of the rose stem in the center of the sand cup with the leaf nodes facing outward. This is where new shoots and roots will develop. Use a large plastic cup or a plastic bottle cut in half and turned upside down.
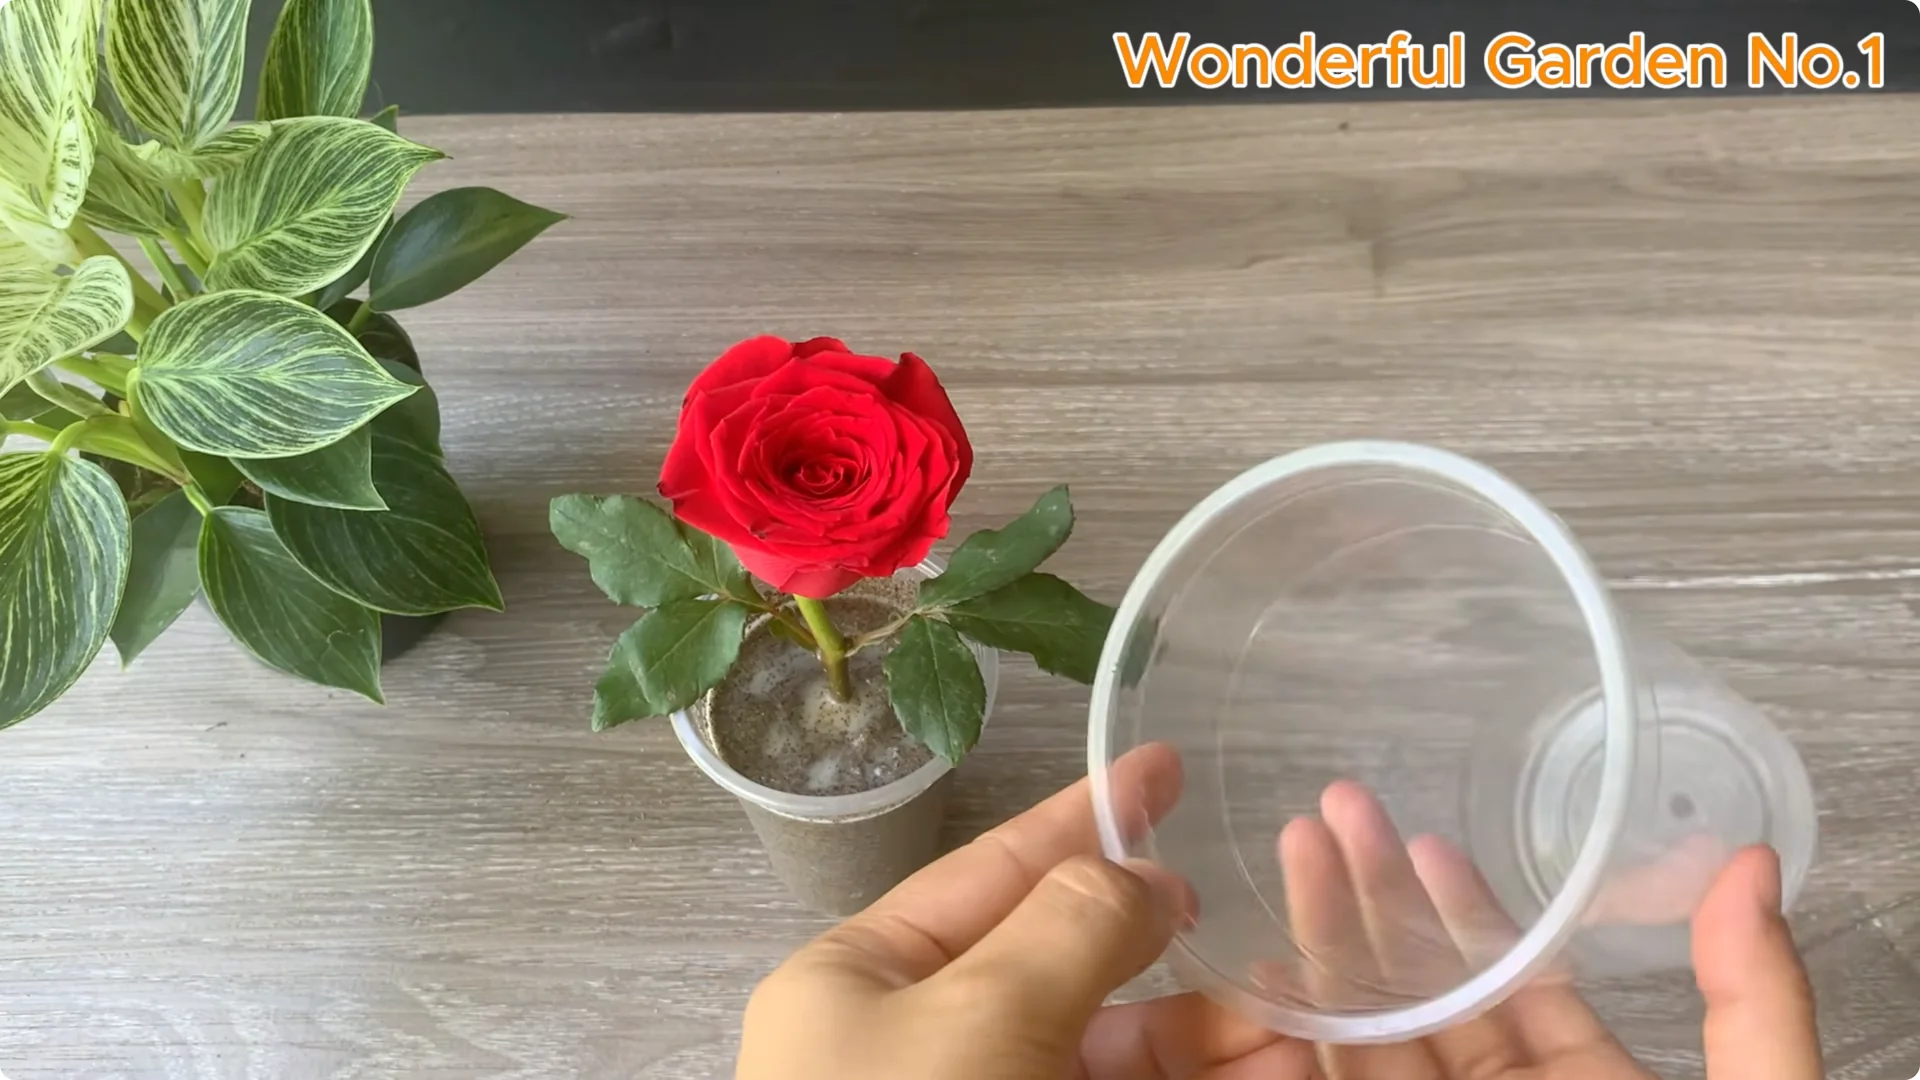
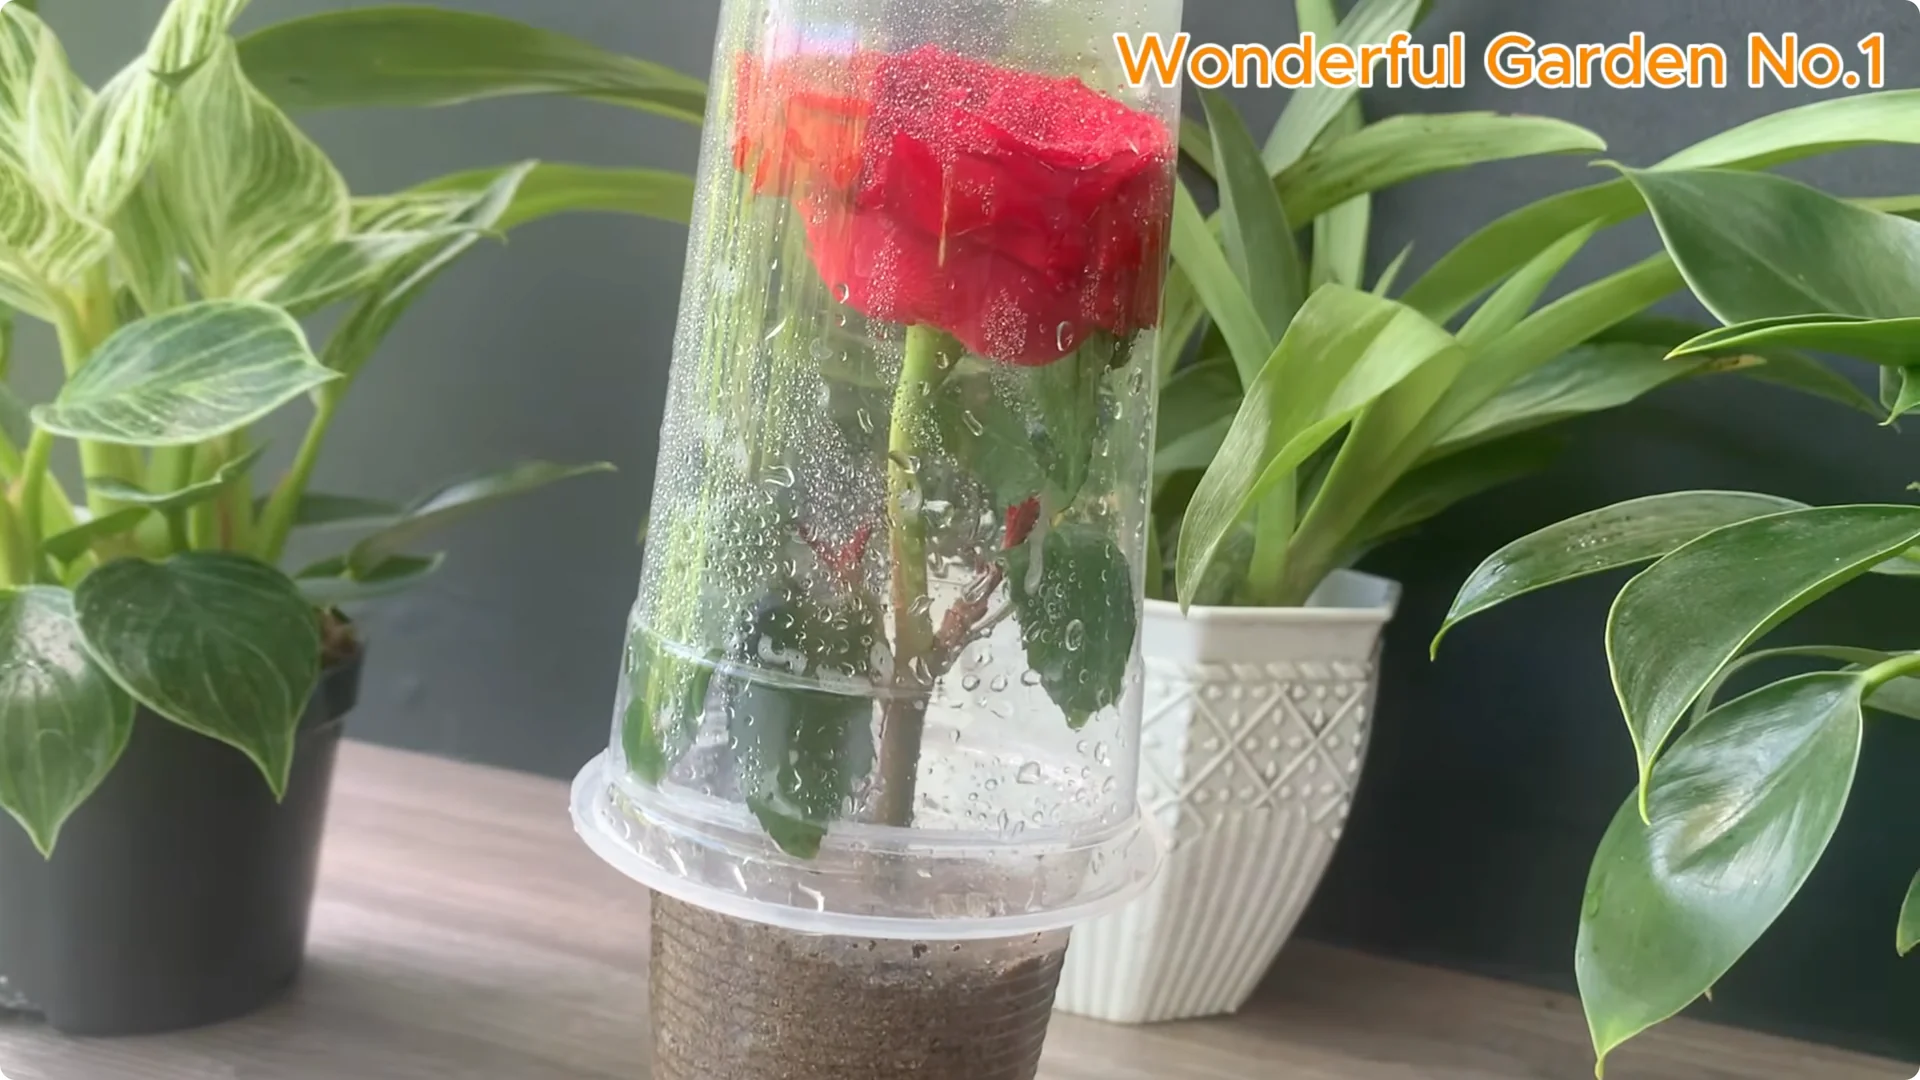
This will help retain moisture and stabilize the temperature, creating ideal conditions for rooting cuttings. Place in a cool place away from direct sunlight. It is best to place the cutting cup in a place with soft light and good ventilation.
Ongoing moisture
Check the moisture every one to two days. If the sand is dry, you can lightly spray clean water or the remaining rooting solution.
Rooting in a cup works beautifully for small spaces, and you can see progress easily. For a simple walkthrough, see this cup method for rose cuttings.
4. Rose Cutting Propagation – Care and Signs
Buds and roots
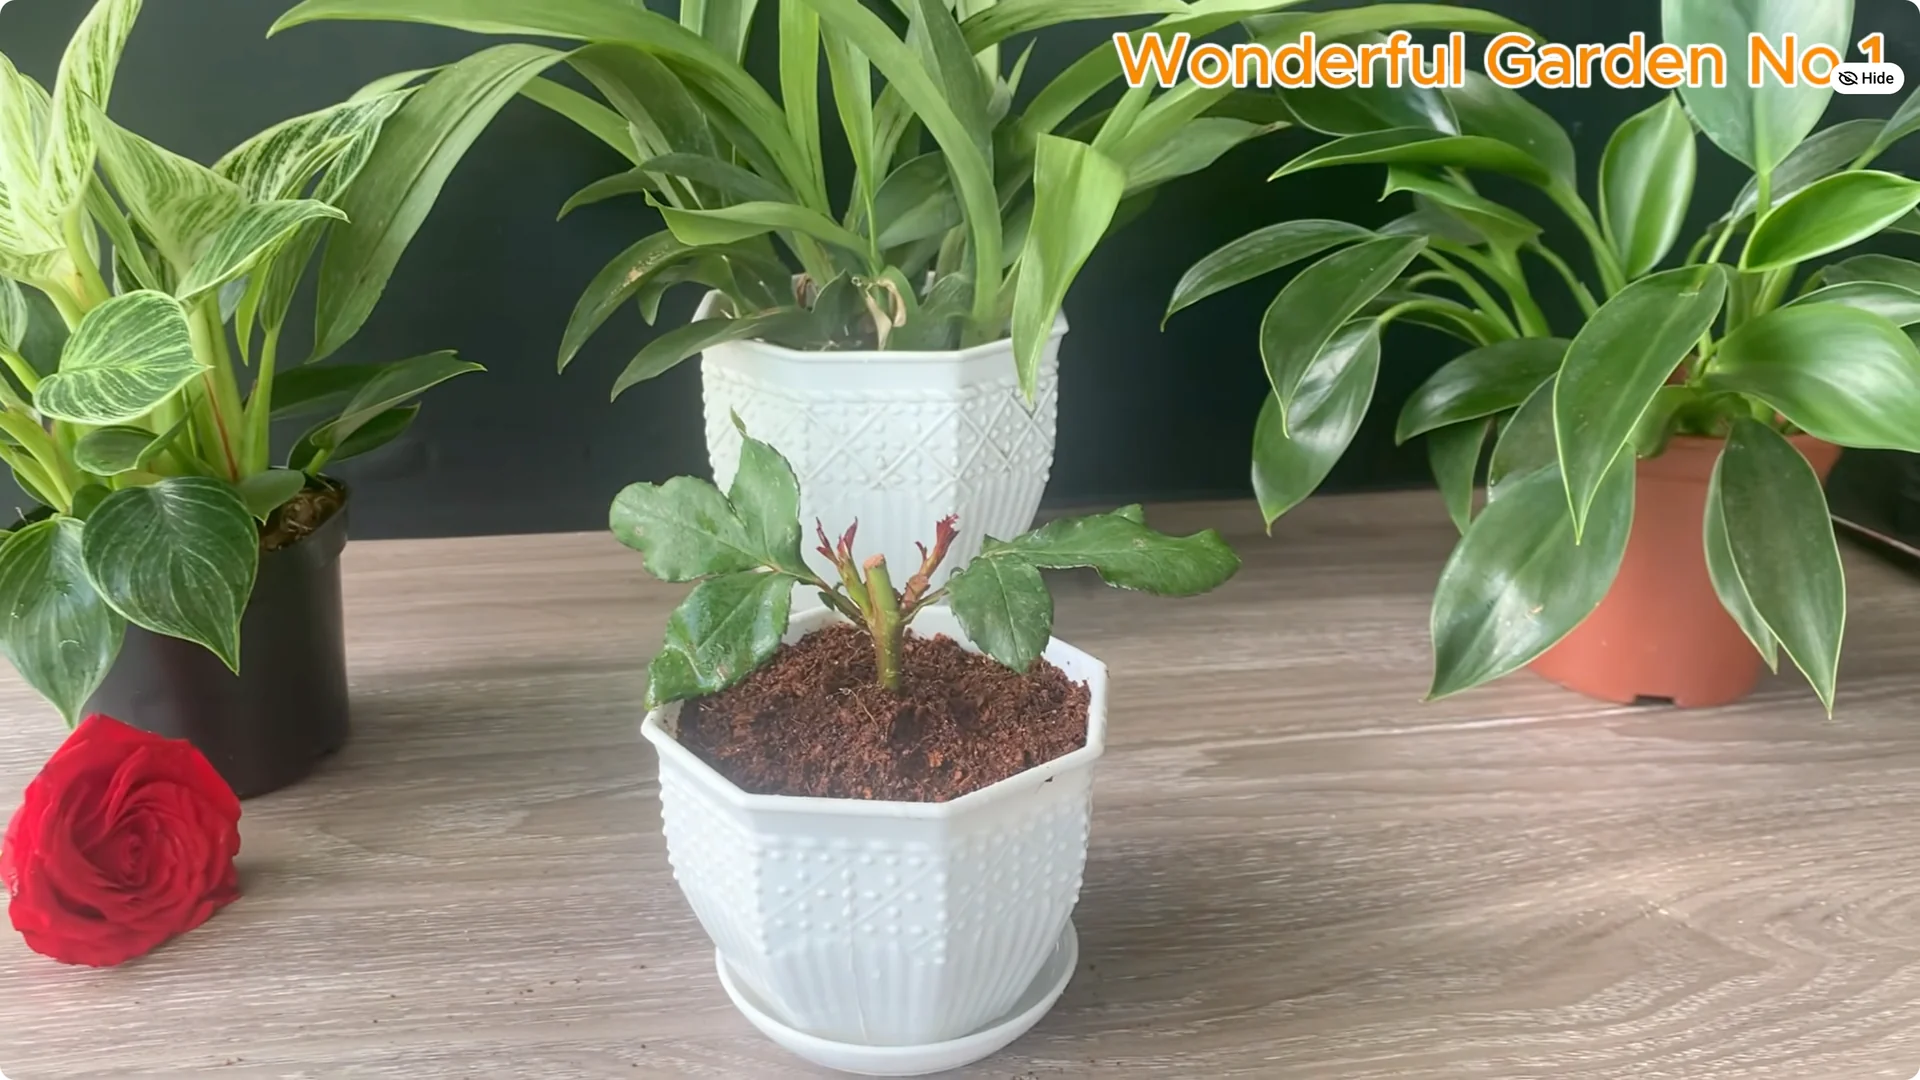
If you are patient and care for your cuttings properly, miracles will gradually appear. From the seemingly dormant leaf nodes, you will see small buds begin to sprout, green and full of life.
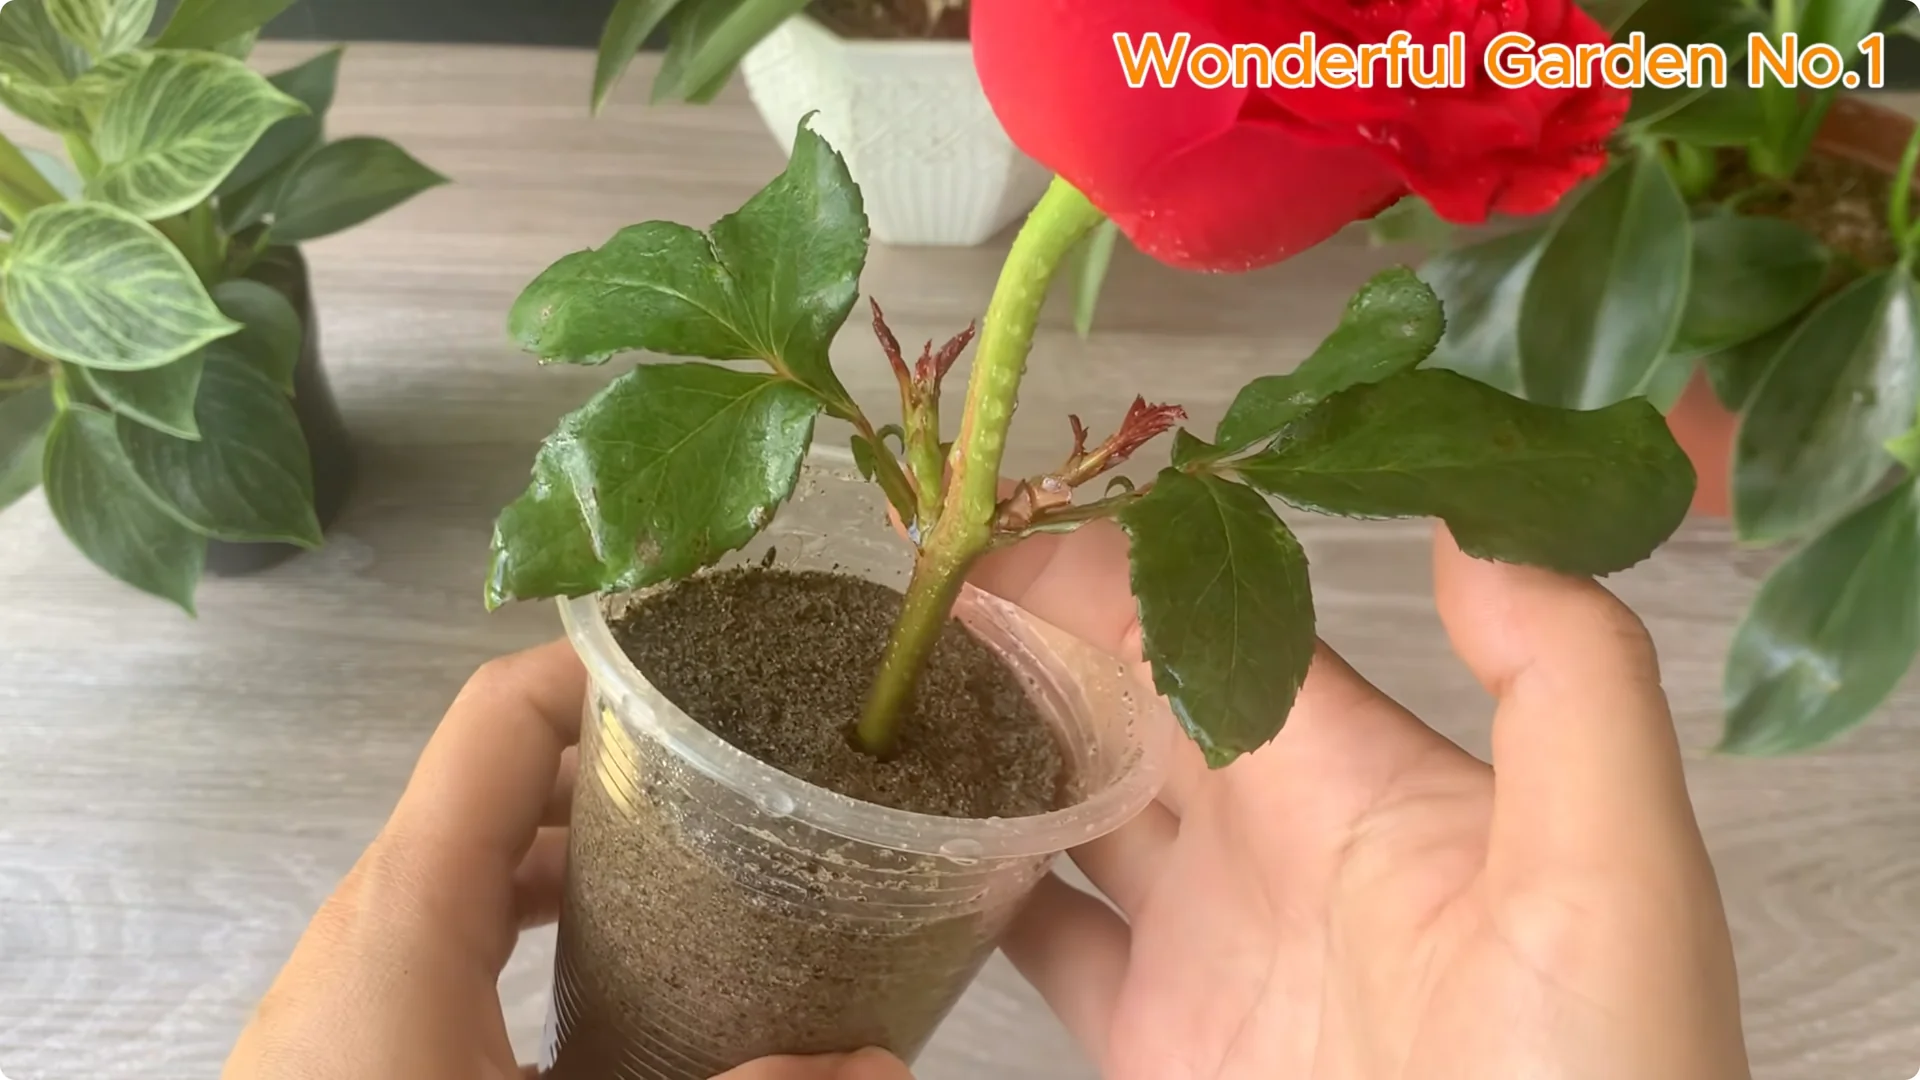
Underneath the sand, the ivory white roots spread silently, clinging to each grain of sand as if holding on to life. Signals that a healthy root system is forming.
Patience and peace
Everything you see now from buds to roots is the result of patience, love and choosing natural sustainable methods. From a seemingly withered flower, we revived a new life with just natural ingredients and a little patience.
Growing flowers is not just about growing a tree, but also about nurturing peace of mind. Each root grows, each shoot reaches forth. A gentle reminder that every beginning takes time and sincere care.
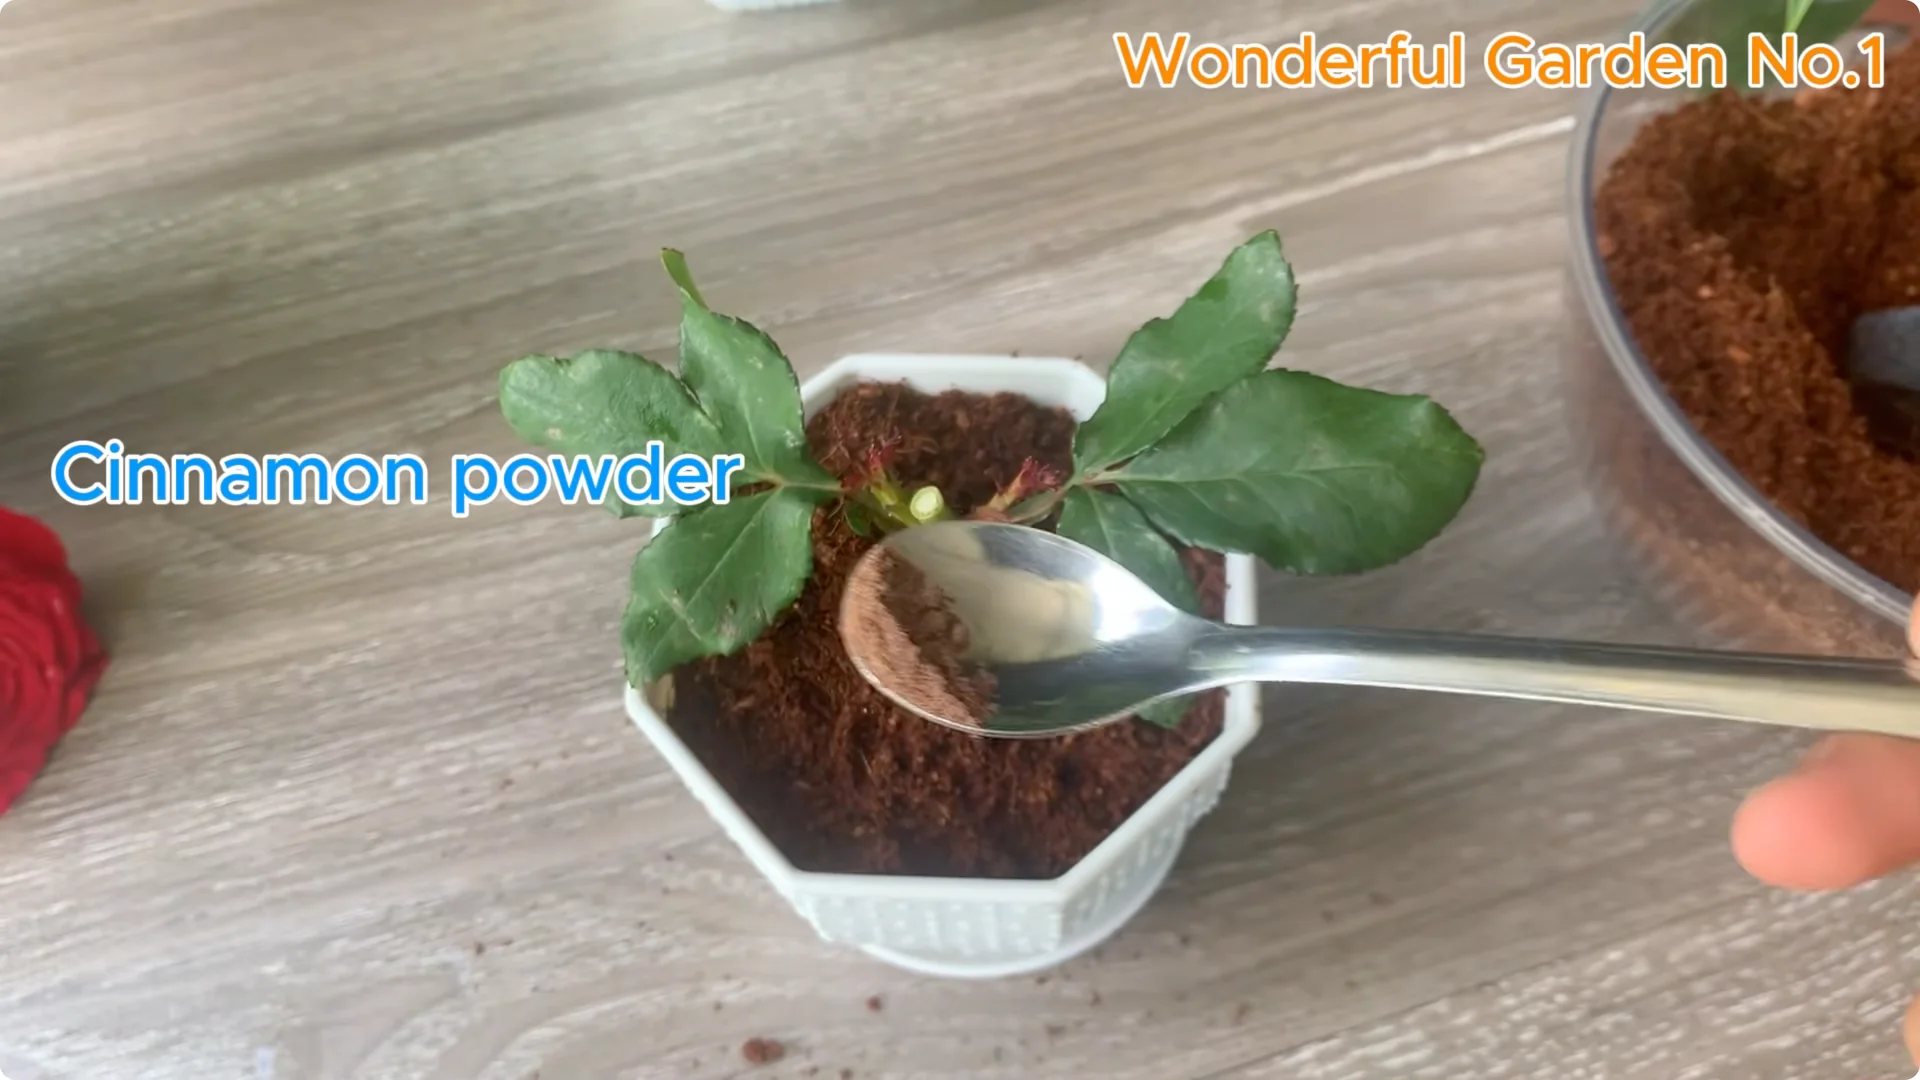
Natural protection
Sprinkle cinnamon powder on the cut to fight bacteria, prevent root rot, and stimulate root growth naturally. This simple step adds extra protection as your cutting settles in.
For red roses
If you are rooting red varieties, explore this helpful teaspoon method for red rose cuttings.
Final Thoughts
Choose a healthy cutting, protect the wound with garlic, and feed it with a gentle mix of banana peel, garlic, milk, water, and honey. Set it into clean sand, cover for humidity, and keep the medium lightly moist.
Watch for tender buds above and ivory roots below. With patience and simple, natural care, a new rose bush will come to life from a single small branch.