
There is something truly poetic about a rose that blooms from your own hands. The magic does not come from chemicals or machines, just a rose and an old secret. I am going to show you how to propagate roses completely naturally, and the most important step is often overlooked.
A healthy branch is the foundation for a lush new rose plant. With a simple rooting solution and a low-light hydro setup, you can watch roots appear and a new life begin. Follow along step by step.
1. Rose Cutting Propagation – Choose a Healthy Branch
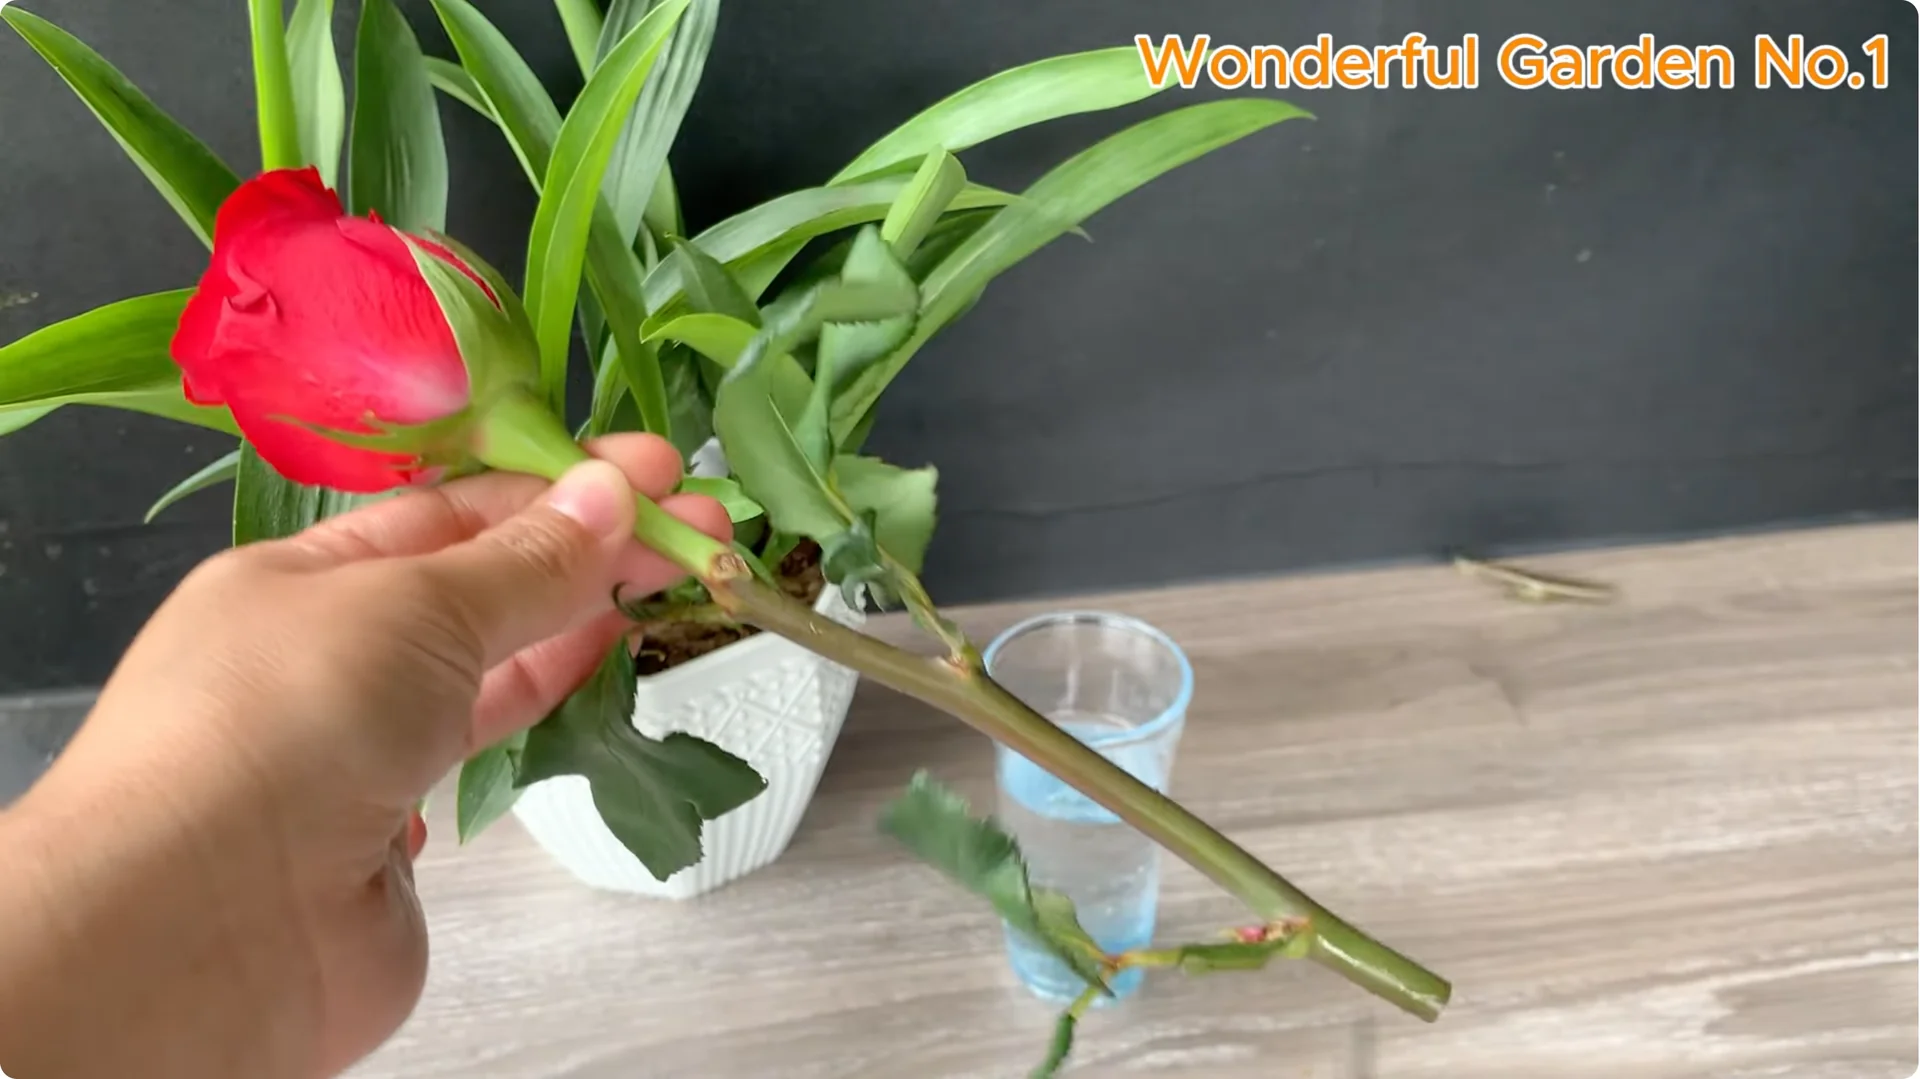
Choose a healthy rose branch. It should be green, have intact bark, and feel elastic when pressed lightly. Good cuttings do not need to be too long – about 15 to 20 cm is enough.
Remove all leaves from the lower half of the branch. This prevents excess water loss during rooting. Keep the top leaves minimal to reduce stress.
2. Rose Cutting Propagation – Prepare the Cutting
Use a sharp knife or scissors to cut the base of the branch diagonally at about a 45-degree angle. Cutting diagonally increases the water absorption area and reduces the risk of stagnant water causing problems. Make a clean, single cut.
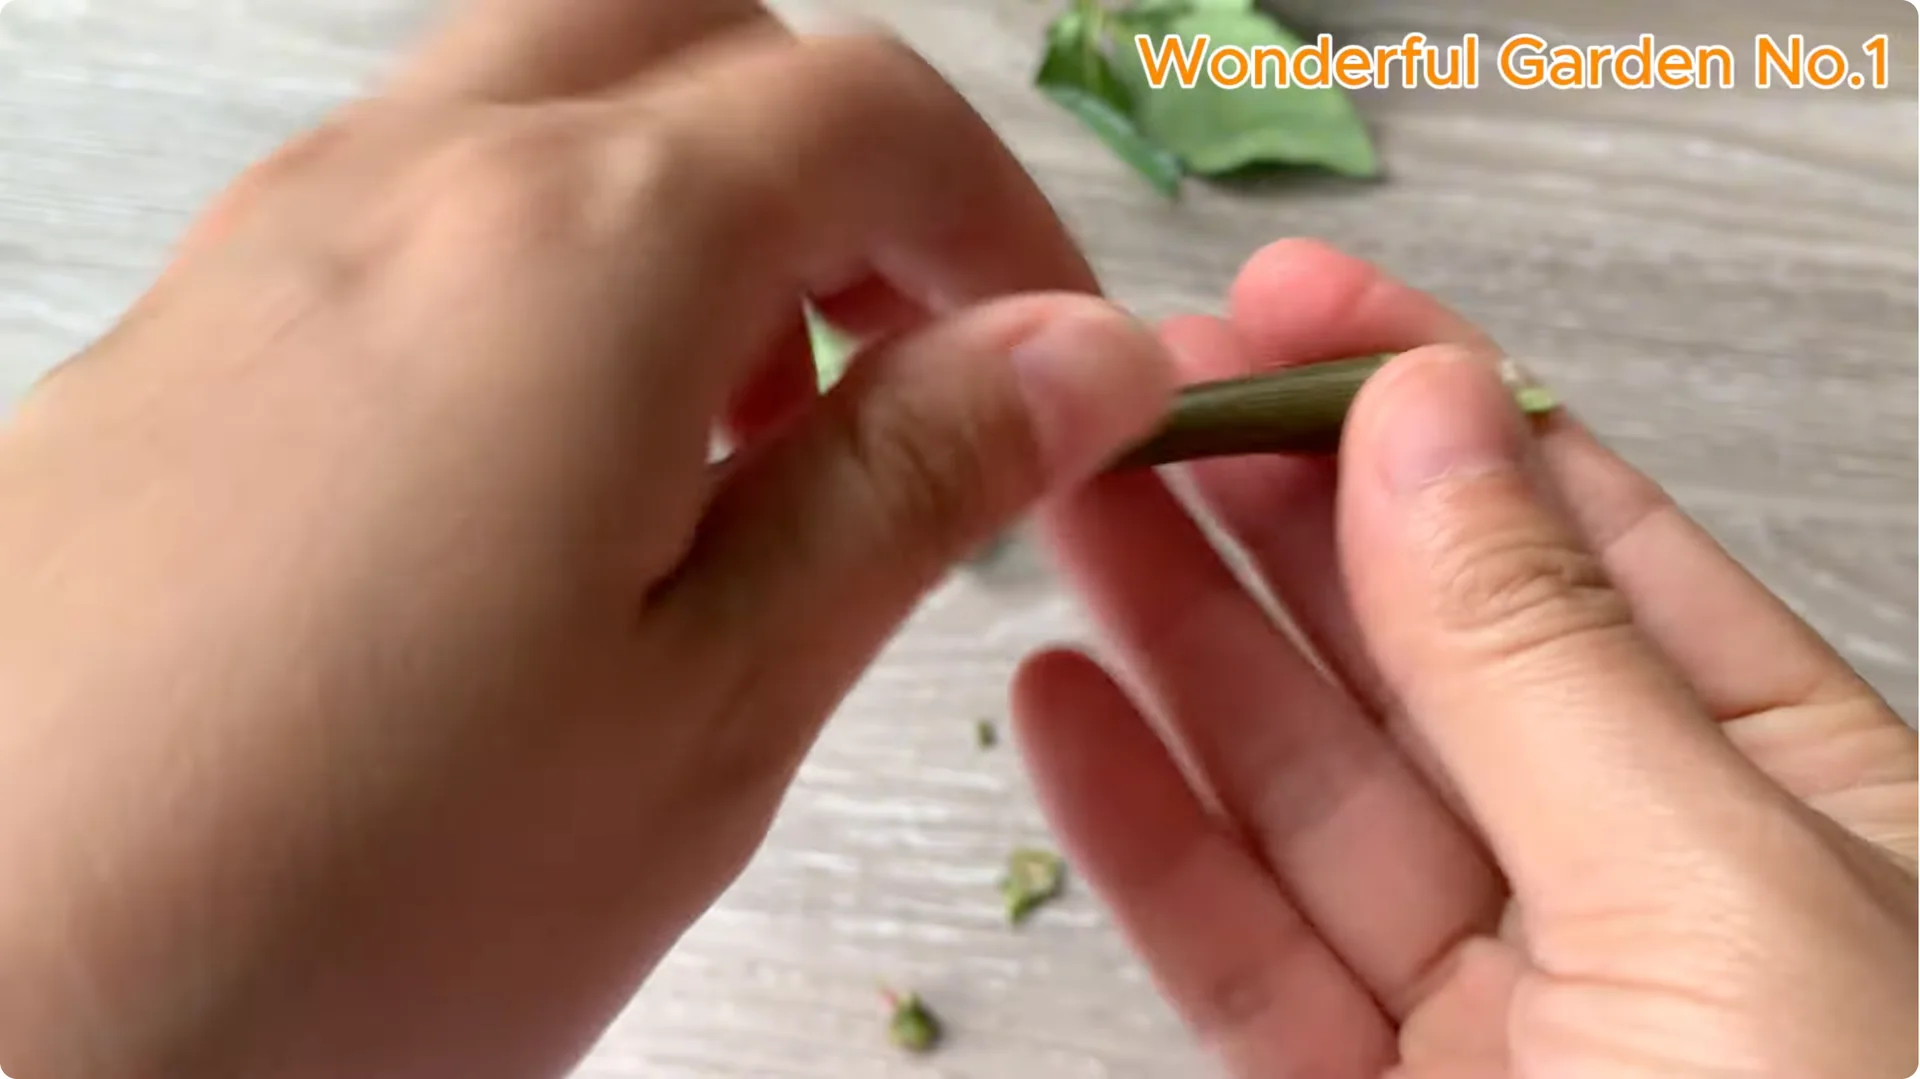
Rub a peeled garlic clove gently on the cut of the rose branch. This helps fight bacteria naturally and prevents harmful mold. Garlic also stimulates plant tissue to grow faster, creating favorable conditions for new roots to form.
3. Rose Cutting Propagation – Make a Natural Rooting Mix
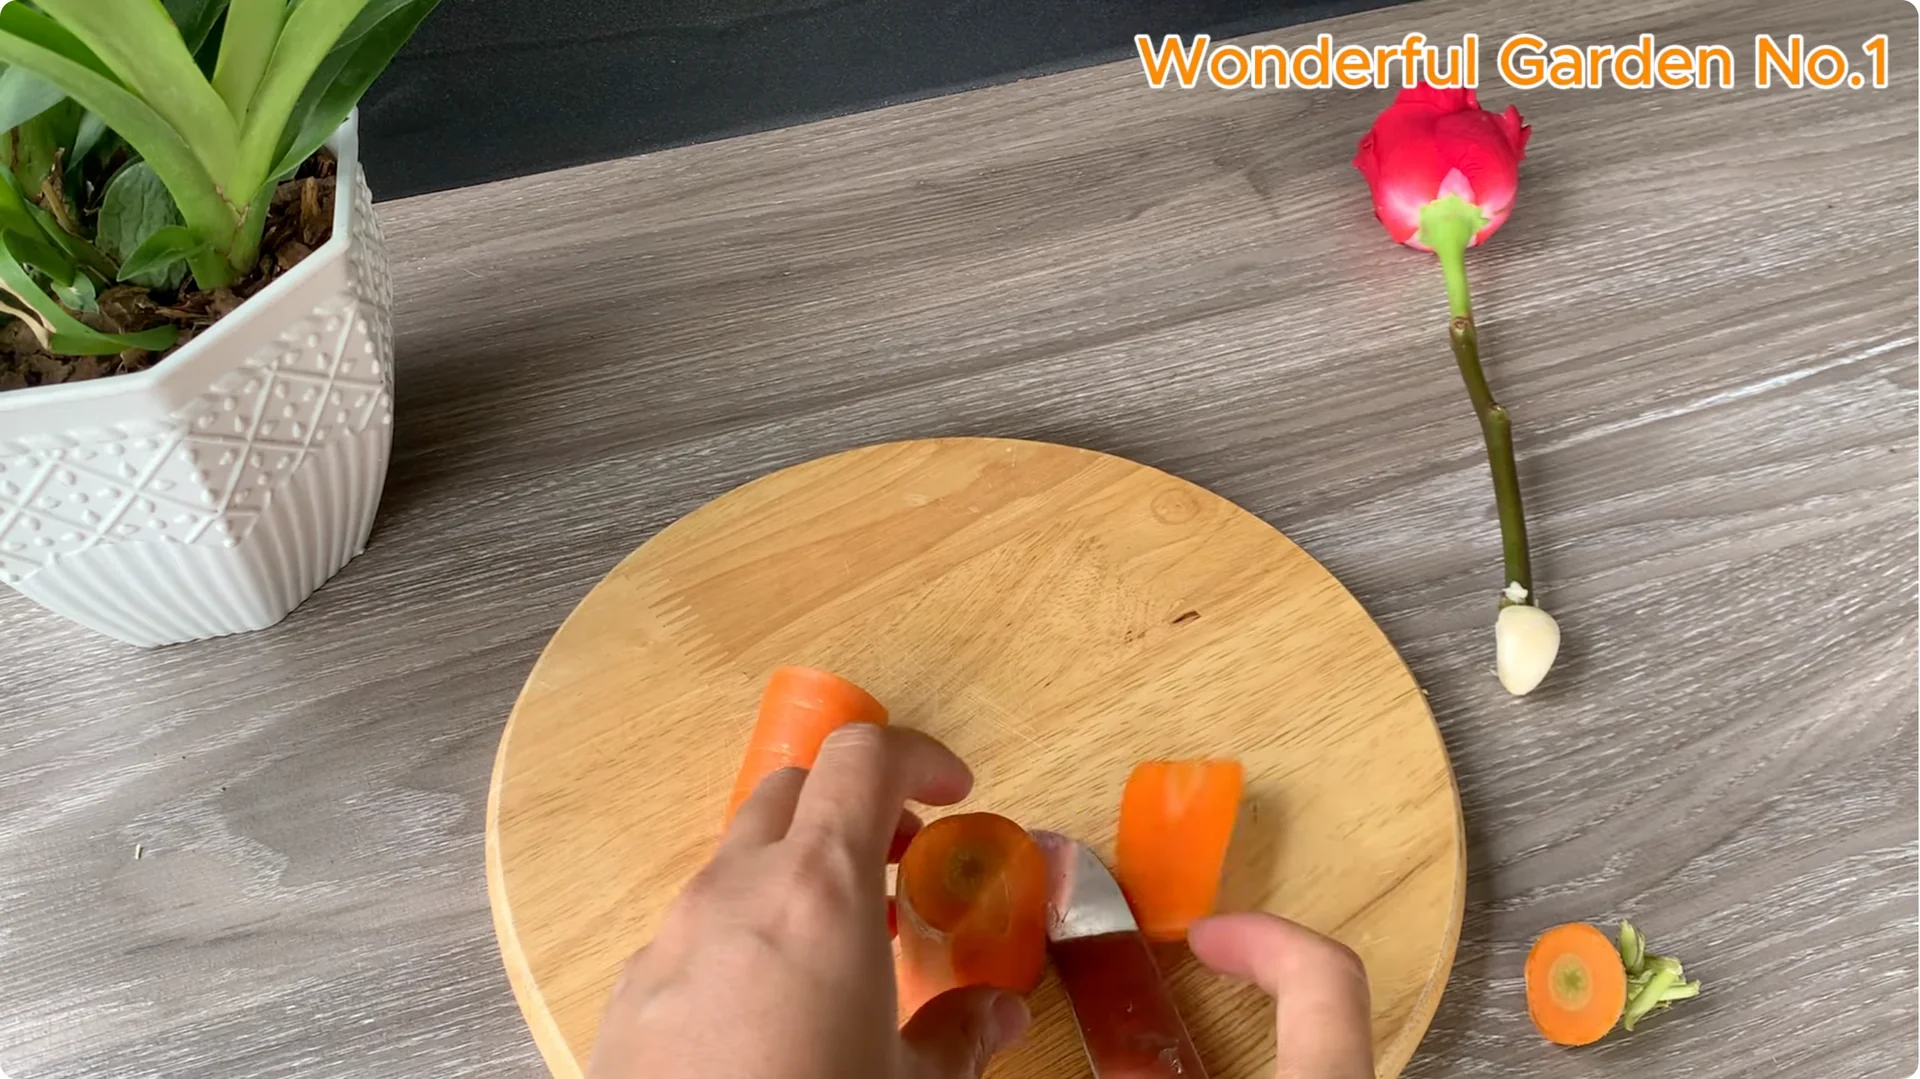
Use a fresh carrot as the base of a natural rooting mix. Chop the carrot and put it in a blender. Carrots are rich in vitamins and minerals that nourish cuttings and stimulate strong root growth.
Add 3 cloves of garlic, peeled and chopped. Garlic has natural antibacterial properties that help protect cuttings from fungi and bacteria that cause root rot. Pour about 1 cup of clean water – roughly 300 milliliters – and puree the mixture.
Once pureed, you will get a smooth blend rich in natural nutrients from carrots and garlic. Filter out the residue and keep only the clear liquid. This liquid provides vitamins and minerals that stimulate plant tissue while containing antibacterial agents to prevent mold and bacteria.
Soak the base of the rose cuttings in this solution for about 4 to 6 hours. Allow the compounds from the carrots and garlic to gently soak into the cut. This primes the cutting for faster, healthier rooting.
4. Rose Cutting Propagation – Hydroponics Setup
The most important step here is hydroponics. No soil, no sand – just the natural rooting solution and low light. This keeps conditions clean, moist, and stable.
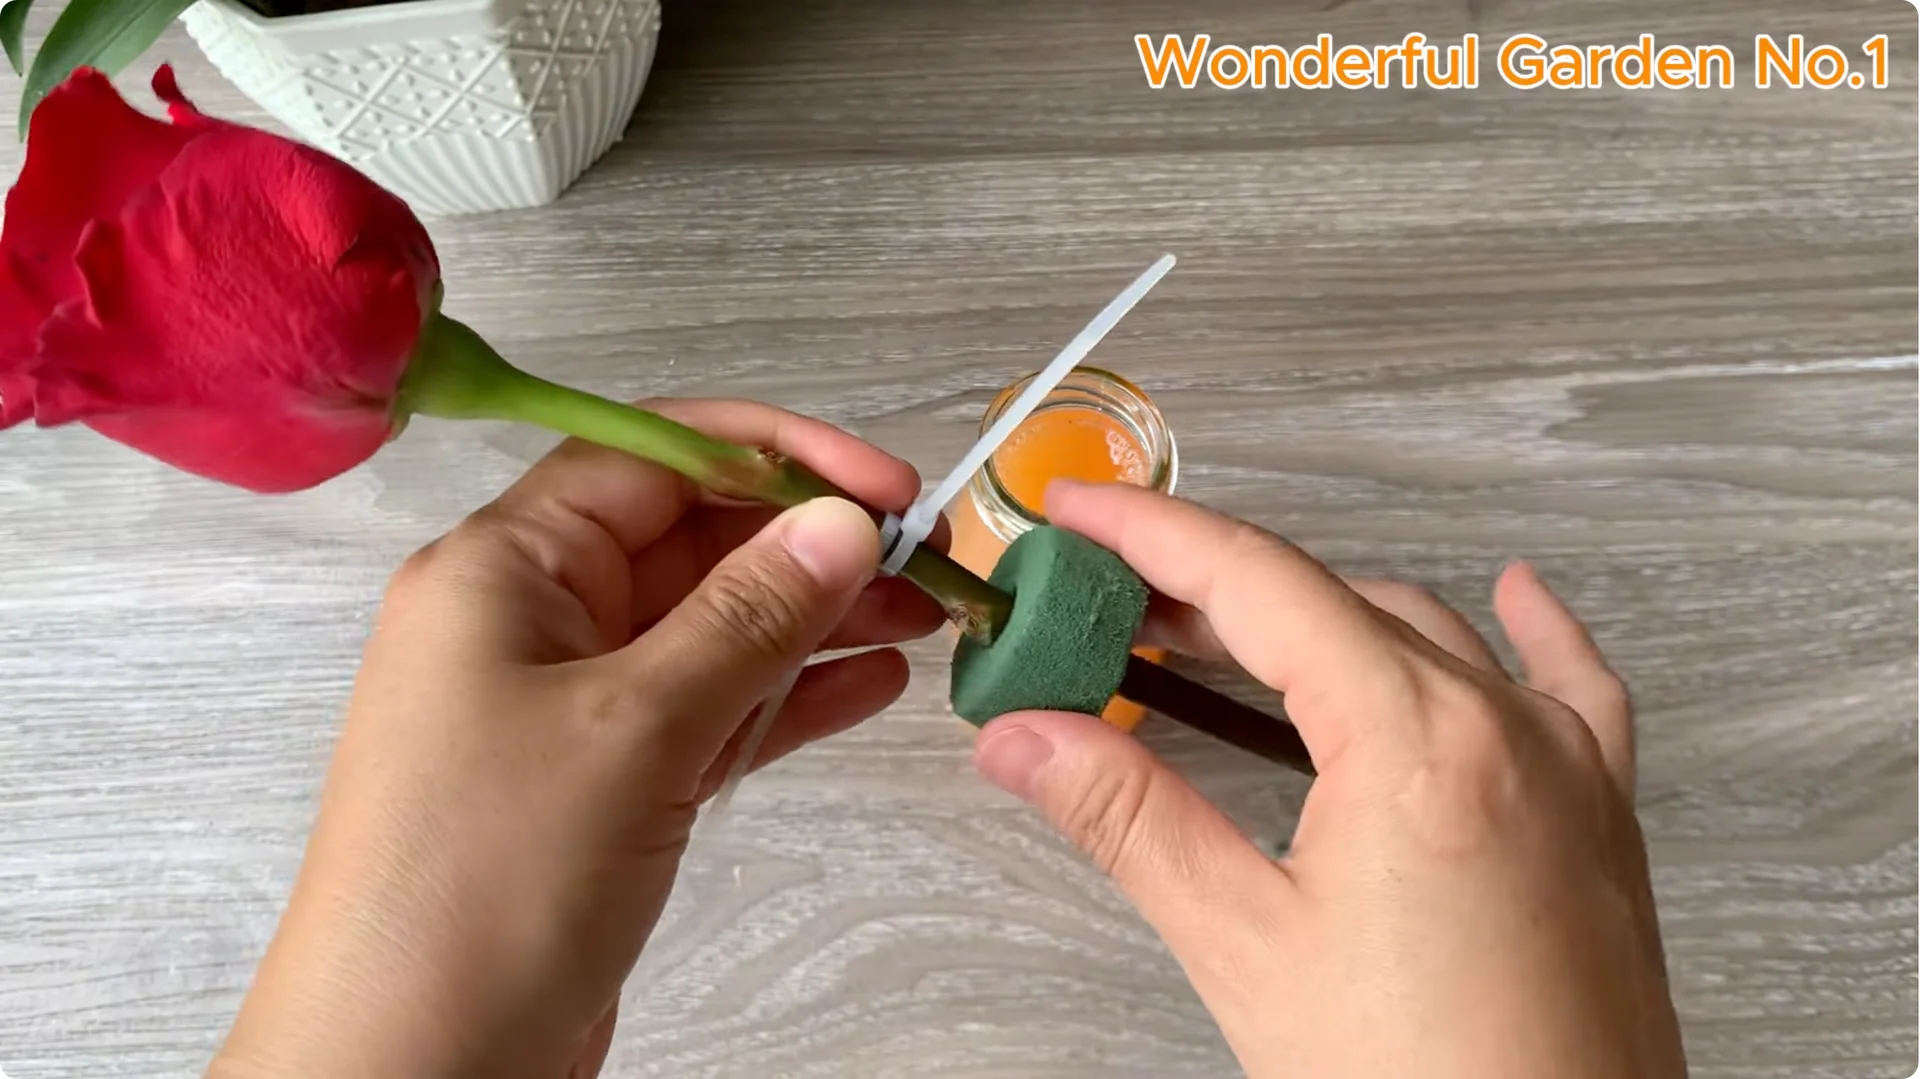
Use a soft sponge cut to fit the mouth of a transparent glass bottle. The sponge acts as a lid to hold the rose branch in place and maintain gentle moisture around the base. A glass bottle lets you easily observe root growth and helps limit bacteria from entering.
Pour the filtered rooting solution into a clean glass bottle. Gently poke the rose stem through the sponge, then place the sponge over the mouth of the bottle so the base of the stem touches the solution. Use soft plastic wire or rope to keep the branch standing firmly.
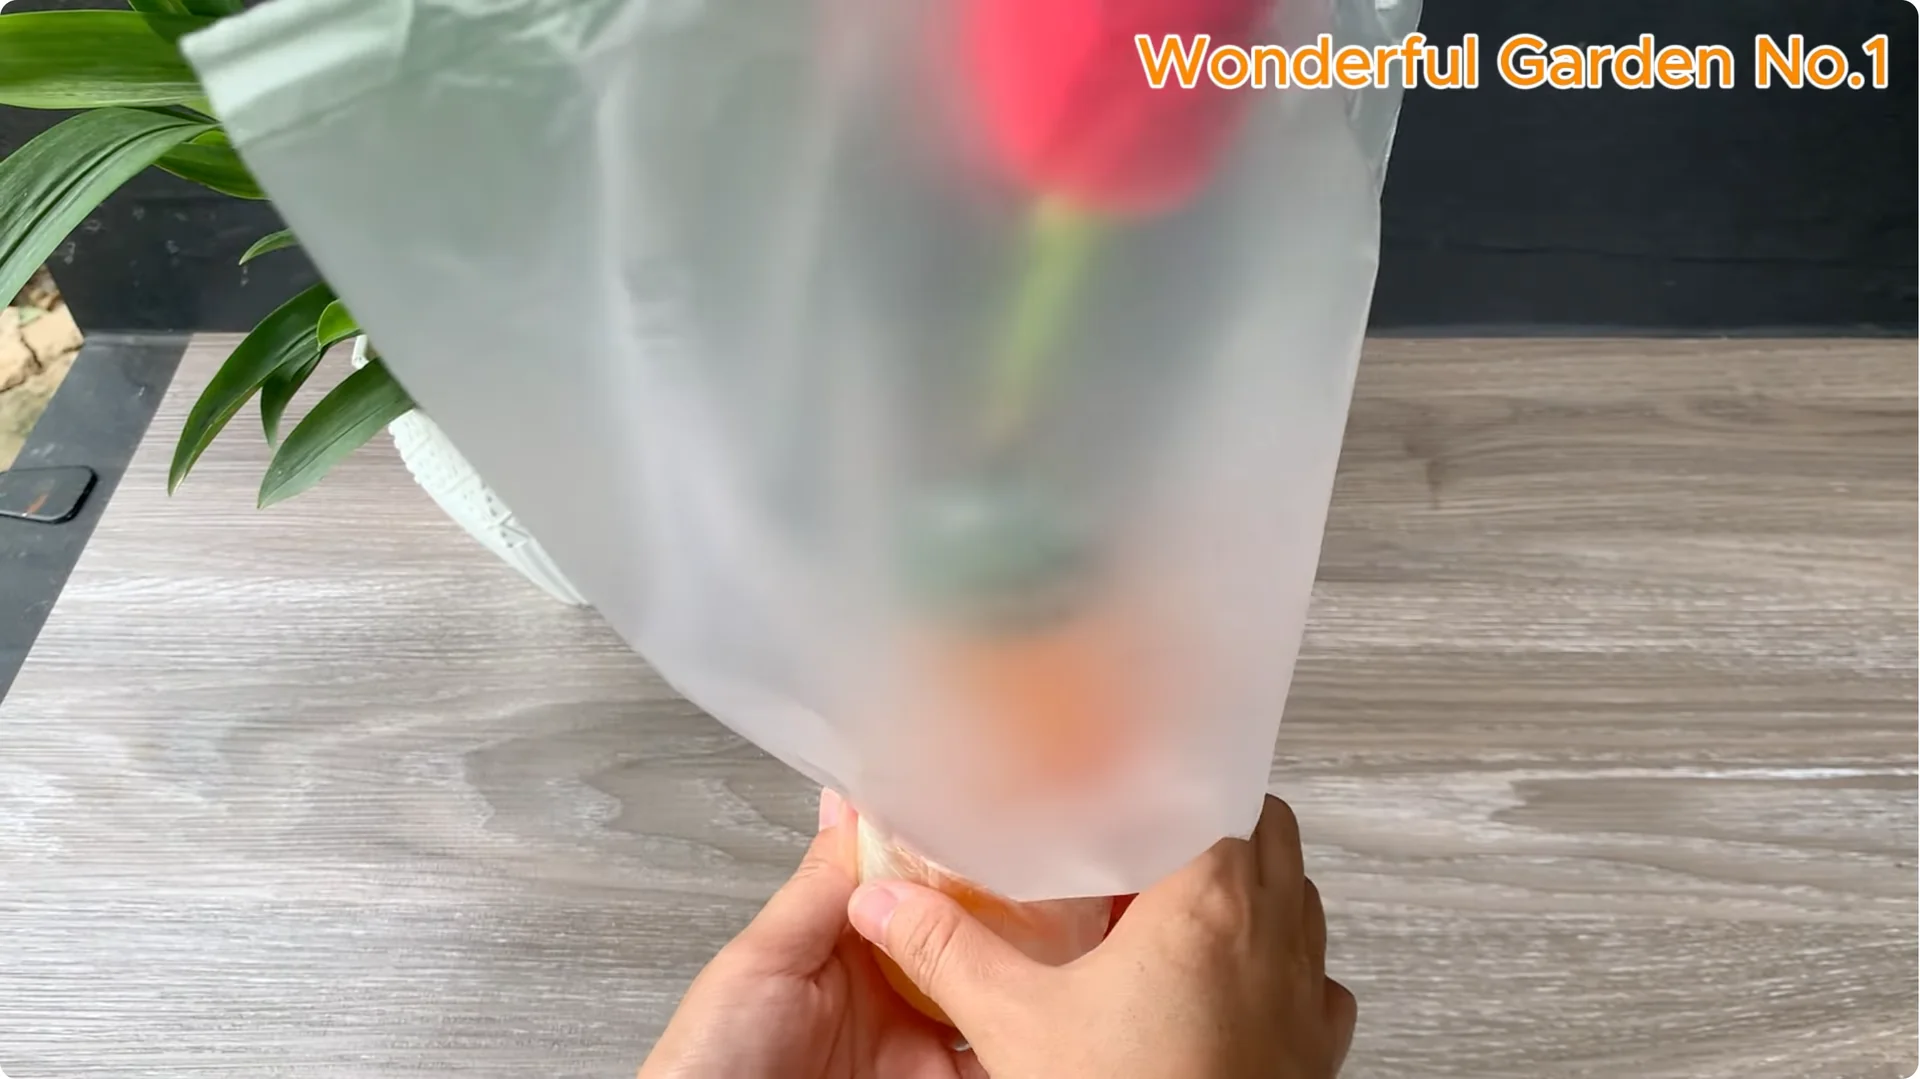
Cover the bottle mouth with a clear plastic bag, then tape it to seal tightly. The bag creates a natural greenhouse effect, helping to retain moisture and gentle heat. This sets ideal conditions for root growth in the early days.
For more no-soil techniques, see how to grow rose roots without soil. It complements this hydro approach with practical tips. You can combine insights from both methods.
5. Rose Cutting Propagation – Early Care and Monitoring
Place the bottle in a cool, indirect light location. Avoid harsh sunlight and strong winds. Keep temperatures mild and stable.
After a few days, open the plastic bag for 10 to 15 minutes each day. This allows air circulation and helps prevent mold. Reseal after venting to maintain humidity.
If you see white mold, rinse the cutting, rub garlic into the cut, change the solution, and replace the sponge. If the base of the branch is still green, not bruised or soft, that is a good sign. Be patient and keep conditions clean.
You may see small buds starting to emerge from the leaf nodes. This is the first sign that the branch is awakening and adapting to its new environment. Buds may be green or slightly red and look fragile, which is normal.
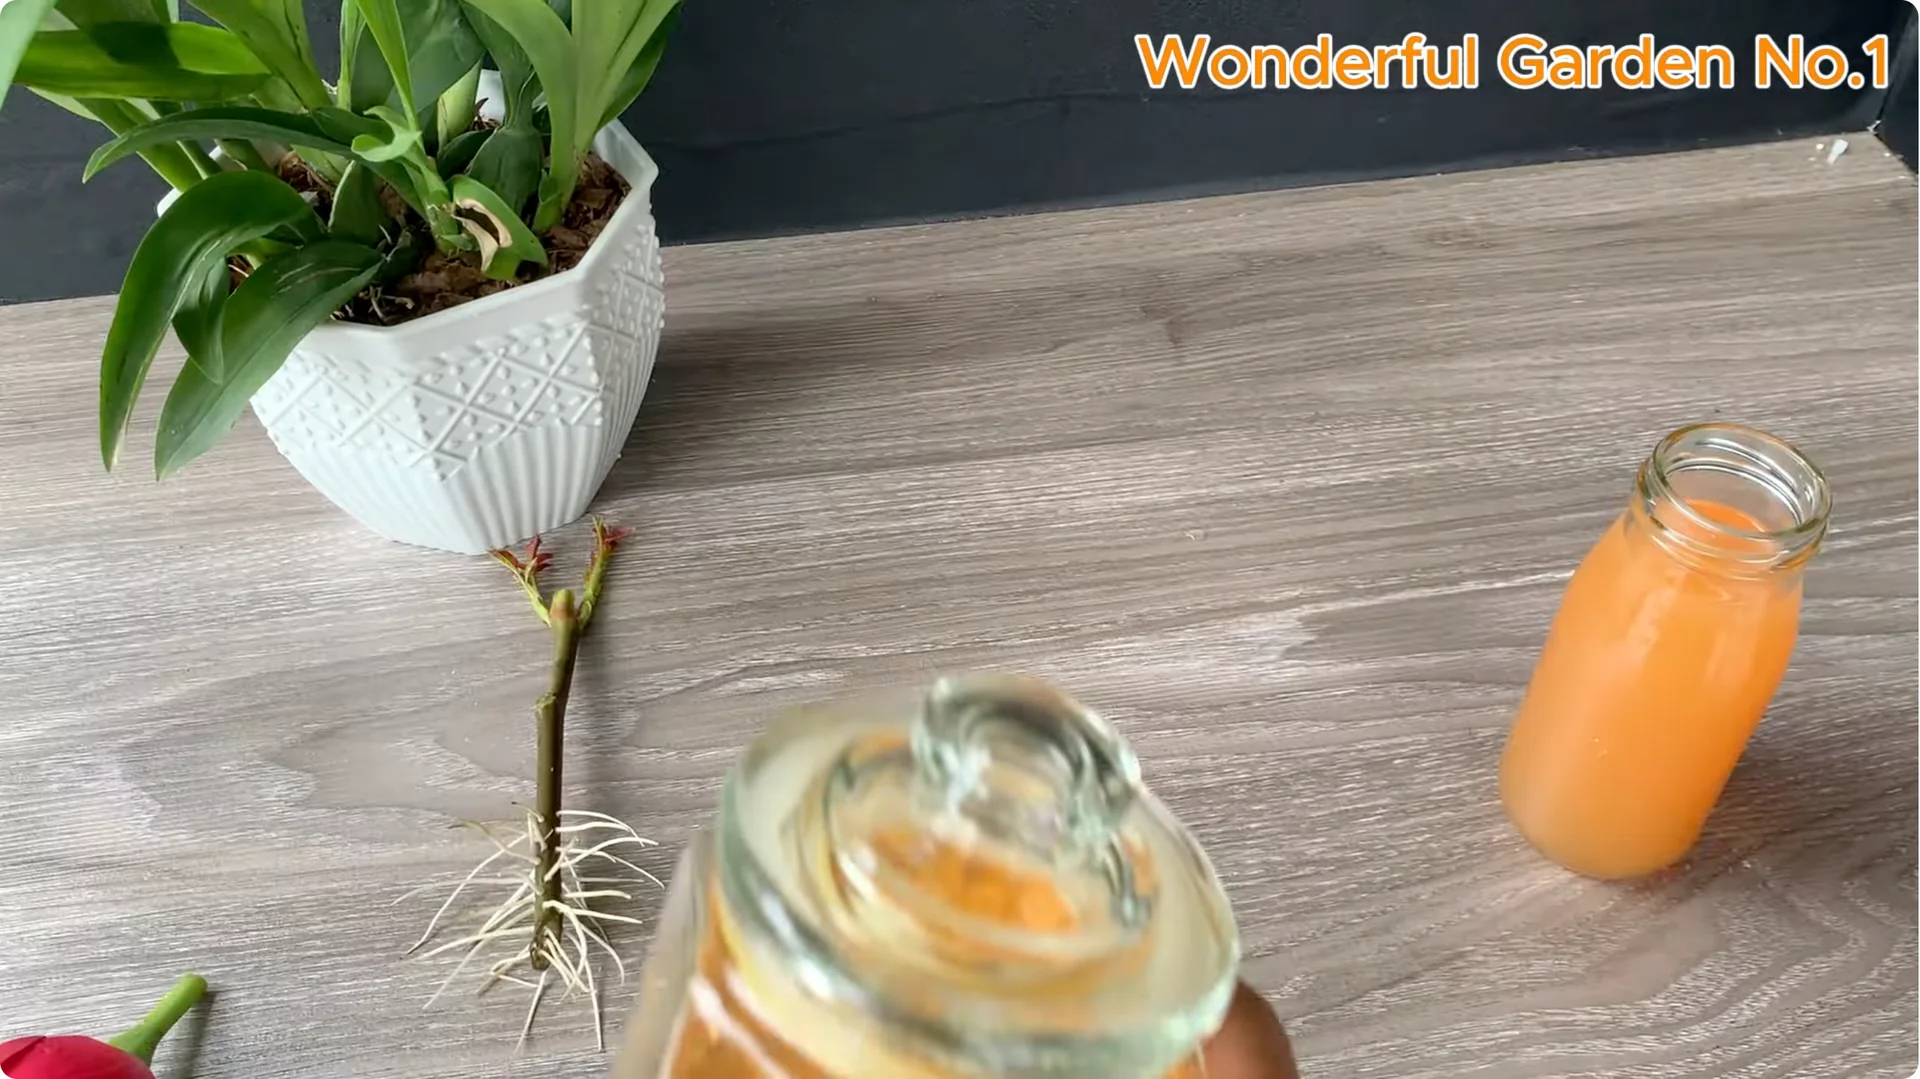
At the base of the branch, where it contacts the solution, small white roots will begin to appear. When both the stem and roots grow together, the rose cutting truly starts a new life. That means you have taken the first successful step in natural propagation.
For a different natural boost, explore the potato method that boosts rooting fast. It is an easy complement to organic rooting approaches. Use it when you need an extra push.
6. Rose Cutting Propagation – Optional Protection
Apply turmeric powder to the cut if you encounter recurring bacteria or rot risk. It helps fight bacteria and prevent root rot. This simple folk remedy pairs well with the garlic step.
Keep the solution fresh and the bottle clean. Replace the liquid if it turns cloudy. Wipe the glass to limit any film or algae.
7. Rose Cutting Propagation – Transplant to a Pot
Transplant when roots are even and about 3 to 5 cm long. Move the branch to a small pot so the plant can gradually get used to its new environment. Handle the roots gently.
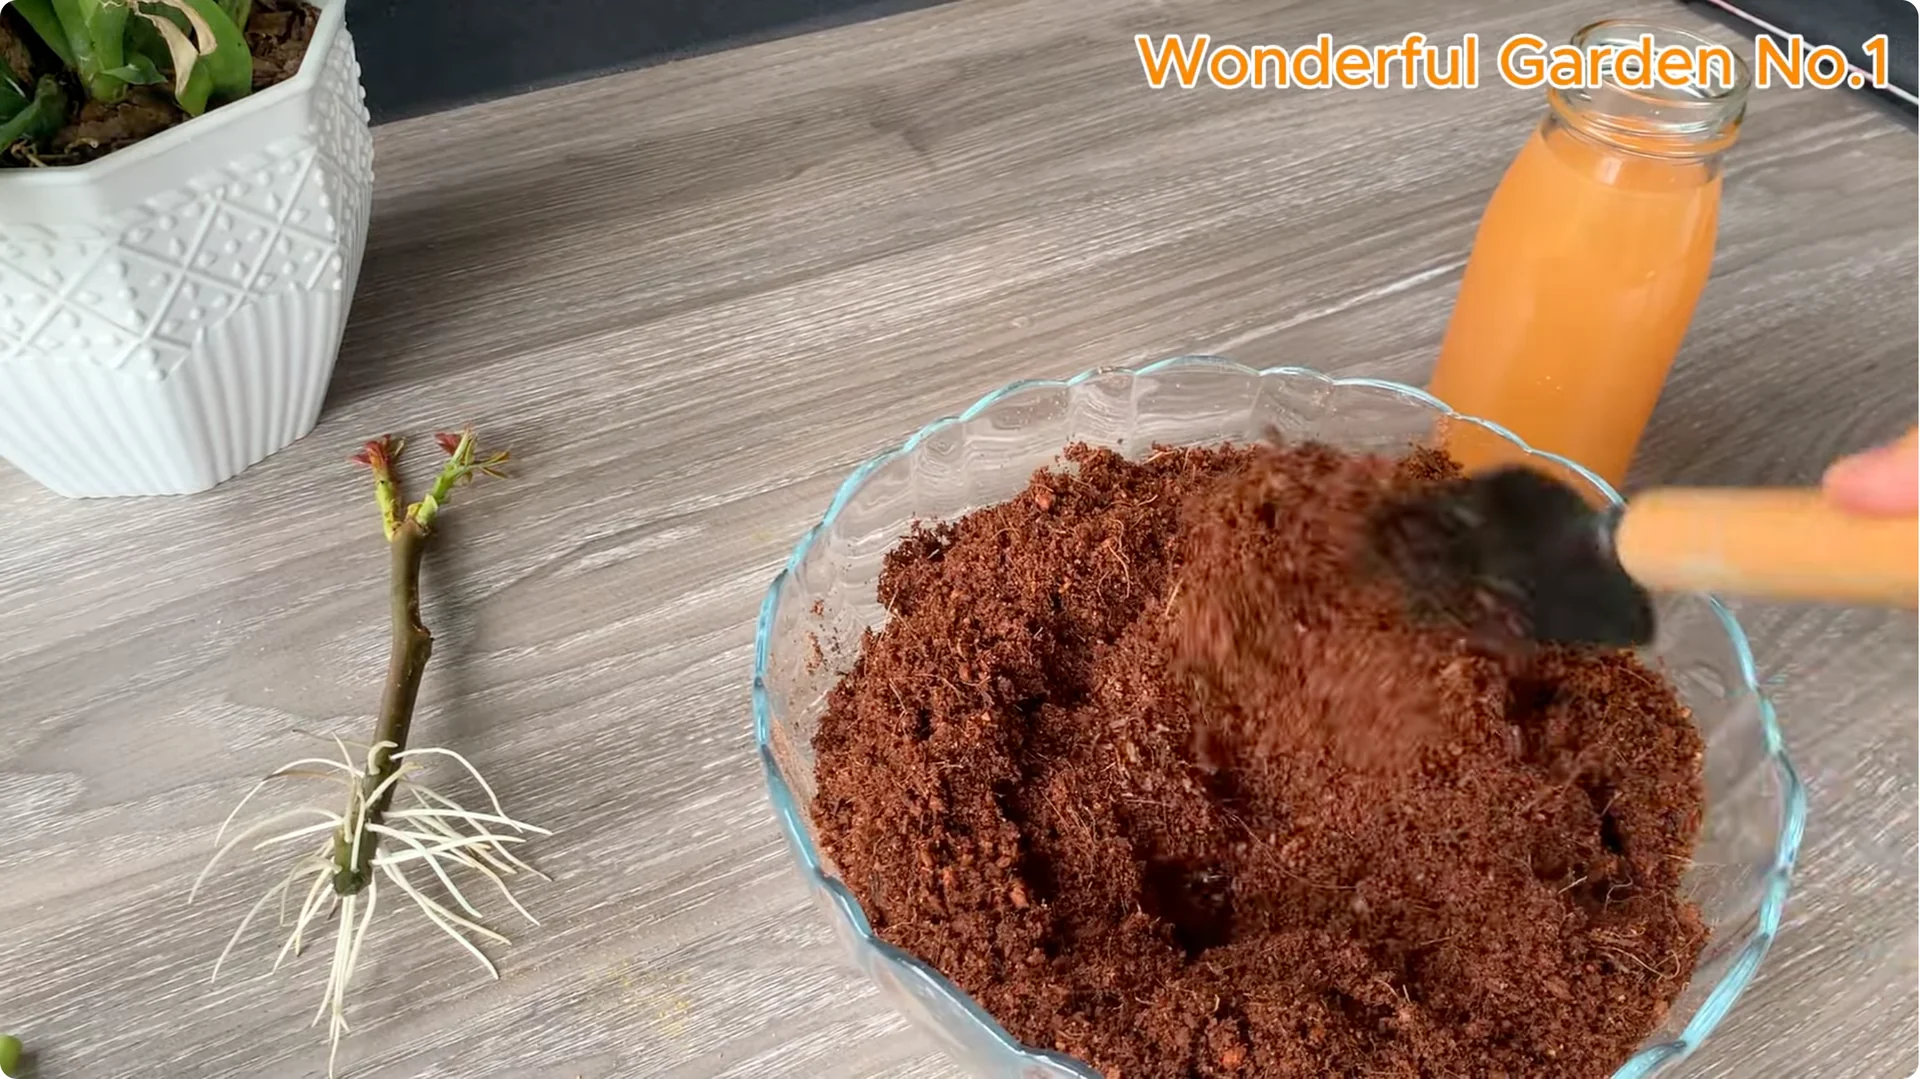
I use clean coconut coir as the growing medium. It is light, retains moisture well, and is breathable, helping young roots settle after leaving water. Pre-moisten the coir for a soft bed.
Place the pot in a cool, shady location with gentle morning light. Avoid heavy rain or strong winds for the first 7 to 10 days. Keep watering light but consistent.
Once the roots are strong and shoots have developed, plant the young rose in the garden or in rich soil. Ease the plant into brighter light gradually. Protect it during extreme weather.
For speed-focused techniques during the rooting phase, see this rapid rooting guide. It pairs well with gentle, natural routines. Use it when timing is critical.
Final Thoughts
From a small rose branch, you can create a completely natural new life. A clean cut, a garlic rub, a carrot-garlic soak, and a simple hydro bottle are the heart of this method. Keep it humid, low light, and clean, and let patience do the rest.