Aloe vera is beautiful, resilient, and incredibly useful. Here are seven essential care tips to help your aloe thrive. These tips will not only help you avoid the most common pitfalls but will also give your plant the best chance to grow and flourish.
I’ll share details that might surprise you along with tips that can save you time, money, and even a little heartache.
1. Choose the Perfect Aloe Vera
At least in my area, most of what I find in the big box stores are smaller aloe plants, which is okay, but if you’re looking for a larger one you may have to go to an independently owned garden center, which is also great.
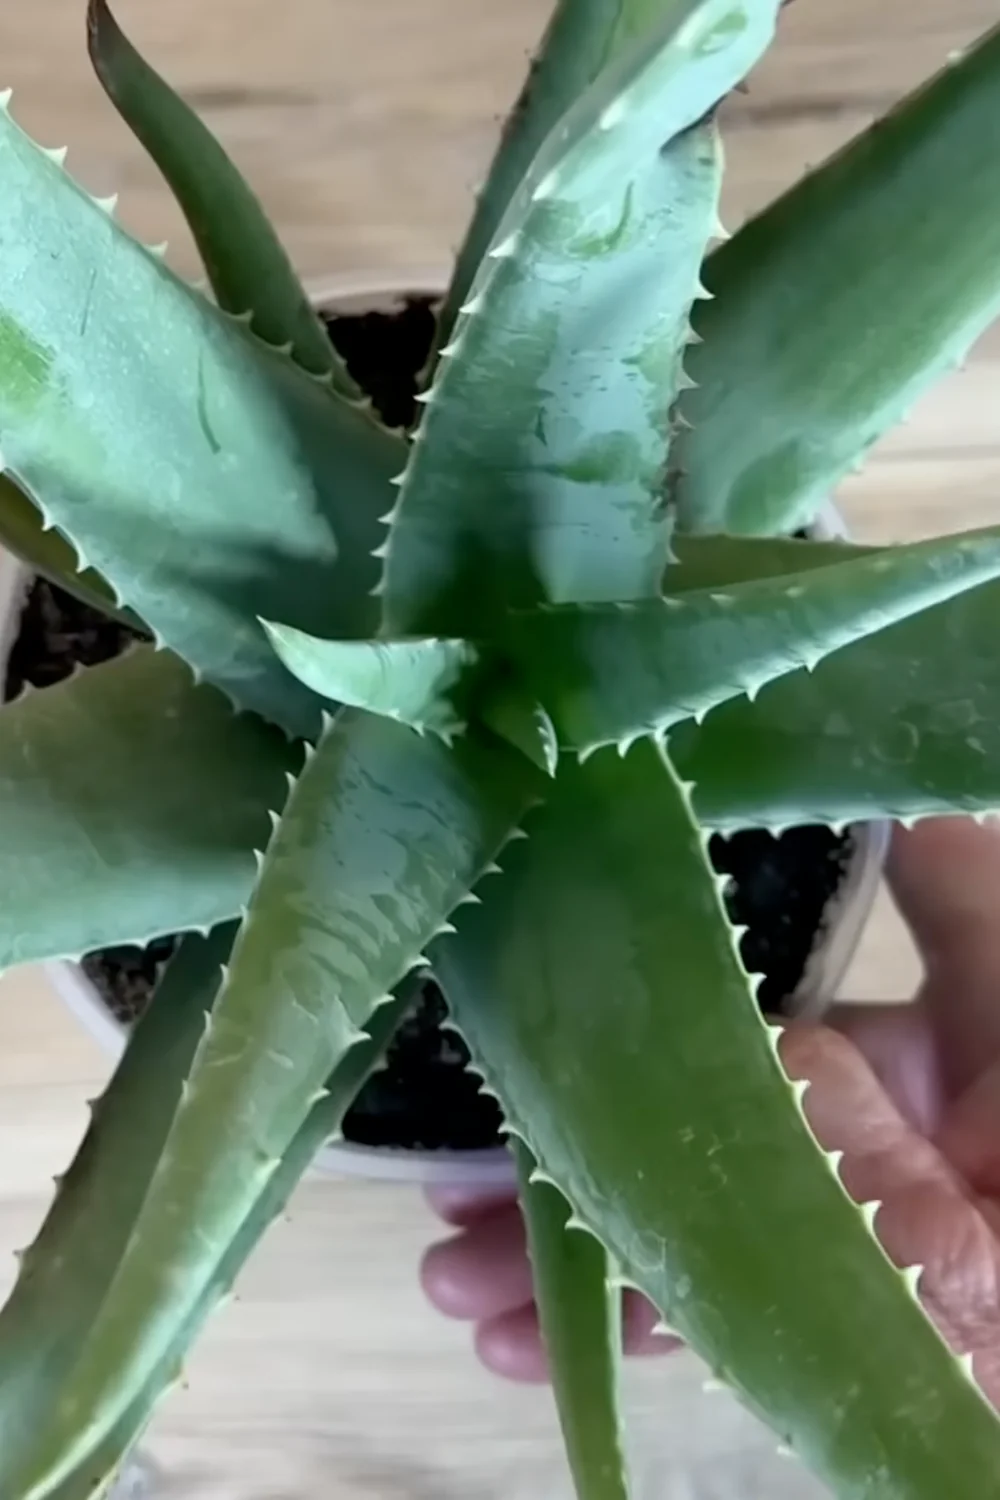
While you’re there, focus on picking out the healthiest aloe vera that will thrive in your care and make it worth every penny. First things first, check out the leaves. Aloe should have thick, firm, fleshy, vibrant green leaves.
If the leaves are wrinkled or mushy, that’s a sign that something’s off. We’re looking for healthy, plump leaves that feel sturdy to the touch, which means the plant’s well watered and happy.
Keep an eye out for any weird spots, black marks, or pests, and avoid aloes that are super leggy or stretched out. Those are signs it’s been struggling to get enough light.
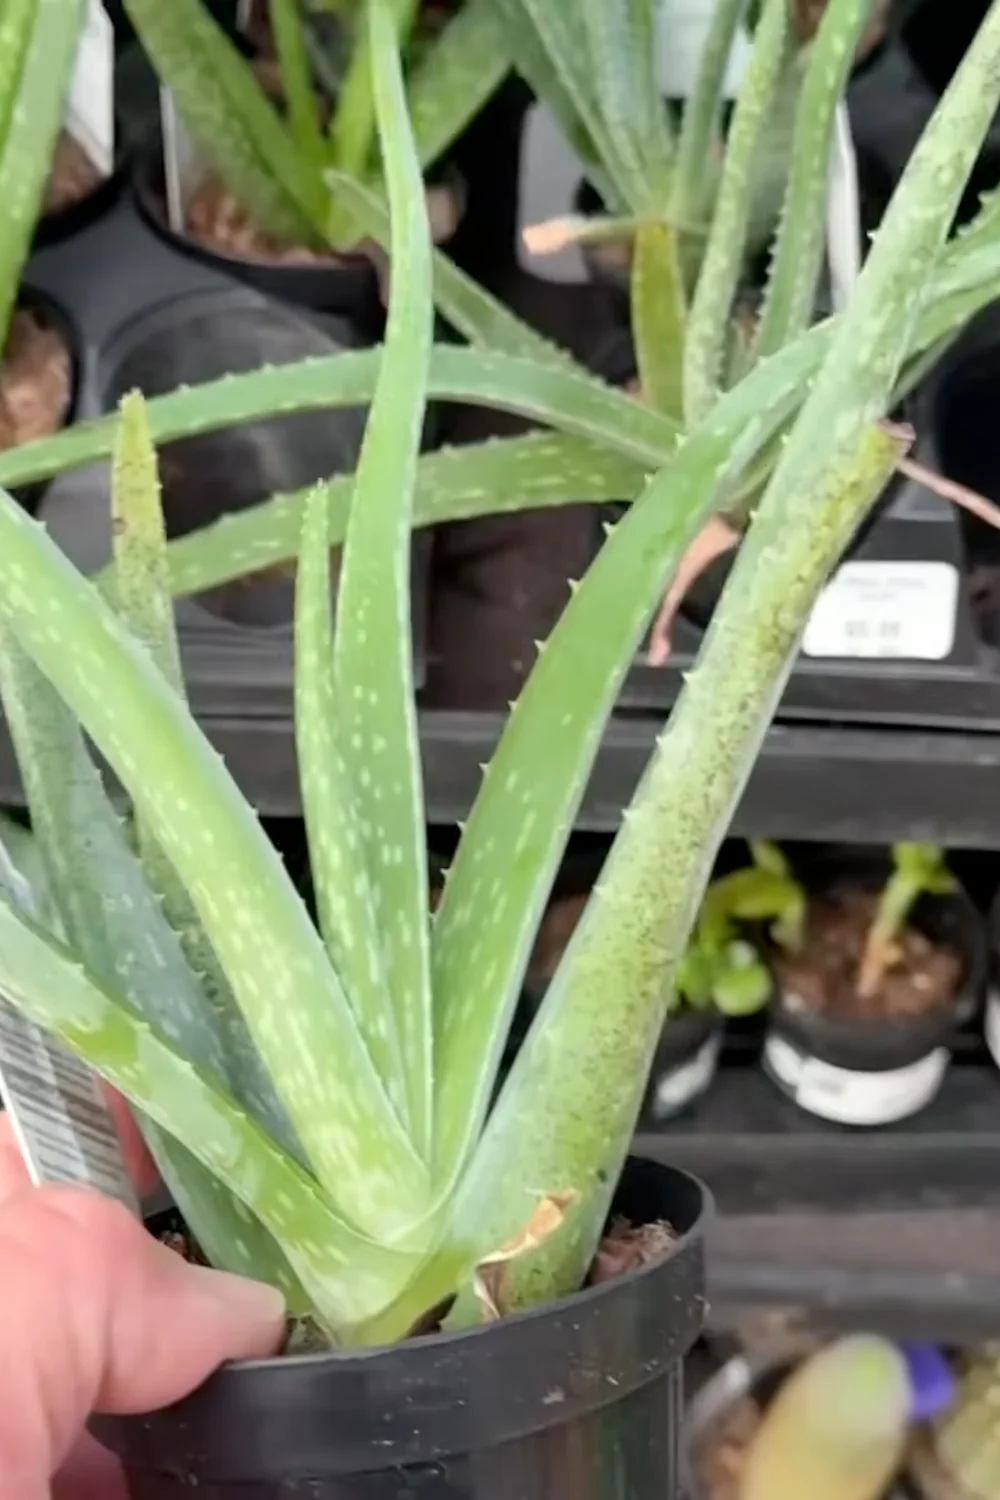
Next, look at the base of the plant, the heart of your aloe. It should be firm, not squishy or soft. If the base feels mushy or you see signs of rot, walk away. The leaves should also feel solid and not just fall off with a little tug. If they do, that’s a bad sign.
We want a plant that’s holding on to its leaves nice and tight. If you spot any pups, the little baby aloe plants growing around the base, that’s a good thing. It means the plant is healthy and producing new growth. Just make sure those pups are also looking good, plump and strong like the main plant.
Now let’s talk soil. The soil should be dry or just a little bit damp, not soggy. If it’s wet or there’s mold, that’s a red flag for overwatering or poor drainage. Aloe plants are not fans of sitting in wet soil, so make sure the soil feels just right before you make your pick.
Finally, pull the aloe out of the pot to check the roots, and don’t be afraid to get your hands dirty. Healthy aloe roots are white or light tan and not mushy or dark. While you’re checking everything out, keep an eye out for any pests flying around like those little fungus gnats. Maybe shake it softly. If you see any bugs or insects crawling around, that’s a red flag for your aloe vera.
2. Give It the Right Light
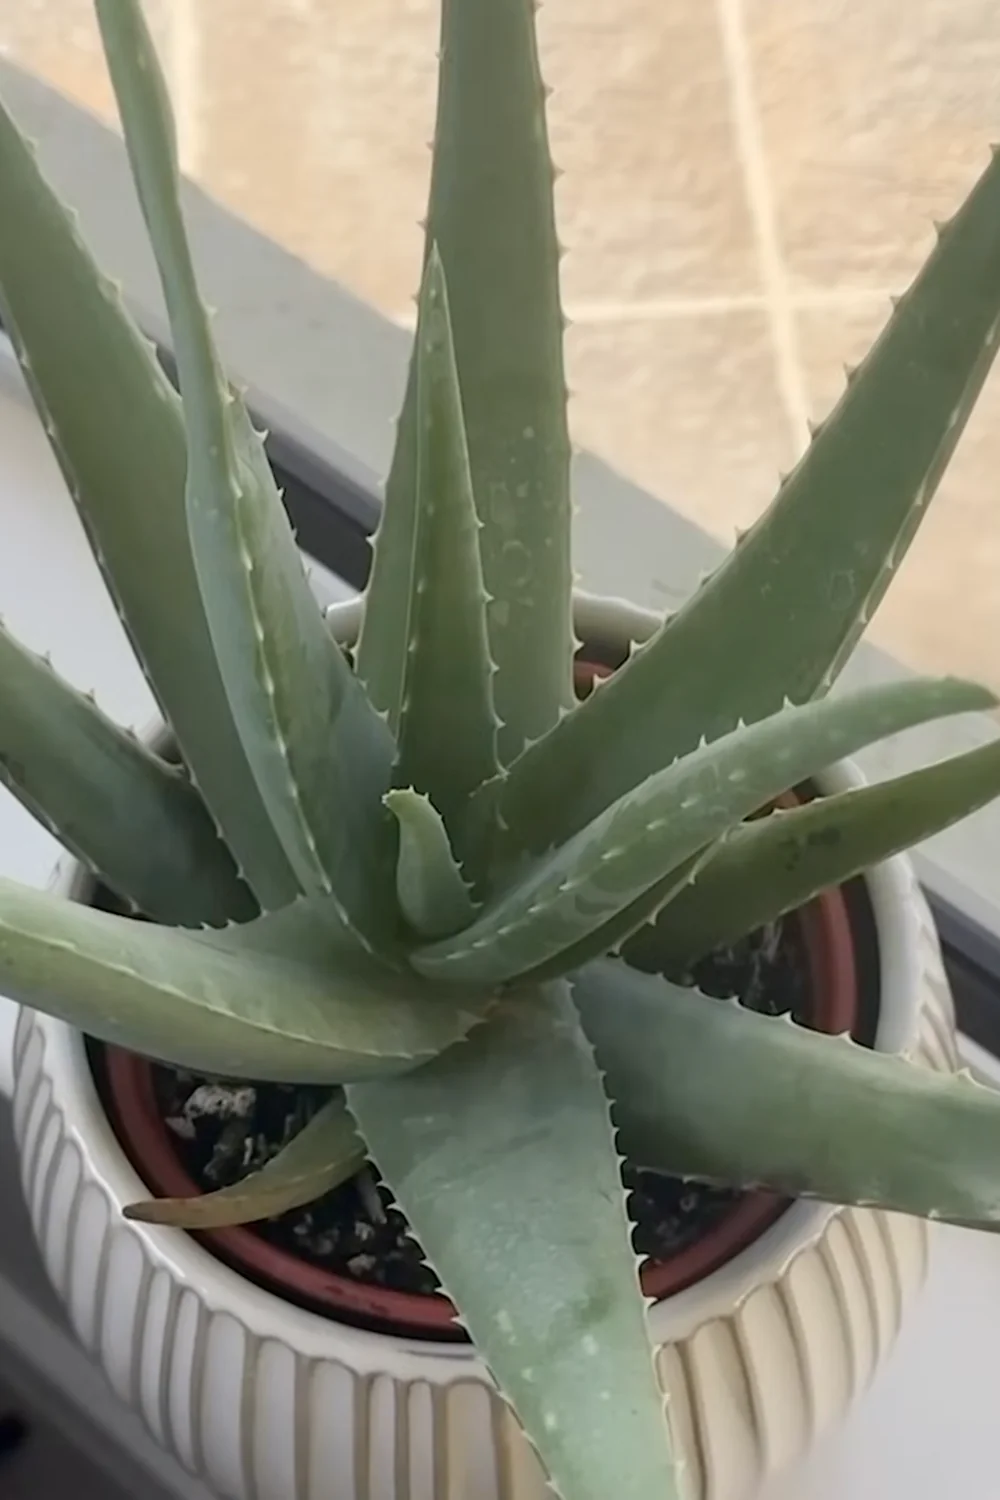
We want to find the perfect spot for it, and aloe plants love light but not the harsh kind. The sweet spot for them is bright indirect light. Think of a southern or western facing window where they get lots of light without risking a sunburn.
If you notice your aloe getting tall and spindly, kind of reaching for the light, that’s its way of saying I need more light. On the flip side, if you start seeing paling of the foliage, yellowing and then browning leaves, or even brown spots, that’s a sign it’s getting too much direct sun and it’s time to move it to a spot with lower light.
If you don’t have a sunny spot, it’s no problem. Aloe plants can do just fine under artificial light too. A grow light will keep your aloe healthy and happy so it can still thrive even if your windows aren’t soaking in the sun.
3. Temperature and Humidity
As far as temperature, getting it right for your aloe is super important to keeping it healthy. Aloes love a cozy spot and thrive best in temperatures between 60 and 85°F.
They’re definitely not into the cold, so keep your aloe away from drafty windows or doors where chilly air can sneak in. If you live somewhere that’s pretty cold in the winter, you might want to bring your aloe inside to keep it warm.
4. Fertilize Sparingly (How I Do It)
Feeding your aloe is important, but it’s all about finding that sweet spot, just enough nutrients but not too much. Always remember aloe plants don’t need much fertilizer to thrive.
The best strategy is to feed them once in the spring, then use half the recommended rate during the growing season once a month, and then when the cooler months roll around, pause feeding altogether.
Keep an eye out for some telltale signs of overfeeding. If the tips of your aloe leaves turn brown or the entire leaves are turning yellow or brown, it could be a sign it’s had too much fertilizer. If this happens, you can rinse out some of the excess fertilizer by flushing the soil with water. This helps protect your aloe and other plants from negative effects of high salts due to excessive fertilizer.
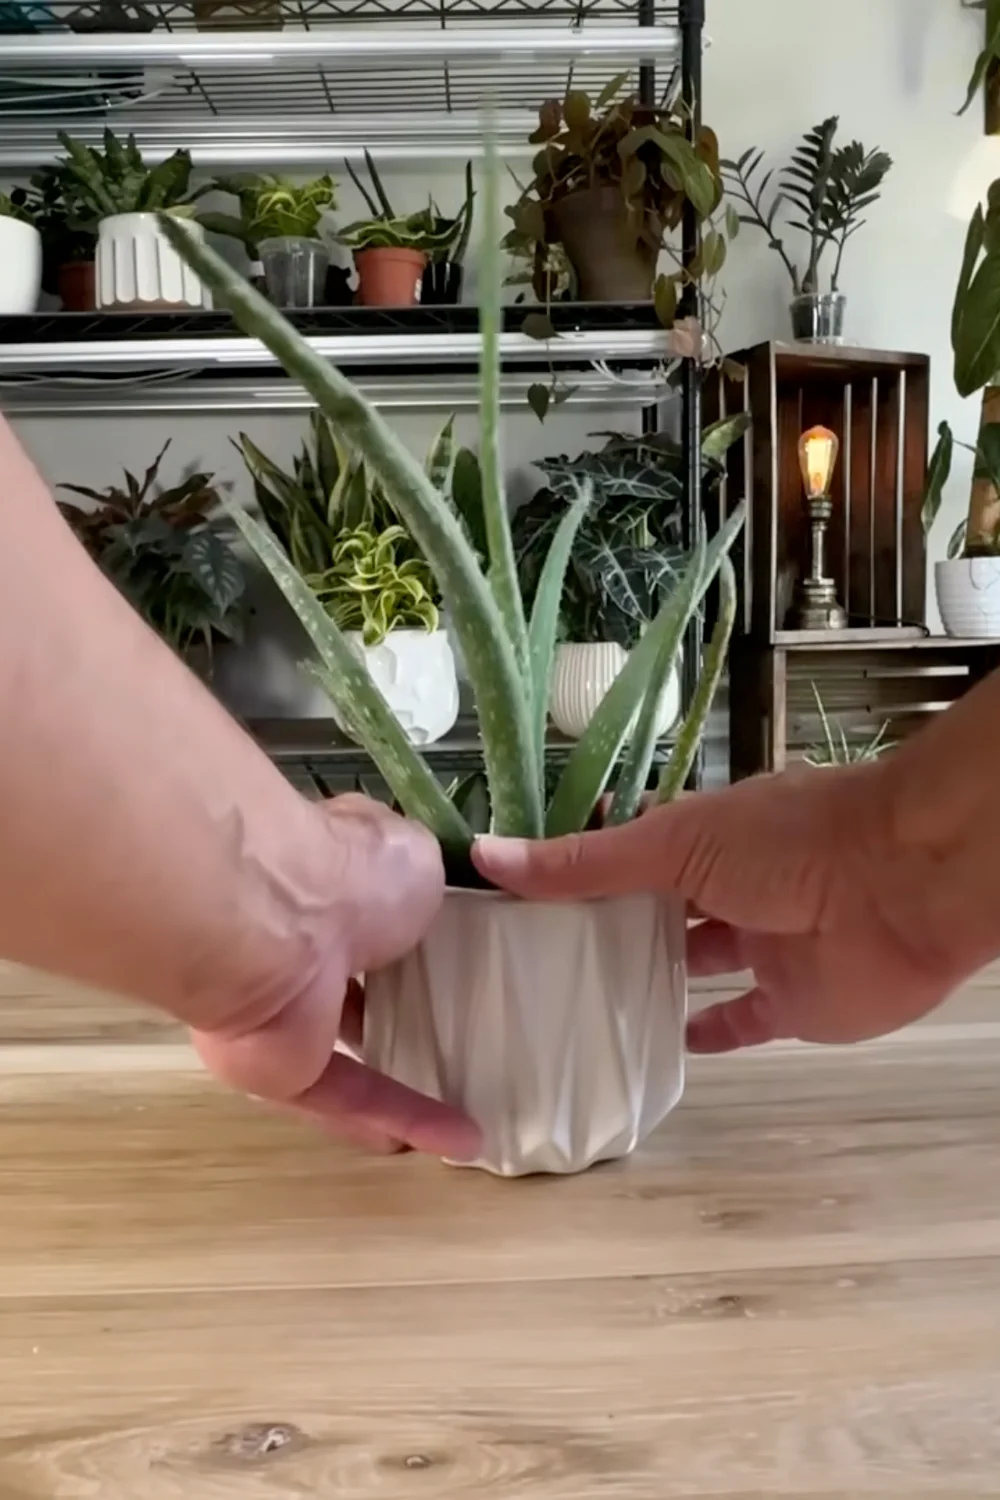
5. Repot Every 2 to 3 Years
If you’re taking care of your plants as you should, they will grow and eventually need to be repotted, which under ideal conditions will be about every 2 to 3 years.
You’ll know it’s time when you start to see roots peeking out of the drainage holes, which means it’s getting a little cramped in there. Spring is the perfect time to do this because it aligns with the aloe’s natural growth cycle, giving it the best chance to thrive.
When choosing a new pot, go for one that’s just slightly bigger, about 1 to 2 inches wider in diameter. Don’t go too big though, because a large pot means excess soil that will hold on to too much water and we definitely don’t want to risk root rot.
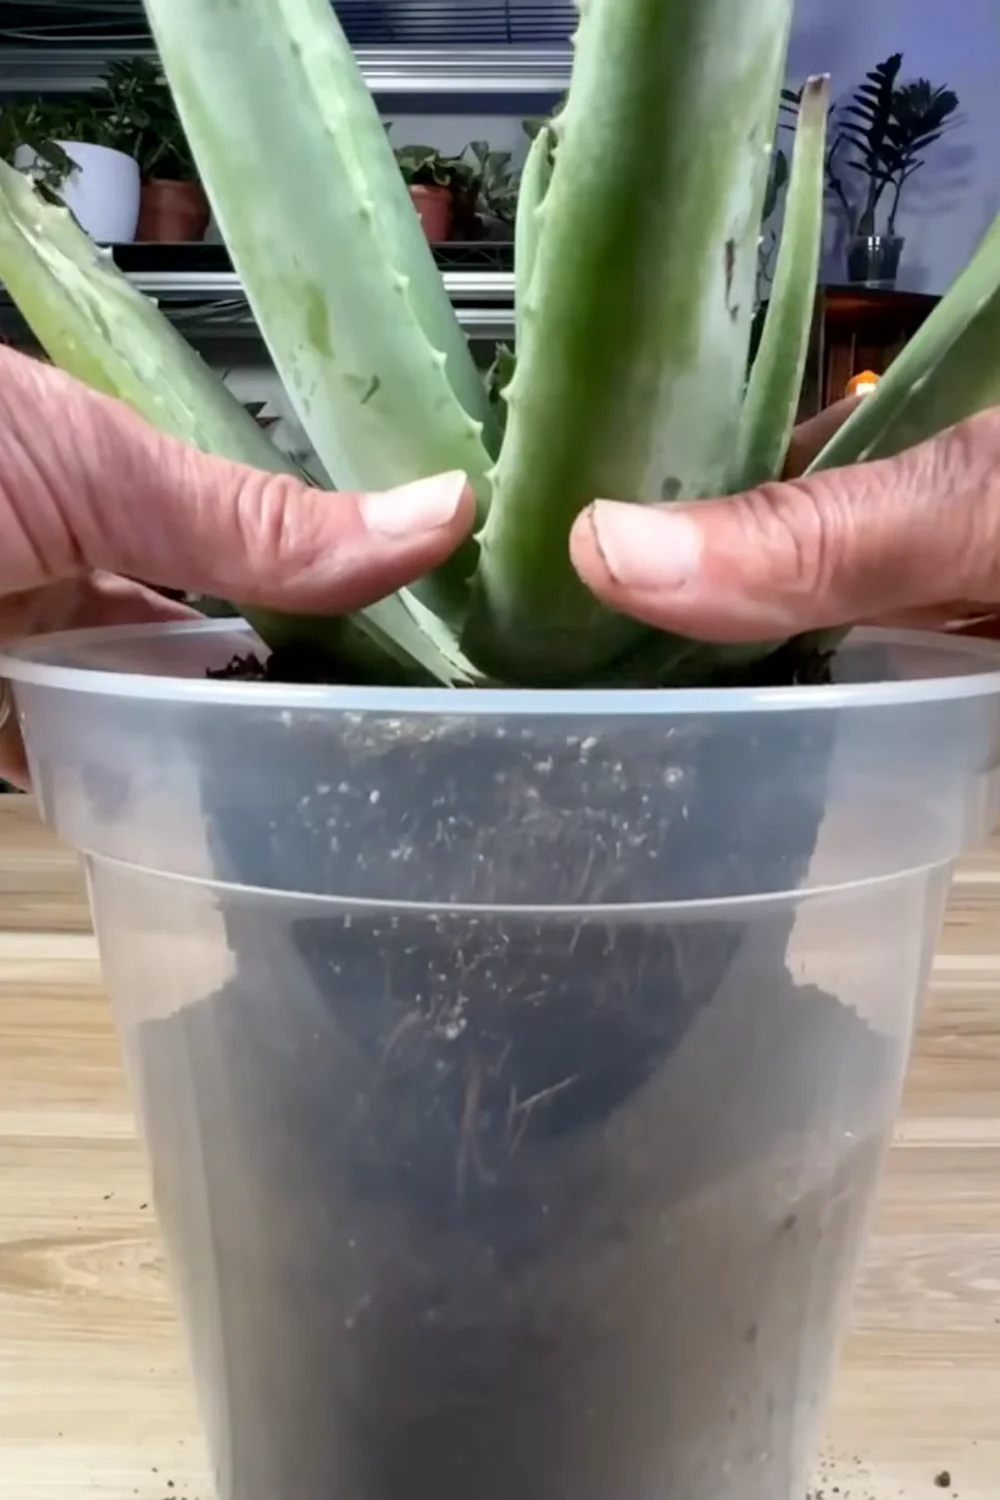
When it’s time to repot, gently lift your aloe out of its old pot, try to free any roots that are really coiled, and place it in the new pot with fresh well draining soil. Make sure to plant at the same depth as it was in the old pot. Aloe, and actually most plants, don’t like to be buried too deep.
After repotting, water it lightly to help it settle into its new home, and then just let it adjust to its new space comfortably. You can also add some stones around the plant on top of the soil to help keep it from going lopsided in your pot.
6. Harvest and Use Aloe Gel
Now that you’ve got your aloe potted in the perfect soil, here’s how this amazing plant can actually help you stay healthy. Aloe is famous for its soothing properties, especially when it comes to burns and rashes. If you accidentally get a small burn while cooking or spend a little too much time in the sun, your aloe plant can come to the rescue.
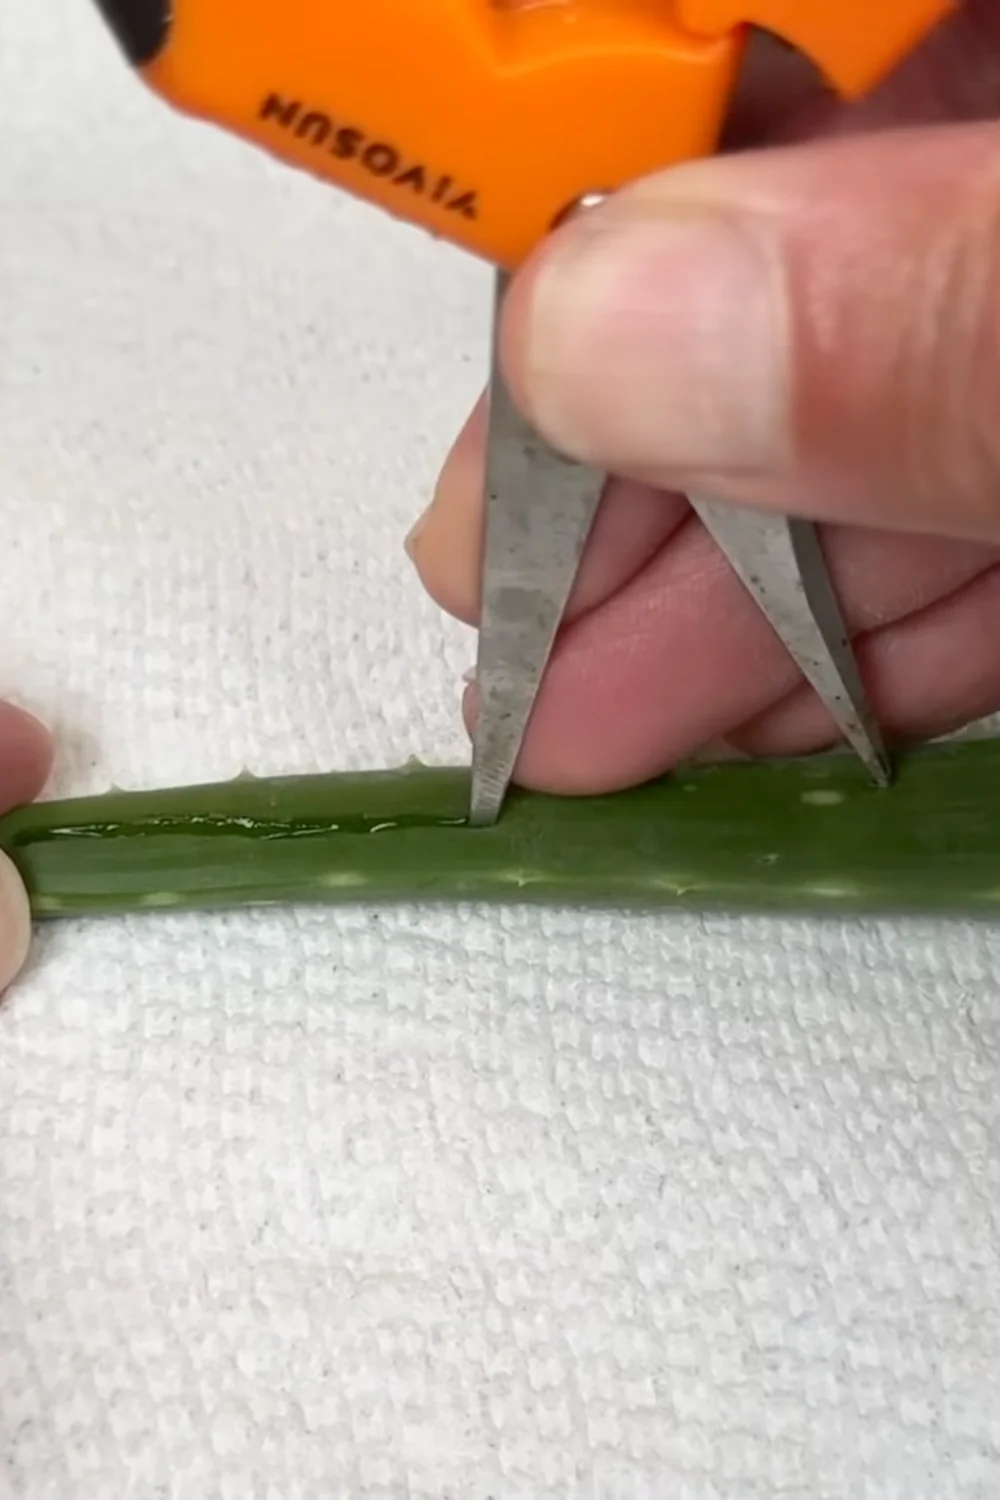
Here’s how I use it. Simply cut off a lower leaf close to the base of the plant, then slice it open lengthwise to reveal the gel inside. Gently scoop out the gel and apply it directly to the affected area. Aloe’s cooling and moisturizing properties will help soothe irritation and speed up the healing process.
It’s not just burns. Aloe gel can also help with dry skin, minor cuts, and even itchy bug bites. It’s like having a mini first aid kit sitting on your windowsill. This is how I use aloe vera, but I’m not a doctor, so prior to using it I suggest you consult with a healthcare professional. I want you to be safe.
7. Water the Right Way
Getting the watering right for your aloe plant is super important, but it can be tricky sometimes. Here’s how I do it so my aloe stays happy and healthy with just the right amount of water.
Aloe grows most during spring and summer, so you’ll want to water it more when it’s in its growing phase. When fall and winter roll around, you can slow it down. Your aloe is kind of a lazy plant during those colder months, so it doesn’t need as much water.
To see if your aloe vera needs water, start with a moisture check. Stick your finger about an inch into the soil, or you can use a moisture meter, which will get all the way down in the pot. If it’s dry, it’s time to water. If it’s still moist, give it a few more days before you do anything.
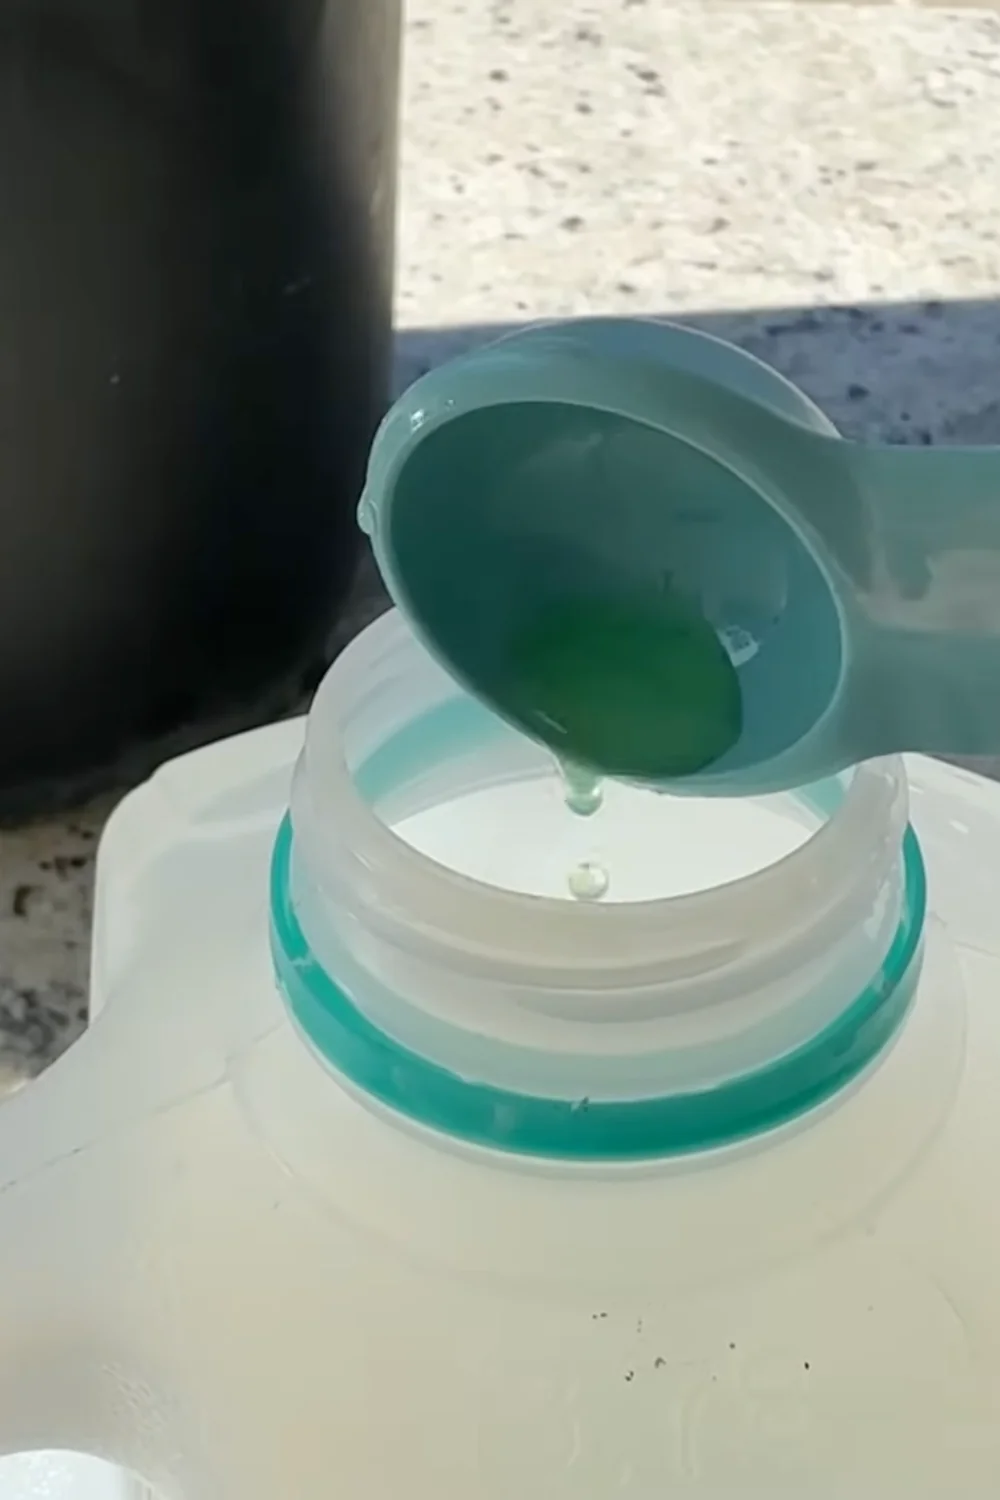
When you do water, make sure the water drains out of the bottom of the pot. You want the roots well watered but not drowning. Another great option is to bottom water, which is what I do.
Final Thoughts
Follow these seven essential care tips to avoid the most common pitfalls, save time and money, and give your aloe vera the best chance to grow and flourish. Keep an eye on light, temperature, fertilizer, repotting, and watering, and enjoy this beautiful, resilient, and incredibly useful plant.