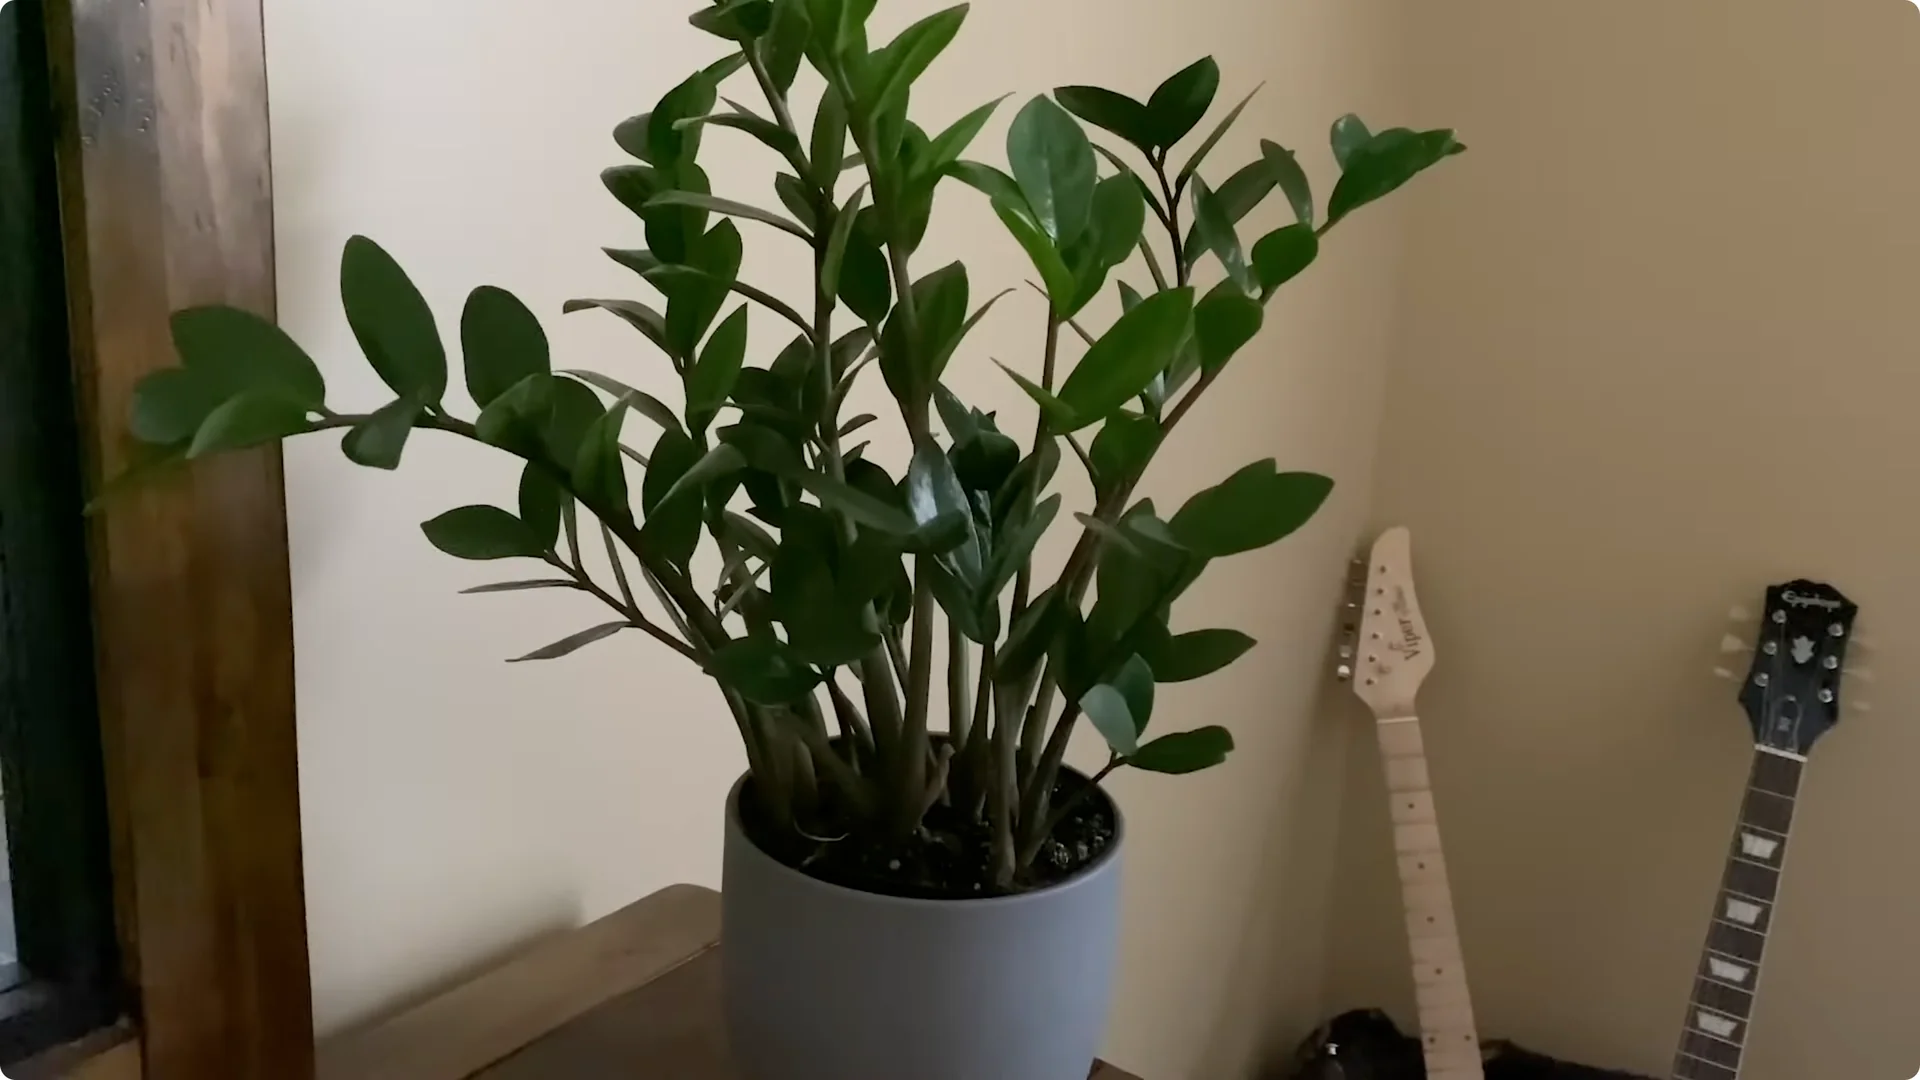
This is a ZZ plant that I’ve had for about 2 years, and I’ve been able to get it to this point with a little care and attention and the top seven care tips that have worked for me.
These tips will not only keep you from killing this beautiful succulent but will teach you how to get it to thrive, along with details you probably didn’t know you needed.
8 Essential ZZ Plant Care Tips:
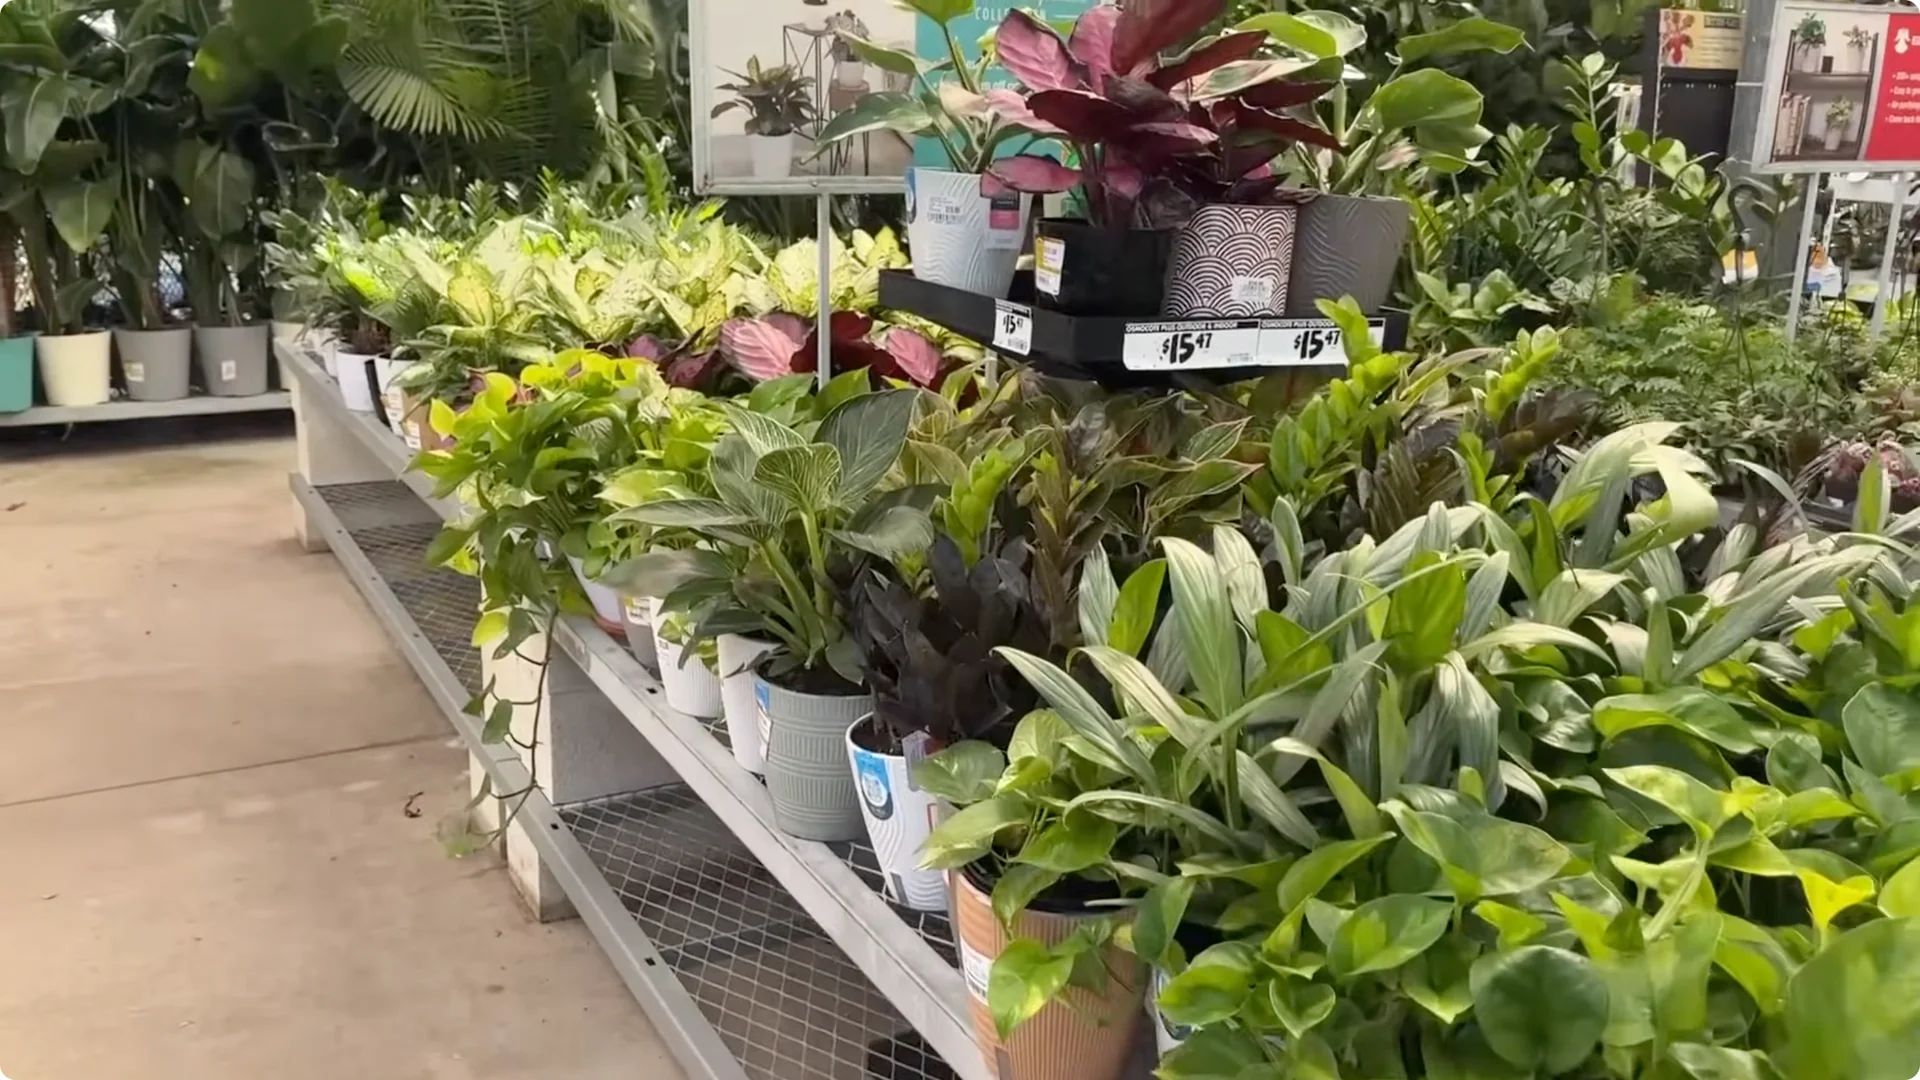
1. Choosing the Perfect ZZ Plant
I’ll walk you through what I look for when choosing the perfect ZZ plant at the garden center. We’re looking for a Raven ZZ plant known for its darker black foliage when compared to the original ZZ plant, which has green foliage.
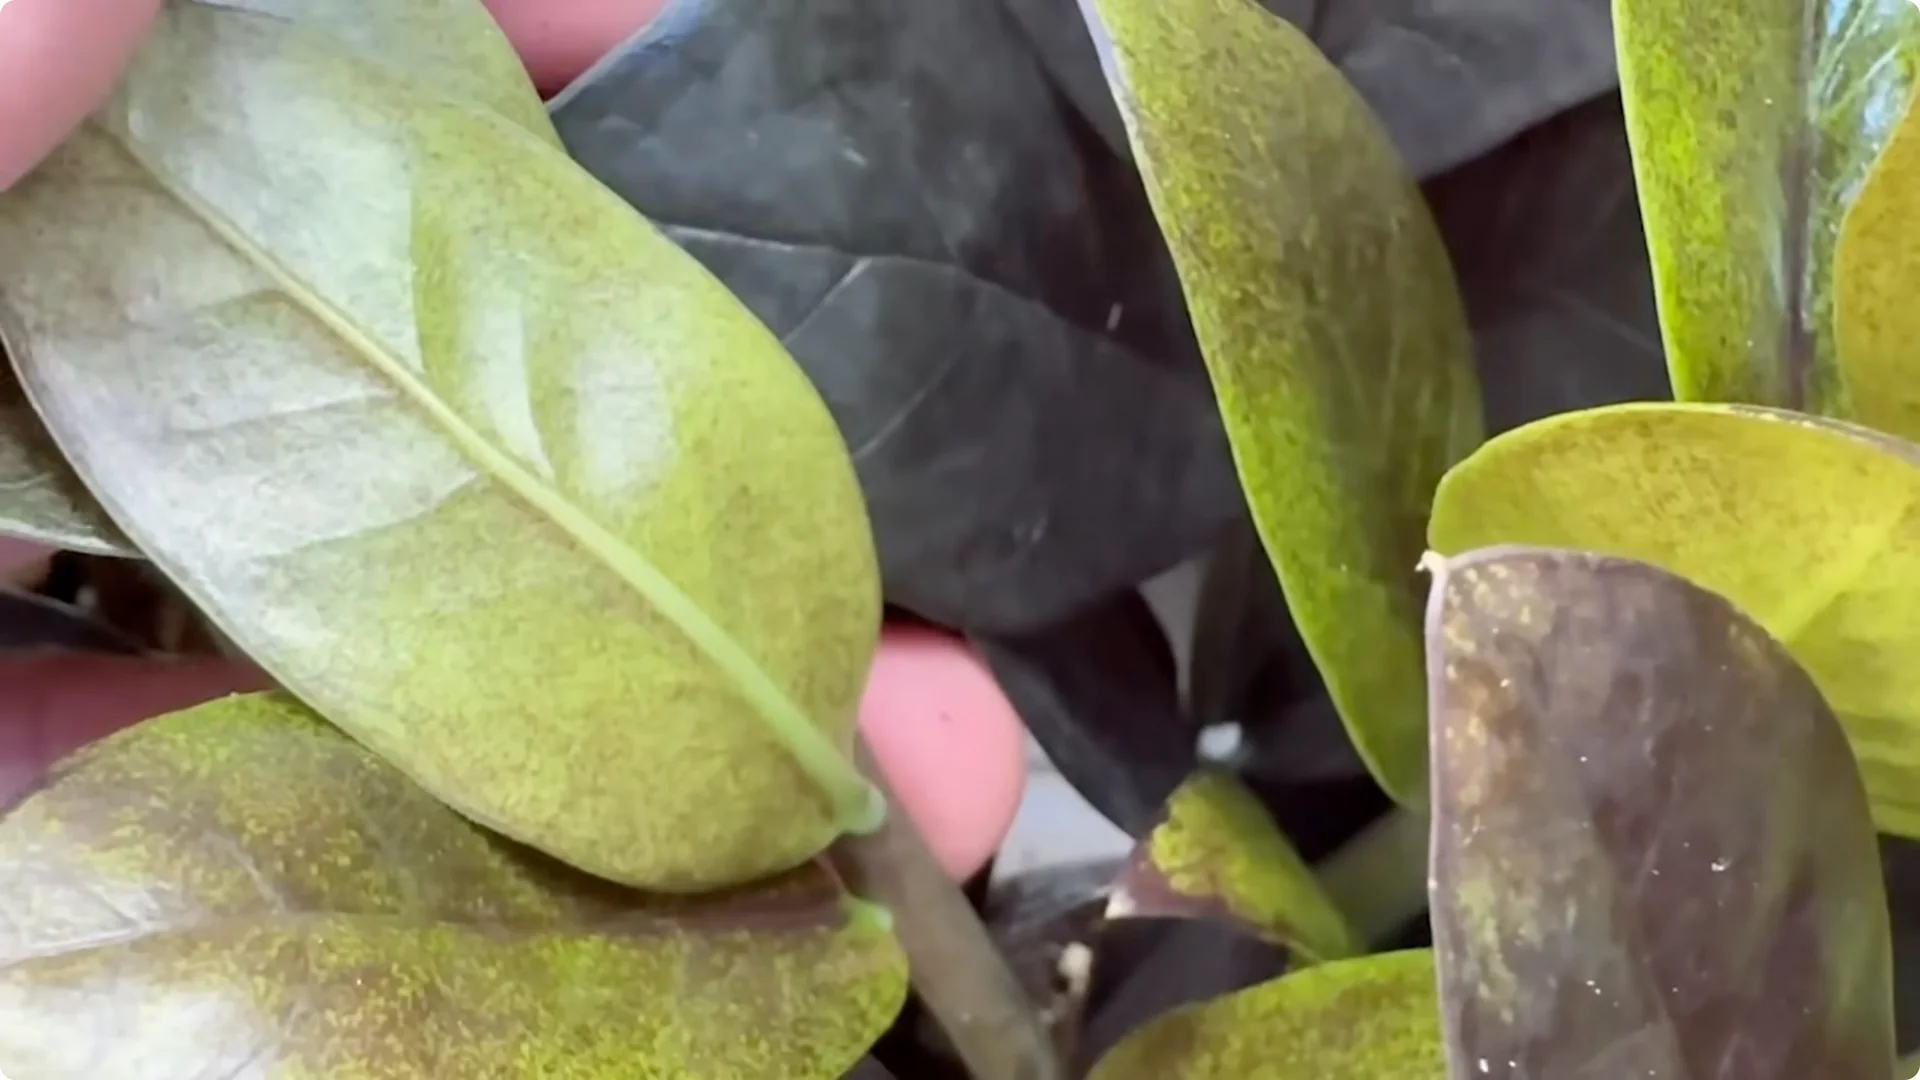
Selecting a healthy ZZ plant requires a bit of careful inspection. Start by observing the overall appearance of the plant. Look for vibrant, glossy leaves that feel firm and waxy to the touch.
These signs indicate that the plant is well hydrated and thriving. Avoid plants with yellowing, limp, or wrinkled leaves, as these could be signs of overwatering, underwatering, or stress.
Take some time and look at the stems, known as petioles. They should be upright and firm. Soft, bending, or drooping stems might indicate rot or stress. Shorter stems with thick leaves are a sign of a well cared for plant, and that’s what you’re looking for if you want to make your job easier.
Check for pests by examining both the tops and the undersides of the leaves. Look for sticky, colorless residues on the leaves, mold, and any specks or holes. If you spot any of these that don’t look like what could be mechanical damage, avoid that plant.
Lastly, look at the soil and feel it. The soil should be slightly dry to the touch and not soggy. Overwatering is a common issue with ZZ plants, and garden centers don’t always water them as they should, so pay special attention to that, as damp, compacted soil could mean root rot. A healthy plant will be potted in a well-draining soil mix, most of the time blended with peat or coarse sand.
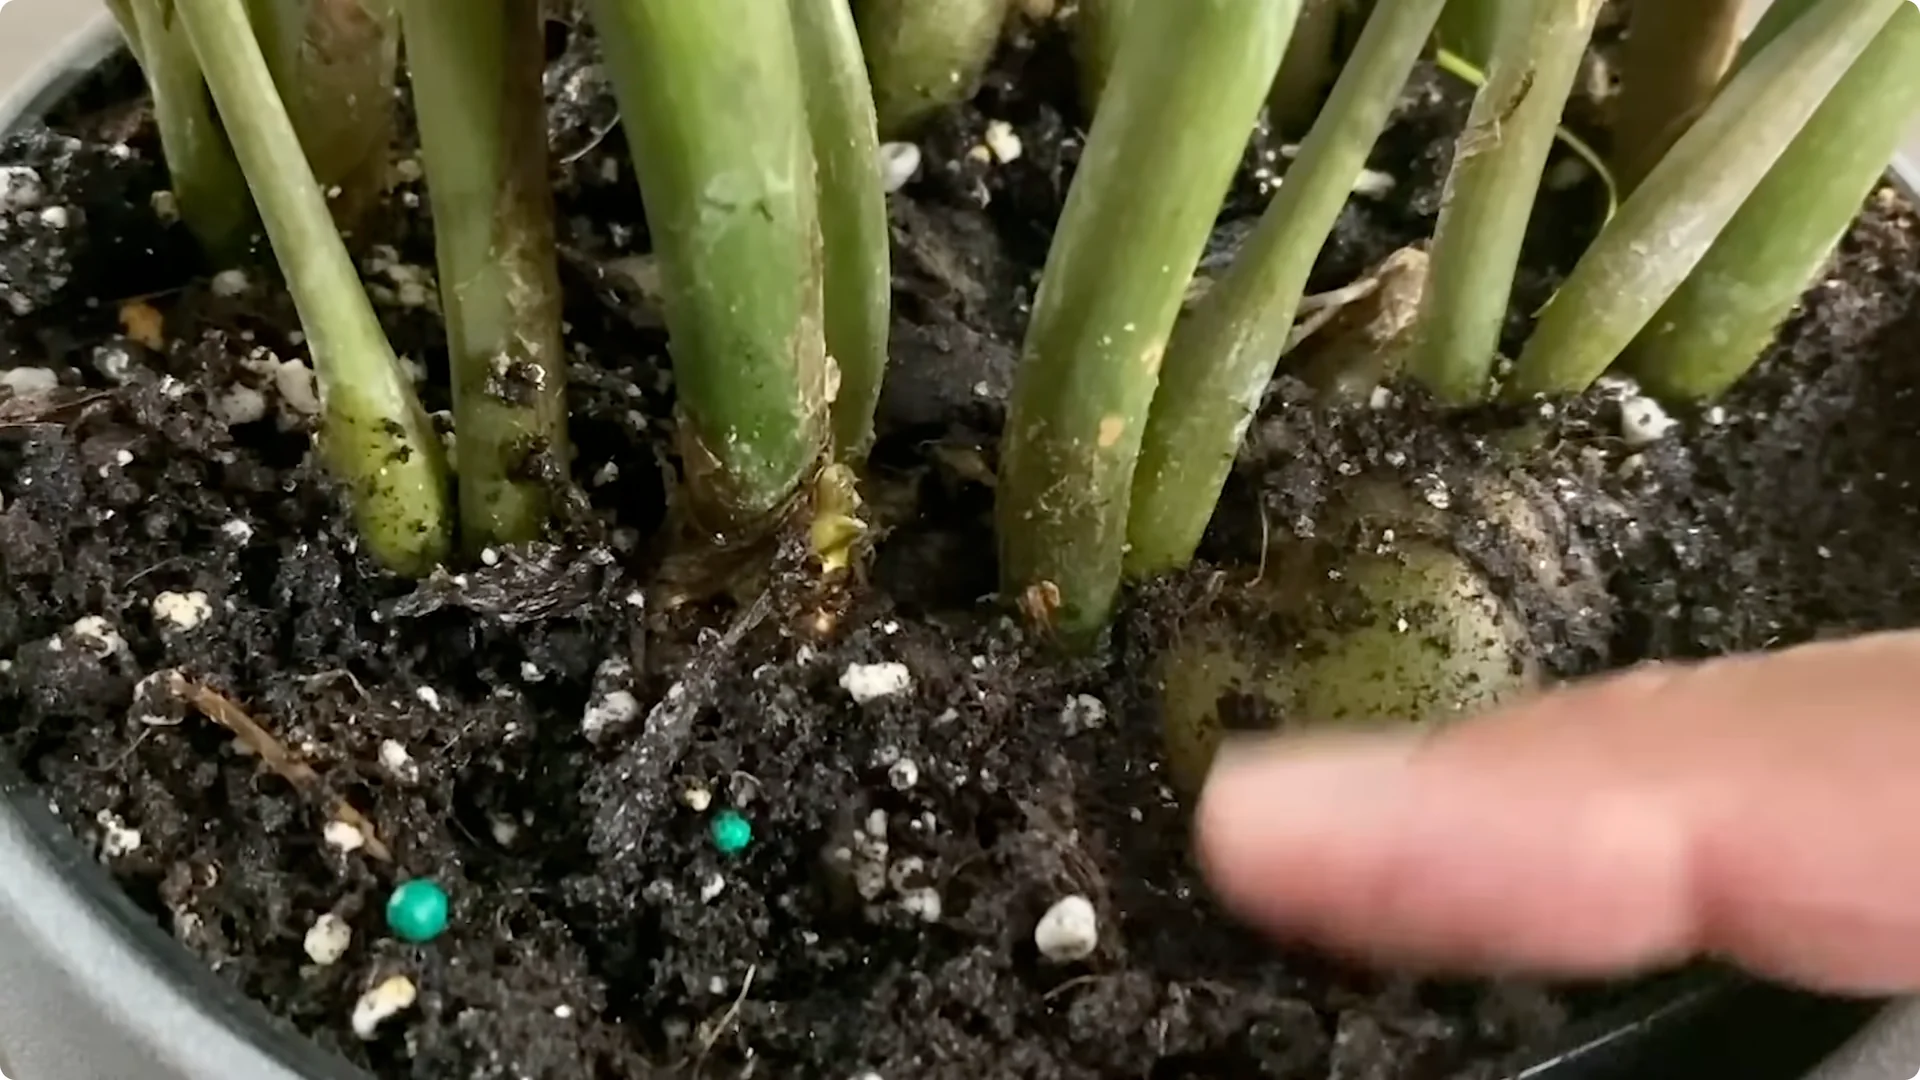
As long as we’re looking at the soil, take a look at the roots. Healthy roots should be pale and firm. If they’re brown or mushy, it could mean root rot, which is a red flag. Now go to the top of the root ball. If you see any of those potato-like structures at the surface, those are good, and I’ll explain their purpose later.
2. Lighting
Ideally, ZZ plants prefer bright, indirect light. A perfect spot is near a window that receives about 12 hours of indirect sunlight, or you can place them under grow lights. Be realistic. Not every home has ideal lighting conditions all year round, so you may have to supplement with grow lights.
I’ve personally found success keeping my ZZ plants under grow lights while they also receive some supplemental light from a south-facing window.

Over the years, this setup has allowed my plants, including my prized Raven ZZ with its stunning dark green foliage, to thrive. This lighting is also what I’ve used for propagation when I do stem cuttings, leaf cuttings, and divisions.
I propagated a division about a year ago, and it’s now up to two additional plants popping out. They take a while, but you get the joy and satisfaction of watching them grow. At least I do.
Lower light for your ZZ plant
One of the best things about ZZ plants is their adaptability and that they can tolerate lower light conditions, even though there are some trade-offs like slower growth, thinner stems, and leggier, spiny foliage.
If low light is your only option, the plant will still survive.
Just know that it won’t flourish as it would in brighter conditions. Use grow lights to supplement, especially during the winter months when natural light is limited and your ZZ plant could suffer because of this.
3. Temperature and Humidity

In terms of temperature and humidity, ZZ plants thrive in the average conditions of most homes as long as the environment is consistent and avoids extremes.
They don’t tolerate frost or cold drafts, so keep them away from air conditioning vents or open windows in the winter.
4. Watering – How Much is Too Much?
Watering is a common challenge. Overwatering is one of the main reasons ZZ plants struggle or even die, as it often leads to root rot.
These plants are equipped with rhizomes, those potato-like root structures that store water, making them drought tolerant and capable of thriving with less frequent watering. Because of these rhizomes, it’s crucial to let the soil dry out completely between waterings.
In average indoor conditions, this typically means watering once every 3 to 4 weeks, sometimes even longer. I personally look at mine every 4 weeks, and if they’re dry, which by then they usually are except during the winter months, I water them.
If they’re not, I wait another 2 weeks and then check again. To check how moist the soil is, you can use a wooden dowel or a moisture meter. If it’s dry all the way through, or 100 percent dry, then it’s time to water.
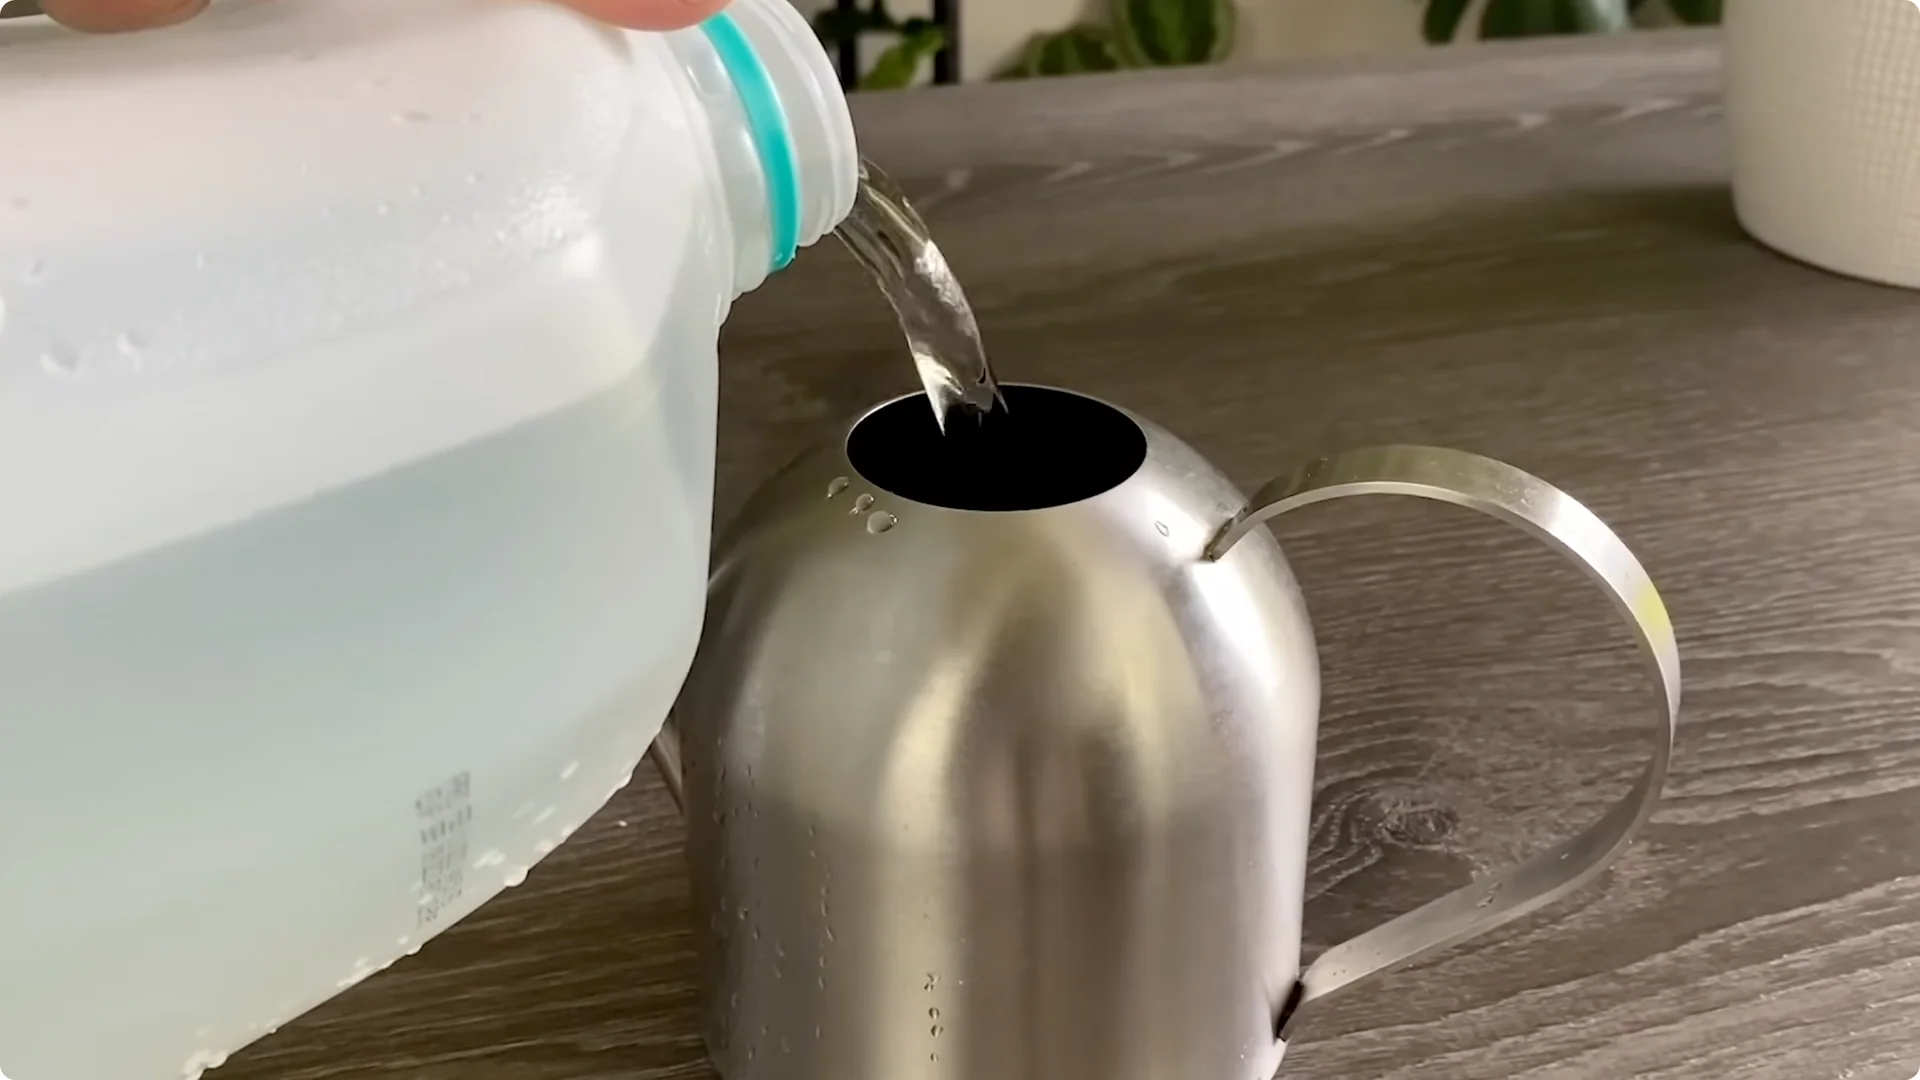
How I check and water my ZZ plants
My watering method is straightforward. I place the plant in a bowl. I water the soil from the top until it starts to pool in the bowl, and then let it sit for about 5 minutes. This is faster than the usual 10 to 15 minutes required if you only bottom water.
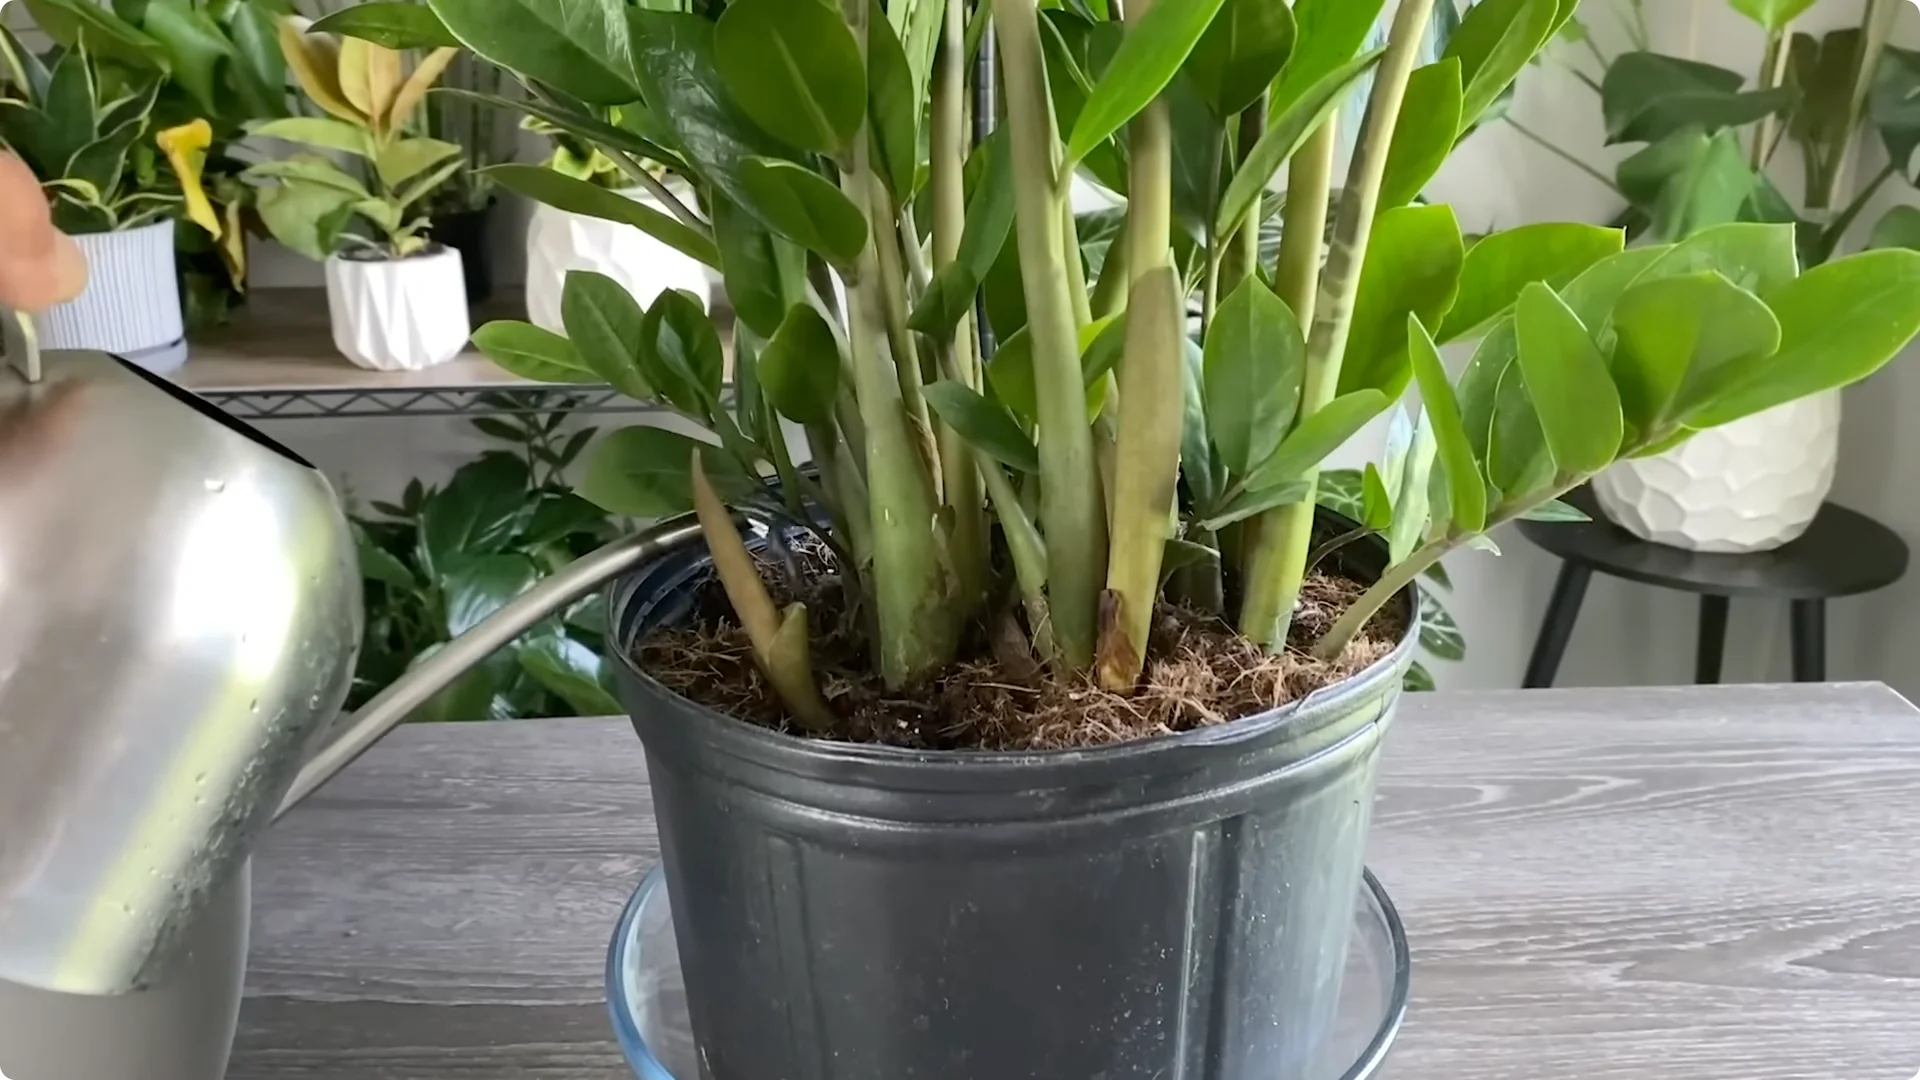
Finally, I remove the plant from the bowl and drain any excess water from the pot.
This method ensures even hydration throughout the root ball and helps prevent issues like fungus gnats. It’s also useful for other types of plants, since the top soil dries faster while the soil lower in the pot remains moist for longer periods of time.
5. Fertilizing and How I Do It
When it comes to fertilizing your ZZ plants, keep it simple. These plants have relatively low nutrient requirements, and over fertilizing can do more harm than good.
My go-to approach is to feed a balanced, general-purpose houseplant fertilizer containing both macro and micronutrients at half the recommended rate every month during the active growing season. As the plant’s growth slows, I reduce the fertilizer to 25 percent strength.
I live in Florida, and this is my regimen since my ZZ plants grow pretty much year round. If you’re in a cooler climate, I recommend skipping fertilization altogether during the dormant months since the plants really will slow down.
Prevent your roots from burning
To prevent fertilizer buildup, it’s a good idea to leach the soil on a regular basis, every 3 to 4 waterings.
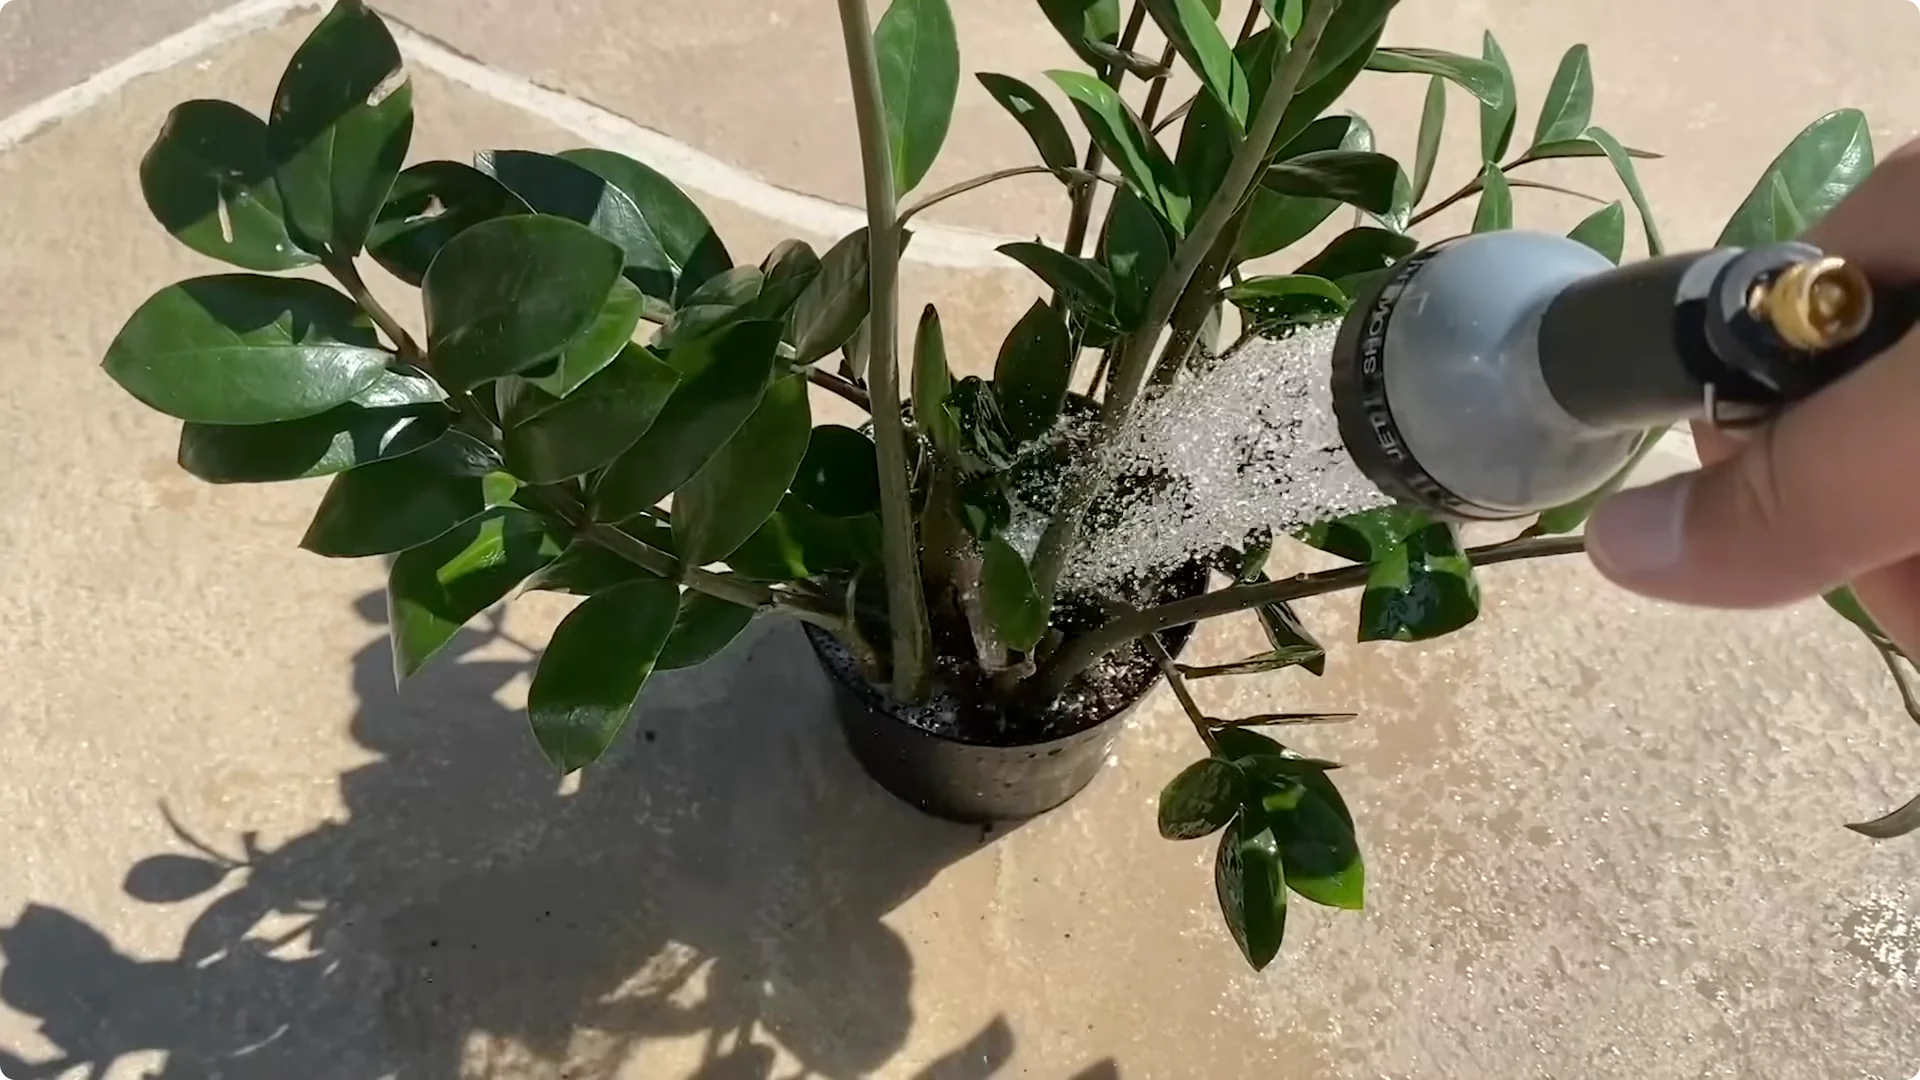
Place the plant in the shower or sink, or take it outside, and flush the soil thoroughly with water. This helps remove excess salts that might accumulate from fertilizer or tap water, protecting the roots and ensuring healthy growth.
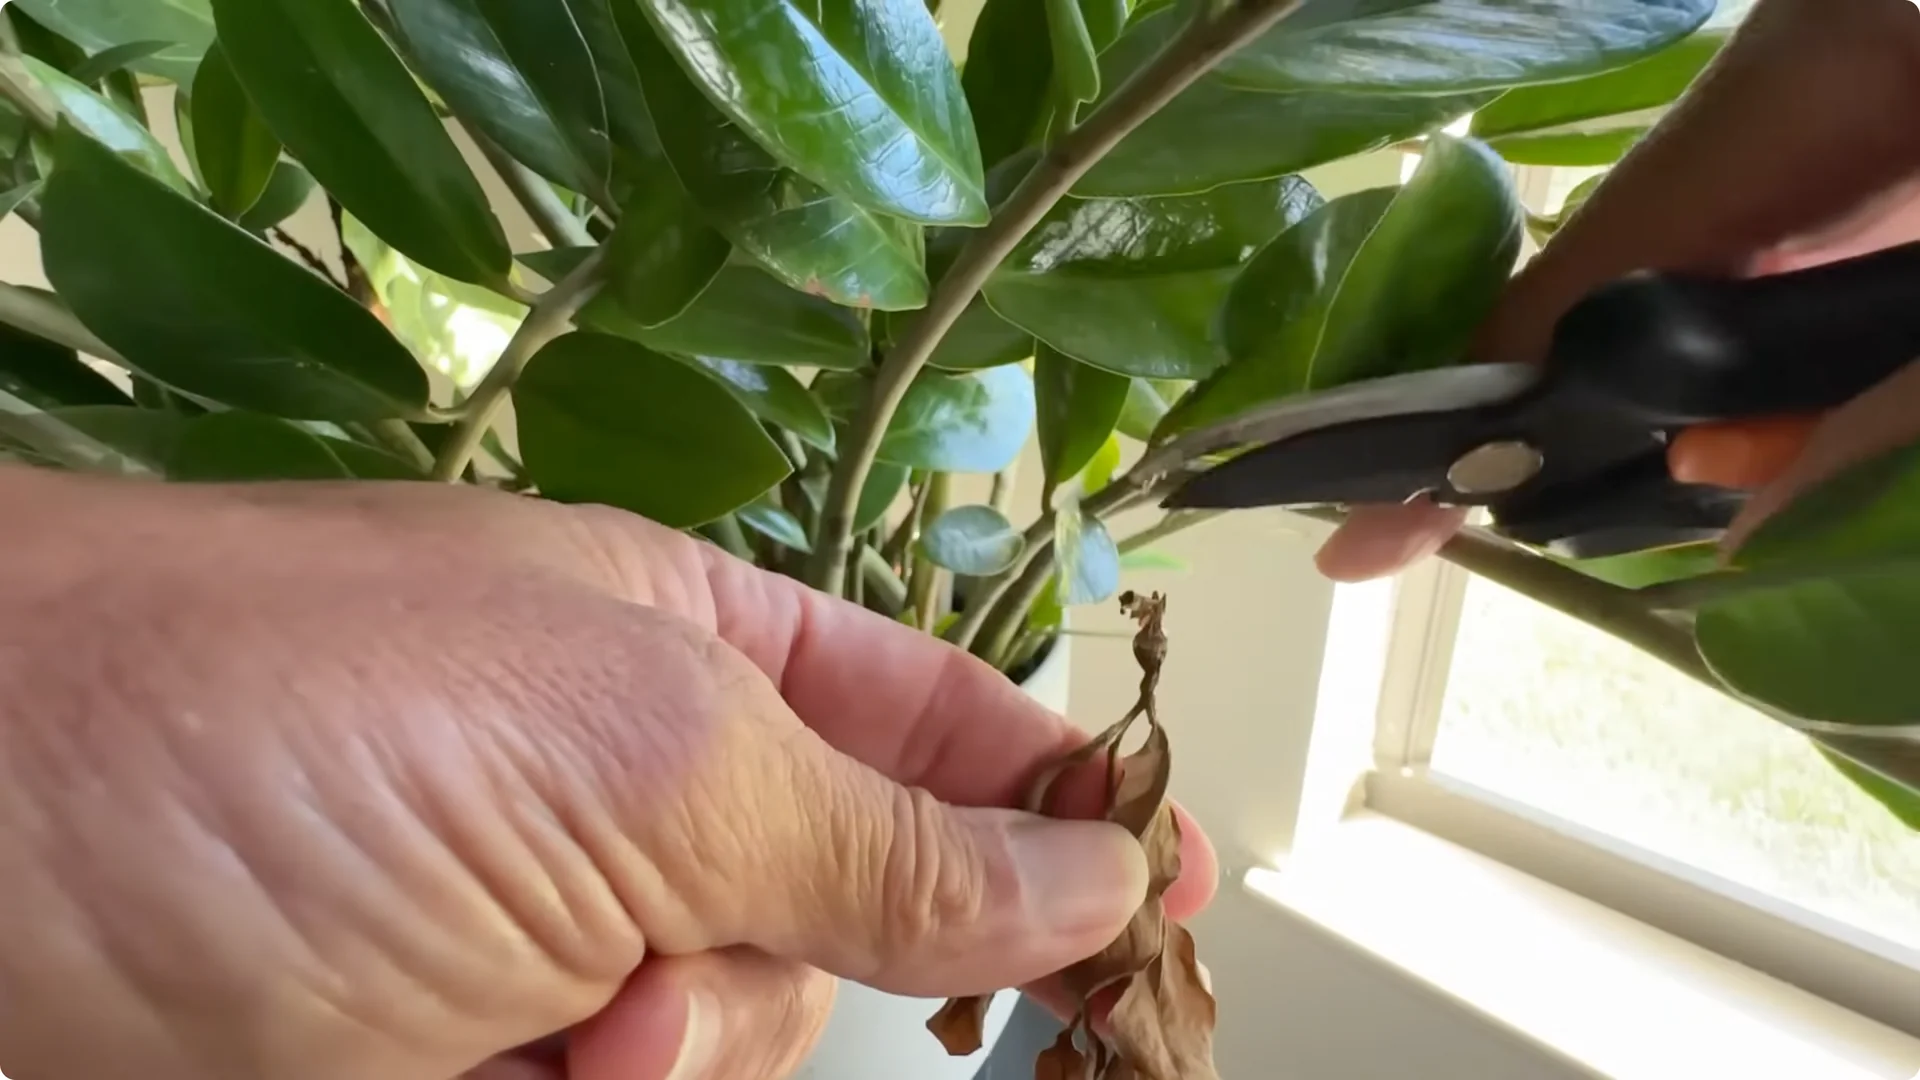
6. Pruning Correctly
One of the nice things about ZZ plants is that they require very little pruning. Occasionally you’ll need to remove yellowing or dead leaves using clean, sharp scissors or pruning shears. This helps maintain both the plant’s health and its neat appearance.
Other houseplants such as pothos or rubber plants may need regular trimming to maintain their shape and encourage a bushier look.
ZZ plants naturally grow fuller as new shoots emerge from the soil. These new stems then develop on their own, creating a beautiful, lush appearance without much help from you.
Keep them photosynthesizing
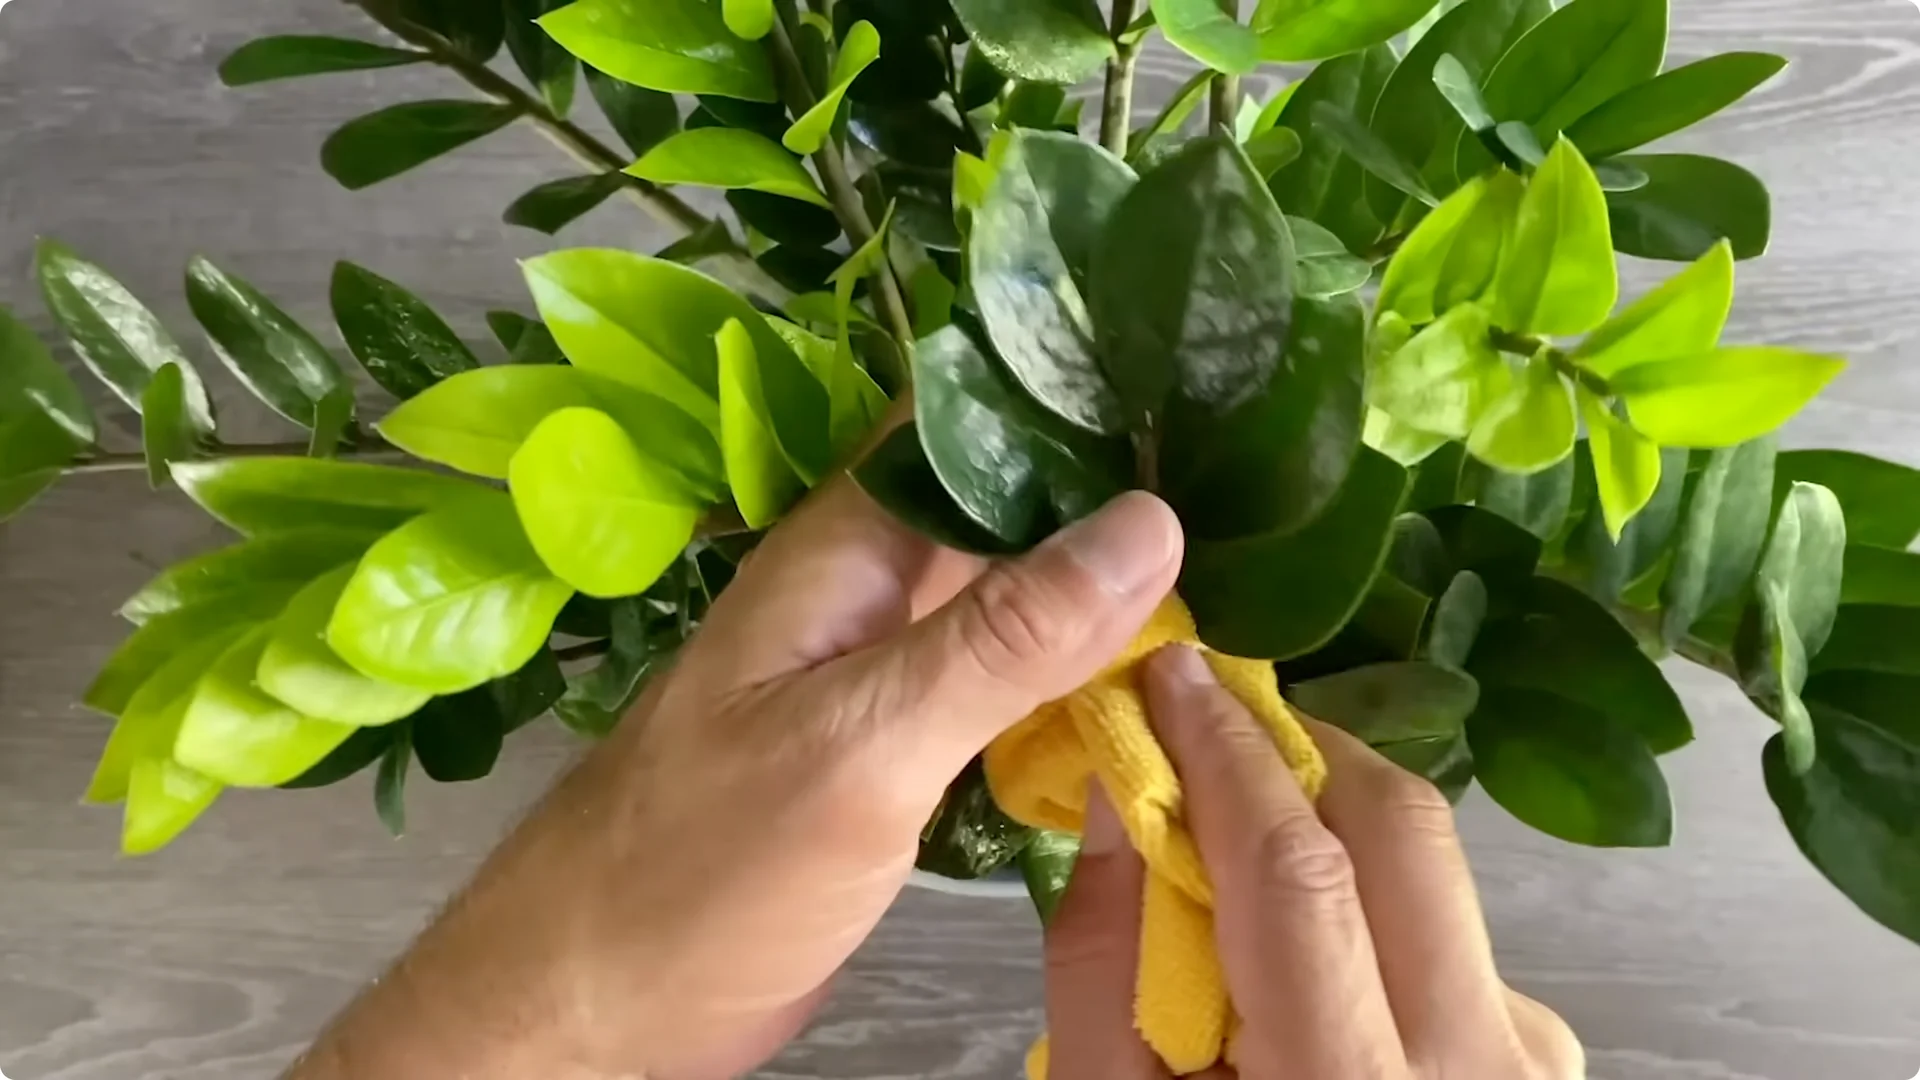
To keep your ZZ plant looking its best, periodically wipe down the sturdy, glossy leaves with a damp microfiber cloth. This enhances their natural shine and removes dust buildup, improving the plant’s ability to photosynthesize effectively.
7. Repotting After It’s Outgrown Its Pot and Soil to Use
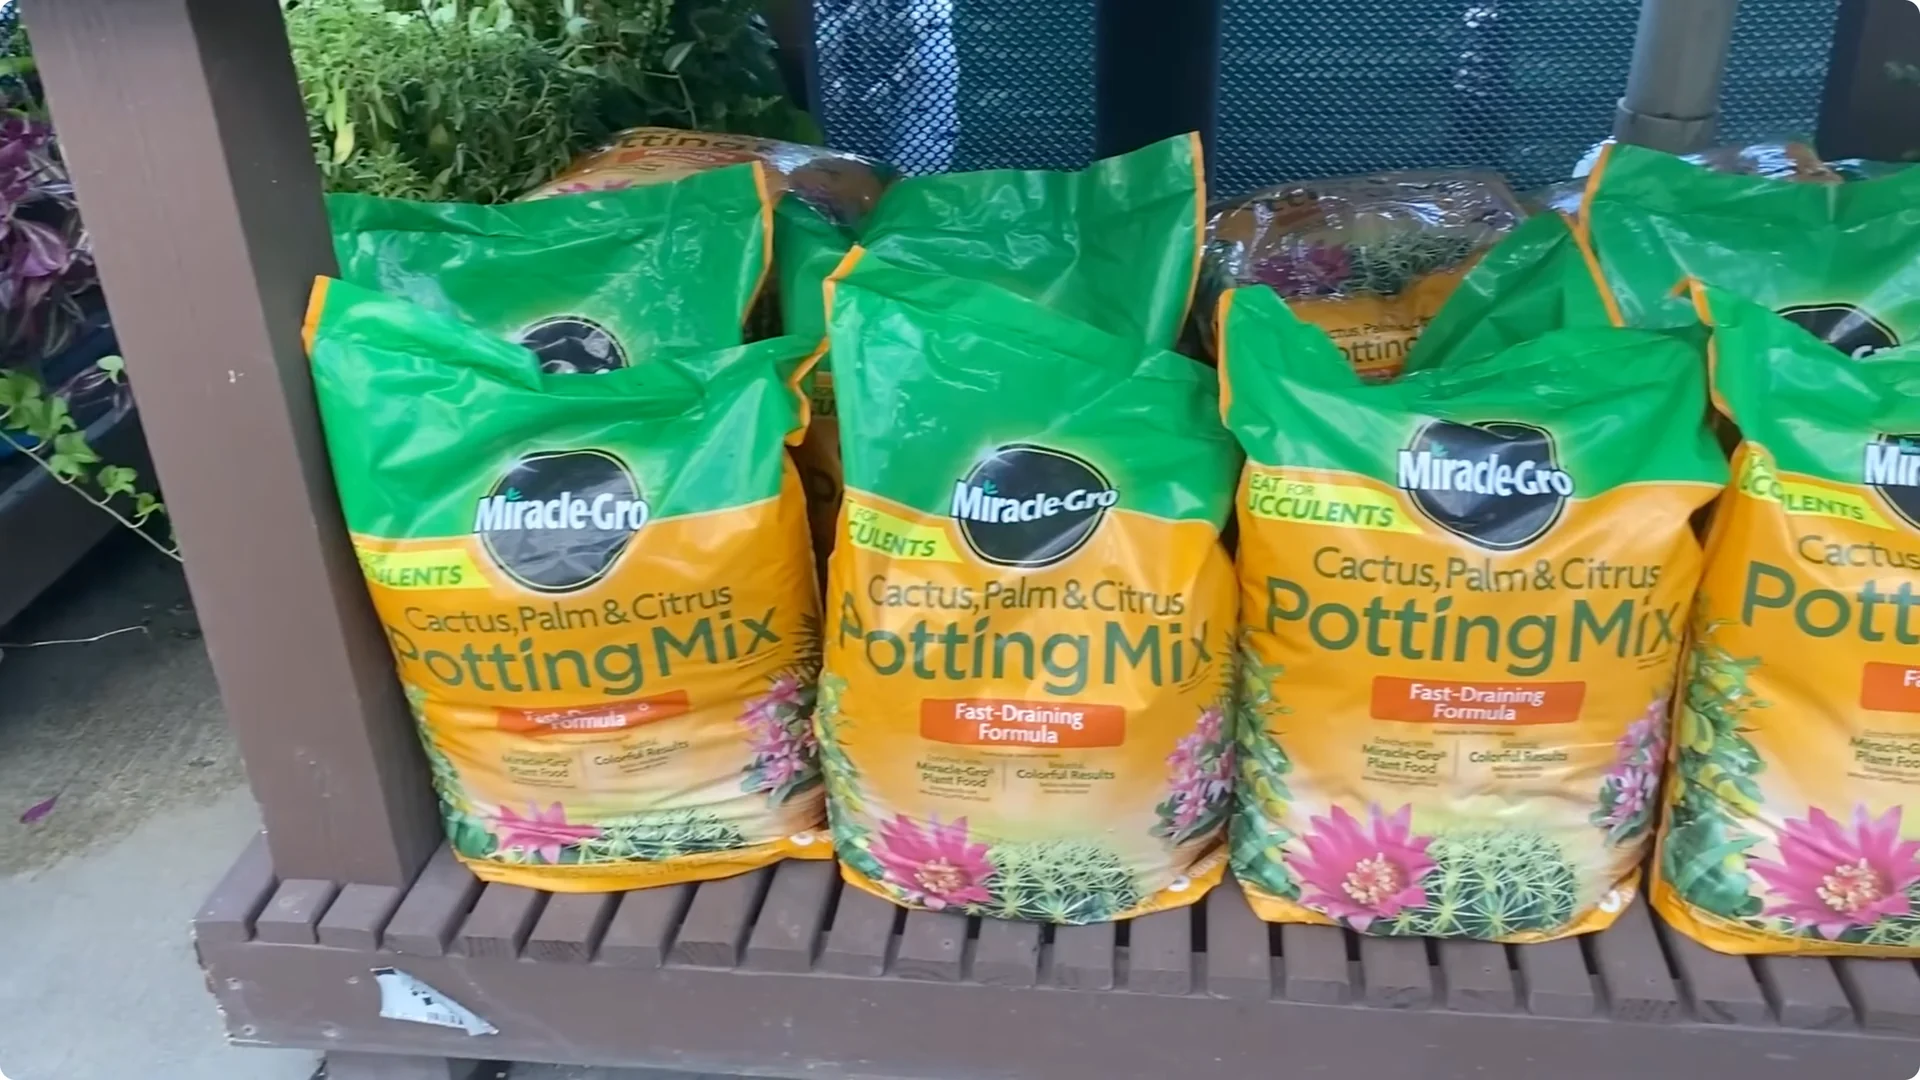
When your plant outgrows its pot and needs a new one, repot it with its rhizomes in mind. Because these rhizomes help the plant retain water, it’s critical that you use a well-draining soil mix to avoid excess water that could lead to root rot.
You can keep it simple by using a pre-made succulent or cactus mix and then watering accordingly when the soil is 100 percent dry.
Or, if you’d prefer to customize, try combining components like coco coir or peat for water retention with equal parts of pine bark, perlite, and a little sand for excellent drainage and aeration.
Always ensure that your pot has drainage holes to prevent water from collecting at the bottom. Choose a pot that’s just one size larger than the current one. Using a pot that’s too big means there’s excess soil that will retain more water than the roots can absorb.
Don’t go crazy repotting. Typically, ZZ plants only need to be repotted every 2 to 3 years. Make sure your plant is really pot bound, sometimes even warping the pot or to the point where you see very little soil in the root ball.
8. Pests and How to Treat
ZZ plants are fairly pest resistant and easygoing. You might occasionally spot mealybugs. During a recent mealybug outbreak I had on my other plants, I didn’t find any on my ZZs.
Still, pests can happen. If you encounter them, try soaking the plant with an insecticidal soap solution or spraying it thoroughly, then rinsing it off and applying a systemic insecticide to the soil.
If the first time you spray them down they come back, try again. Keep trying. It could take several attempts. They’re tough.
Propagation and sharing the joy
Now that you’ve got my recipe for keeping your ZZ plant healthy, you might feel inspired to propagate and share the joy with friends and family.

I use stem cuttings, leaf cuttings, and divisions, and the same lighting that keeps my plants happy helps those propagations along too.
Final Thoughts
Choose a healthy plant to start, give it bright indirect light or supplement with grow lights, and keep temperatures stable. Let the soil dry completely, then water thoroughly using a top-and-bottom method.
Fertilize lightly during active growth and flush salts regularly. Prune sparingly, wipe the leaves, and repot with a fast-draining mix only when the plant is truly pot bound. Watch for pests and treat promptly. With patience, your ZZ plant will thrive and reward you with steady, satisfying growth.