
I propagate roses with a gentle, effective method that uses no chemicals and no complicated equipment. Just friendly materials from your own garden. It is especially suitable for those who love nature and the fragility of each rose petal.
Before starting, the most important thing is to choose the right cutting. A healthy, lush cutting will form the foundation for a lush new rose plant. Patience and simple care do the rest.
1. Rooting Rose Cuttings: Choose the Right Cutting
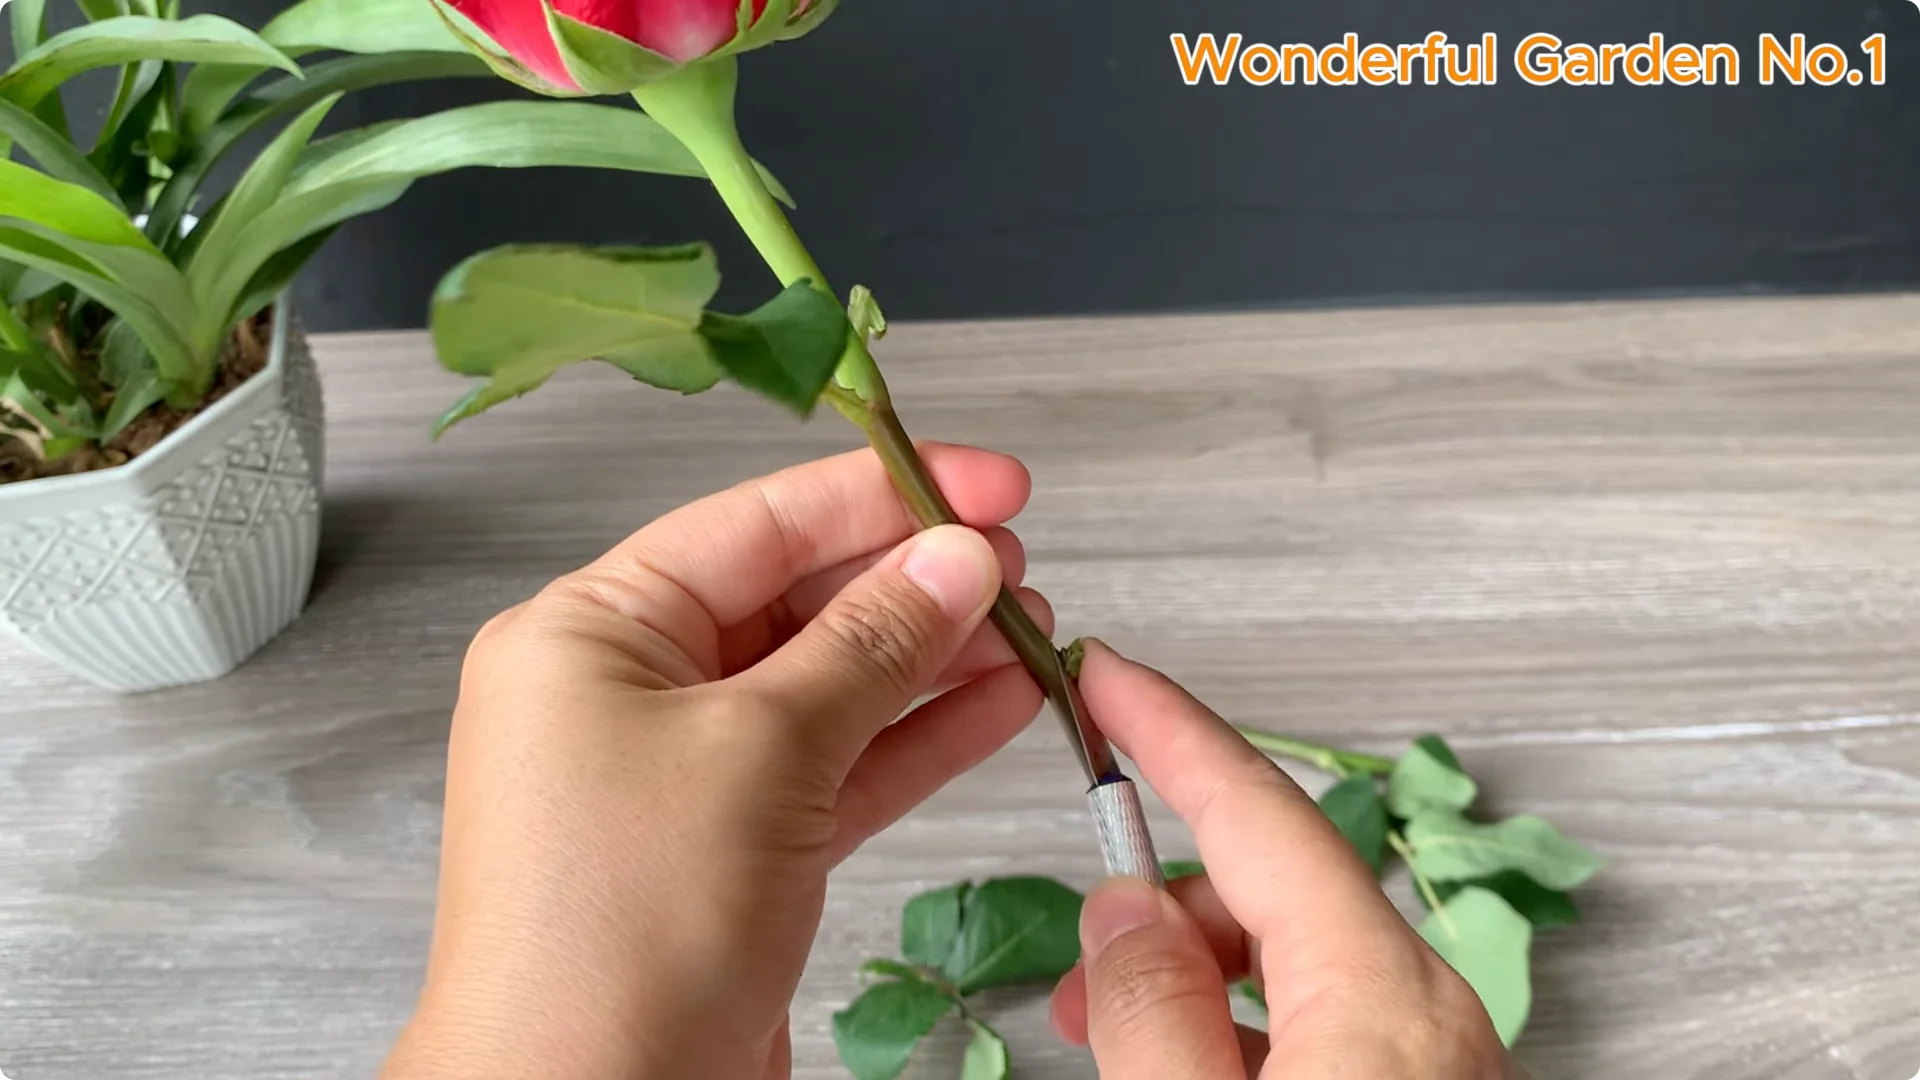
Select a rose branch that is not too young and not too old. The branch should not show signs of pests, black rot, or mold. The ideal length is 15 to 20 cm with two to three leaf buds.
Remove all the lower leaves and keep only one or two upper leaves. This reduces unnecessary water loss. It helps the branch concentrate nutrients for rooting.
Using sharp, clean pruning shears, cut at a 45 degree angle just below the last leaf node. The angle cut allows better contact with water and improves moisture absorption. It creates favorable conditions for root development.
2. Rooting Rose Cuttings: Cinnamon Soak
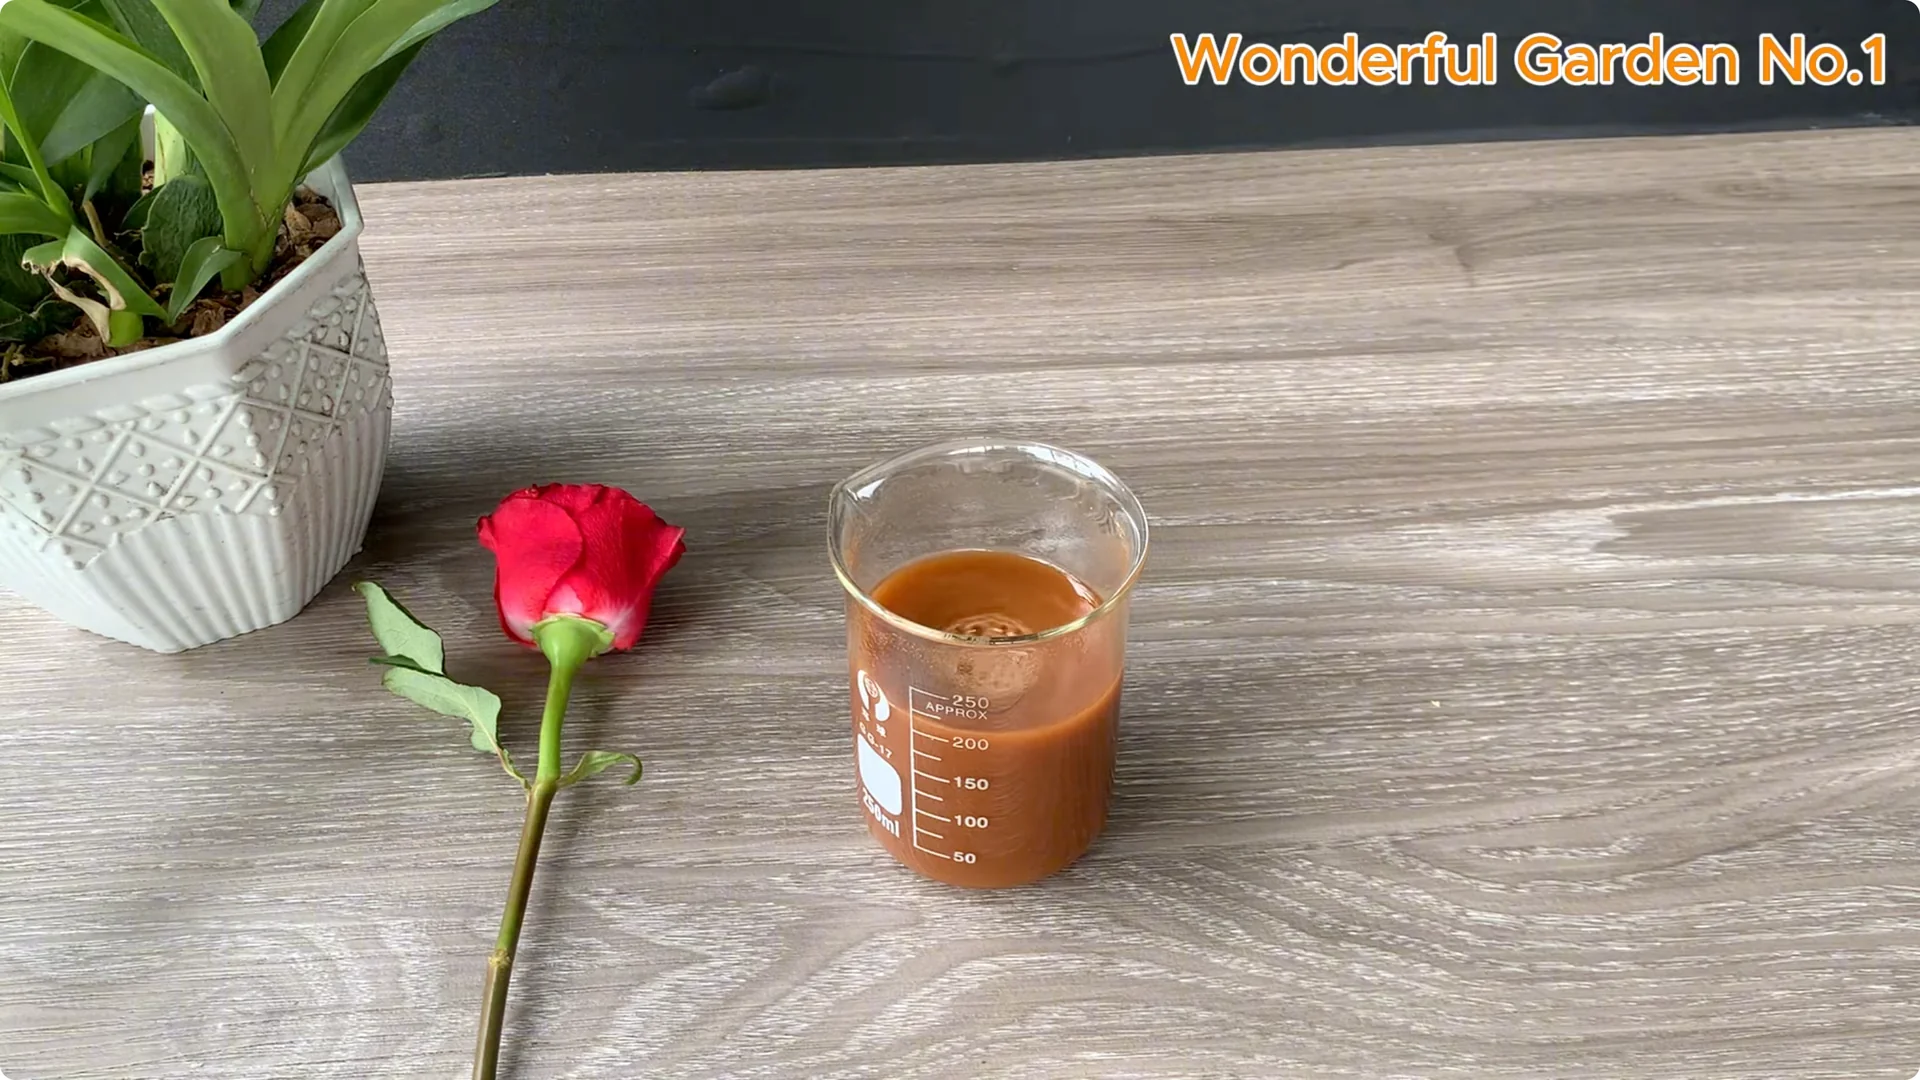
Put 1 teaspoon of pure cinnamon powder in a clean glass cup. Add 200 milliliters of warm water and stir well to dissolve. Cinnamon has natural antibacterial and antifungal properties that protect cuttings from harmful bacteria and molds.
Soak the base of the rose branch in the solution for about 20 minutes. This disinfects and helps stimulate root growth. Keep the cutting clean and undisturbed during the soak.
Read More: teaspoon technique for red roses
3. Rooting Rose Cuttings: Natural Nutritional Water

Place 3 teaspoons of dry bread crumbs in a clean glass jar. Add 50 milliliters of draft beer and 200 milliliters of warm water. Stir well to combine the ingredients.
Seal the jar and leave it for about 1 hour to allow the mixture to ferment slightly. Beer is a rich natural source of yeast, malt sugars, and trace minerals. It helps stimulate the growth of beneficial microorganisms around the base of the branches.
When combined with bread crumbs, this mixture becomes a living nutrient dose. It provides natural energy and creates an ideal environment for young plant roots. Roots grow healthy and stable with steady moisture.
Read More: 1 spoon rooting boost
4. Rooting Rose Cuttings: Prepare the Growing Environment
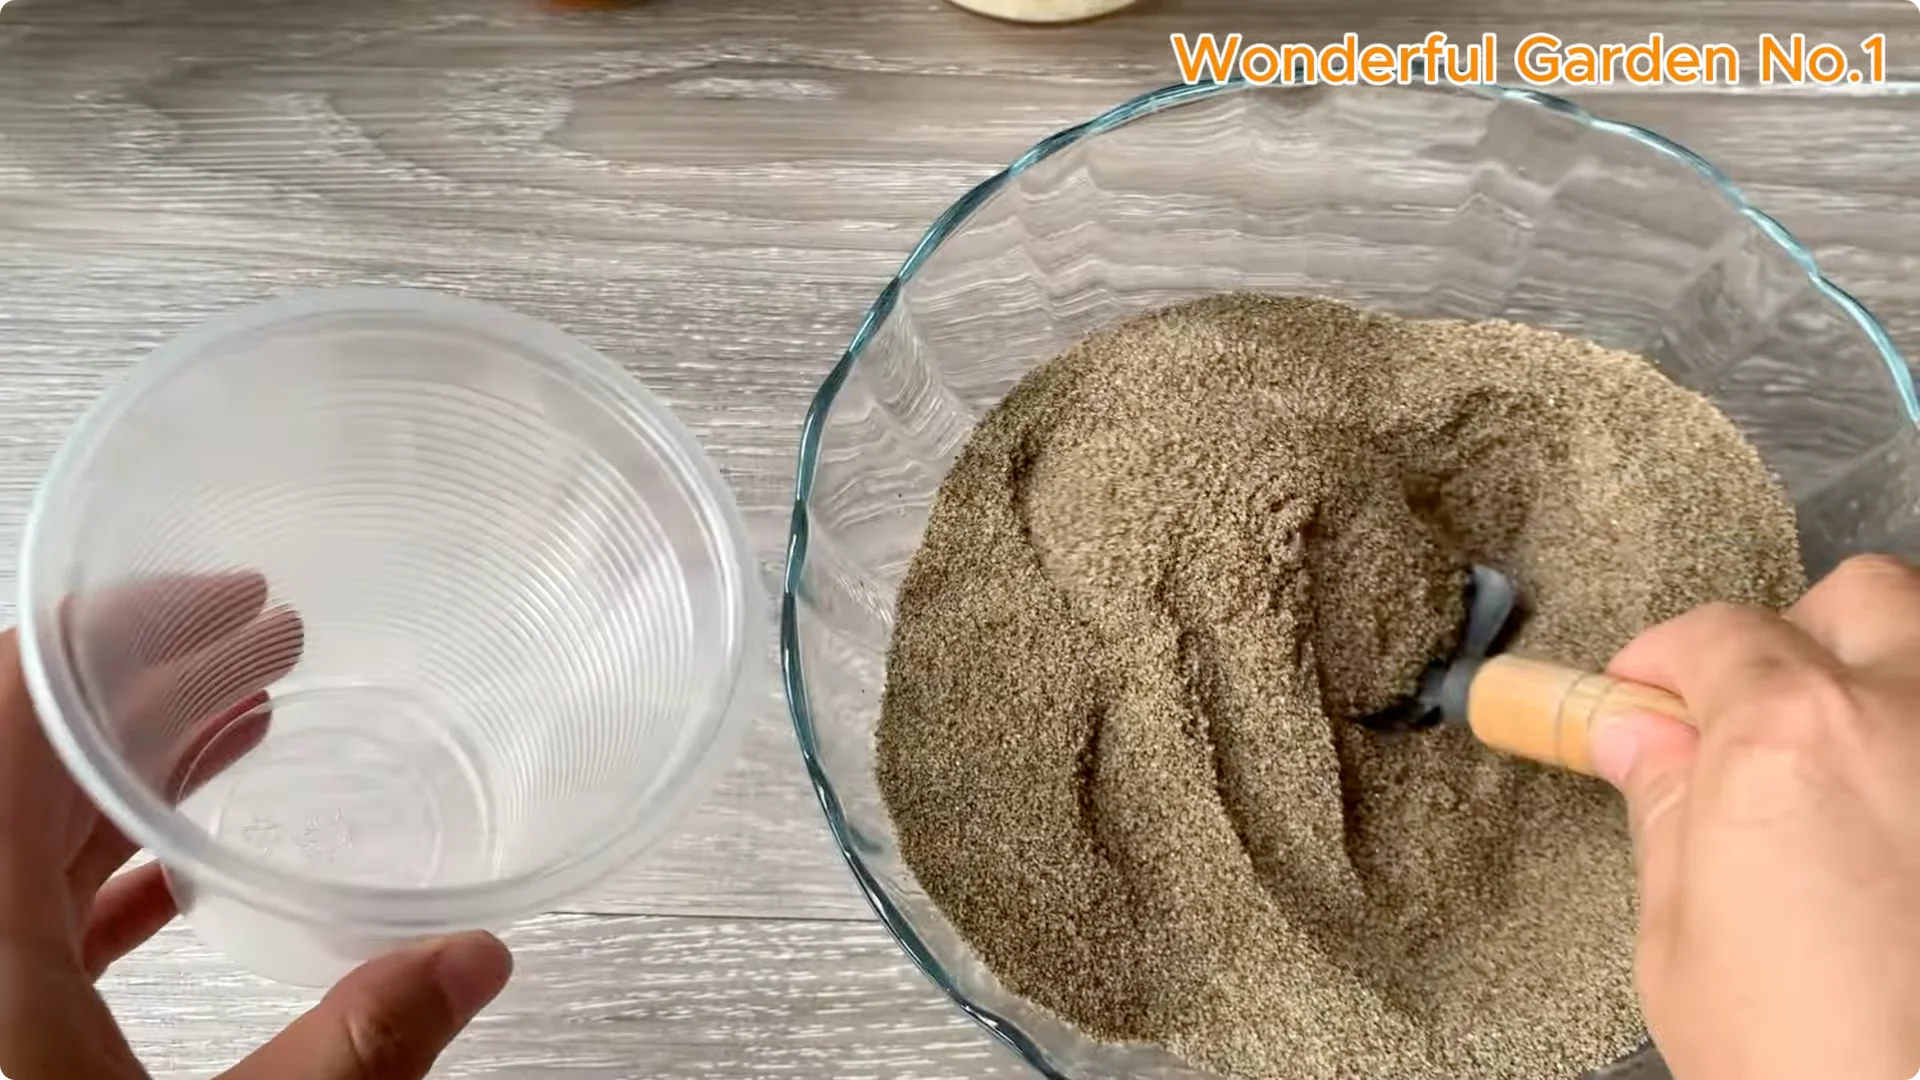
Use clean sand as your growing medium and pour it into a clean cup. Sand drains well, retains moisture, and inhibits the growth of mold. It is ideal for cuttings.
Strain out the solids from the bread crumb and beer mixture. Retain the clear liquid, which contains beneficial enzymes and microorganisms from the fermentation process. It helps to disinfect, stimulate roots, and protect cuttings naturally.
Use this solution to moisten the sand. Create a light, nutrient rich, and microbial environment for root growth. Keep the medium evenly moist, not waterlogged.
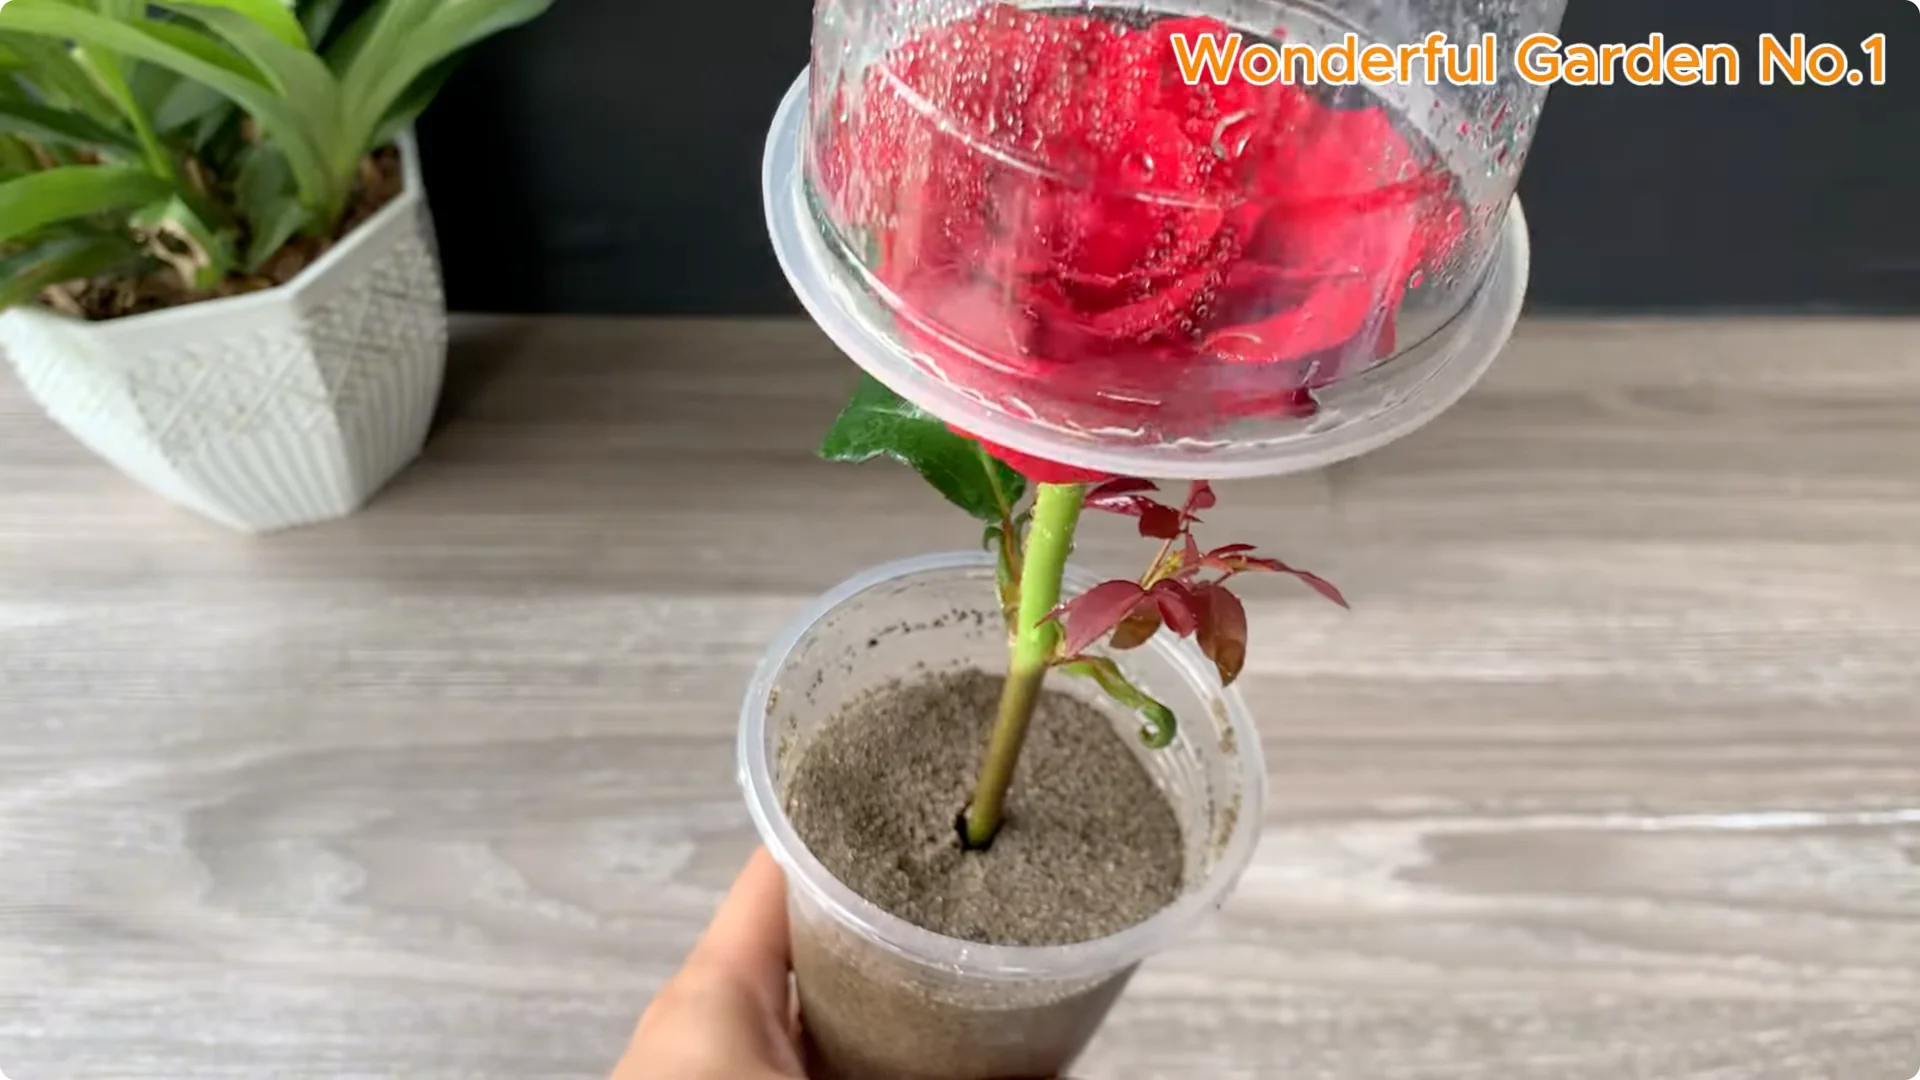
Gently insert the rose cutting into the center of the sand cup with the leaf nodes facing outwards. This is where new shoots will form. Firm the sand lightly around the base.
Place another large cup on top to create a mini greenhouse effect. It helps retain moisture, stabilize temperature, and protect the cutting during the rooting stage. Place cuttings in a cool, well lit place away from direct sunlight.
Once a week, lightly water the remaining biological solution into the sand. Keep it moist and provide nutrients. Avoid heavy watering that can disturb the cutting.
This simple cup rooting method creates a clean, stable microclimate. It supports steady moisture and gentle airflow. It is easy to monitor and adjust.
5. Rooting Rose Cuttings: Patience and Signs of Success
Wait patiently. In the moist sand and soft light, young roots are quietly forming. Do not disturb the cutting during this time.
After a long wait, the miracle finally comes. At the leaf nodes, new shoots emerge like tiny buds of hope. This marks a new beginning.
The root system begins to spread and cling to the substrate. Each small root penetrates the sand grains. Growth becomes steady and confident.
6. Rooting Rose Cuttings: Transplant to the Main Pot
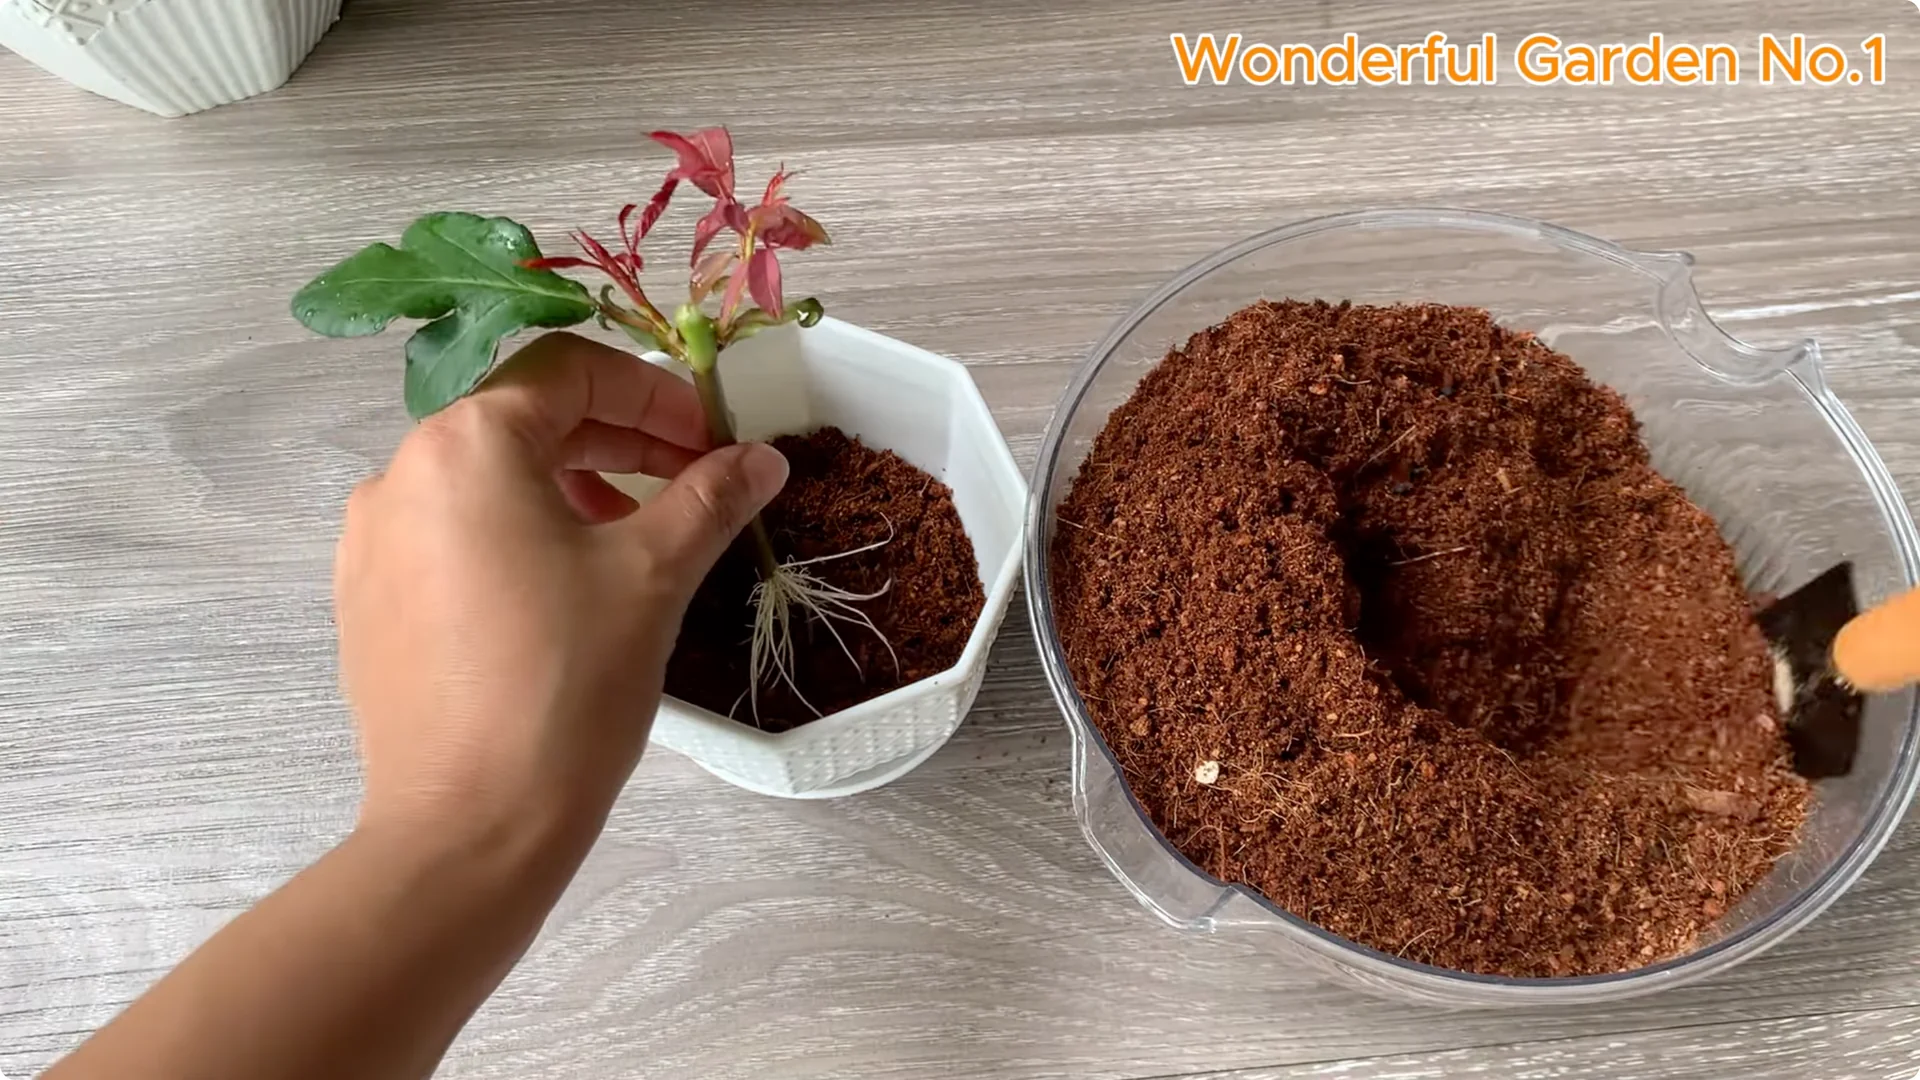
Once young roots have formed and new shoots have begun to grow, transfer the plant to its main pot. Prepare a small pot with a loose, well draining medium such as a sandy loam mix or well conditioned sphagnum moss. Handle the roots gently.
Place the rooted cutting in the center of the pot. Fill in just enough soil to hold the base of the plant steady. Water lightly to settle the medium.
Place the pot in a bright, sunny location in the morning. Protect it from harsh midday sun. Maintain even moisture as it establishes.
Final Thoughts
With time and regular care, a healthy rose plant will gradually take shape. It will be ready to grow and show off its first flowers. From a small rose branch, a new life has begun with ivory roots and hopeful buds.
Growing flowers is to sow patience and love in your heart. Keep your routine gentle and consistent. Let the plant teach you the rhythm of quiet growth.