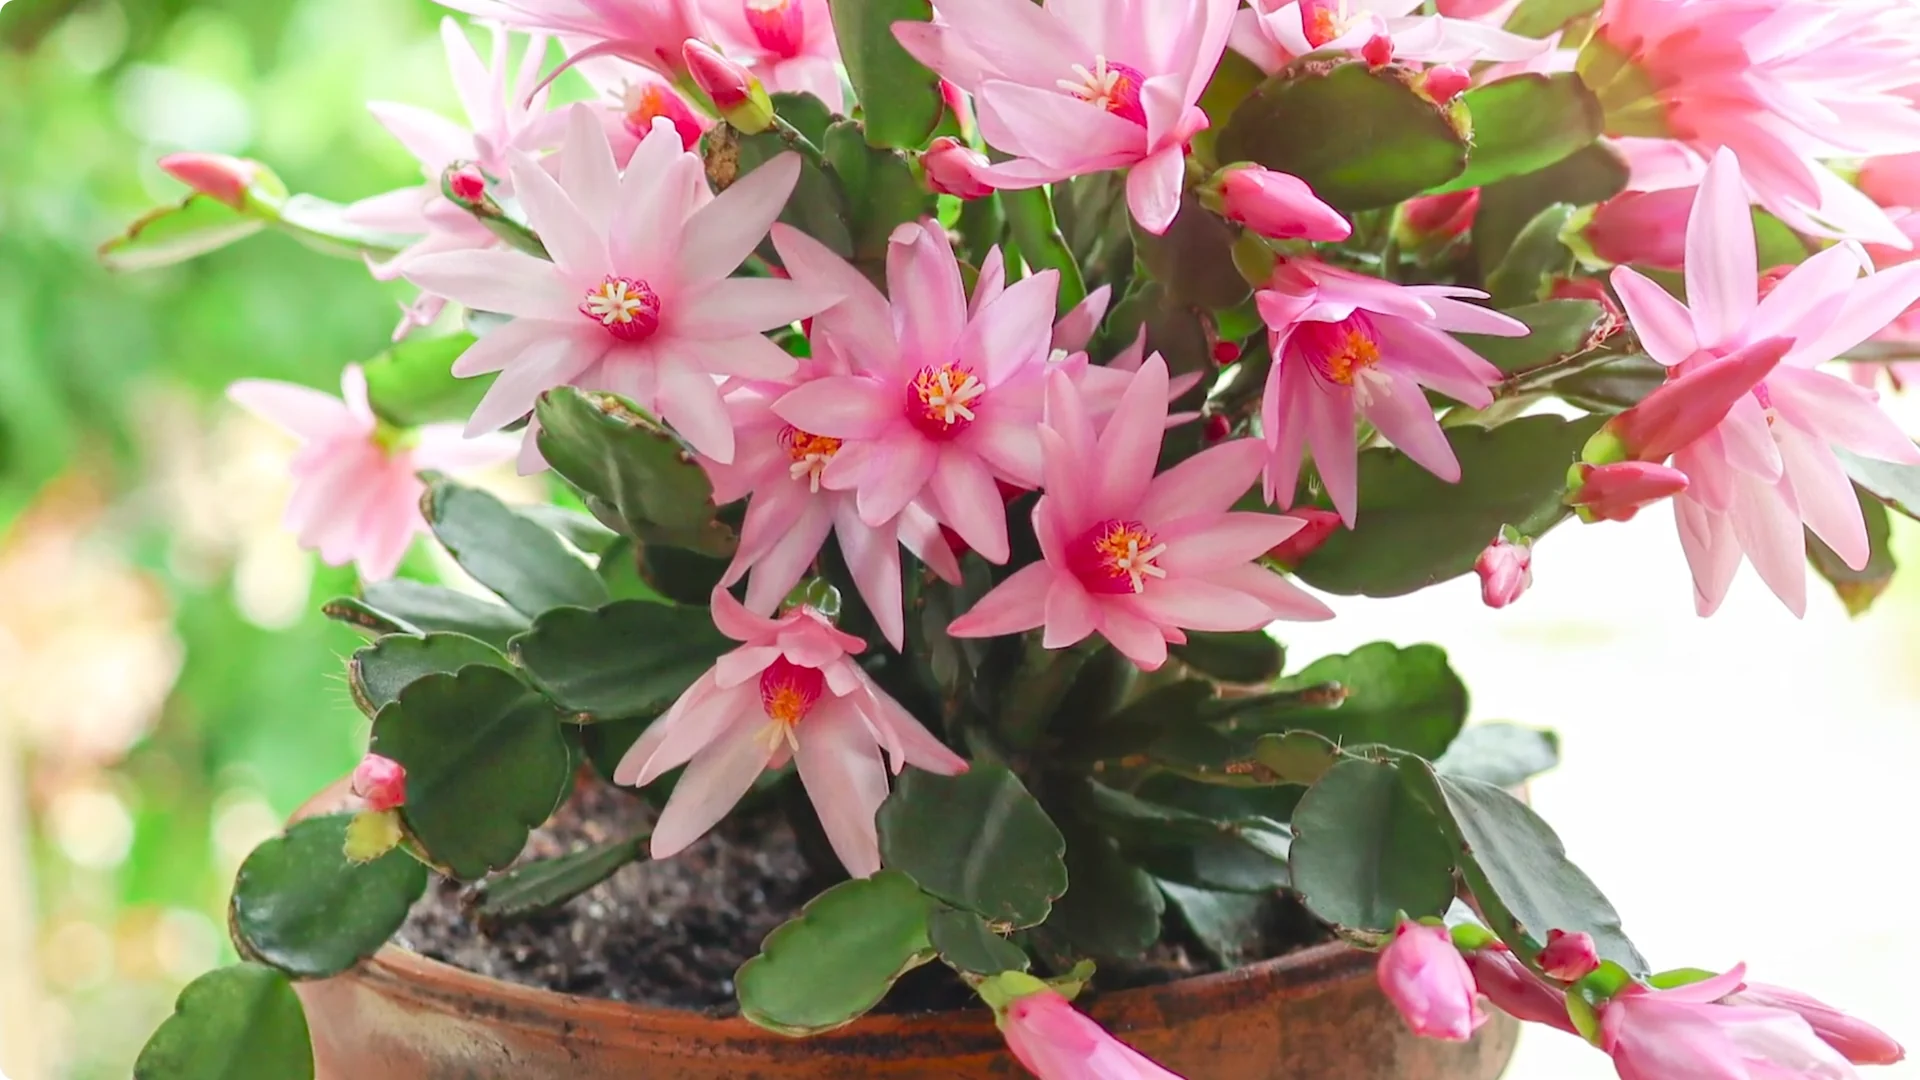
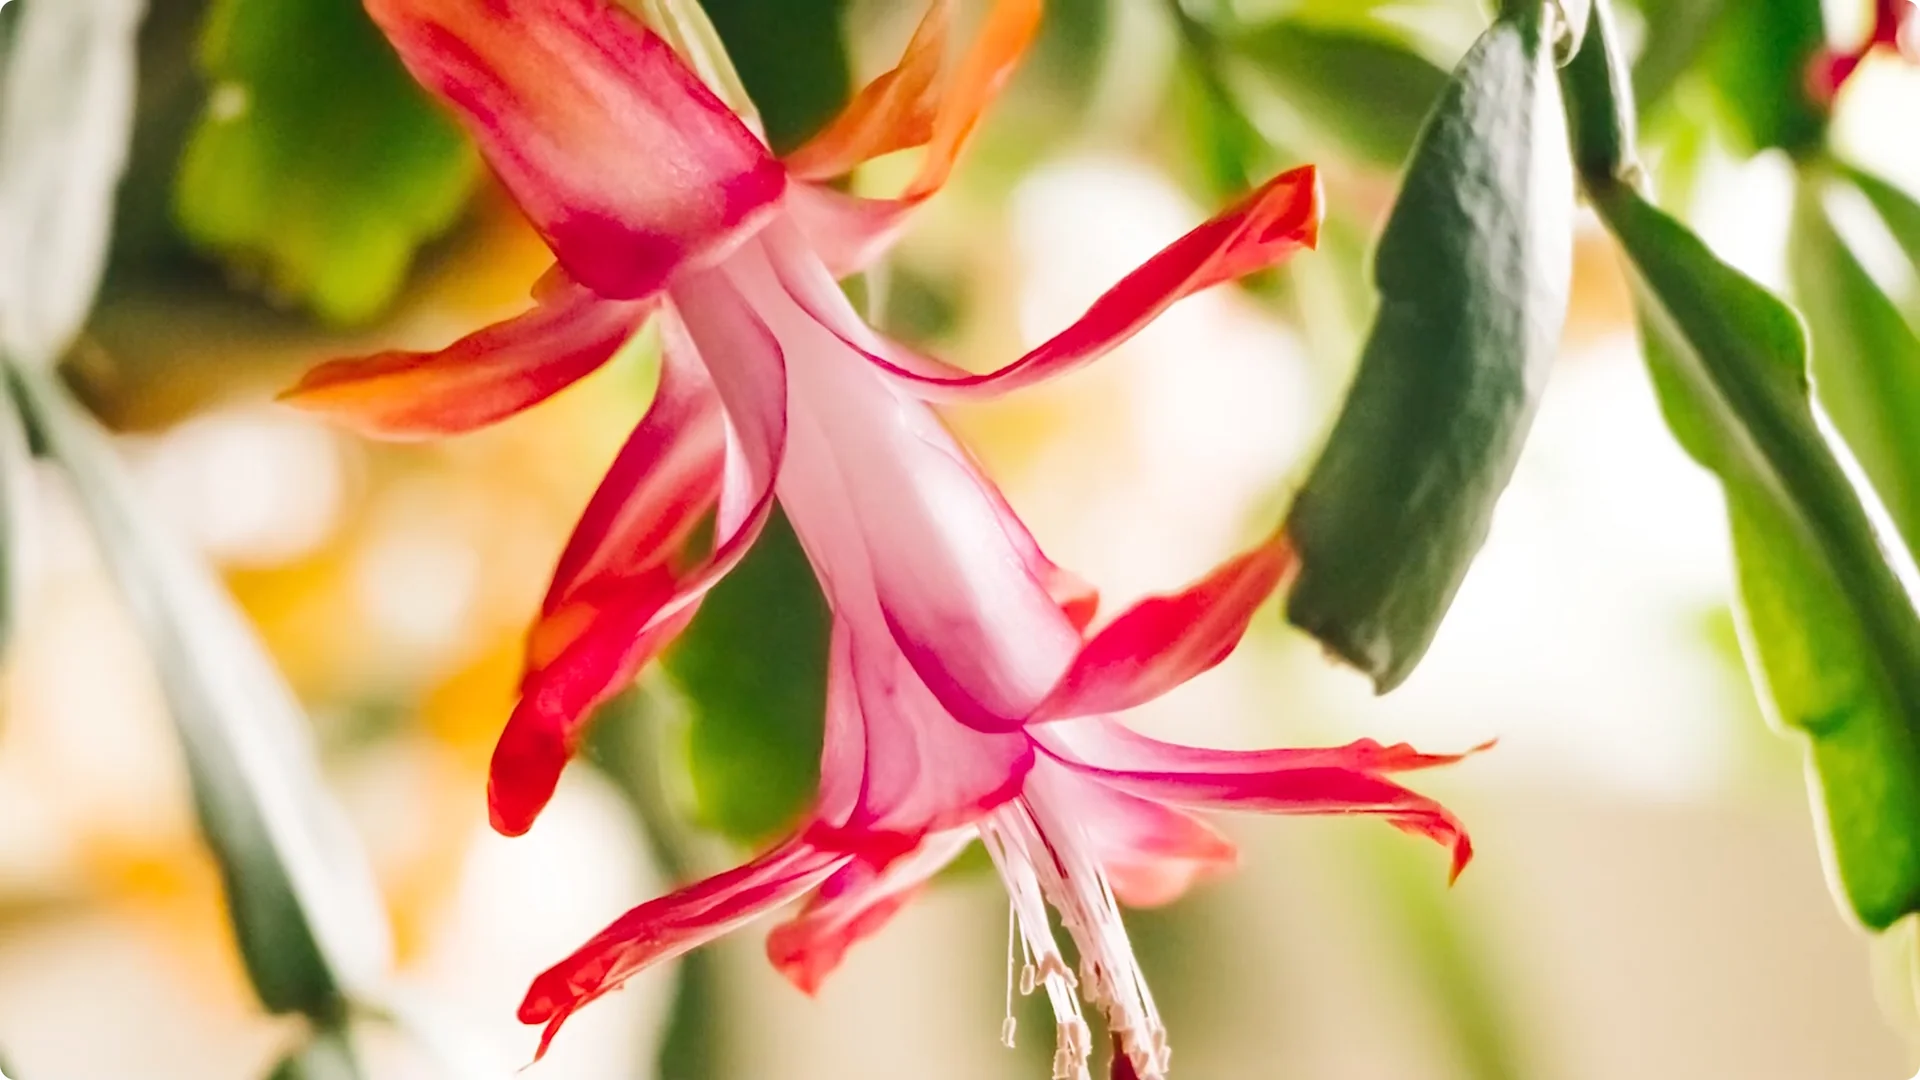
Holiday cacti – Christmas, Thanksgiving, and Easter – look very similar, they are succulents, and you can care for them all the same way, but there are subtle differences you’re going to want to know.
I’ll walk you through how I care for all three throughout the year, how I get them to bloom, and a simple, creative way to propagate them so you have more for next year.
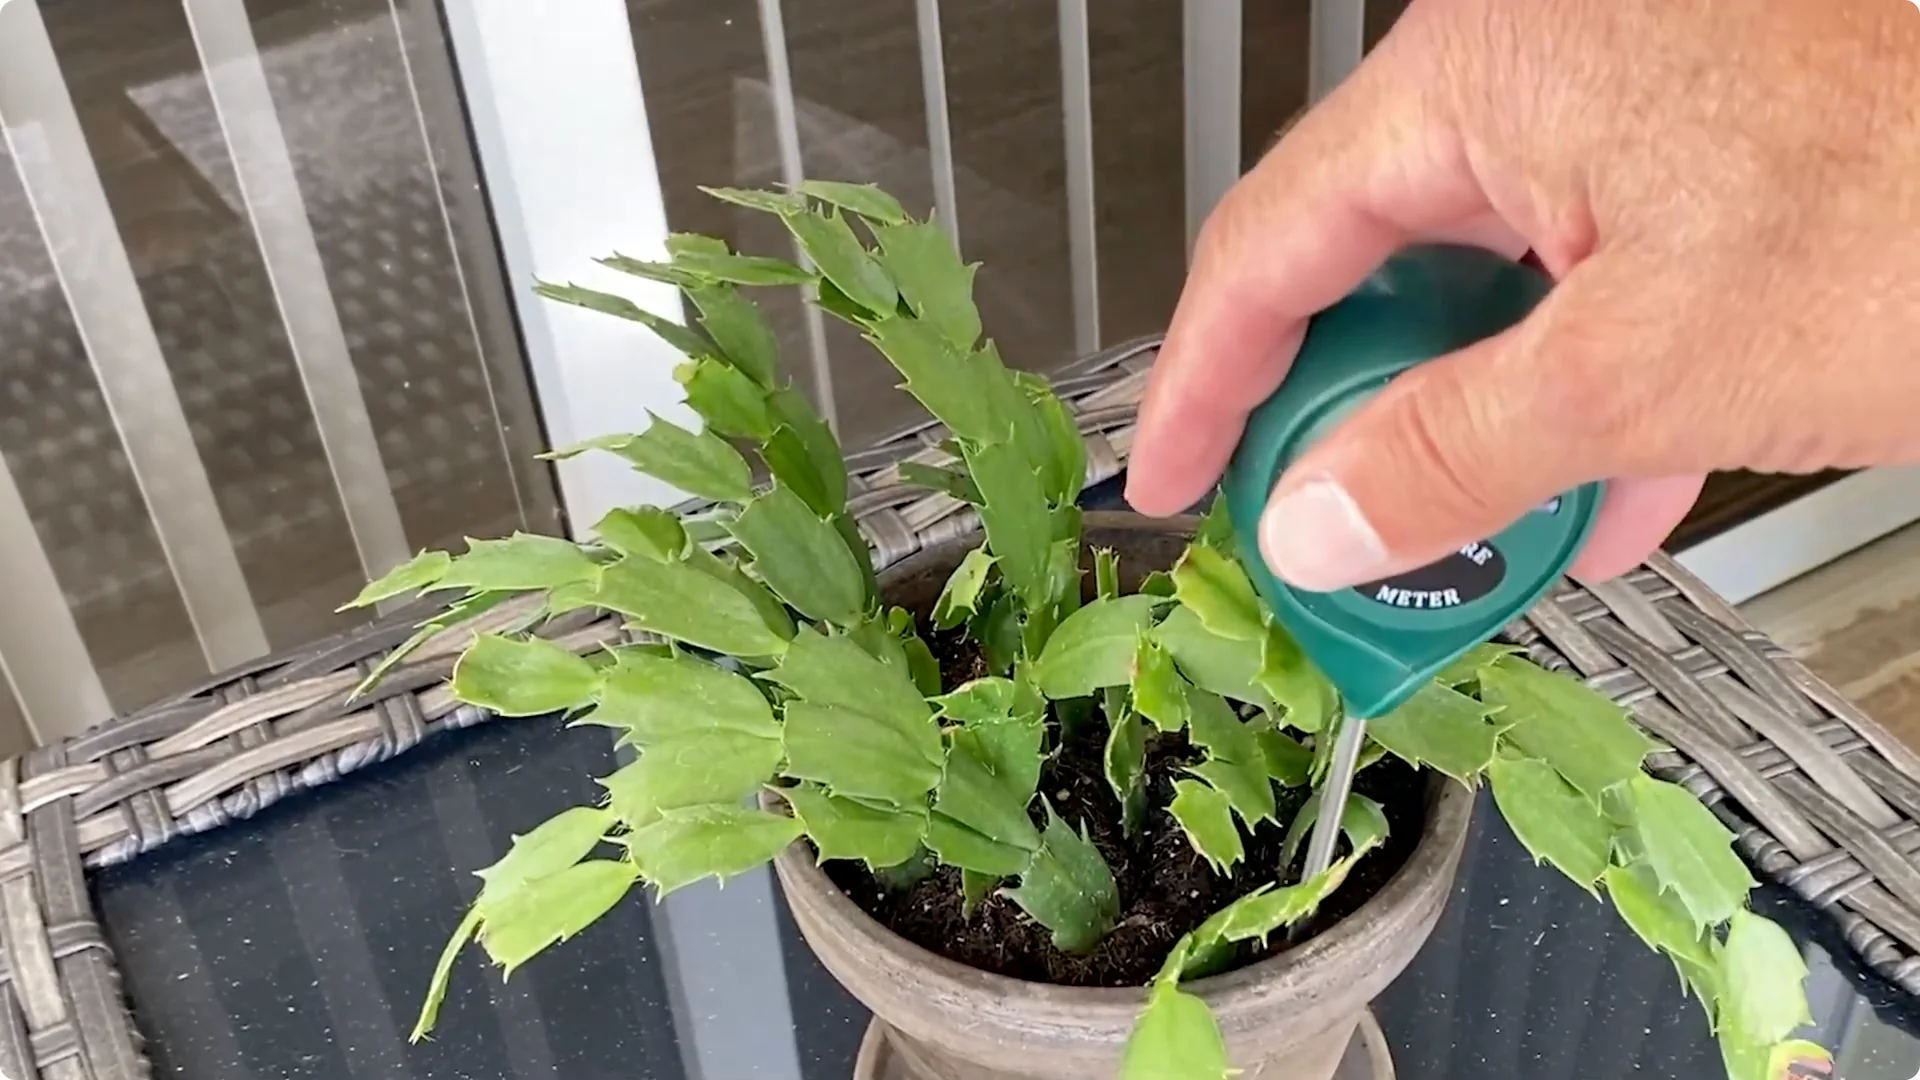
1. Get Watering Right
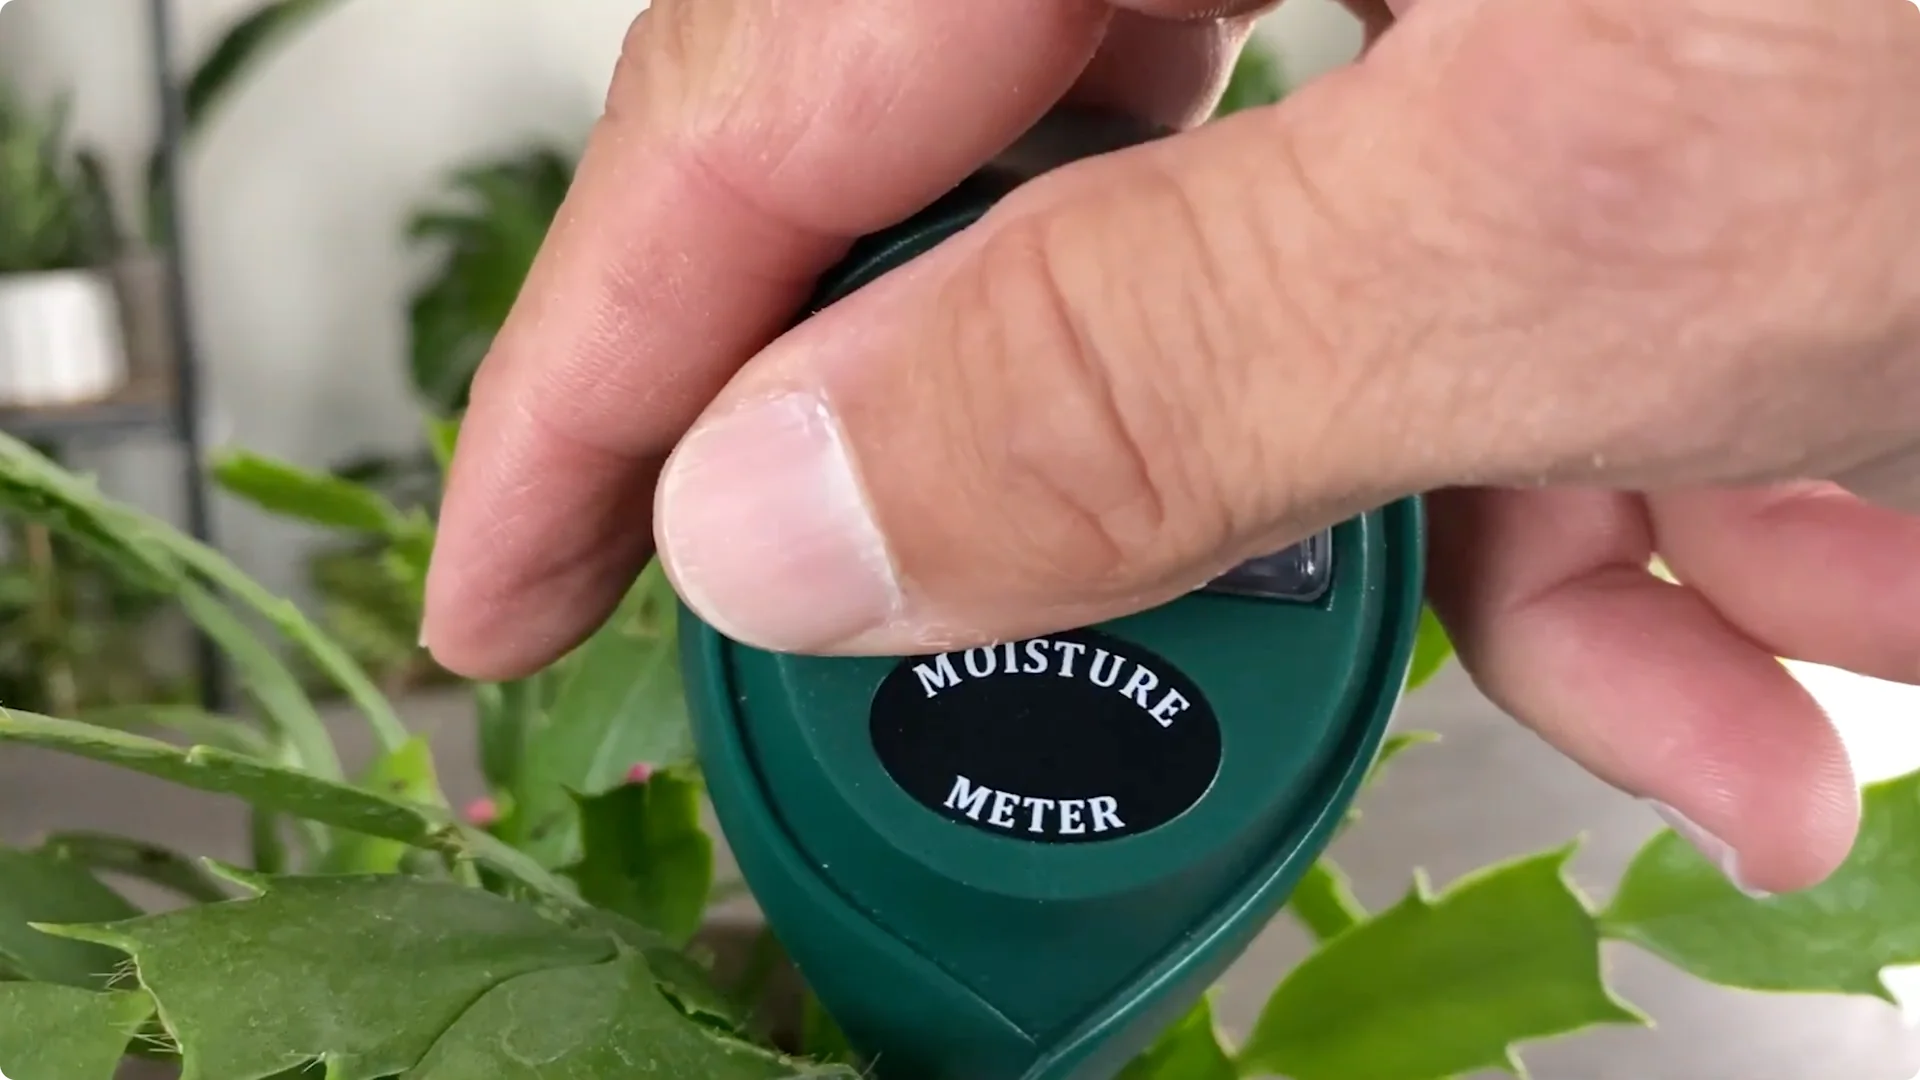
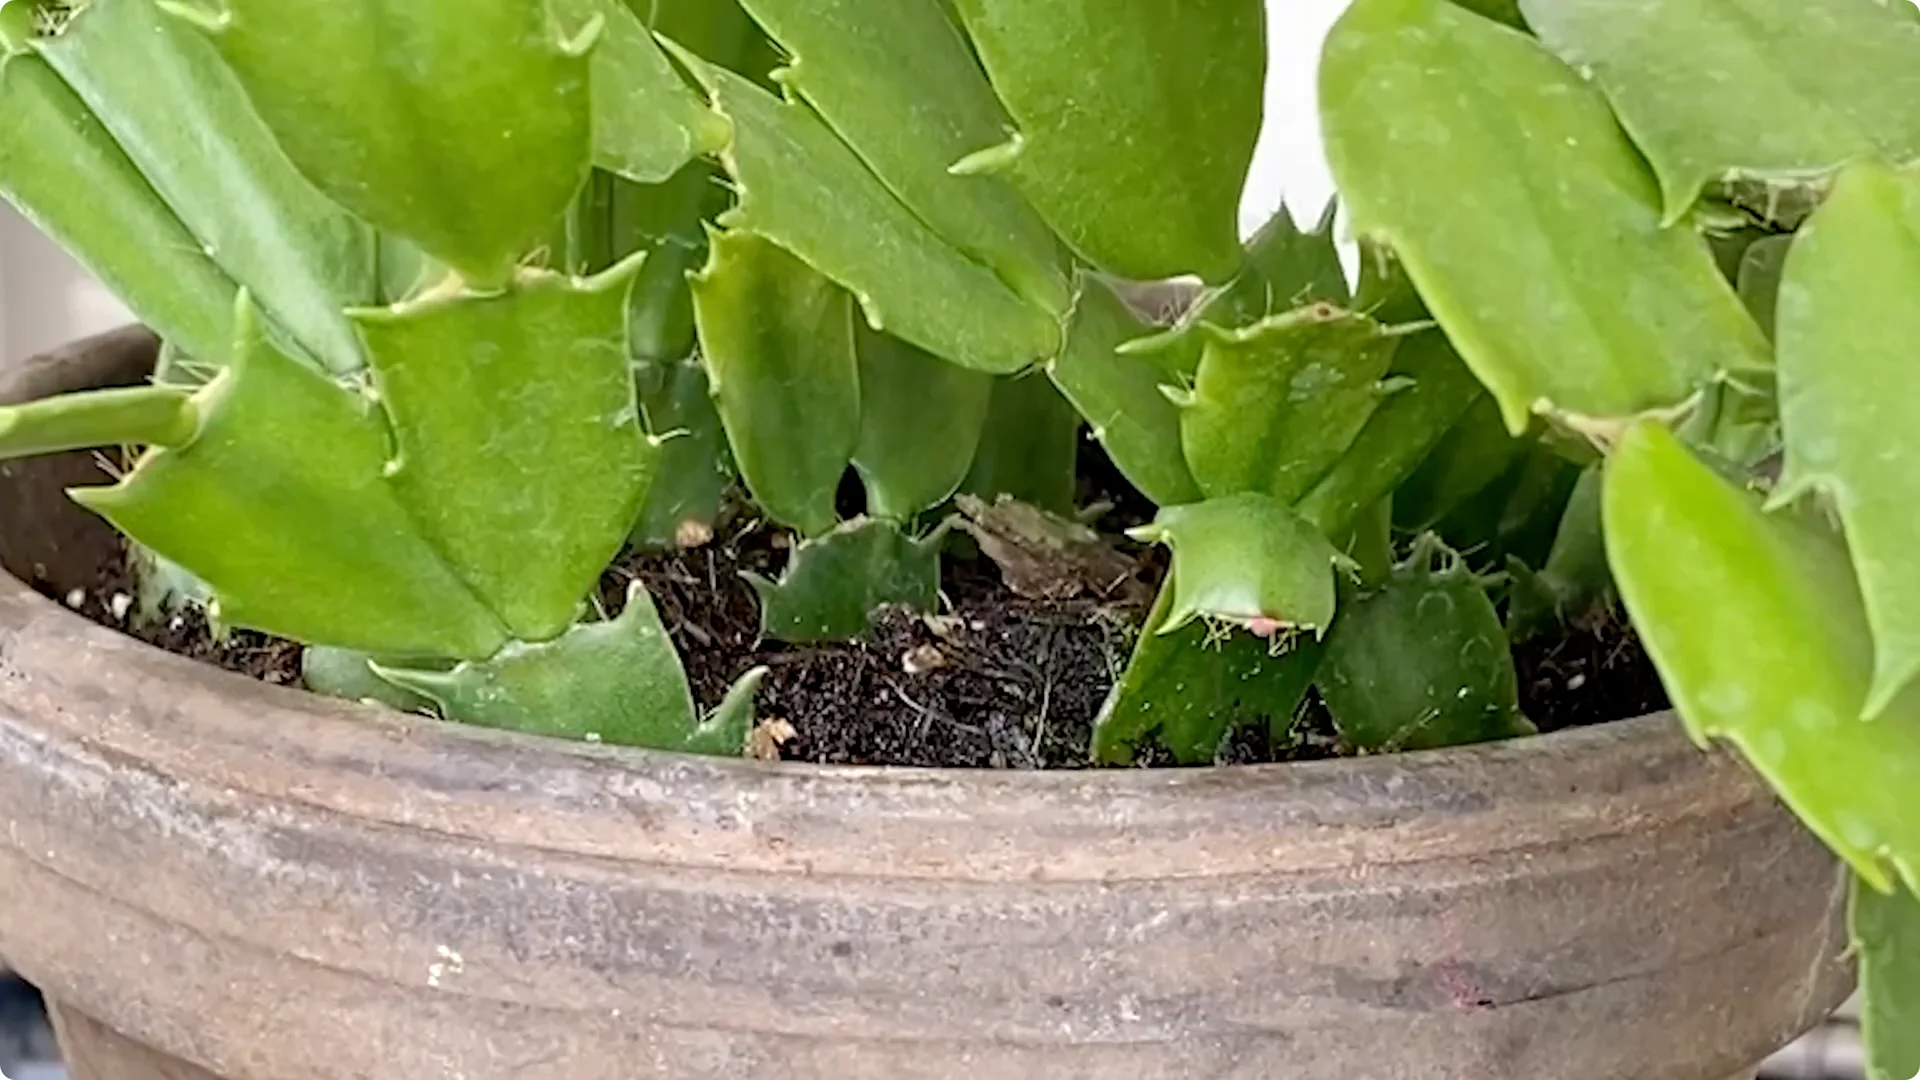
Let your holiday cactus dry out almost completely before watering again.

The easiest way to check is to use a water meter and look for it to read 2 to 3 before watering again.
Another way that’s cheaper and just as easy once you get used to it is to get a wooden skewer, poke it in the soil all the way down, and if when you pull it out there’s just a little soil stuck to the bottom of the skewer, then you can water thoroughly.
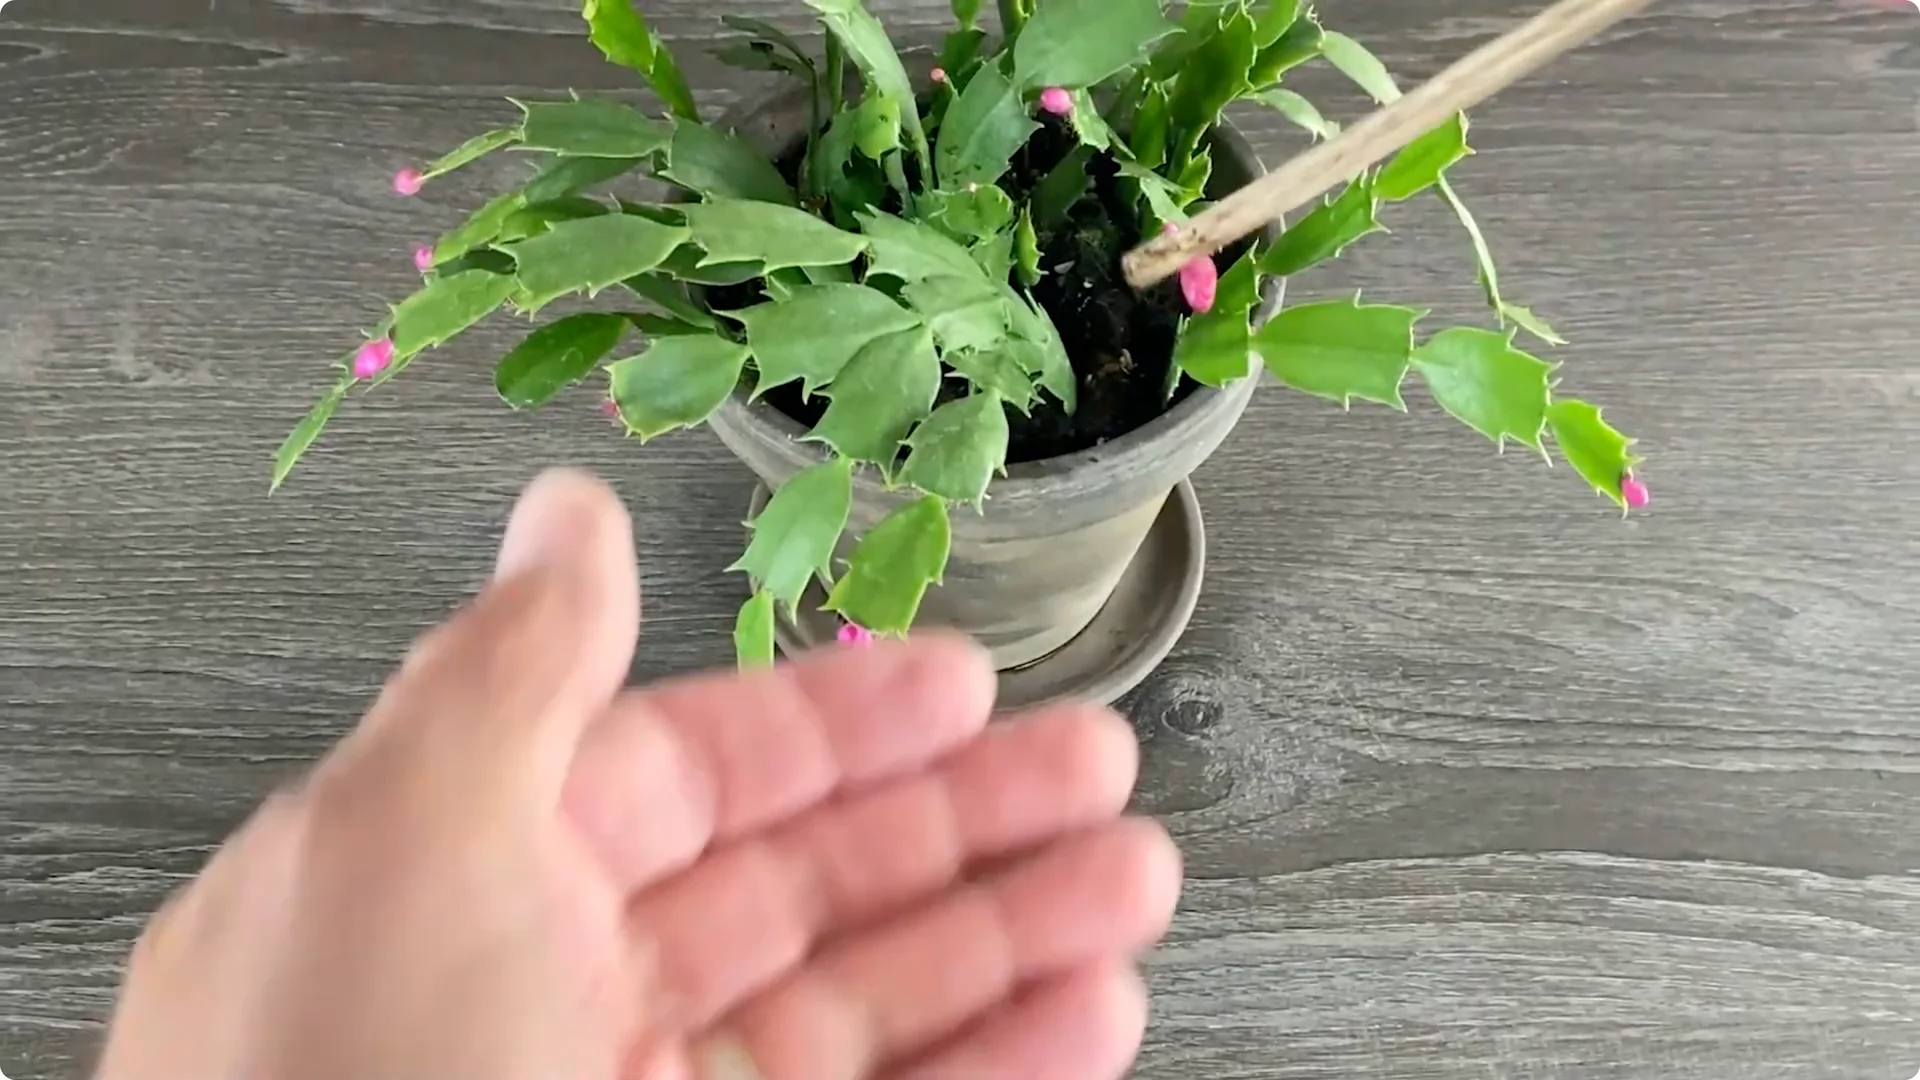
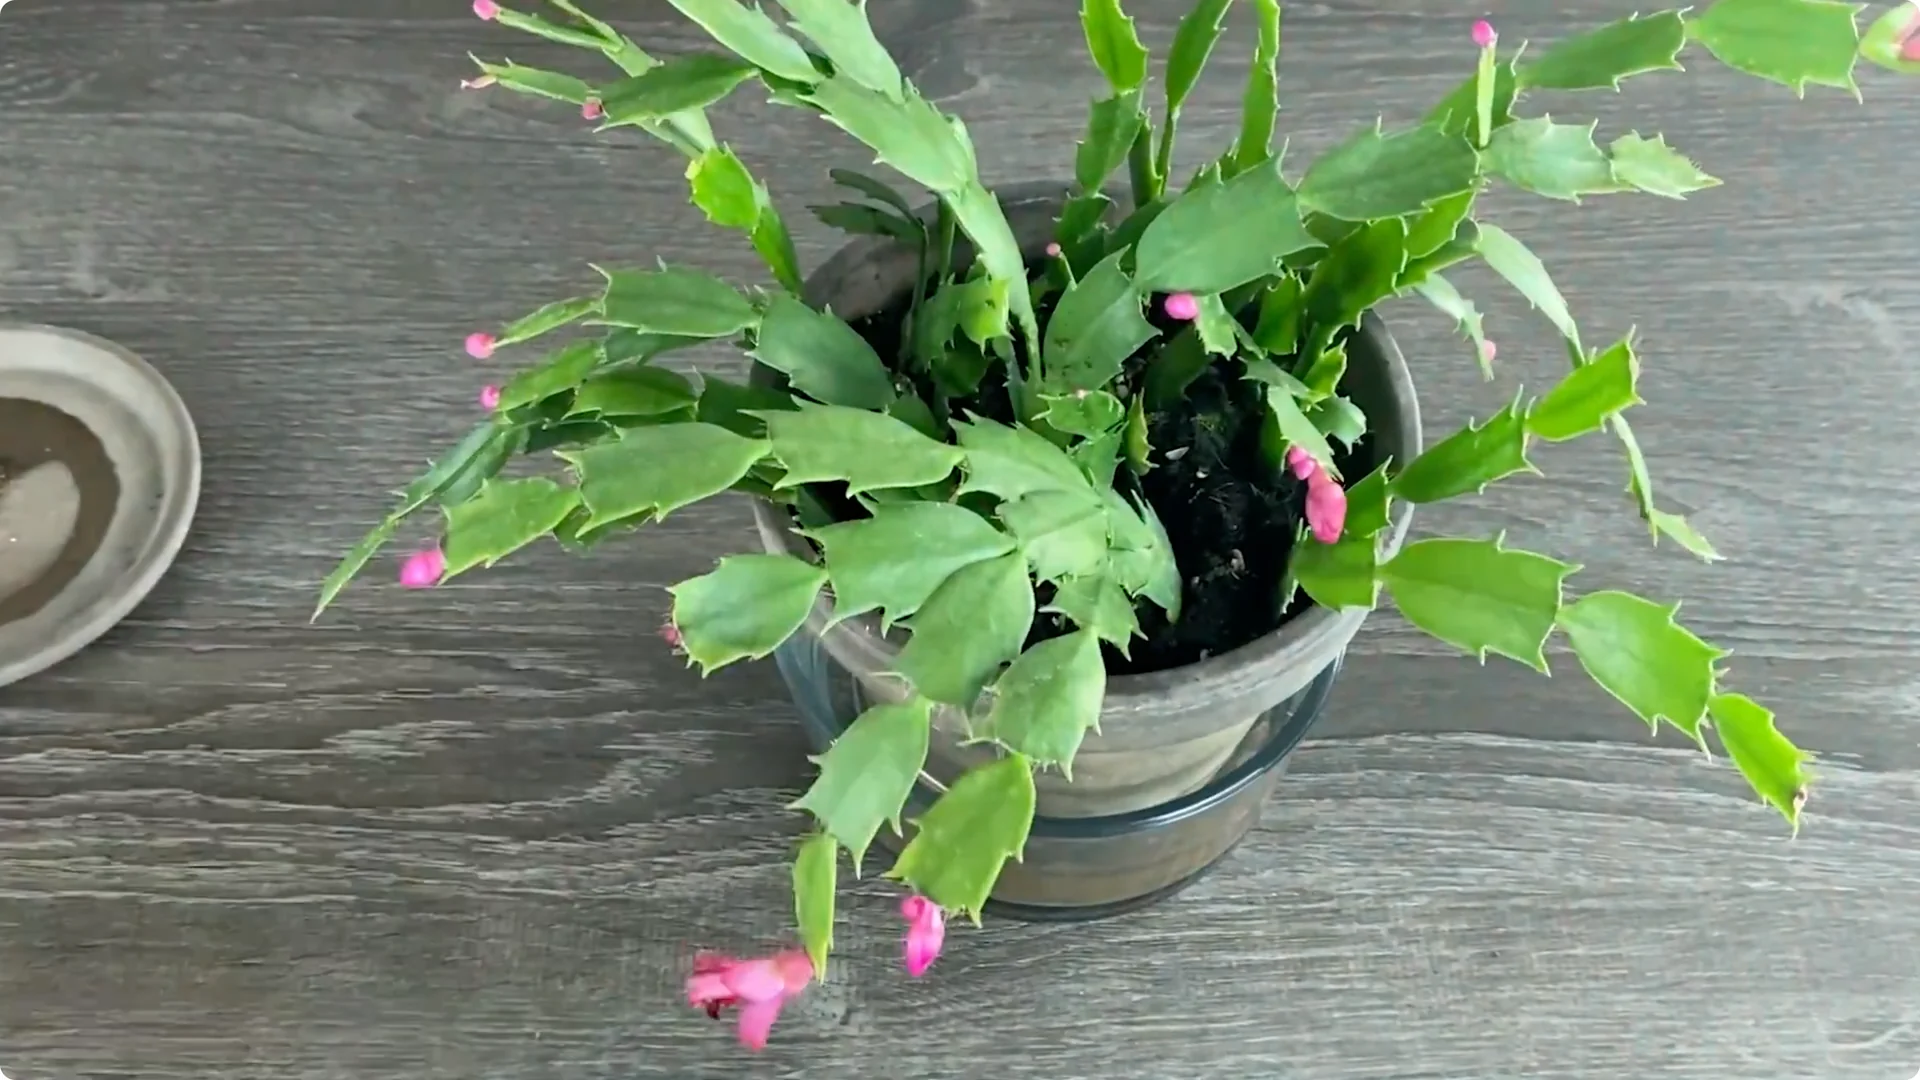
One indicator you’ve gone too far in letting it dry out is if you see the leaves start to shrivel.
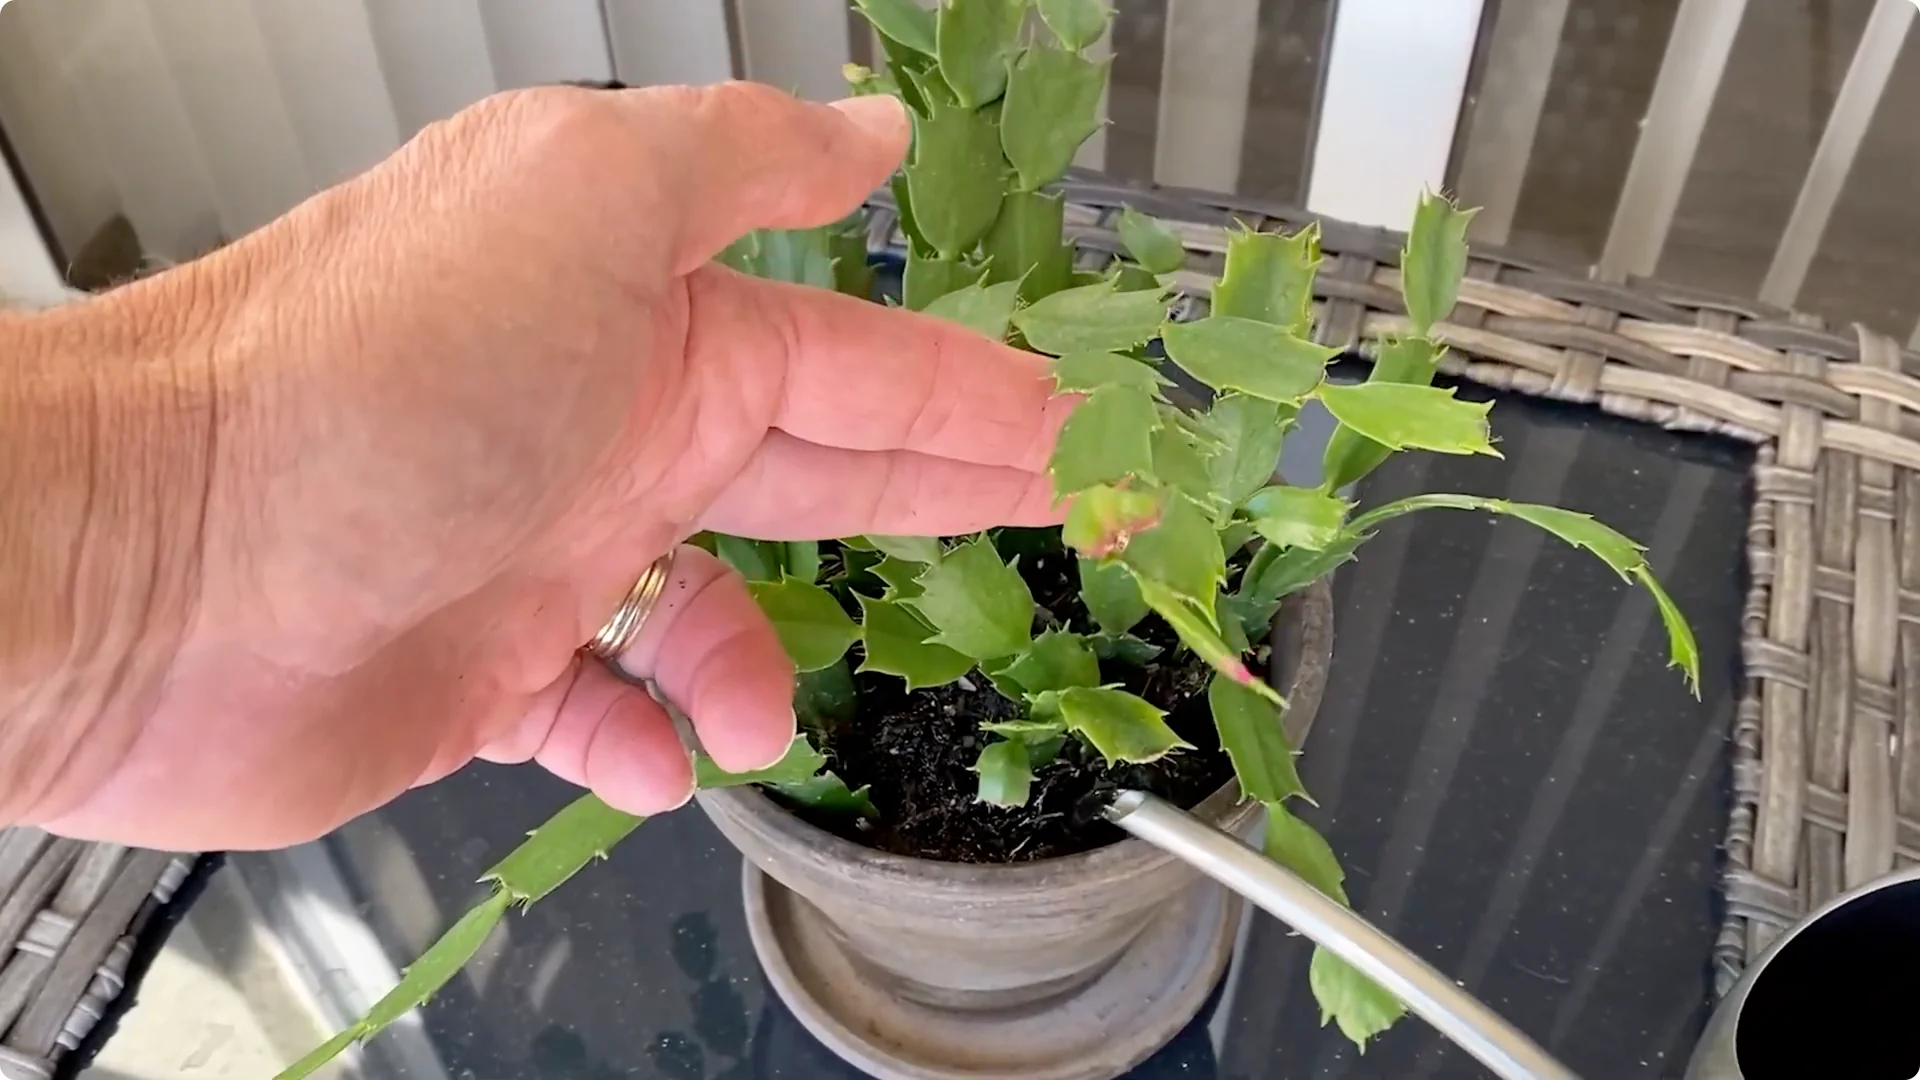
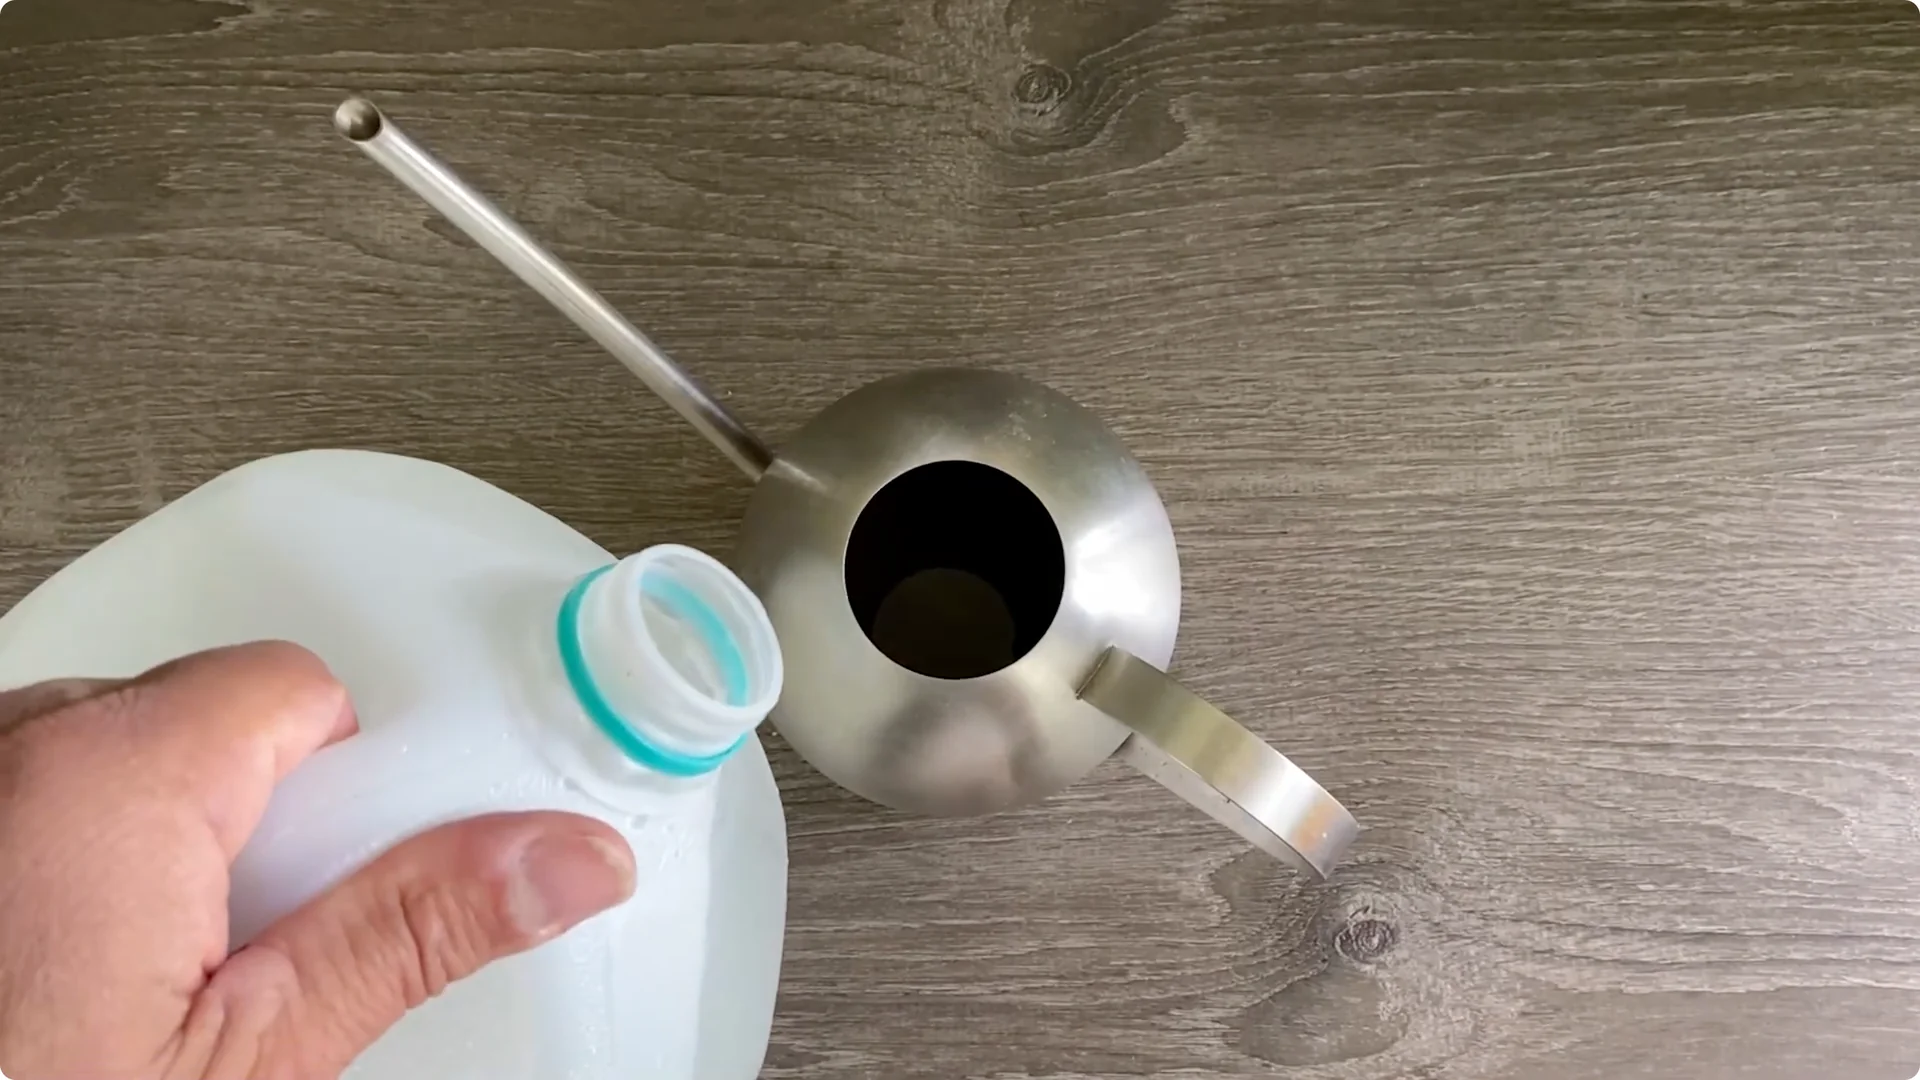
You can either top water or bottom water. I find that bottom watering allows me to soak the soil, prevents dry areas in the soil, and keeps the stems dry, but if you don’t or can’t do it, then a good top watering will do.
2. Light and Temperature Through the Year
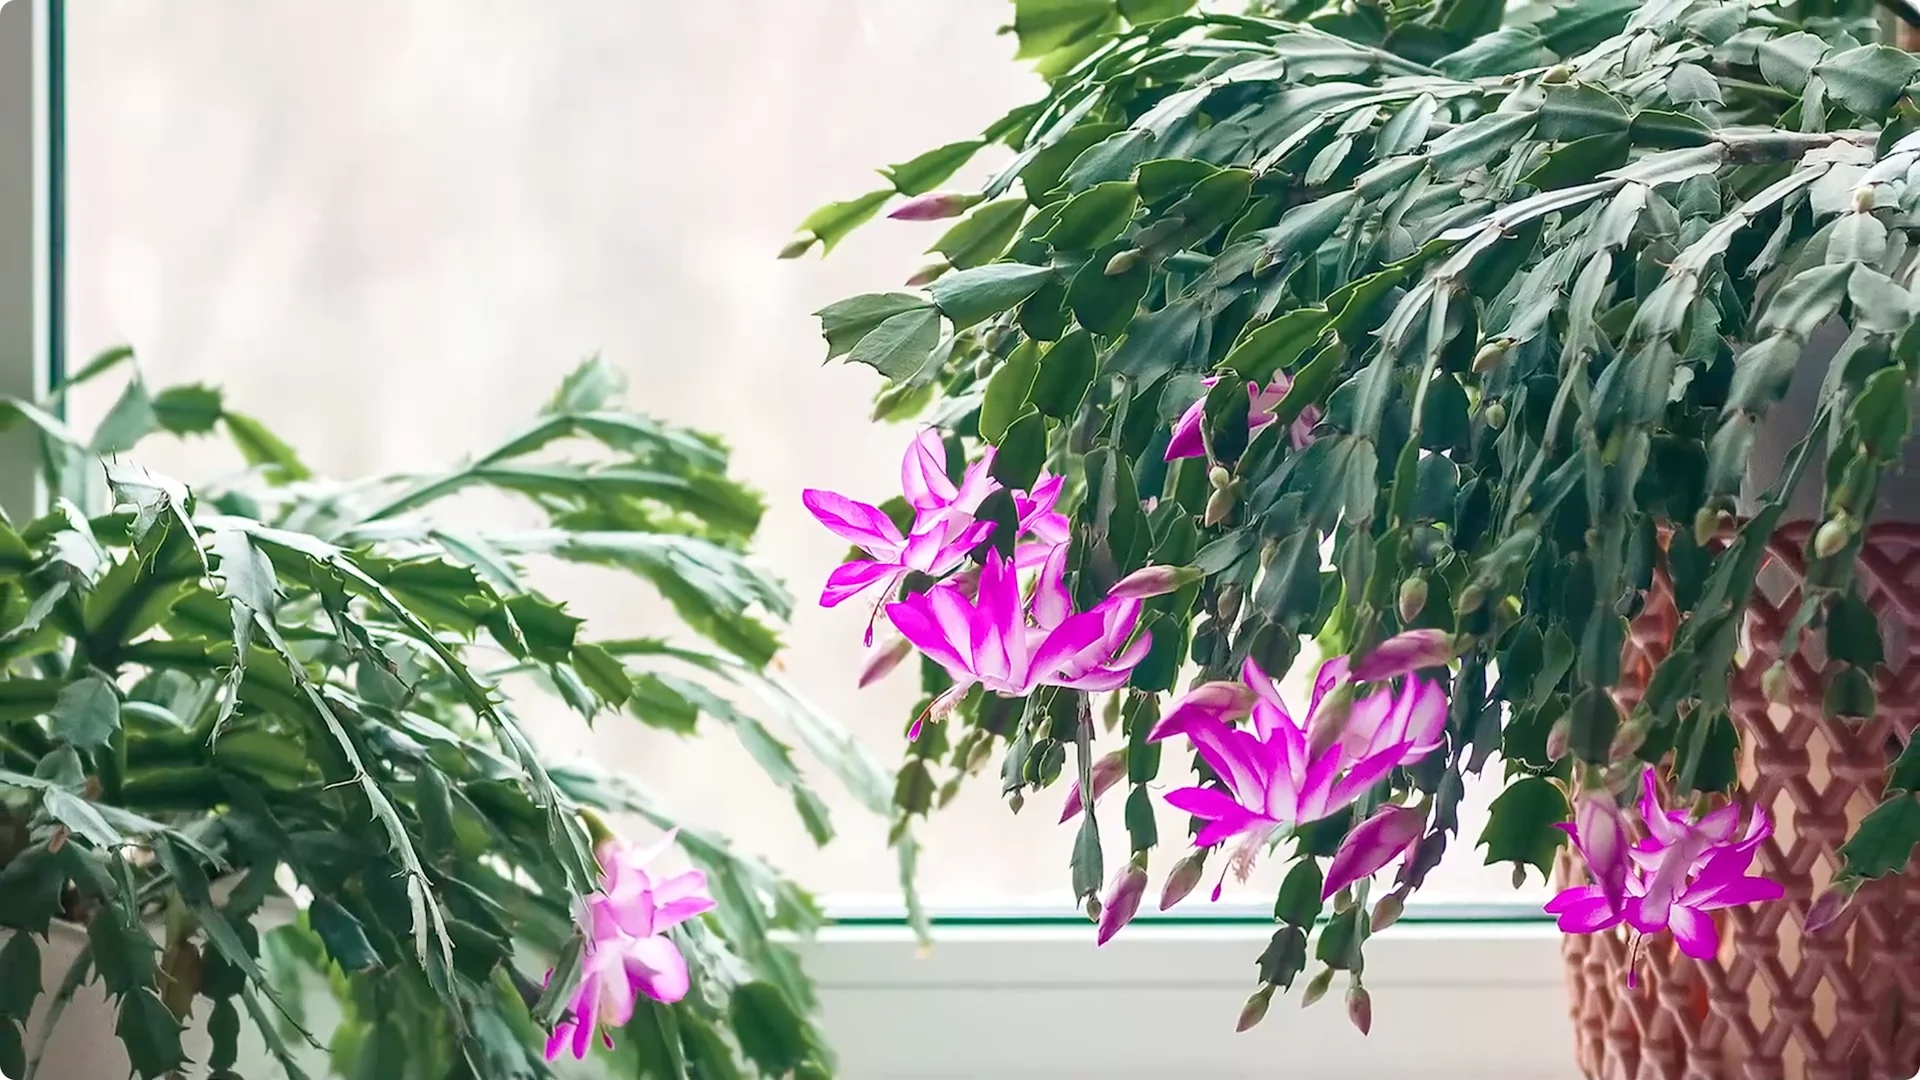
During the winter months while they’re in bloom, all three holiday cacti can be kept in diffused light for about 4 to 6 hours a day. Just avoid direct sunlight.
Once they’ve lost their blooms and the outside temperature starts to warm up as you move into spring or summer, you can leave them inside in a well lit area in your home that again doesn’t receive direct light, trying to keep the temperatures ranging from 60 to 75°.
3. Summer Outdoors: Indirect Light, Yellowing Watch, and Monthly Feeding
If you prefer, you can move them outside so they can get the best growth and stay the healthiest until next blooming season.
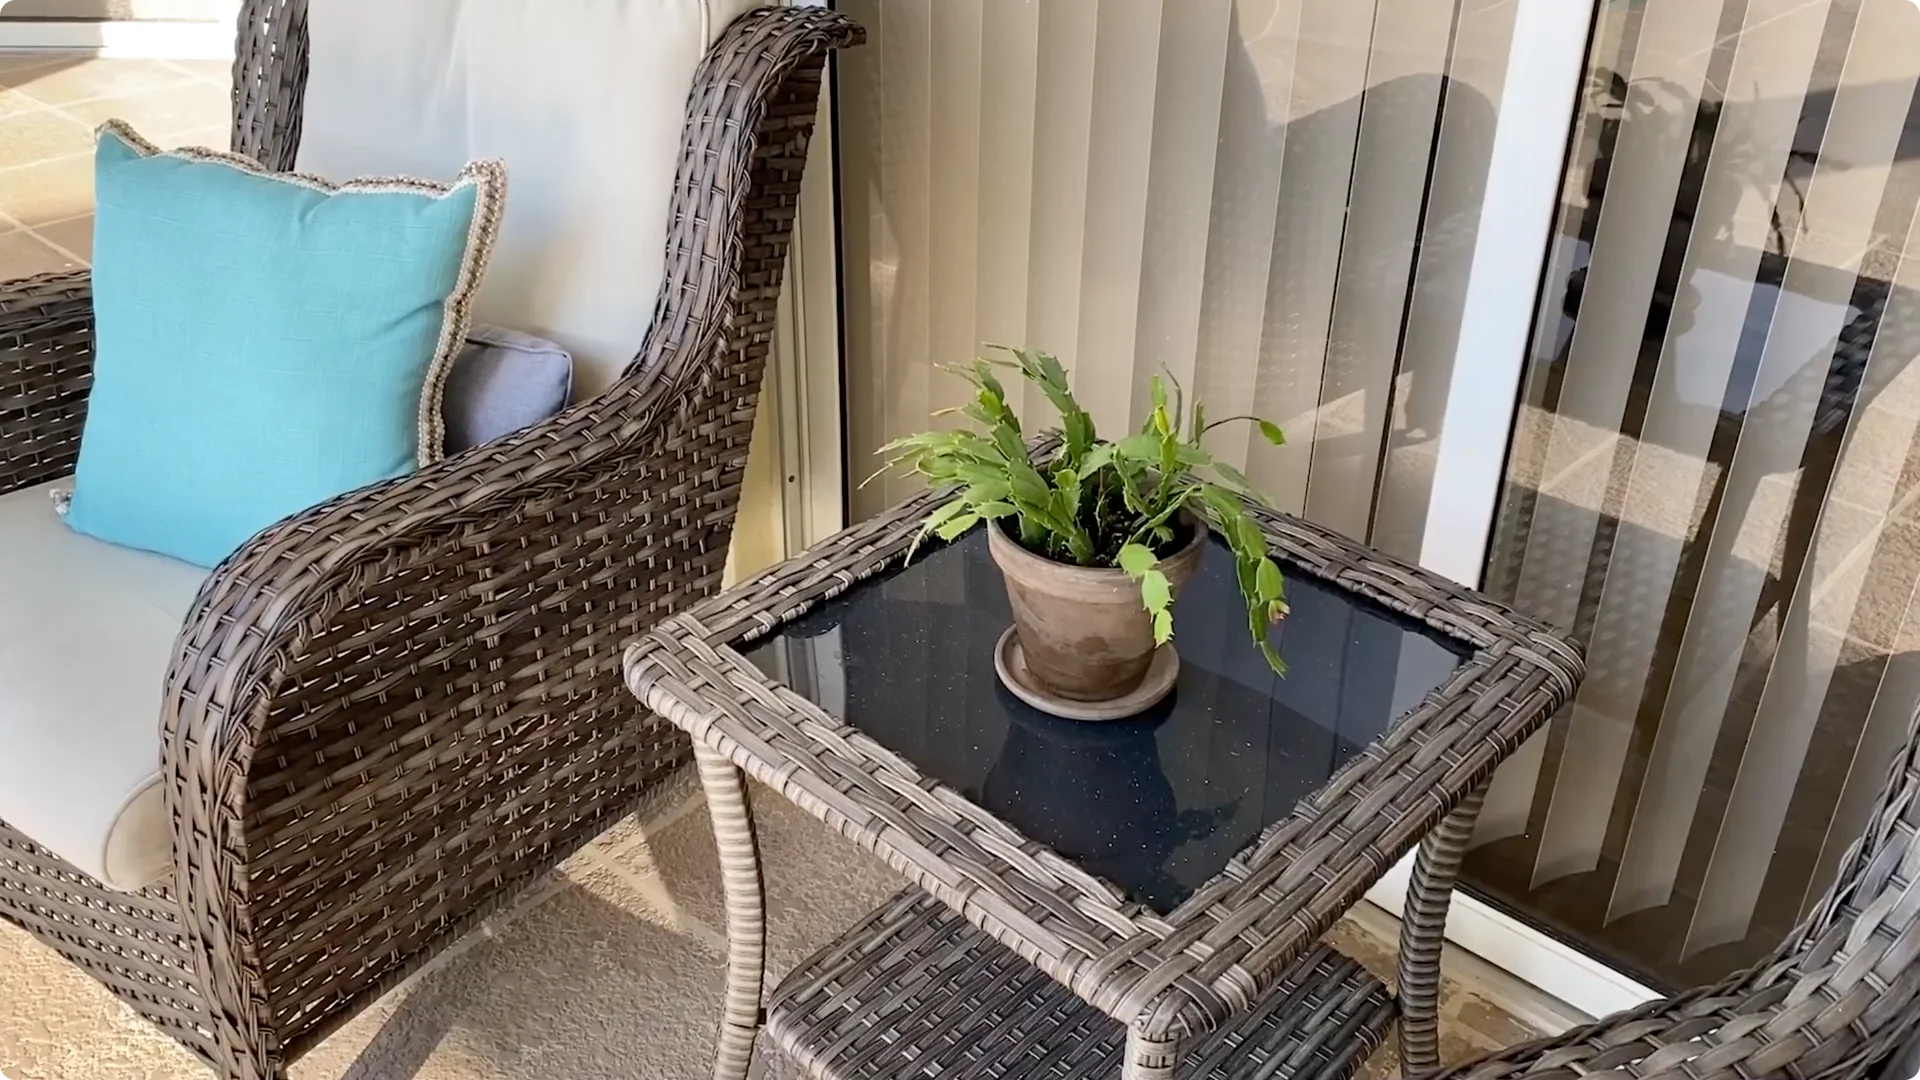
Place them in an area where they receive indirect light – maybe on a north-facing porch or under a canopy of some shady trees – while they stay out of direct sunlight.

If you start to notice them becoming pale and yellow when they’re outside, reassess the amount of light they’re receiving. It may be too much.
While they’re outside, water them as you did before, waiting till the soil dries out to about 90 percent.
During this growing phase, fertilize at least once a month at half rate with a balanced water soluble or liquid fertilizer.
4. Pre-Bloom Routine: Drier Soil, Cool Nights, and 12 to 14 Hours of Darkness
As your plant grows and the outdoor temperatures start to cool down again, there are three things you’re going to want to do to help buds set and ultimately bloom.
The closer you can follow these three guidelines, the higher the likelihood that your plant will set buds.
5. Protect Buds: Keep Conditions Steady
When buds set, to avoid bud drop try not to move them around too much. They can be a little sensitive to changes in light, temperature, and humidity.
If you decide to cover them with a box, try to do so in the spot that you’re planning on keeping them when they bloom.
I know a box in the middle of the dining room is not ideal, but look at the bright side – the box will only be there at night.

These steps will help your Thanksgiving and Christmas cacti bloom right before Thanksgiving and Christmas.
To do the same for the Easter cactus, start the process of giving them 12 to 14 hours of darkness 8 weeks before spring.

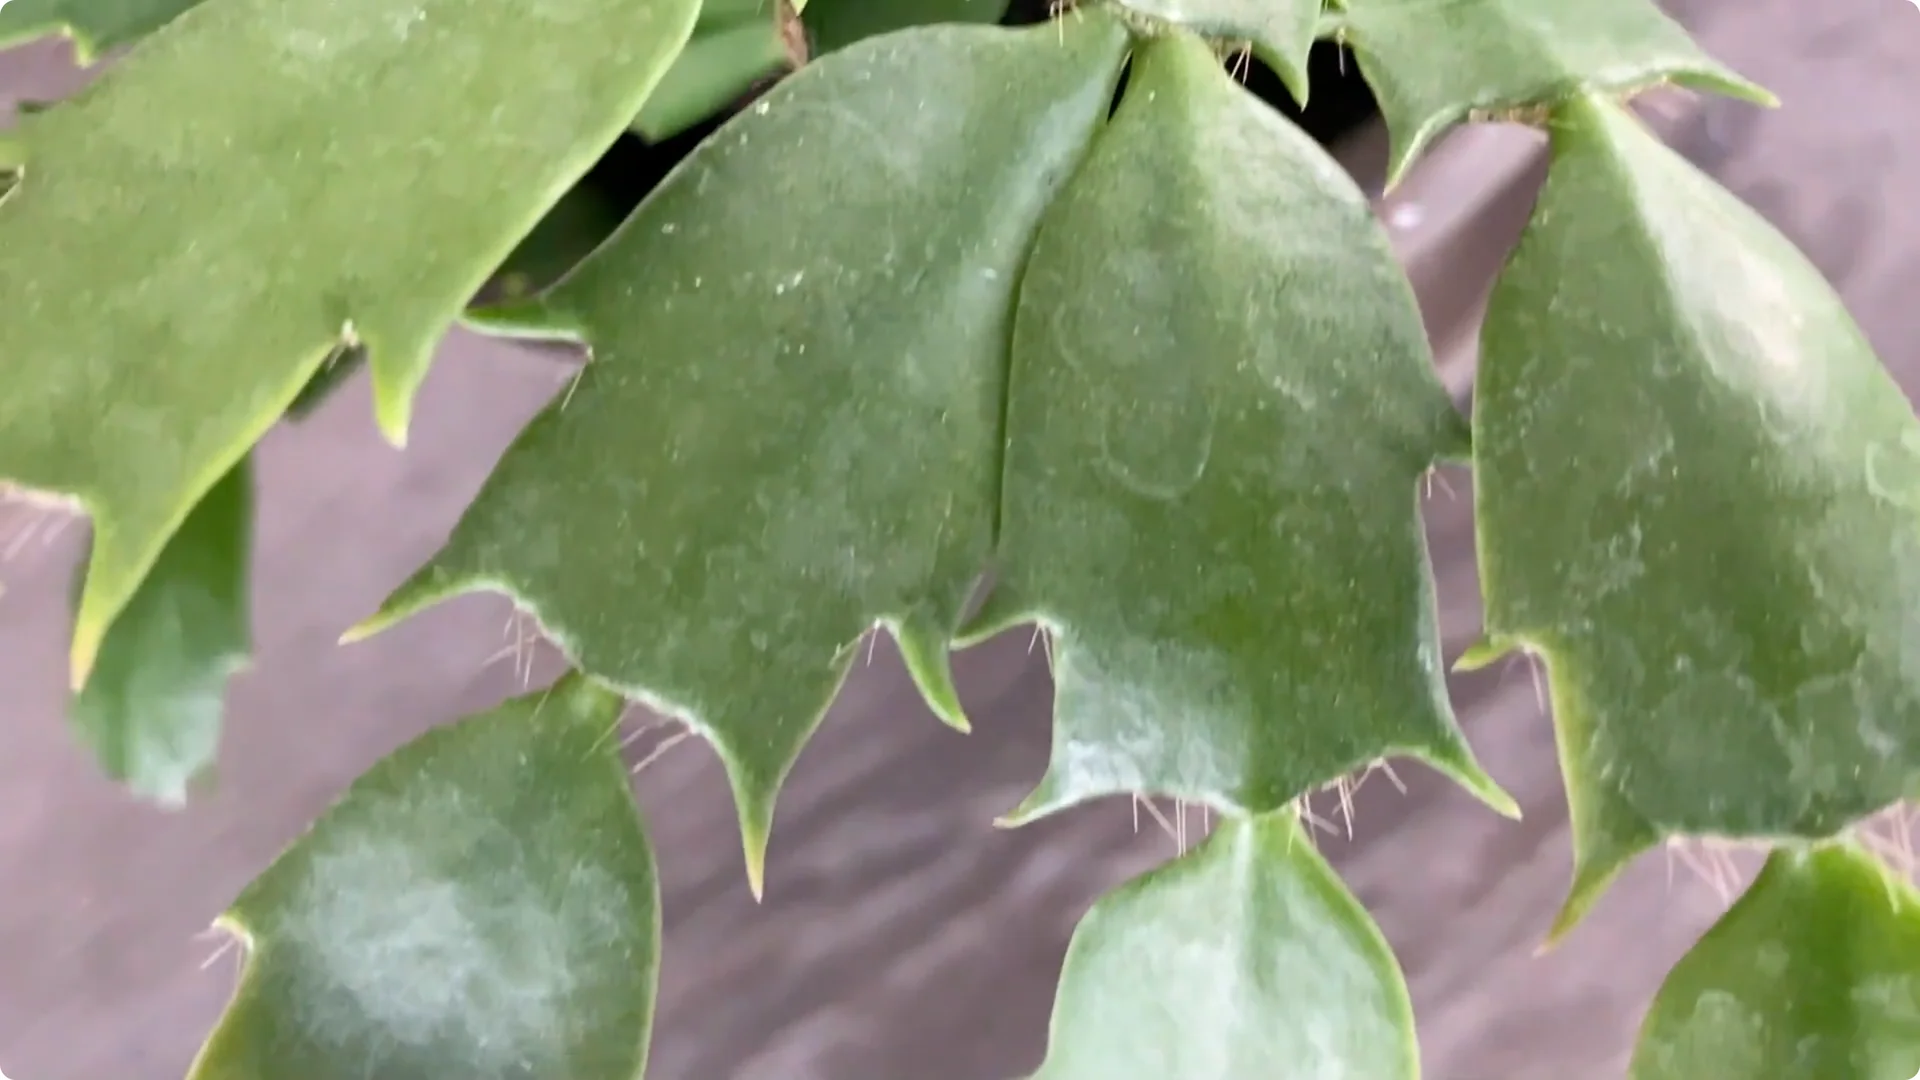
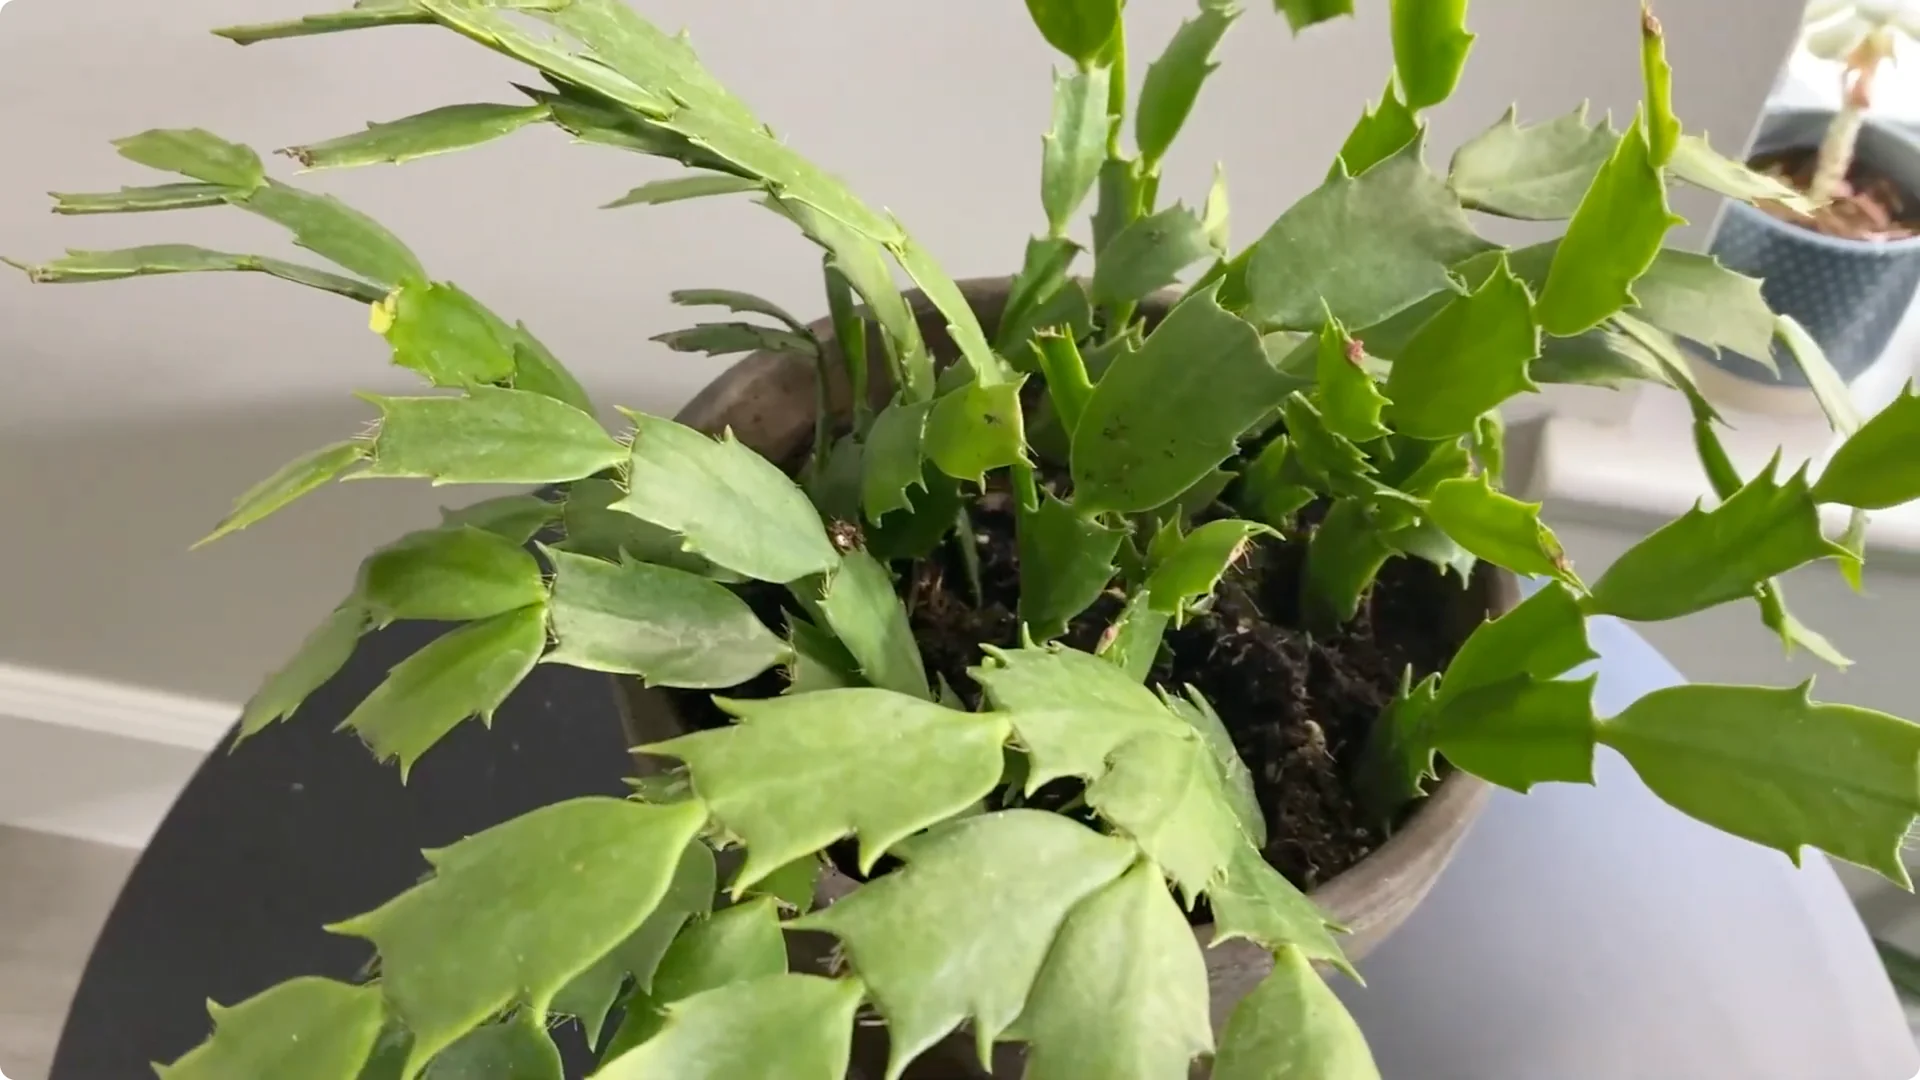
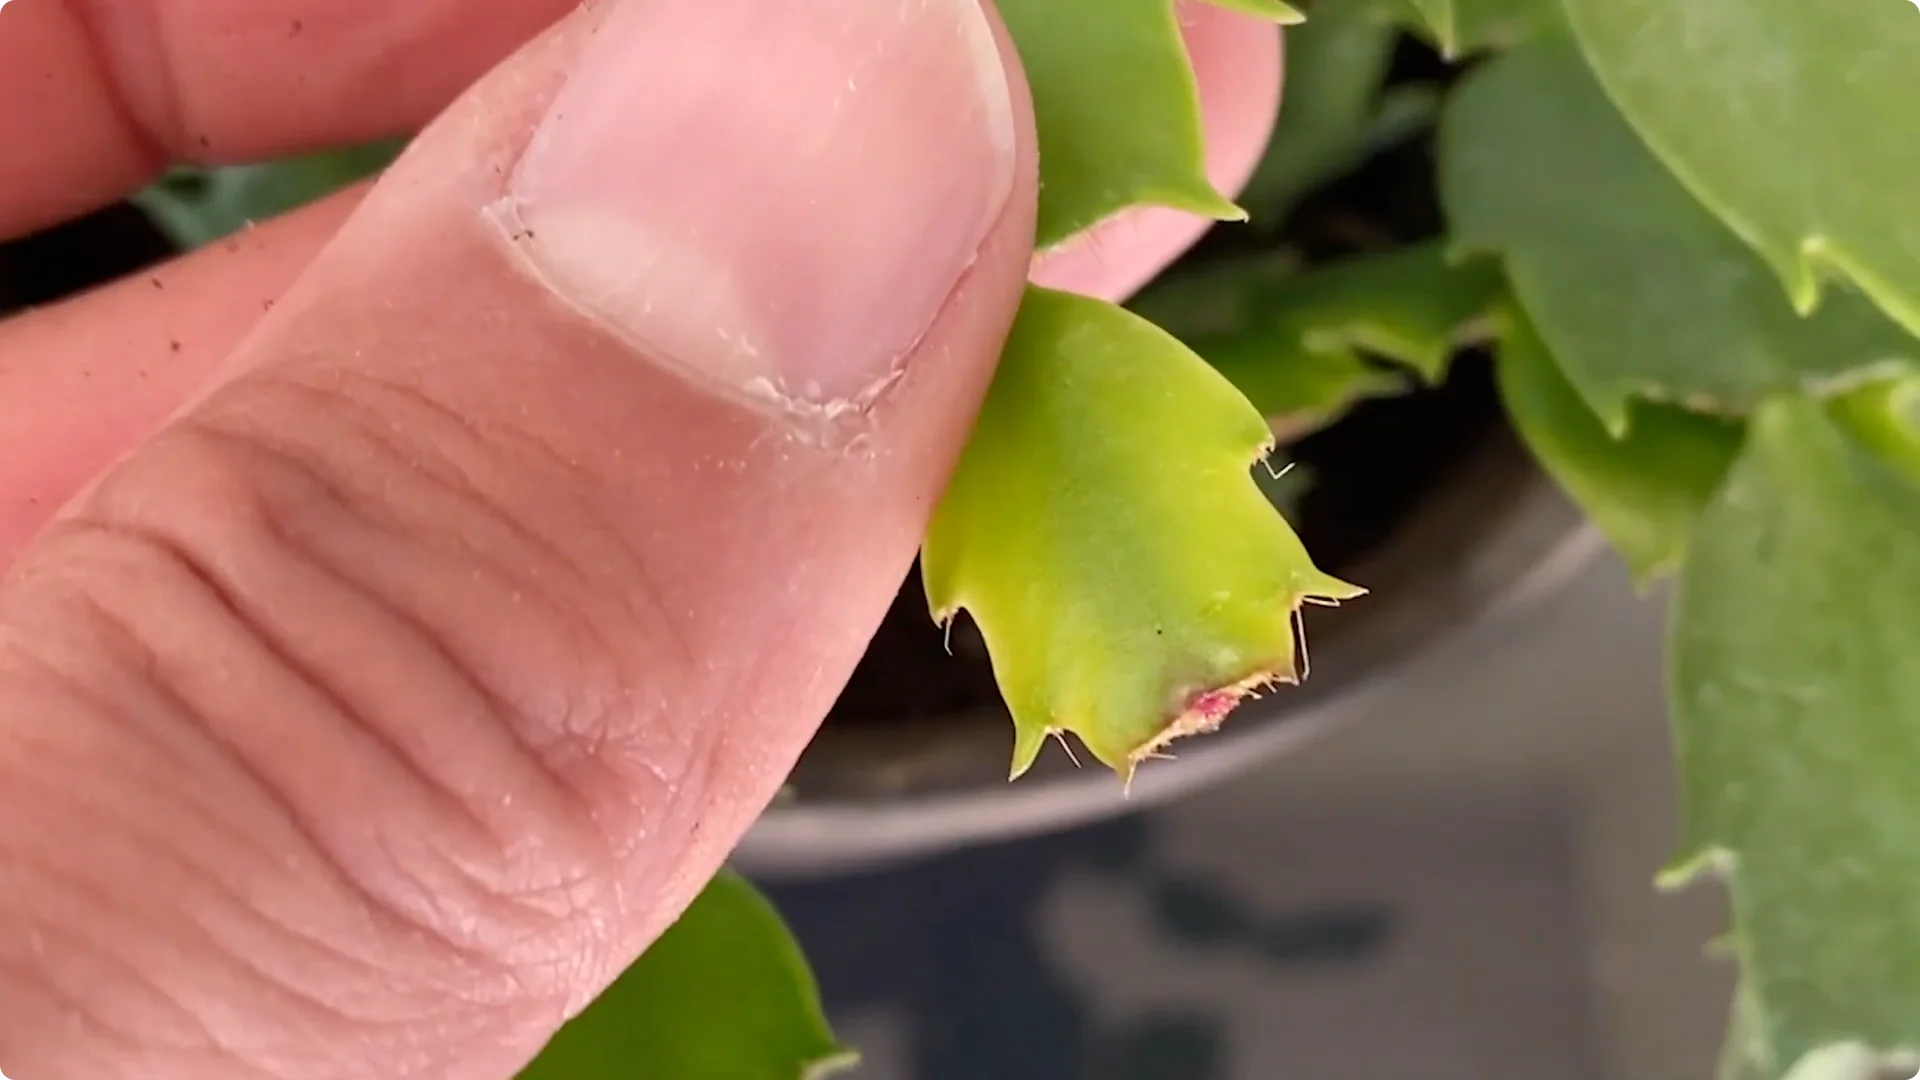
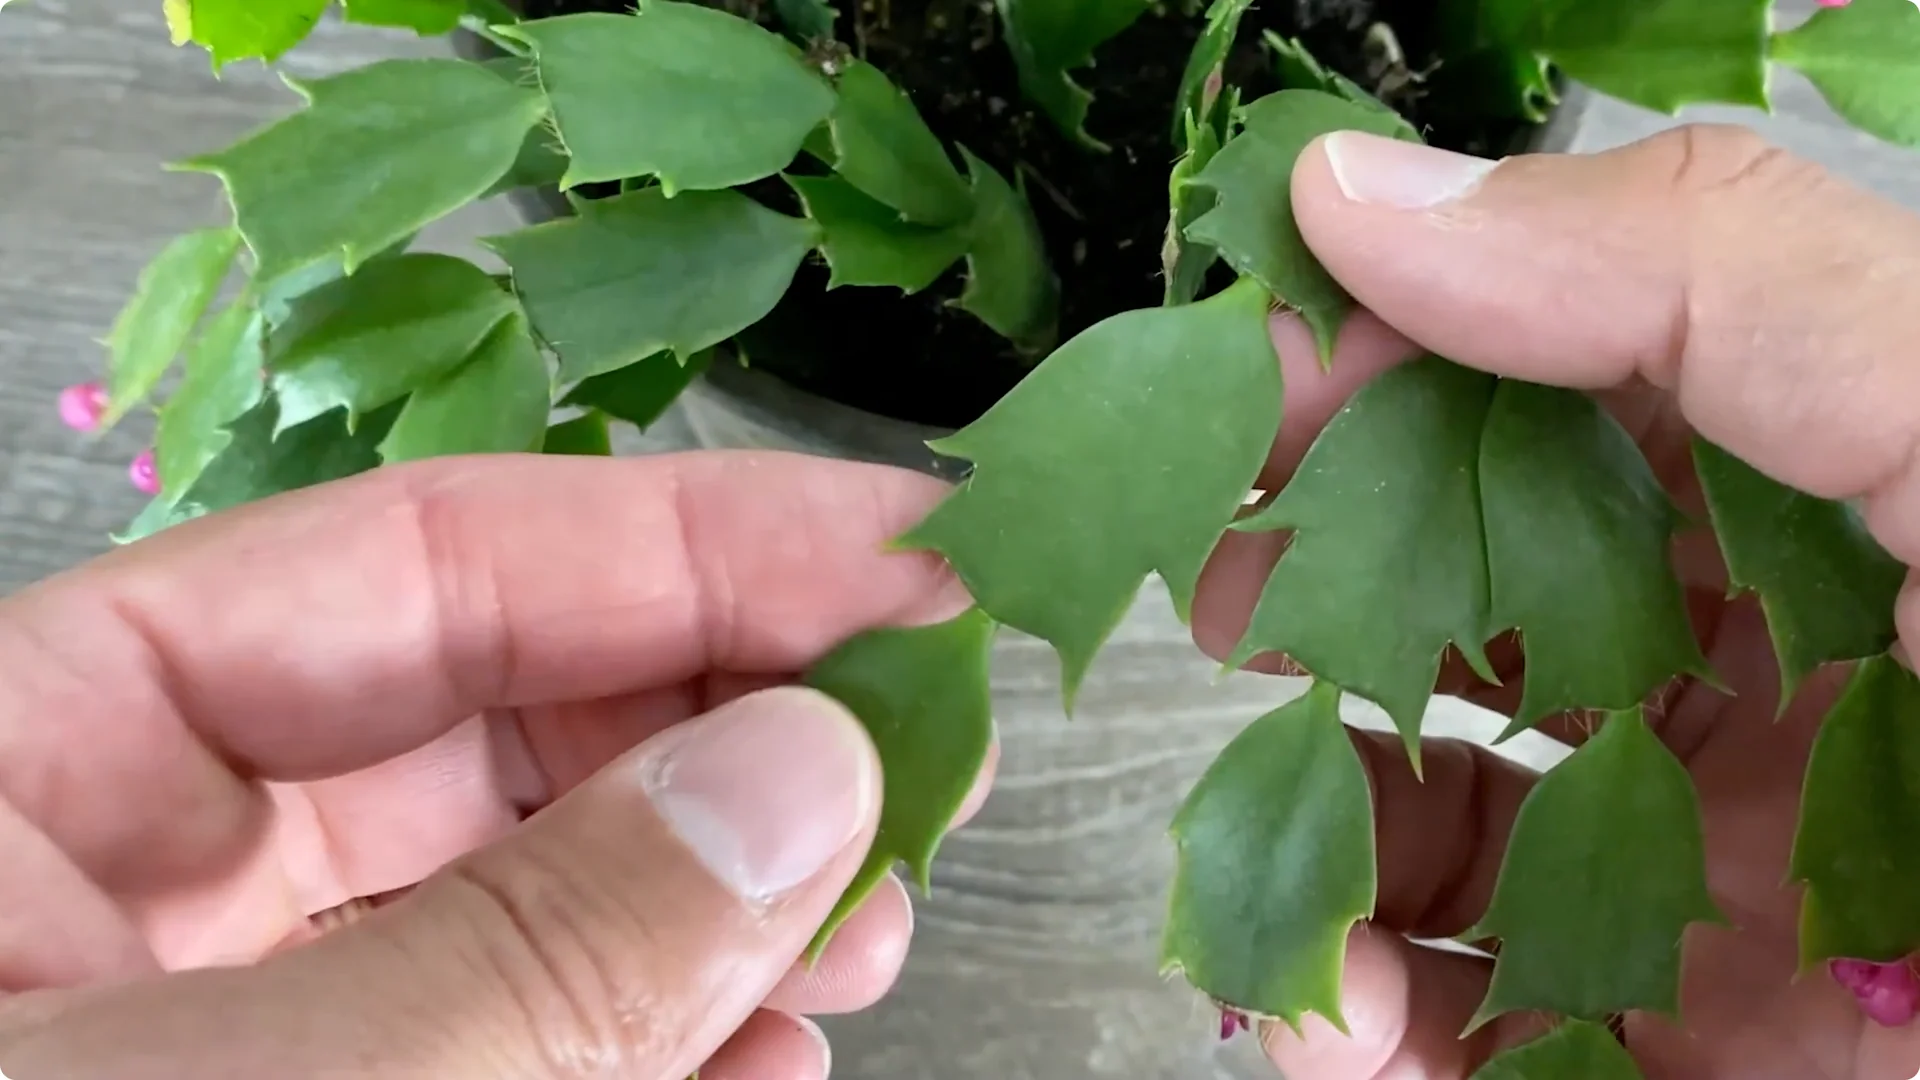
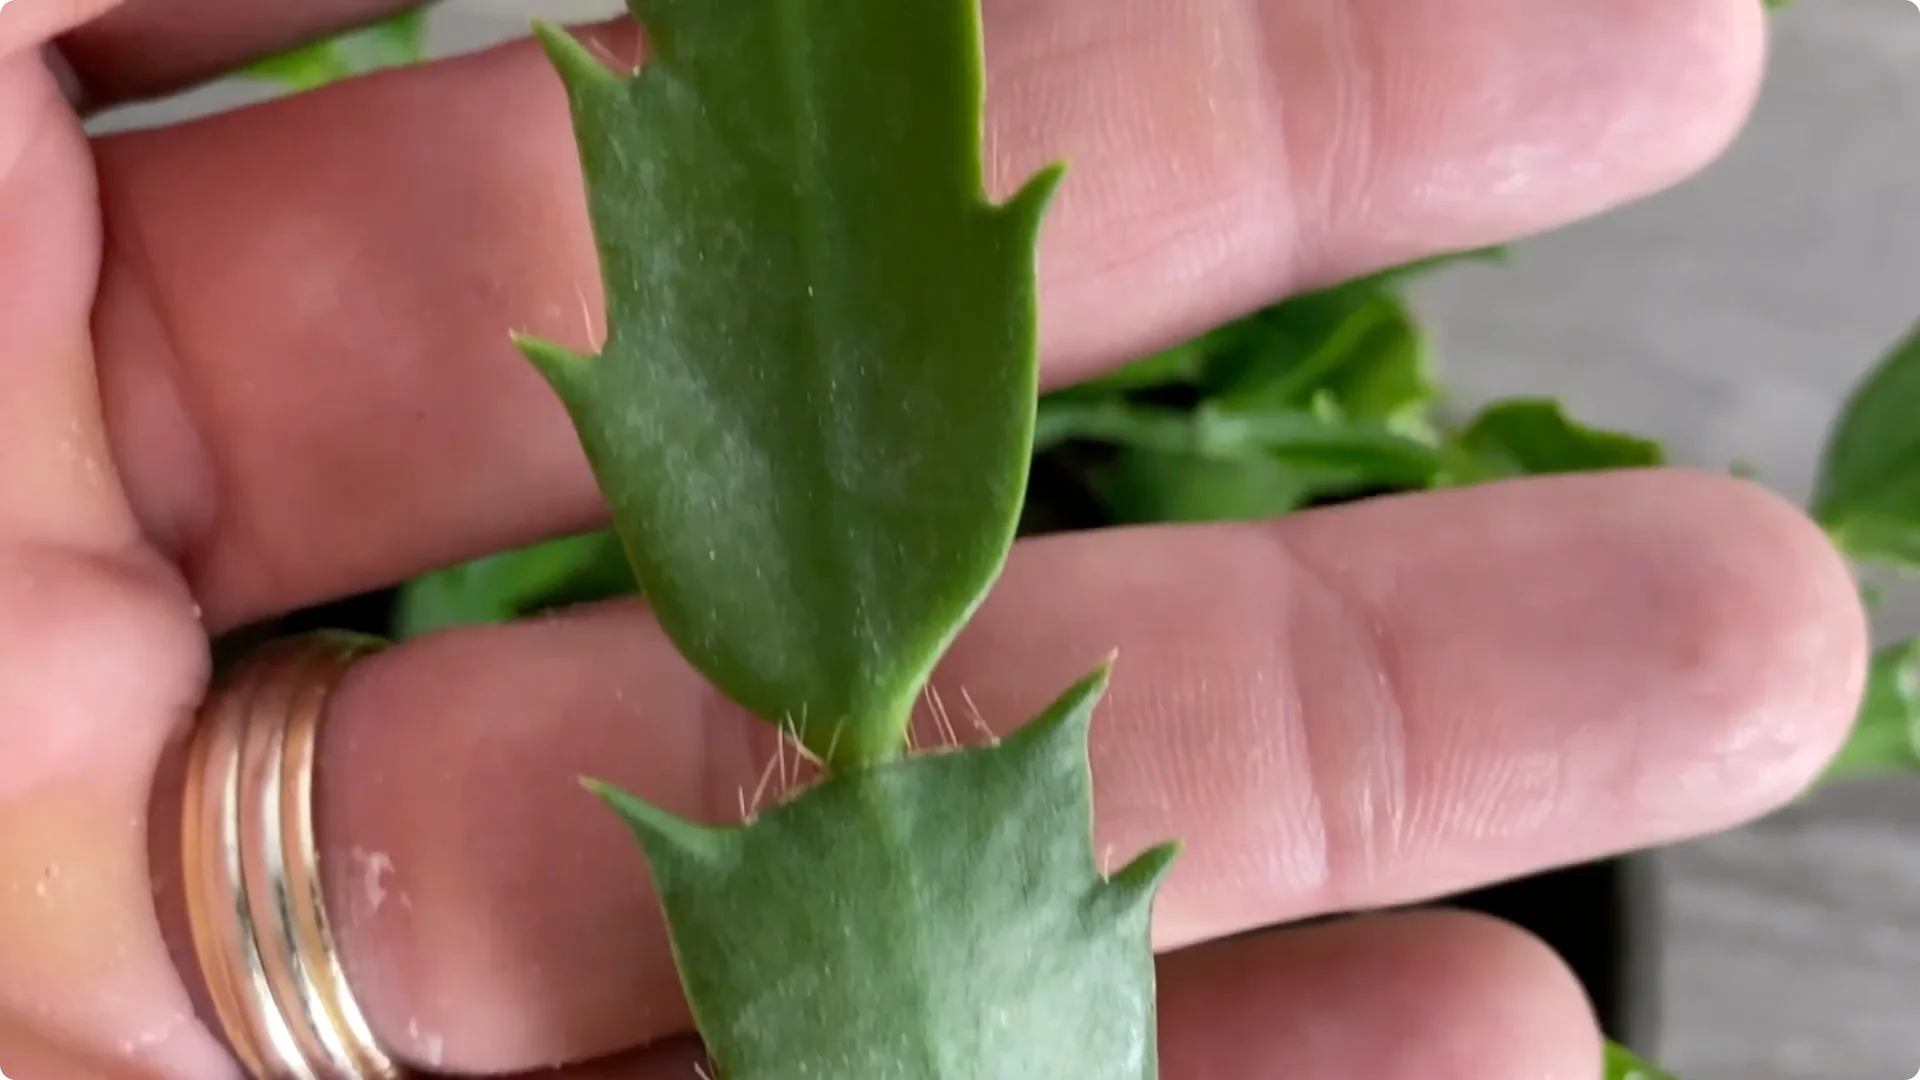
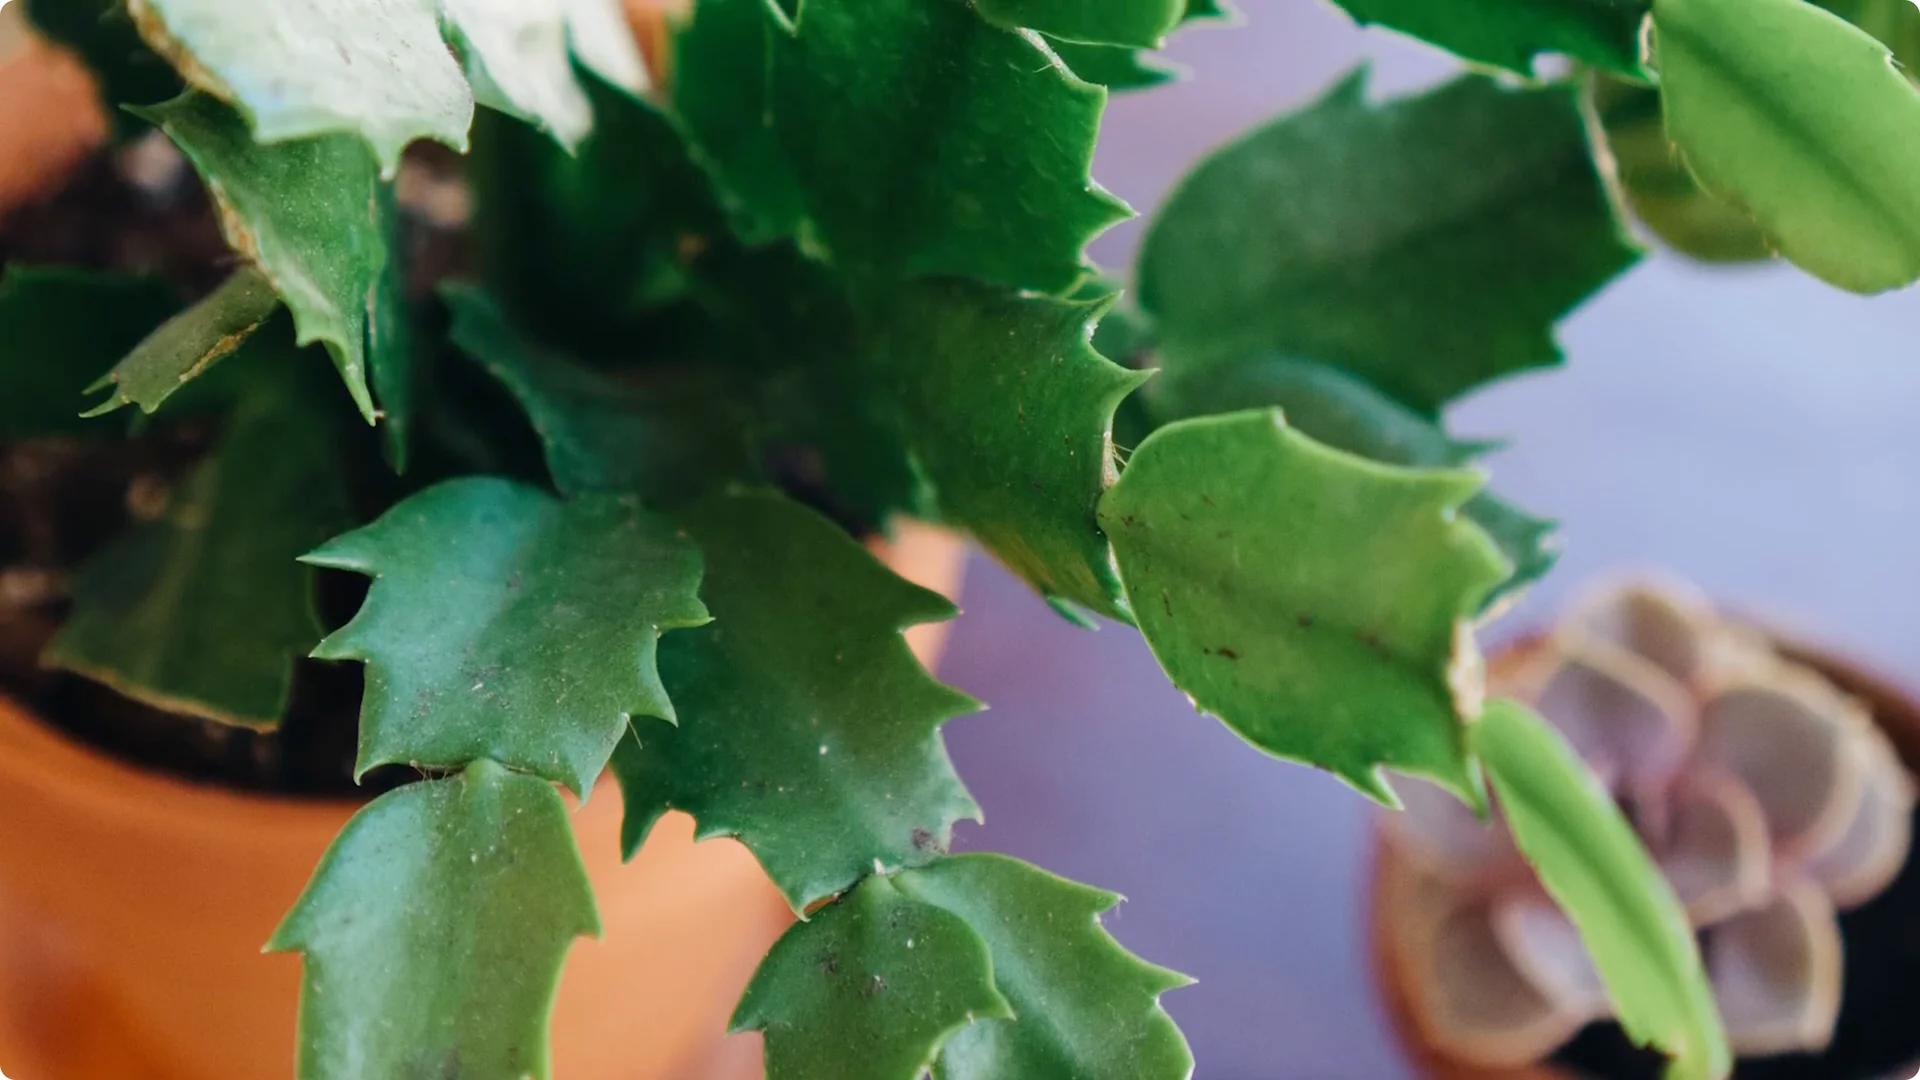
6. Identify Your Holiday Cactus by the Stems
To determine which one you actually have, look closely at the stems. Yes, these flat looking things on our holiday cactus are jointed stems made up of flattened segments.
7. Why Stores Often Sell Thanksgiving Cactus
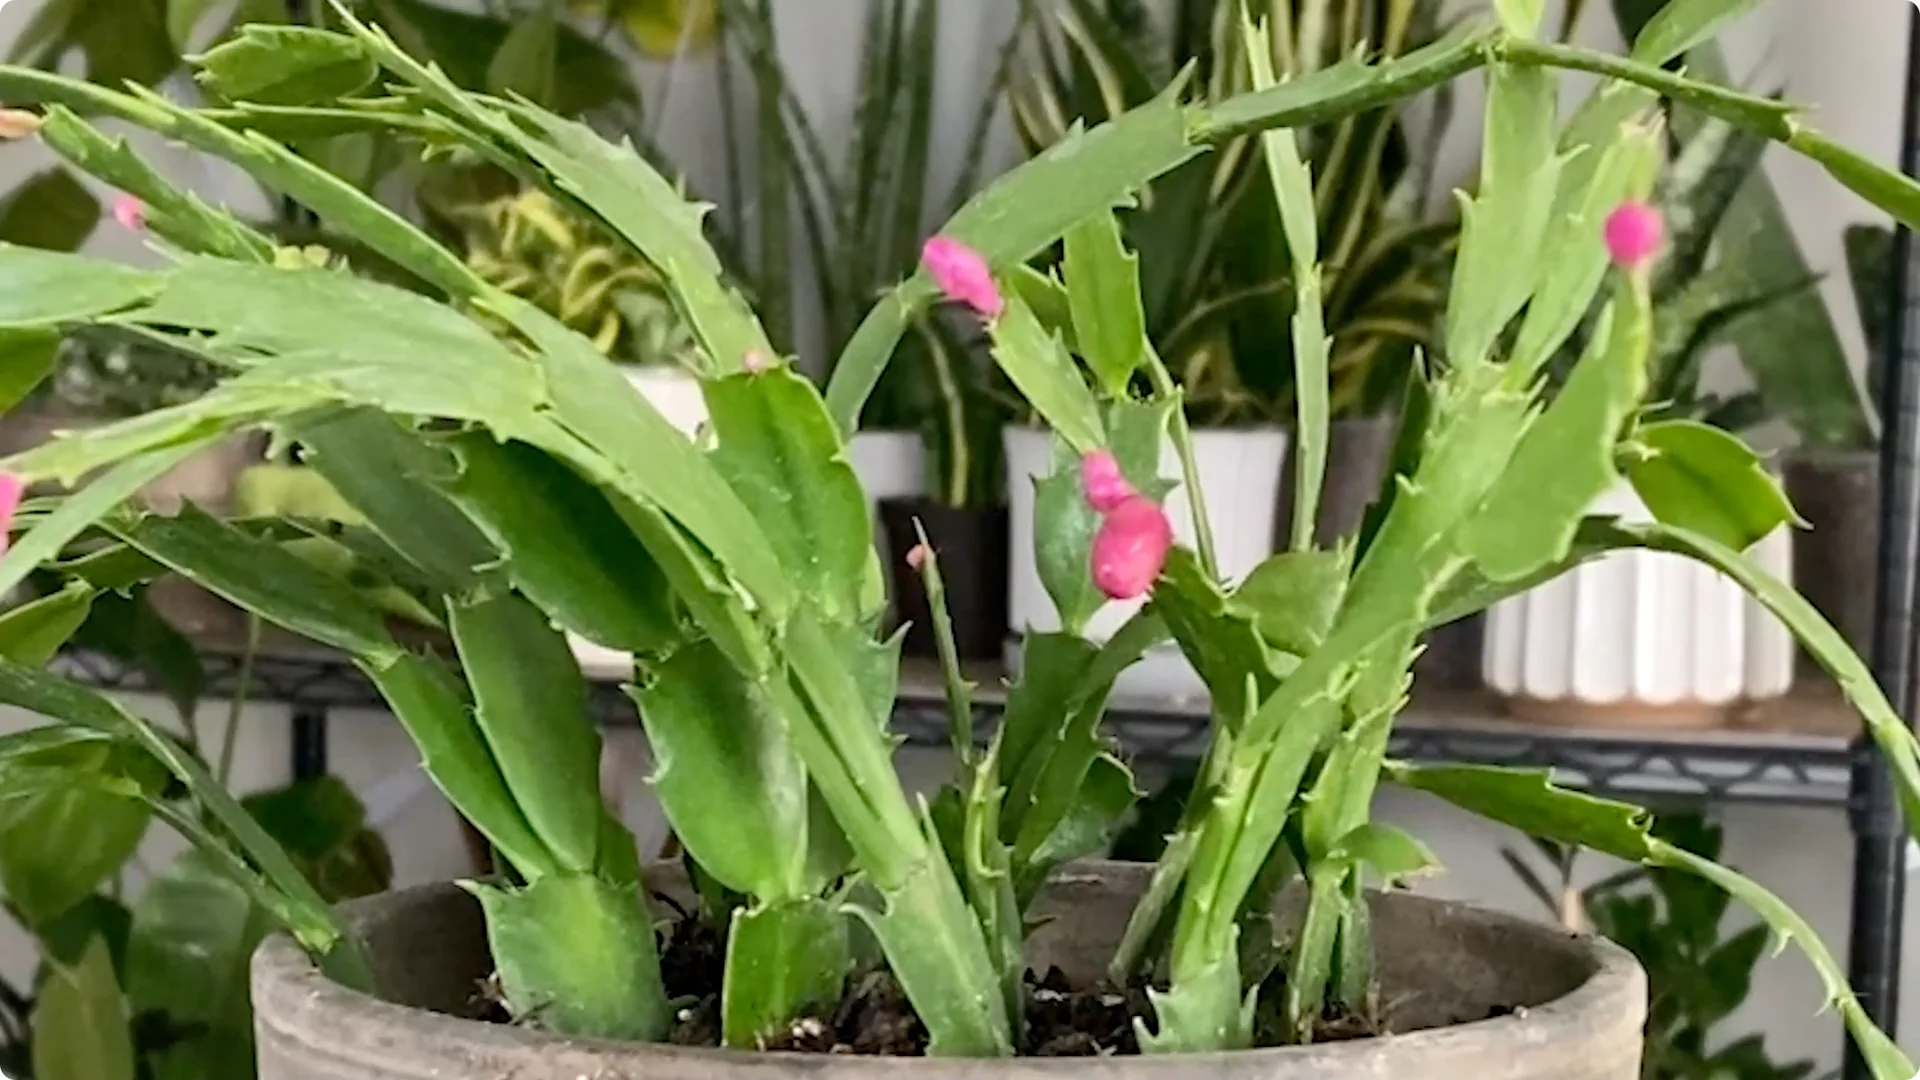
If you just bought yours and it’s November or December, I’m guessing you have a Thanksgiving cactus but you’re disappointed because you wanted a Christmas cactus.
There’s a reason for that: no one wants to buy a Christmas cactus when the holidays start and there are no buds on it, so it’s a whole lot easier for commercial growers to produce Thanks giving cacti that’ll be loaded with buds and ready to bloom when they hit the stores for the holidays in November.
8. Prune for Shape After Bloom (and Use the Cuttings)
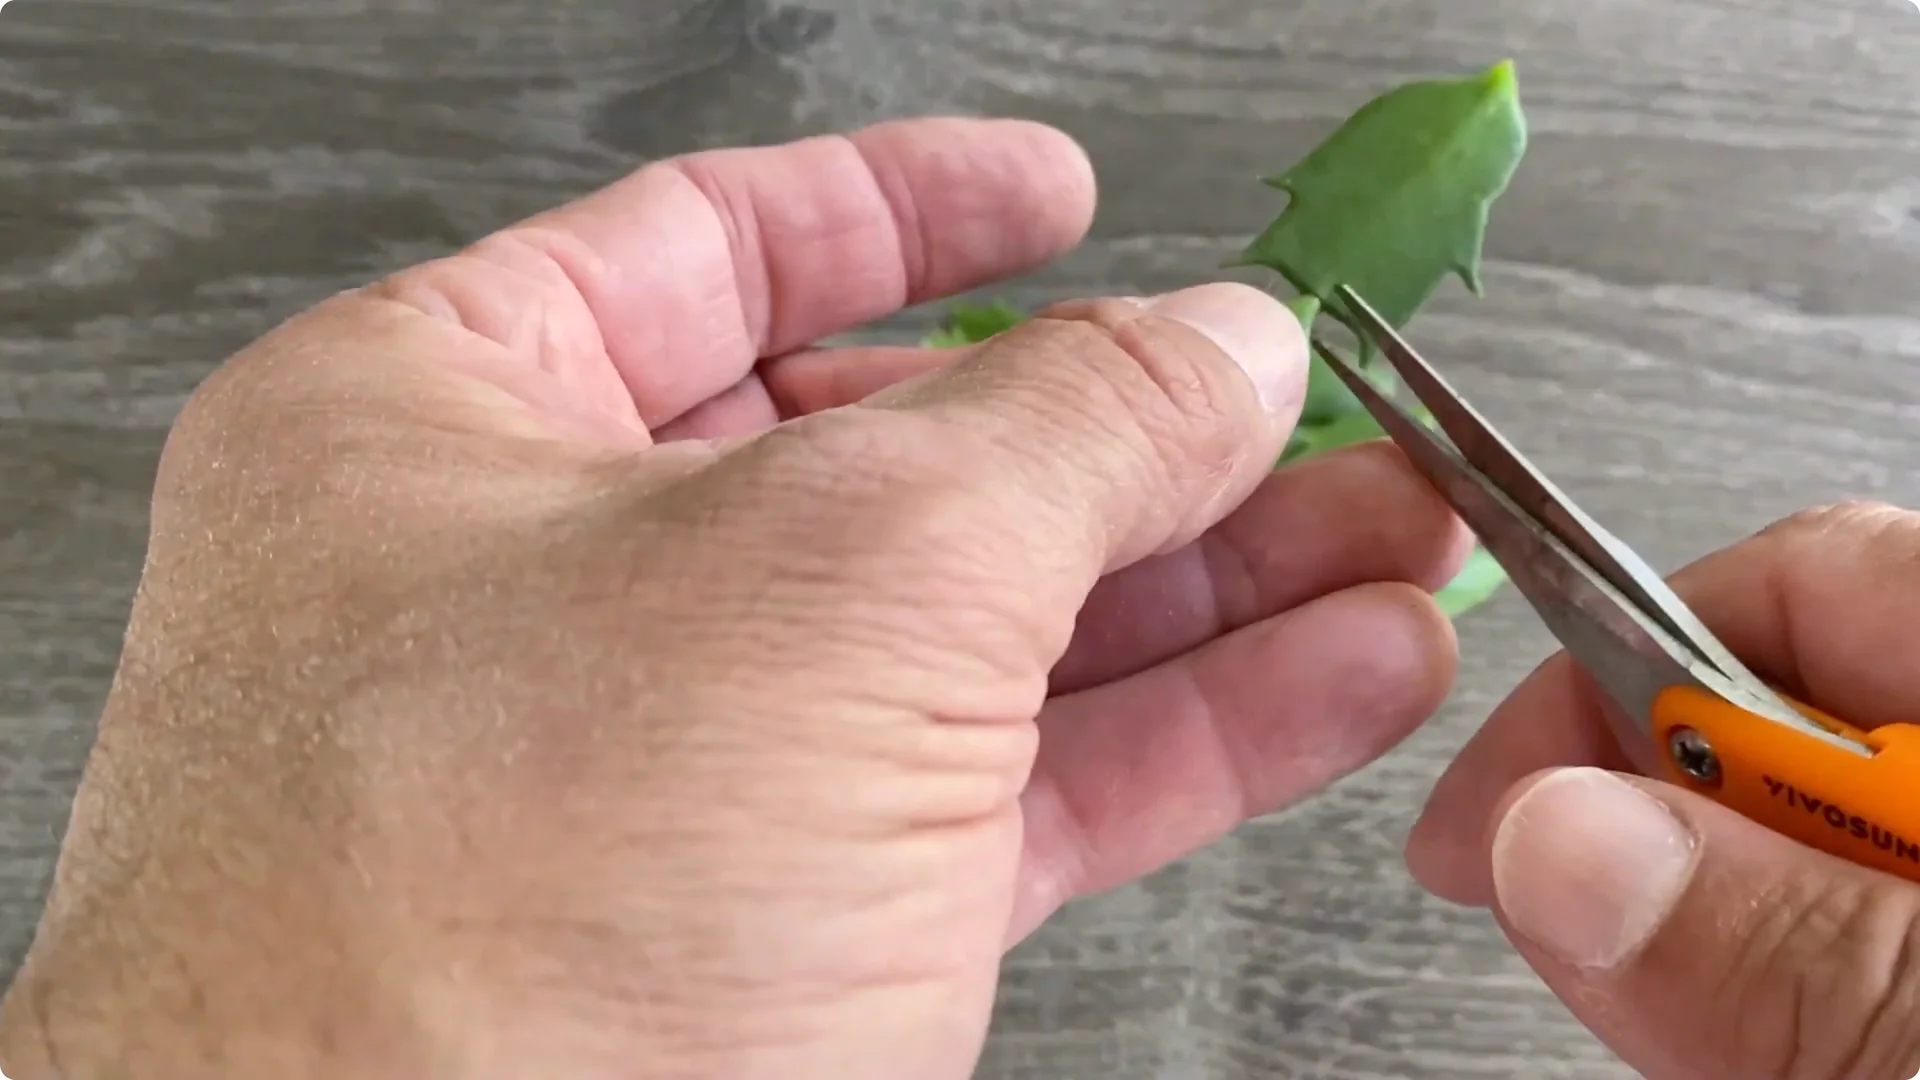
Once your plant is done blooming and it warms up again, if you want to control your plant and give it some shape, you can easily shape it by pruning between the segments.
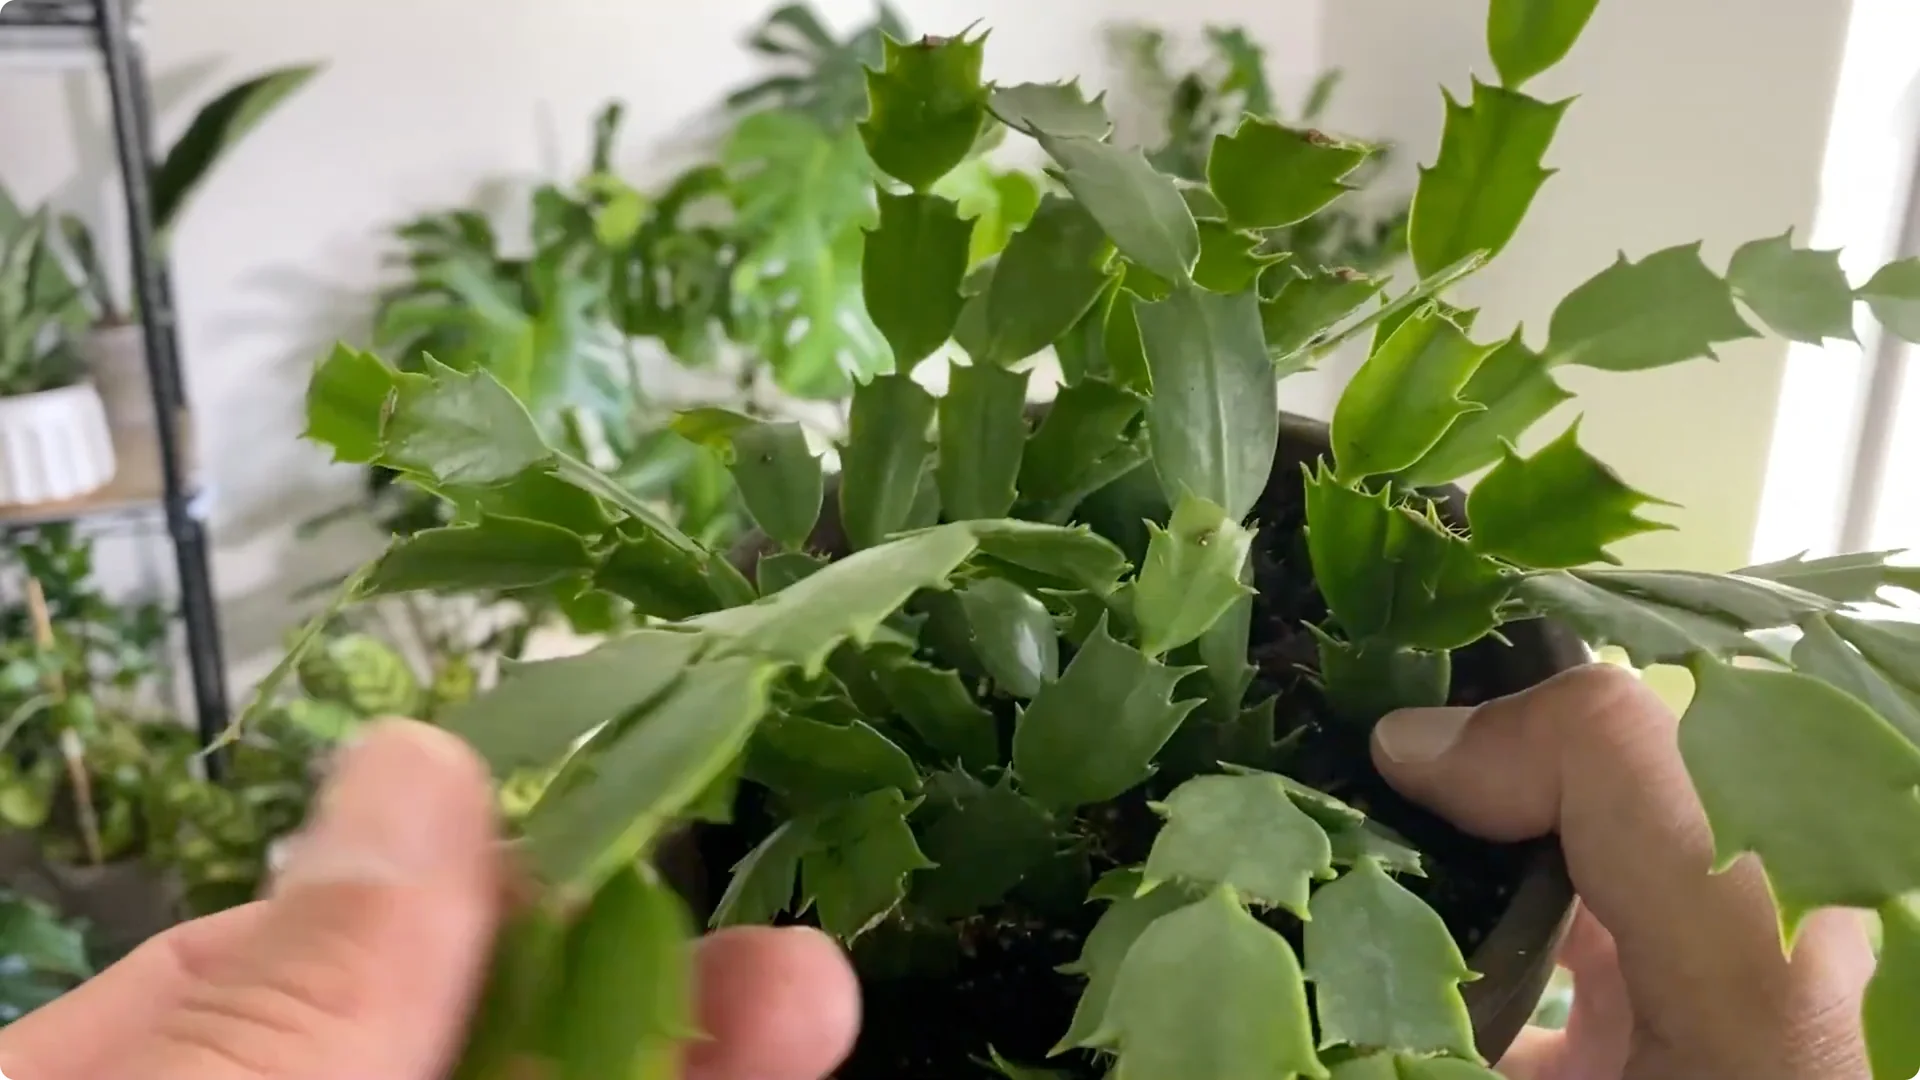
If it’s really out of hand, you can cut back as much as one third of the plant with clean pruners to give it some shape.
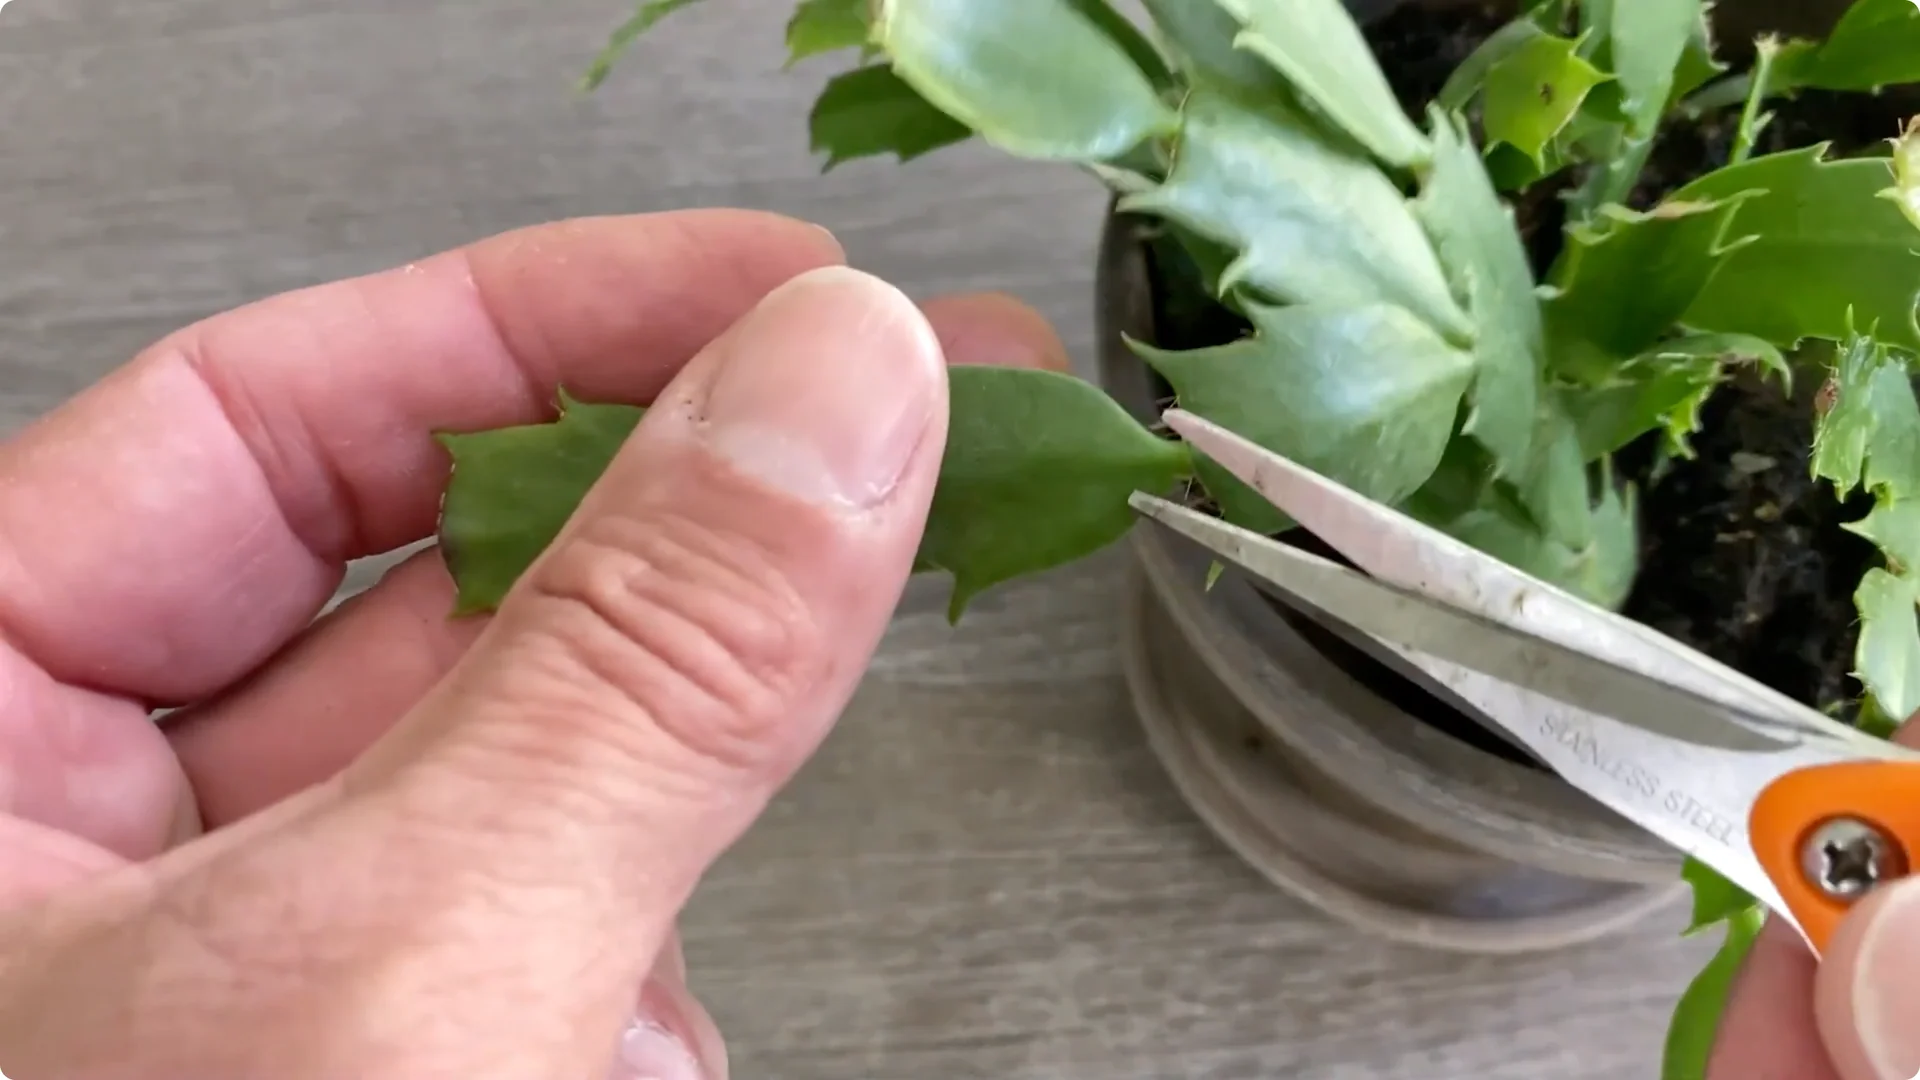
After you’ve pruned it, the best part is that we’re left with a bunch of cuttings that we can use to produce more plants for the next season.
9. Propagate in Soil: My Simple Mix and Planting Method
To propagate, start by taking the cuttings and setting them to the side for about 2 to 3 days to let them callus over.
I’ve propagated them in the past without taking this step and been successful, but I’m in the warm south and maybe you’re not, so I want you to be covered.

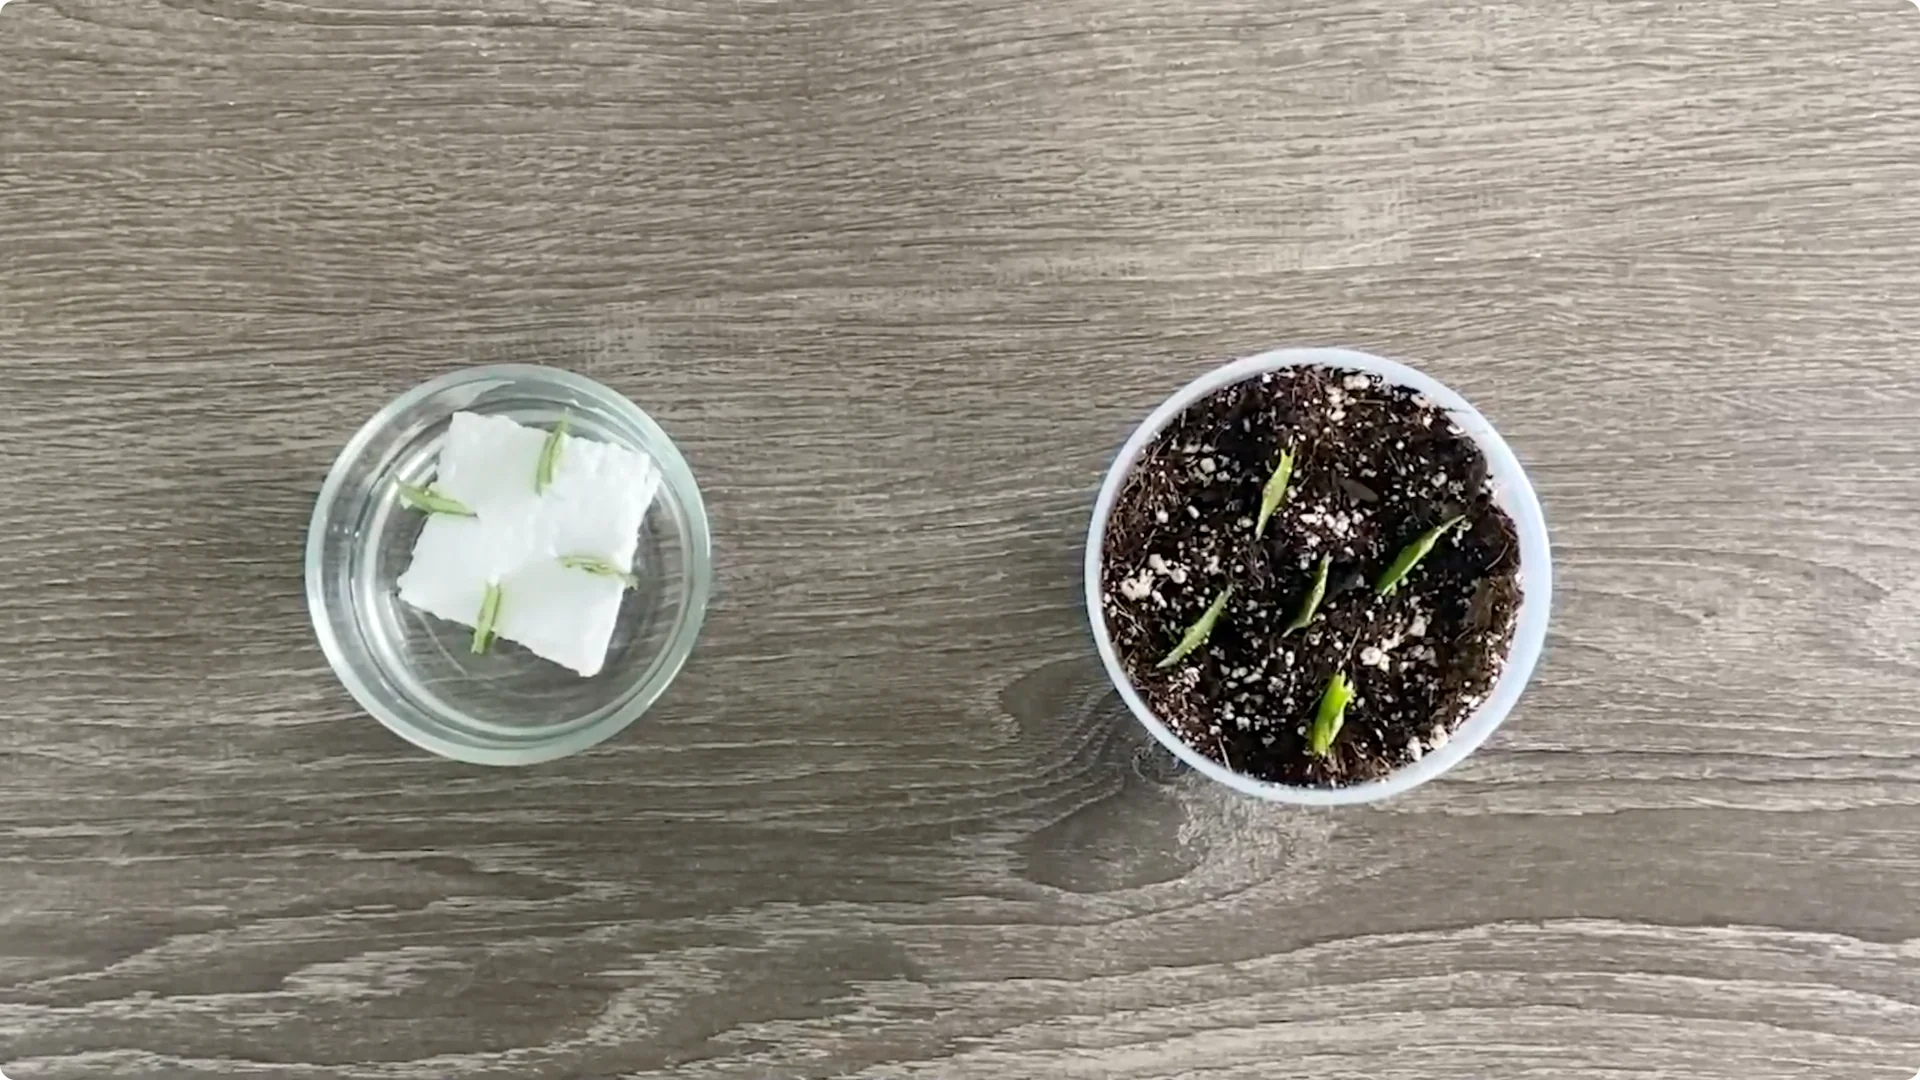
You have two options to propagate the stems, and that’s soil or water. Which one you choose is really up to you.
I personally haven’t found one to be easier than the other.
With soil propagation, as the name says, you go straight to soil and avoid having to make water changes and the risk of losing them when you transplant them.
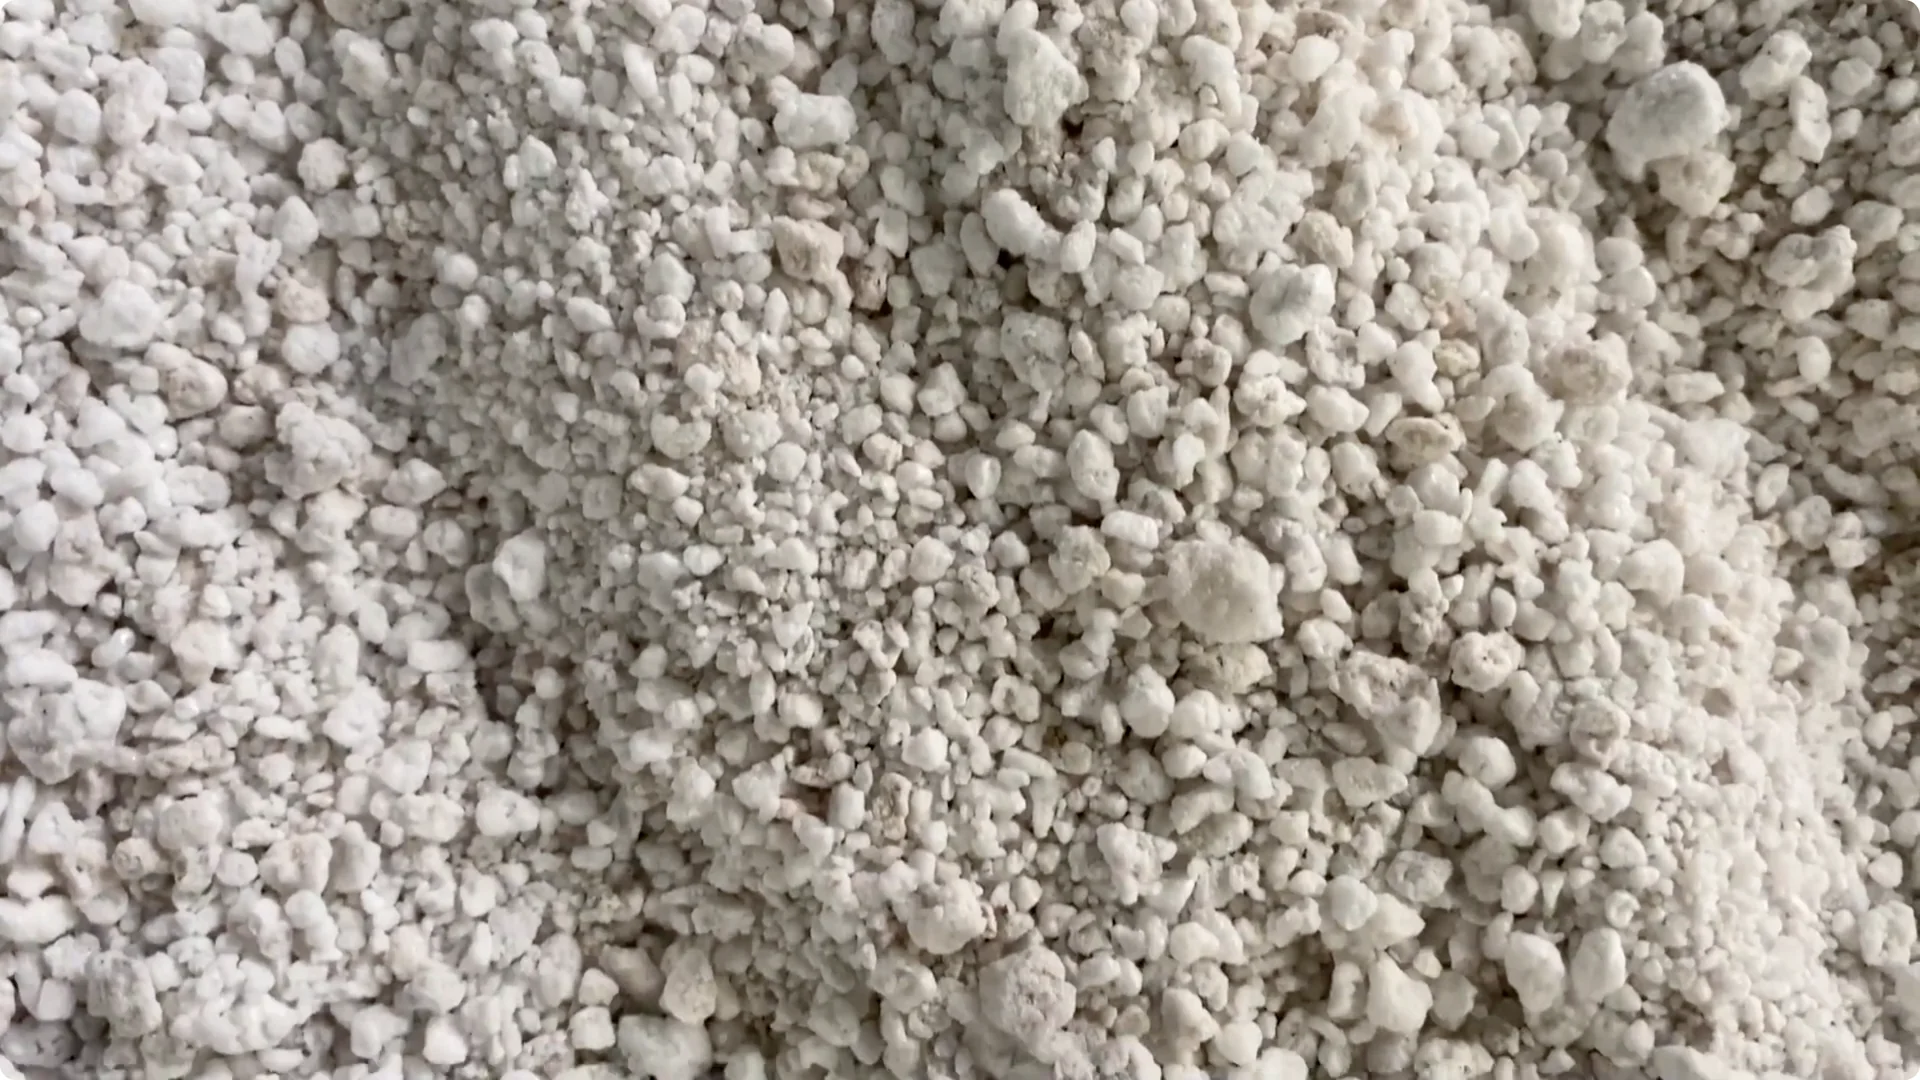
Mix a well-draining soil. I like to use a combination of coir and perlite at 70 percent coir and 30 percent perlite.
The coir will help to retain the moisture the cuttings need, and the perlite will provide drainage and aeration. When you use the perlite, try to not inhale it and actually water it down so the particles don’t go in the air.
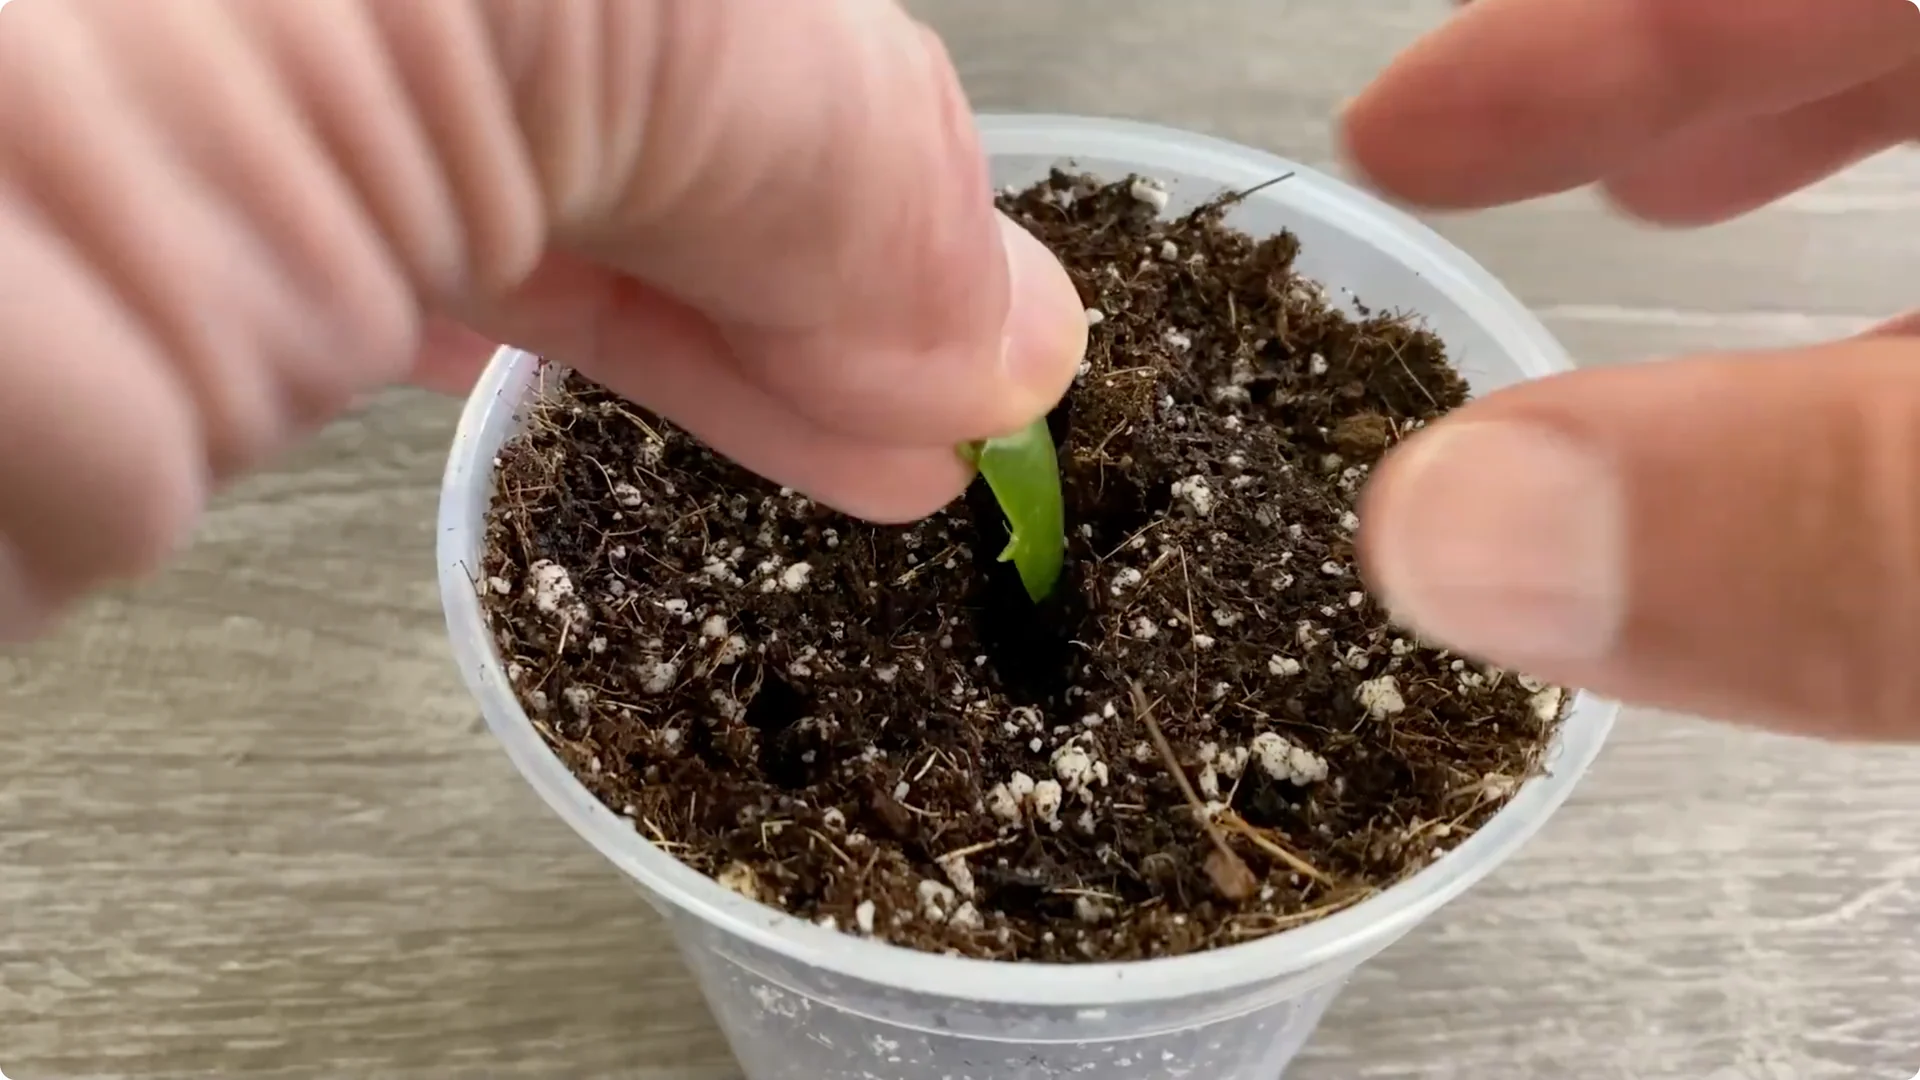
Take the cuttings, dig a small trench in the soil, and plant each cutting about halfway in the soil.
Water immediately just to moisten the soil, and then moving forward, water when they’re almost completely dry.
10. Propagate in Water: Styrofoam Raft, Weekly Changes, and Potting Up
With water propagation, you get to see the roots grow in the water, but you do have to eventually step them up to soil when the roots are long enough.
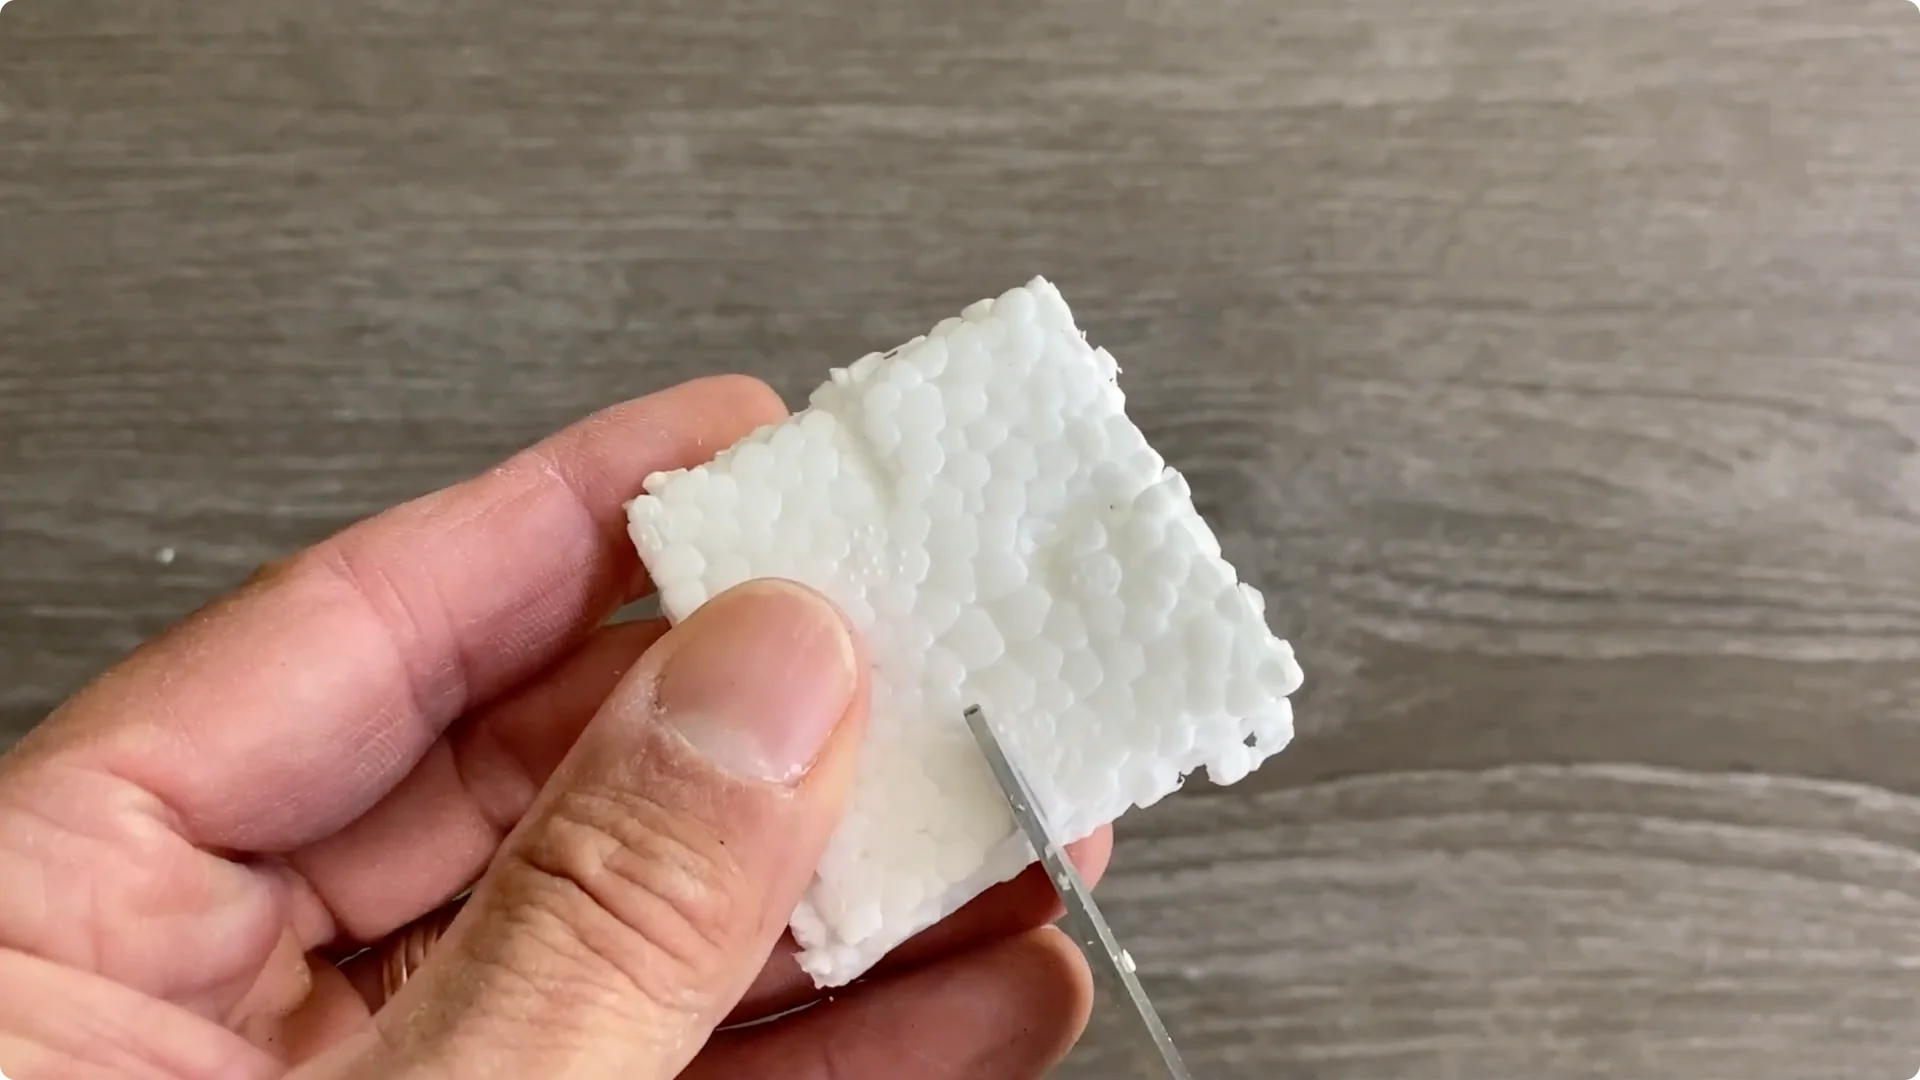
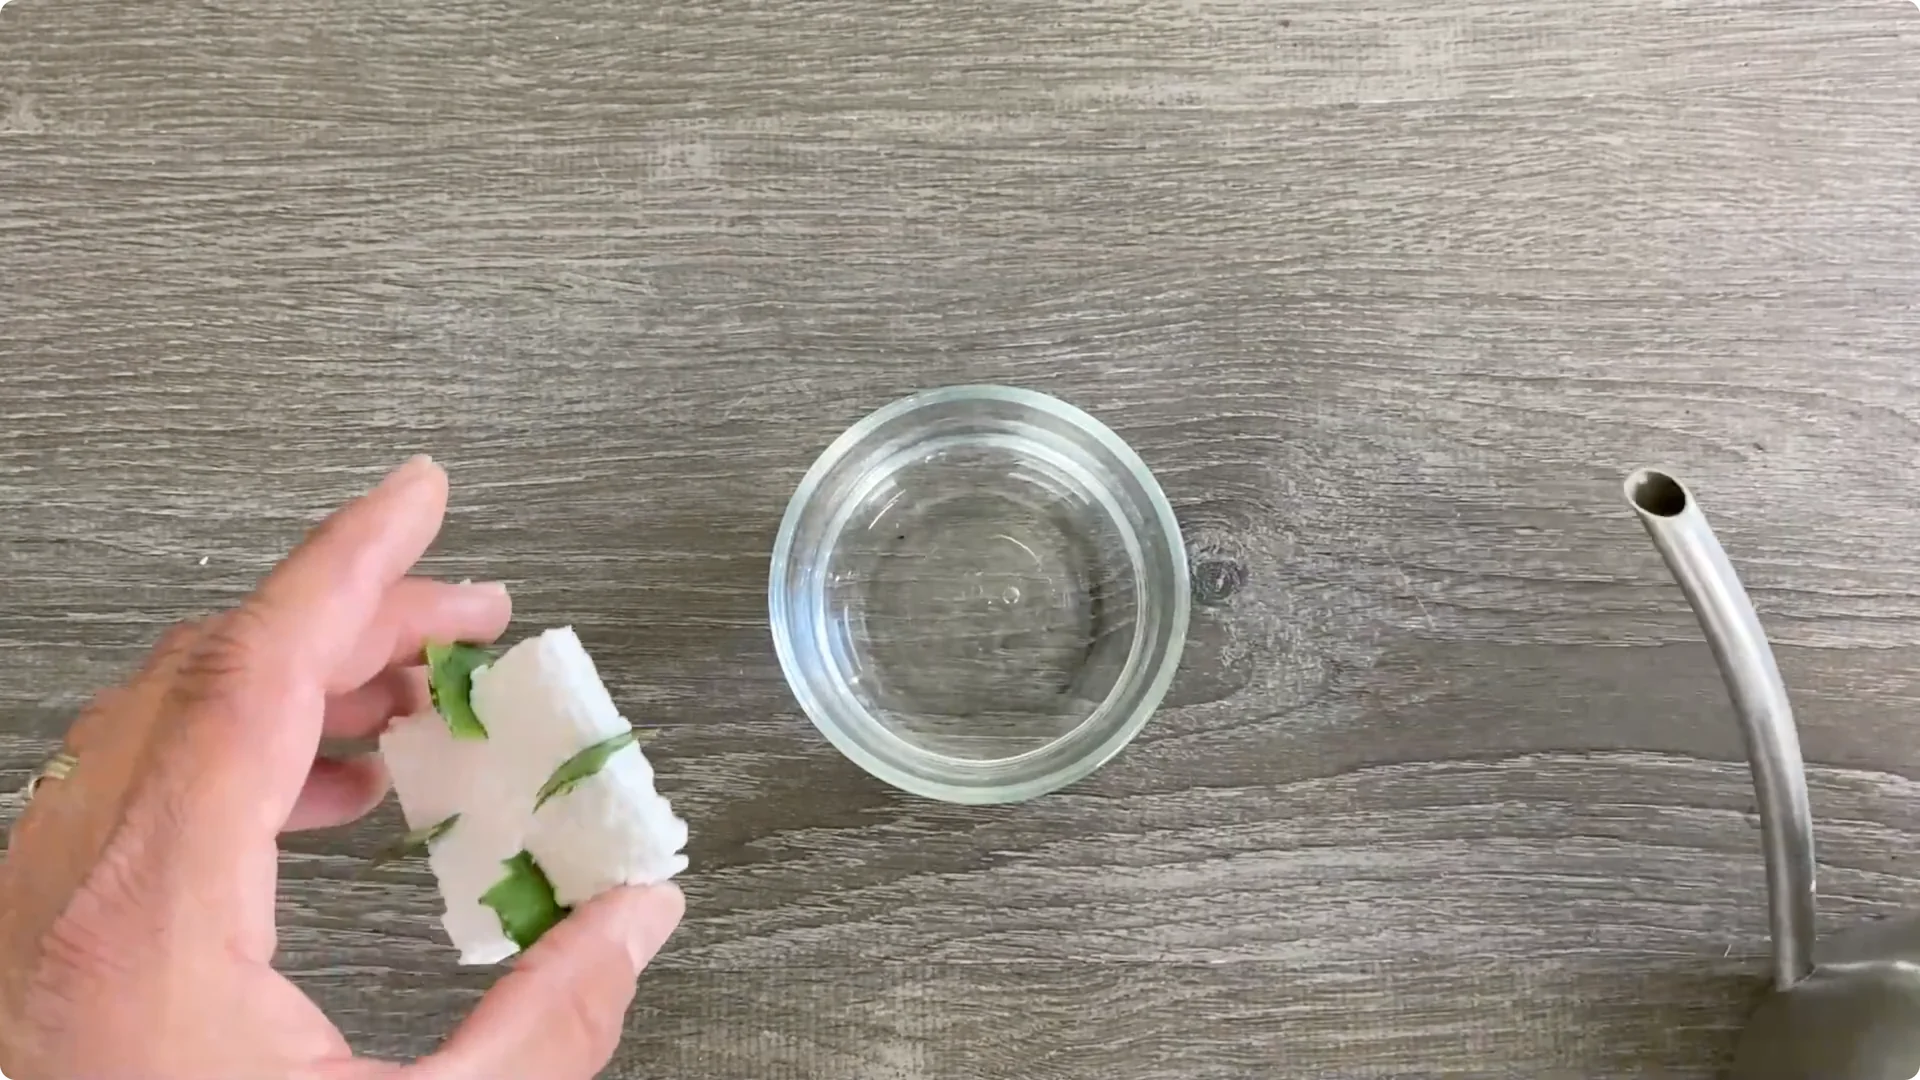
Get a piece of Styrofoam and shape it so that it fits inside the bowl you’re going to be propagating your cuttings in.
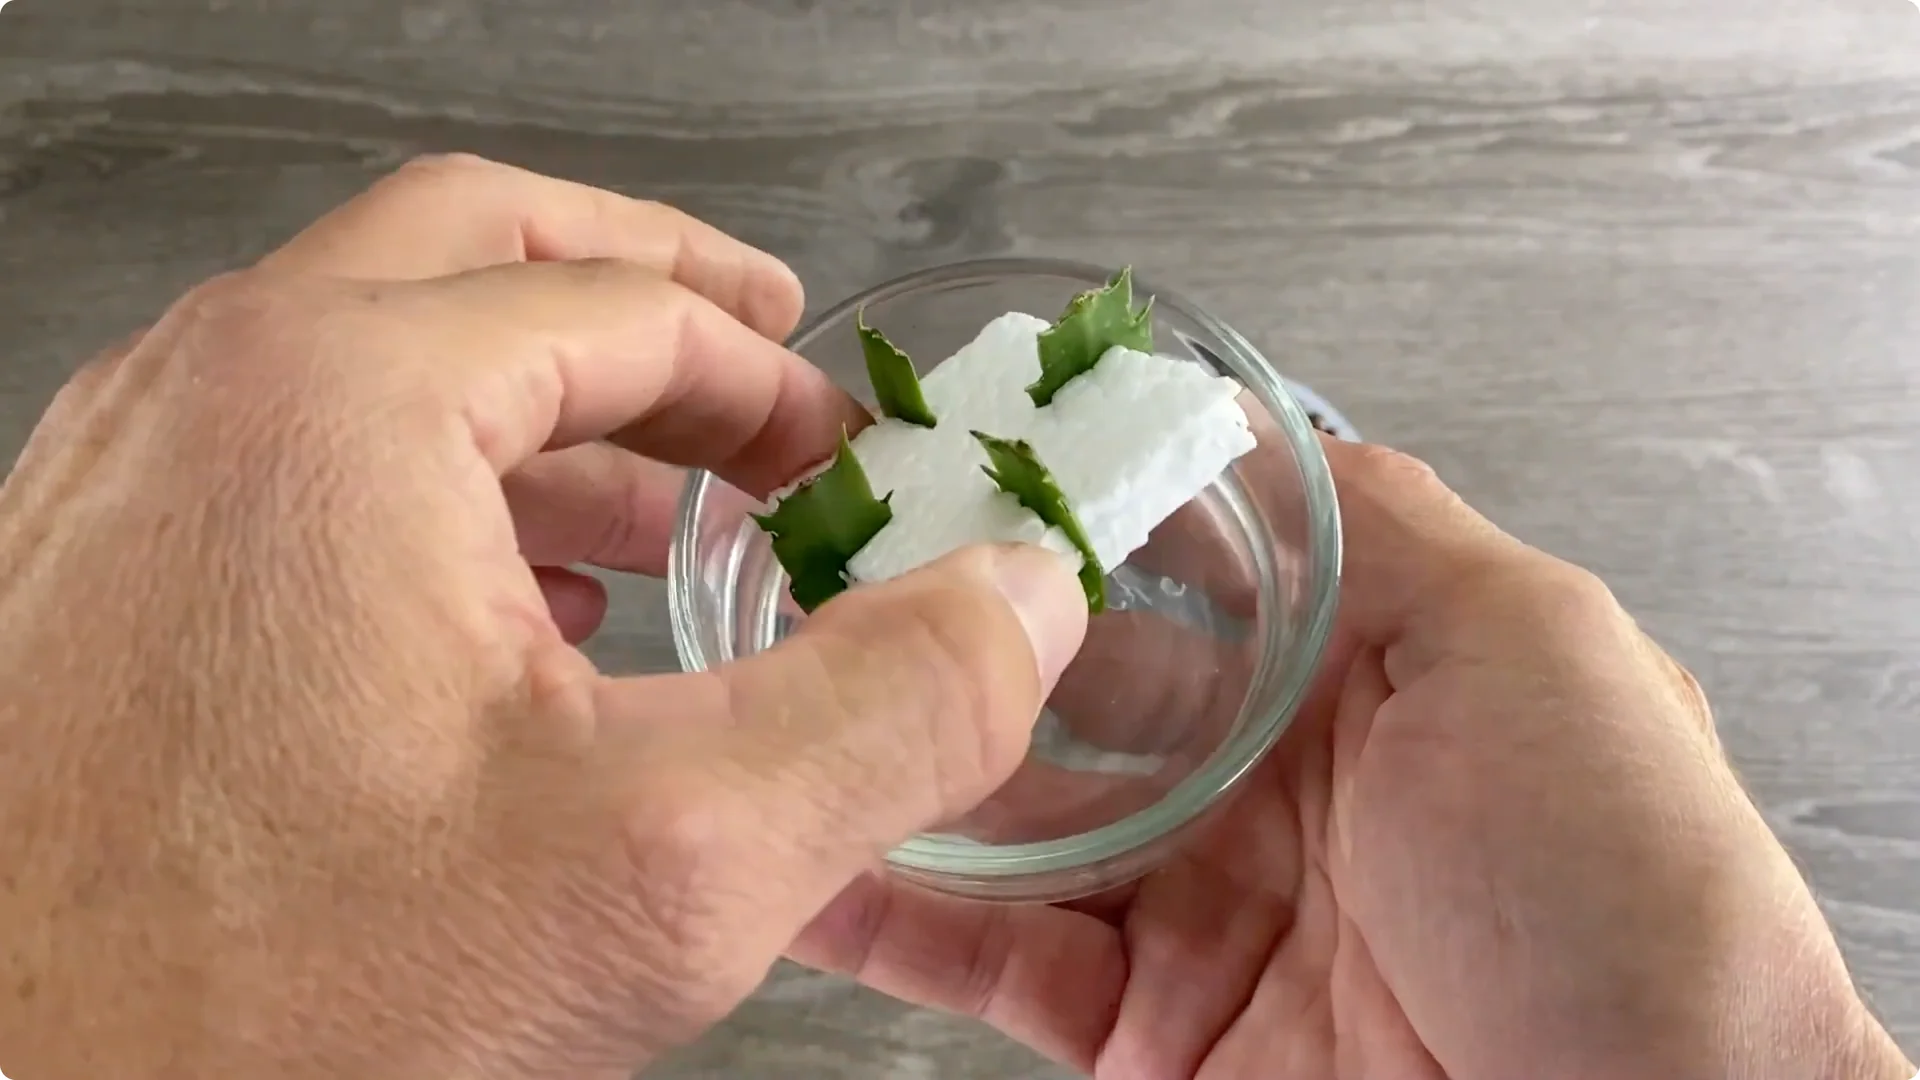
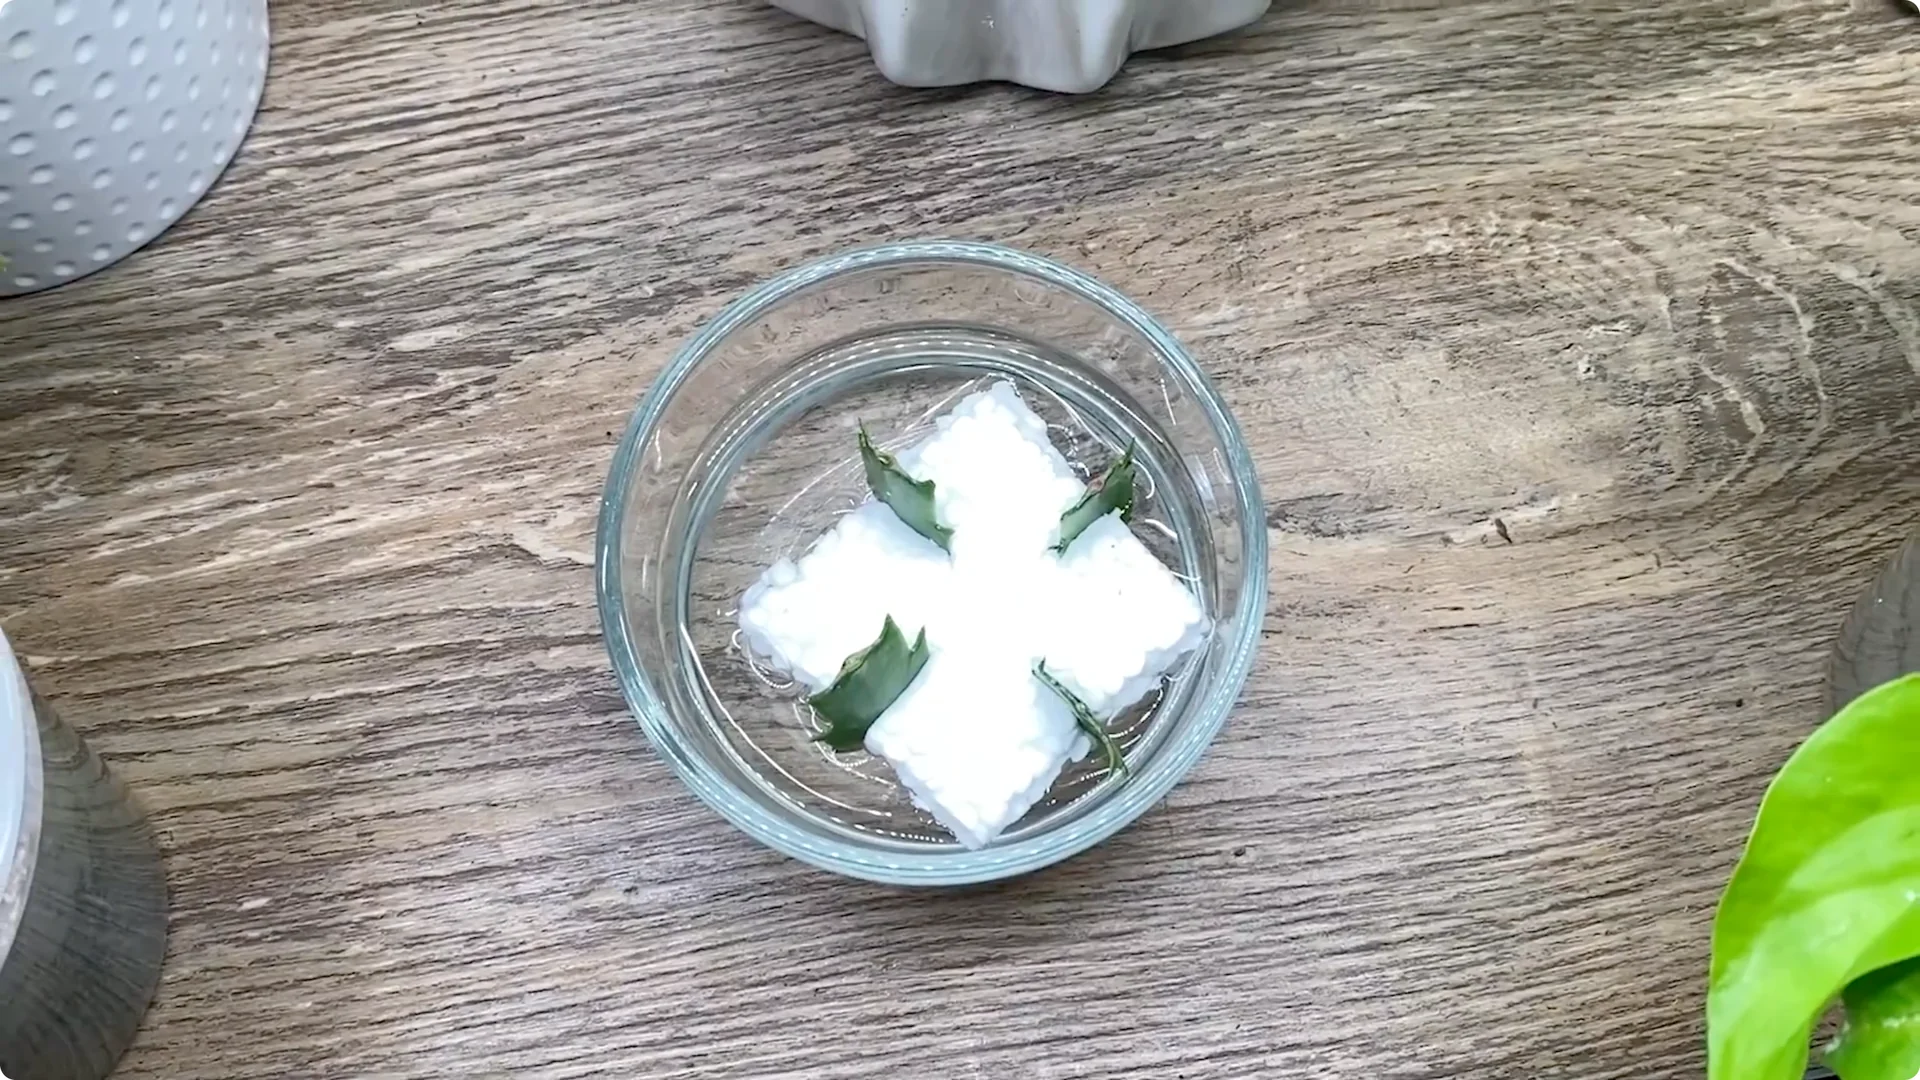
Cut a few notches in the Styrofoam all the way around. Slide the leaves in the Styrofoam, making sure that the bottom of the leaves will be submerged.
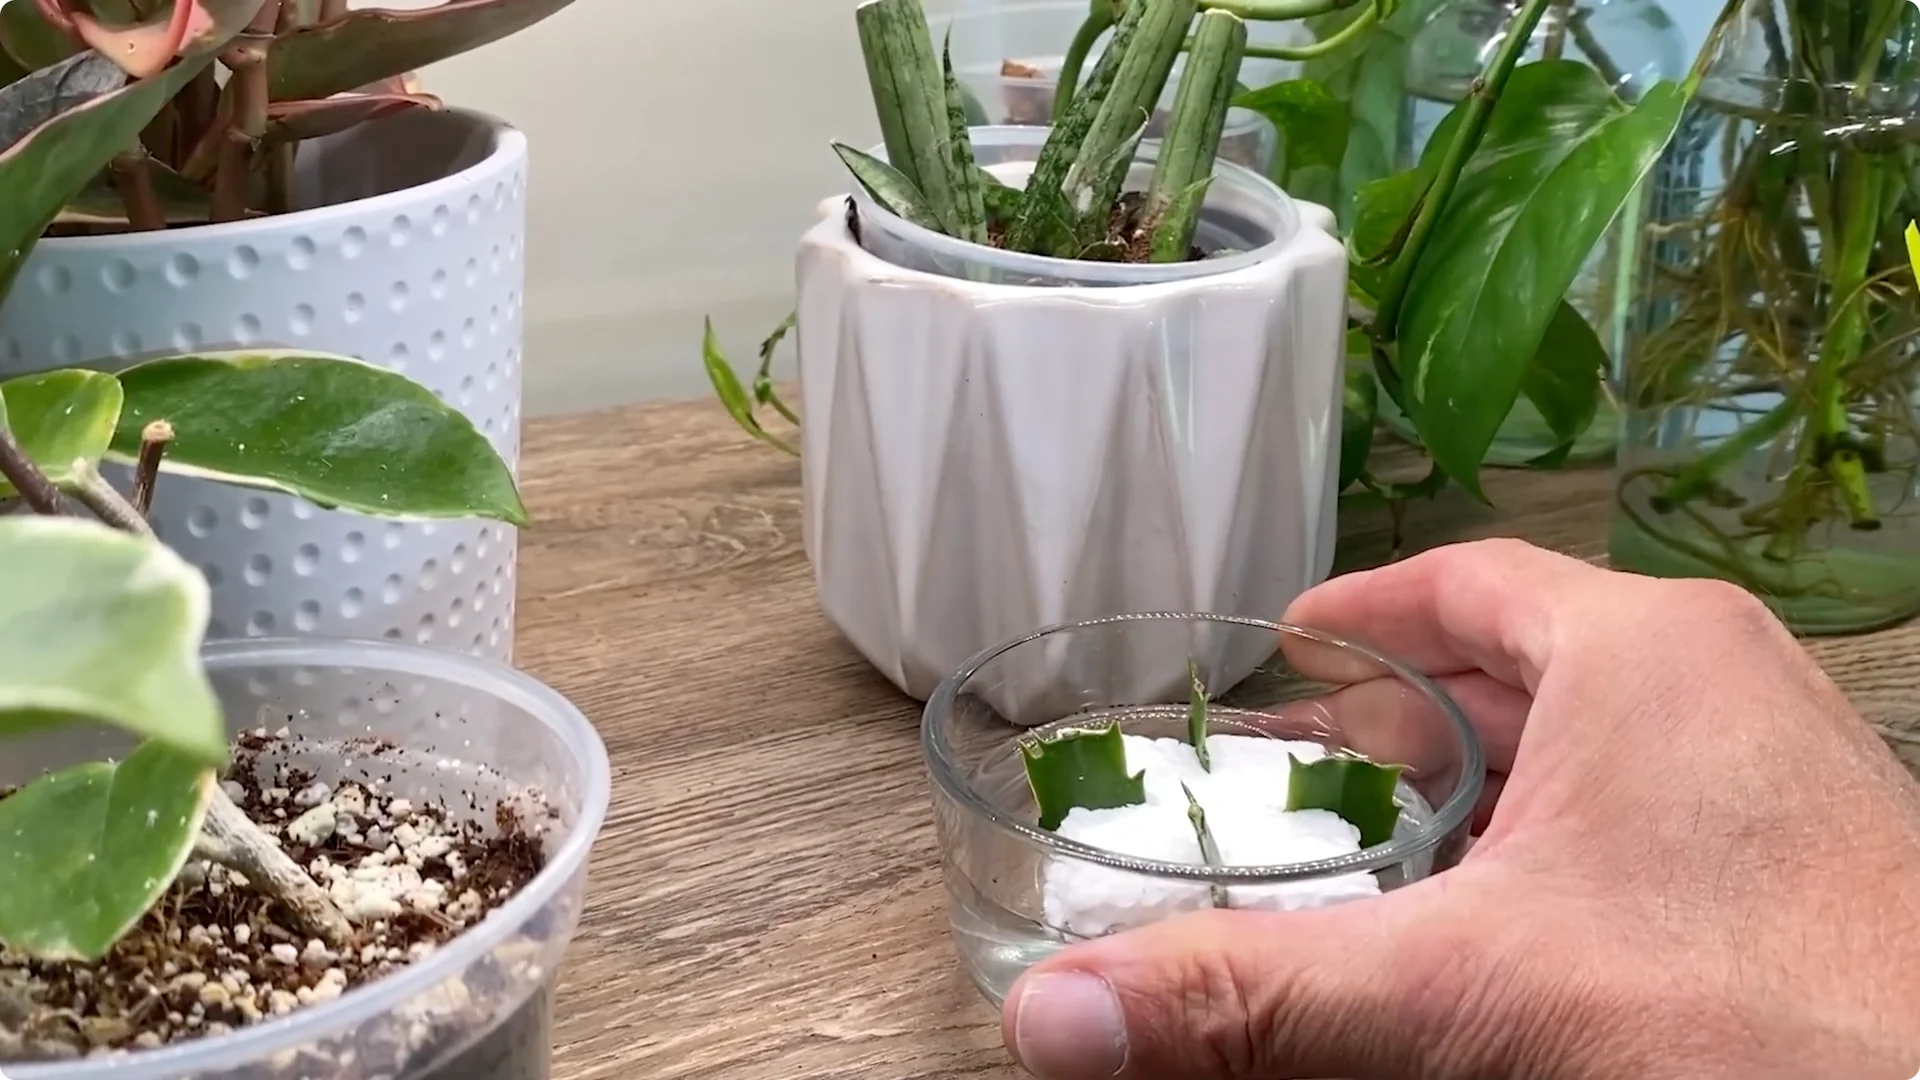
Fill a bowl with water and drop the leaves in the water.
In the coming weeks, make water changes about once a week, and when the first sign of roots starts to appear, add a little fertilizer at half rate just to make sure they have enough nutrition to keep them growing and give them some color.
When the roots get to be about an inch and a half, go ahead and pot them into soil. This step can be a little tricky.
Final Thoughts
Care for holiday cacti is simple once you dial in dry-down watering, bright indirect light, a monthly half-strength feeding in the growing season, and a cool, long-night routine to set buds. Identify which one you have by the stem segments, prune after bloom for shape, and use those cuttings to multiply your collection in soil or water.