Welcome to our peaceful garden, a place to slow down, reconnect with nature, and cultivate beauty. I will show you how to gently propagate roses using simple organic materials that are kind to both your garden and the planet. Natural, easy, and effective for healthy roots and beautiful flowers.
Start your rose propagation journey gently and sustainably using only simple natural ingredients right at home. Every step is designed to be gentle on the plant and rooted in the spirit of sustainable gardening. Follow along and let each step guide your hands.
1. Natural Rose Cutting Propagation: Select and Prepare Cuttings
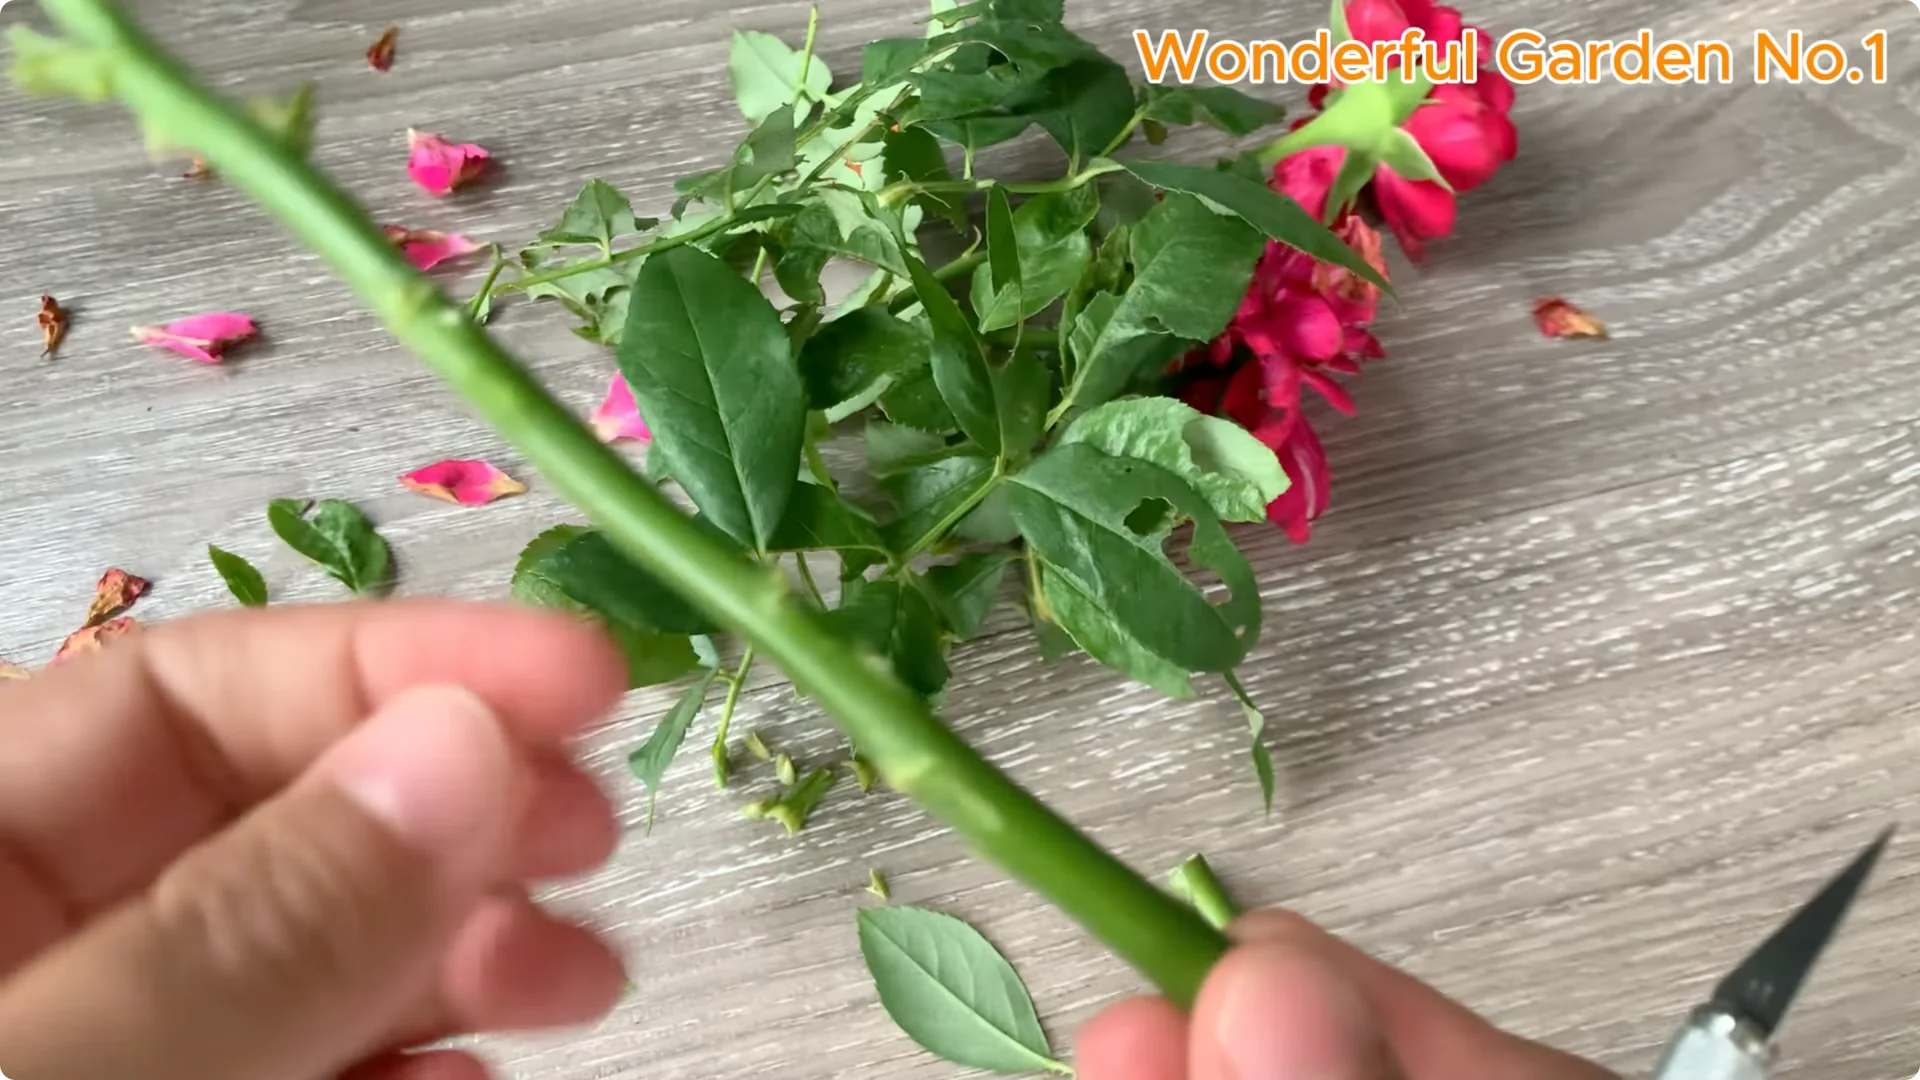
Choose semi-woody branches, meaning branches that are no longer soft and young but not yet old. Cut off the soft tip and excess leaves to prevent the plant from losing water. If the branch has thorns, you can trim lightly around the base to make it easier to handle and help the root solution absorb better.
The best time is after the branch has just finished flowering. At this stage, the plant transfers nutrients from the flowers to the trunk, helping the roots to grow better. Cut the base at a 45 degree angle to increase the surface area for water and nutrient absorption.
For the cuttings, take a piece of stem about 10 to 15 cm long. Make sure there is at least one clear leaf node. This is where new growth will develop.
2. Natural Rose Cutting Propagation: Mix Natural Root Stimulant Solution
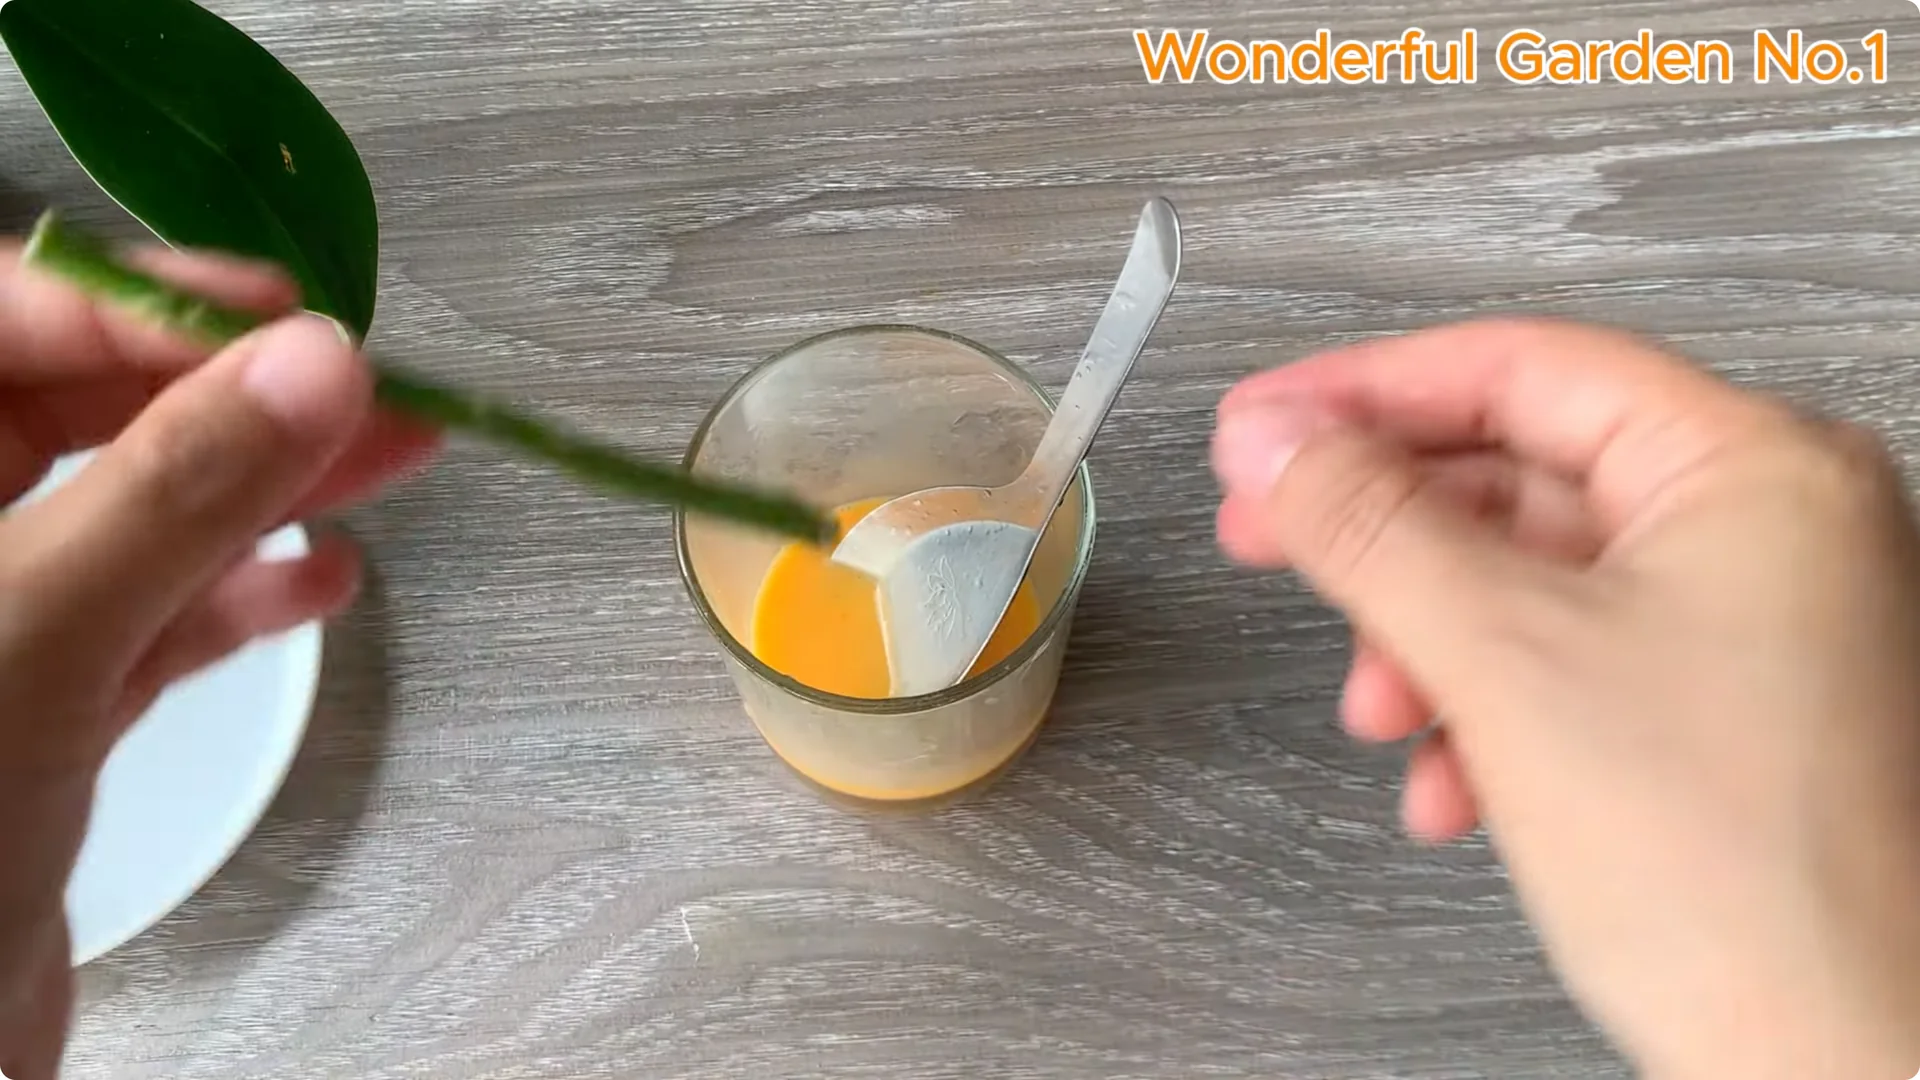
Create a natural rooting stimulant solution from ingredients containing enzymes, vitamins, and growth hormones. Separate the yolk of one egg into a small bowl. The yolk contains fat and protein that nourish cuttings and stimulate cell division.
Squeeze half a lemon into the egg yolk and stir well. Lemon juice helps to slightly lower pH levels, has antibacterial properties, and provides vitamin C, a natural antioxidant. Soak the rose stems in this mixture for about 10 minutes to allow the nutrients to penetrate the surface of the stem.
Read More: Lemon Garlic Rose Cuttings Root
3. Natural Rose Cutting Propagation: Mix Natural Growth Support Solution
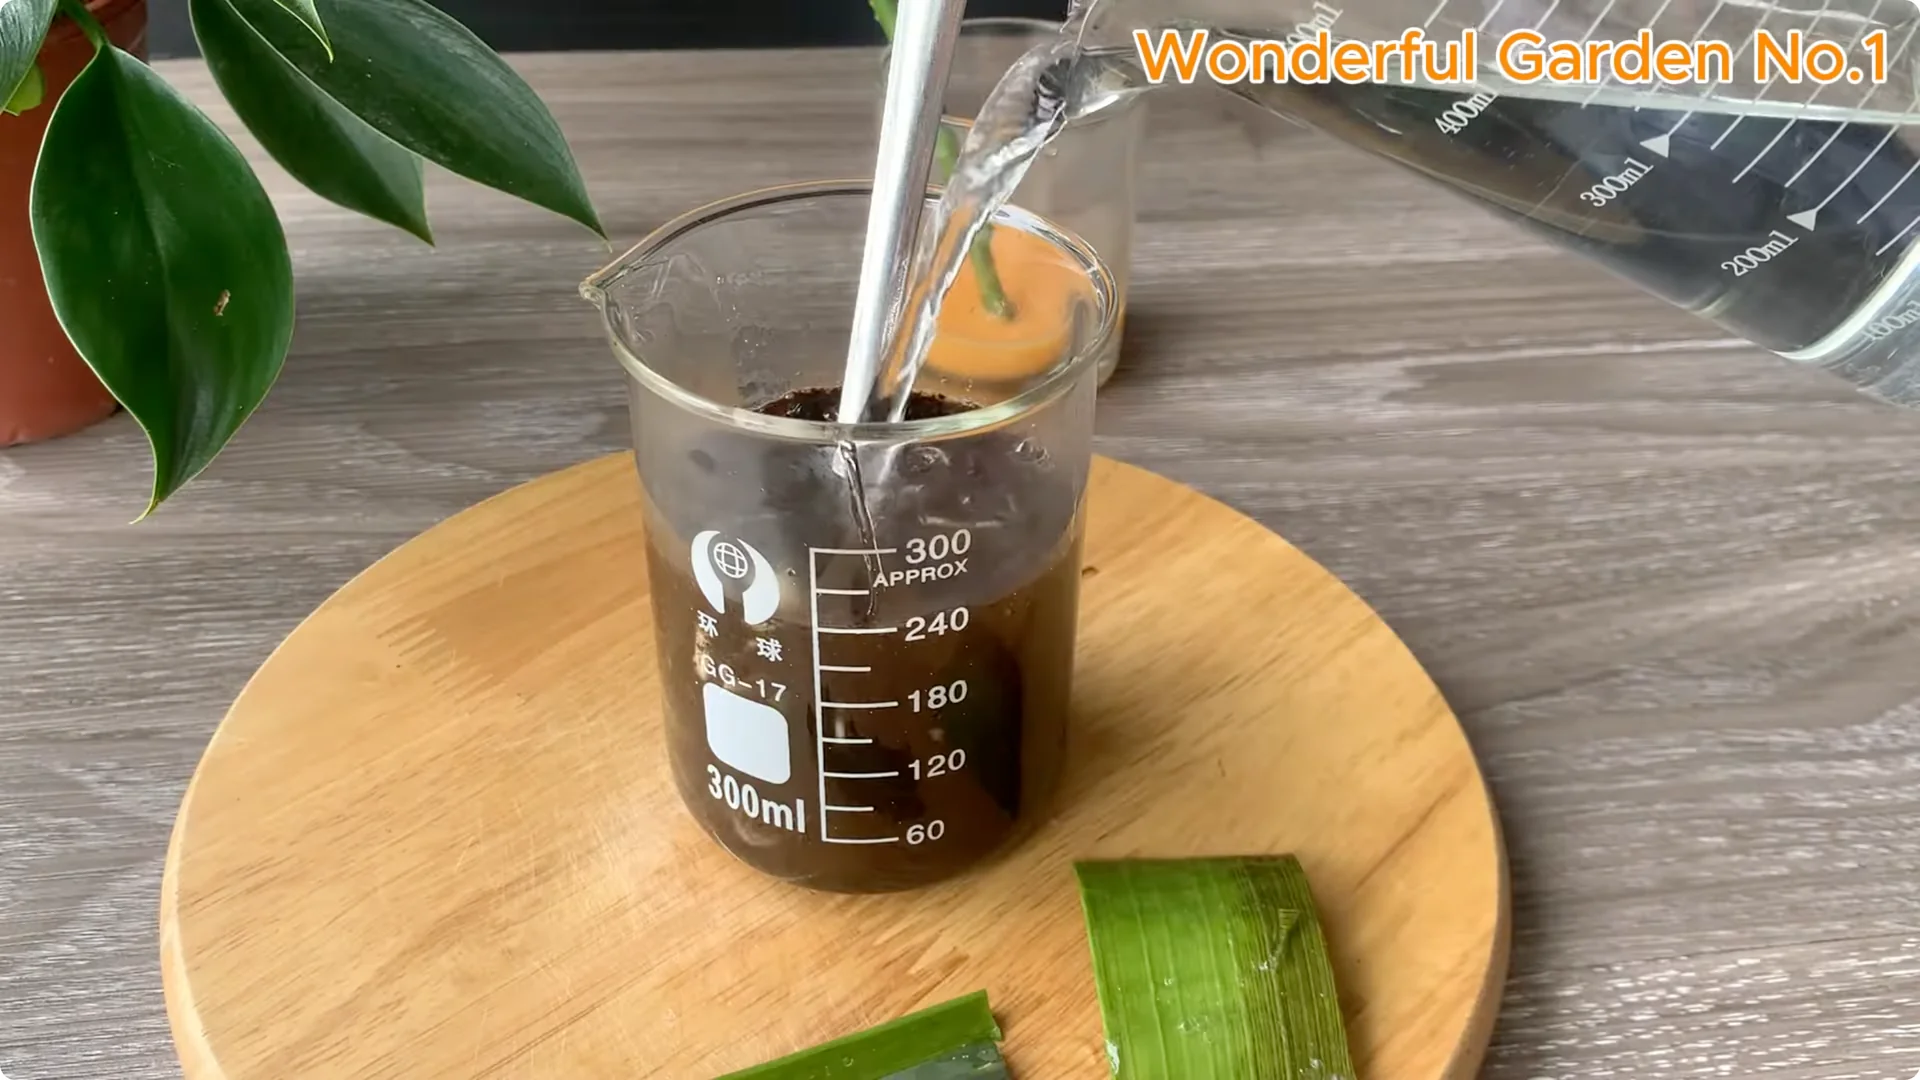
Put 2 teaspoons of coffee in a cup. Coffee is rich in protein and slightly acidic, which helps promote beneficial microbial activity and stimulate rooting. Peel and chop 3 cloves of garlic, then add them to the cup.
Garlic is a natural antibacterial and antifungal agent, which helps protect cuttings from rotting. Squeeze the remaining half lemon into the mixture. Take a small piece of aloe vera leaf, peel it, cut the gel into small pieces, and add it to the prepared cup.
Aloe vera contains growth hormones and anti-stress agents that help stimulate healthy plant roots. The combination of coffee, lemon, garlic, and aloe vera creates a natural blend with antibacterial, antifungal, rooting, and immune boosting properties. This helps plants grow healthy from the start.
Add about 300 milliliters of water, stir well, and let the mixture rest for five minutes. This helps nutrients blend and maximize effectiveness before use. Strain to remove solids and keep only the liquid.
4. Natural Rose Cutting Propagation: Prepare the Growing Environment
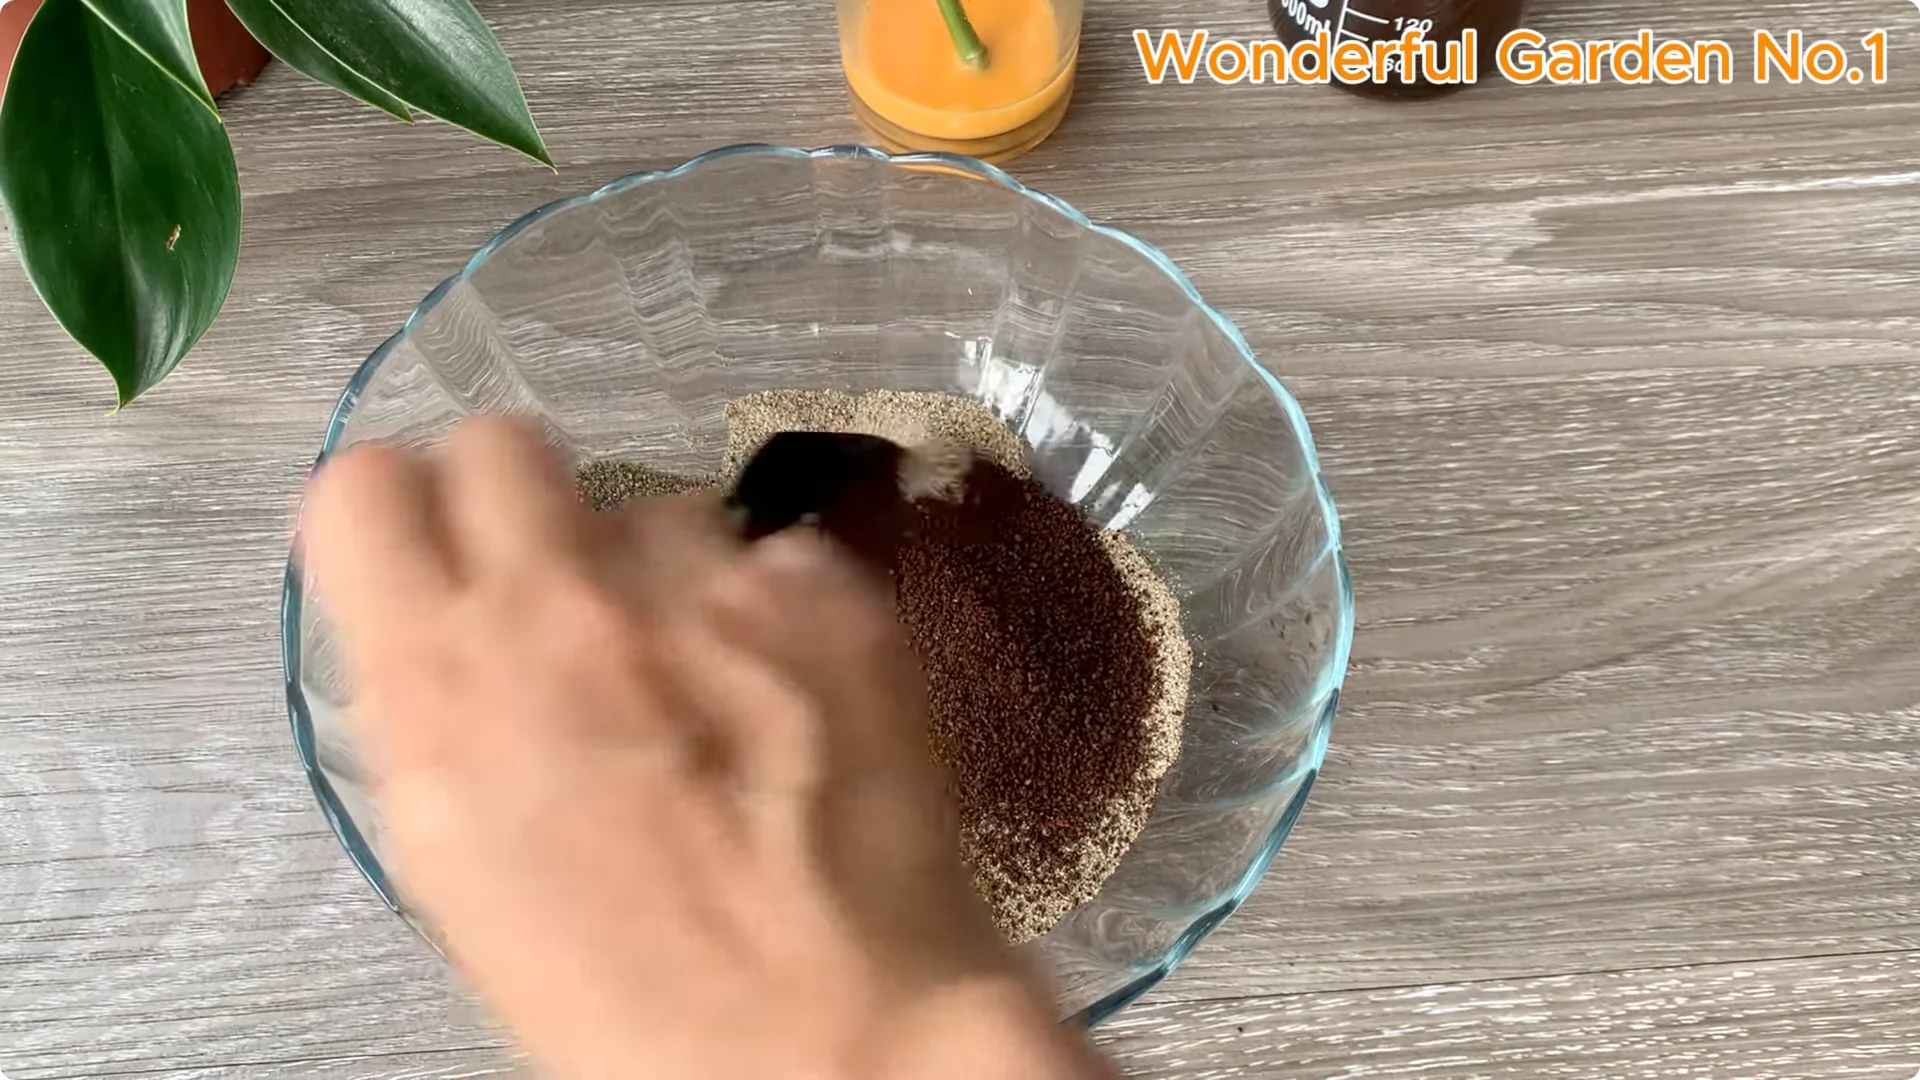
A clean and airy growing environment is important for root development. Use clean river sand for good drainage, reducing the risk of flooding. Add 2 teaspoons of coffee grounds to the sand to add nutrients and support beneficial microorganisms.
Pour the sand and coffee grounds into a separate plastic cup. Use the strained liquid from the growth support solution to lightly moisten the sand. Keep it damp but not too wet.
5. Natural Rose Cutting Propagation: Plant the Cuttings
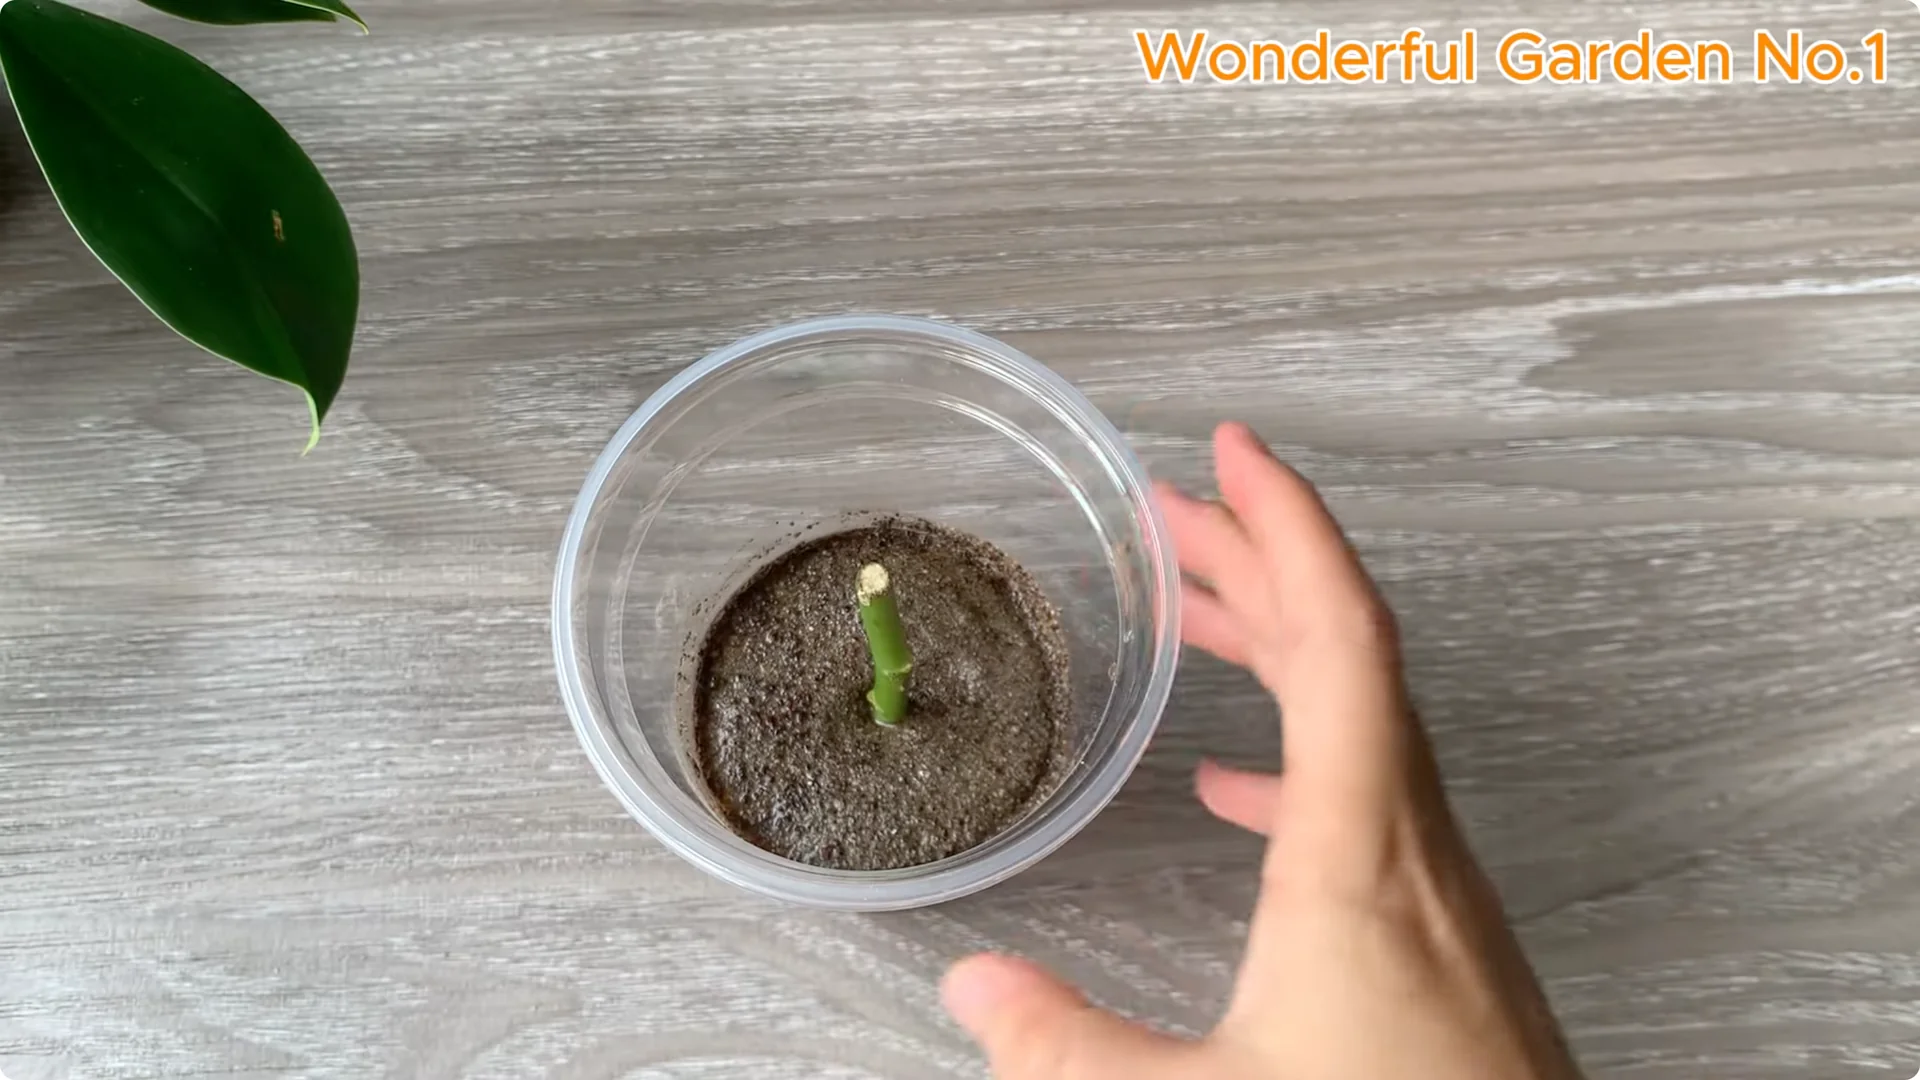
Gently insert the treated cuttings into the center of the sand cup. Exposing the outer leaf nodes allows roots or shoots to grow easily from these locations. Cover the cup to create a mini greenhouse effect.
This helps retain moisture and limit water loss, allowing the roots to grow. Place the cup in a cool, airy place away from direct sunlight. Keep the growing medium slightly moist and avoid water logging.
Check regularly and wait patiently for results. With proper care, after about 3 to 4 weeks you should start to see encouraging signs. Fresh green shoots gradually sprout at the exposed leaf nodes, signaling that the cutting is reviving.
Read More: Beer Boosts Root Growth Rose Cuttings
6. Natural Rose Cutting Propagation: What to Expect at 3 to 4 Weeks
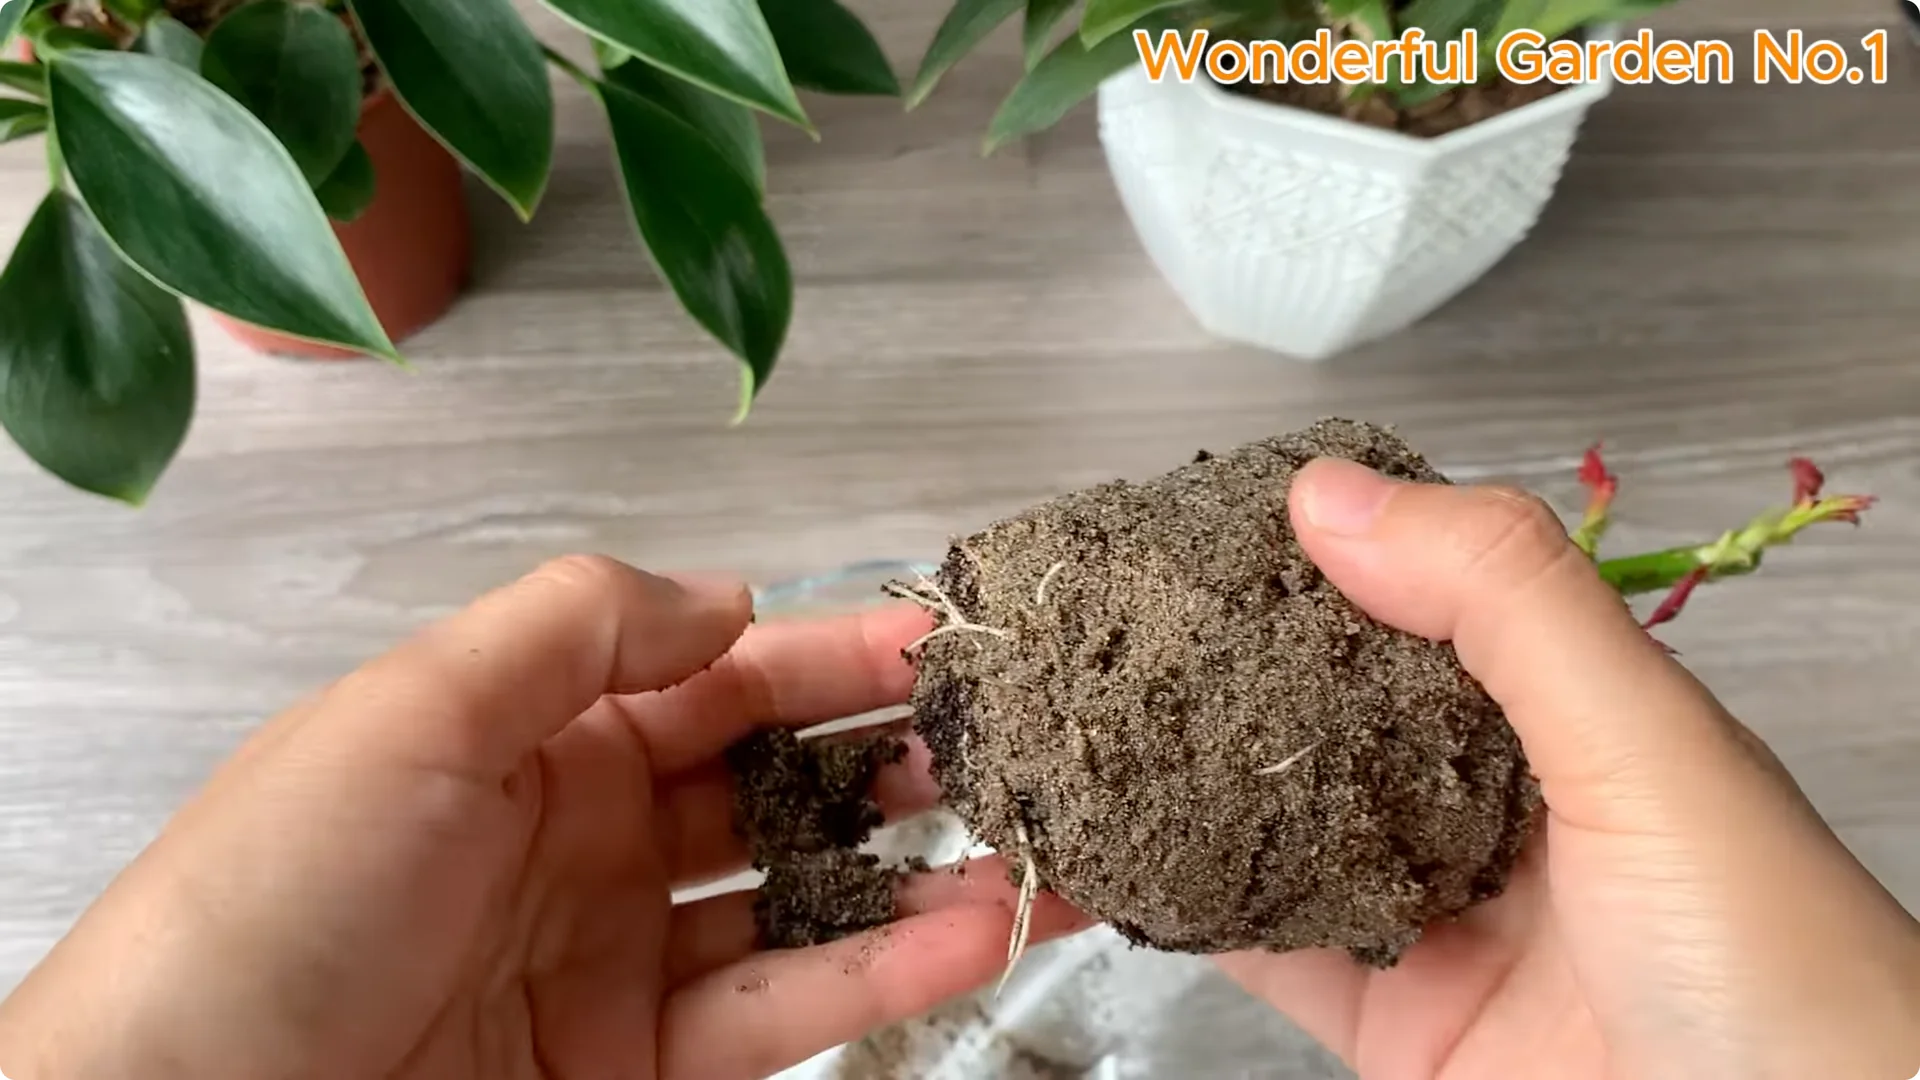
Thin white roots begin to grow from the base of the cutting. They cling to the substrate to absorb moisture and nutrients. This is the time to confirm that the propagation method has been successful.
Once you see strong roots and new leaves, it is time to move the plant to a larger pot. Give it room to grow and establish. Handle the young plant gently to protect the new roots.
Transplanting Medium
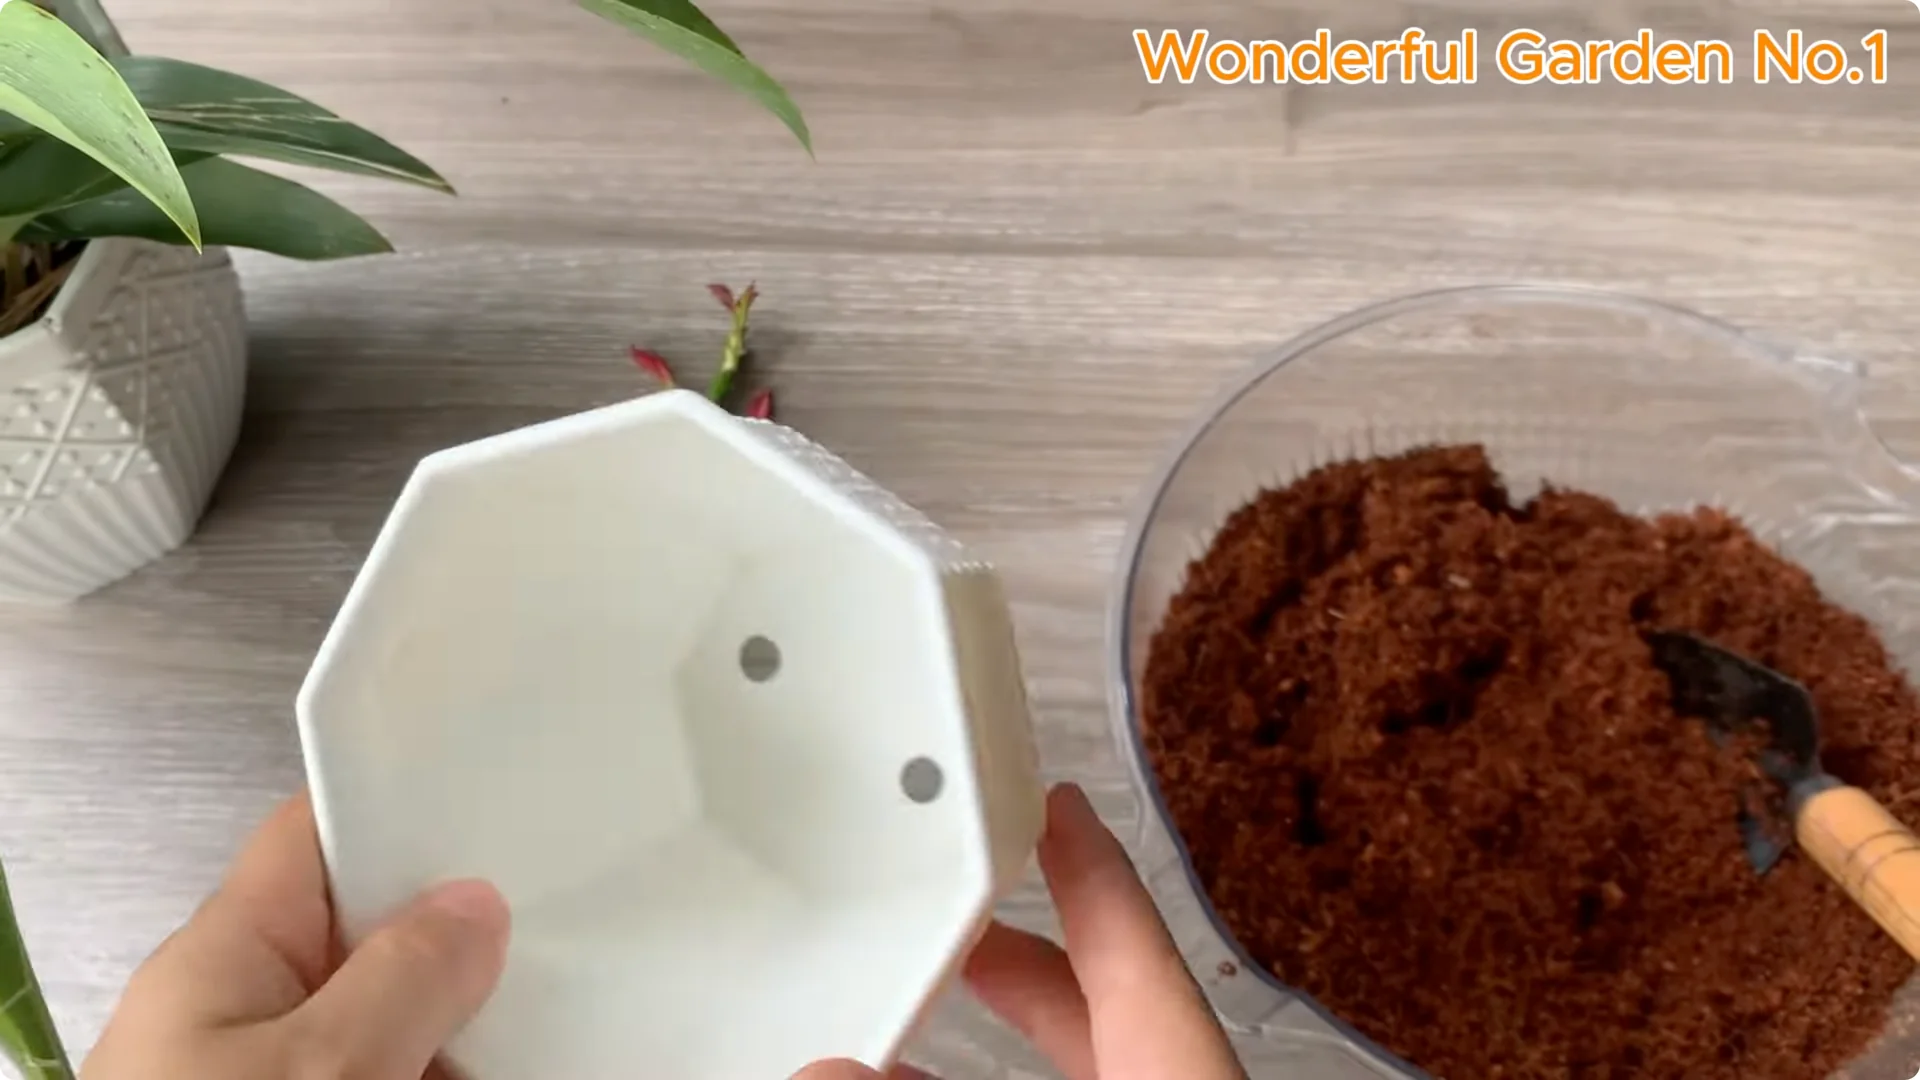
I chose treated coconut fibre as my growing medium. It retains moisture well, is breathable, and encourages good root growth. It also helps minimize the risk of root rot.
Read More: Thin Rose Slice Rapid Root Growth
Final Thoughts on Natural Rose Cutting Propagation
You have completed the journey of propagating roses using natural, gentle, and effective methods. Every sprout and every tiny root that grows is a testament to patience, love, and a deep connection with nature. May each green sprout bring a little joy to everyday life.