I welcome you to my little garden. This is a peaceful journey to the heart of the garden. Natural rose propagation, no chemicals, just harmony with nature.
This is more than gardening. It is a way to slow down and reconnect with nature. Trim a rose and turn a simple cutting into a blooming rose at home.
1. Natural Rose Propagation Philosophy
Natural materials offer gentle support for root growth. Orange peel and garlic bring antibacterial and antifungal properties. They help stimulate rooting and protect young cuttings.
The essential oils and organic acids in citrus peels are powerful allies. They clean the surface of the cuttings and help increase nutrient absorption. Garlic builds early resistance and shields against pathogens.
2. Natural Rose Propagation Rooting Solution
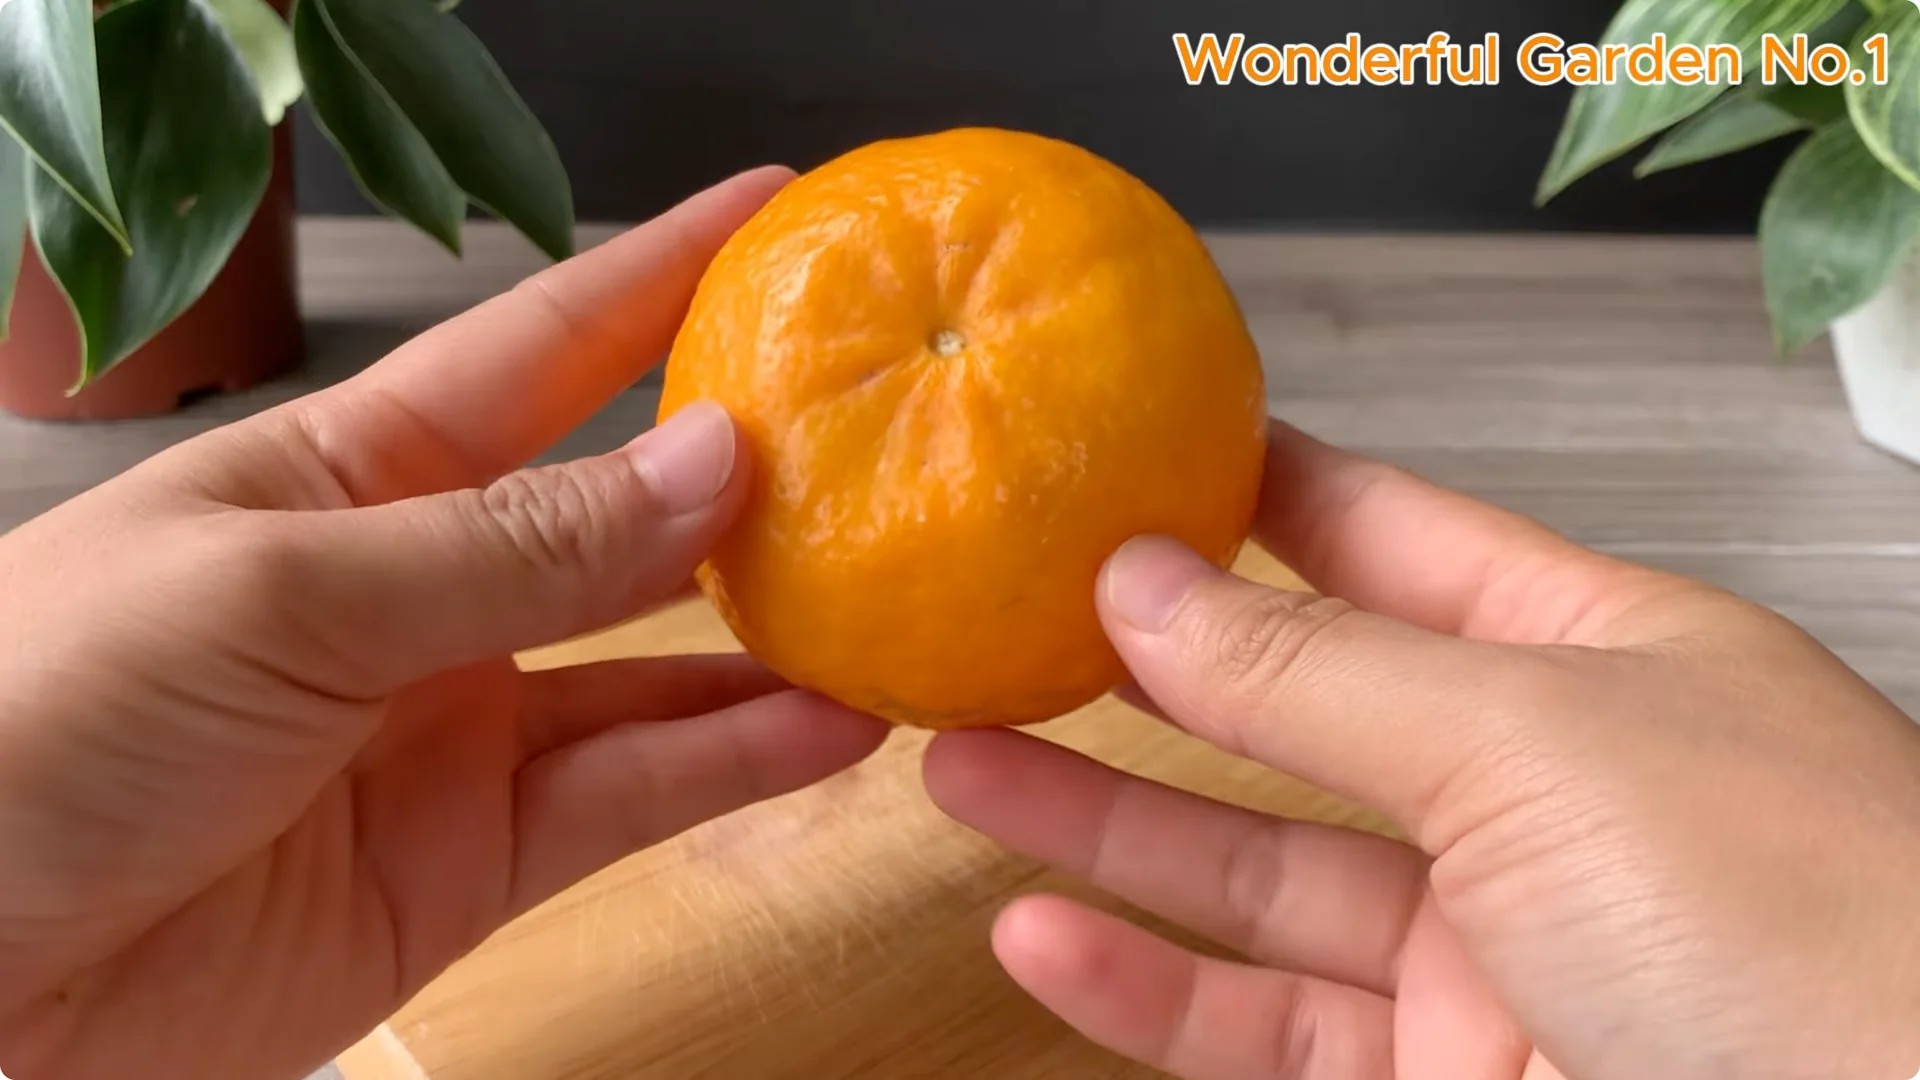
I use a familiar ingredient, orange peel. Do not throw away the peel after eating an orange. It contains essential oils and organic acids with excellent antibacterial properties.
The limonene essential oil in orange peels helps fight bacteria and repel insects. Citric acid and vitamin C clean the surface of the cuttings. They also increase the ability of roots to absorb nutrients.
Prepare the ingredients
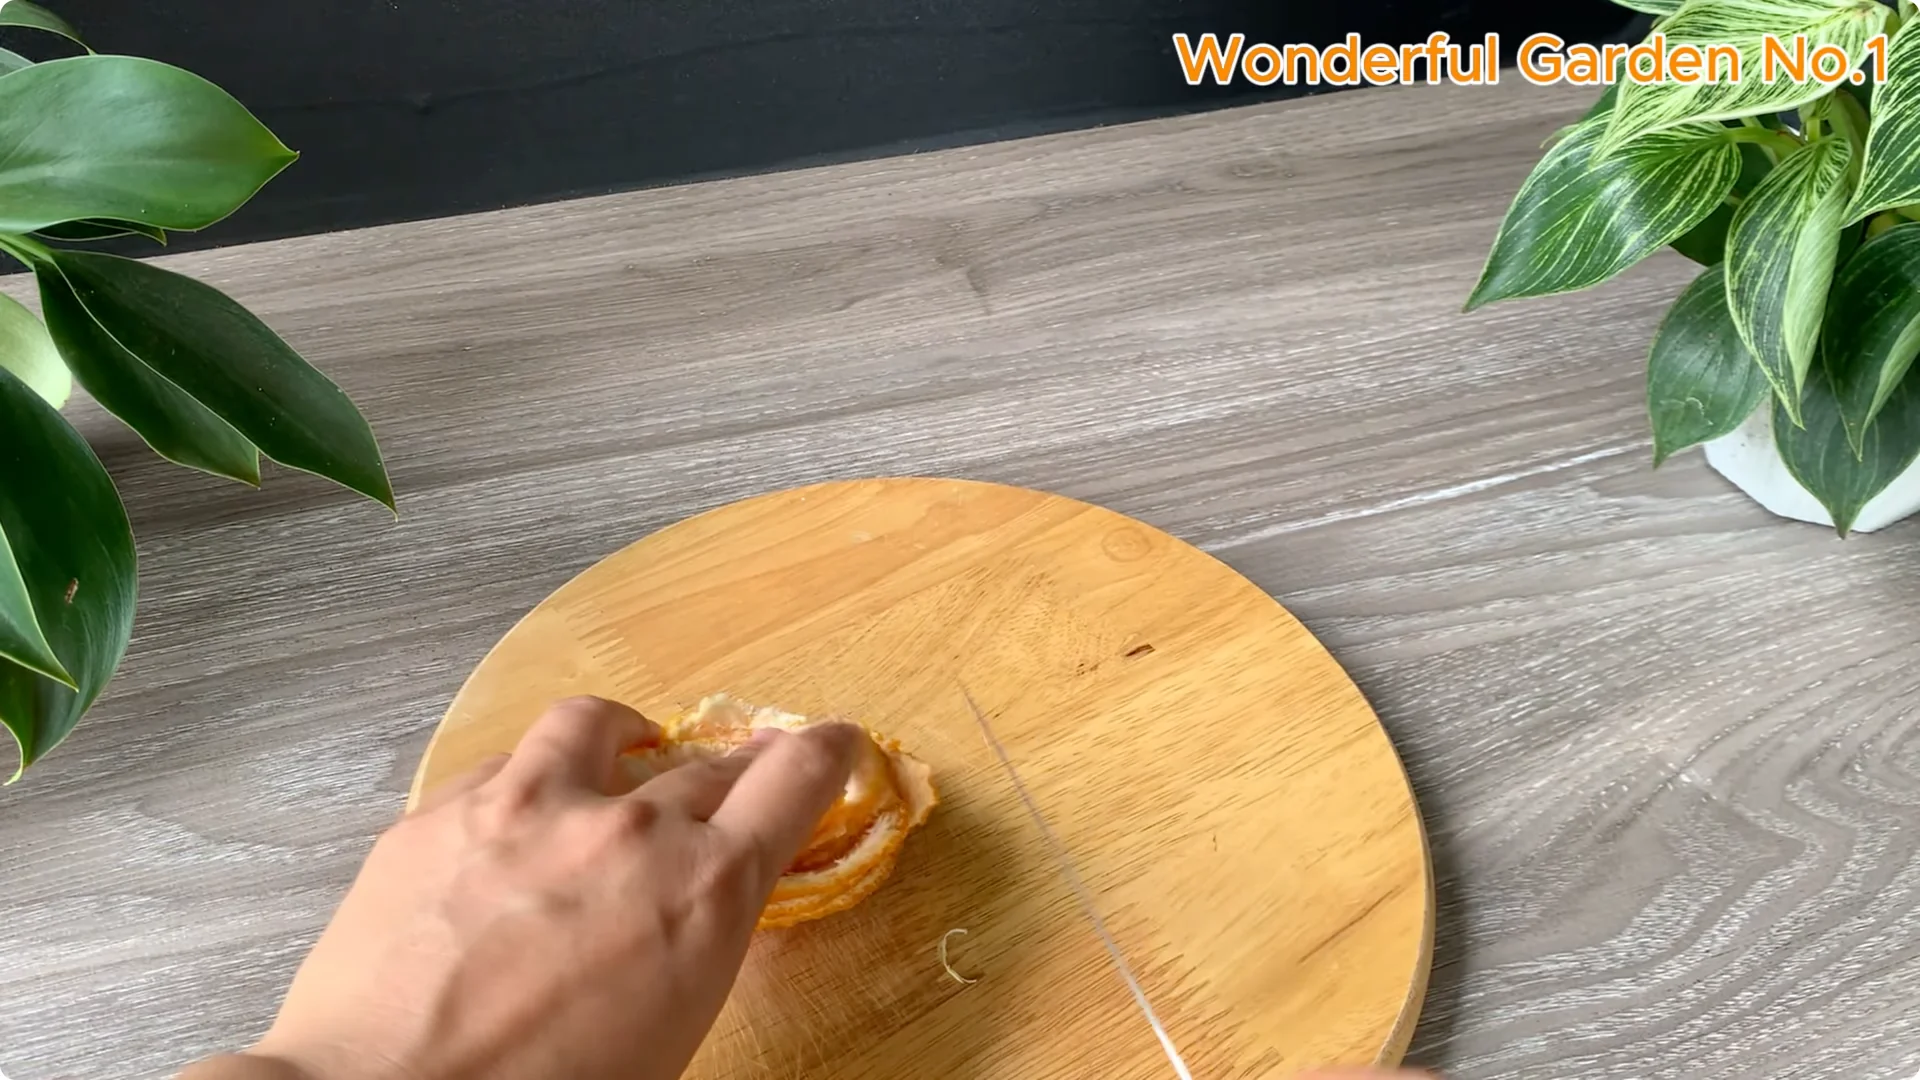
Chop the orange peels so nutrients dissolve easily when soaked. Add two cloves of garlic. Garlic contains allicin, a natural compound with strong antibacterial and antifungal properties.
These natural substances protect cuttings from pathogens in the environment. Garlic also helps stimulate rooting. It supports plants as they build resistance in the early stages of development.
Tip: For a different natural approach, see the onion water method for rooting rose cuttings. It pairs well with this citrus approach. Choose what fits your materials at home.
Extract the nutrients
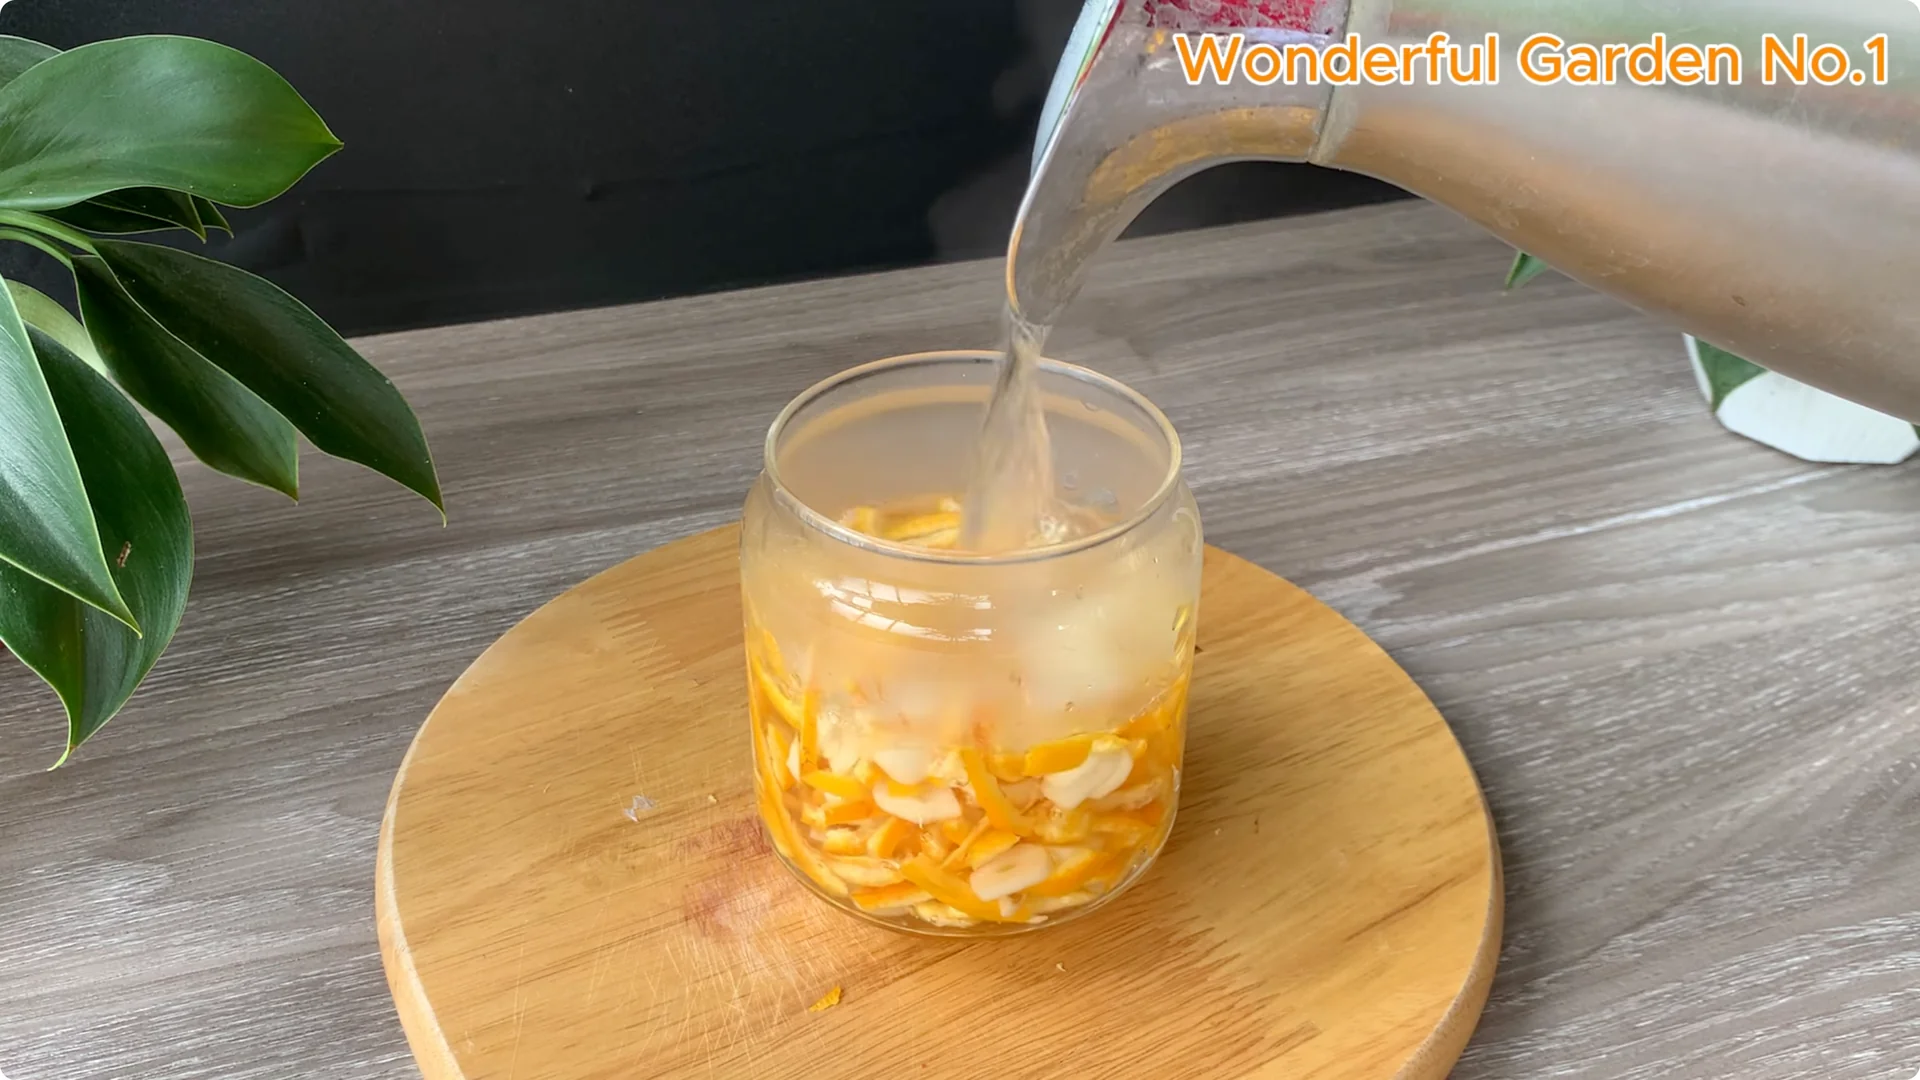
Pour in about 500 ml of boiling water. The high temperature helps extract essential oils and nutrients from the orange peel and garlic. Cover and let it cool completely.
When the water cools, strain off the residue. You want a clear solution that will not damage the growing medium. Keep it clean and gentle.
Dilute and finish
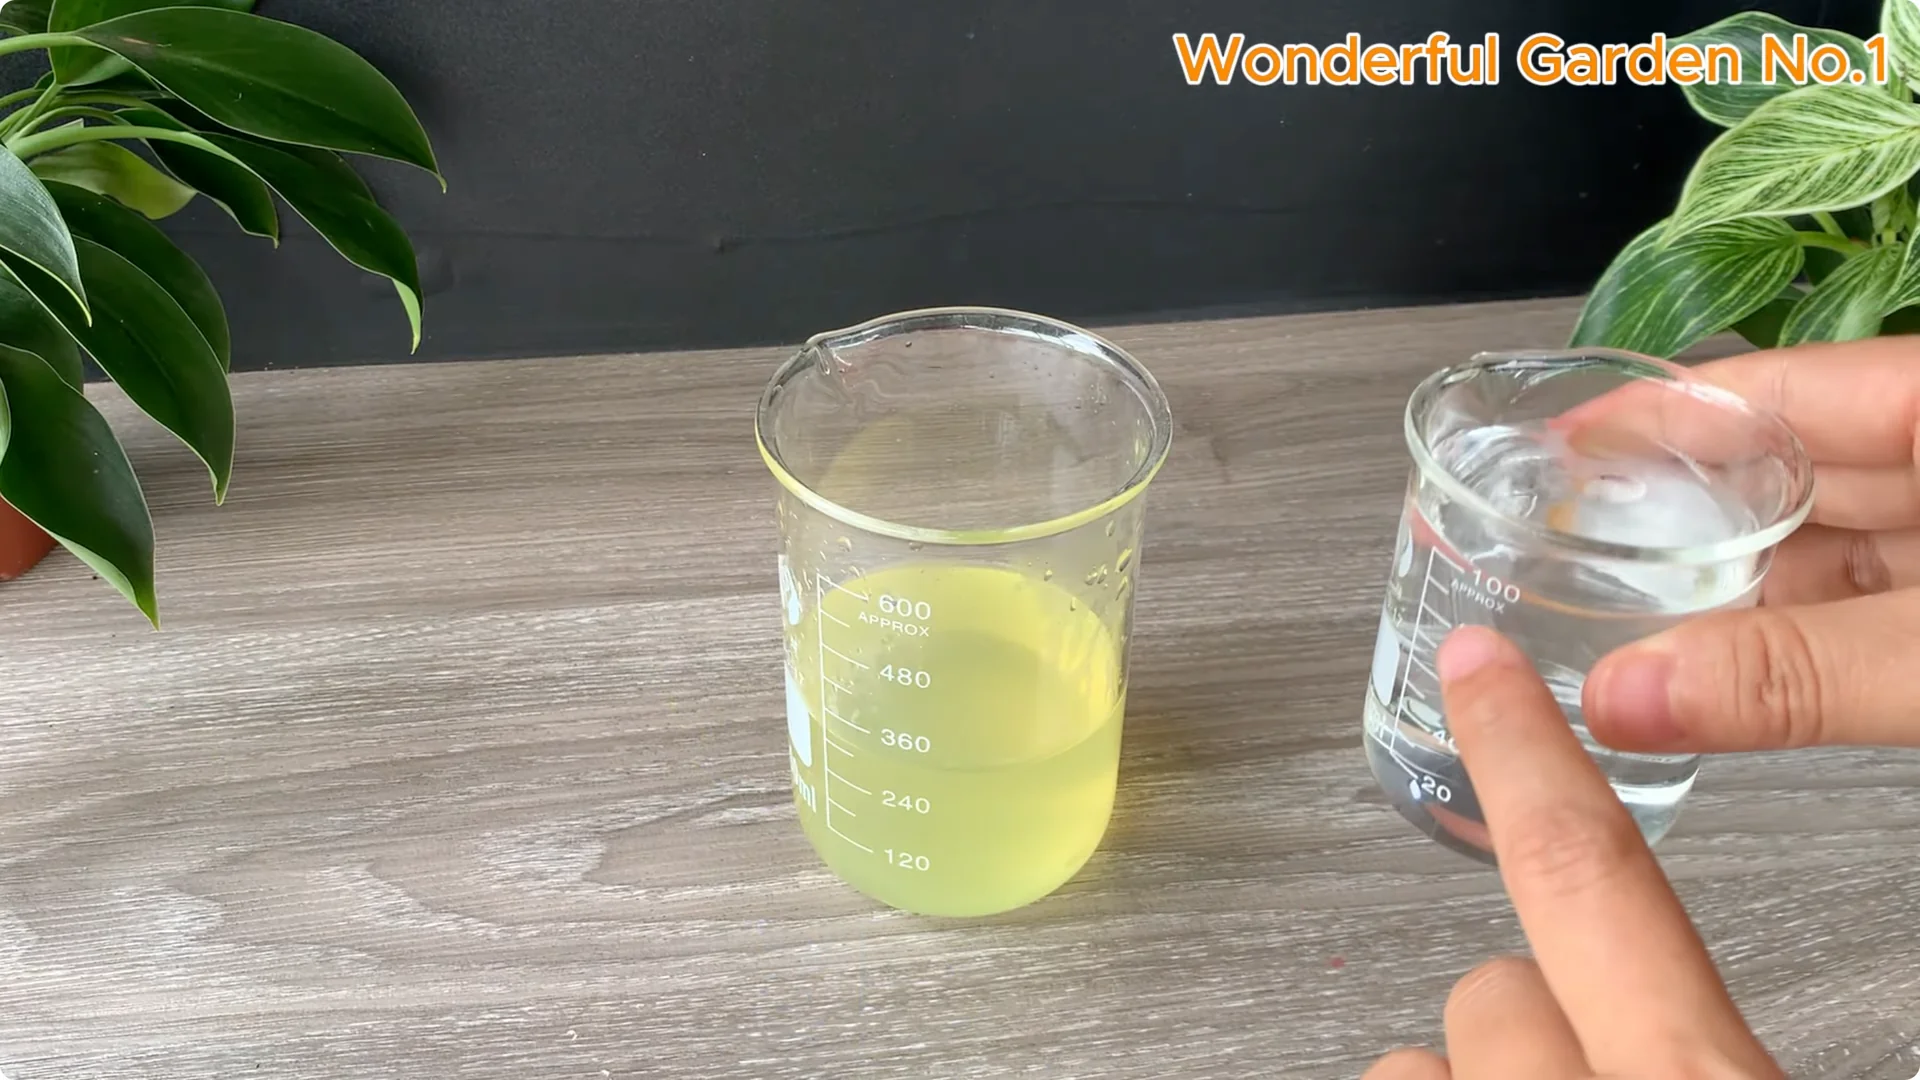
Add 100 ml of clean filtered water to the strained liquid. This dilution makes the mixture gentle enough for young rose cuttings. Stir gently to mix well, and your natural rooting solution is ready.
3. Natural Rose Propagation Cutting Prep
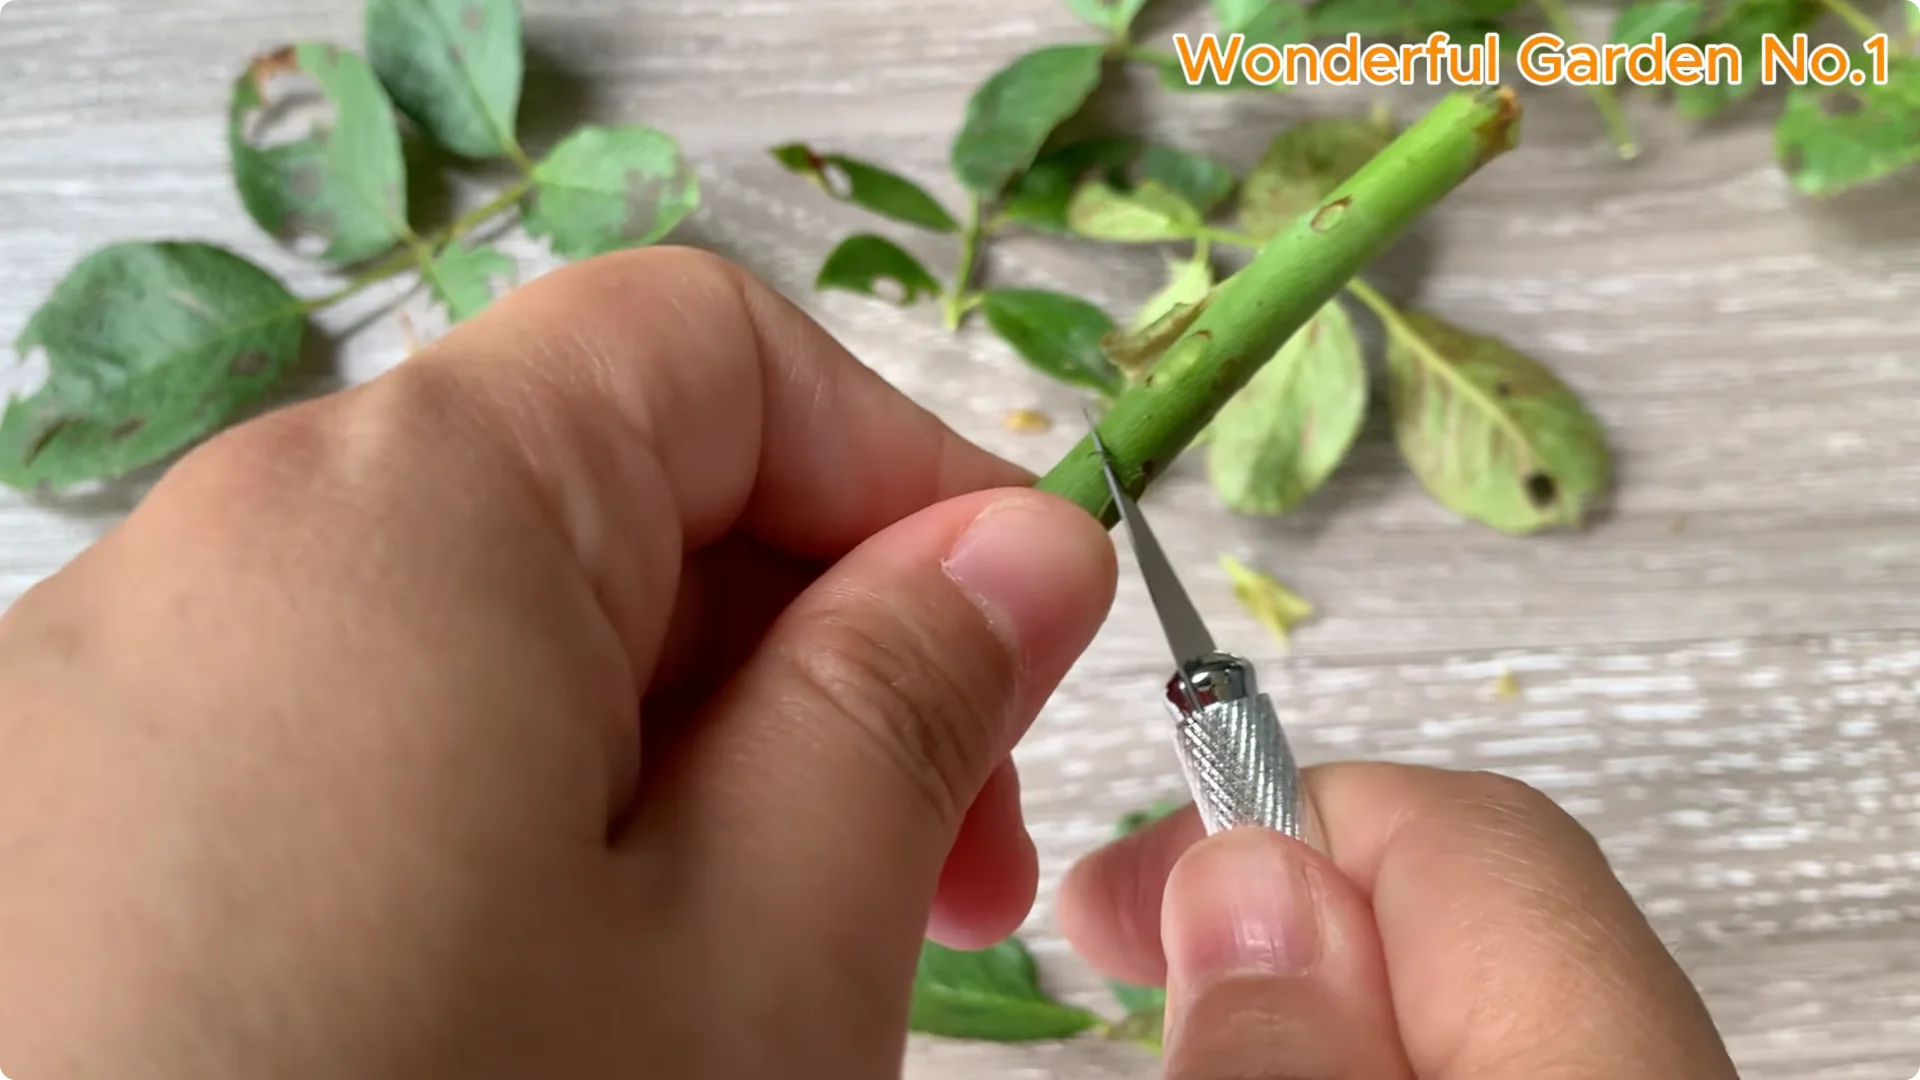
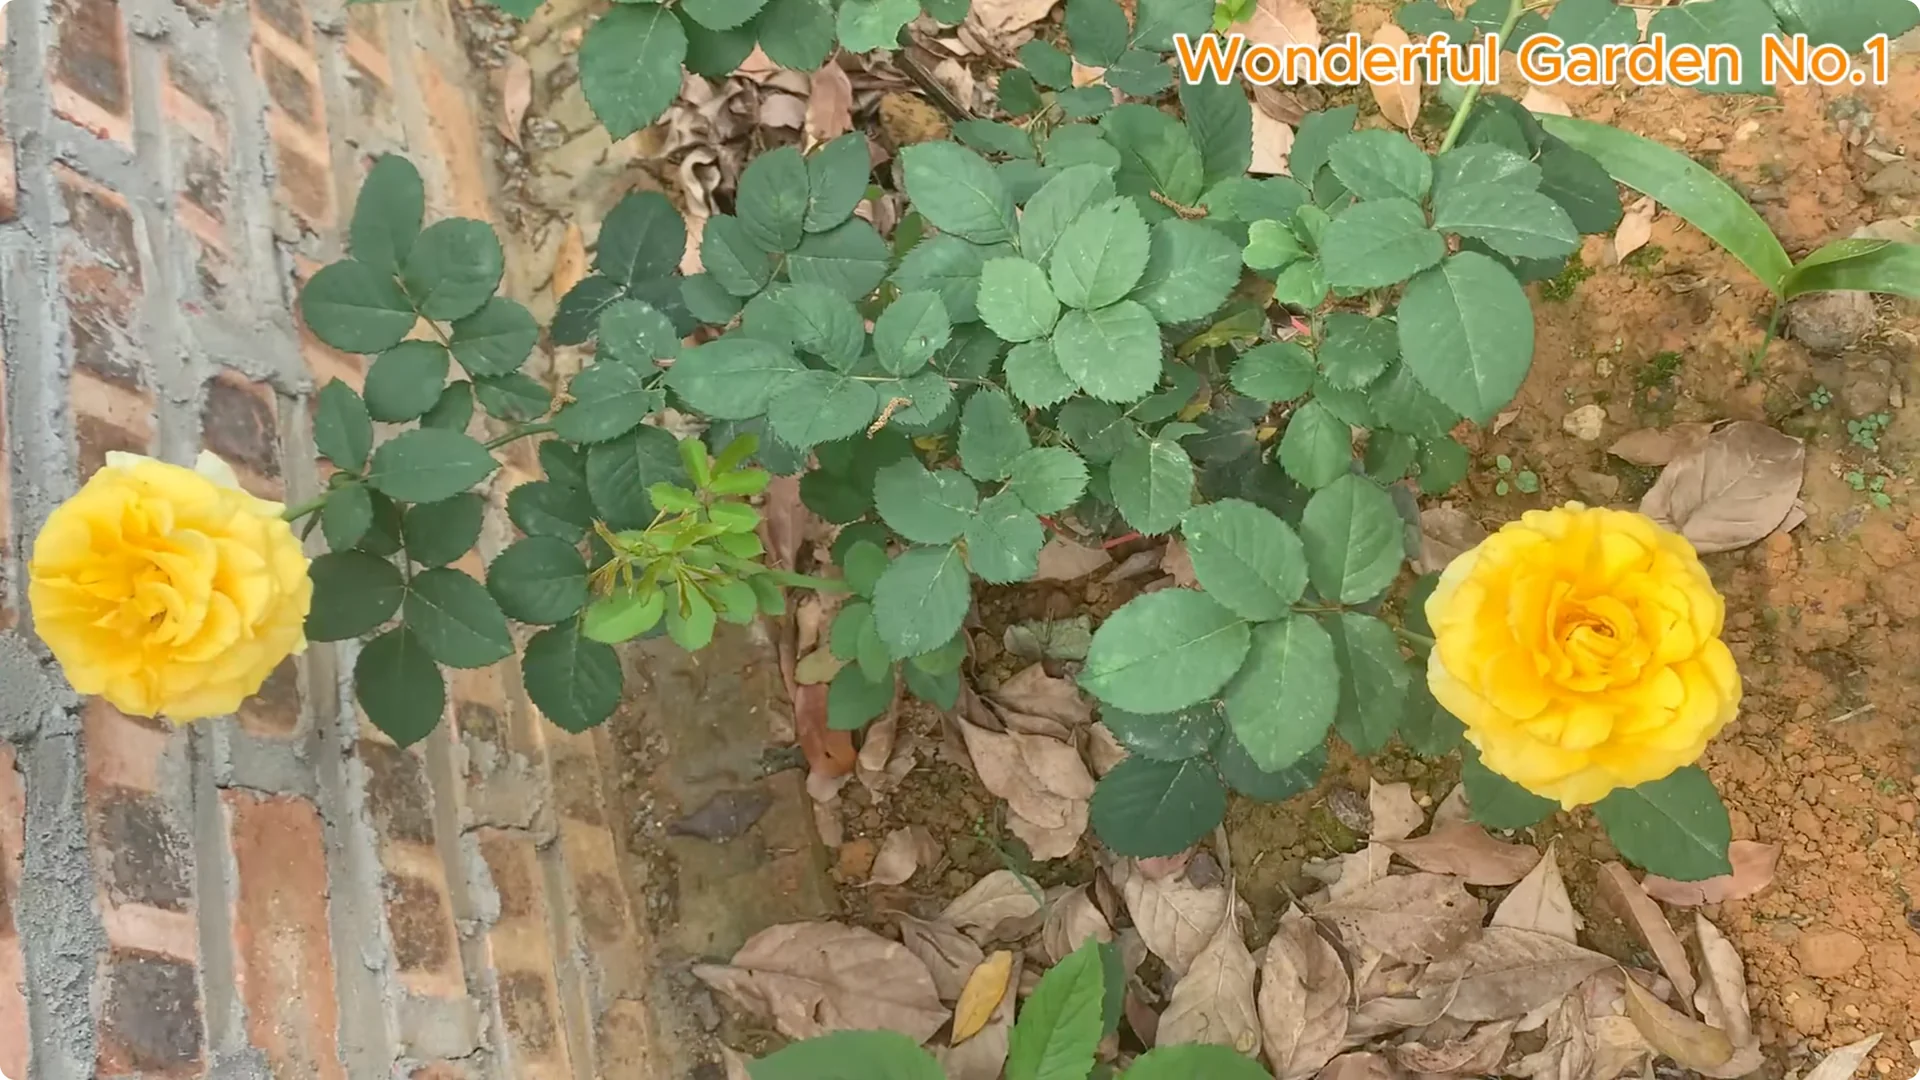
Work with a rose that has finished blooming. Remove the top portion that can no longer grow. Choose a healthy stem with two to three leaf nodes.
These nodes are the spots where new shoots can sprout. Gently remove the protective layer around the leaf nodes. This helps awaken the buds after the dormant flowering period.
Make a clean angle cut at the base of the cutting. A sharp cut allows better water absorption and supports root formation. Seal the cut ends with a drop of melted candle wax to protect from infection.
Use plain unscented wax to keep it safe for the plant. Keep movements gentle to avoid injuring the nodes. A clean tool and a steady hand matter here.
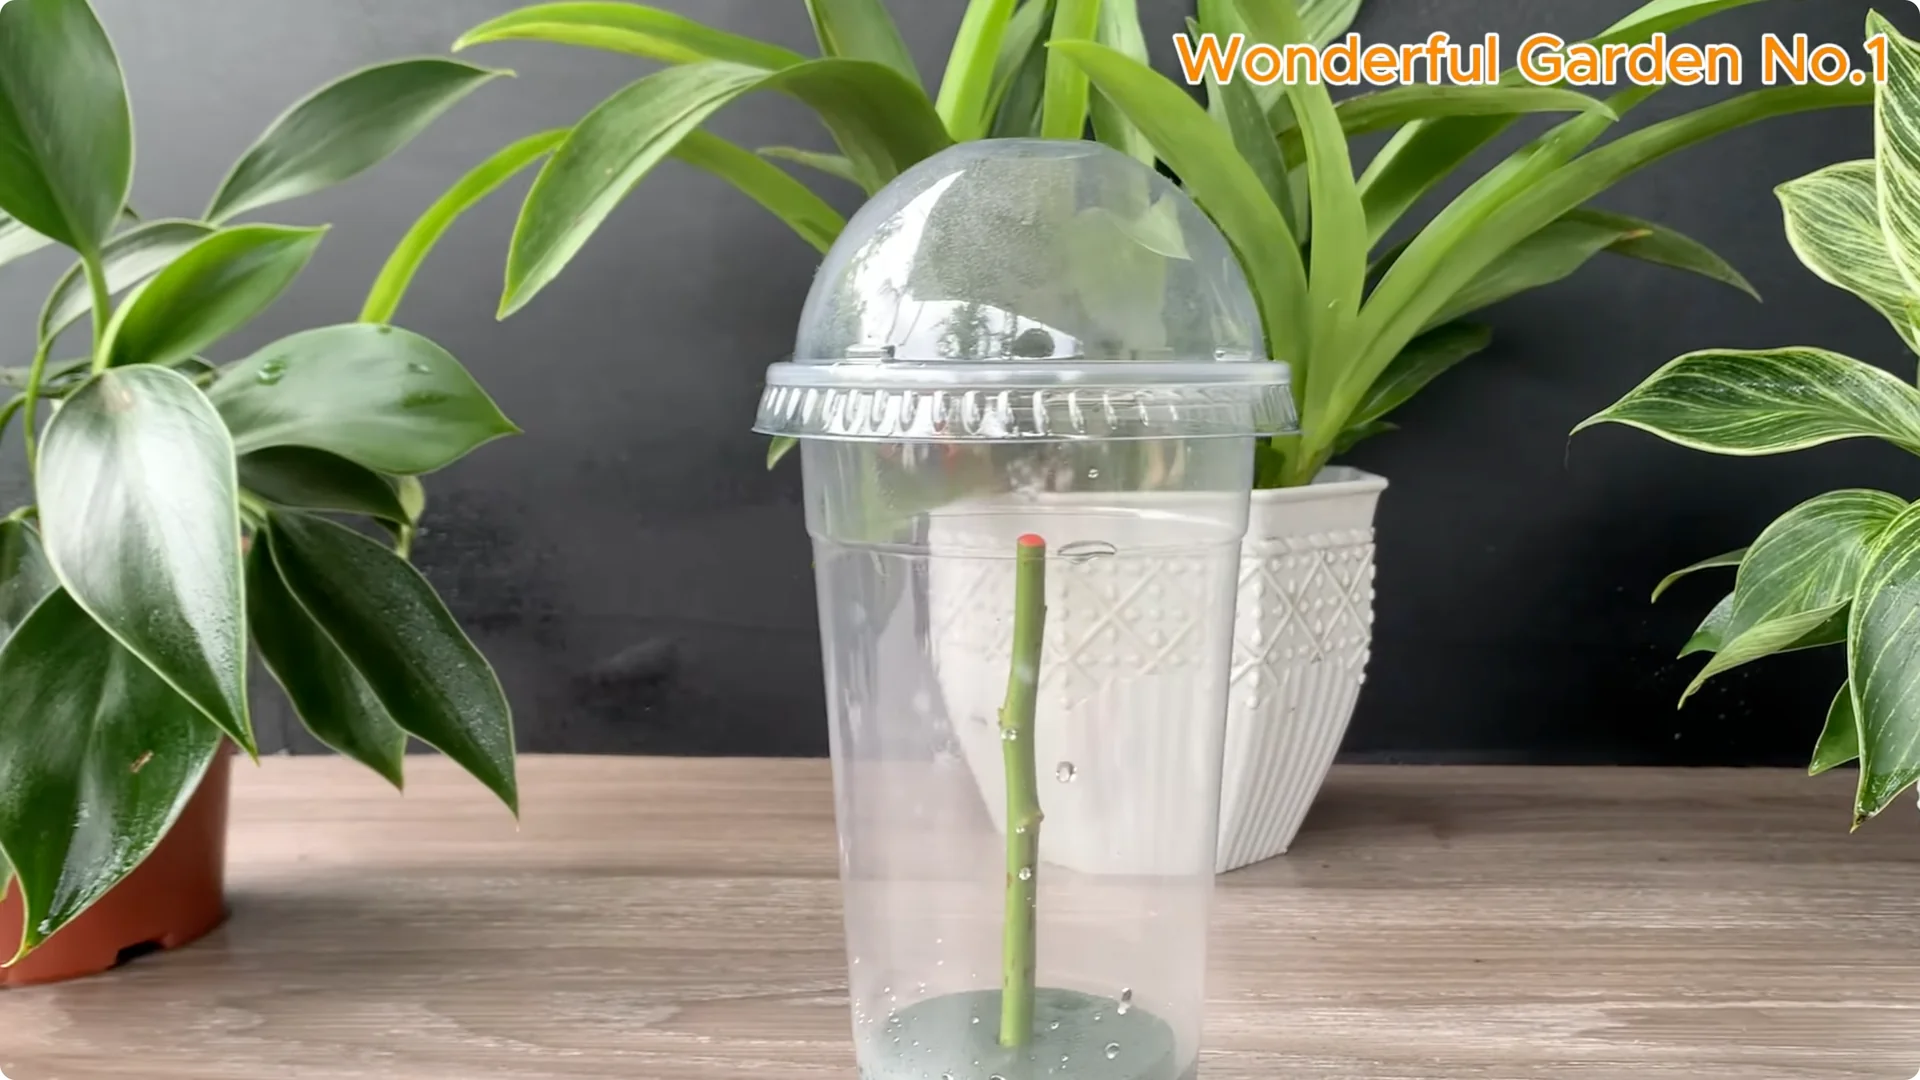
4. Natural Rose Propagation Mini Greenhouse
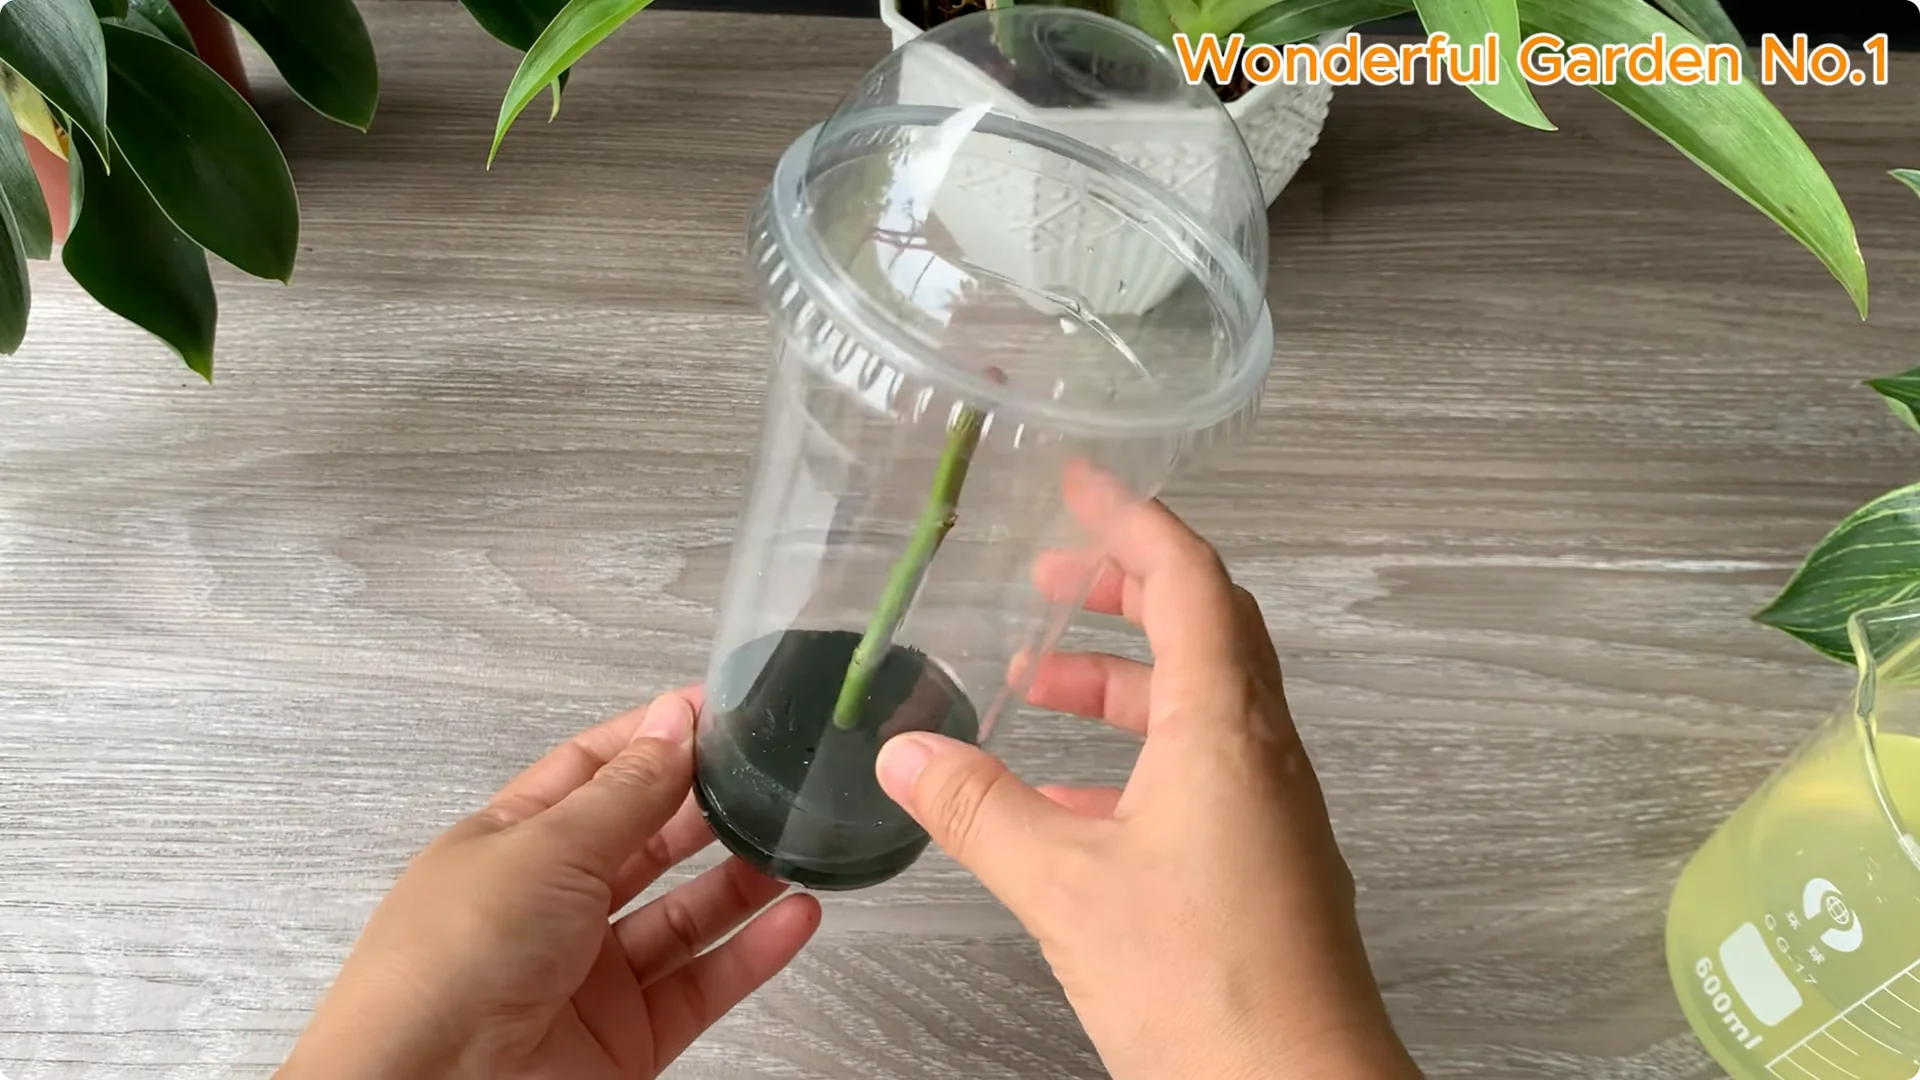
Create a simple and effective rooting medium with a plastic cup and a soft sponge. Place the sponge inside the cup to keep the rose stem upright. The sponge keeps the stem moist and allows air to circulate.
It also prevents the stem from touching the bottom of the cup. This reduces the risk of rotting in the early stages of rooting. Keep the setup simple and clean.
Pour the natural rooting solution into the cup with the sponge. Add just enough liquid to moisten the sponge. It should be damp, not wet, to create a gentle aerated environment that promotes root growth.
Insert the rose stem into the middle of the prepared sponge. Make sure it is upright and firmly held in place. Moisture from the sponge will slowly seep into the base, feeding the stem and starting the rooting process.
To maintain consistent humidity, create a mini greenhouse. Cover the cup with a lid or clear plastic wrap. Make small ventilation holes for air circulation.
For a deeper look at how allium compounds affect rose stems, see this guide on onion effects on rose cuttings. It explains why these gentle antibacterials support clean rooting. Pair that knowledge with this citrus-garlic method for best results.
5. Natural Rose Propagation Care and Monitoring
Place the cup in a bright, well-ventilated area out of direct sunlight. Too much heat or light can dry the cutting too quickly. Keep conditions steady and mild.
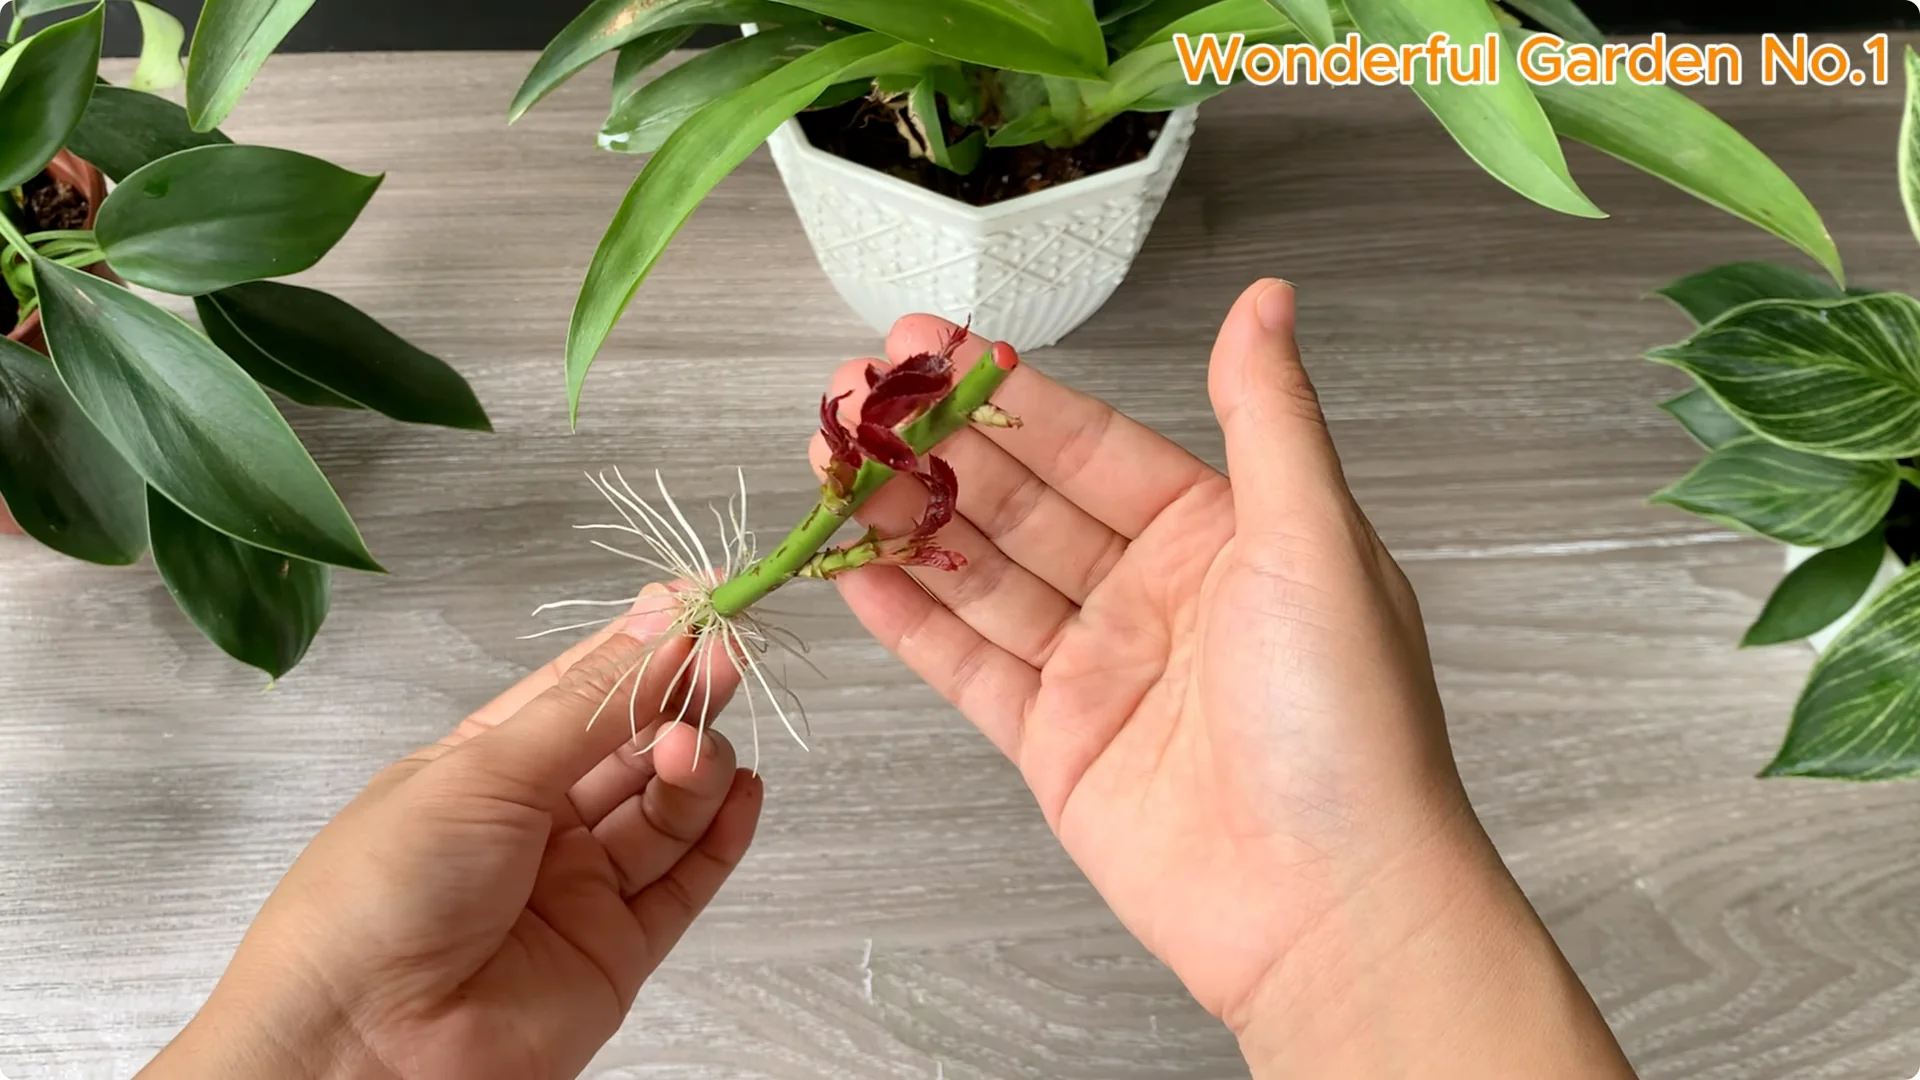
With gentle care and patience, roots should begin to form in the coming weeks. After about 2 to 3 weeks in favorable conditions, you should see the first signs of recovery. Dormant buds will push new shoots and the first green leaves.
Small white roots will appear around the base of the cutting. They will cling to the sponge and continue to grow. This is a clear sign the method has worked.
Any leftover rooting solution can be used to water other plants in your garden. Natural compounds from citrus peel and garlic help promote root growth and increase nutrient uptake. They also help protect the soil from harmful bacteria.
This gentle organic tonic supports overall plant health. It is perfect for vegetables, herbs, or flowering shrubs. Stay consistent and keep it light.
If you want a concentrated boost for quicker rooting, explore this simple one spoon technique for explosive root growth. It pairs well with the sponge method. Use it when you need a fast start.
6. Natural Rose Propagation Transplanting
Once roots are well developed and new shoots emerge, transfer the cuttings to a larger pot. Planting in a pot first helps the plant adjust to the expanded environment. Roots stabilize and grow stronger.
Choose loose, well-drained soil. Place the plant where gentle morning light is available. Water lightly and let the roots explore.
After a few weeks of care in the pot, transplant to garden soil. The plant will continue to grow, leaf out, and bloom. Your space gains color from a once-discarded branch.
Final Thoughts
From a seemingly discarded rose branch, we create new life. Natural, friendly, and loving materials support healthy rooting without chemicals. Patience and simple steps bring a revived stem ready to bloom again.