A garden teaches patience, joy, and the art of nurturing life. Every flower tells a story, and every moment spent with greenery becomes a moment of peace. If you love roses and want them to grow healthy and bloom all year, this guide is for you.
Let’s grow together and help your rose cuttings root well using a powerful, all-natural rooting solution. I’ll show you how with simple kitchen and garden ingredients. Follow these steps and enjoy the results.
1. Natural Rooting Solution for Rose Cutting Propagation
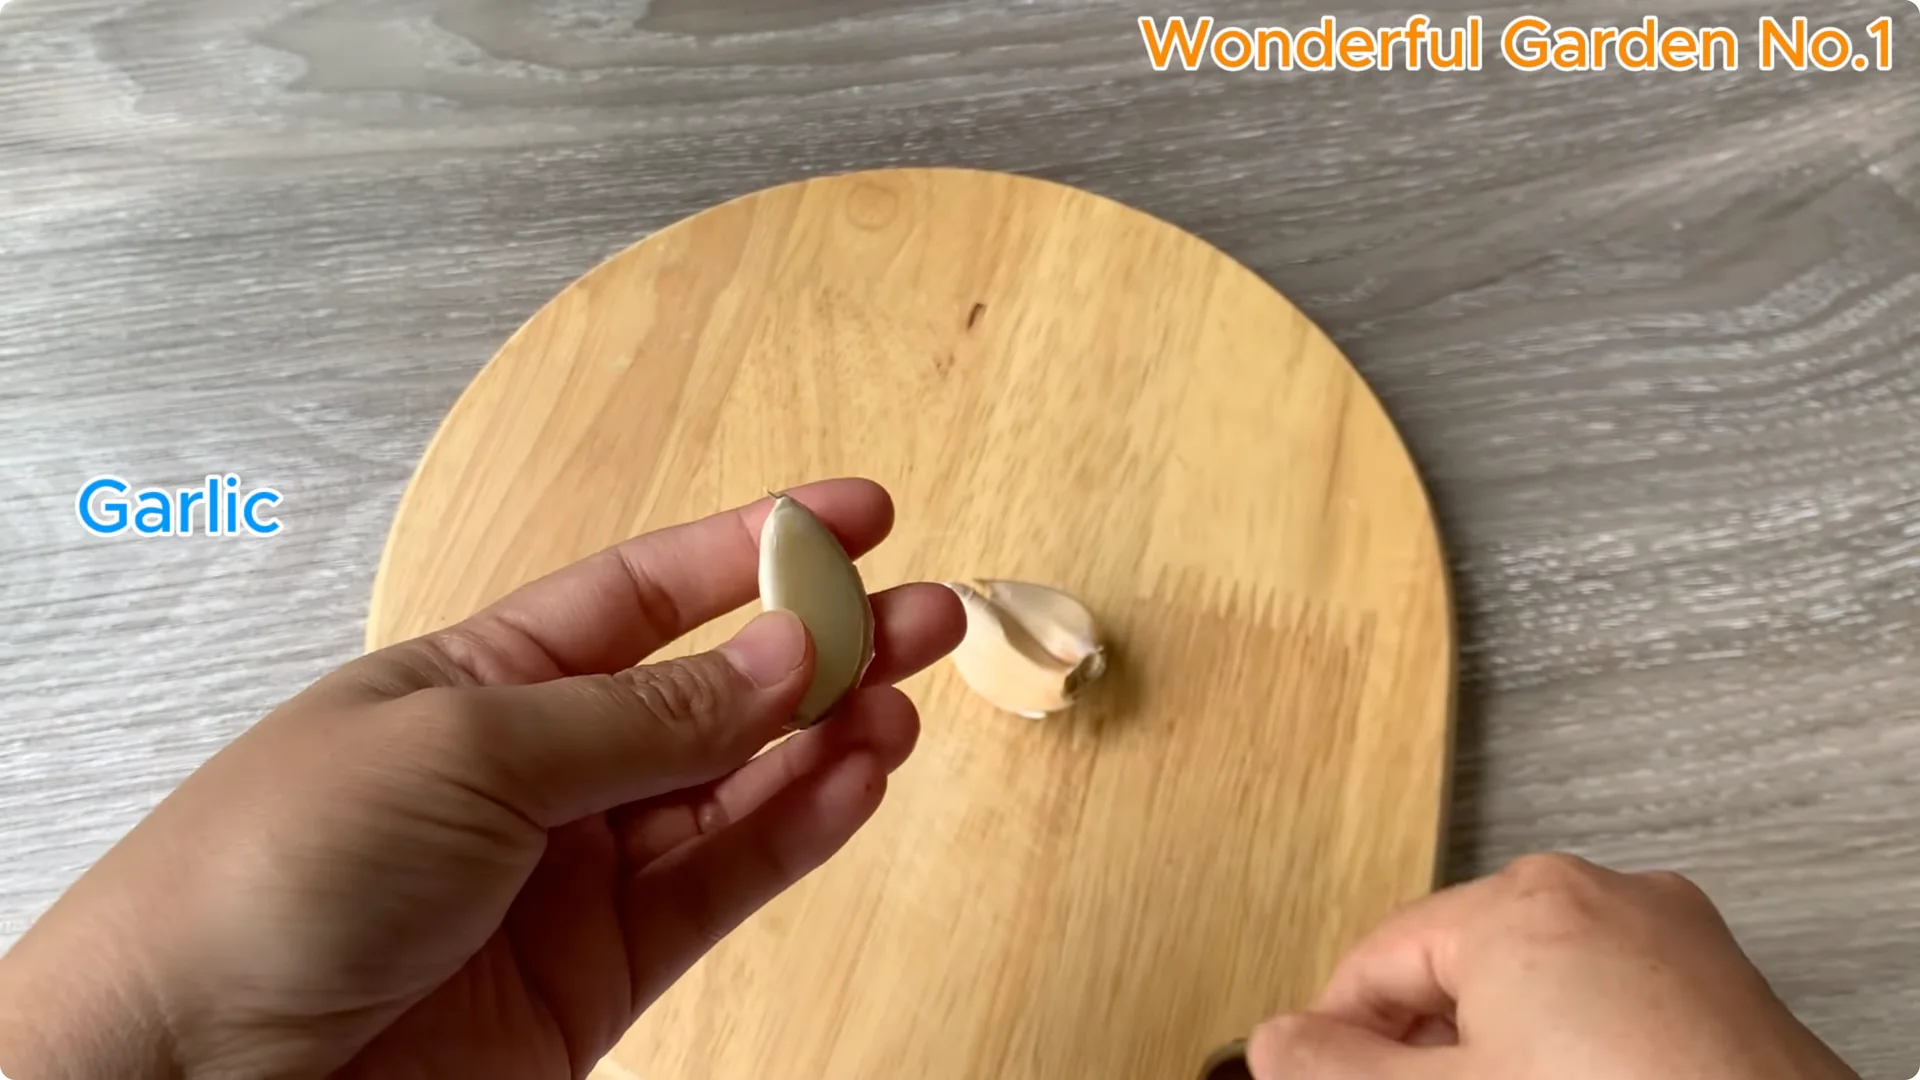
Start with a simple ingredient you likely already have in your kitchen: garlic. Take three cloves of garlic. Peel them and chop them finely to release their natural compounds.

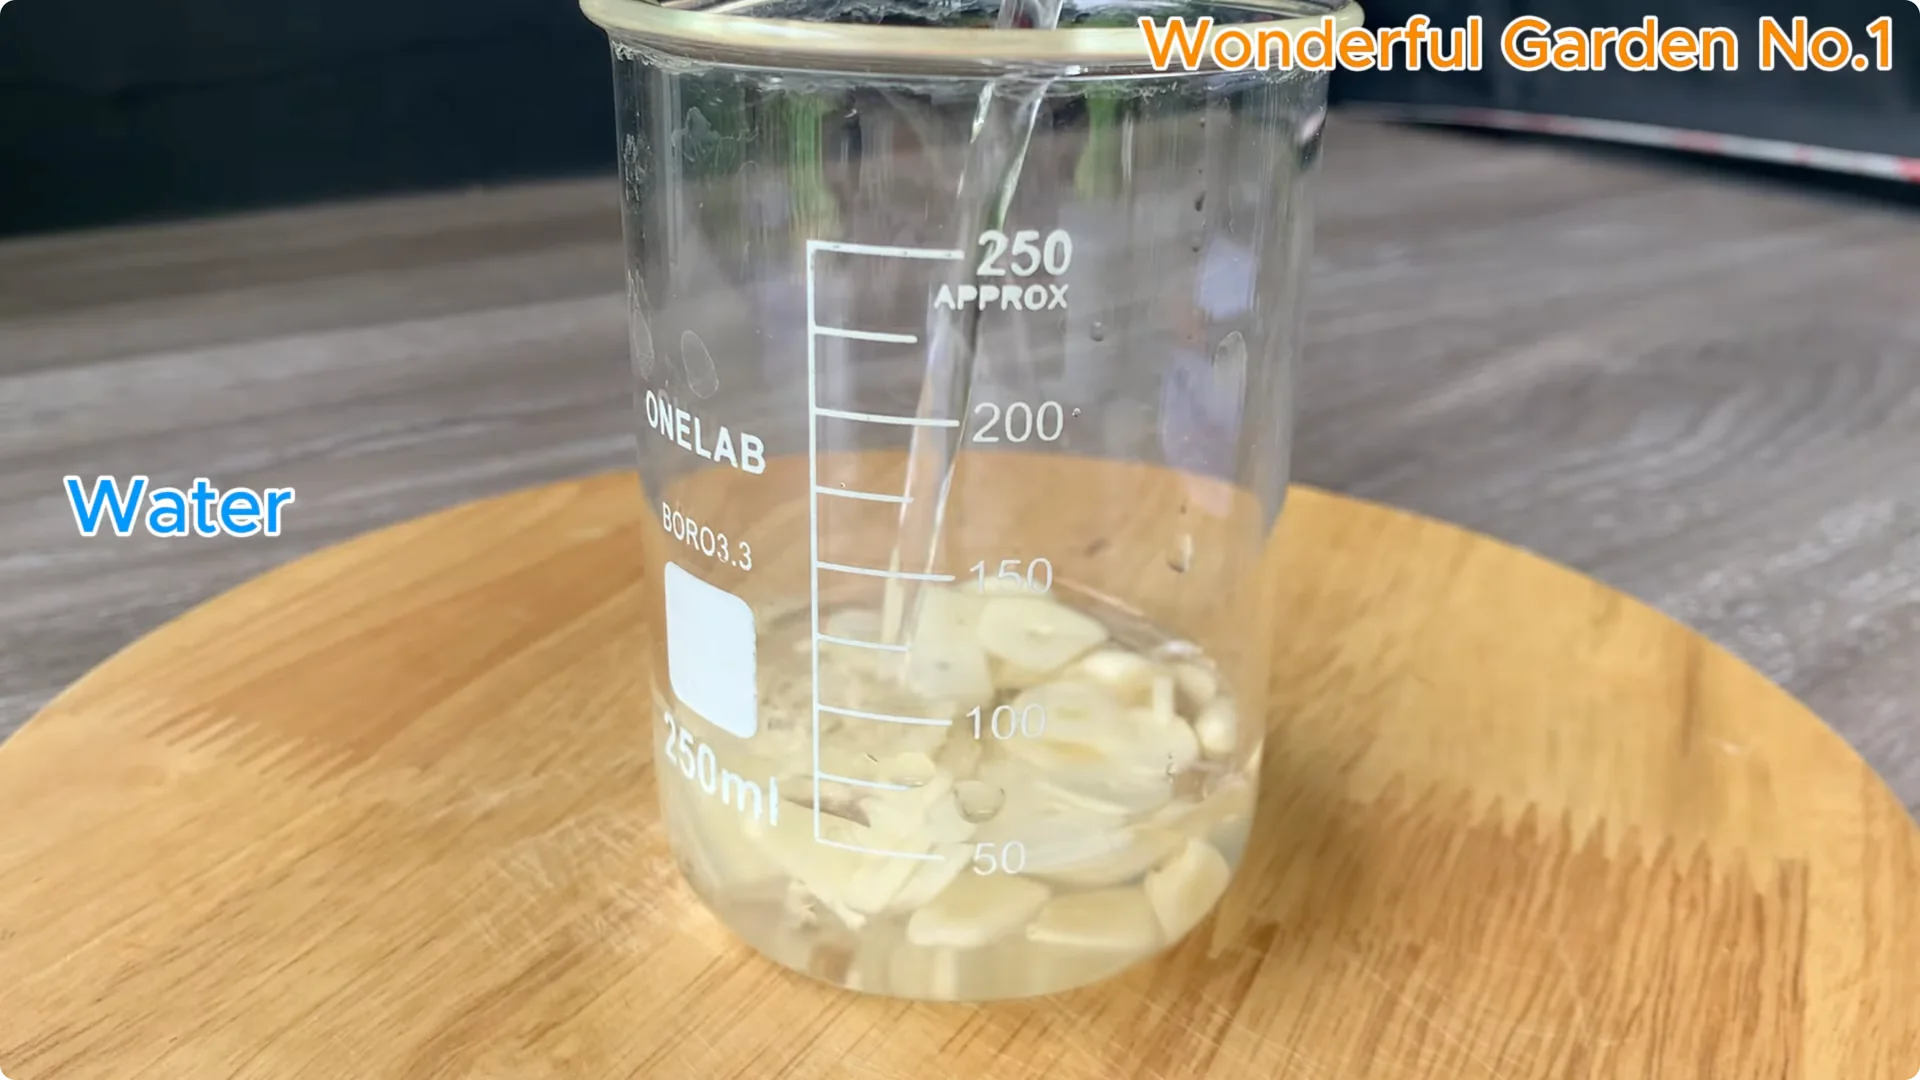
Garlic is a natural antiseptic that helps protect cuttings from fungal infections and root rot, especially in wet conditions. It is a gentle way to get your rose cuttings off to a clean and healthy start. Soak the minced garlic in 100 ml of clean water for about 10 minutes.
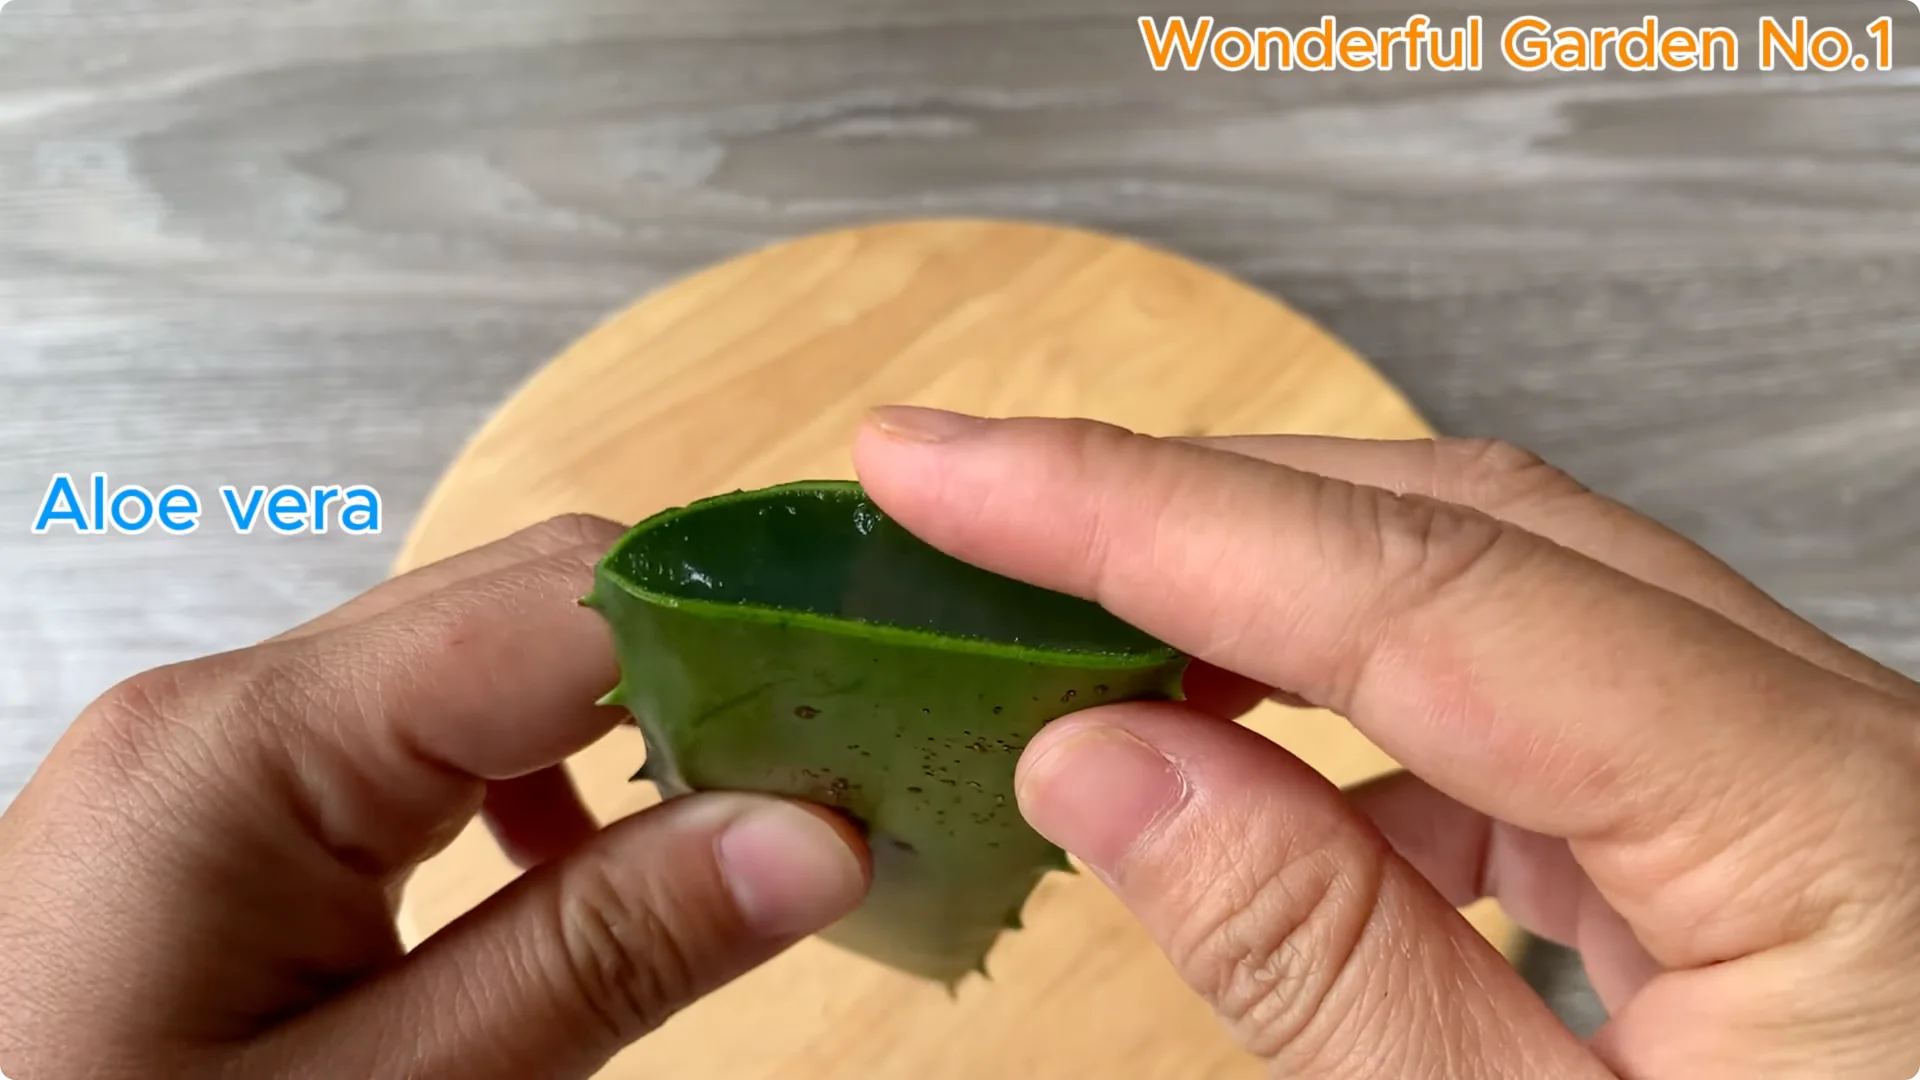
Add some aloe vera gel by peeling off the green skin and using only the clear gel inside. This gel helps retain moisture and contains natural enzymes that stimulate root growth. It helps your cuttings grow stronger.
Add coffee by pouring brewed coffee or dry coffee grounds soaked in about 400 ml of warm water. Pour the coffee into the cup of aloe vera gel you just prepared. Coffee promotes beneficial bacteria in the medium, helping new roots absorb nutrients better and grow healthier.
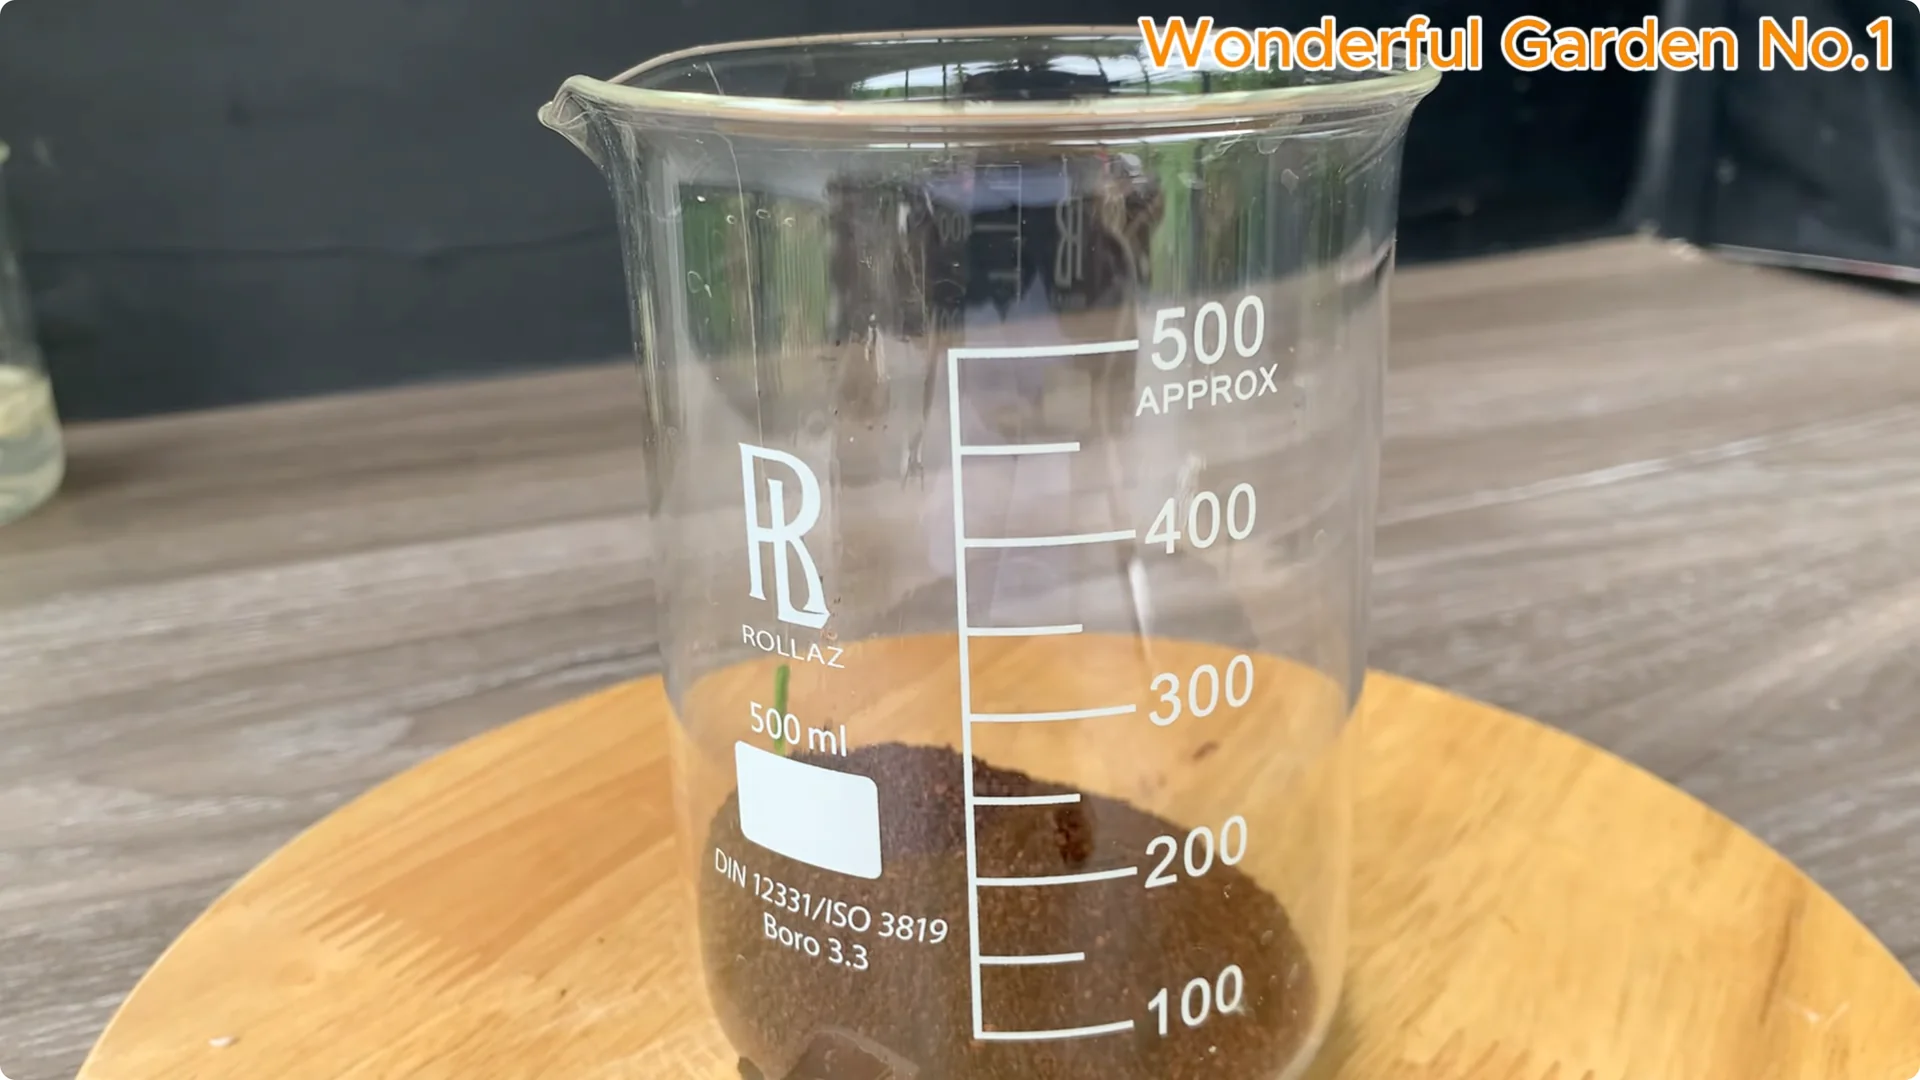
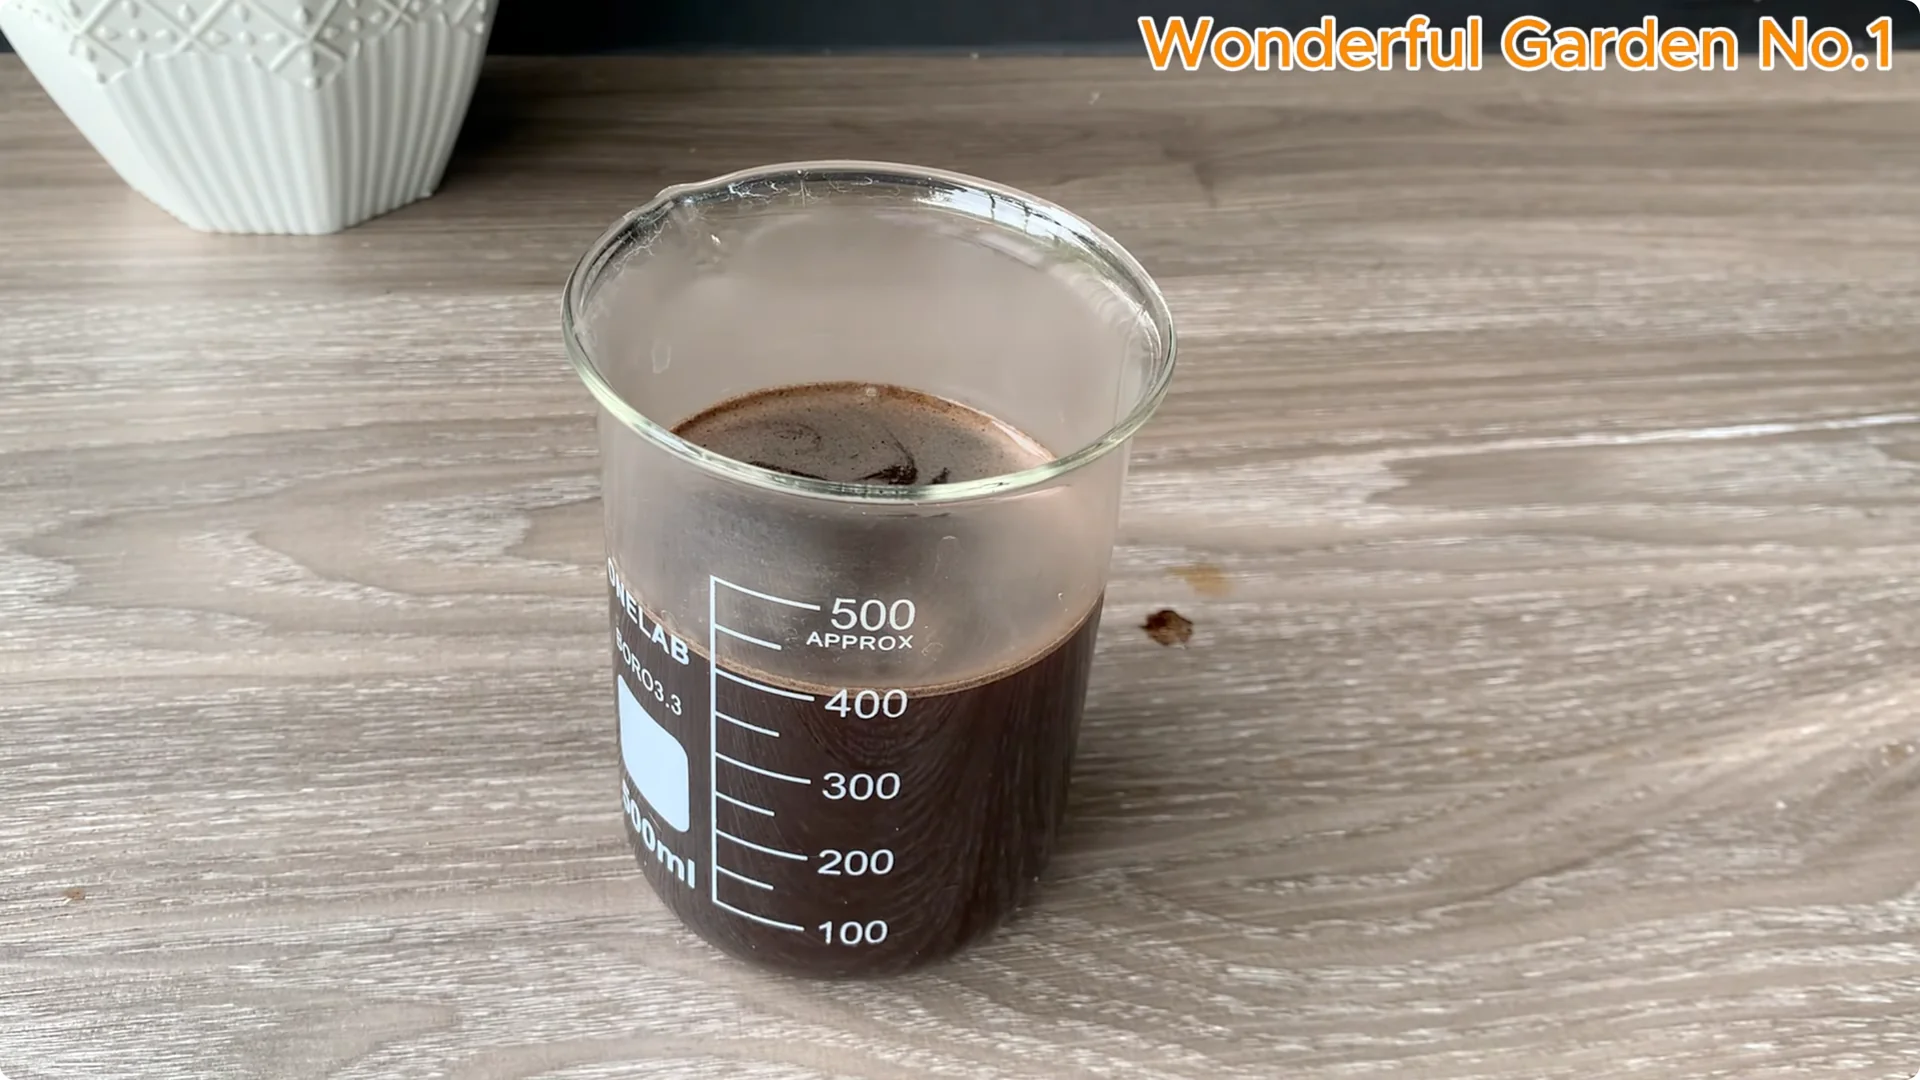
Coffee and aloe vera combine to provide nutrients and moisture, promoting root growth and health. Let the mixture sit for about 5 minutes to allow the ingredients to blend. Use a clean cloth or fine sieve to strain out any residue, leaving only the clear liquid.
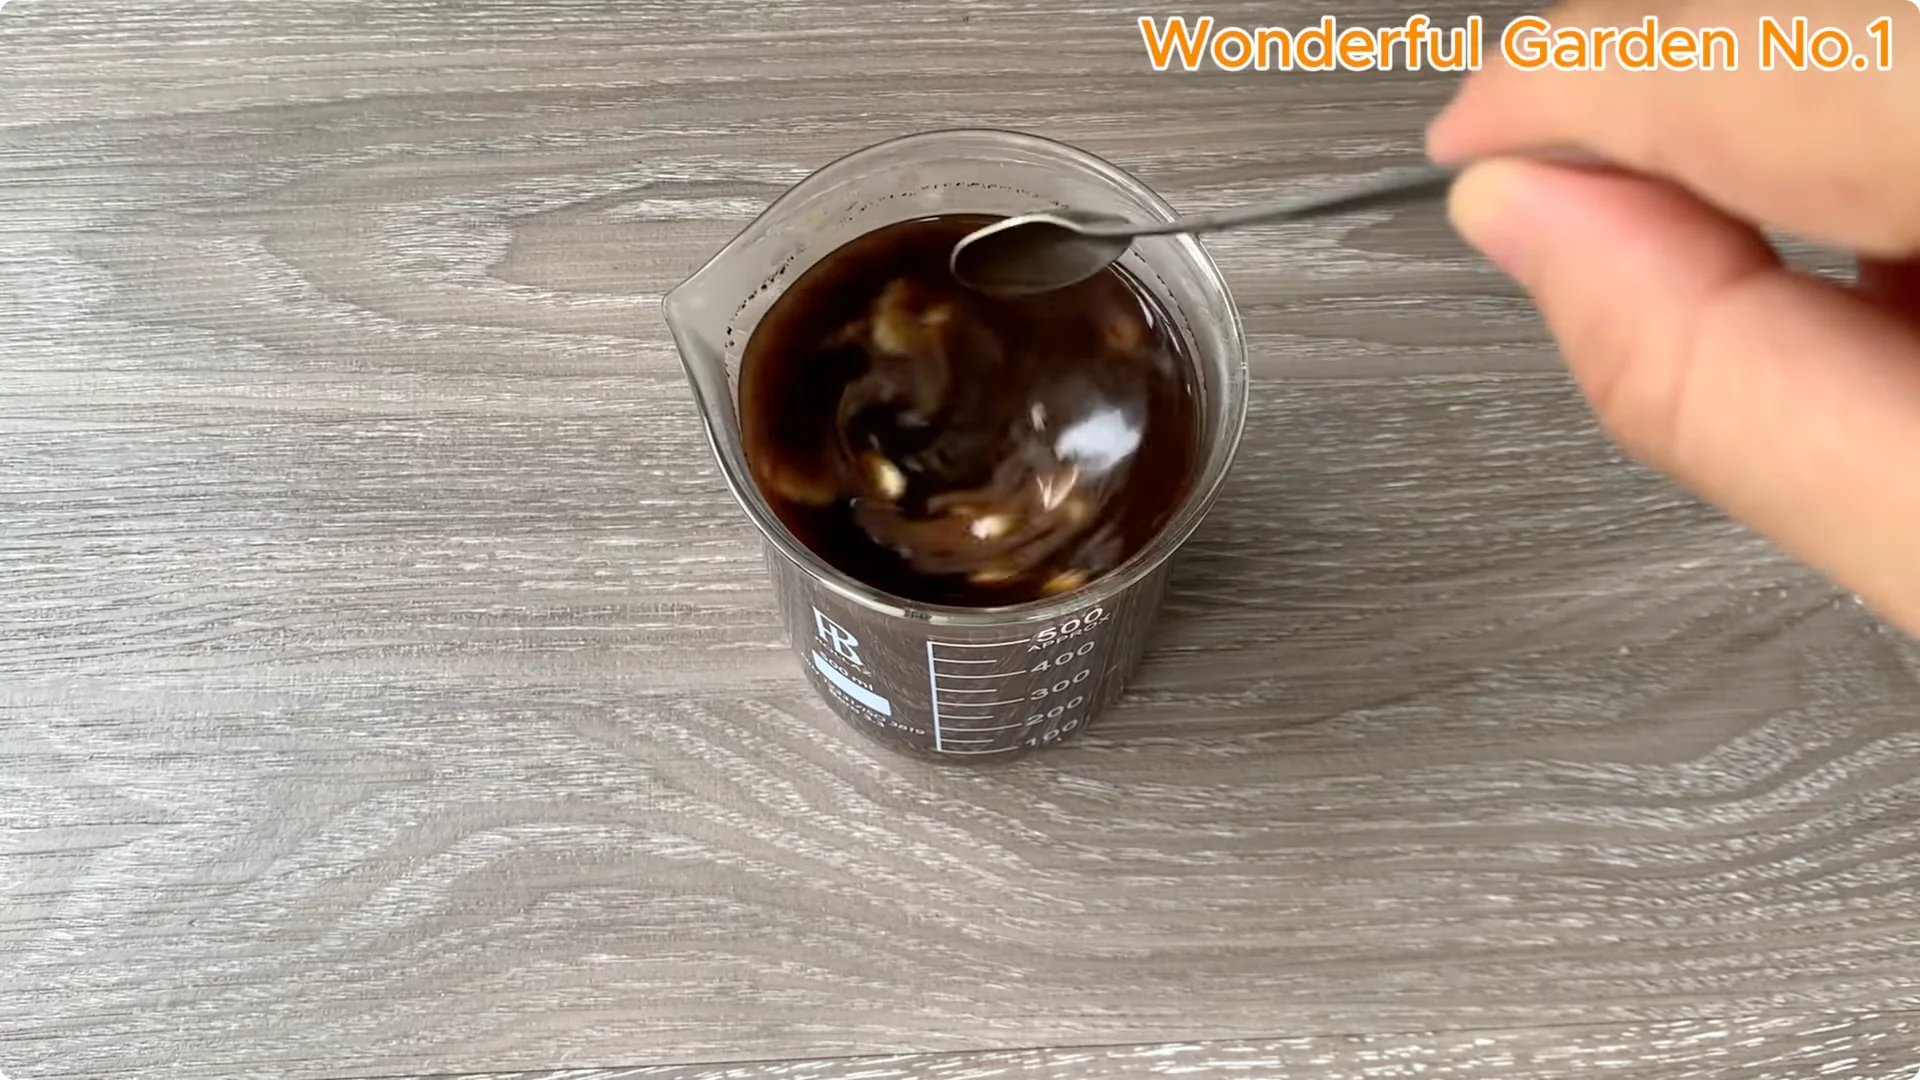
This is a complete natural rooting solution perfect for growing healthy rose cuttings. For an extra-simple boost, see one spoon.
2. Preparing Stems for Rose Cutting Propagation
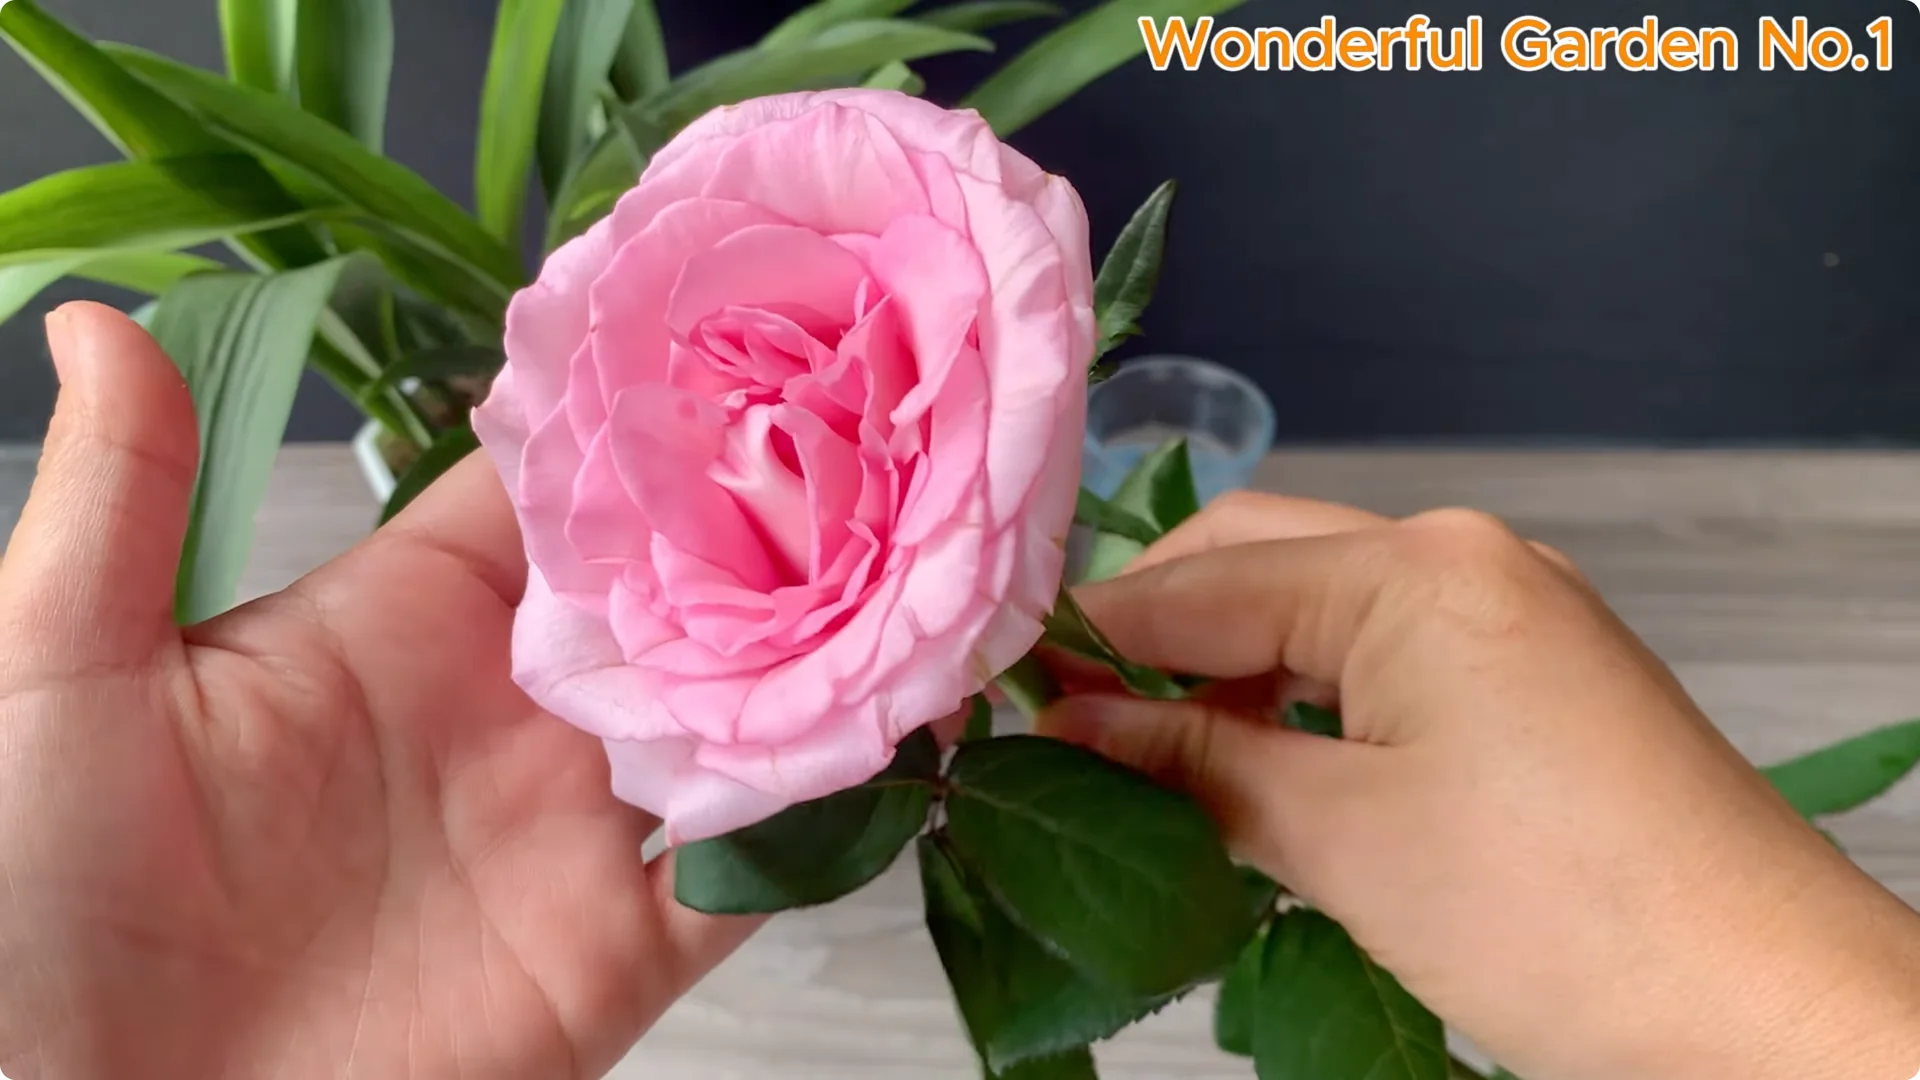
Proper stem selection and preparation is key to successful propagation. Choose young branches, not too young or too old, about 15 to 20 cm long. This size helps the branches take root quickly and grow healthily.
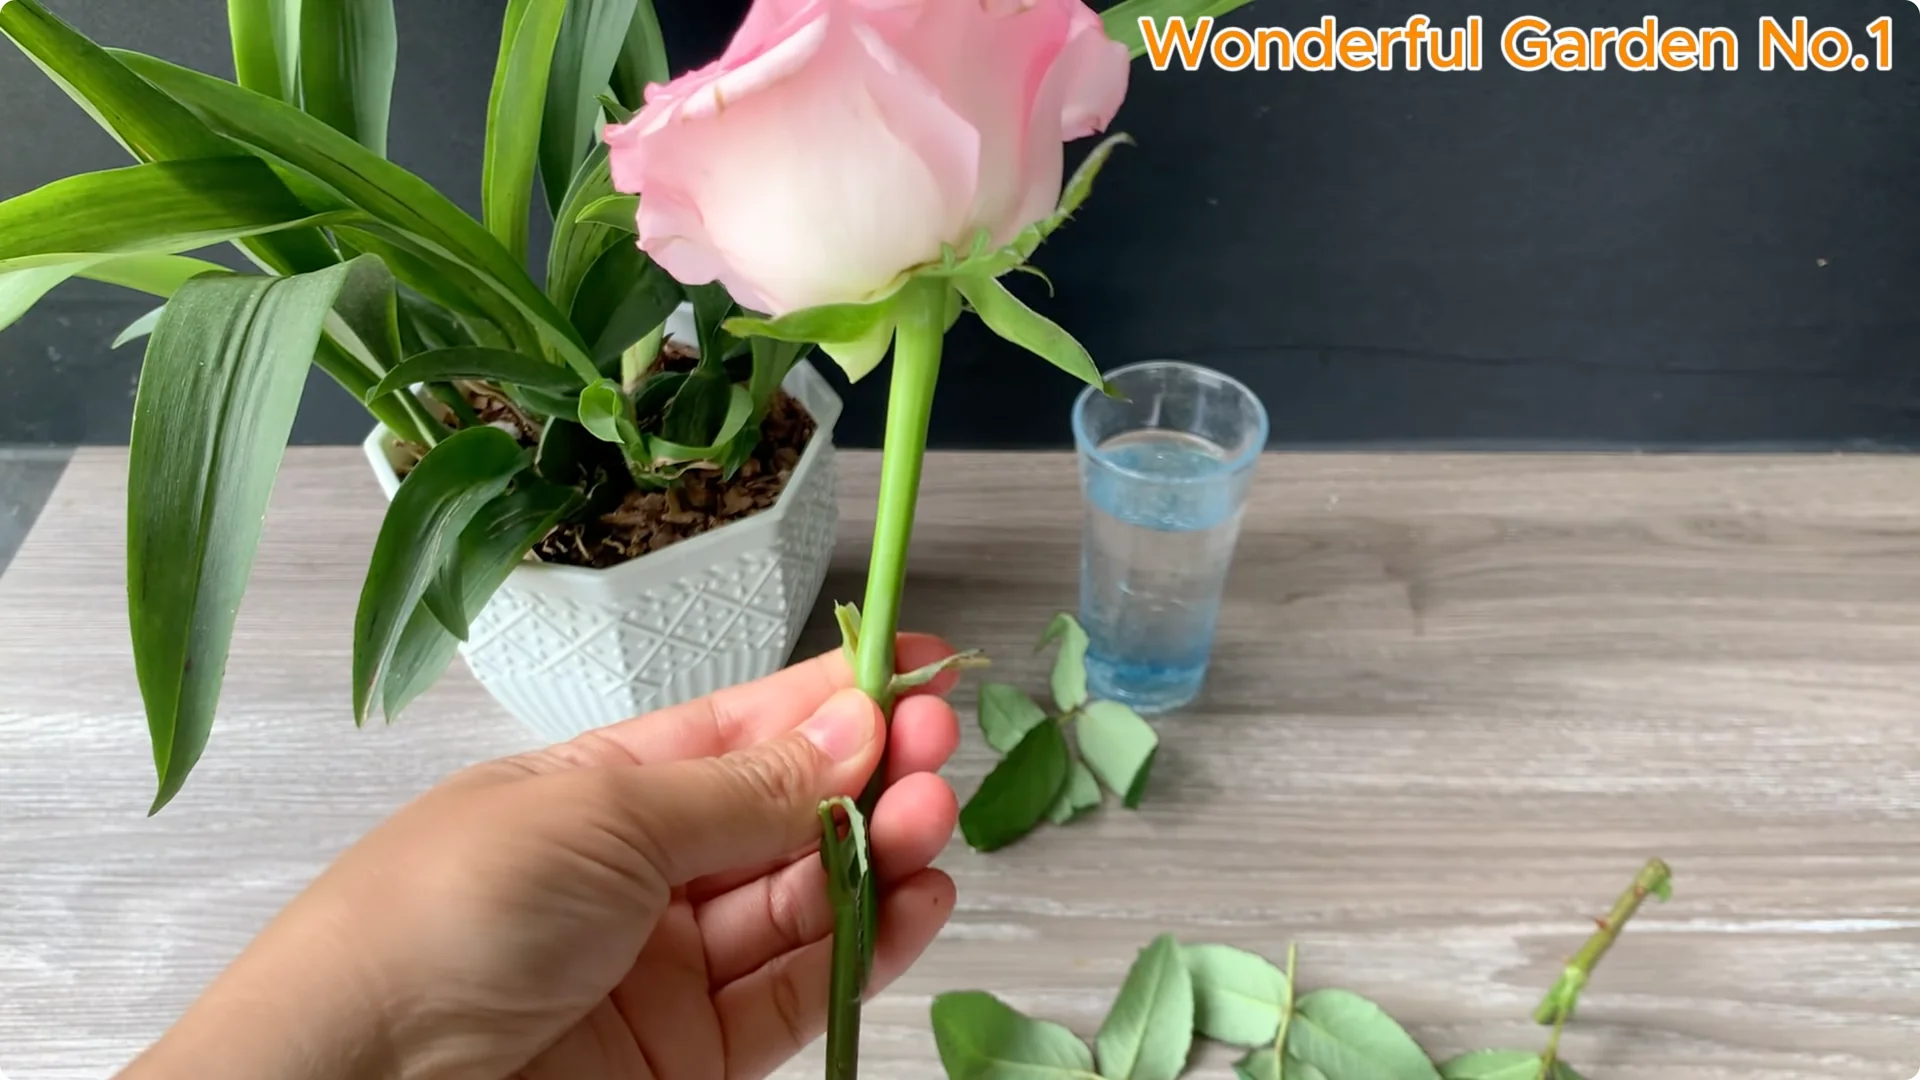
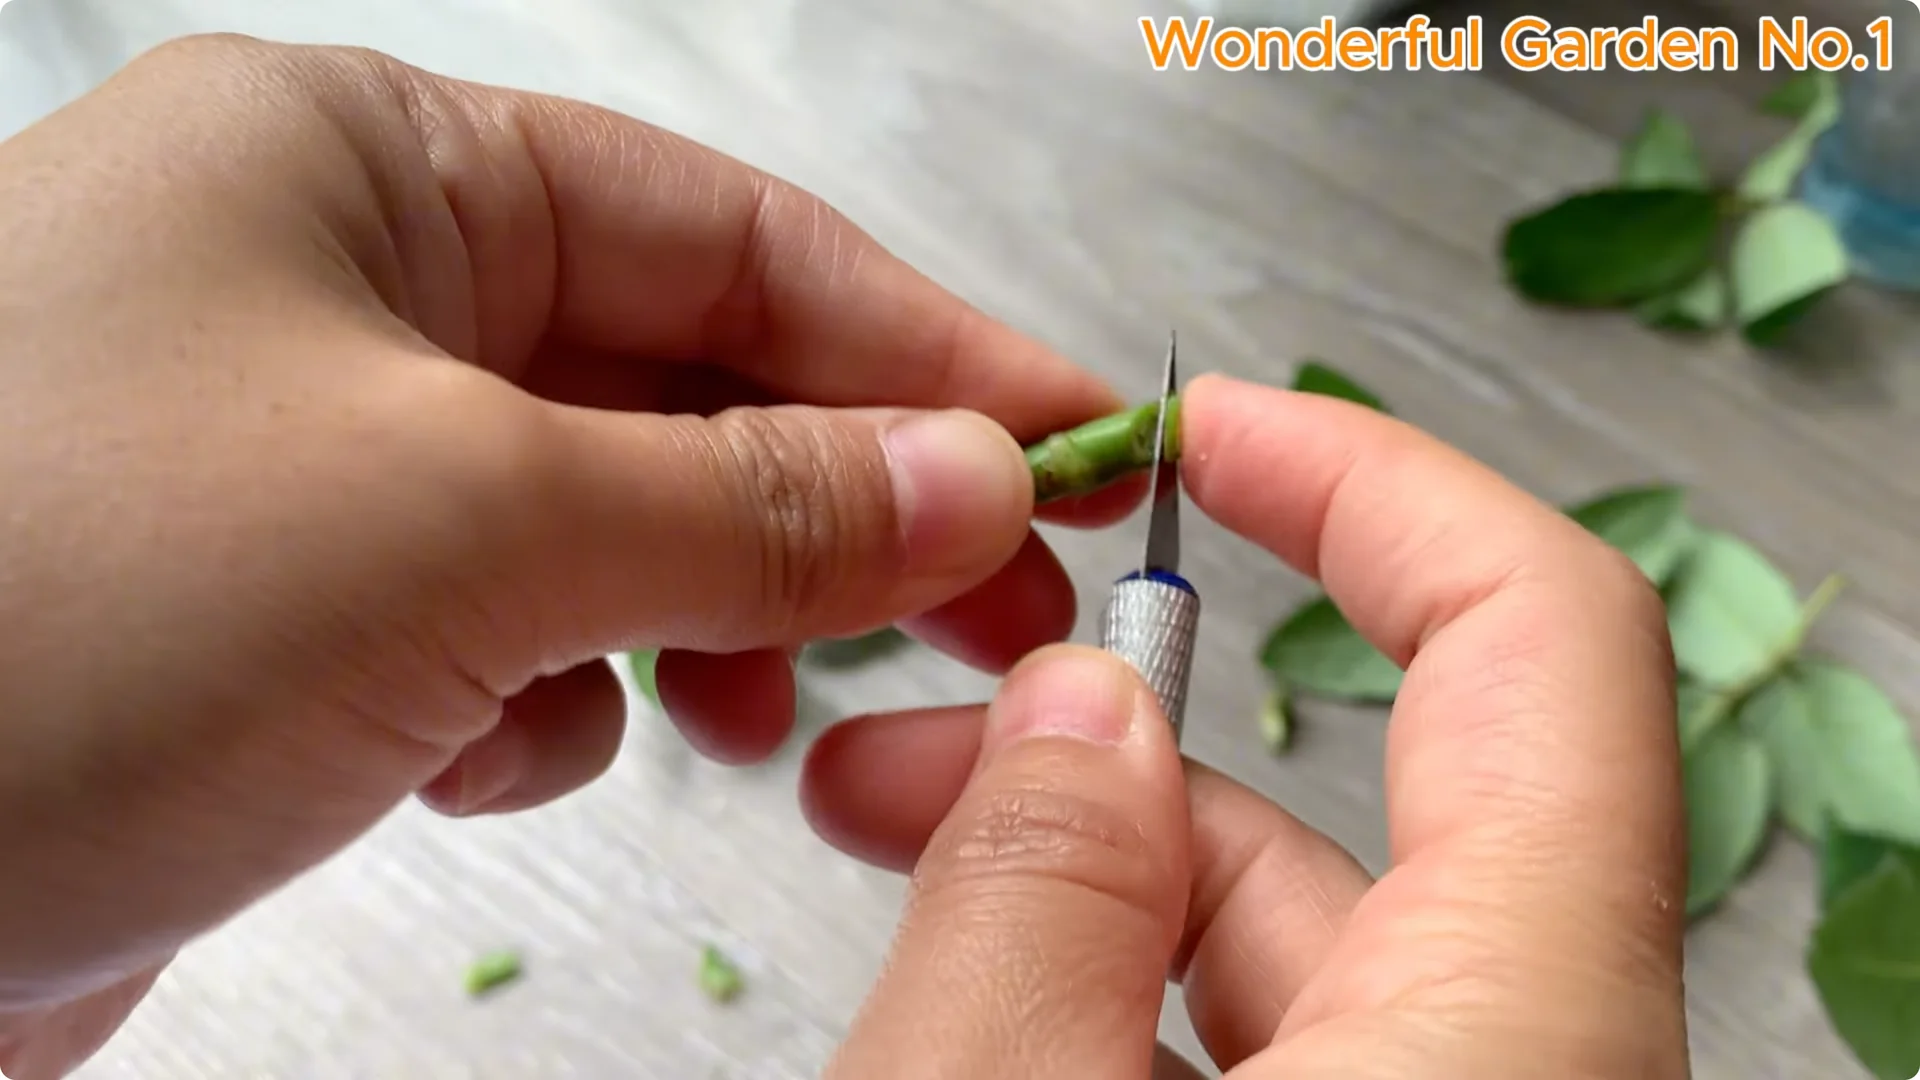
Cut off most of the leaves on the branch to minimize evaporation and keep the branch moist. Cut the base of the branch at a 45-degree angle just below a leaf to increase contact area and nutrient absorption. Soak the base of the branch in the natural root stimulant solution for 1 to 2 hours.
Allow the nutrients to penetrate deep into the plant tissue. This stimulates the branch to quickly develop new roots. Get your cuttings ready for soaking and planting.

3. Hydroponic Rose Cutting Propagation

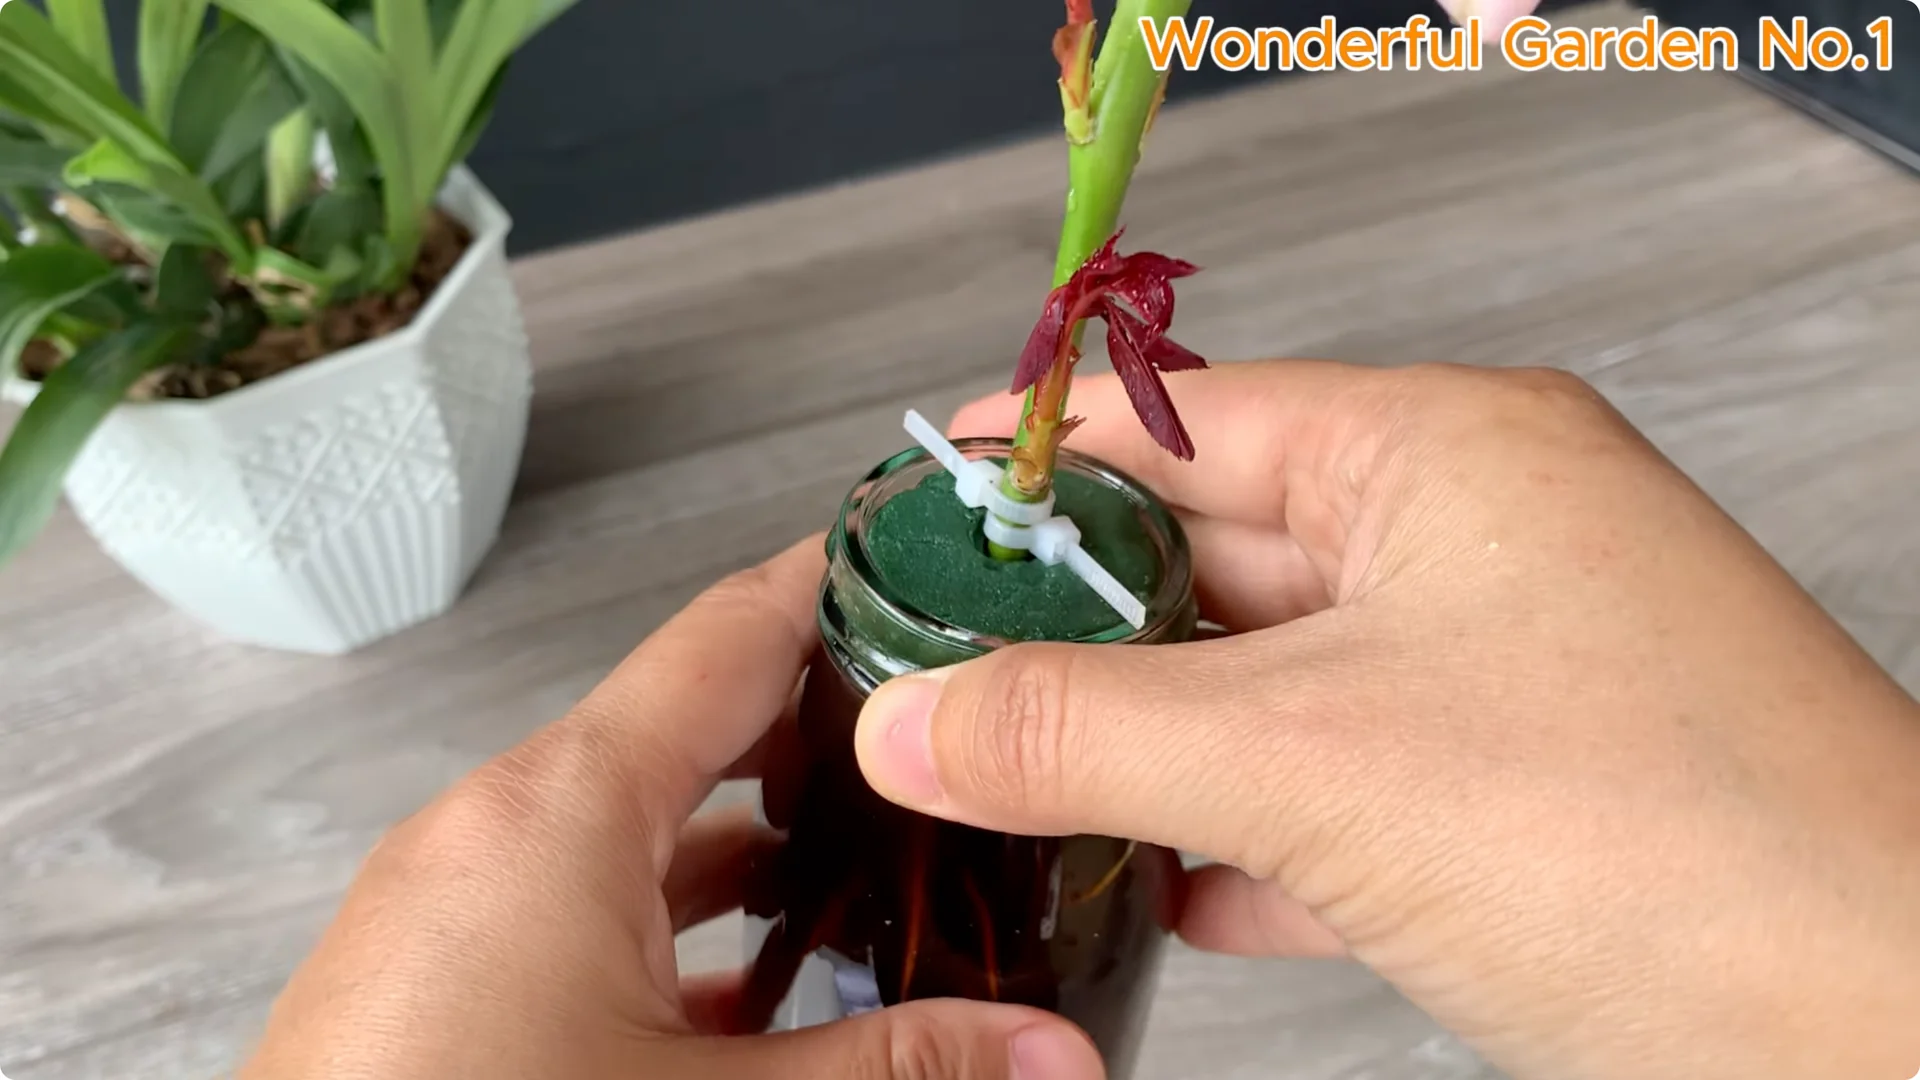
Set up the jar
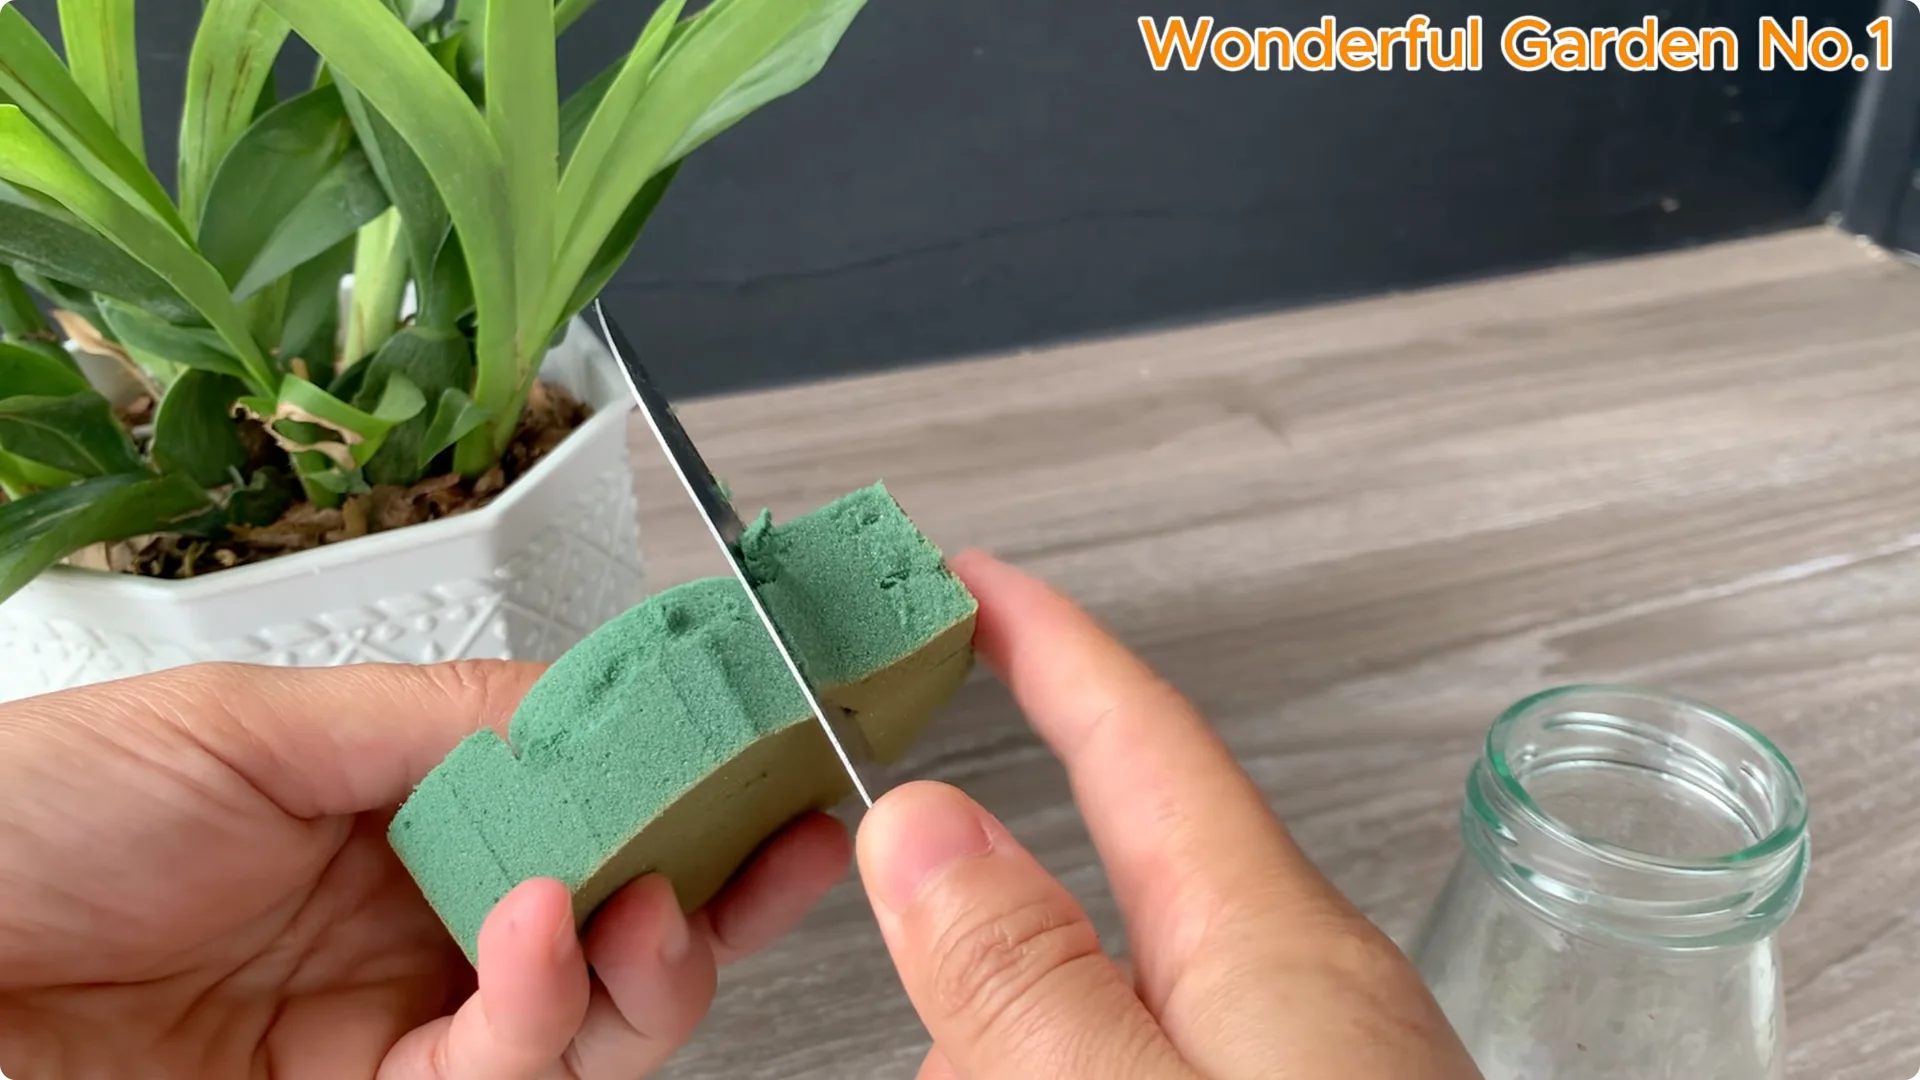
Pour the natural rooting solution into a clear glass jar. The jar lets you watch the roots grow while keeping the water clean and oxygenated. The sponge acts as a lid to hold the cuttings in place and allows air to circulate.
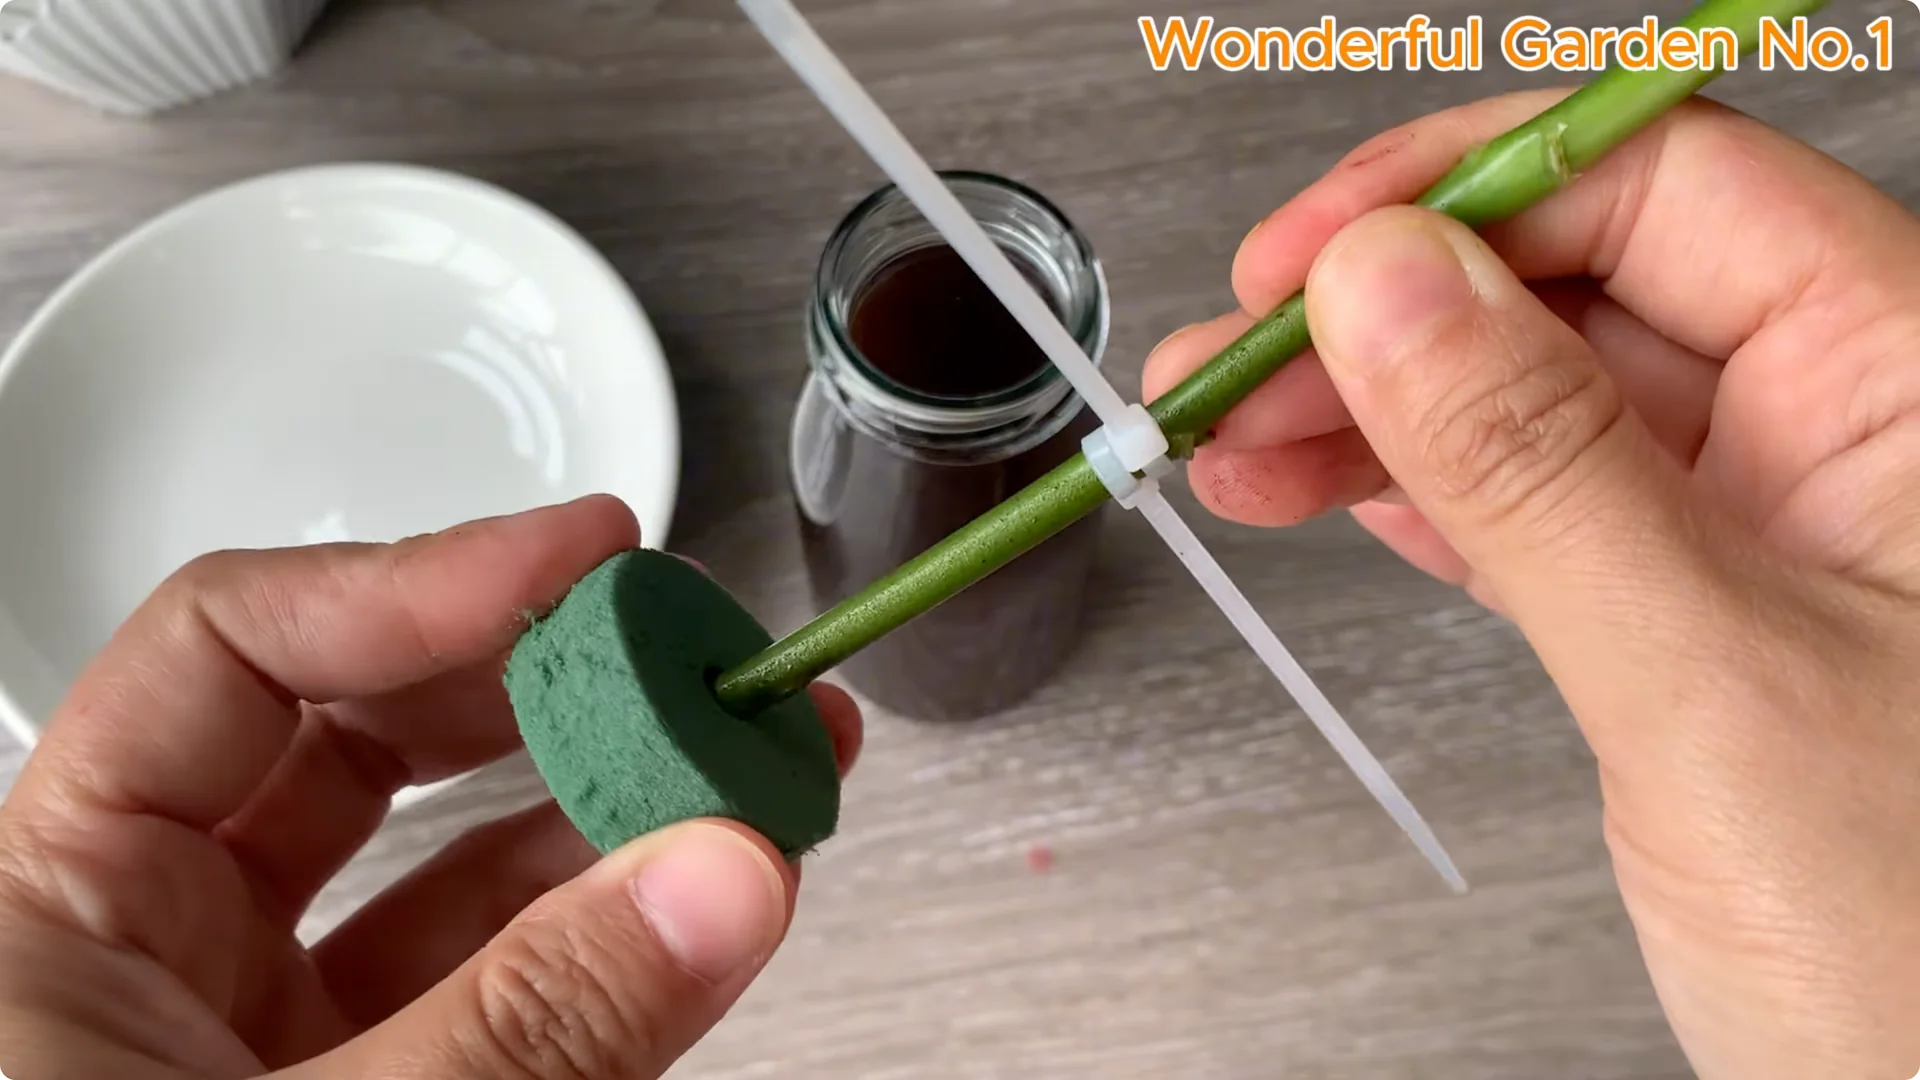
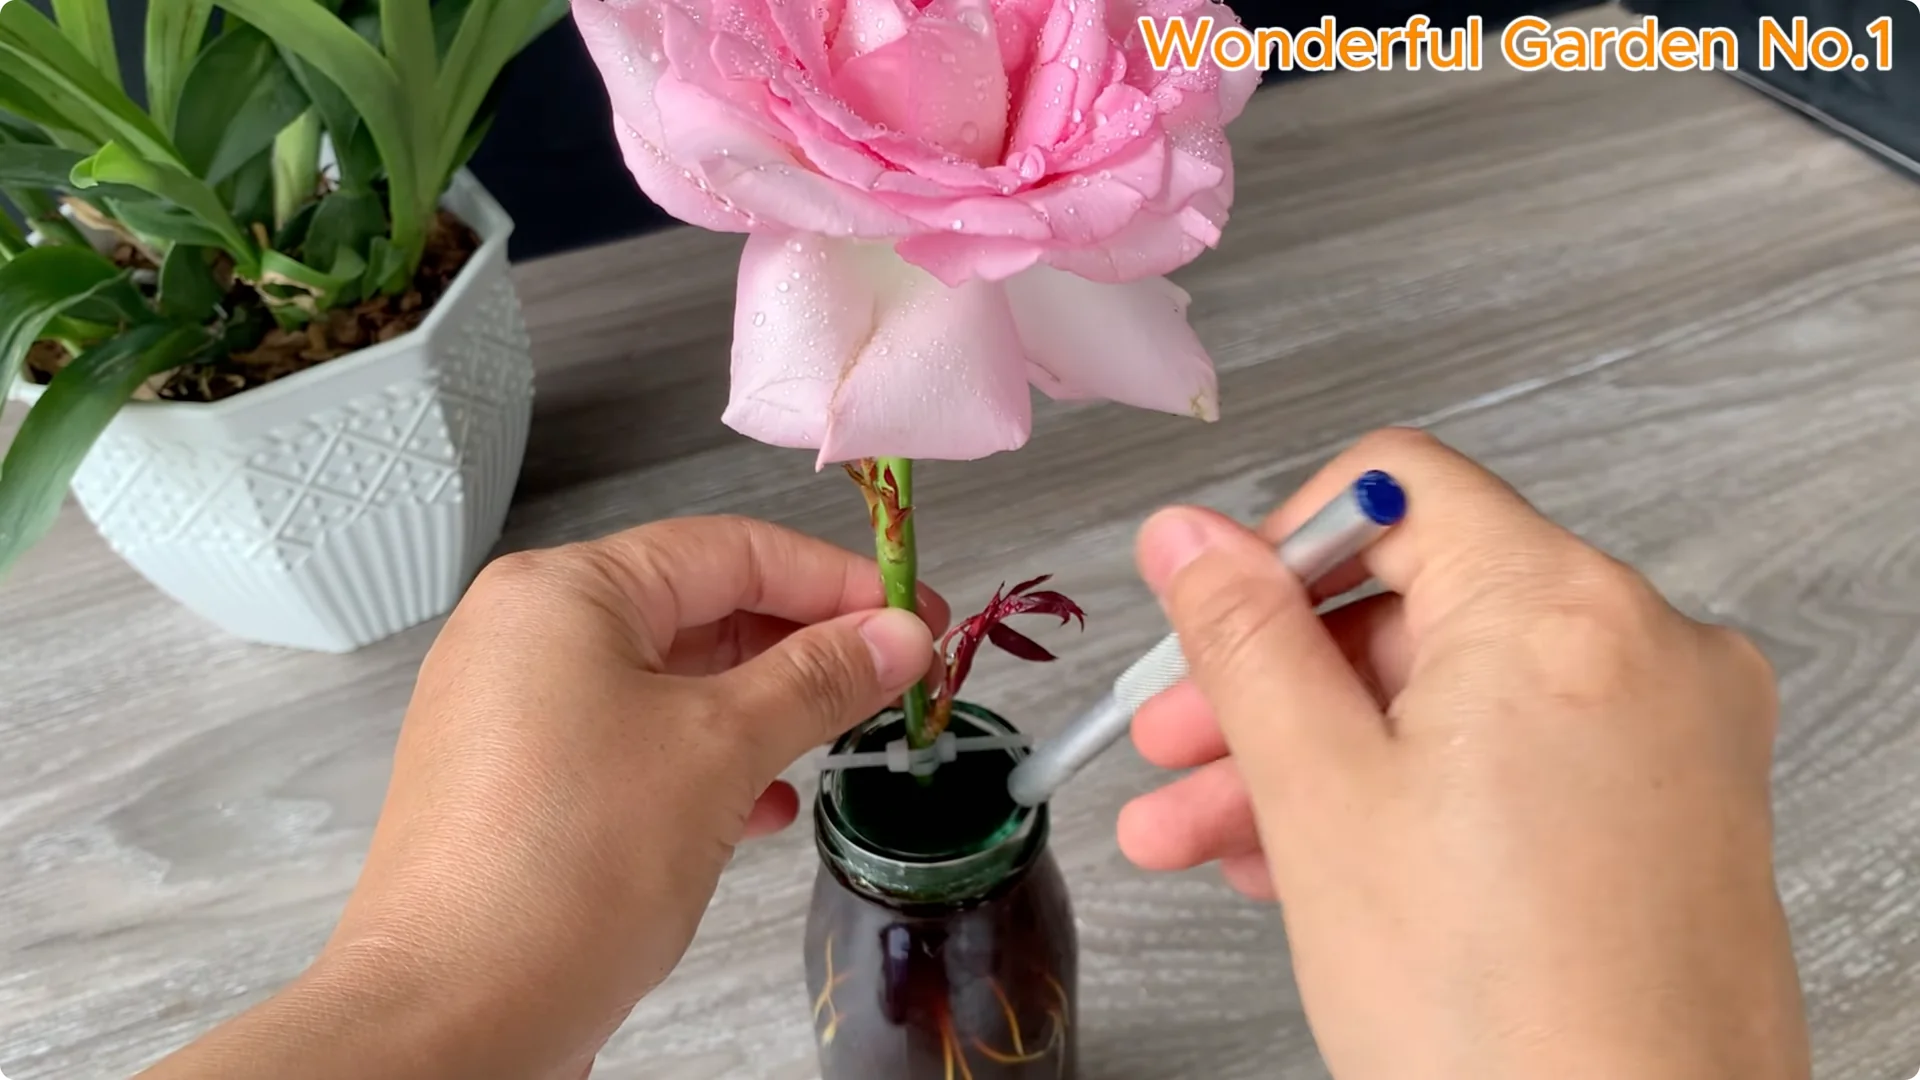
Insert and support
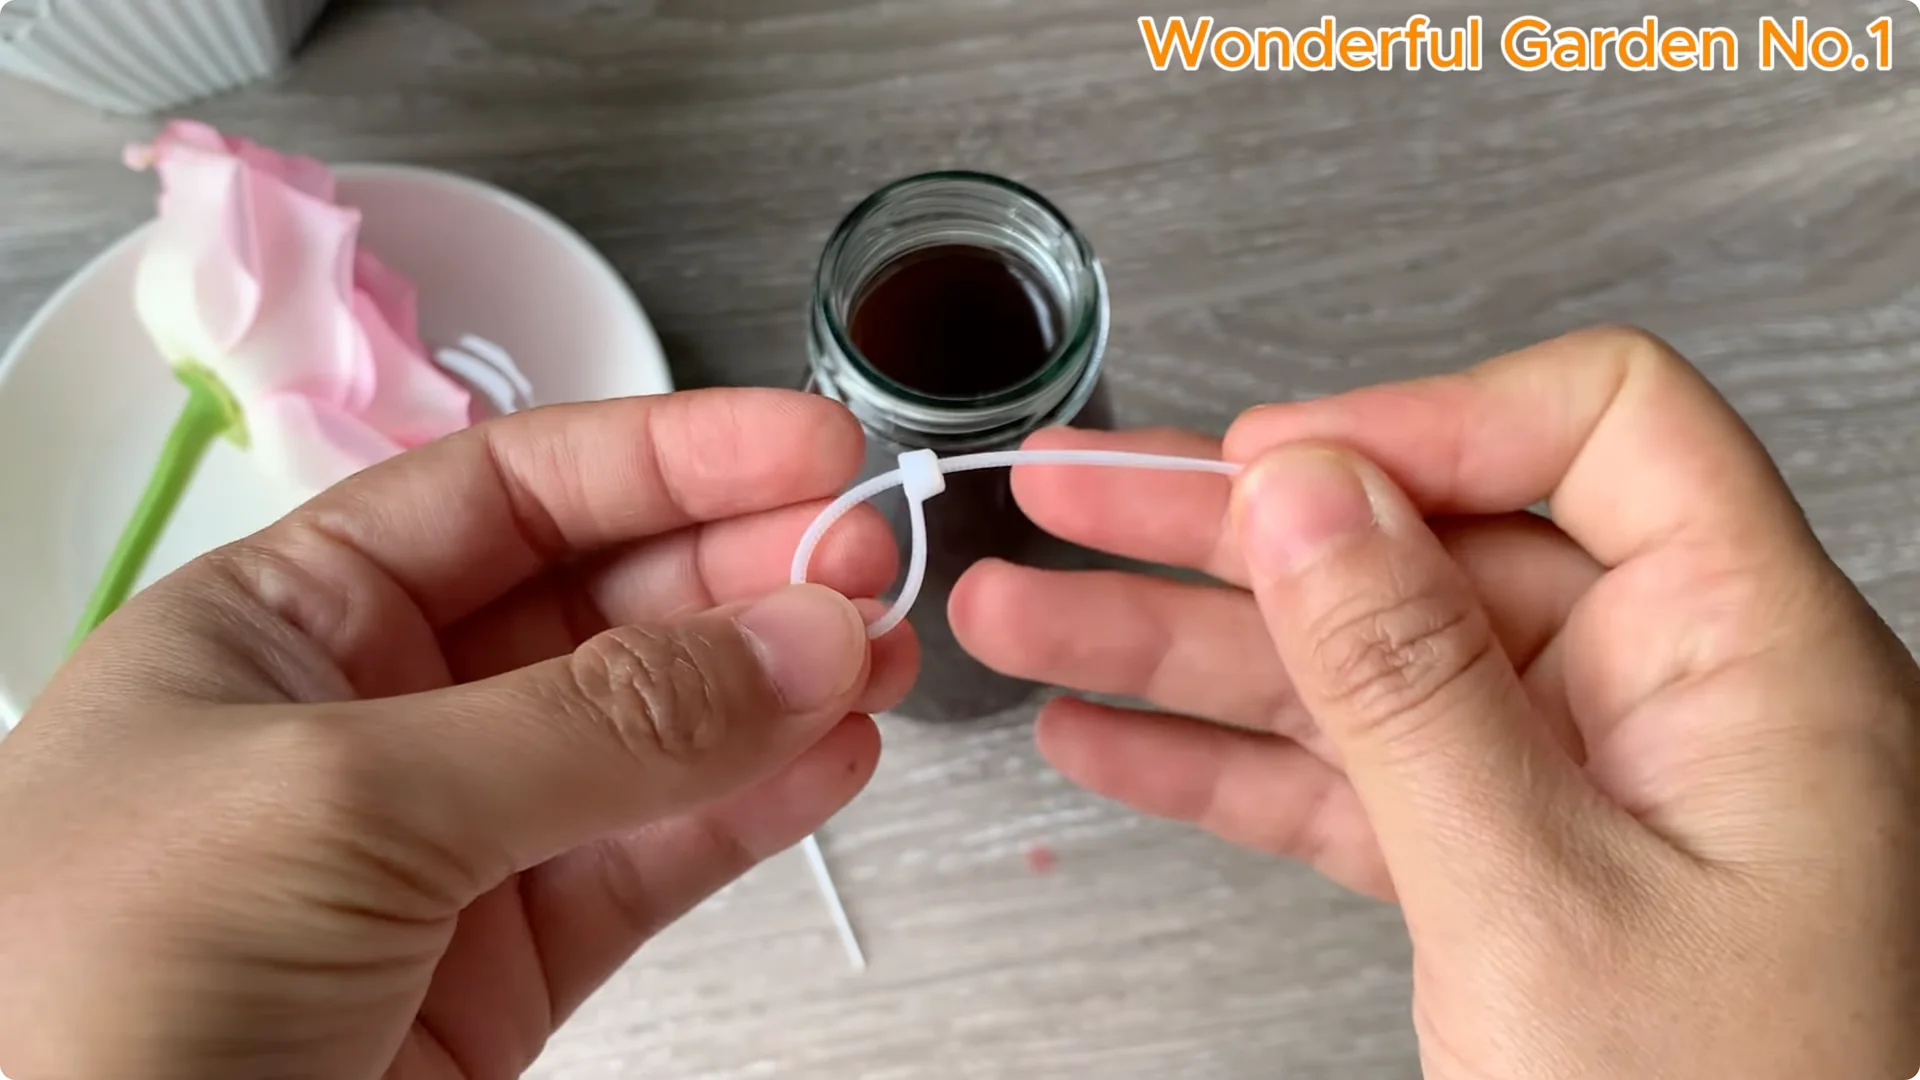
Use a soft plastic tie to gently secure the cutting just below a leaf node, making sure the node is above the sponge. Gently insert the rose stem through a small slit in the sponge, keeping only the bottom 3 to 5 cm submerged. The sponge keeps the stem upright while allowing air to circulate around the stem to help prevent mold and rot.
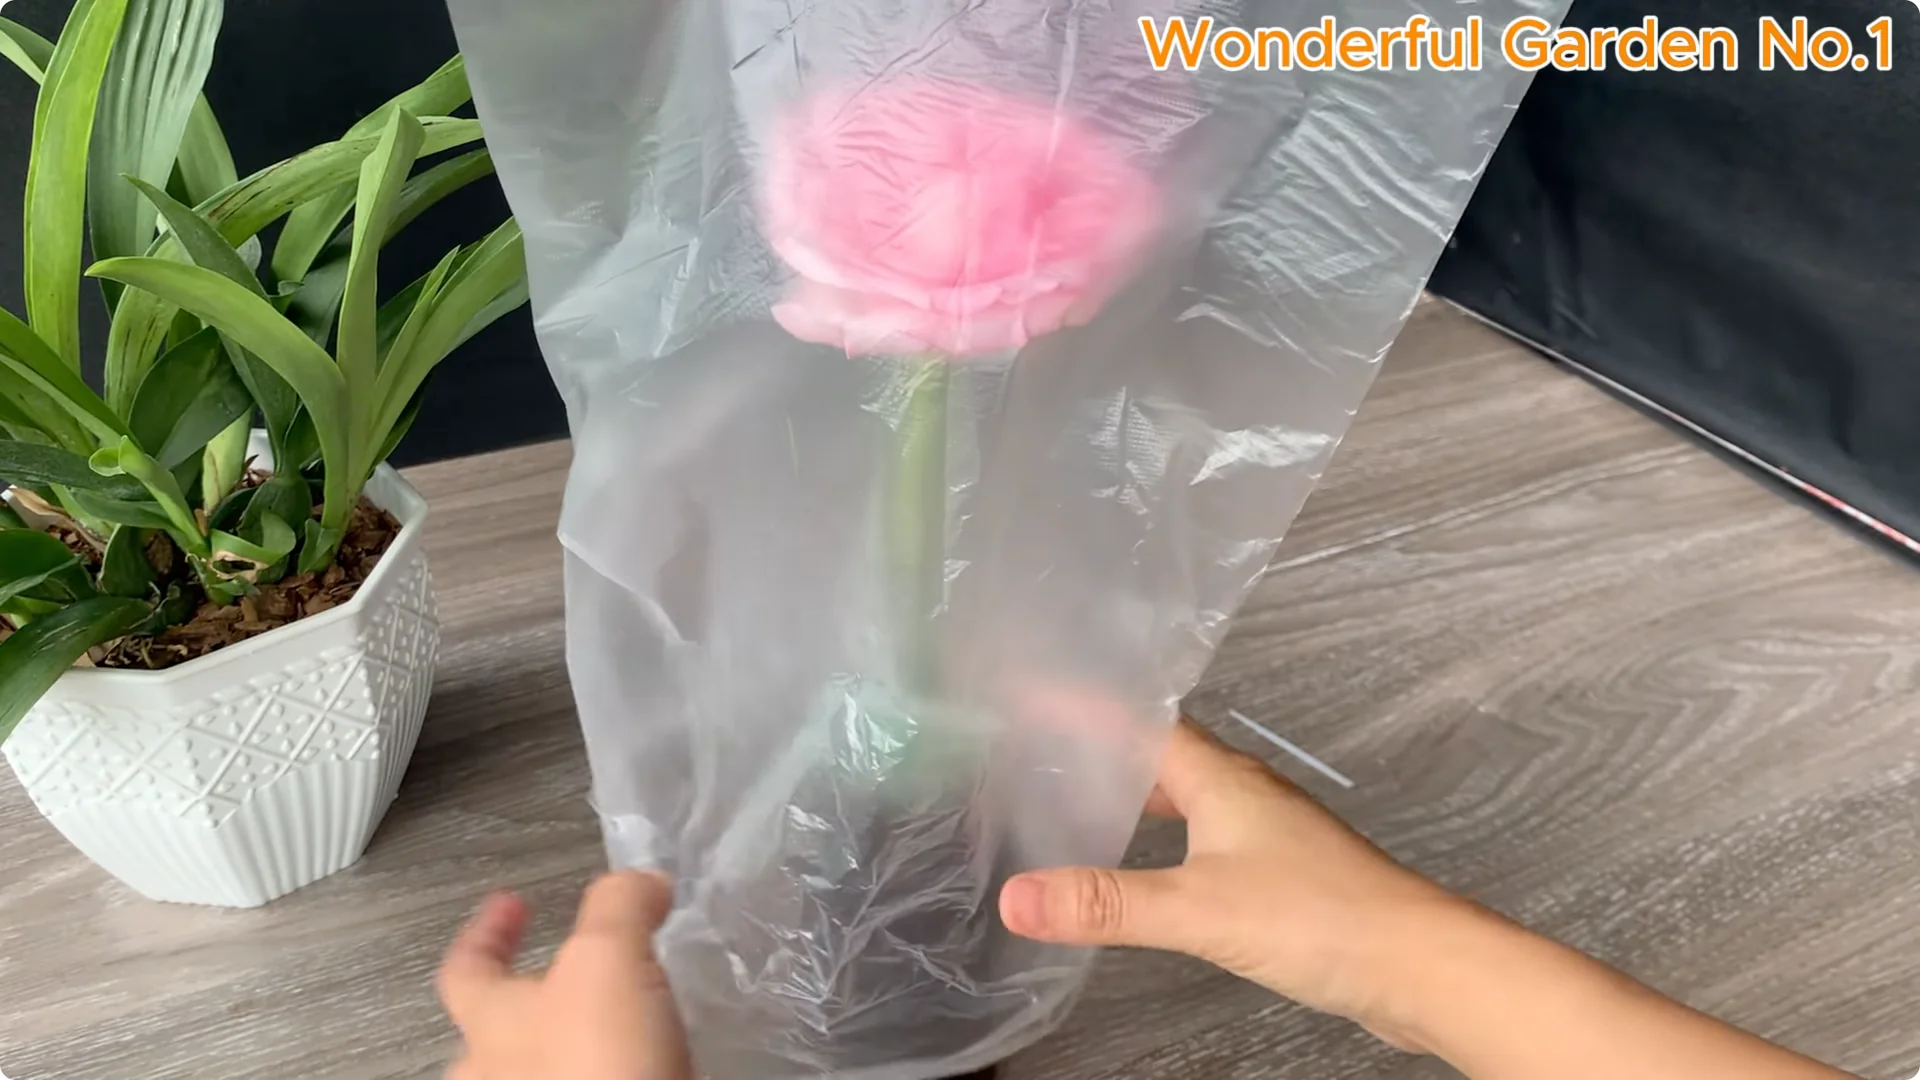
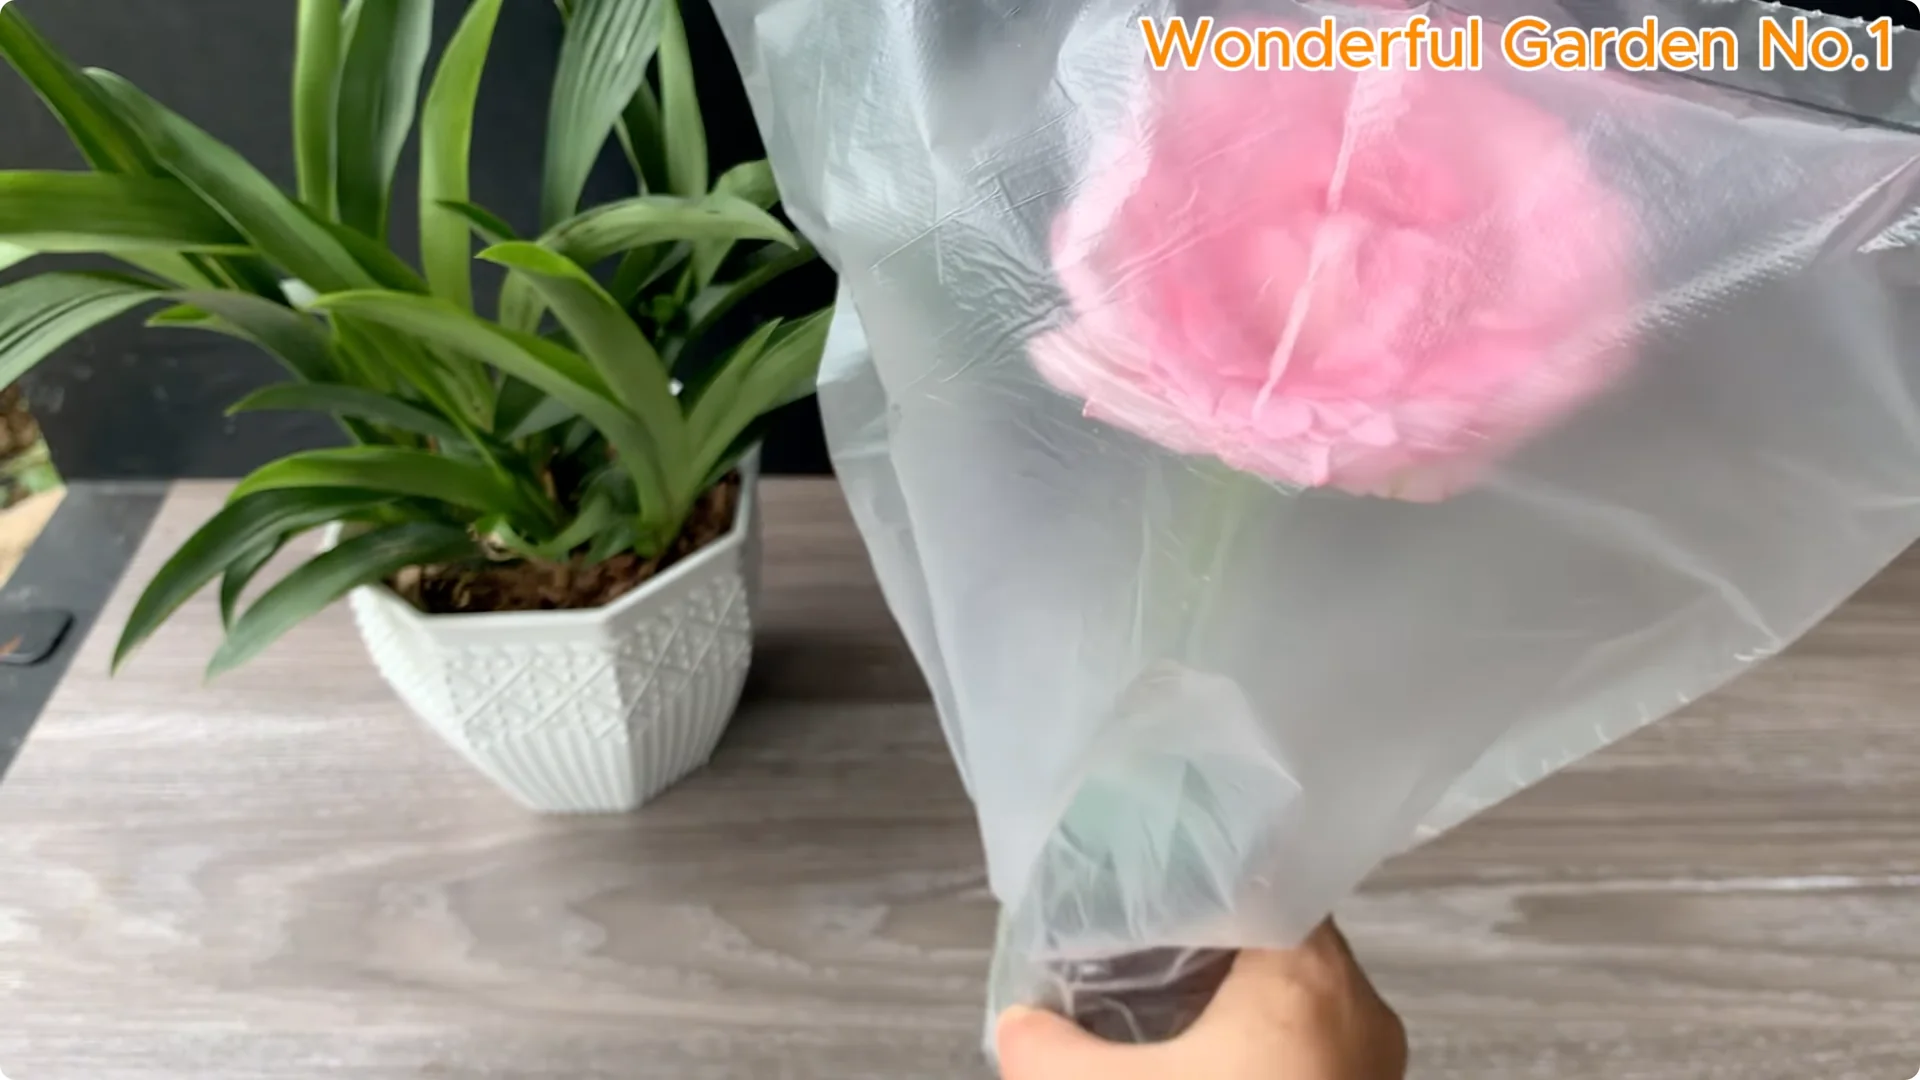
Create humidity
Cover the jar with a clear plastic bag and tape it lightly to create a mini greenhouse. This maintains high humidity, promotes root growth, and protects cuttings from temperature changes. Place the jar in a bright, airy location near a window with intermittent sunlight.
Care routine
Avoid direct sunlight, especially during the first few days. Change the water every 2 to 3 days to keep it fresh and oxygenated. You can add a little natural rooting solution for the first few days to encourage stronger regrowth.
For a fun alternative, try the rose potato trick.
4. Root Development in Rose Cutting Propagation
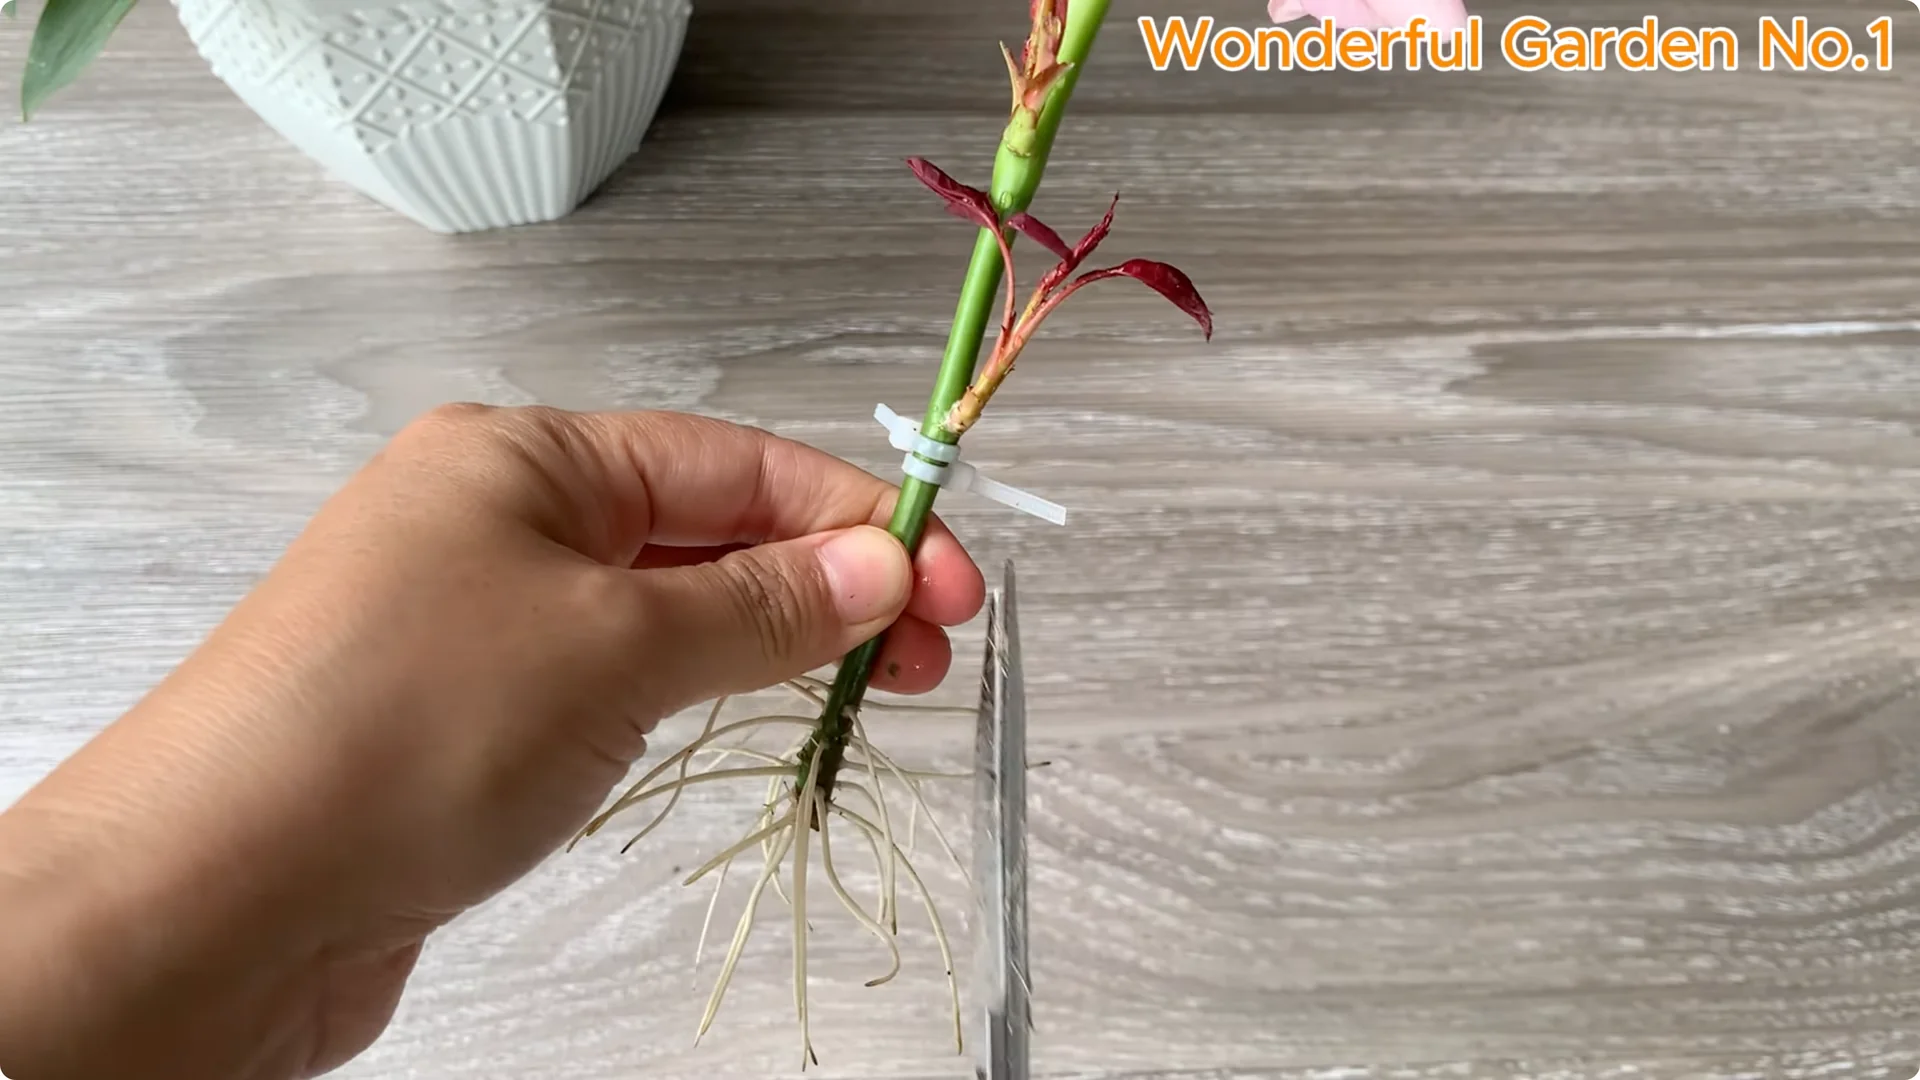
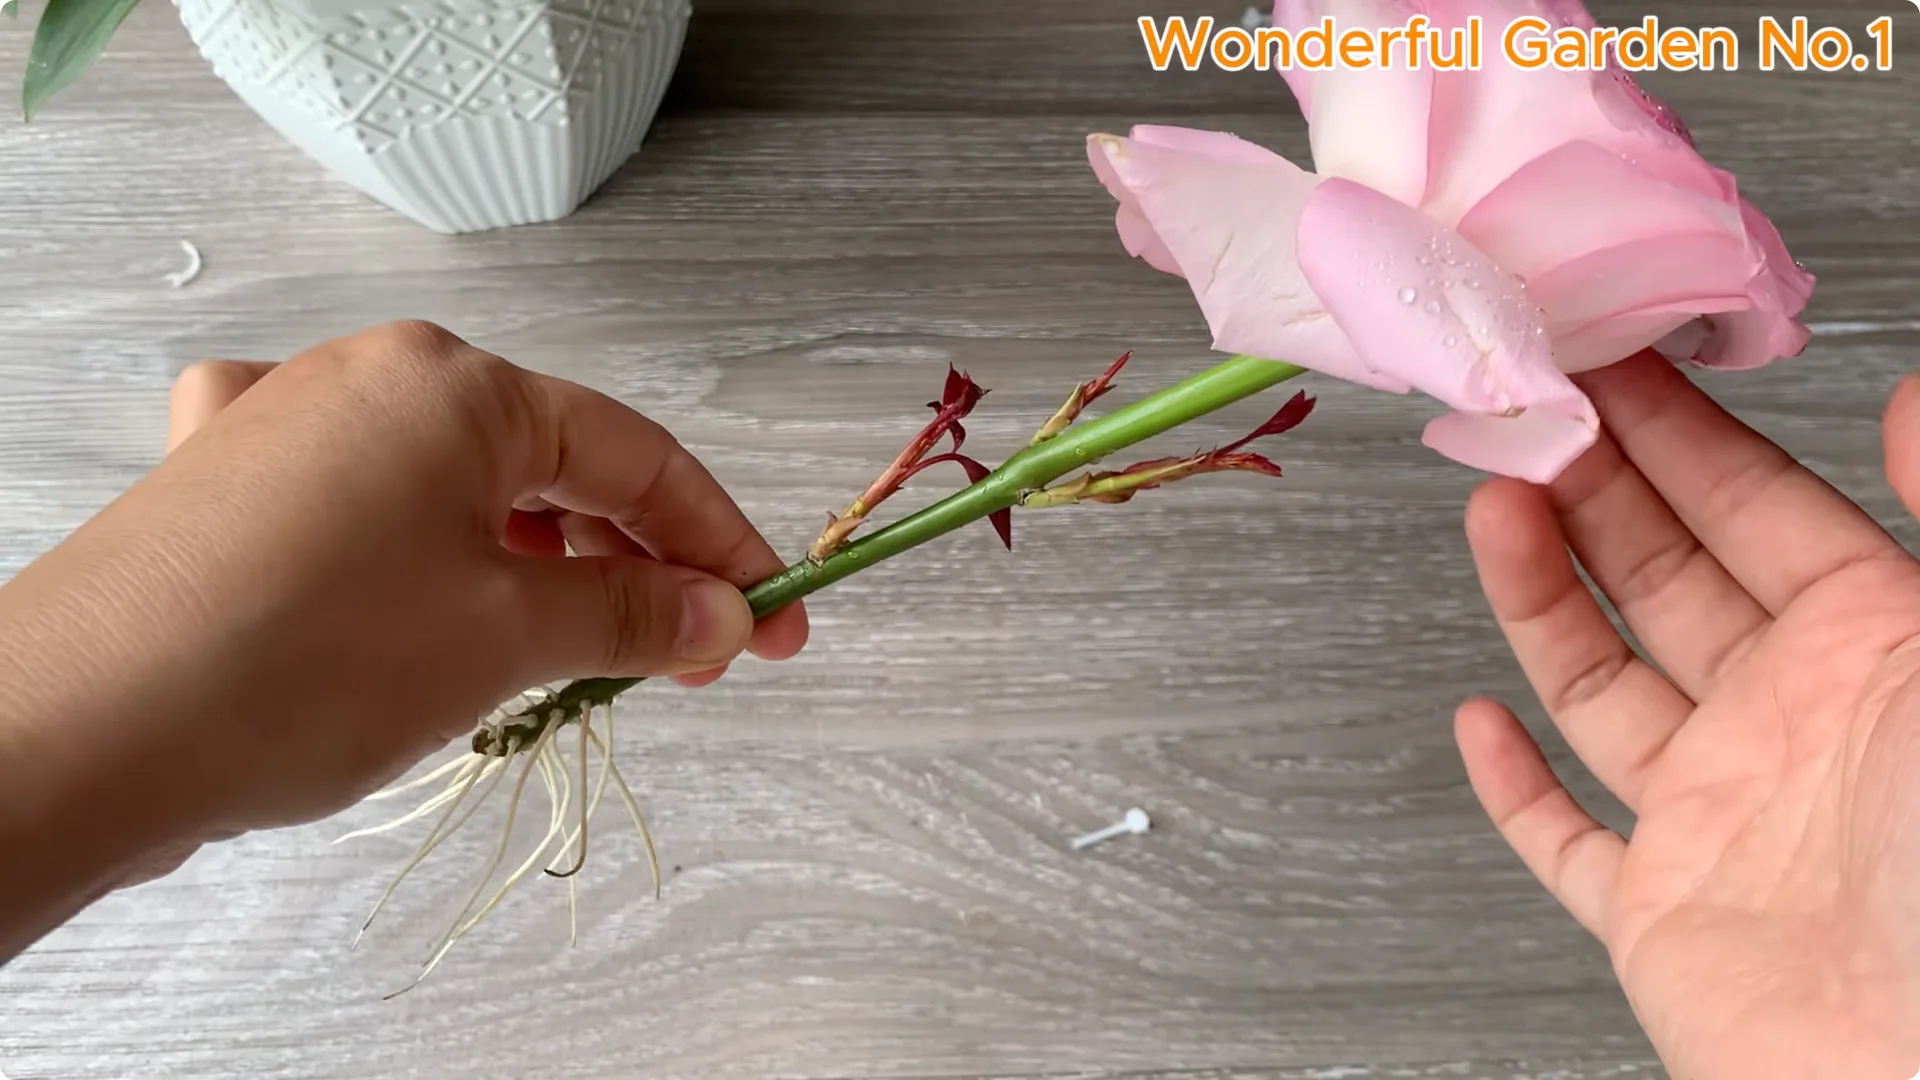
In about 7 to 14 days, you should start to see small white roots growing from the base of the cutting. These roots are a clear sign that your rose is responding well to hydroponics. New shoots appear as small, soft green buds growing out of the leaf nodes.
They look fresh and delicate, signaling the beginning of new growth and vitality in your rose cuttings. Be patient and keep the environment stable. Avoid disturbing the roots during this stage.
For more on moving from roots to blooms, see stems blooming.
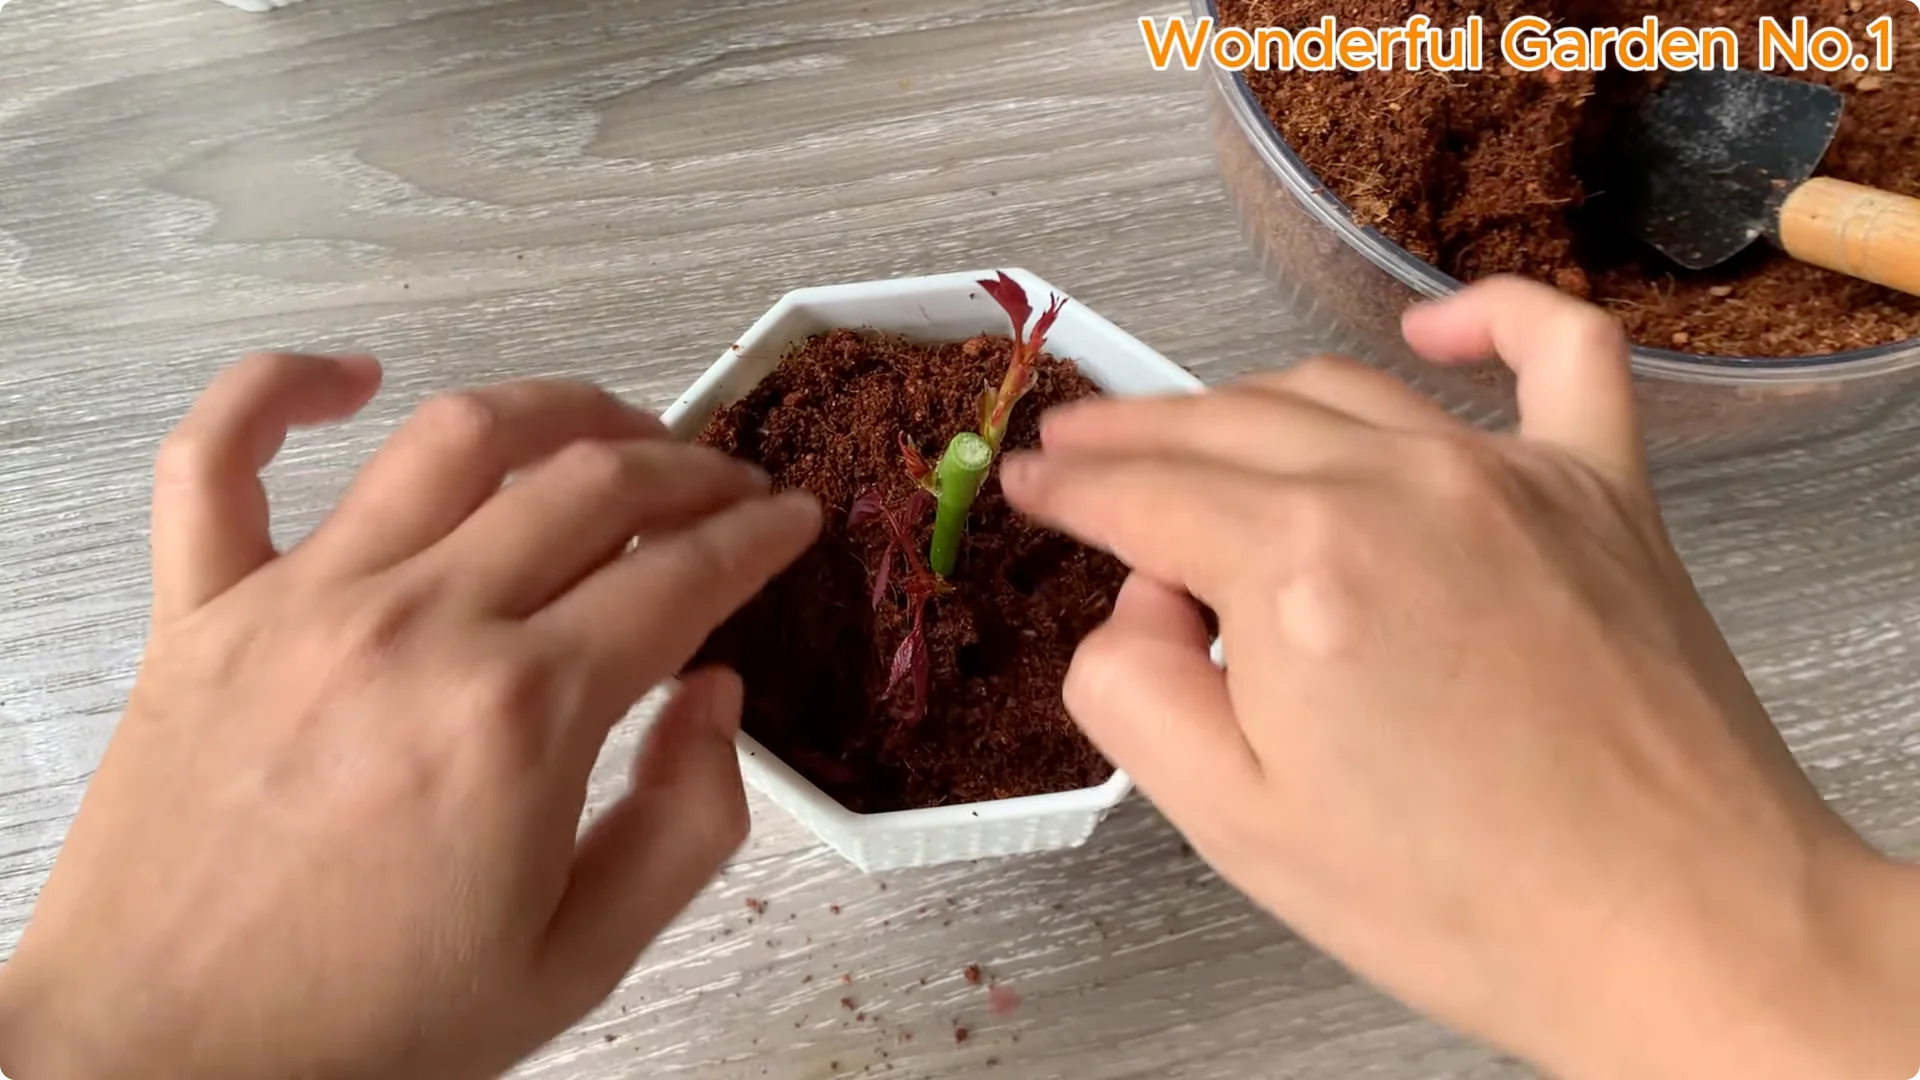
5. Potting After Rose Cutting Propagation
Once the roots are well developed, it is time to pot your rose cuttings. This lets the plant absorb nutrients more efficiently and grow stronger. Using coconut fiber as a growing medium provides excellent aeration and moisture retention.
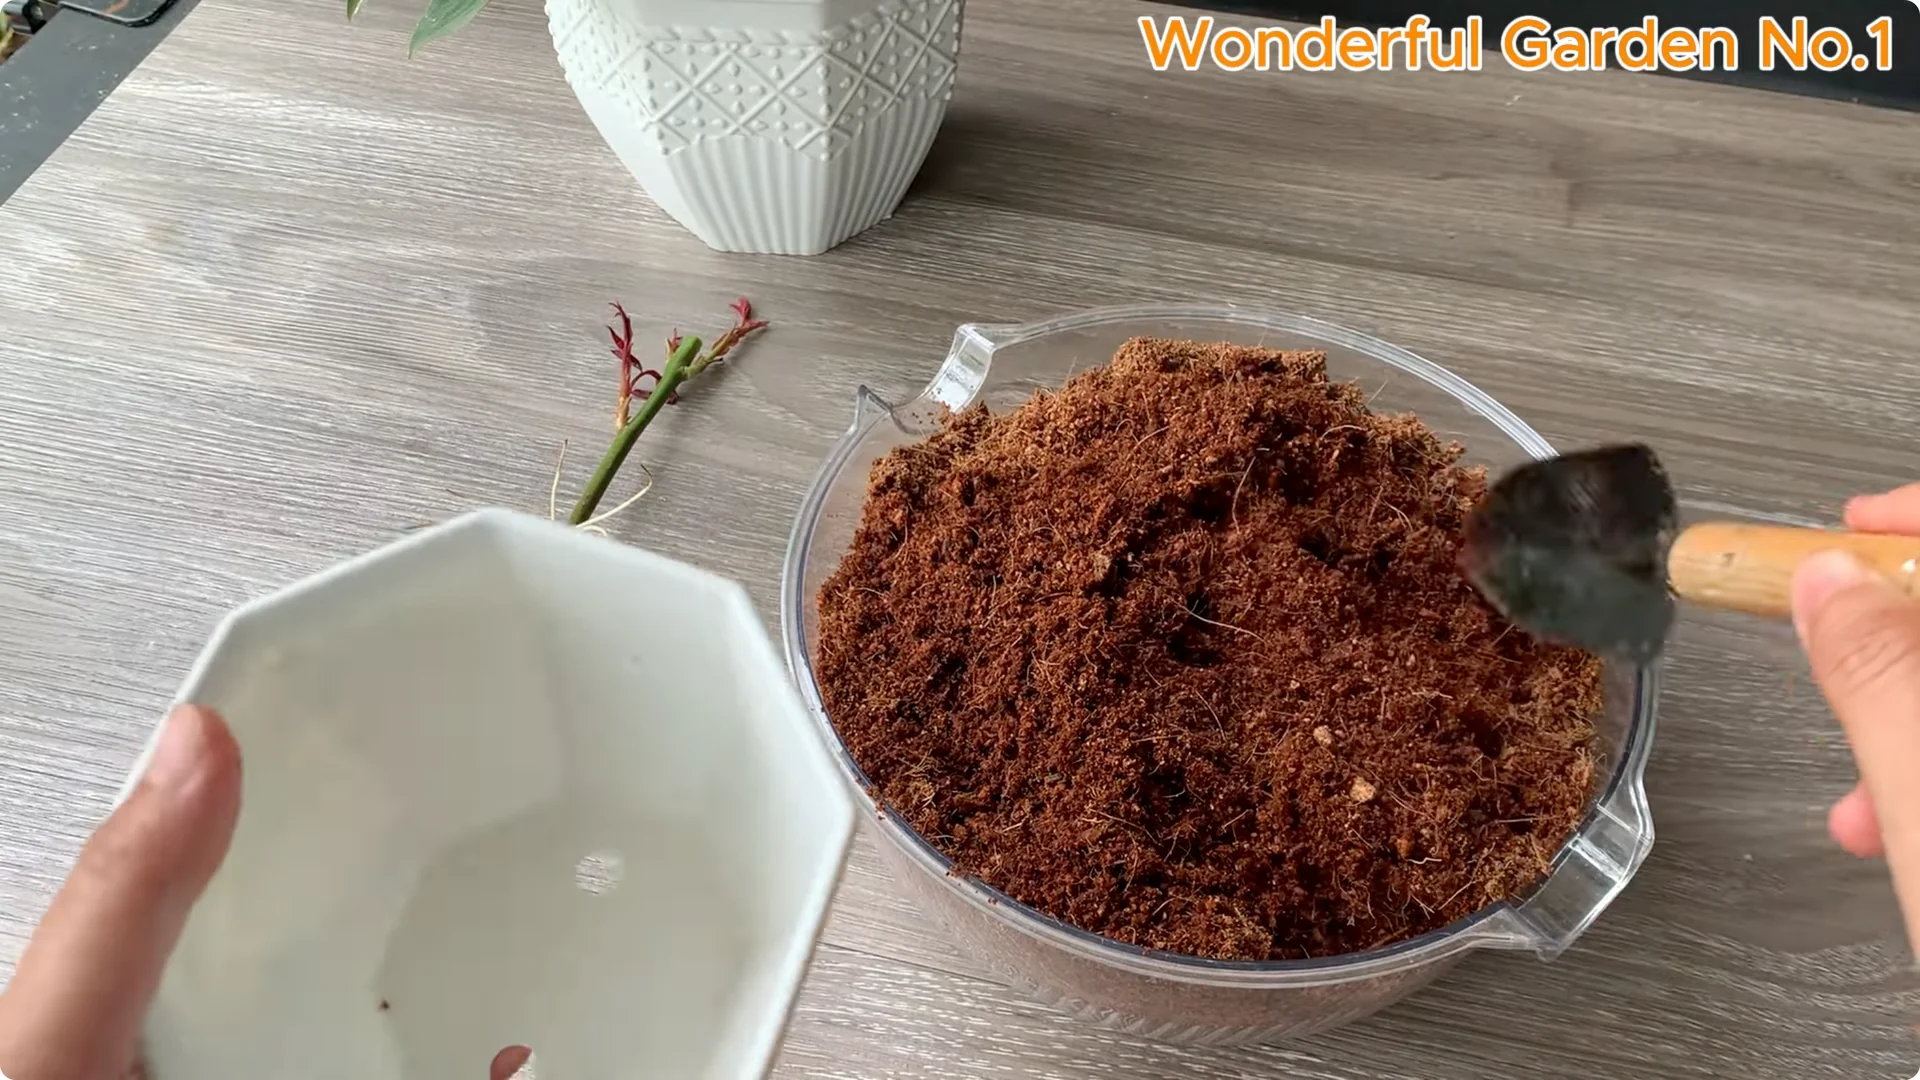
This helps young roses establish before planting outdoors. Alternatively, use other nutrient-rich, well-aerated soils to help your rose cuttings thrive. Place the pot in a spot with indirect light and avoid strong sunlight.
Keep the soil moderately moist and do not let it get waterlogged. Mist lightly daily to maintain humidity. Fertilize with organic fertilizer or diluted nutrient solution every 2 weeks.
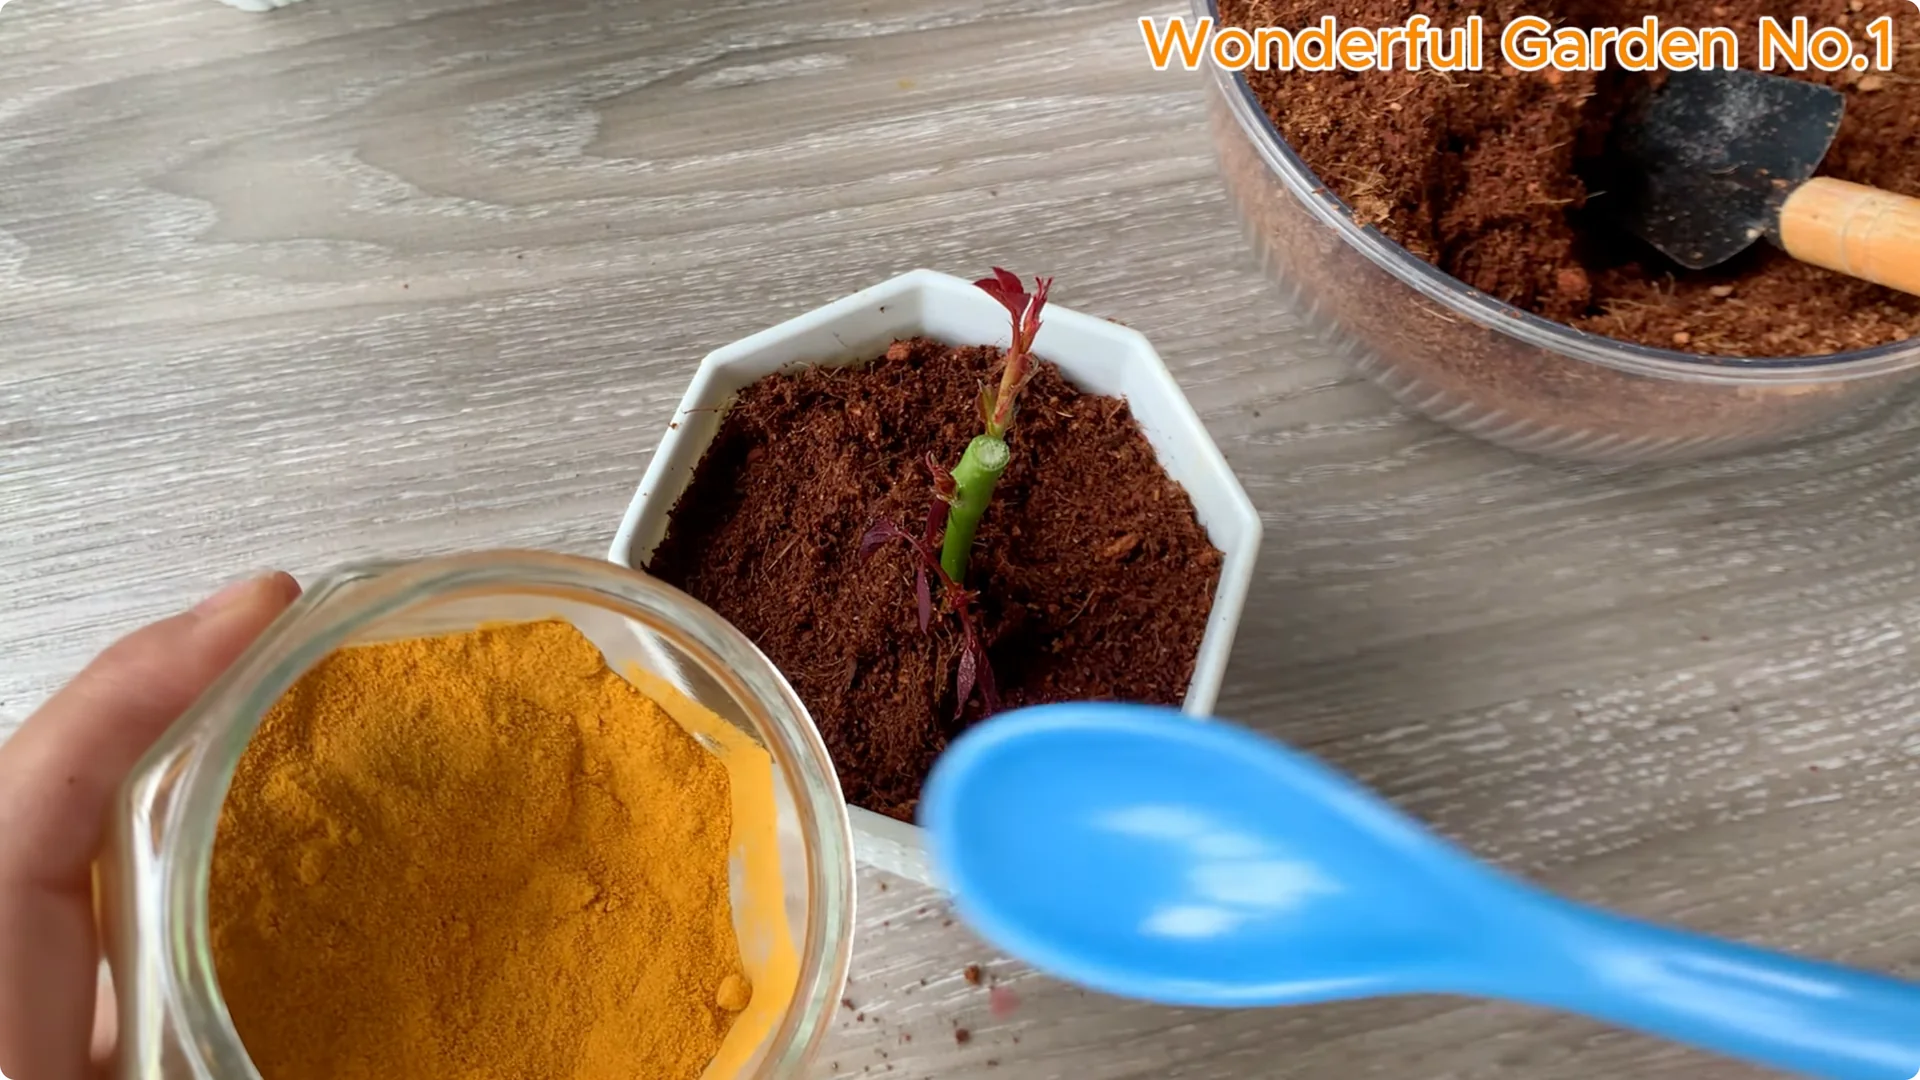
Apply turmeric powder to the cut area to help prevent infection and promote faster healing. Handle the new roots carefully during transplanting. Support the stem so it stays upright and stable.

Final Thoughts
With a simple, natural rooting solution and a gentle hydroponic start, you can successfully propagate healthy, beautiful rose branches. Consistent care and patience make all the difference. Enjoy the process and the new blooms to come.