
Welcome to the wonderful garden. Today we will explore how to propagate roses. A charming flower with sweet fragrance, long life, and emotional beauty.
This method uses natural ingredients. Completely organic, no chemicals, no hassle.
To start this breeding journey, prepare simple but very effective ingredients. Just a lemon, a few cloves of garlic, and some coffee. All things you can easily find right in your kitchen.
Although simple, these natural ingredients yield surprising results for rose propagation.
1. Natural Rose Propagation – Rooting Stimulant Solution
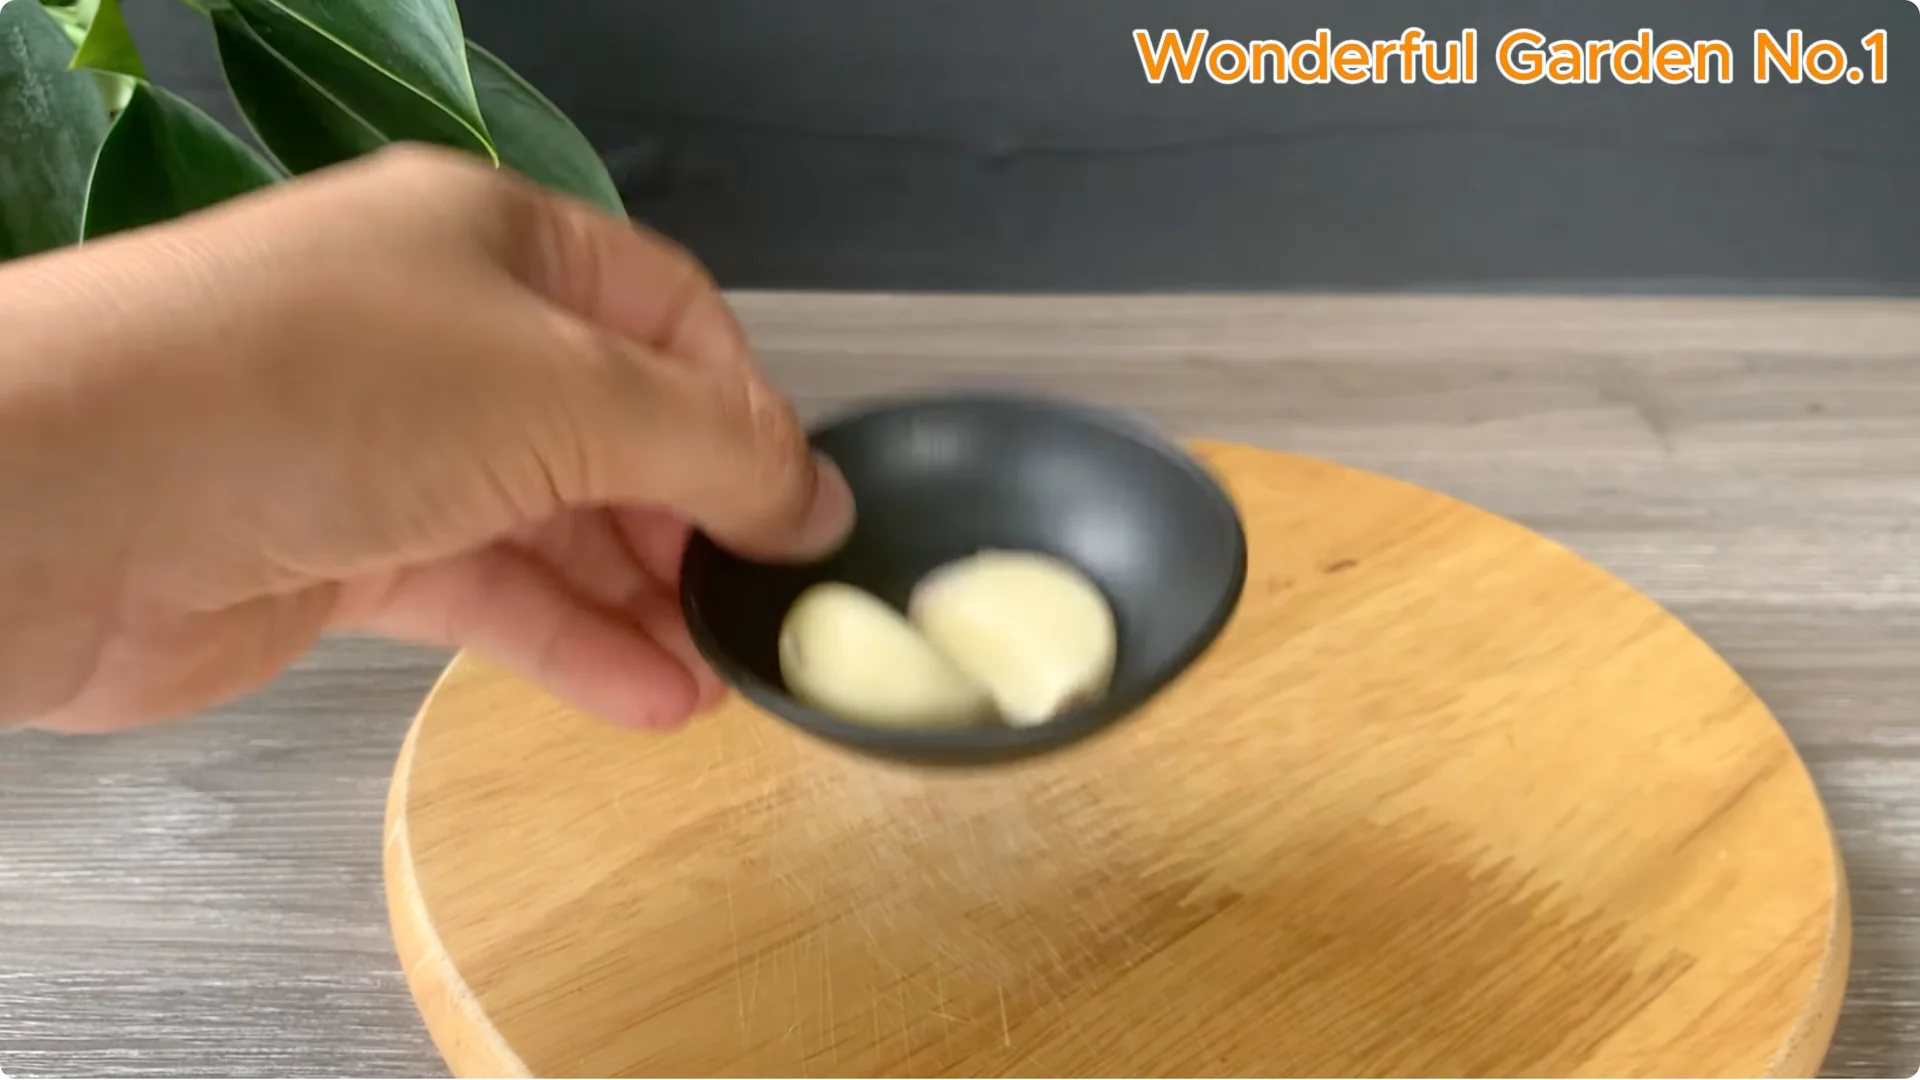
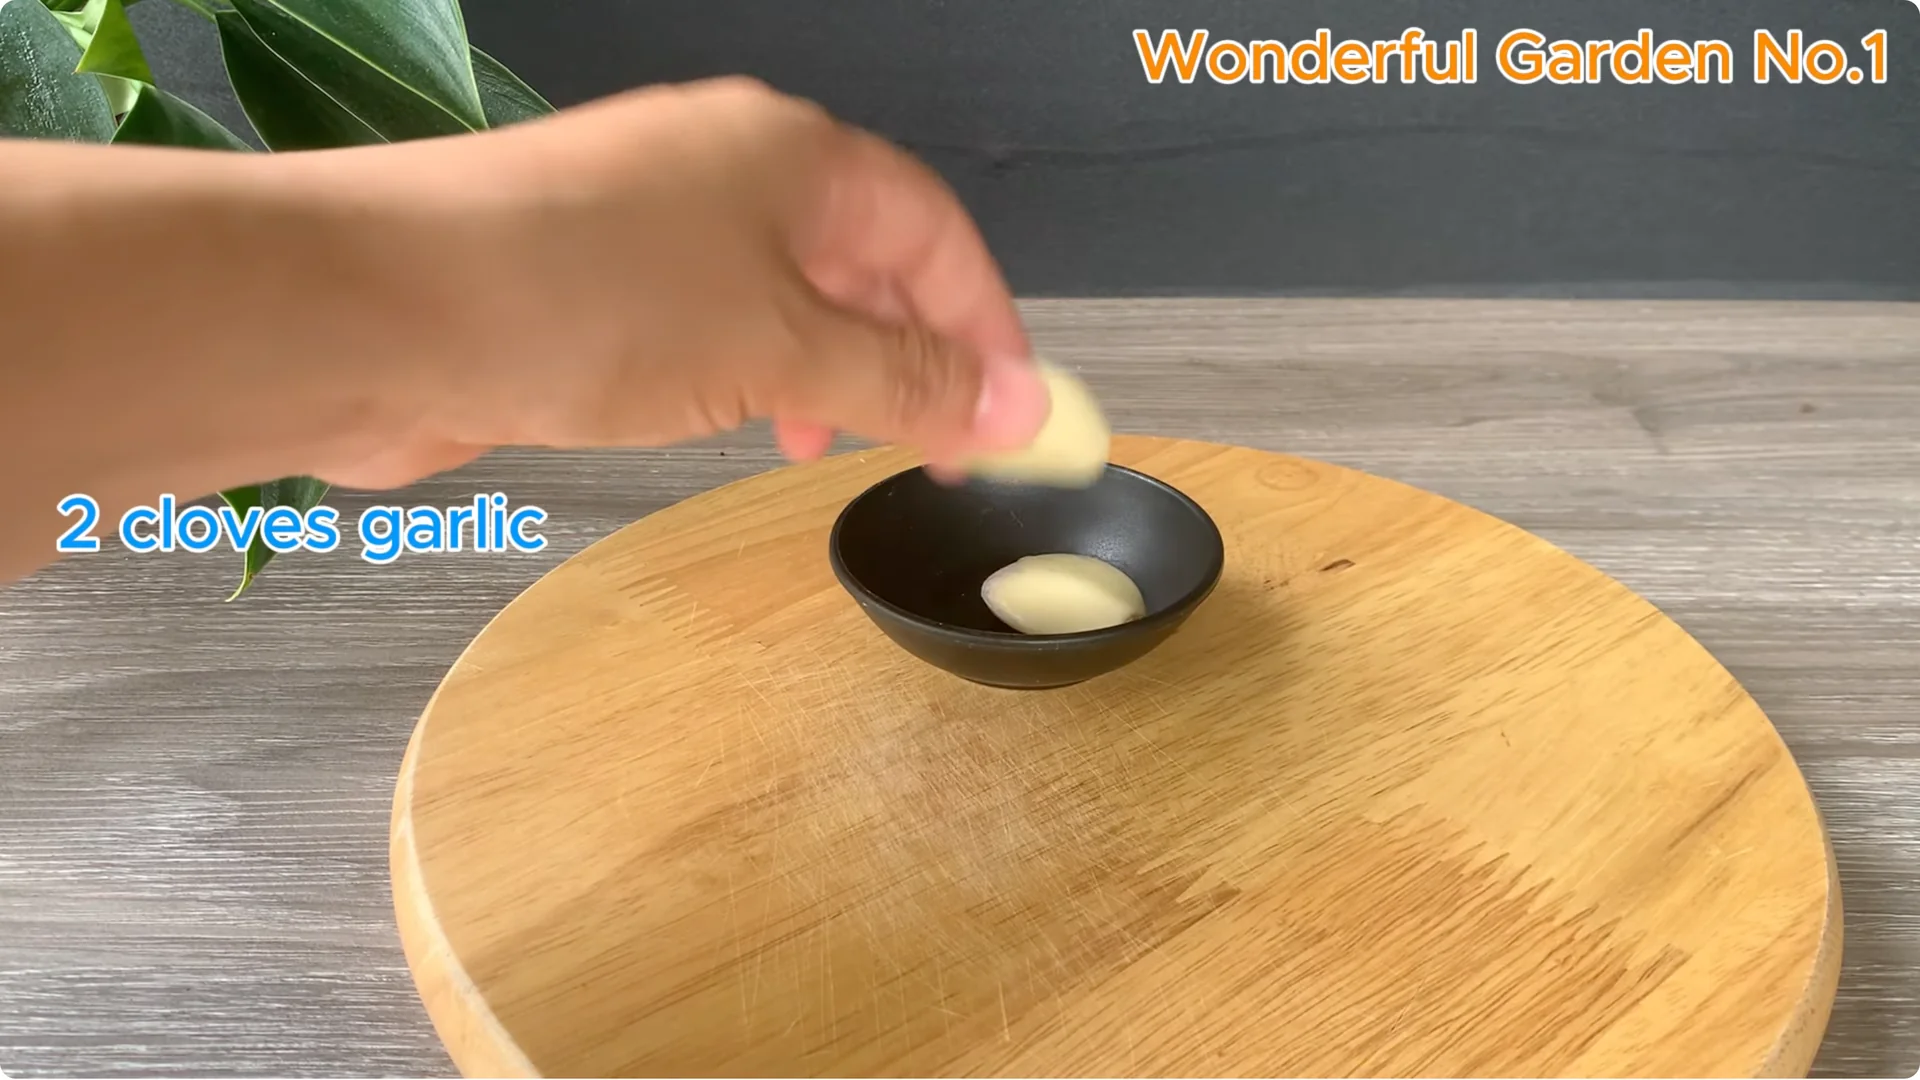
Peel the outer skin of two cloves of garlic, then slice thinly. Garlic can be lightly crushed or pureed depending on availability. The purpose is to release allicin, a natural compound that has antibacterial and antifungal properties and stimulates root growth.
For more on using garlic to encourage rooting, see how garlic can transform a rose branch.
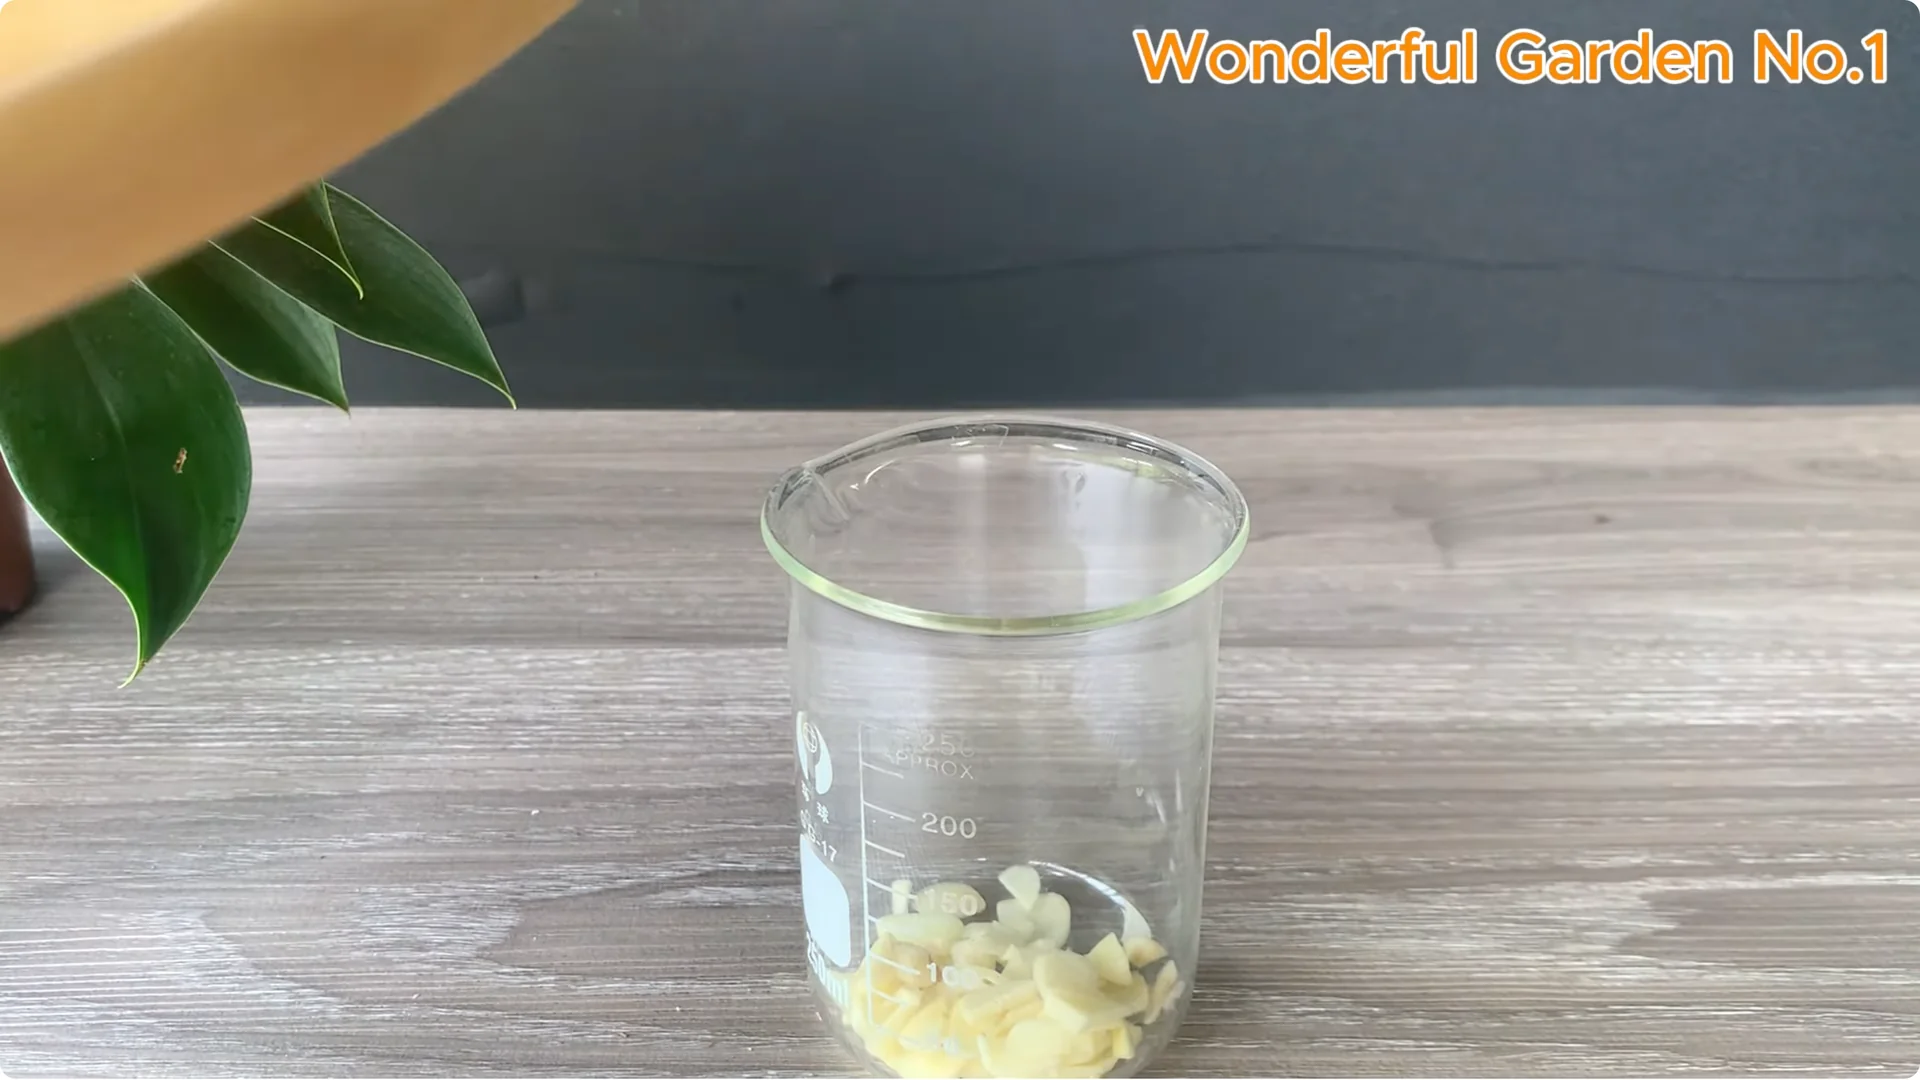
Put minced garlic in a clean glass cup. Then pour in 100 ml of warm water, about 35 to 40°C. This is the ideal temperature to help the active ingredient allicin dissolve without being destroyed.
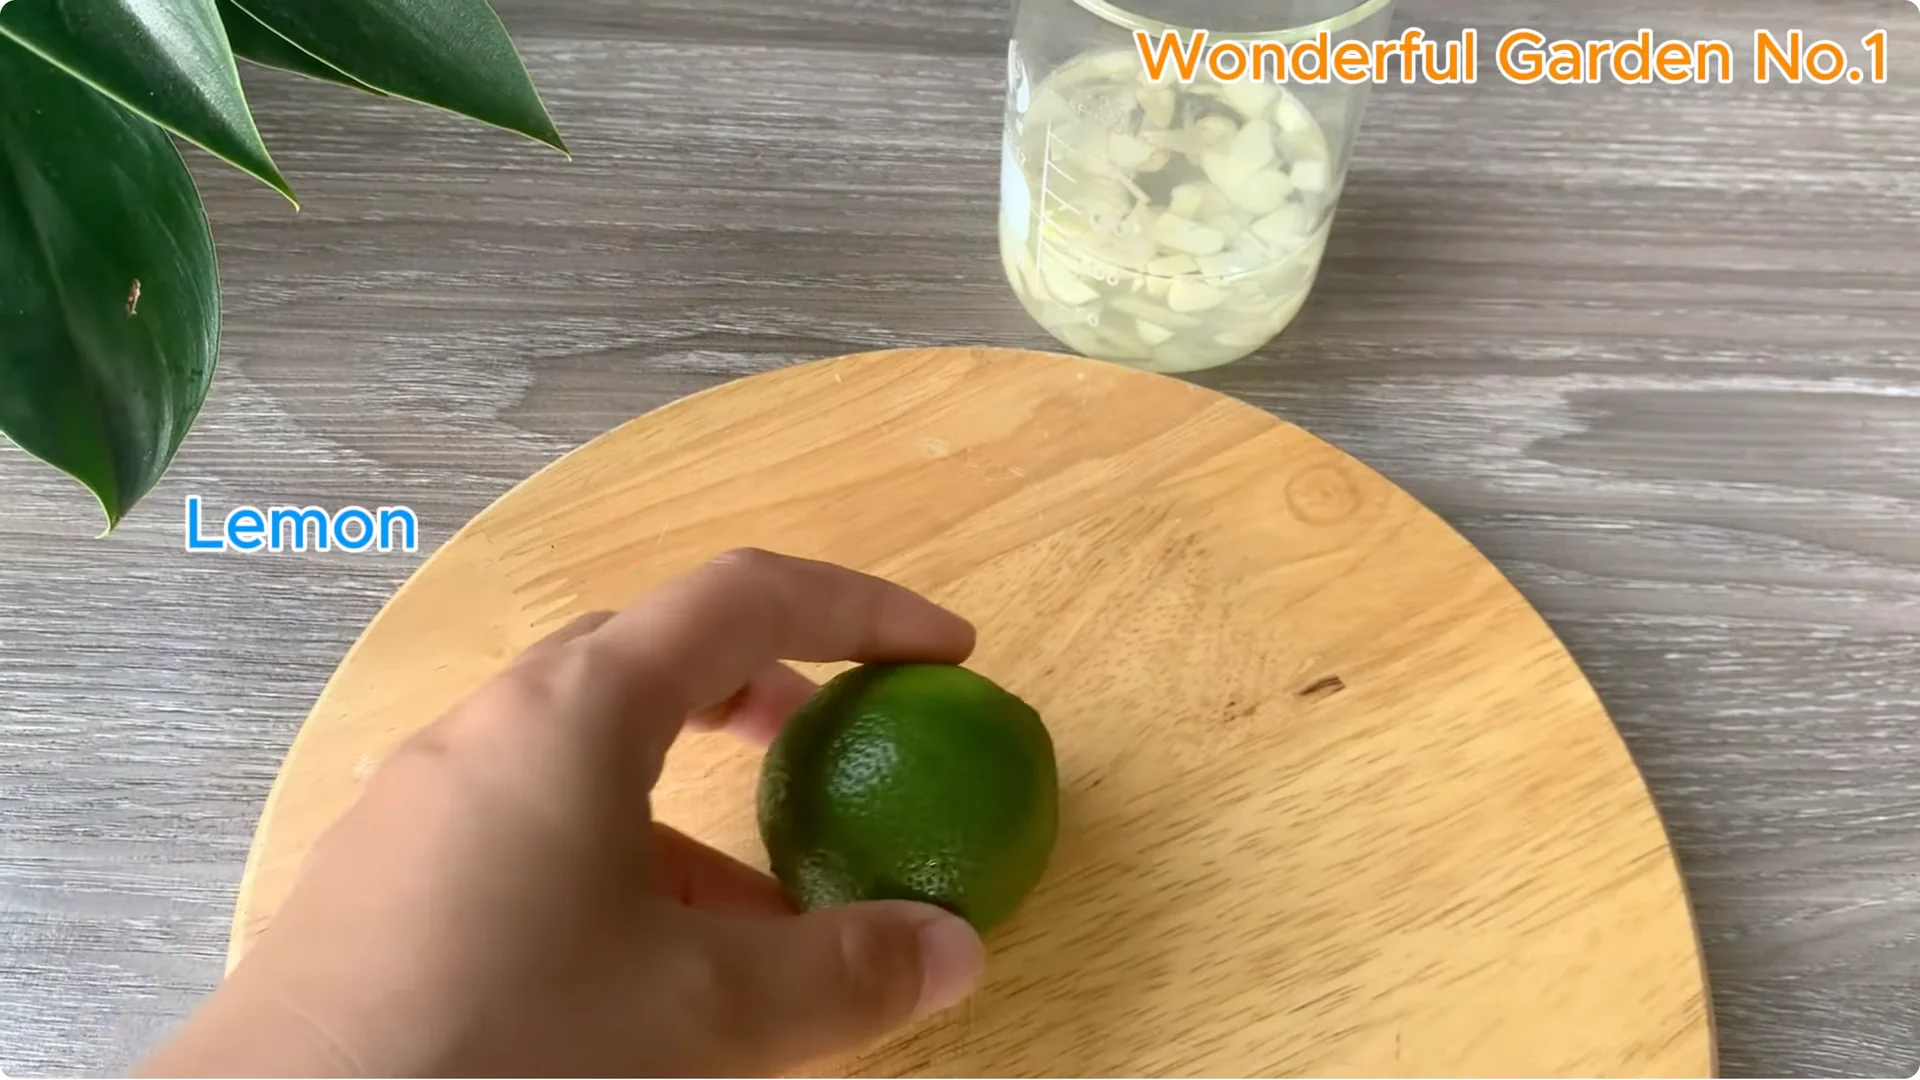
Next, squeeze the juice of one lemon into the cup of garlic water you just mixed. Lemon juice is rich in citric acid, a natural antiseptic, which helps soften the cuticle at the base of the cutting, creating favorable conditions for new roots to penetrate deeply. Then add a teaspoon of pure black coffee, no sugar and no milk.

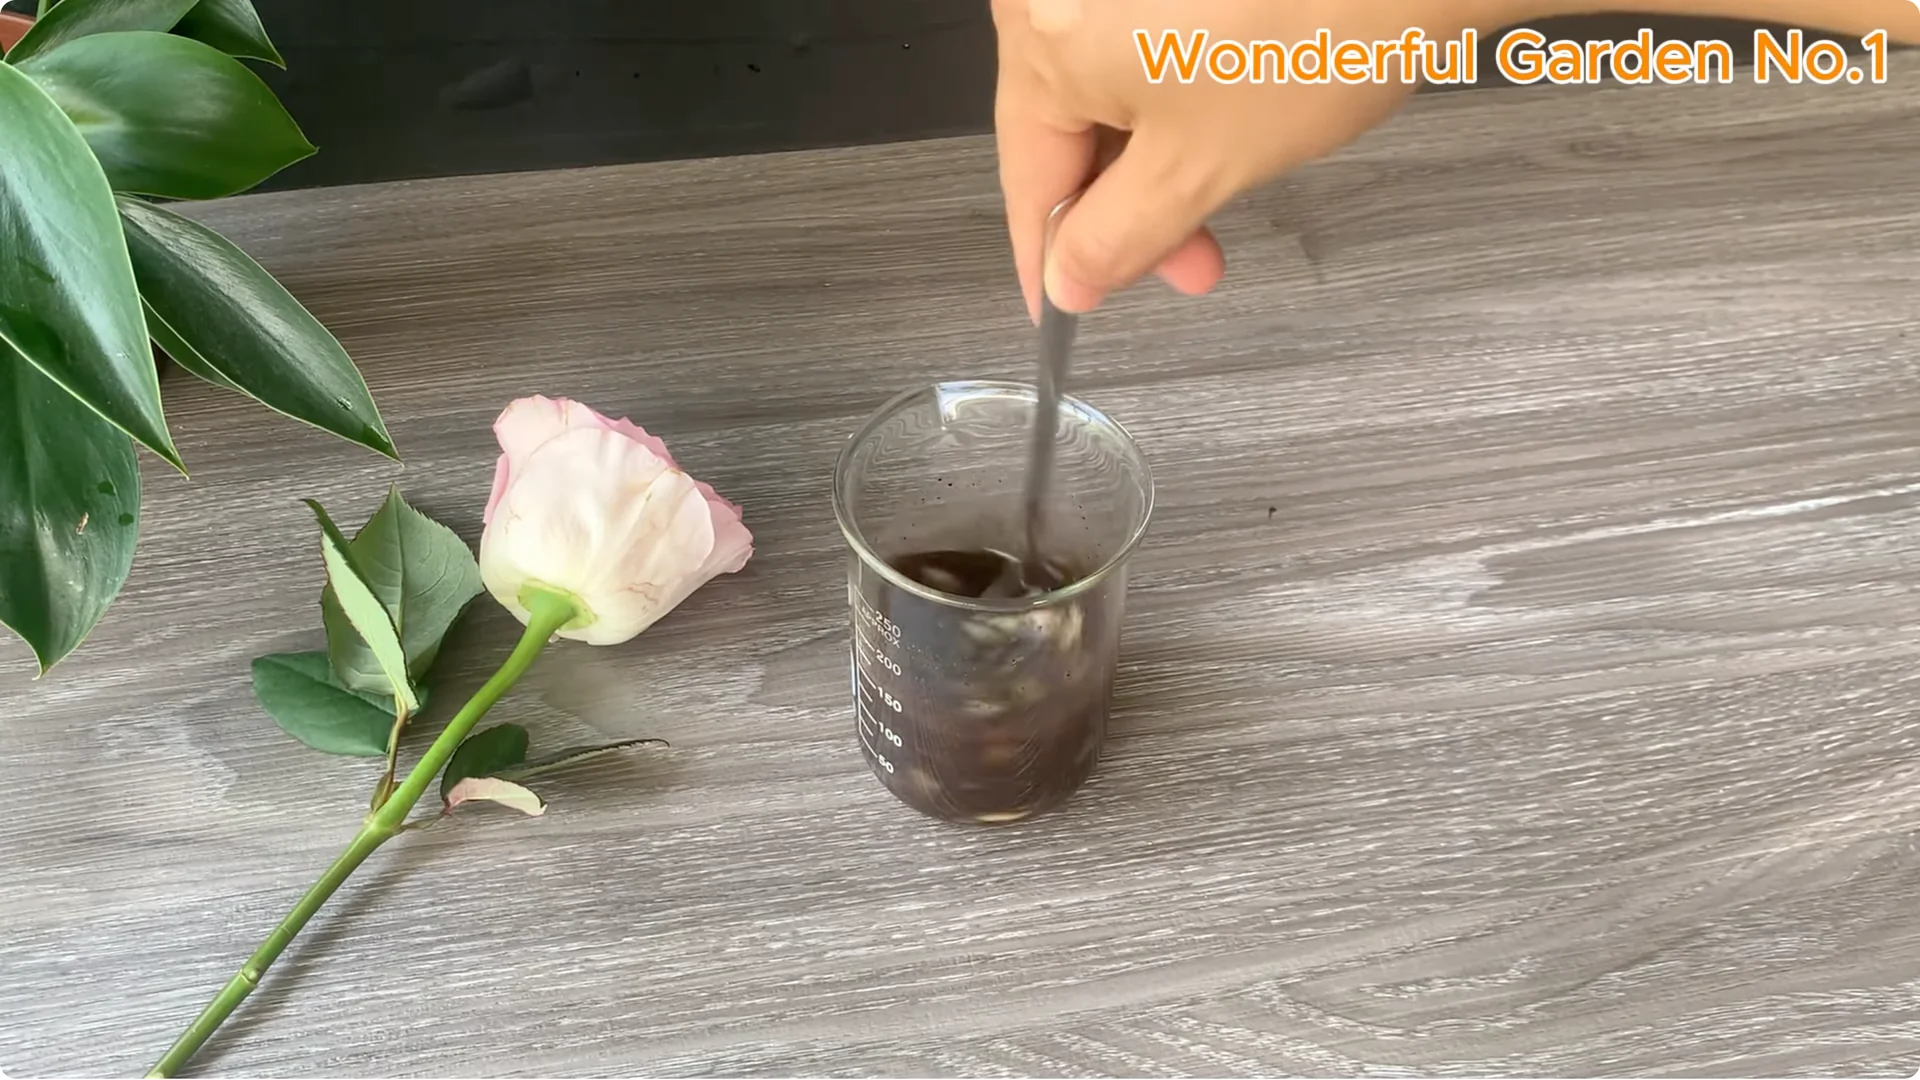
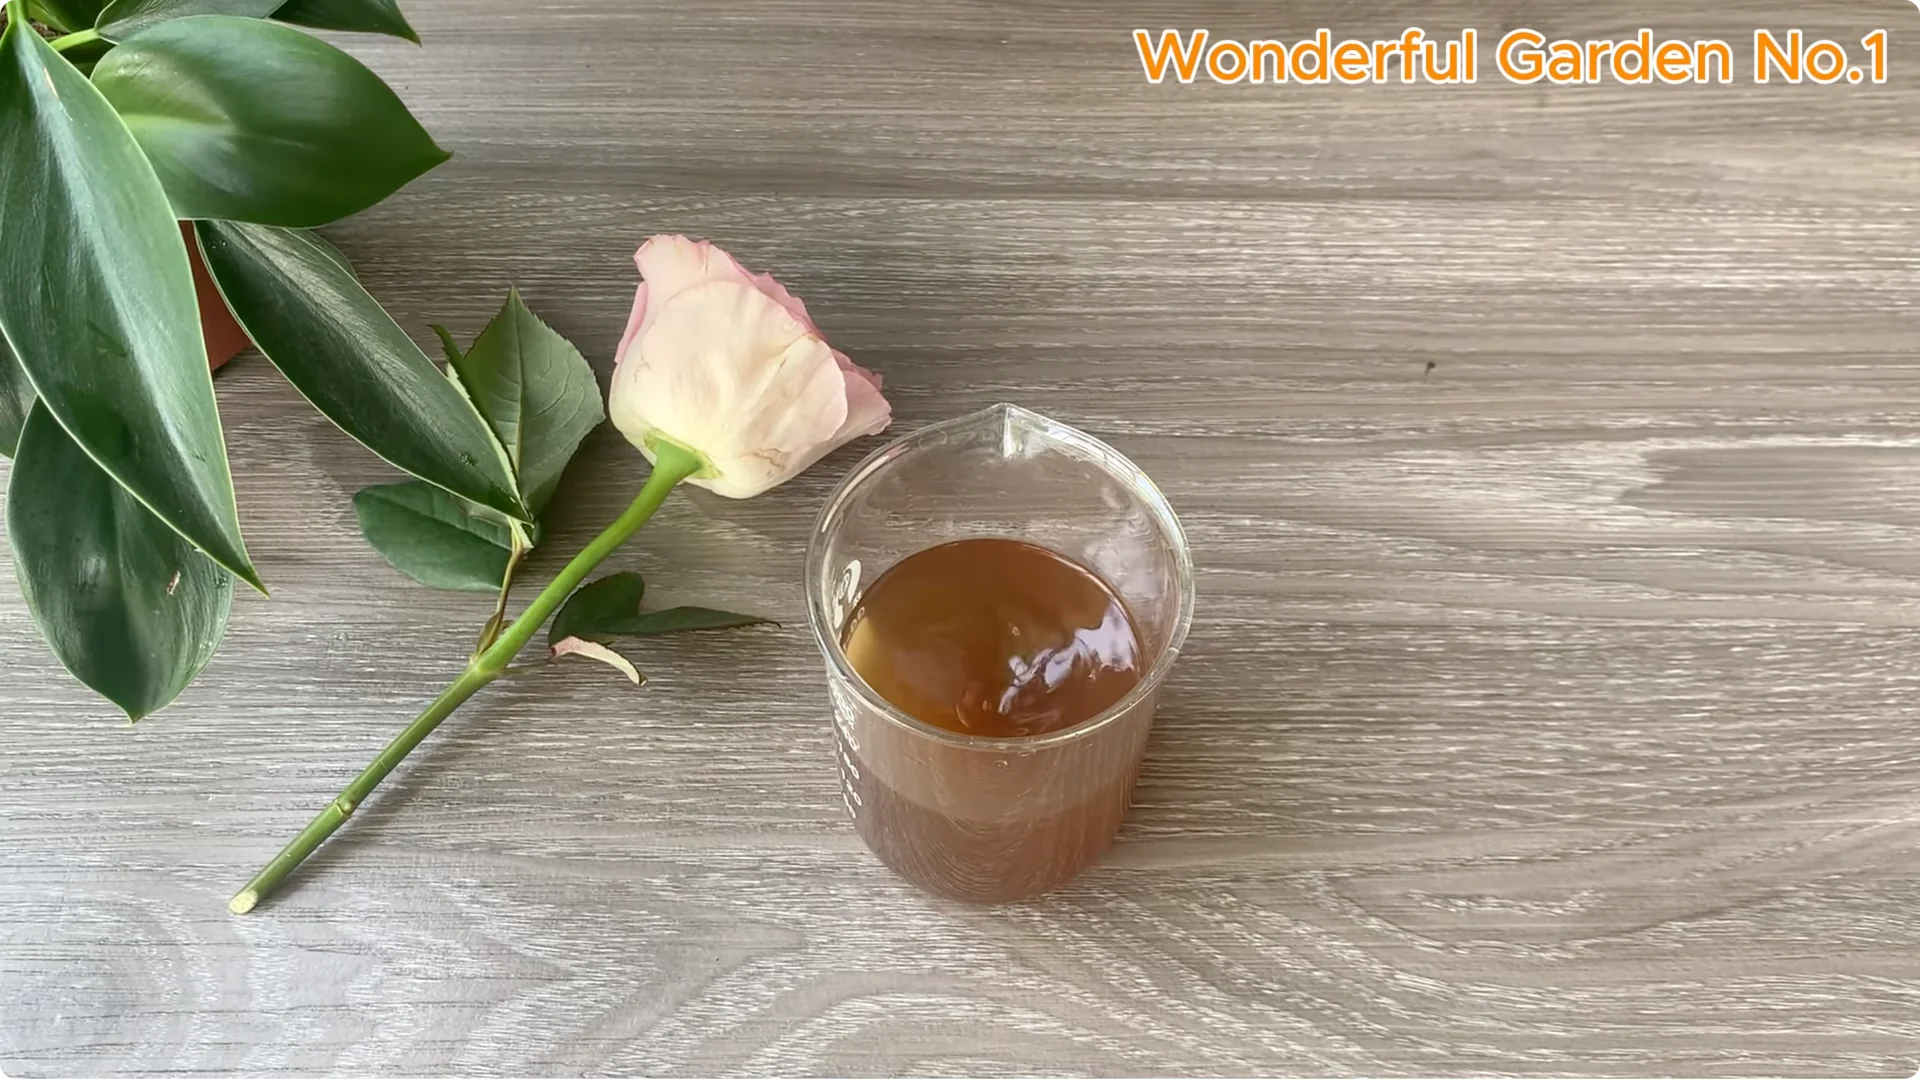
The ingredients blend together to create an antibacterial, antifungal, and root stimulating solution. Leave for 5 minutes to allow the active ingredients to penetrate and be ready to use.
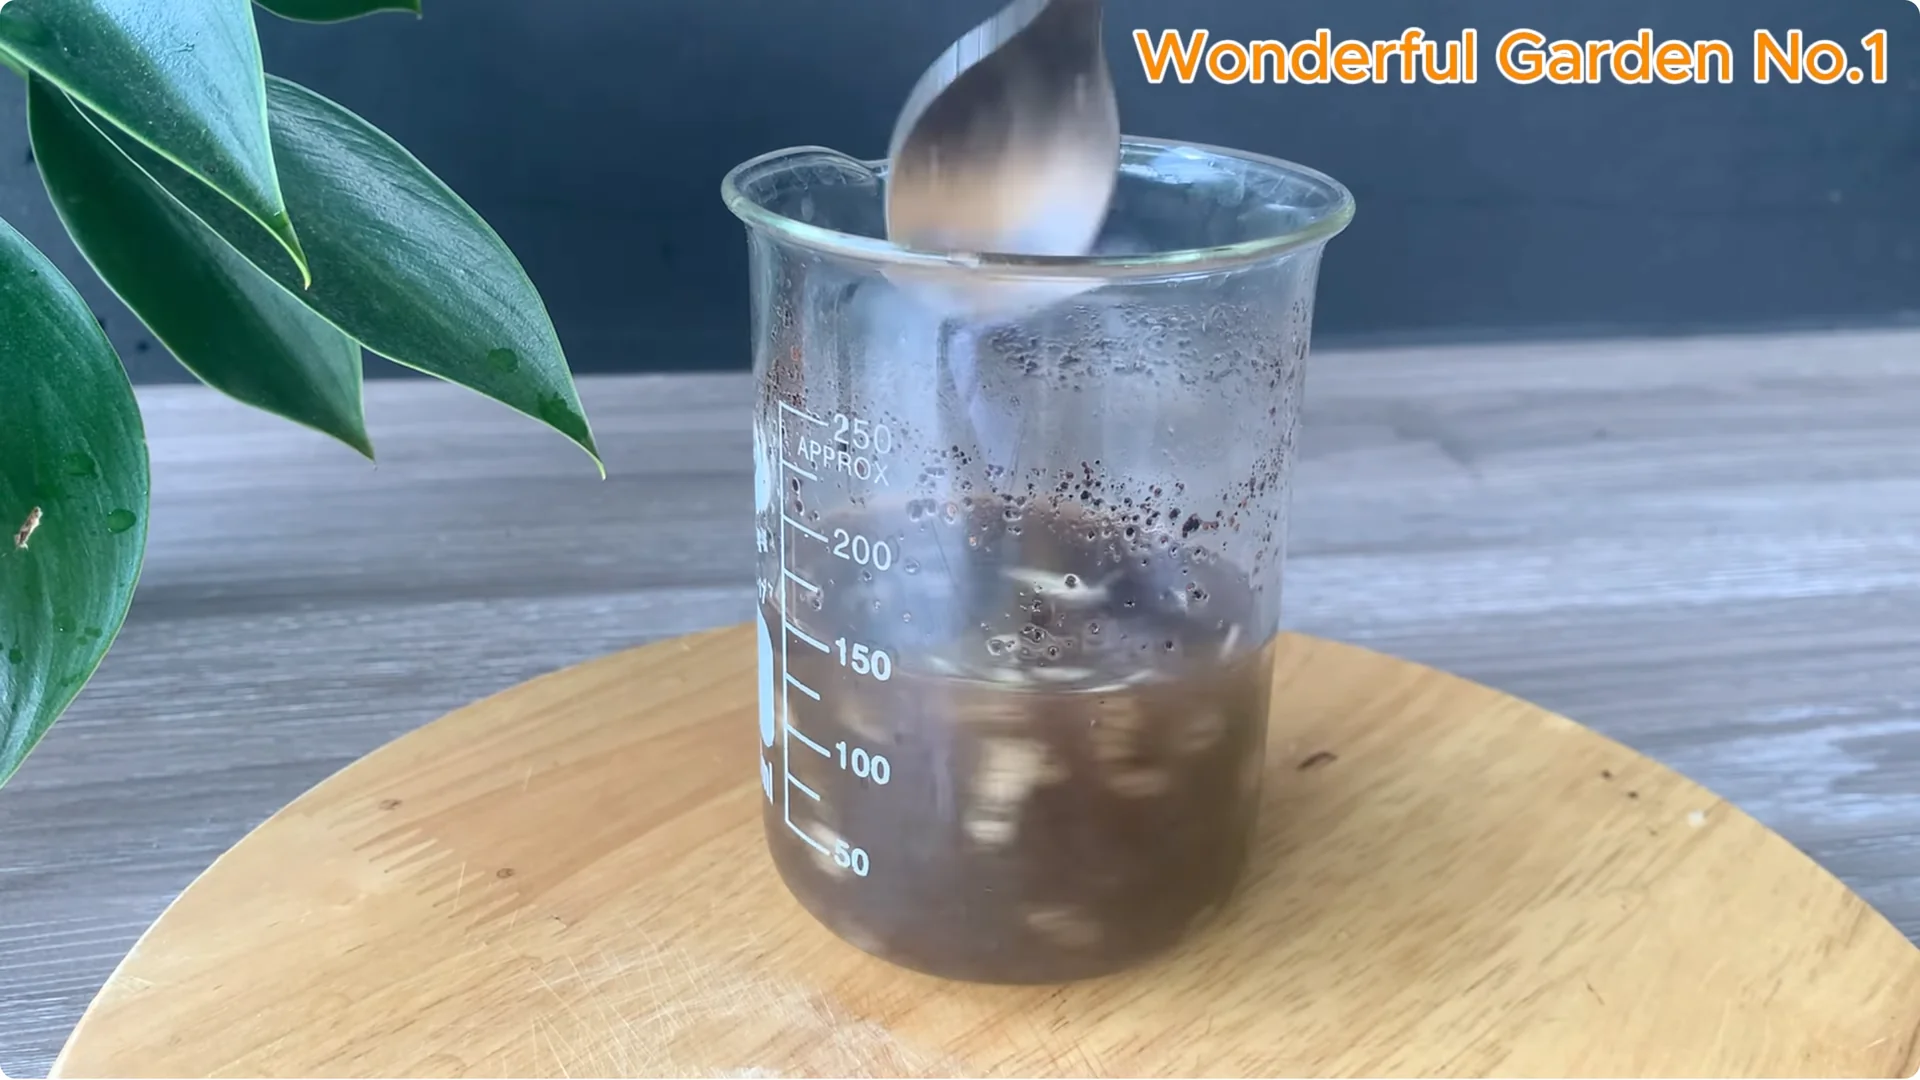
After letting it stand for 5 minutes, stir the mixture again and strain through a fine sieve to remove the residue. Keep only the clear solution.
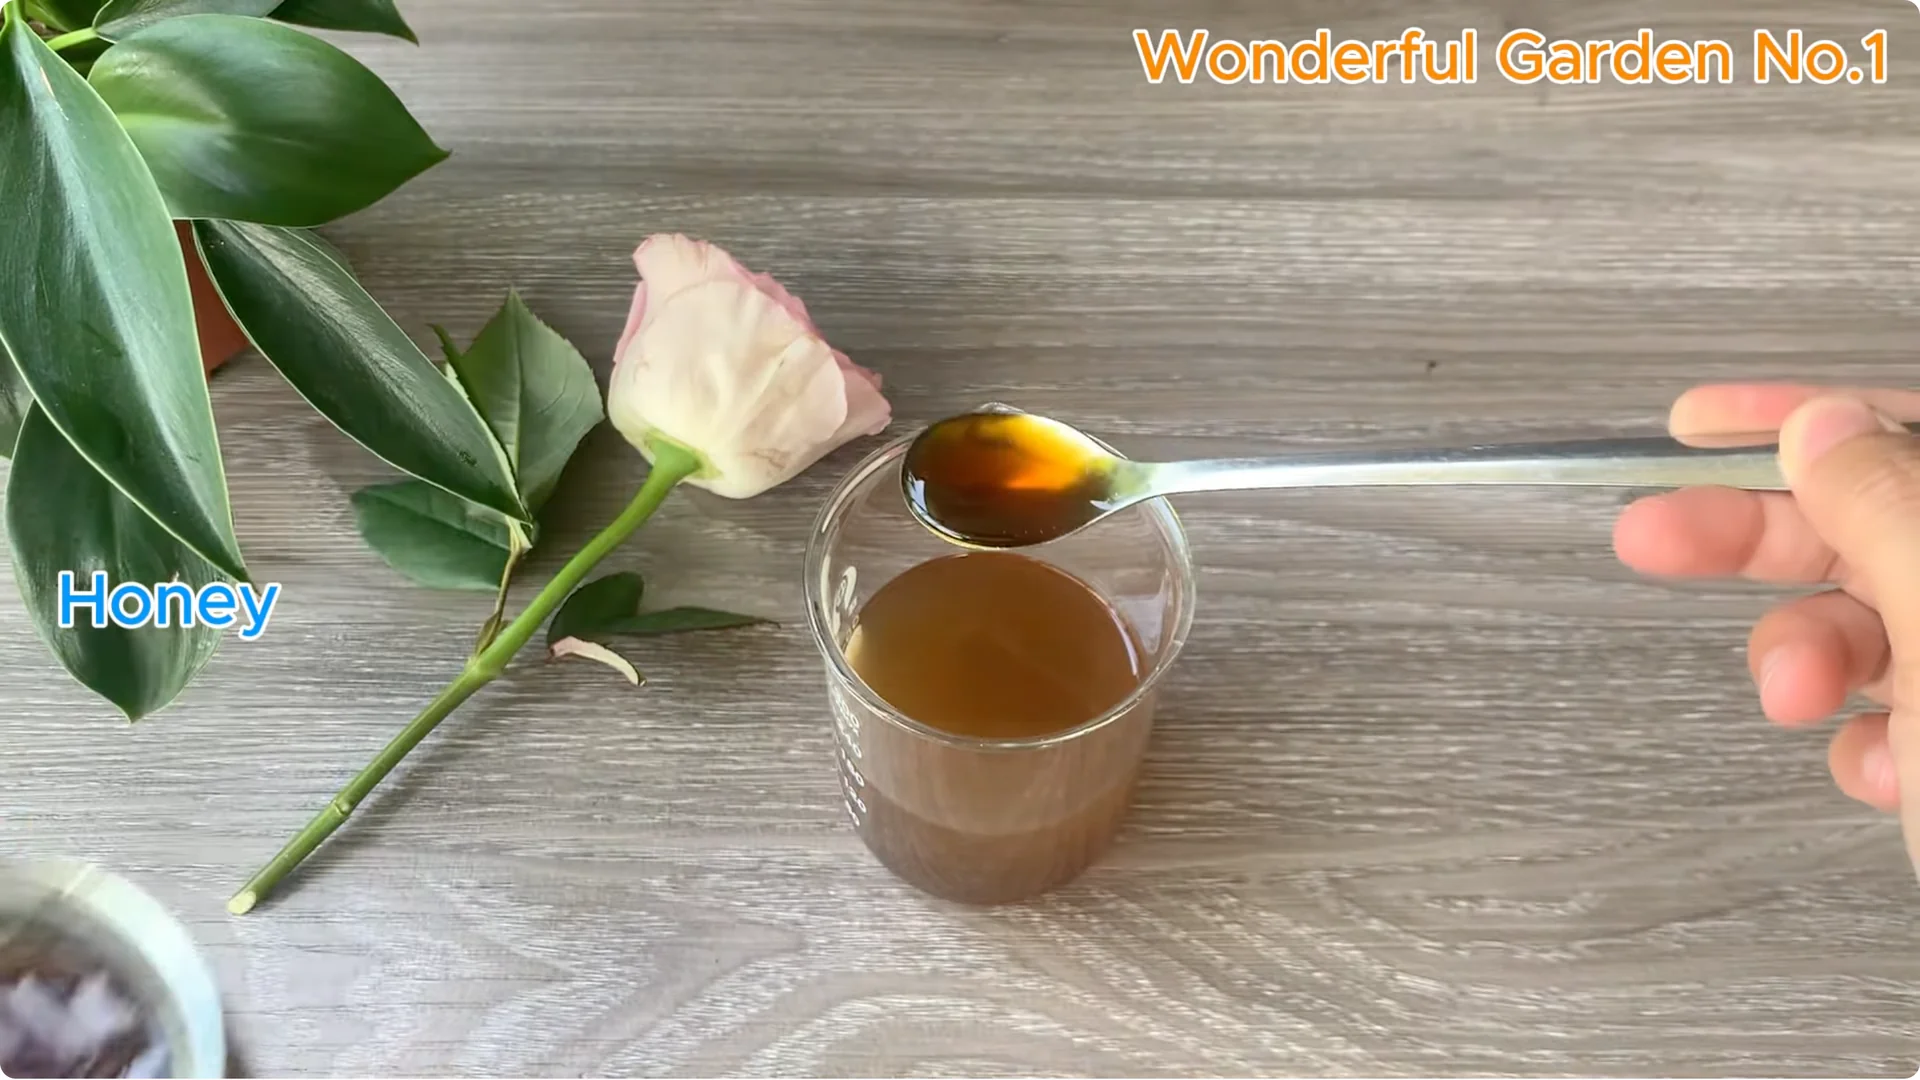
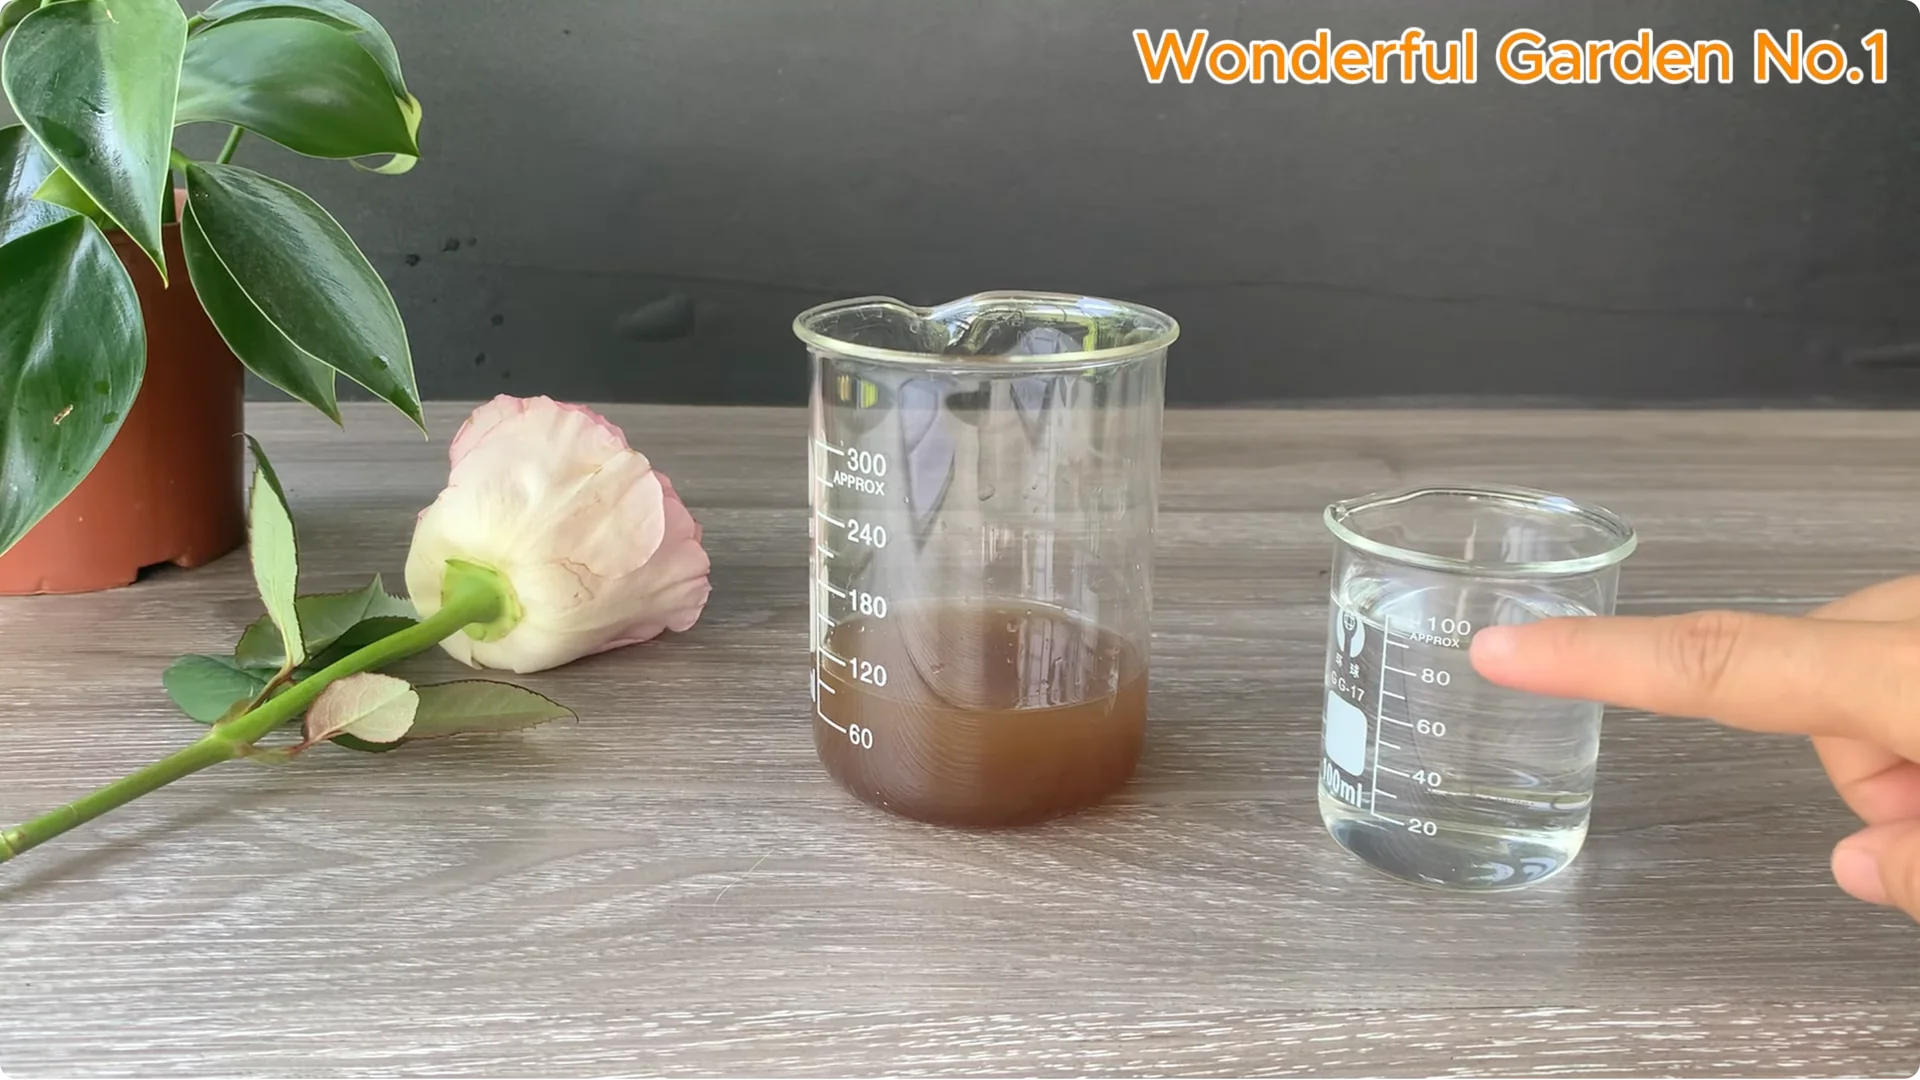
Add 100 ml of filtered water to adjust the concentration, helping the solution penetrate well without harming the branches. Next, add one tablespoon of raw honey. A natural ingredient with mild antibacterial properties and rich in nutrients, which helps repair cut tissue and stimulate new root formation.
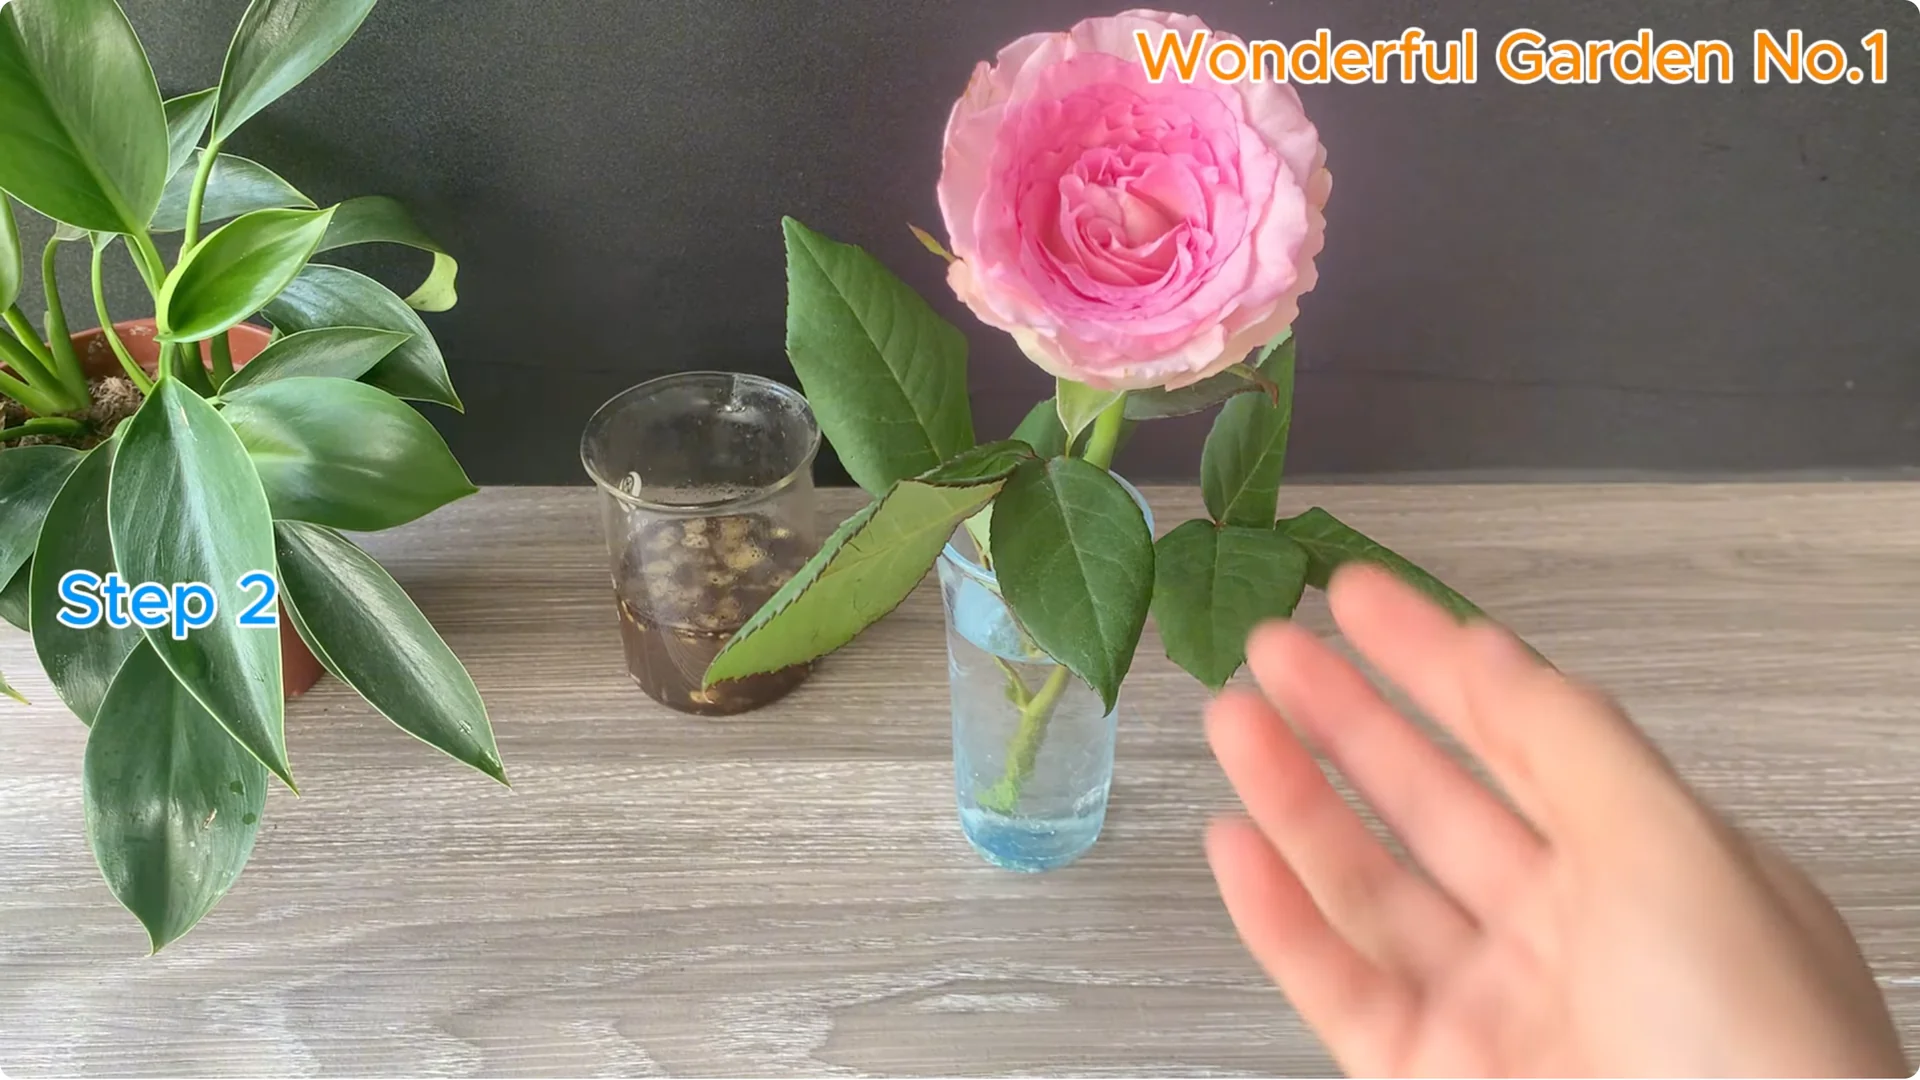
Dip the base of the rose branch into the mixed solution and soak for about 15 to 30 minutes. This is the ideal time for bioactive ingredients to penetrate deep into root tissue, stimulating effective root growth.
Read More: Rose Branch Water Overnight
2. Natural Rose Propagation – Prepare and Plant Cuttings
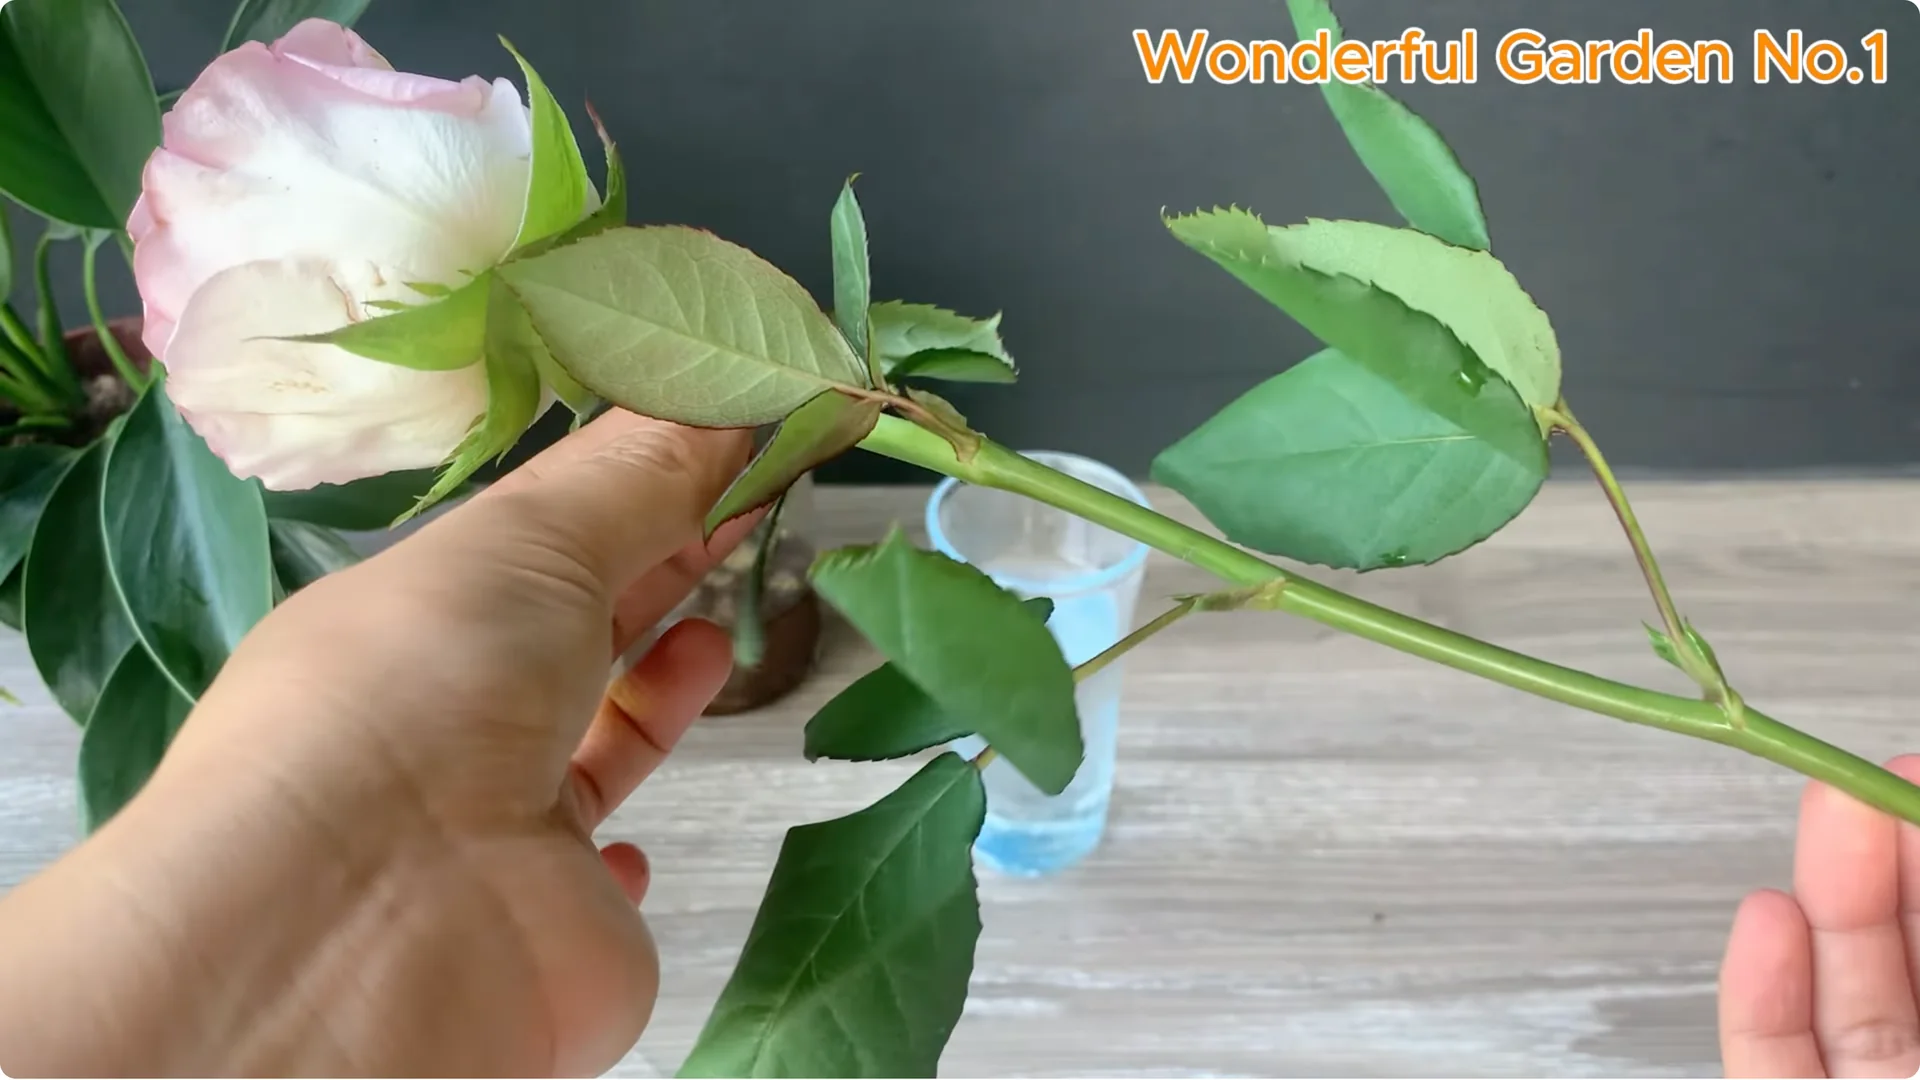
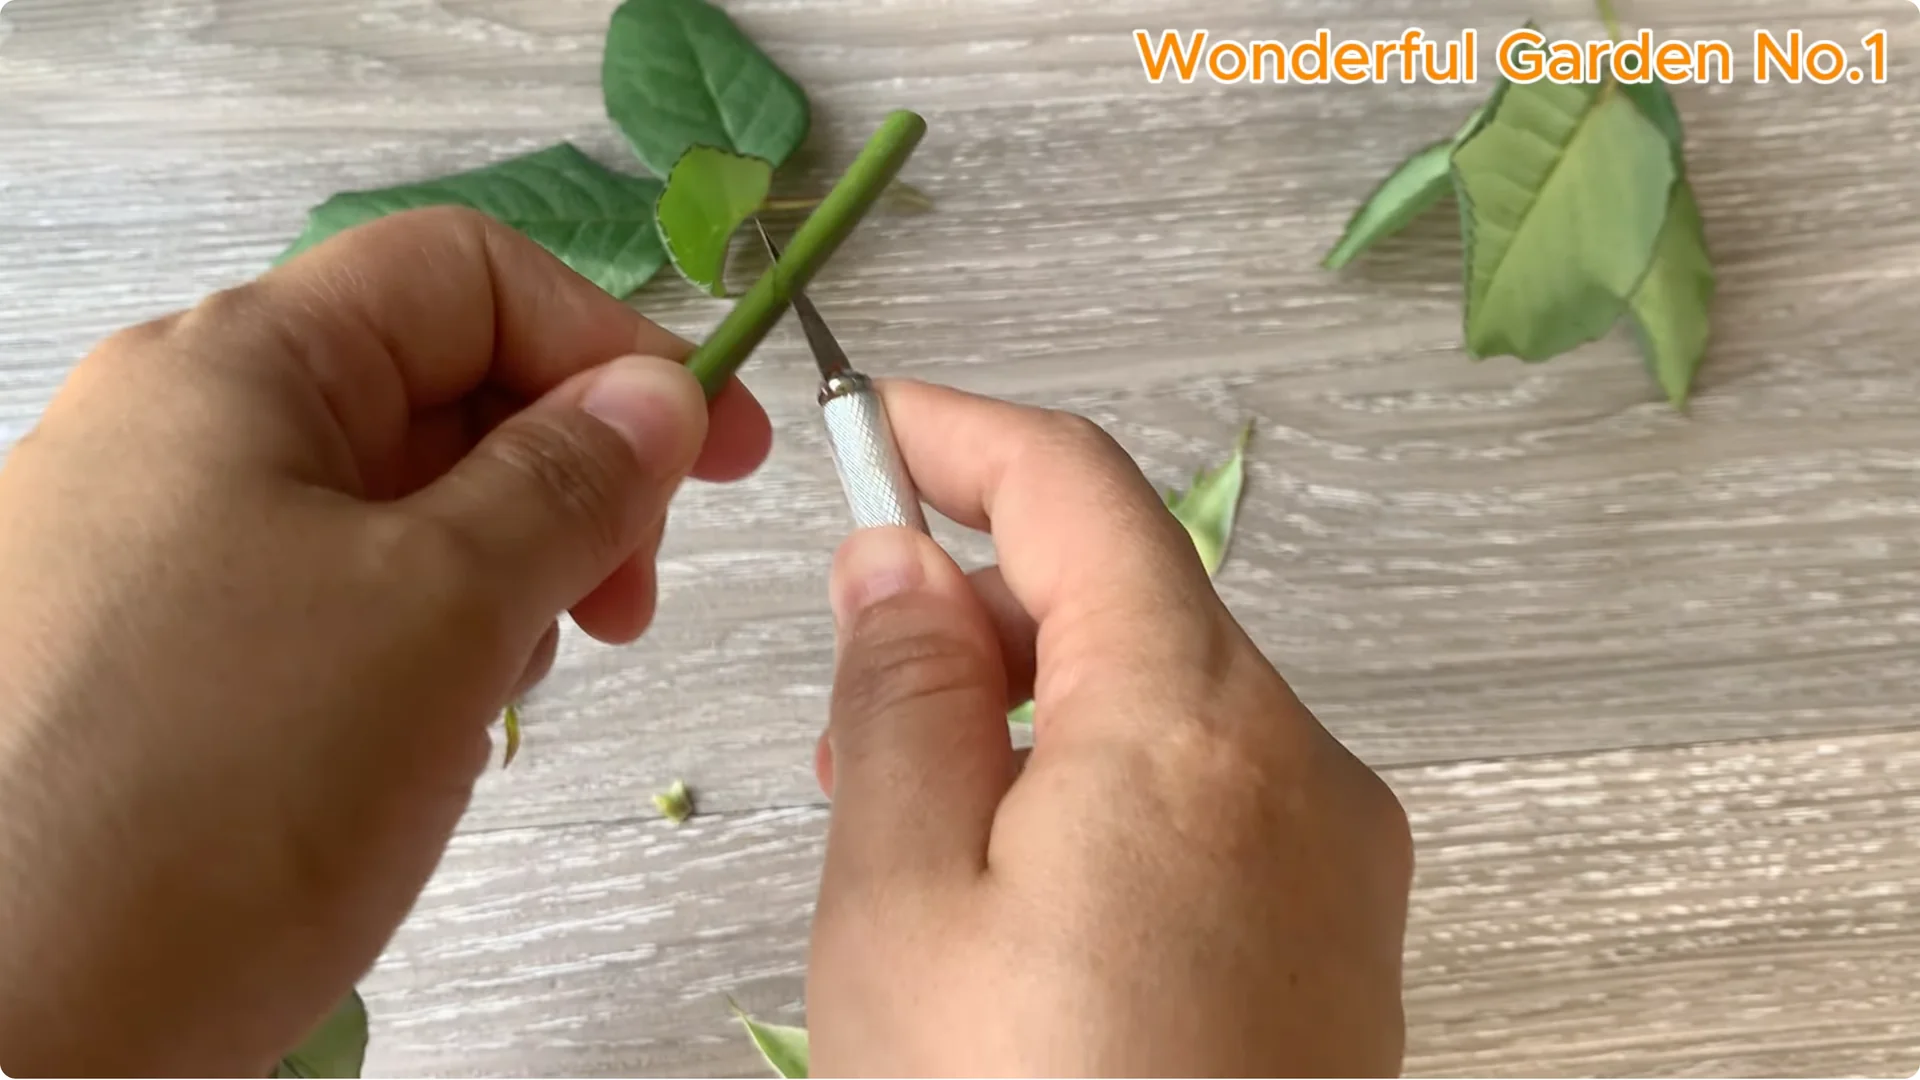
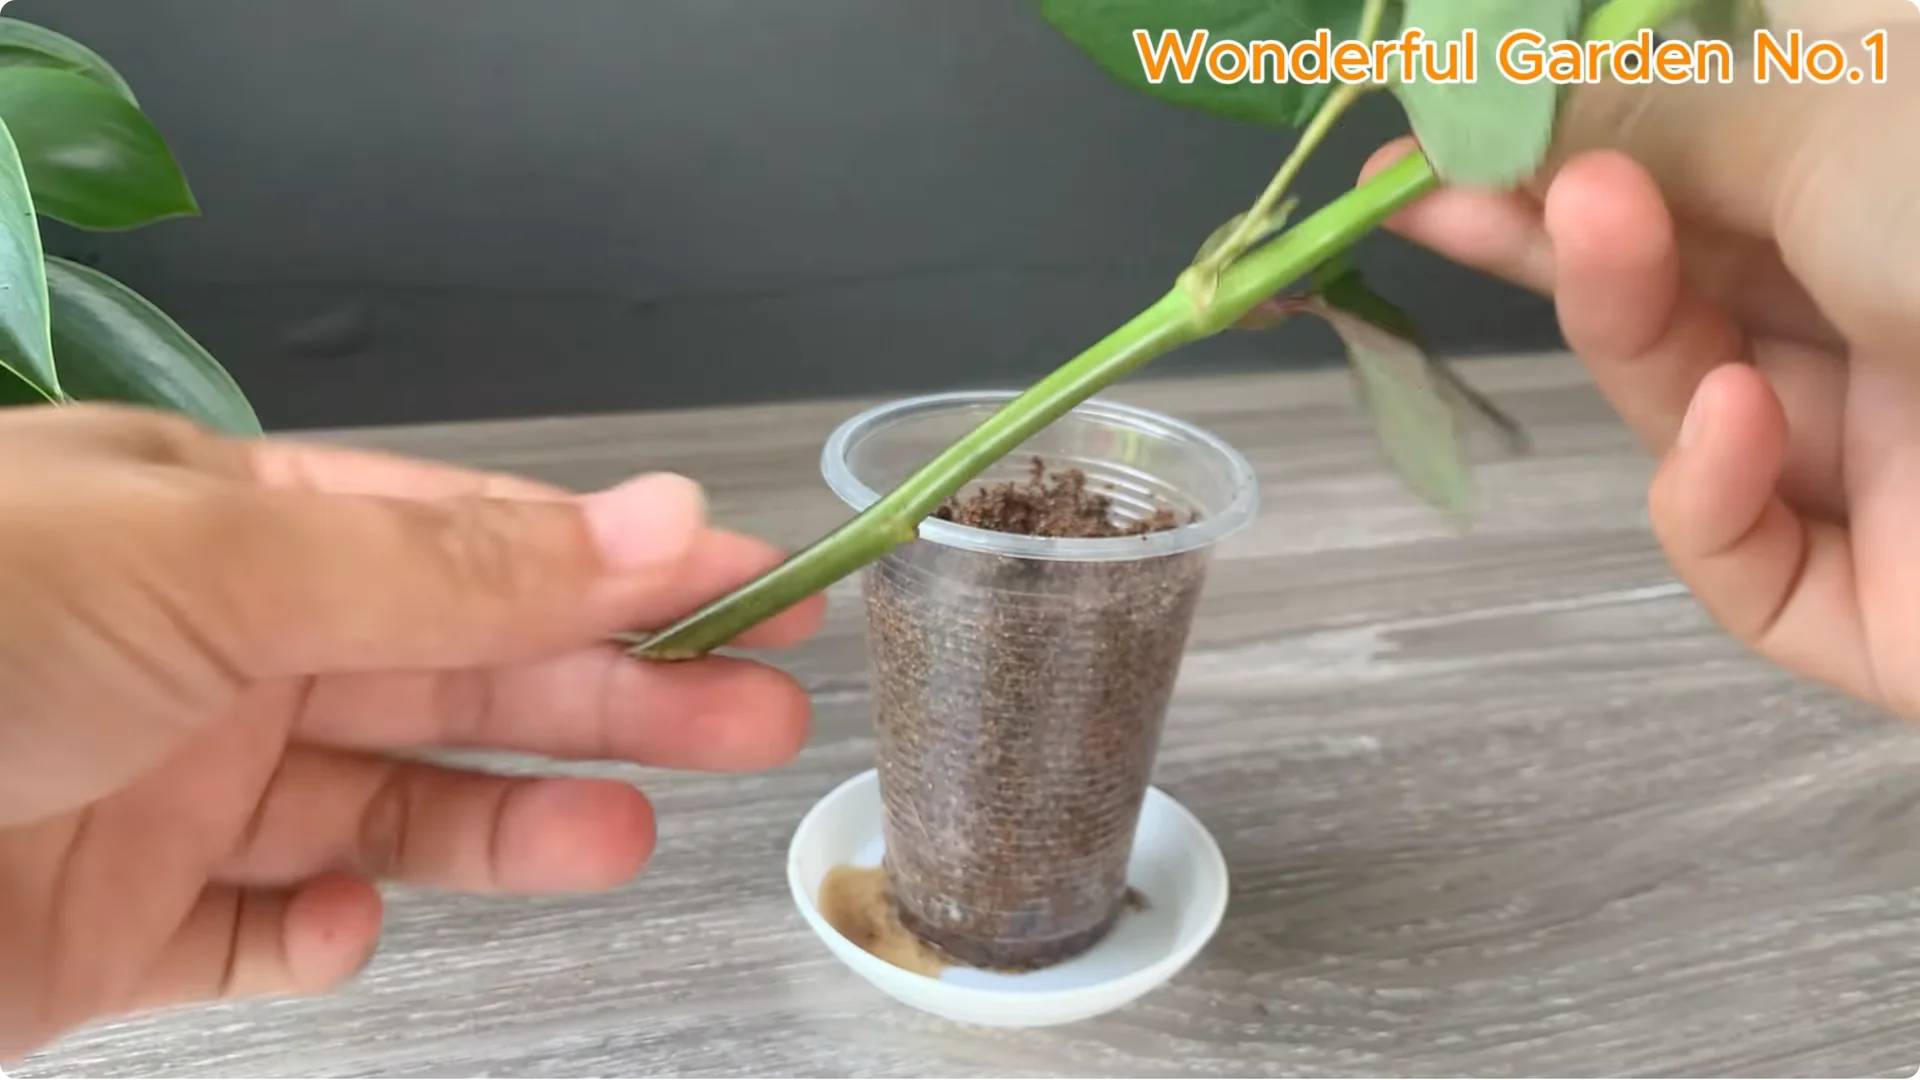
Choose young branches not too young, not too old, about 15 to 20 cm long, with two to three clear leaf eyes, free of pests and diseases. Trim the lower leaves, keeping only one to two upper leaves to maintain photosynthesis at a minimum level, limiting water loss through the leaves.
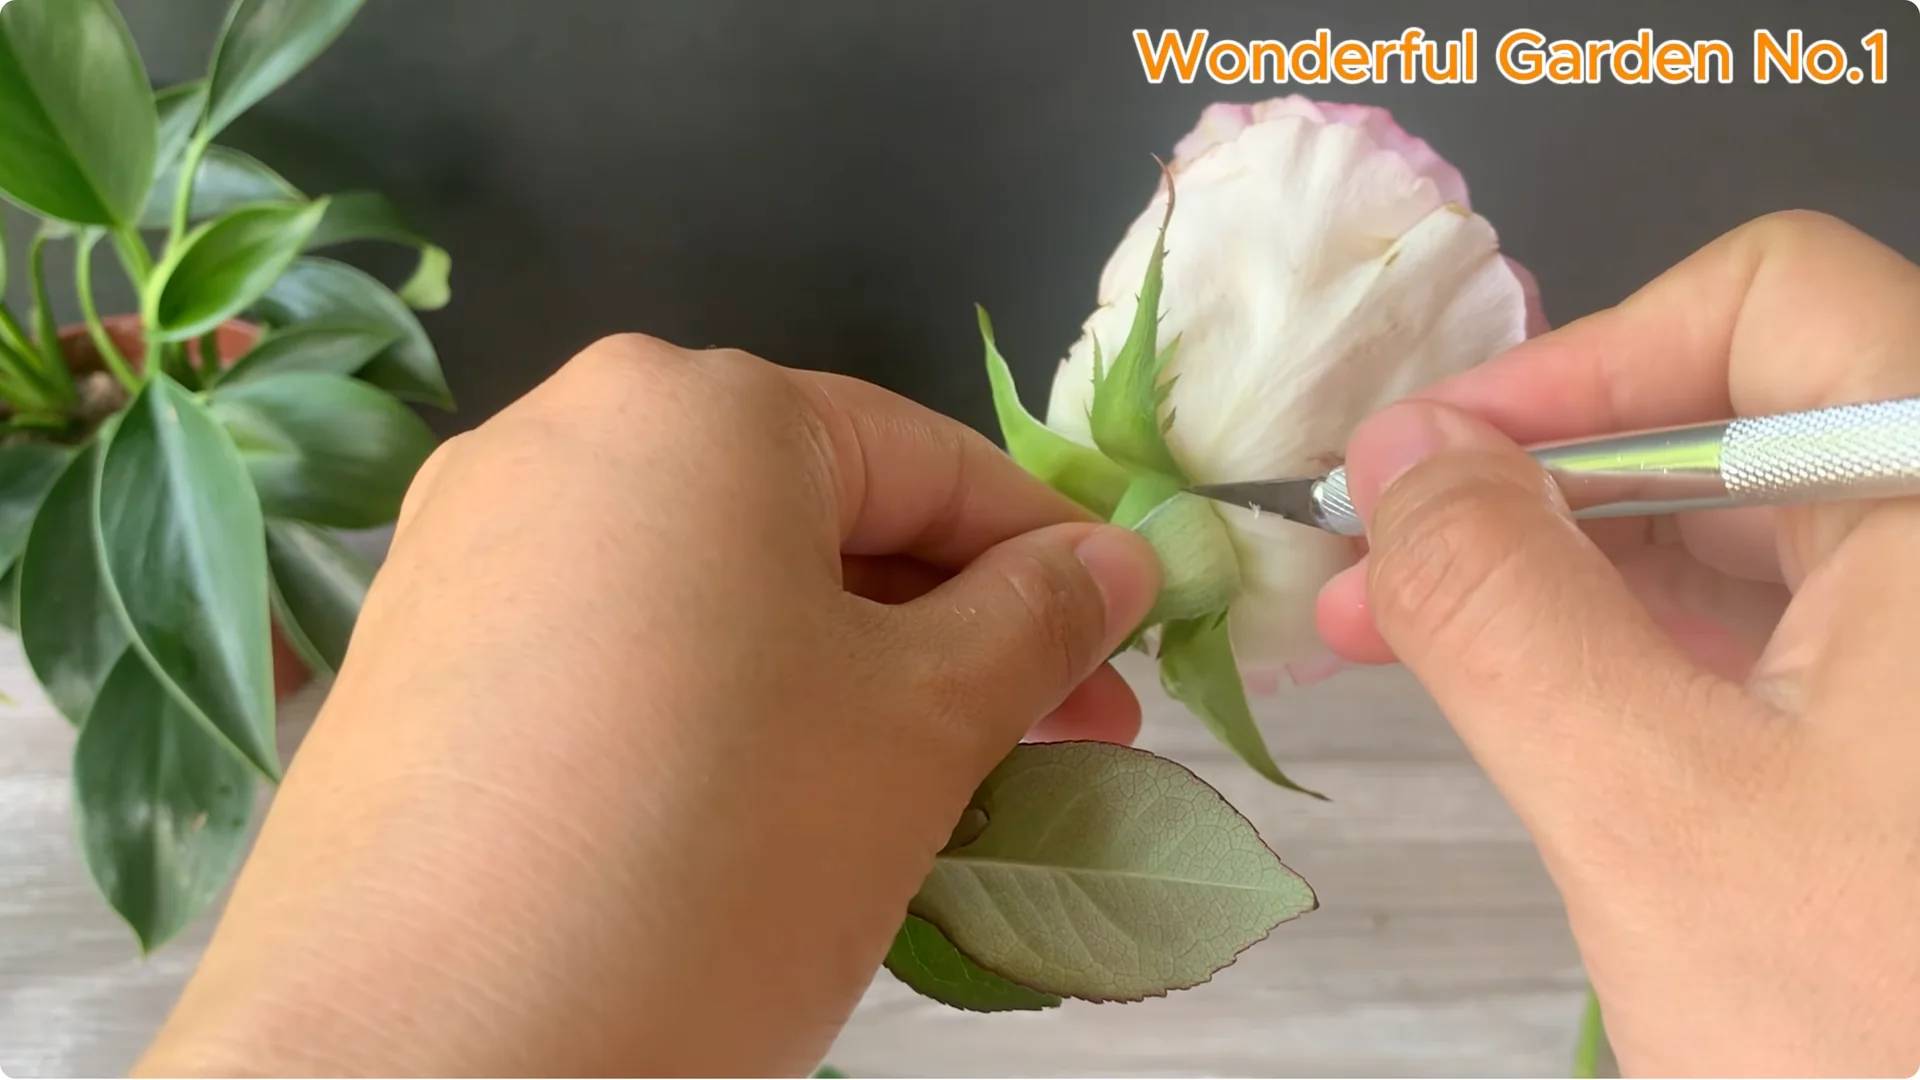
Use a knife or specialized scissors to cut the base of the branch at a 45 degree angle, about 1 cm from the leaf eye. This increases the water absorption area and facilitates the formation of root callus.
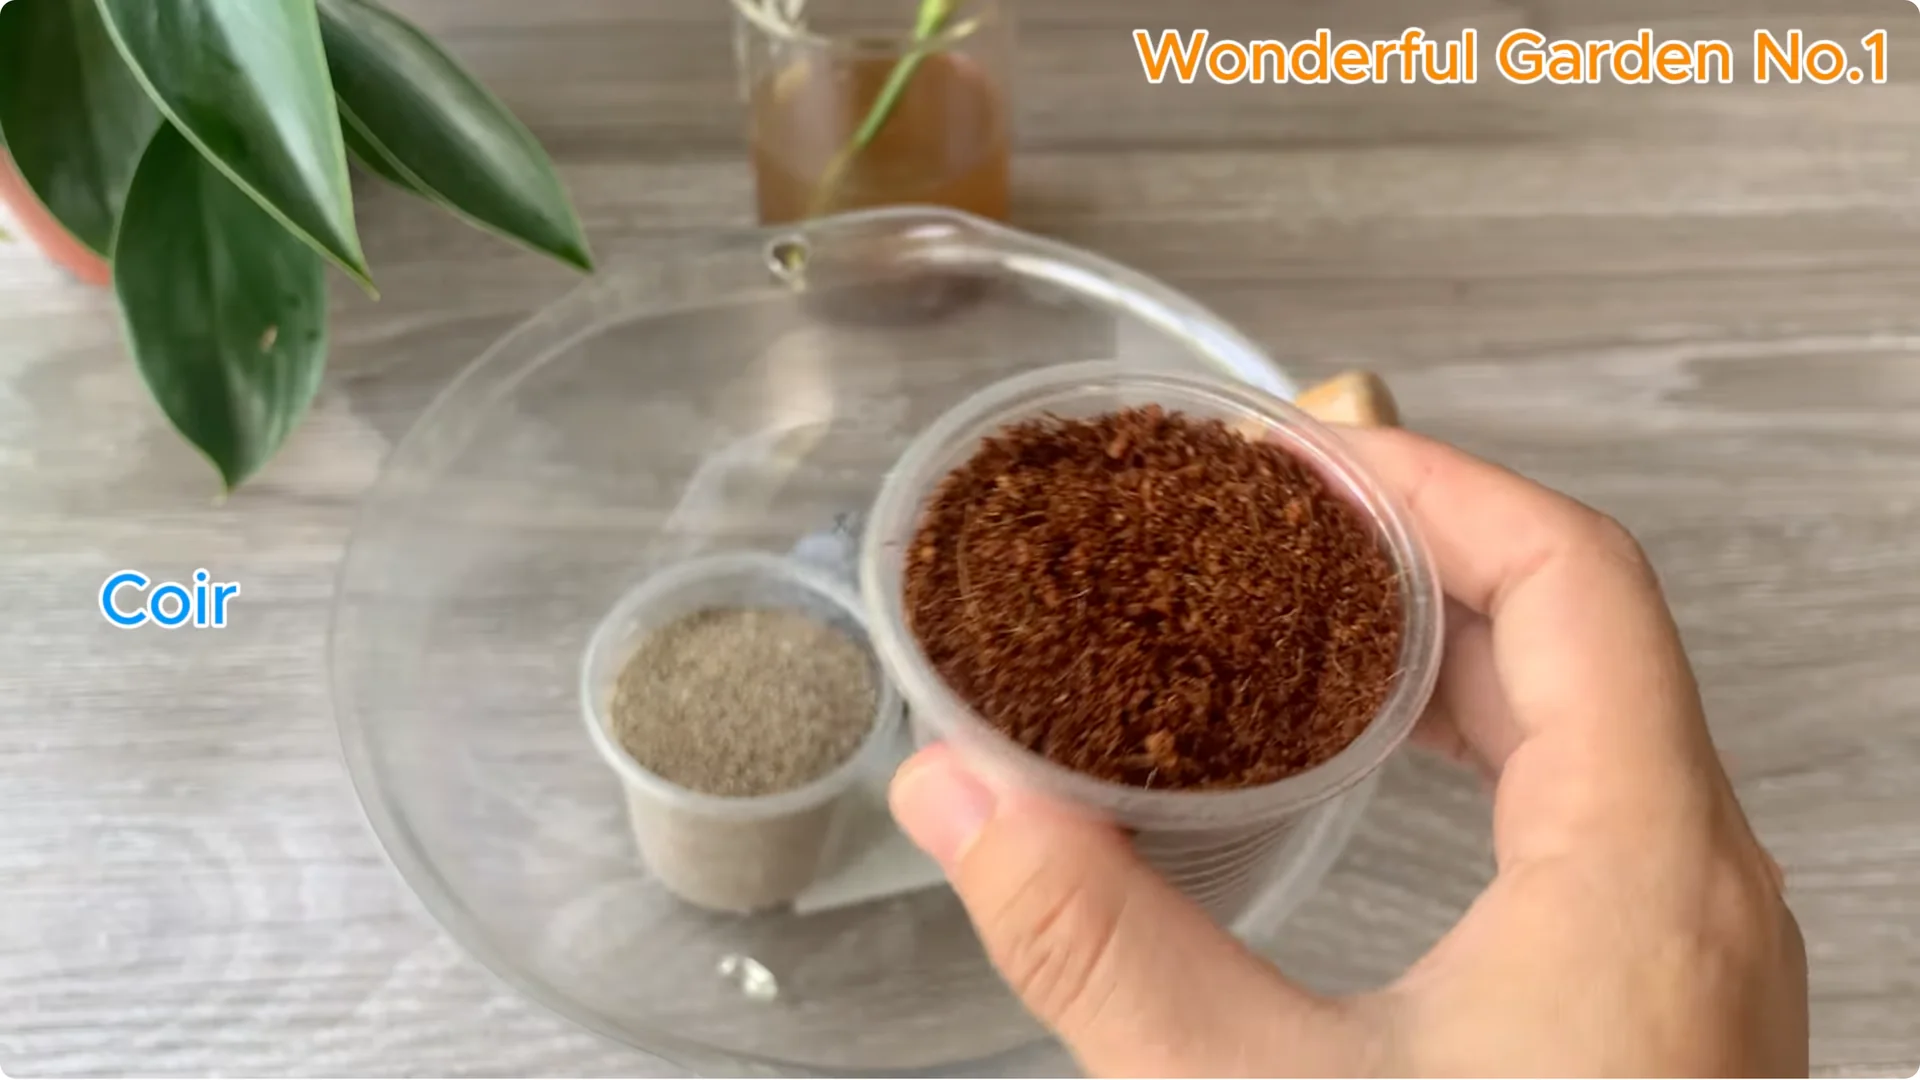
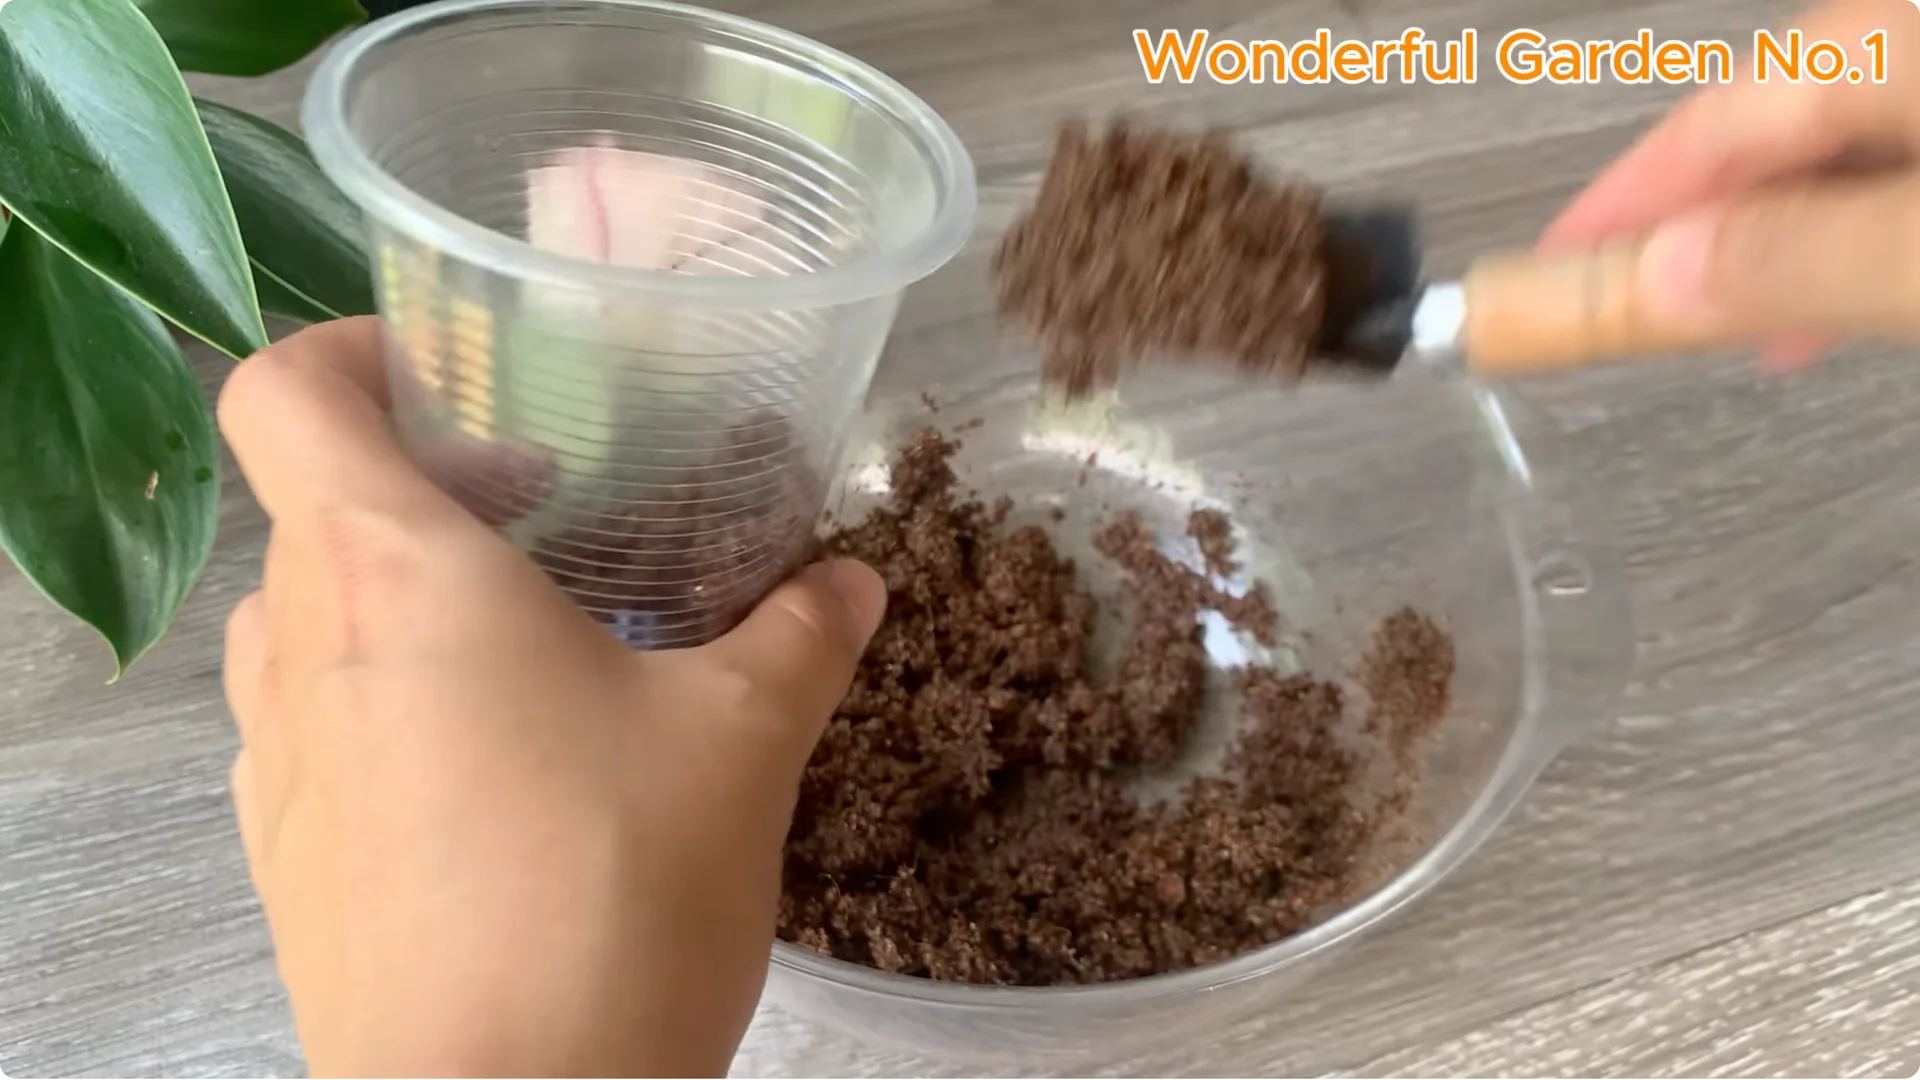
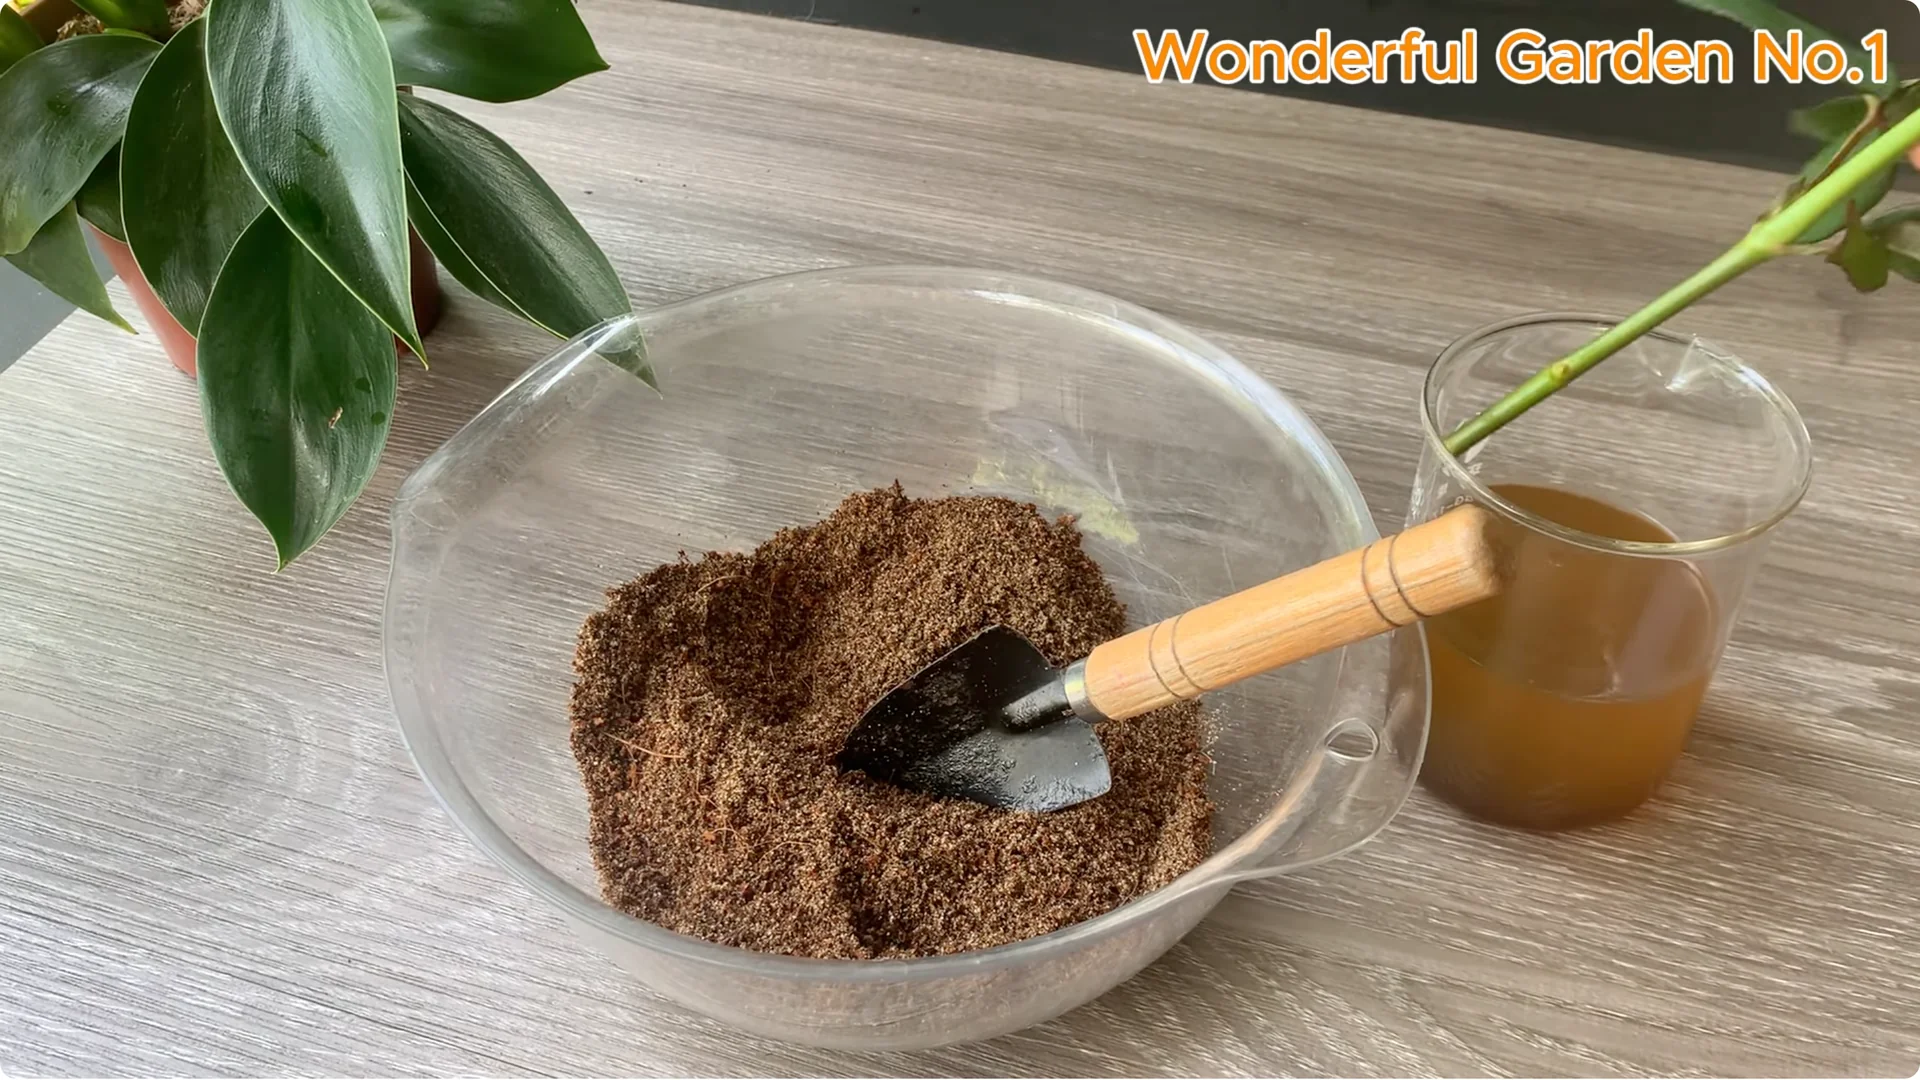
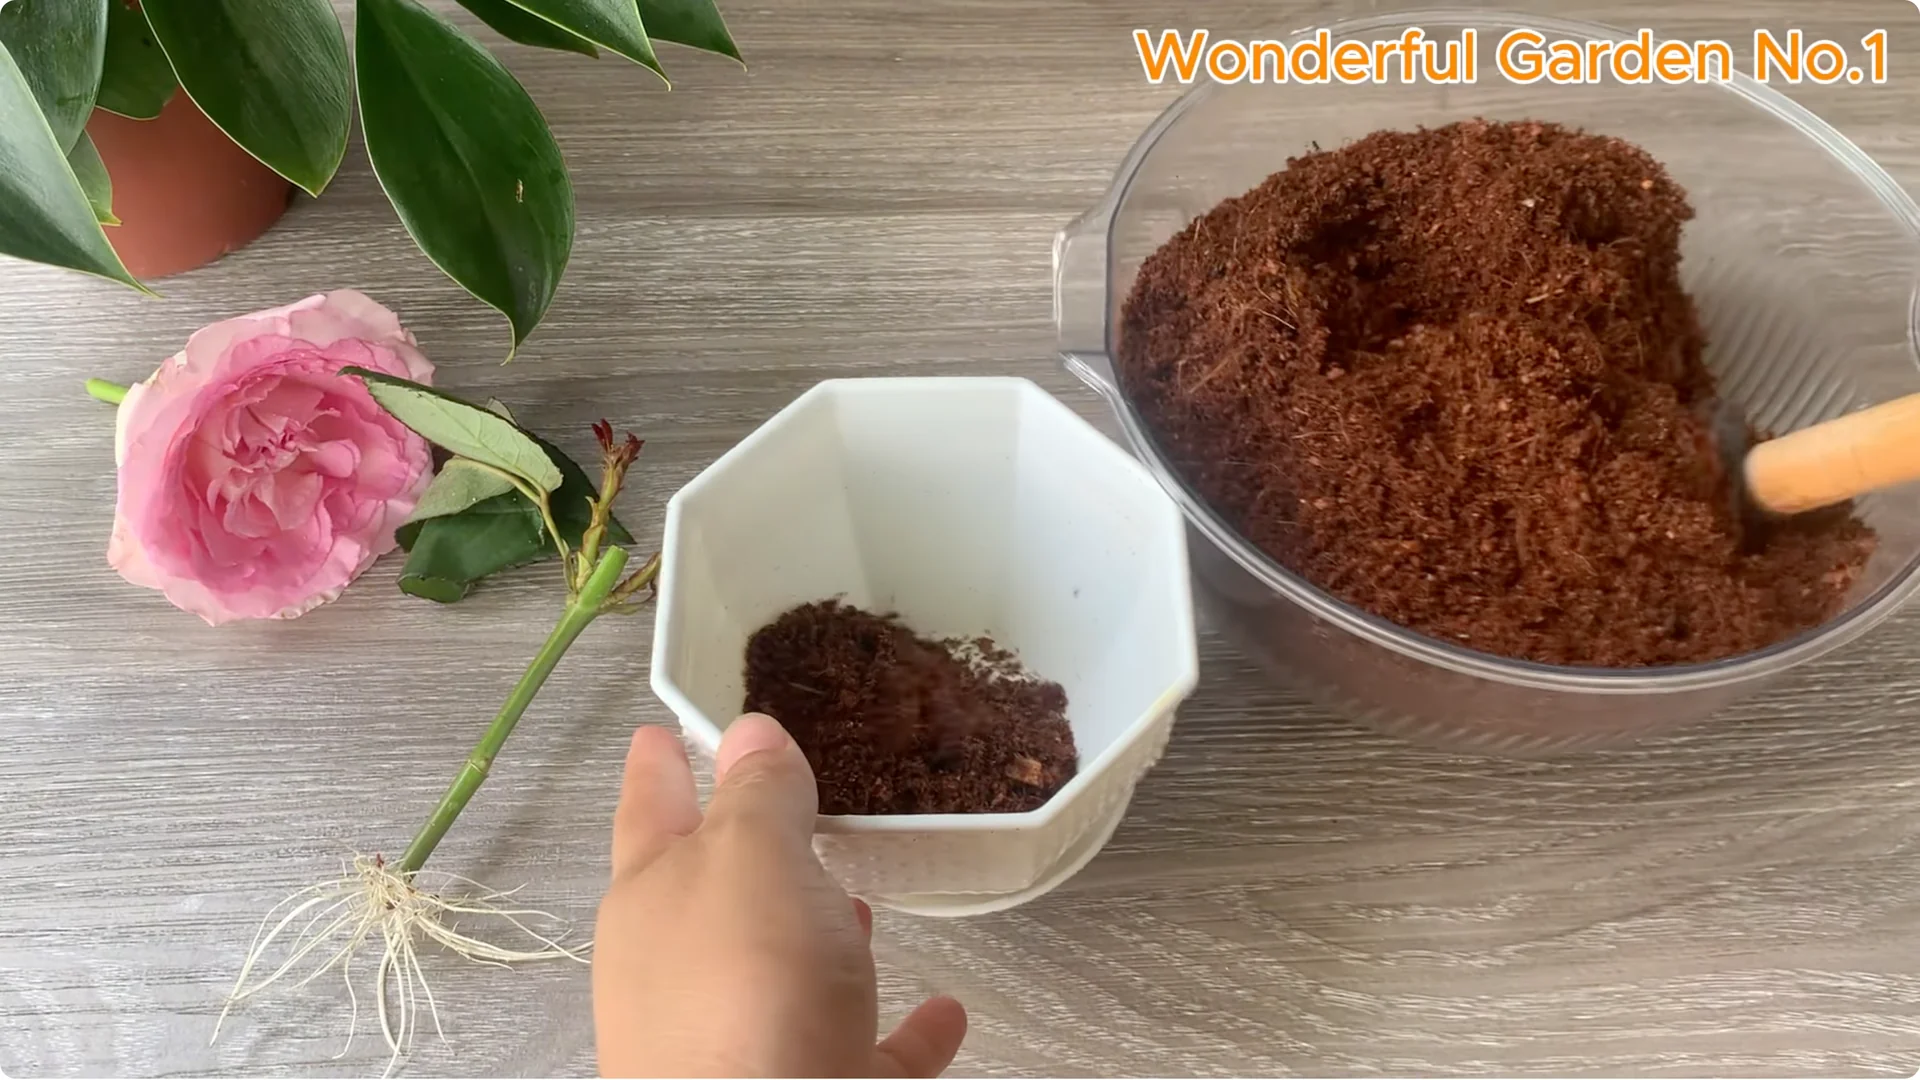
Use a growing medium consisting of clean sand and coconut fiber mixed in a 1:1 ratio. This mixture ensures good ventilation, drainage, and maintains stable humidity, creating ideal conditions for young roots to form and develop. Moisten the growing medium with the newly created rooting solution to create an environment ready for the biological actives.
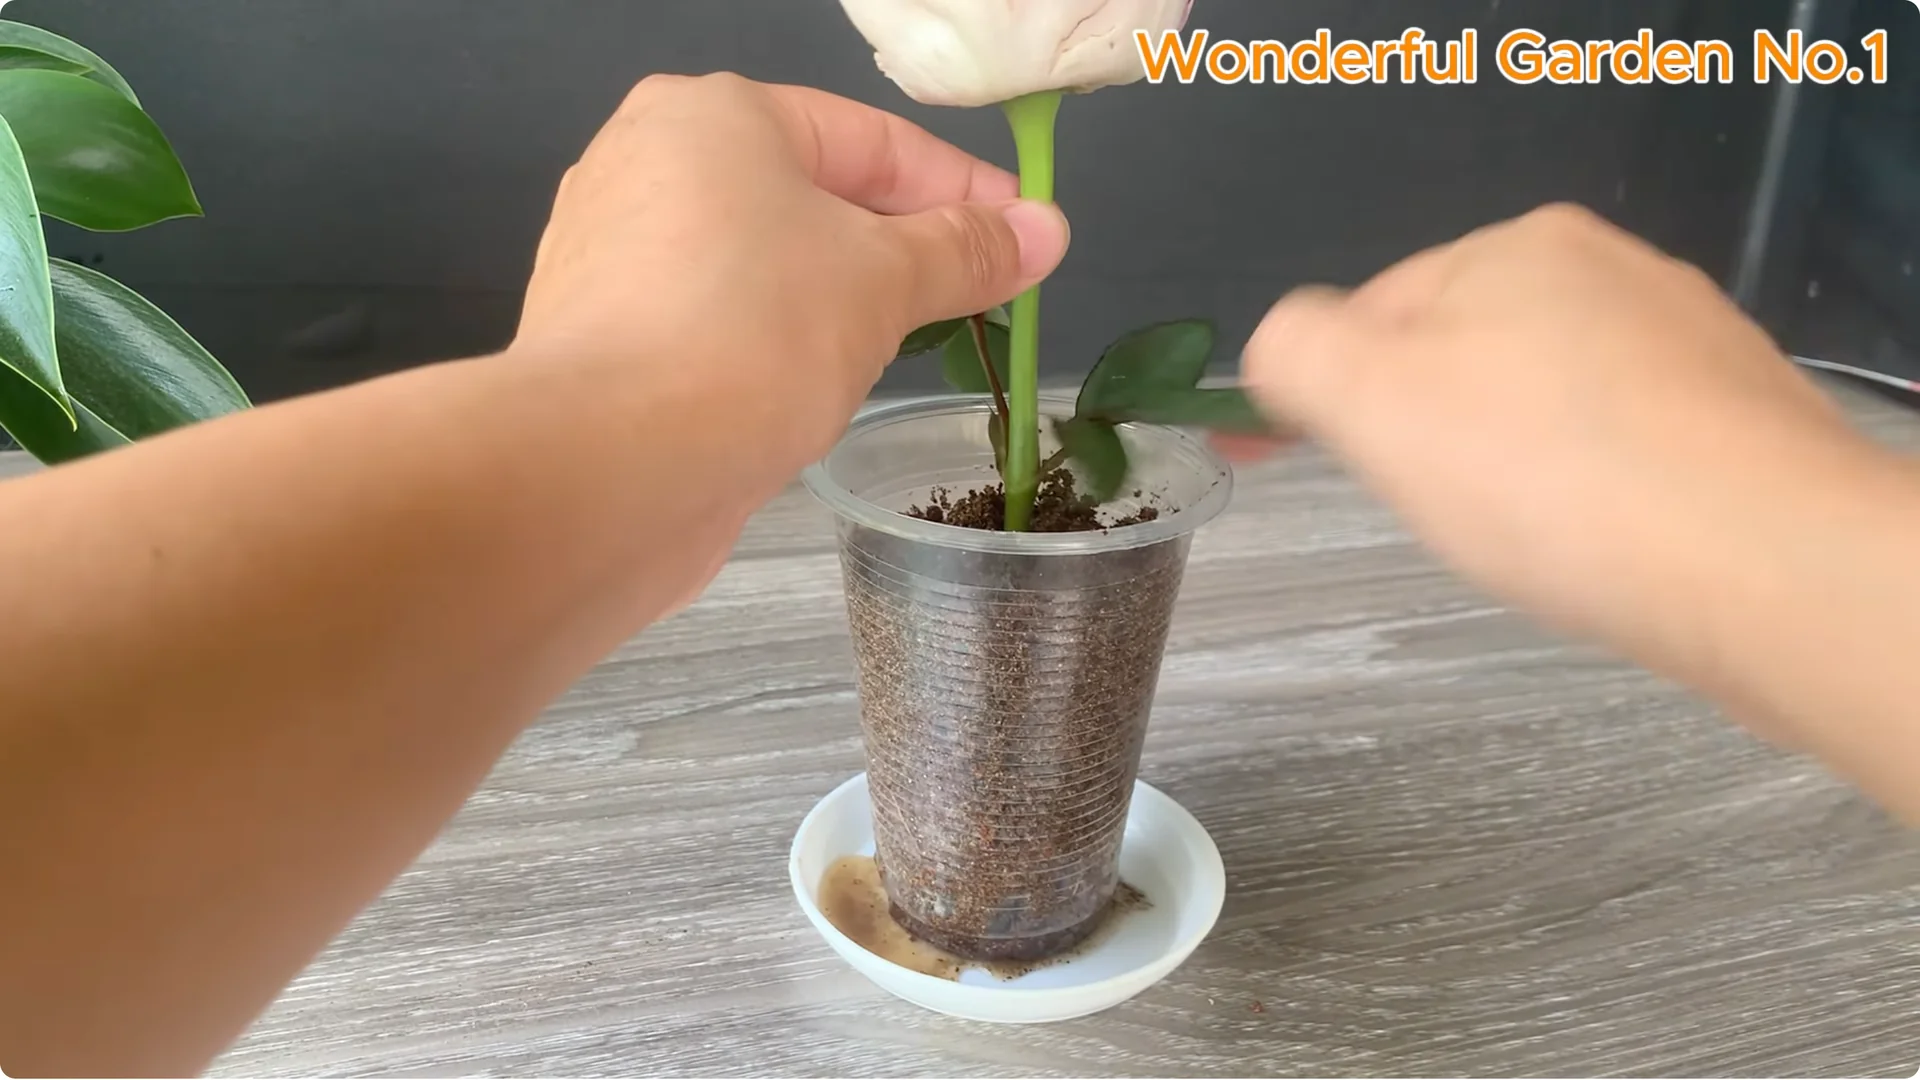
This helps cuttings to be continuously exposed to the rooting stimulant from the beginning, thereby increasing the rooting rate and limiting bacteria in the growing environment. Pour moist potting soil into the cup. Use a stick to poke a hole in the middle of the cup to guide the branch in, avoiding damage to the root tissue.
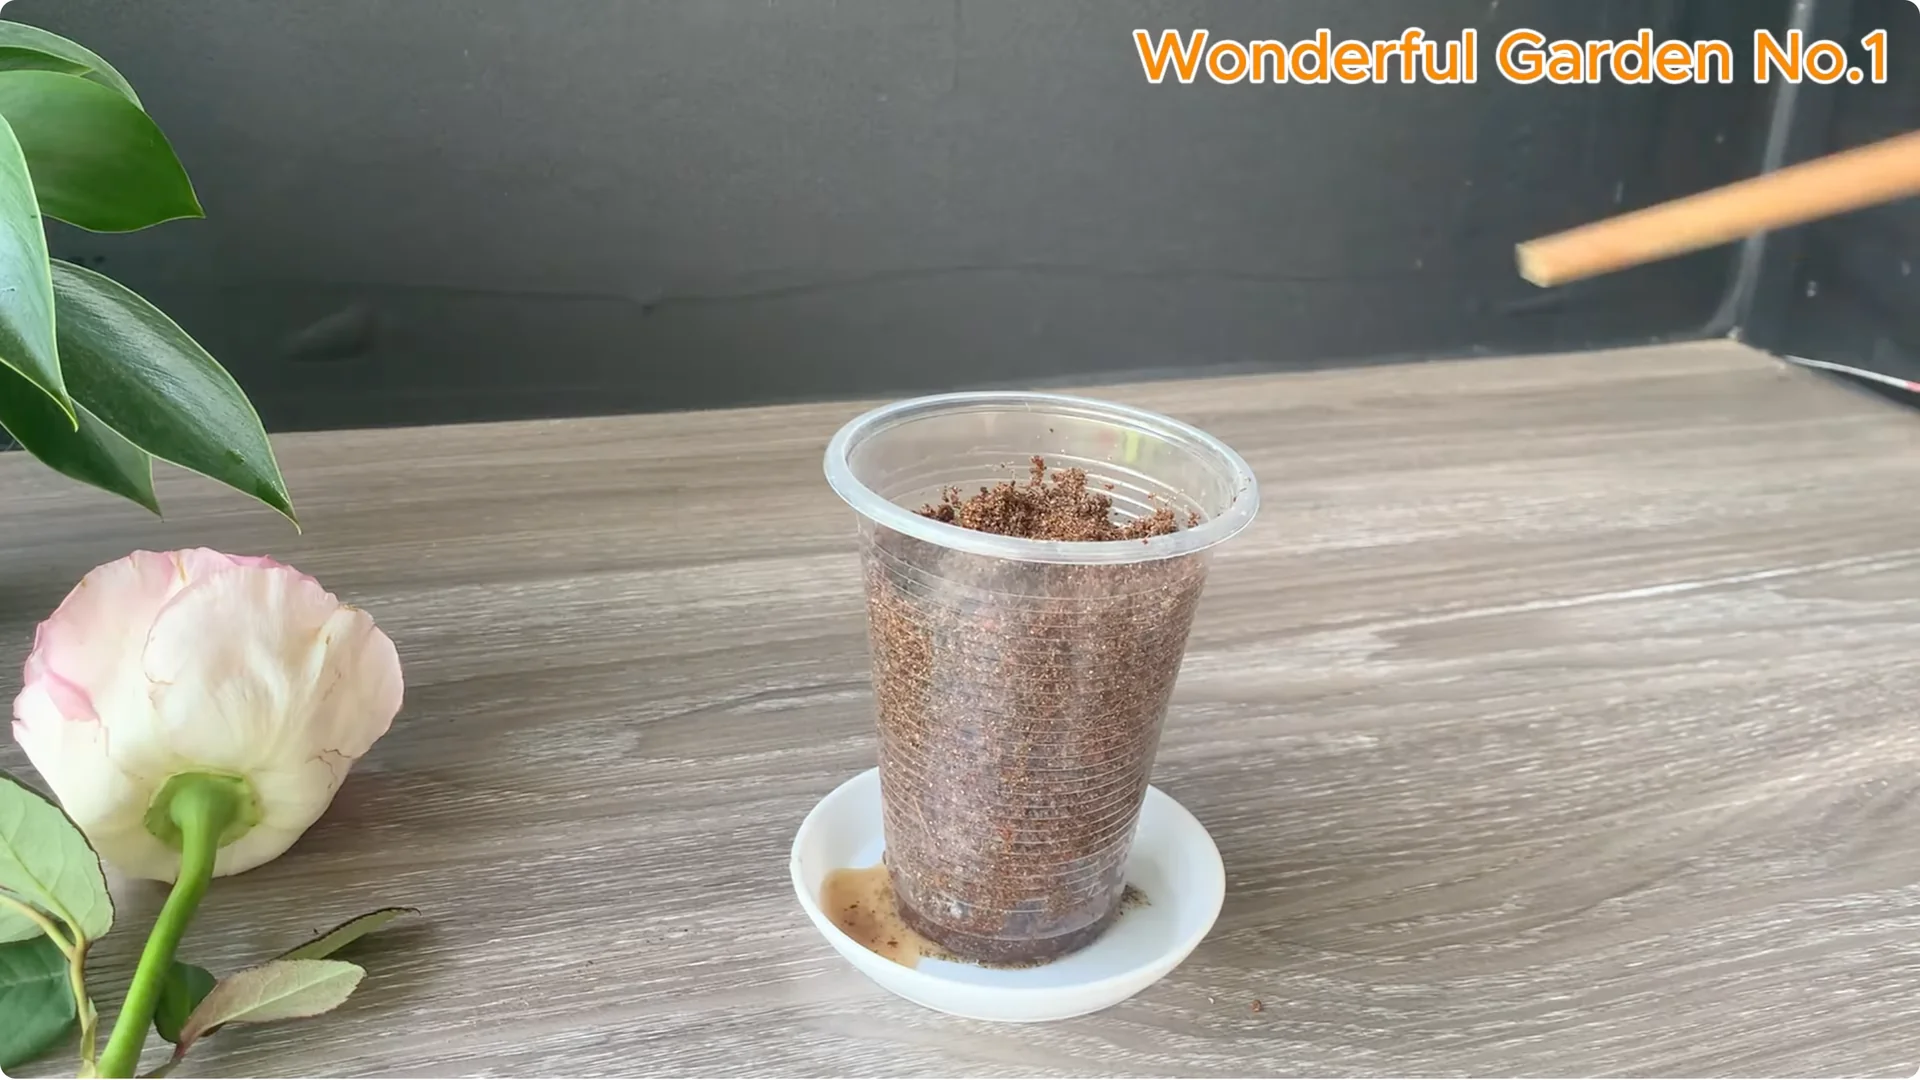
Insert the flower branch into a hole about 4 to 6 cm deep. Then press lightly around the base to secure it, helping the branch stand firmly and limit shaking that can break the young roots that are forming.
3. Natural Rose Propagation – Care After Cutting
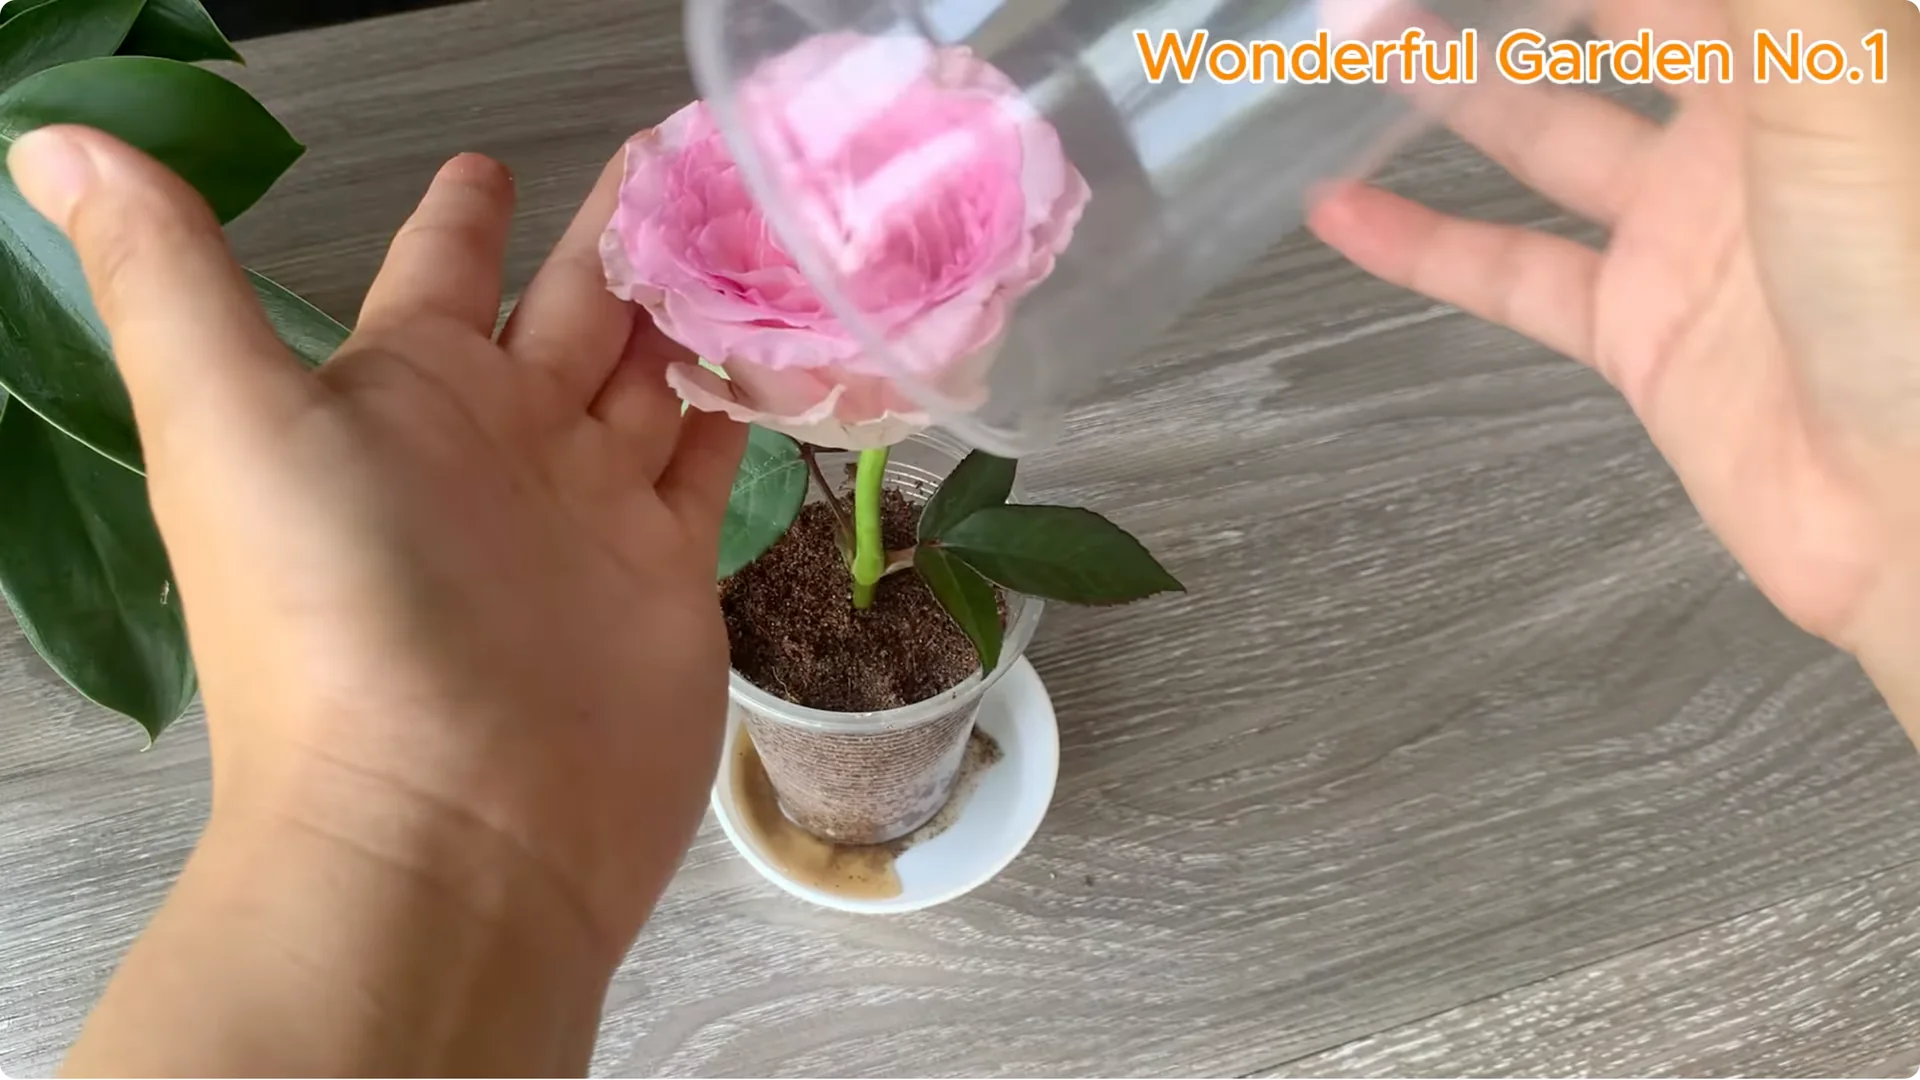
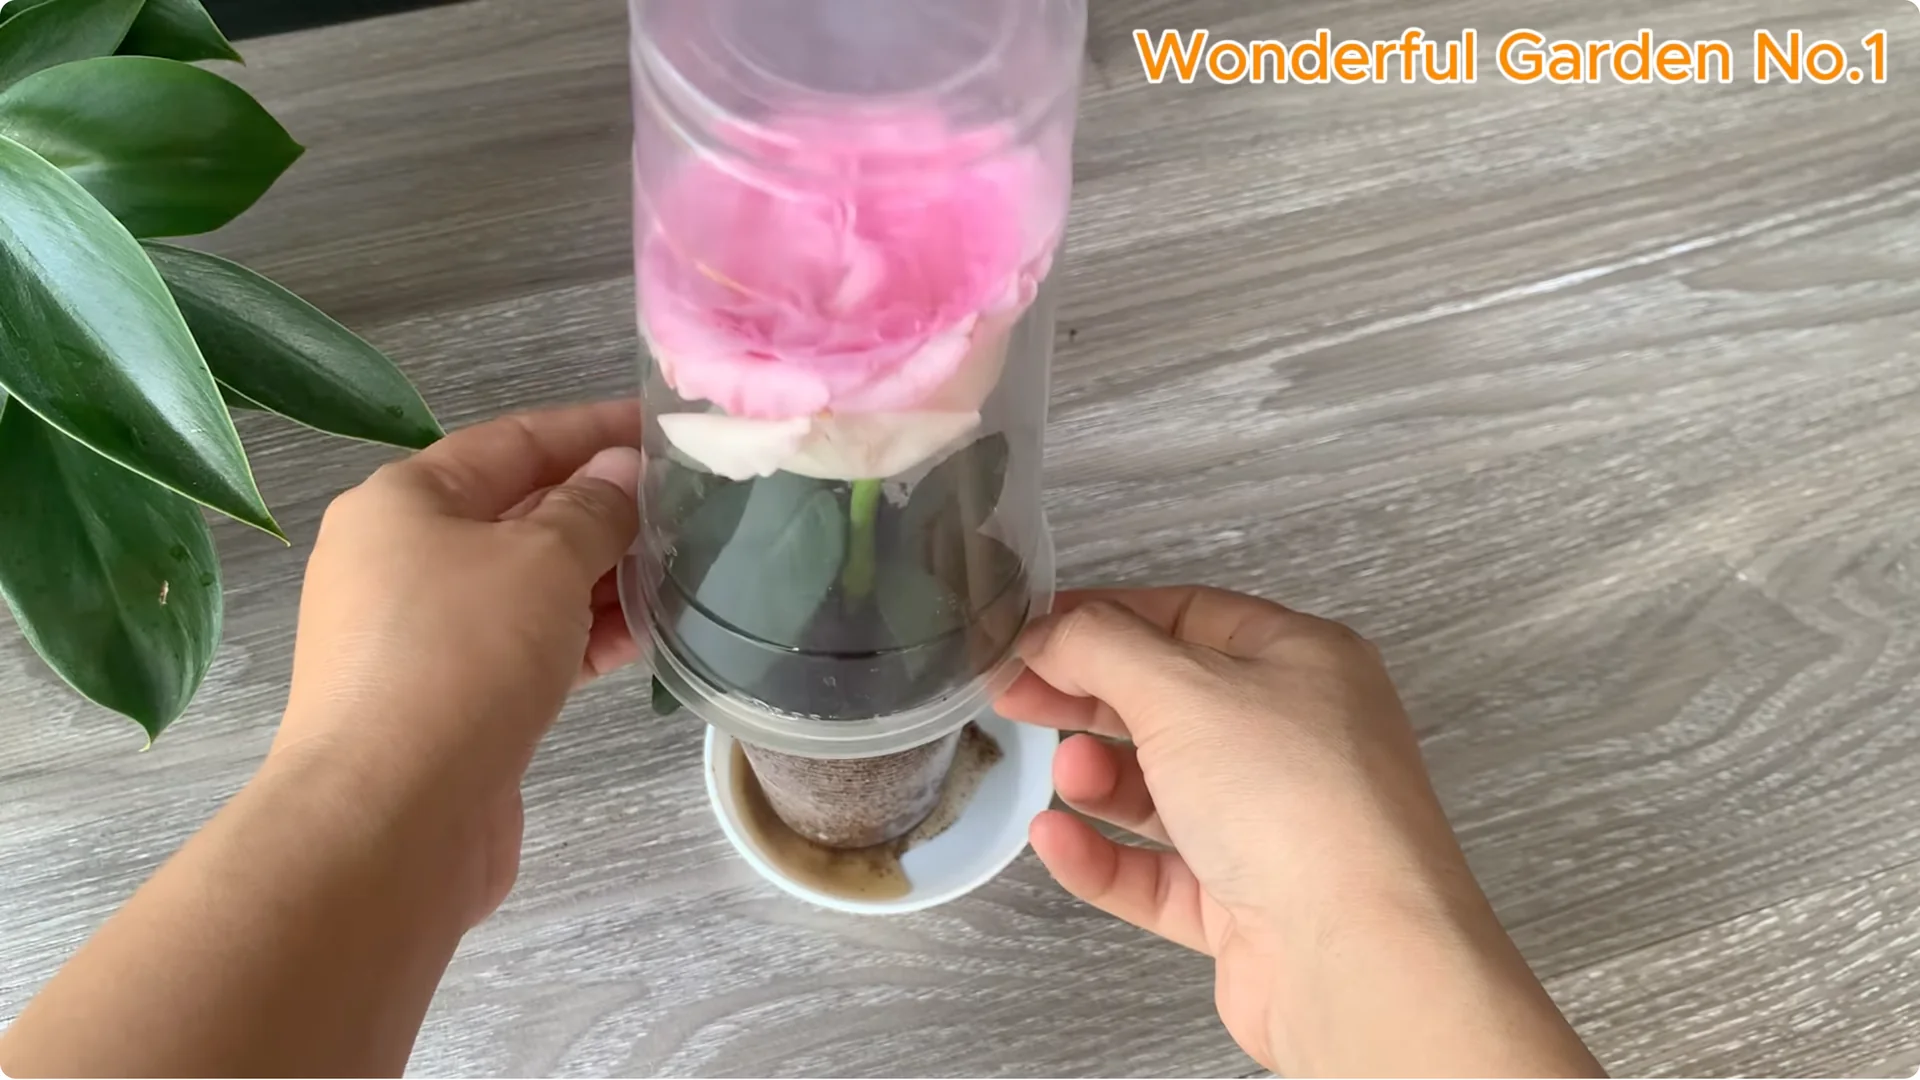
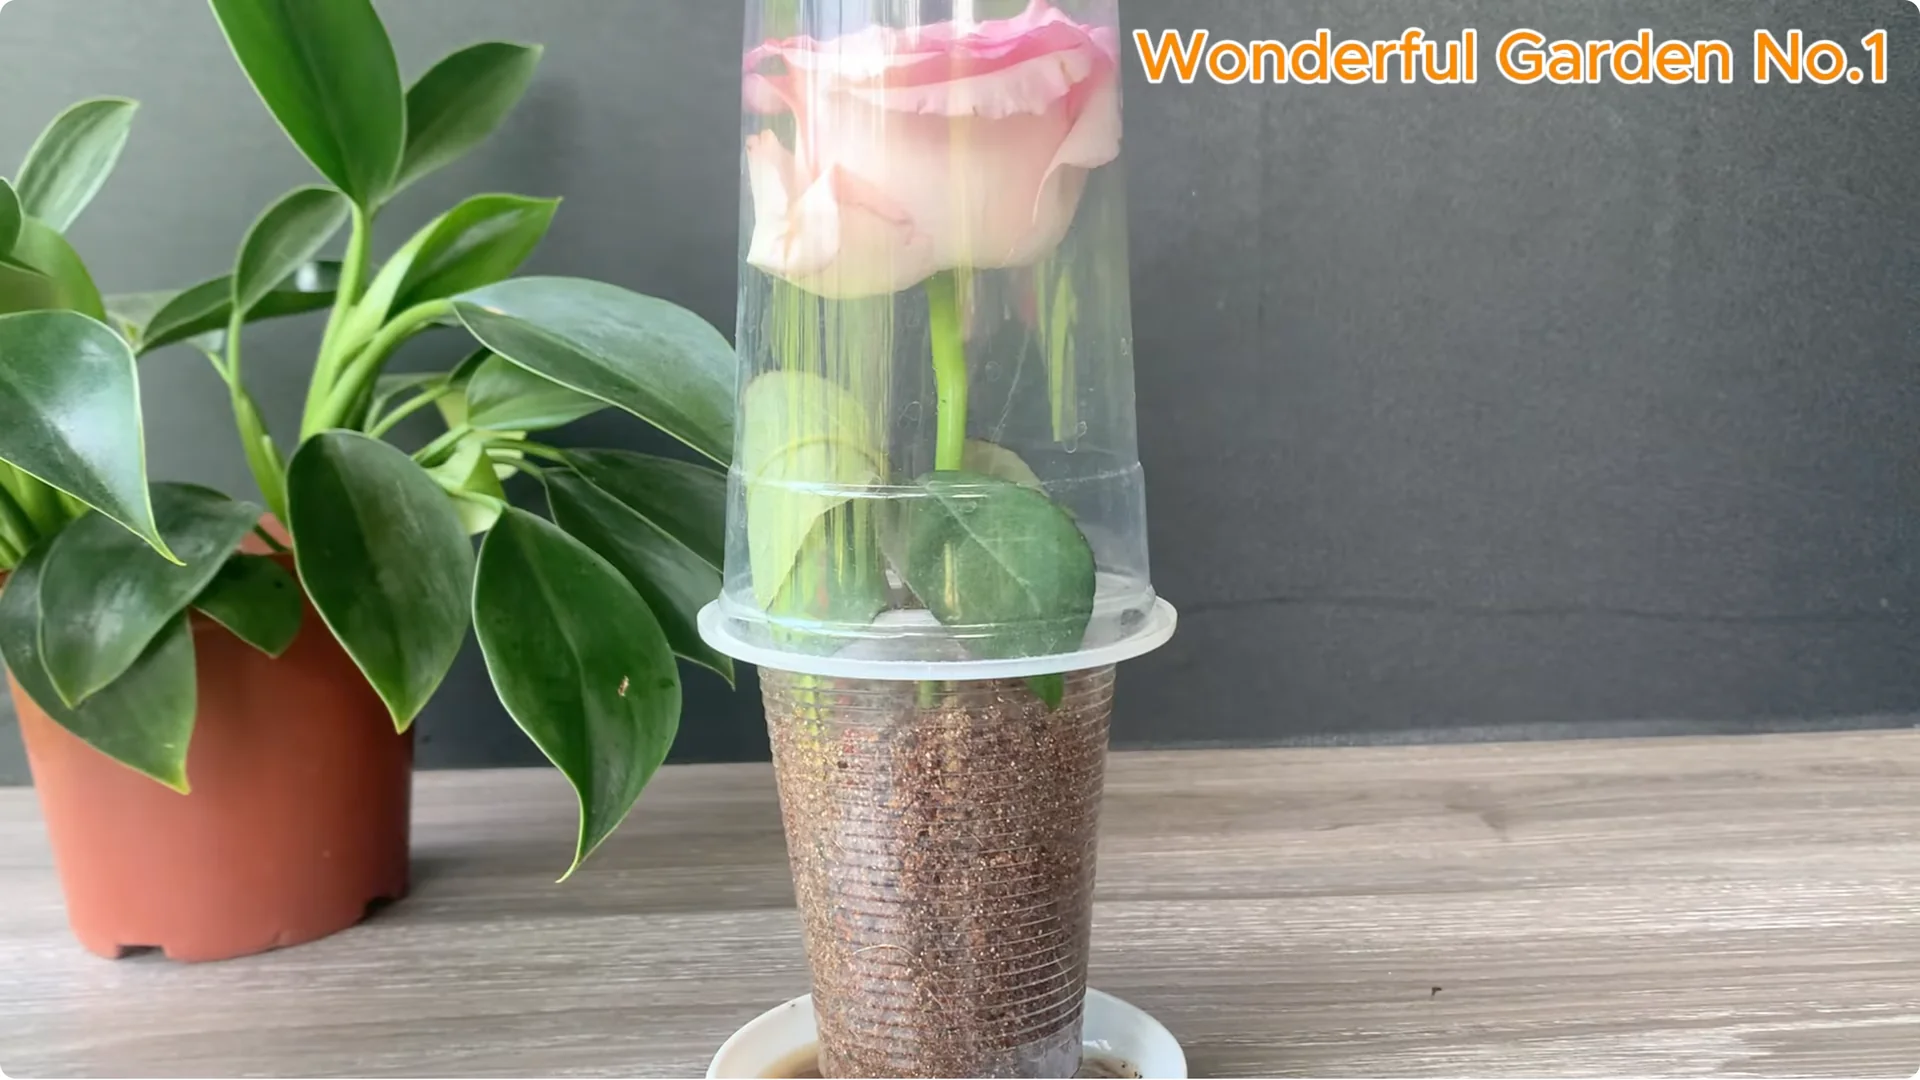
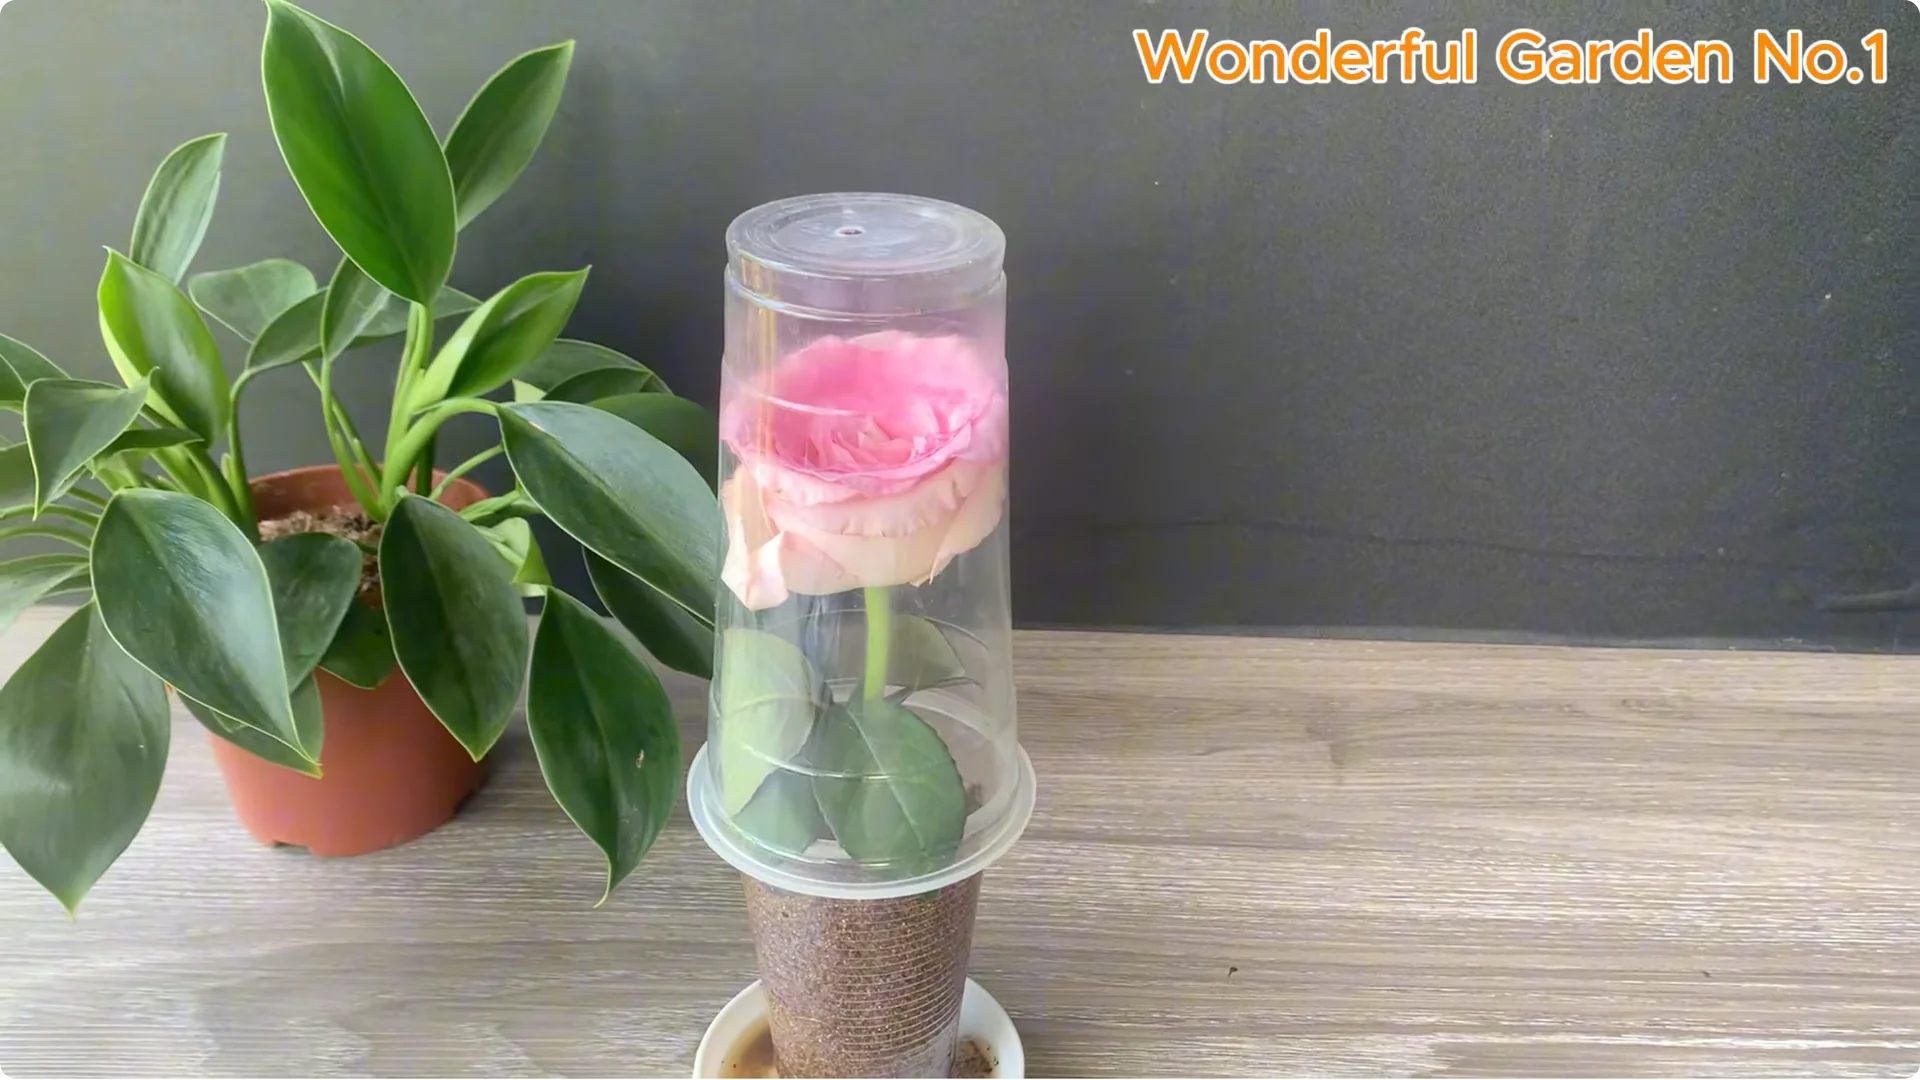
Use a large cup upside down over the cuttings to create a greenhouse effect. This closed environment helps maintain stable humidity, limits evaporation, and protects branches from external environmental impacts.
This stage requires a stable environment for root development. Keep moist enough. Place in a cool place with soft light.
Spray mist one to two times a day to maintain moisture for the leaves. Patiently await the first signs of new life.
After 10 to 15 days of planting, if humidity and light conditions are maintained consistently, you should begin to see the first signs of life. At the leaf nodes or leaf axils, some branches will start to develop new shoots.
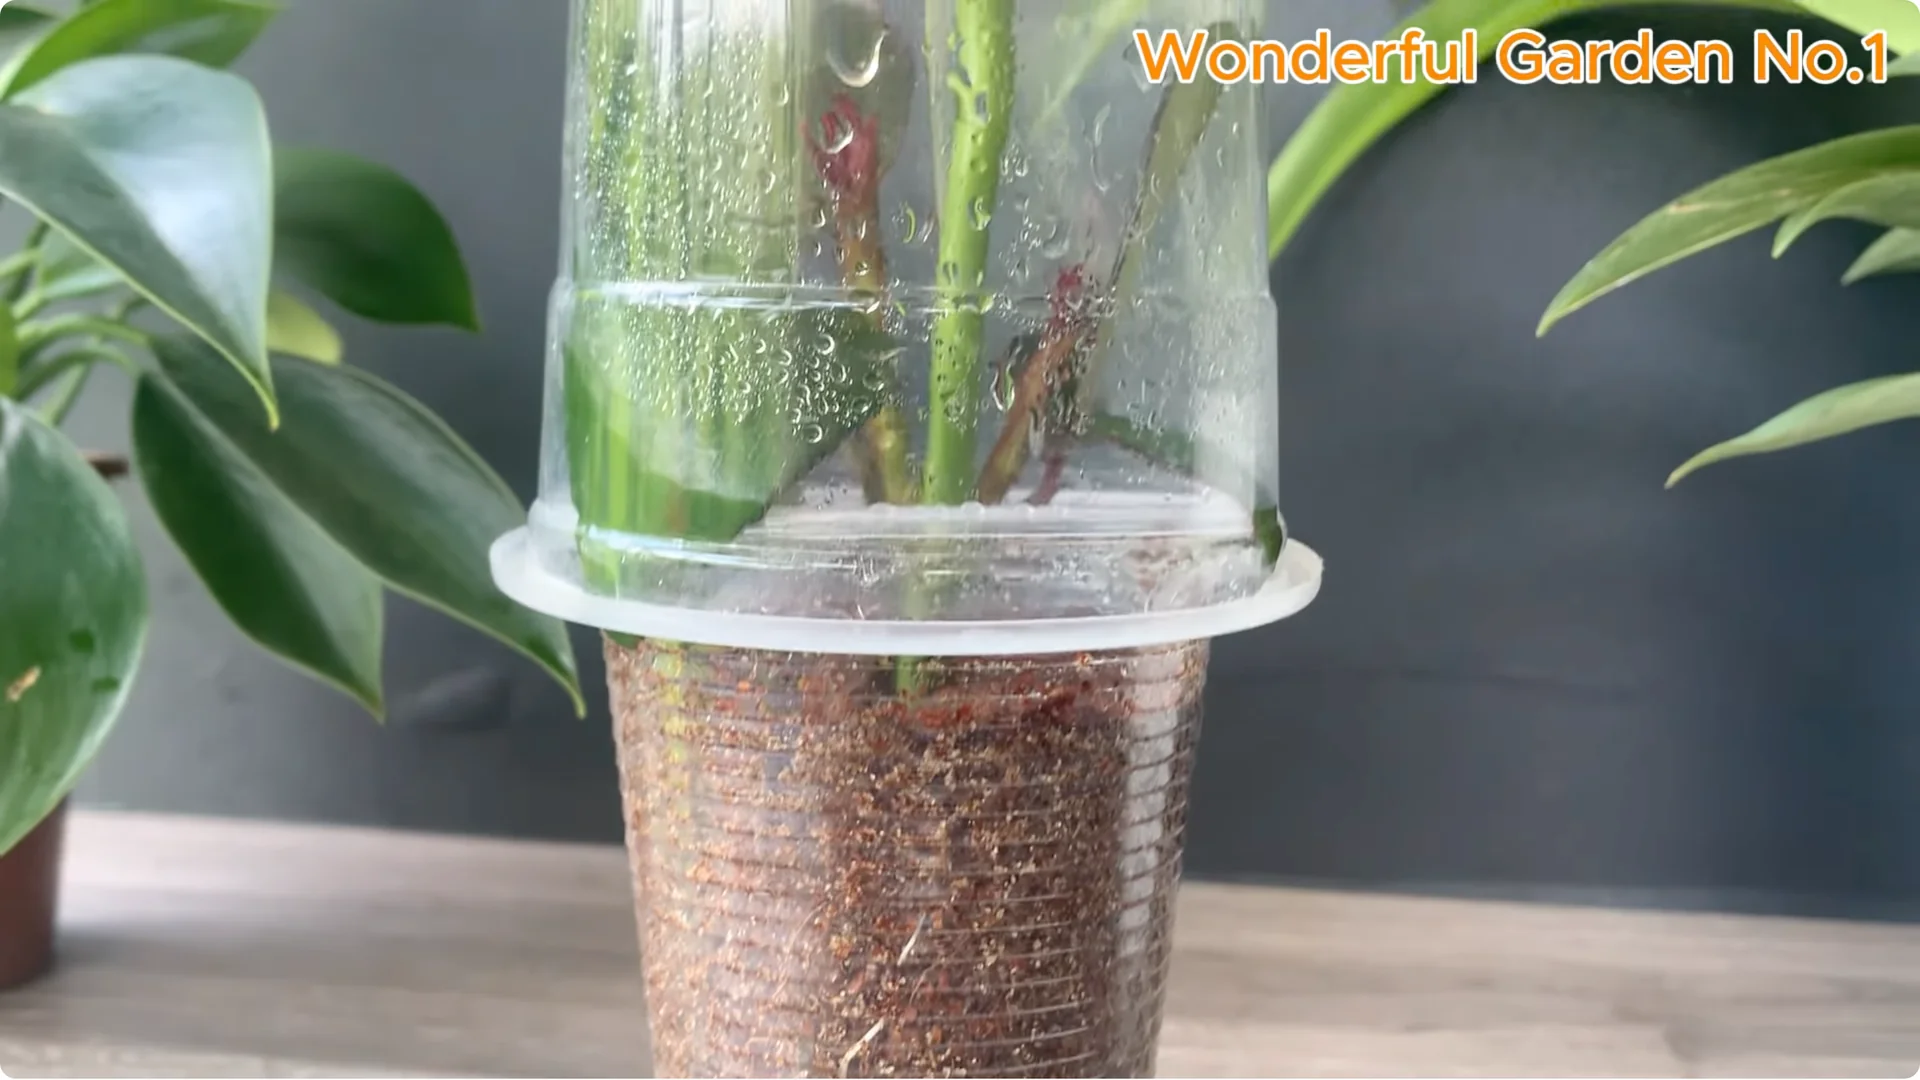
Green buds appear, signaling that the metabolism has been reactivated. These buds will gradually develop into new leaves or branches in the following stages. For a closer look at this transition, see how roots become stems and blooms.
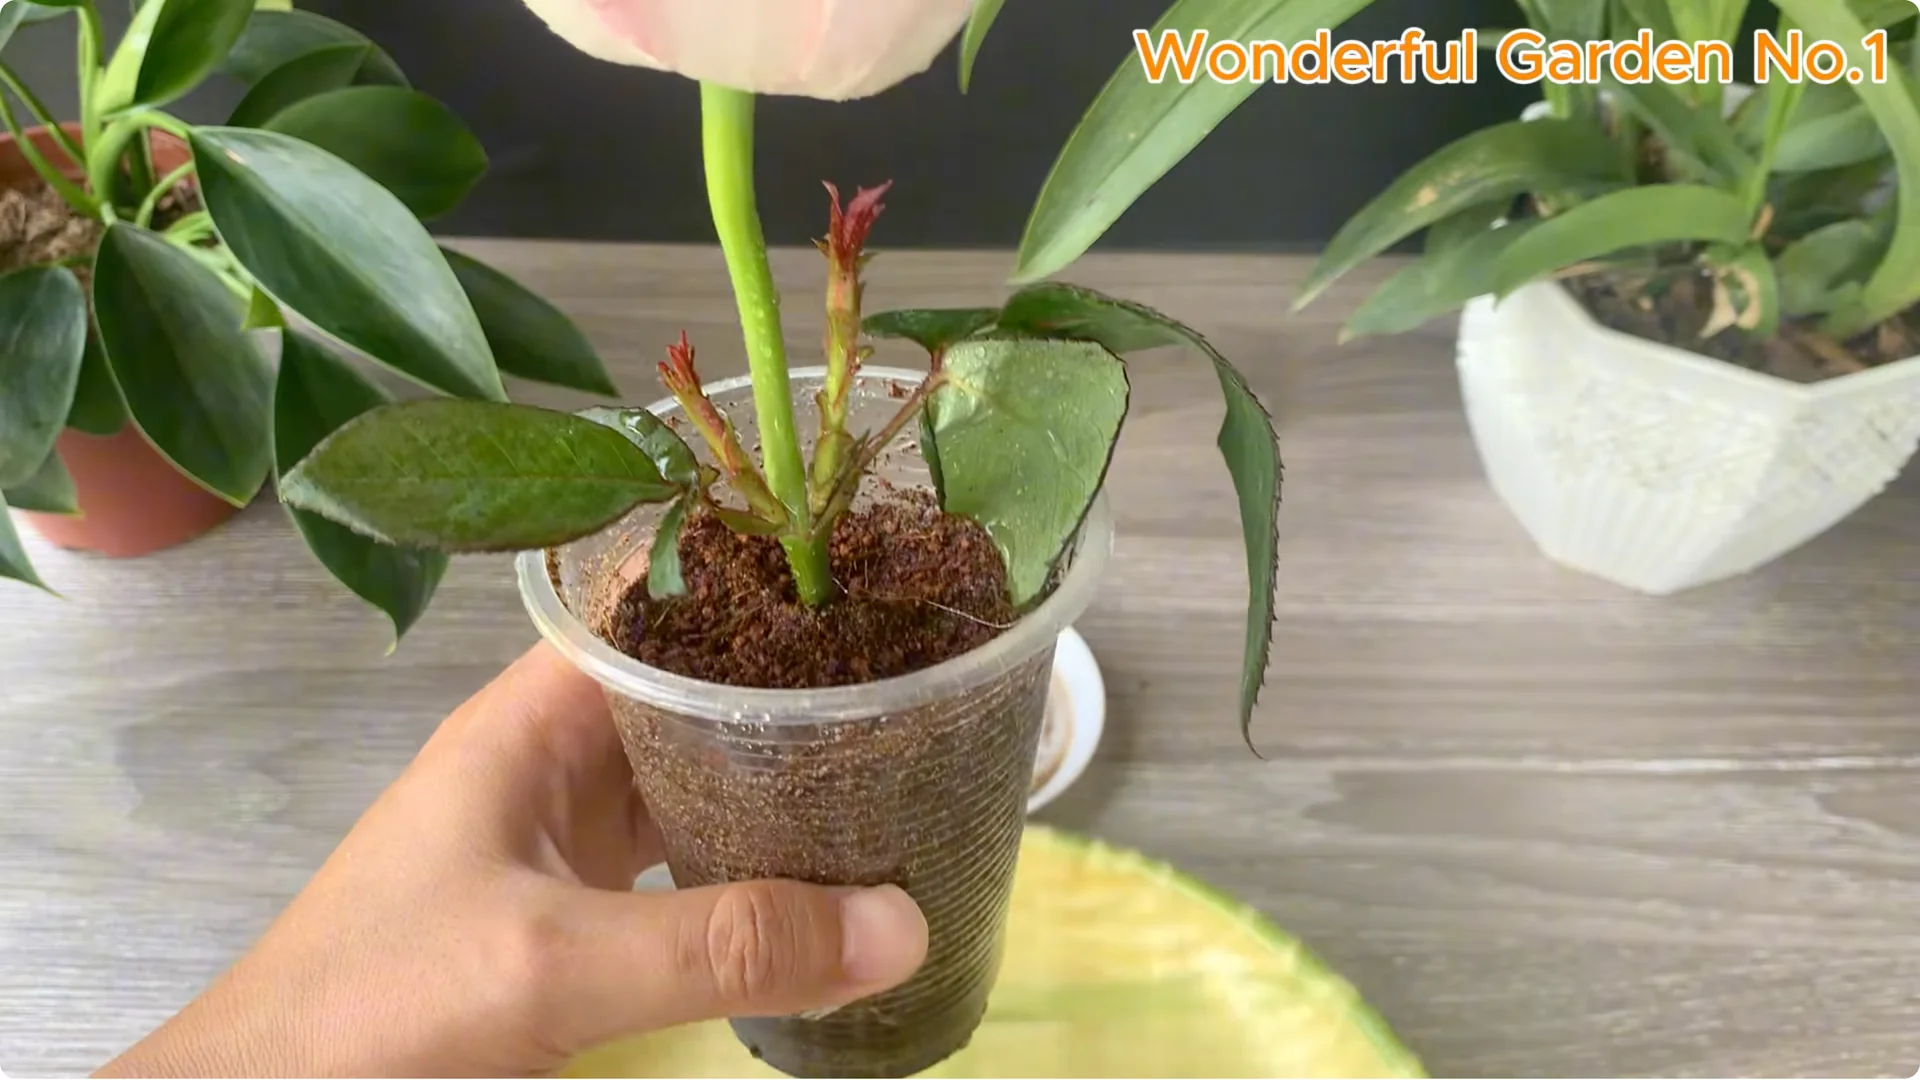
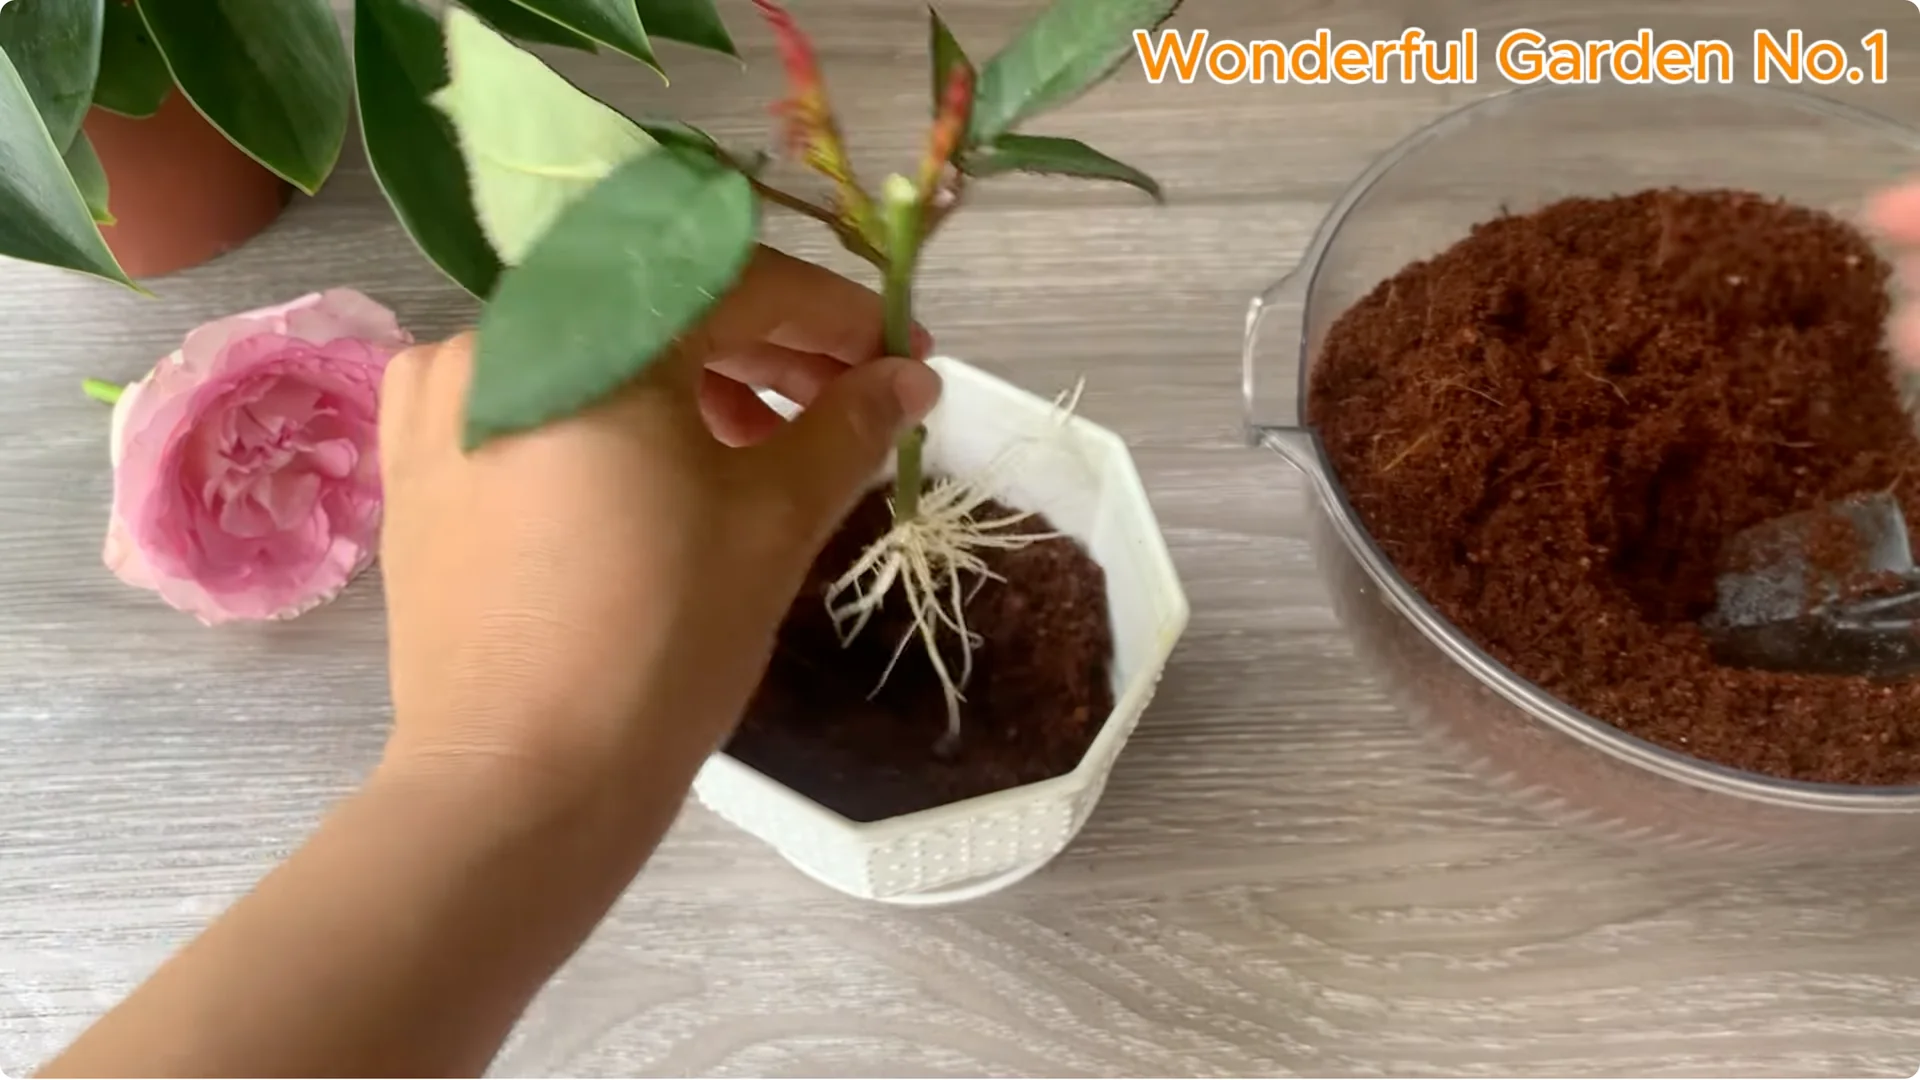
At the base of the cutting, small white roots will begin to grow, threadlike but very strong. These are the primary roots which play an important role in the initial absorption of water and minerals. They also mark that the cutting has begun to adapt and nourish itself.
And so from a seemingly withered flower, we awaken life using only natural ingredients and a little loving patience.
4. Natural Rose Propagation – Transplanting
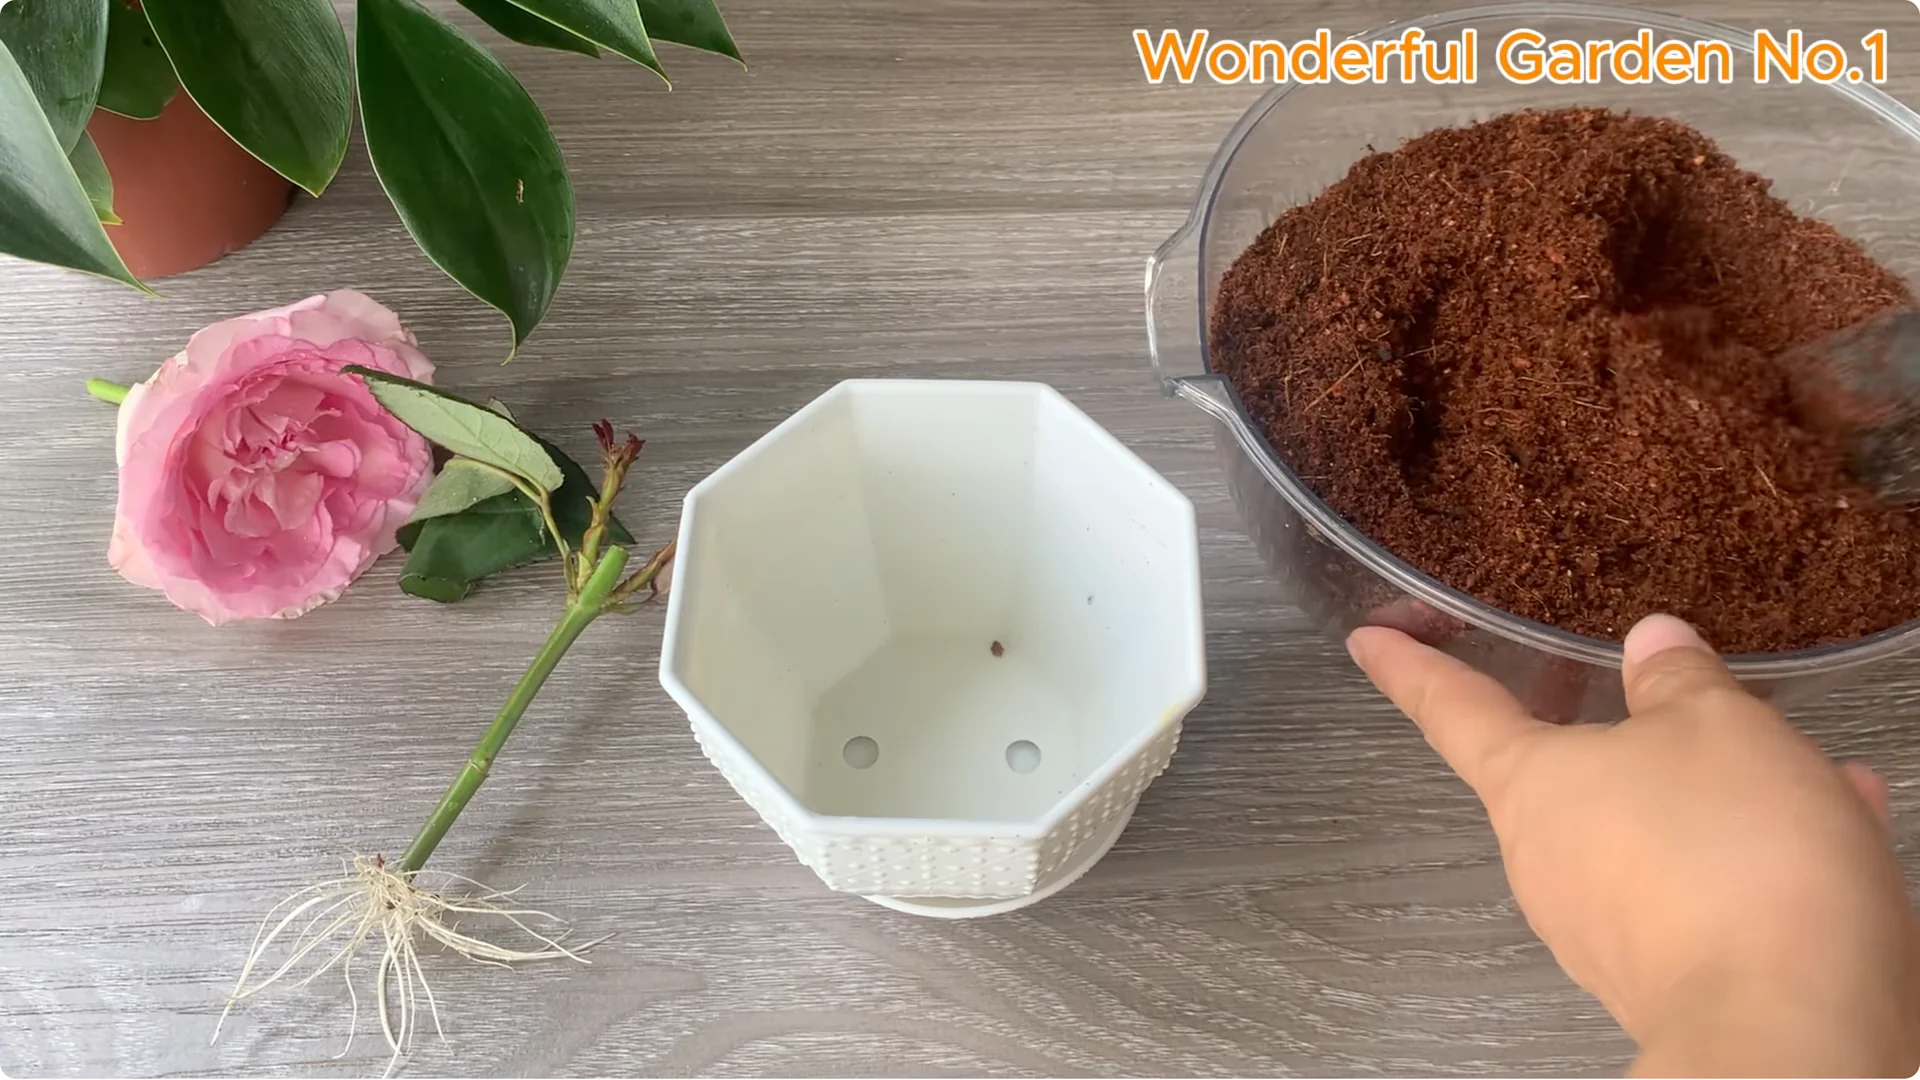
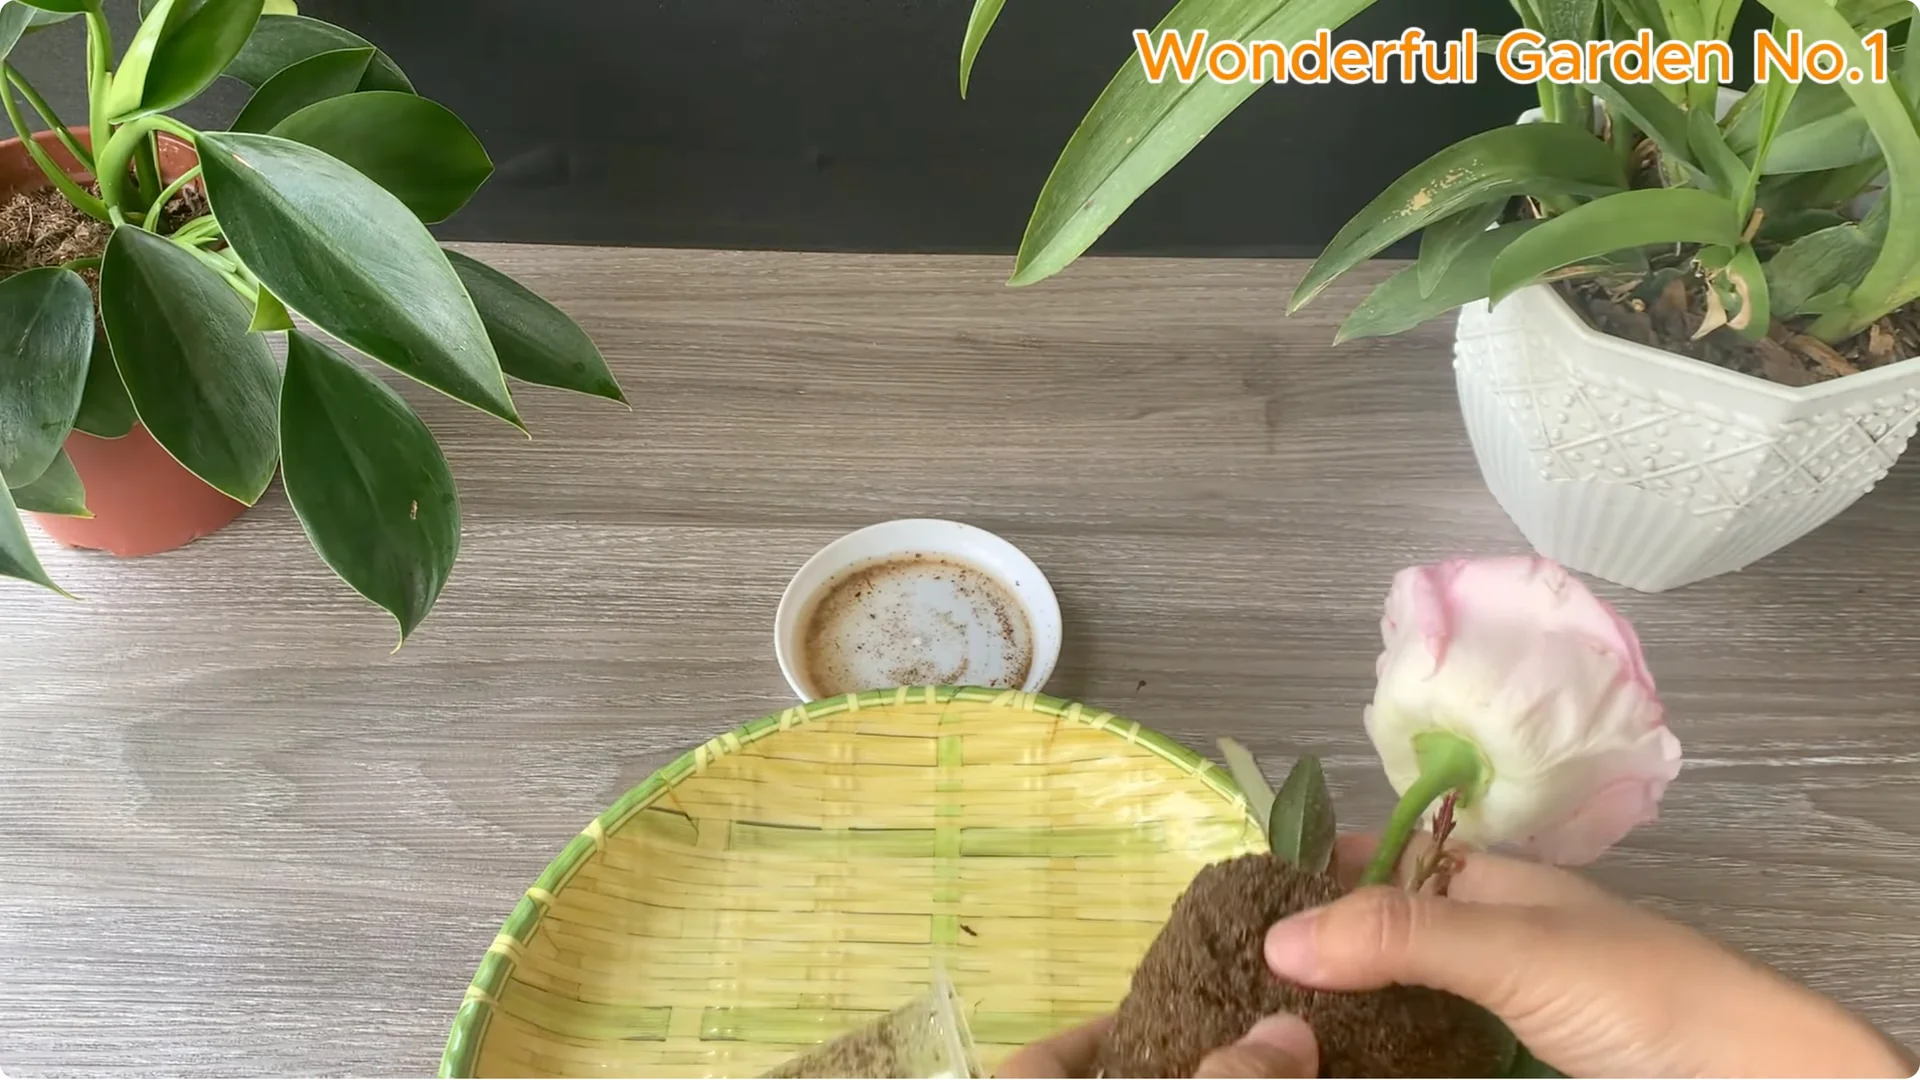
Once the roots have grown long enough, do not plant them in the ground just yet. Transfer them to a small pot with rich soil to help them gradually adjust to their new environment before planting them in the garden.
This is an important step to ensure that your plants grow strong and healthy in the future.
Final Thoughts on Natural Rose Propagation
Simple kitchen ingredients can support clean, effective rose propagation. Keep humidity stable, give soft light, and move gradually from cutting to pot to garden. With patience and gentle care, new roots, shoots, and blooms will follow.