
In my garden, nature whispers and we listen. Today I will share how to propagate roses by cuttings using completely natural materials – simple, effective, no chemicals.
Here is the step-by-step method I use from preparation to potting.
1. Rose Propagation by Cuttings: Choose and Prepare the Stem
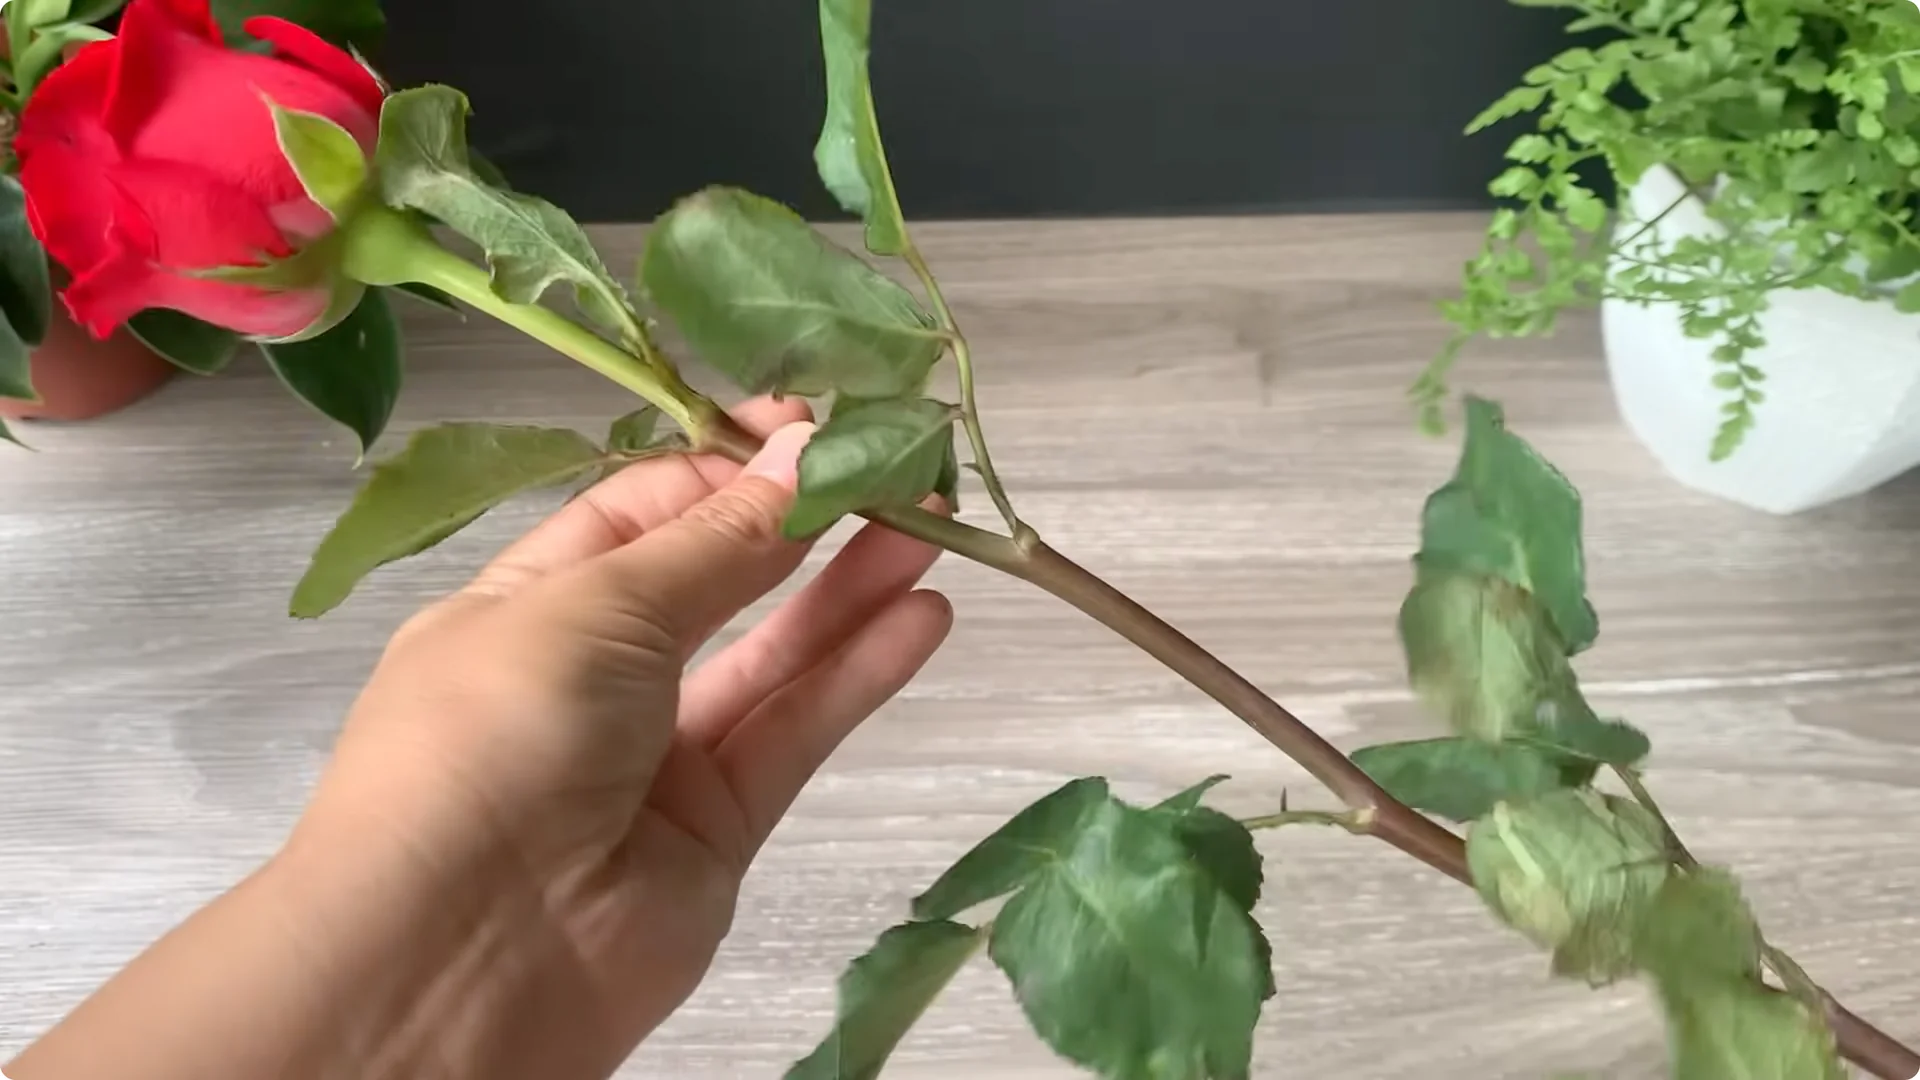
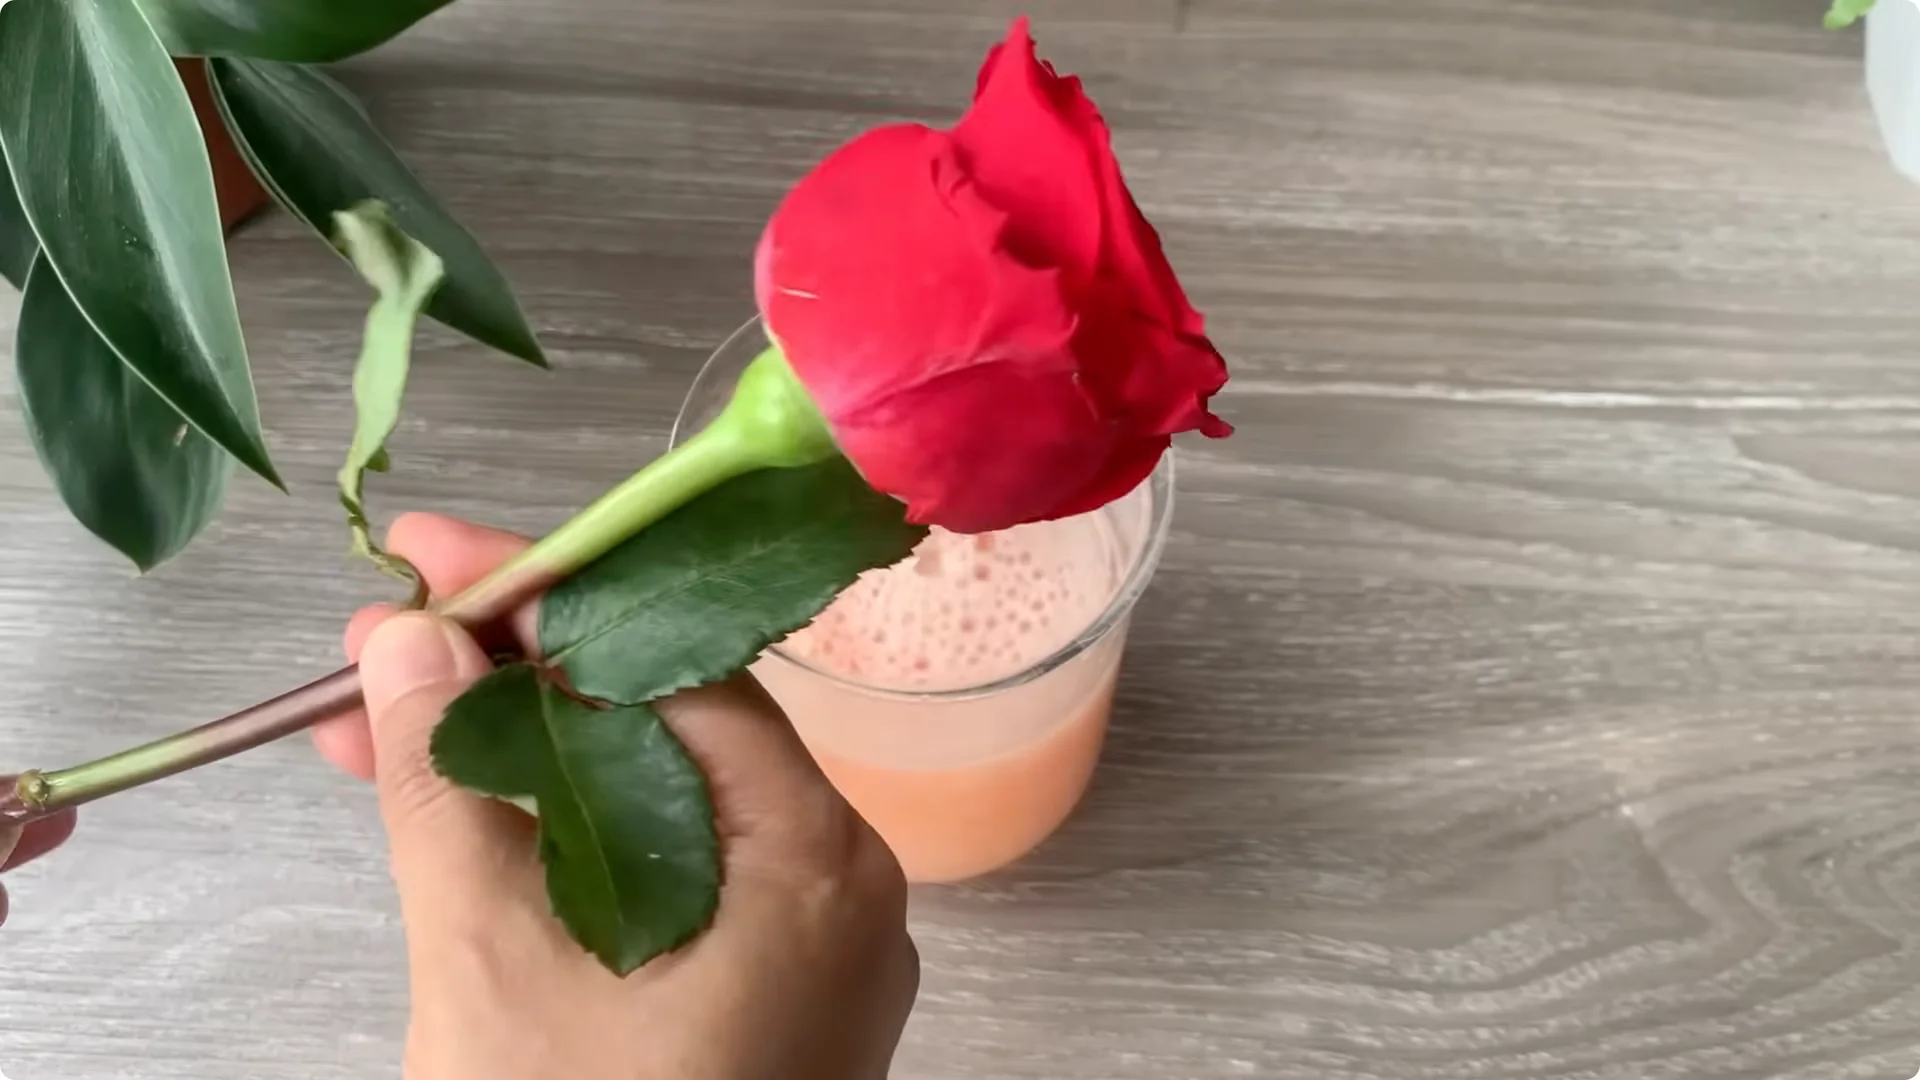
First choose a very healthy rose stem, not too old, not too young. The ideal length is about 15 to 20 cm.
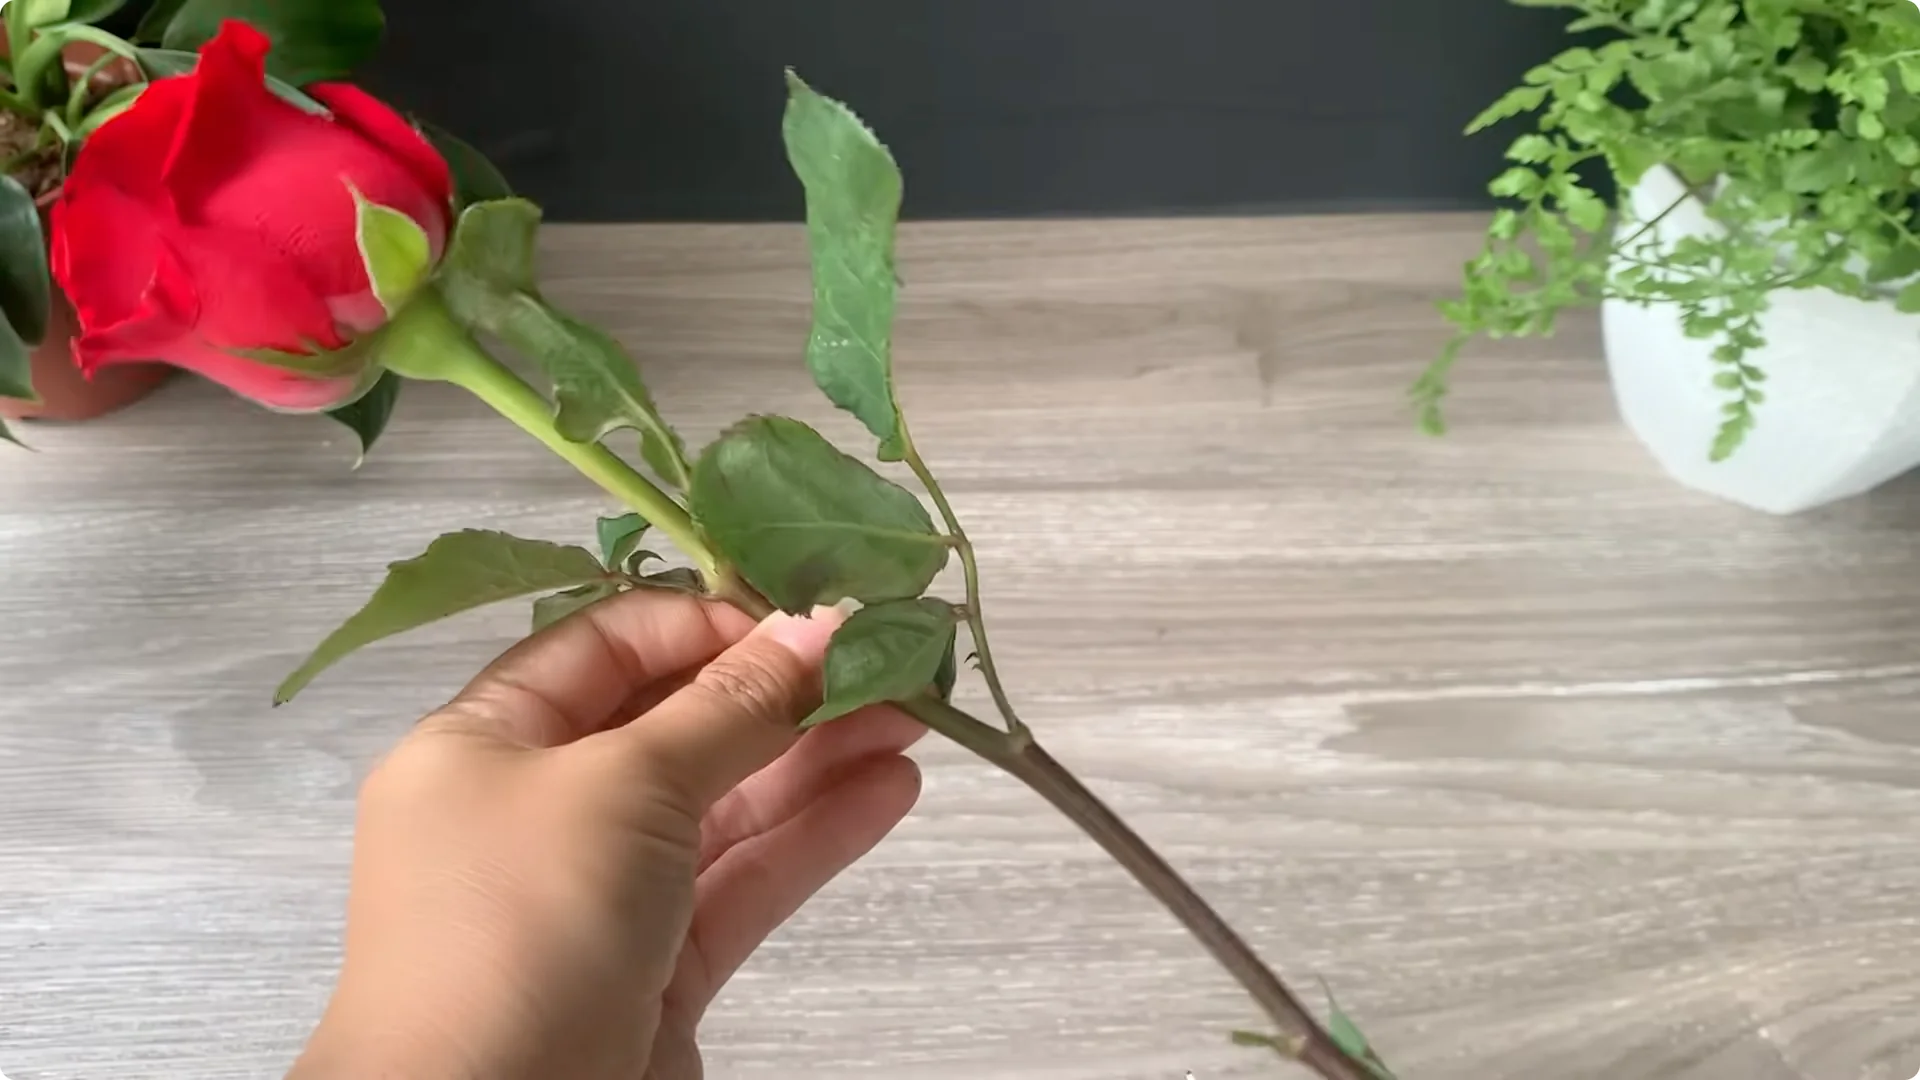
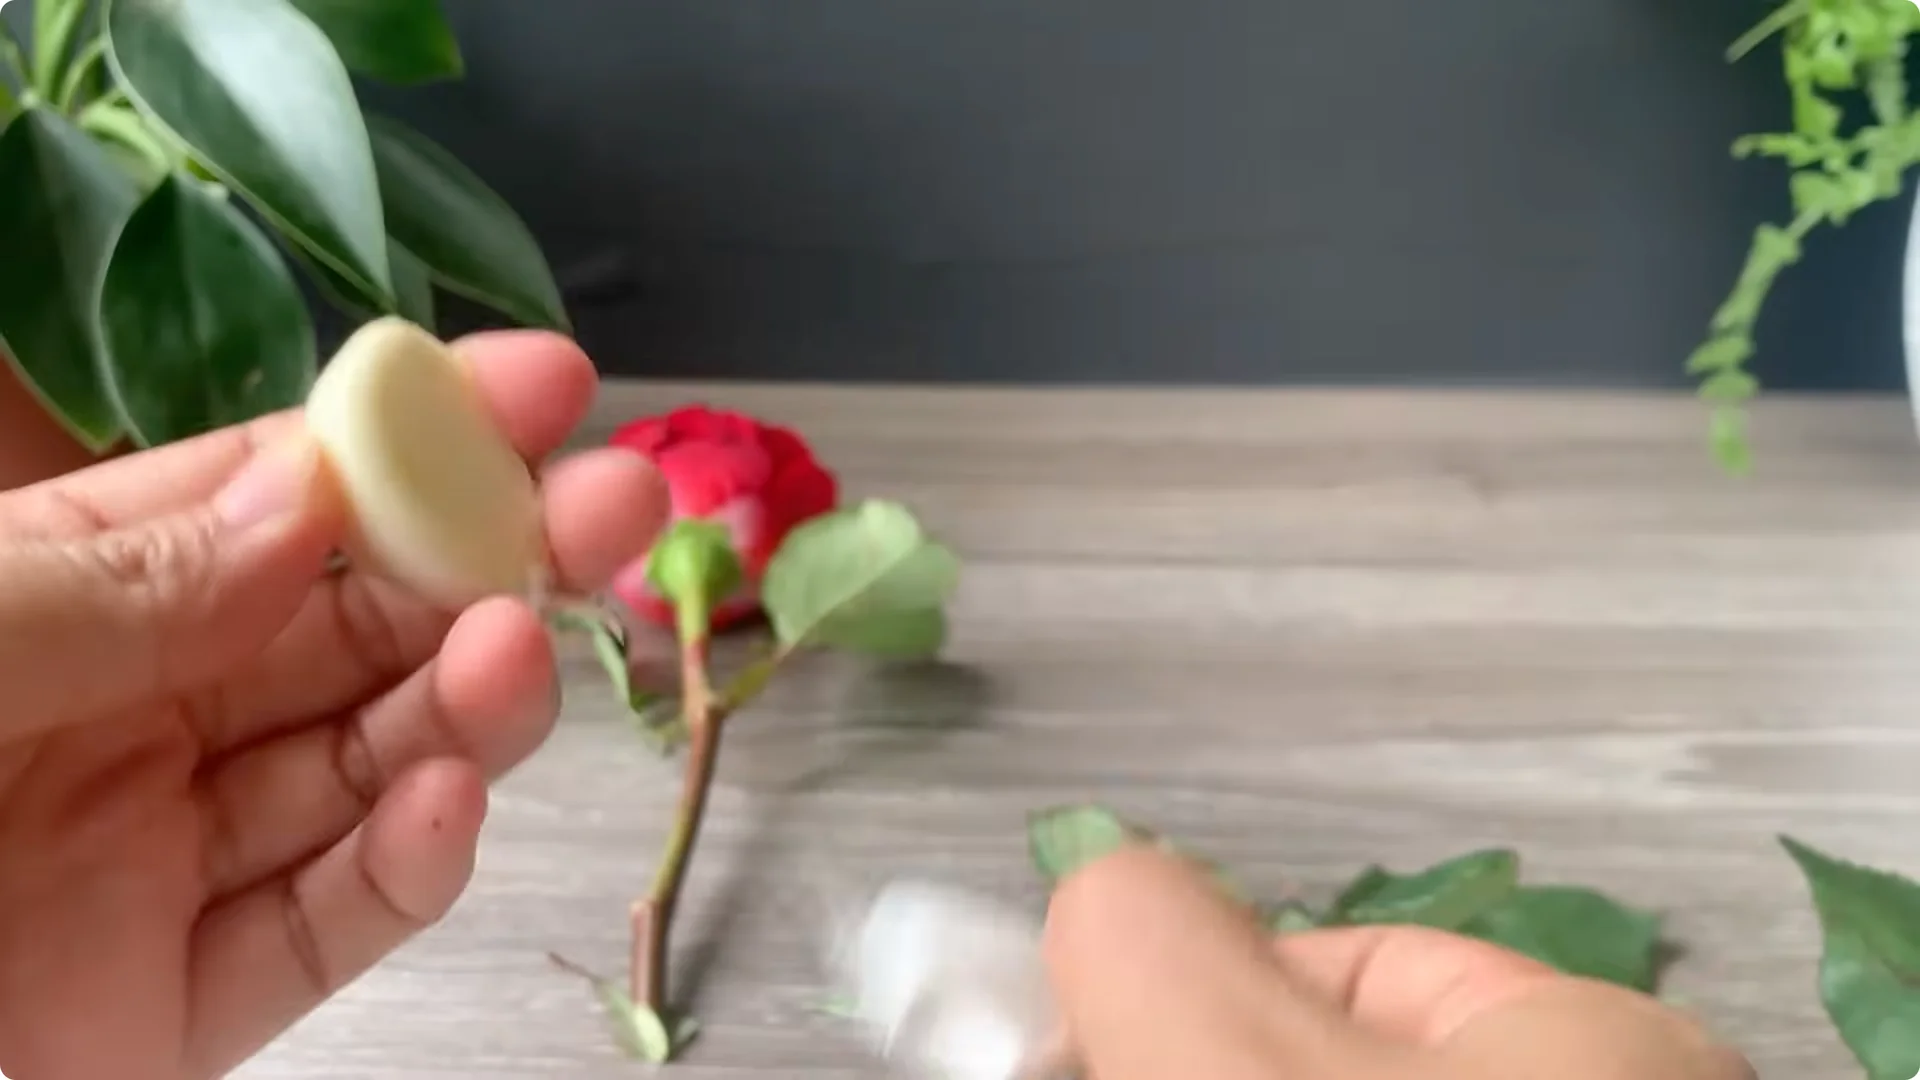
Cut off all the lower leaves, keeping only one to two leaves on the top so that the branch can focus on nourishing the roots and not lose the ability to nourish the leaves. Use a sharp knife to cut the base at a 45 degree angle to increase the surface area exposed to moisture, creating favourable conditions for the young roots to grow quickly.

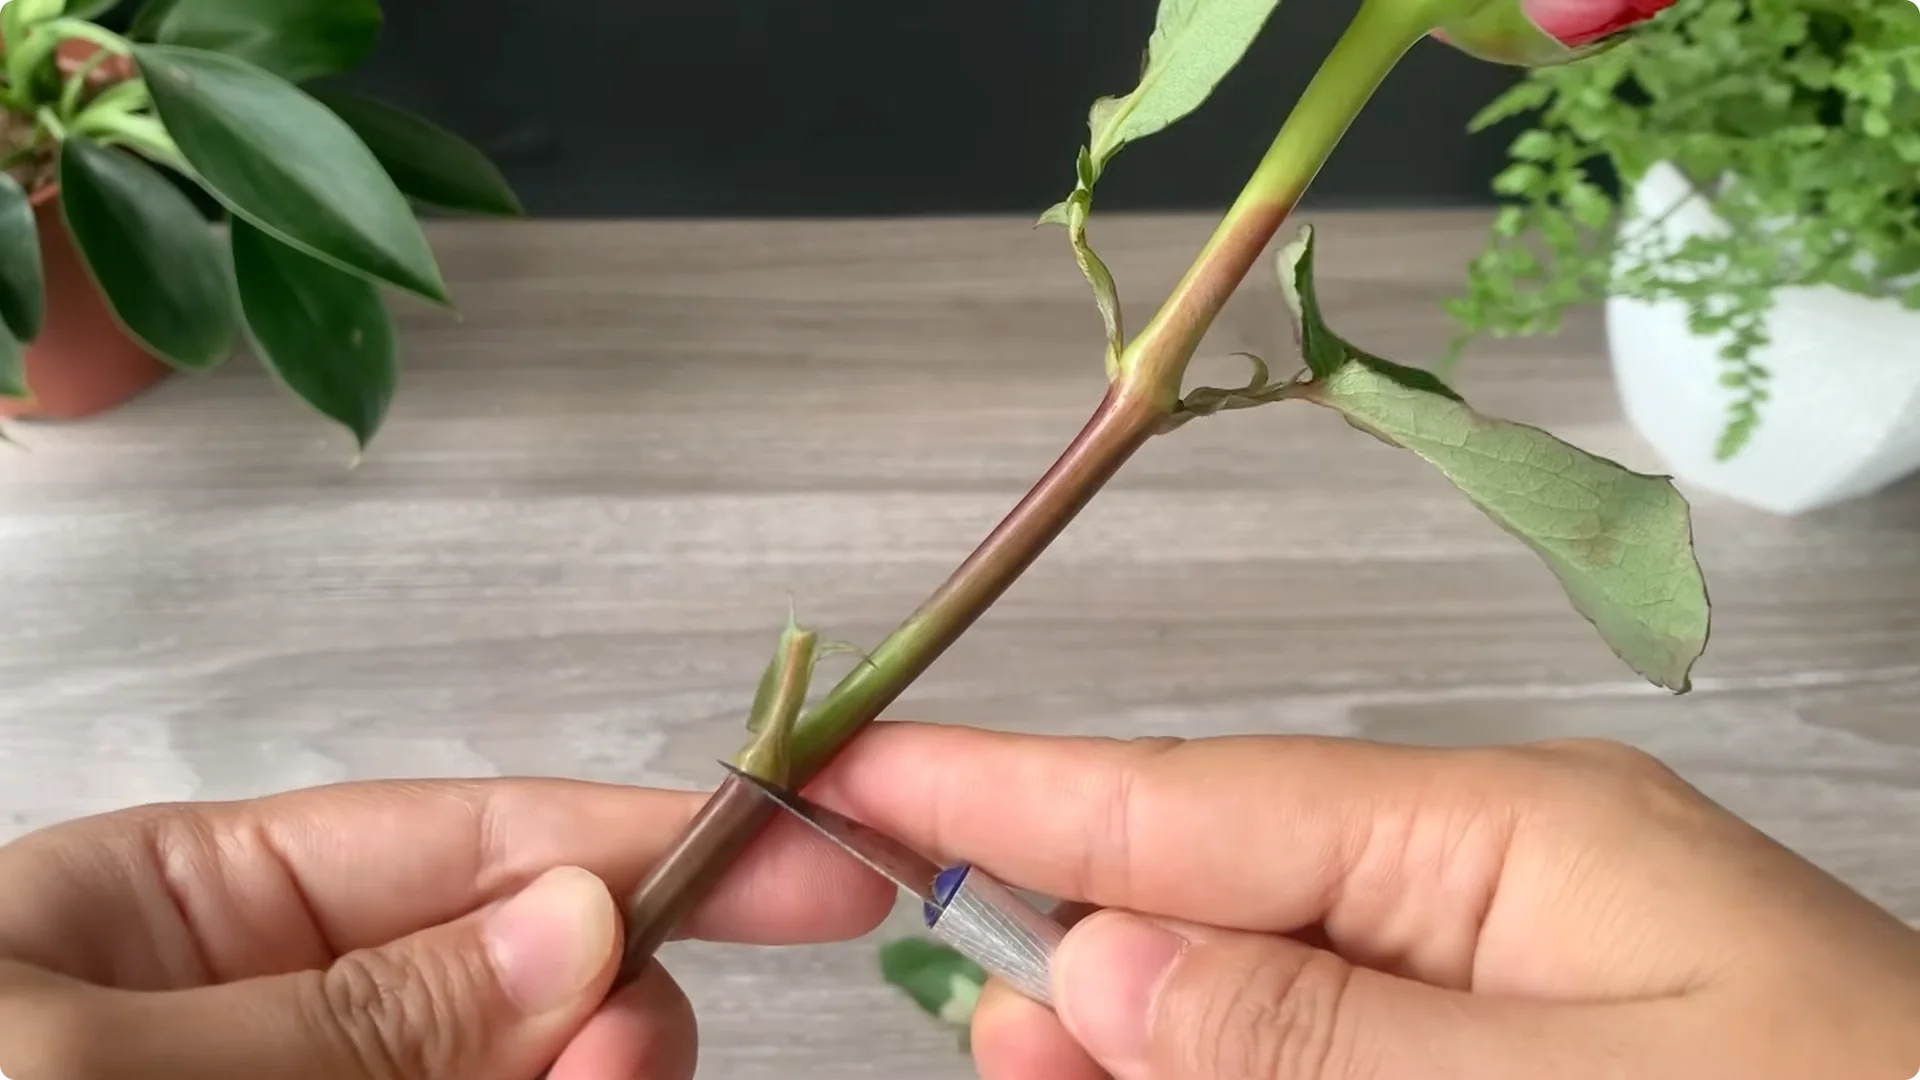
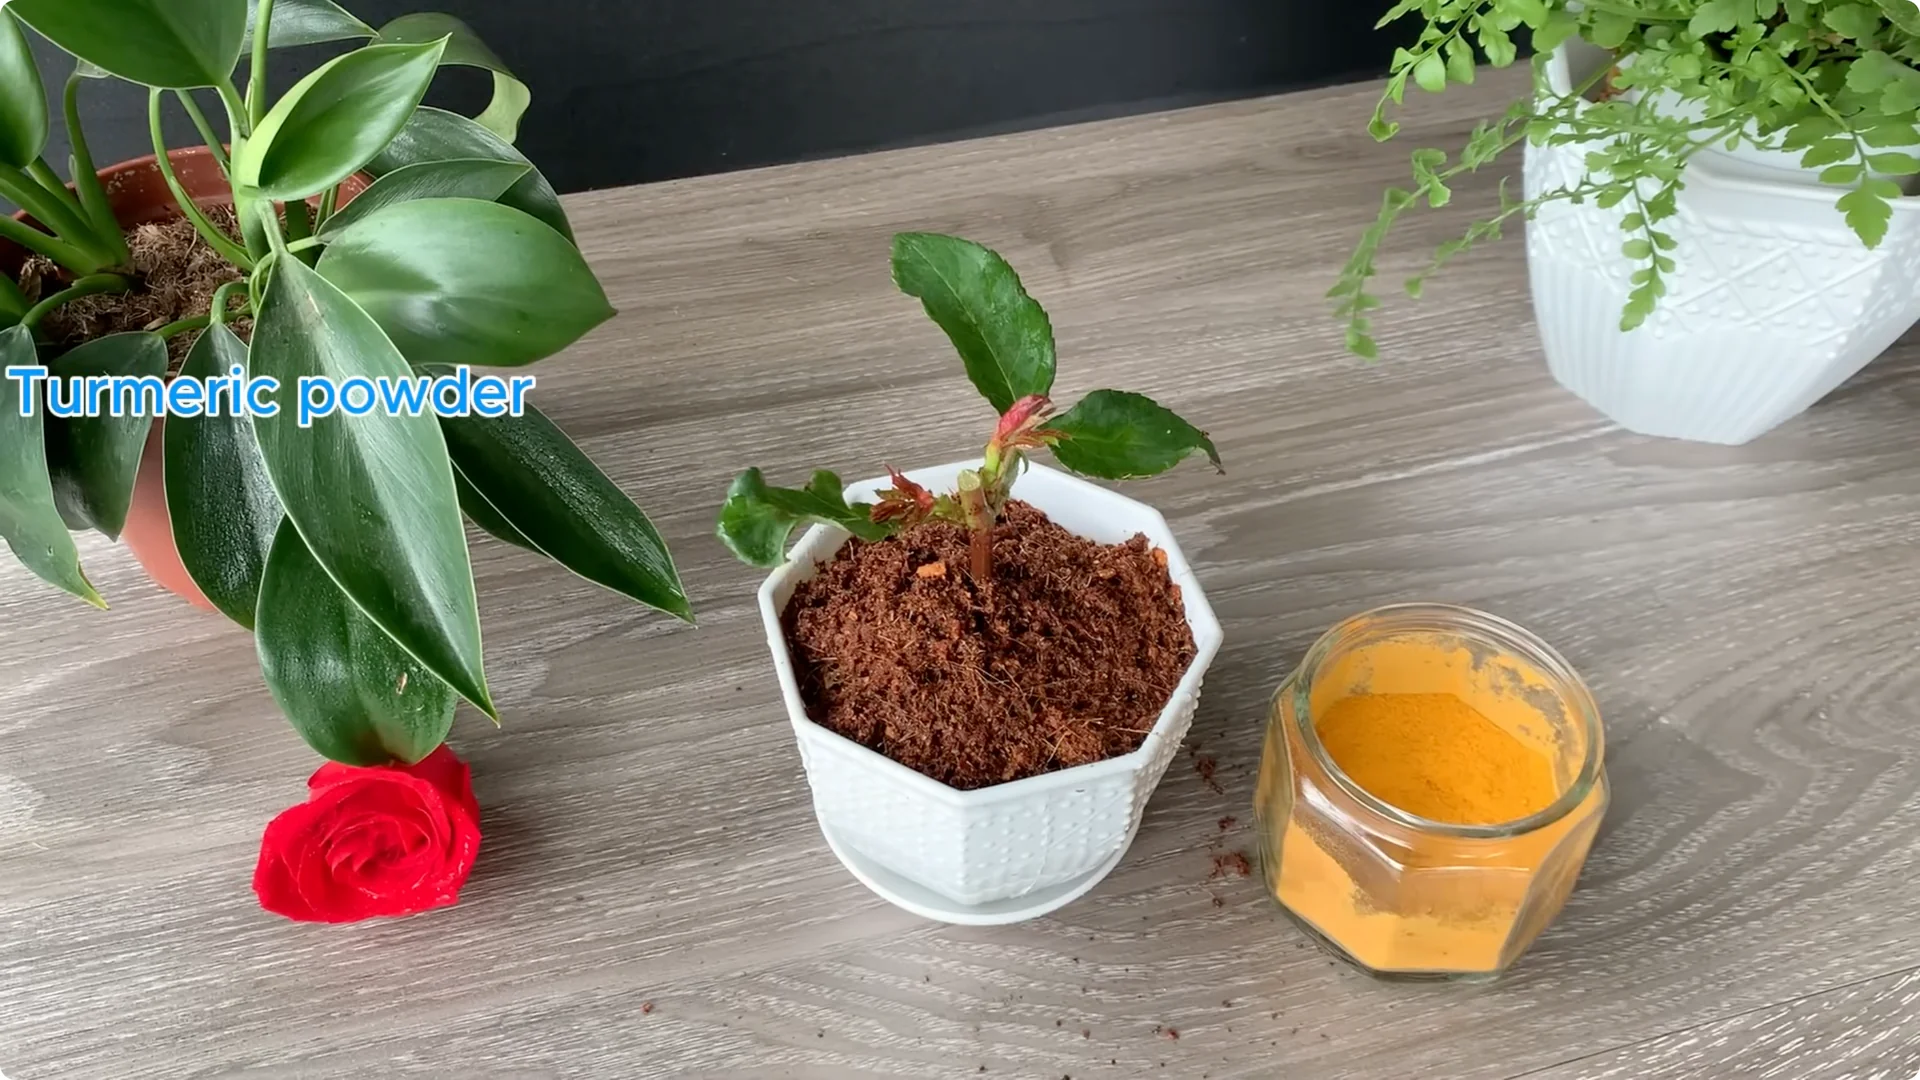
Use a garlic clove to gently rub the cut. Garlic will help disinfect naturally and gently stimulate the rooting process. You can also sprinkle a little turmeric powder on the cut – turmeric is a natural antiseptic and wound healer.
To push root numbers even further, explore these overnight rose rooting tricks.
2. Rose Propagation by Cuttings: Natural Rooting Solution

Ingredients and benefits
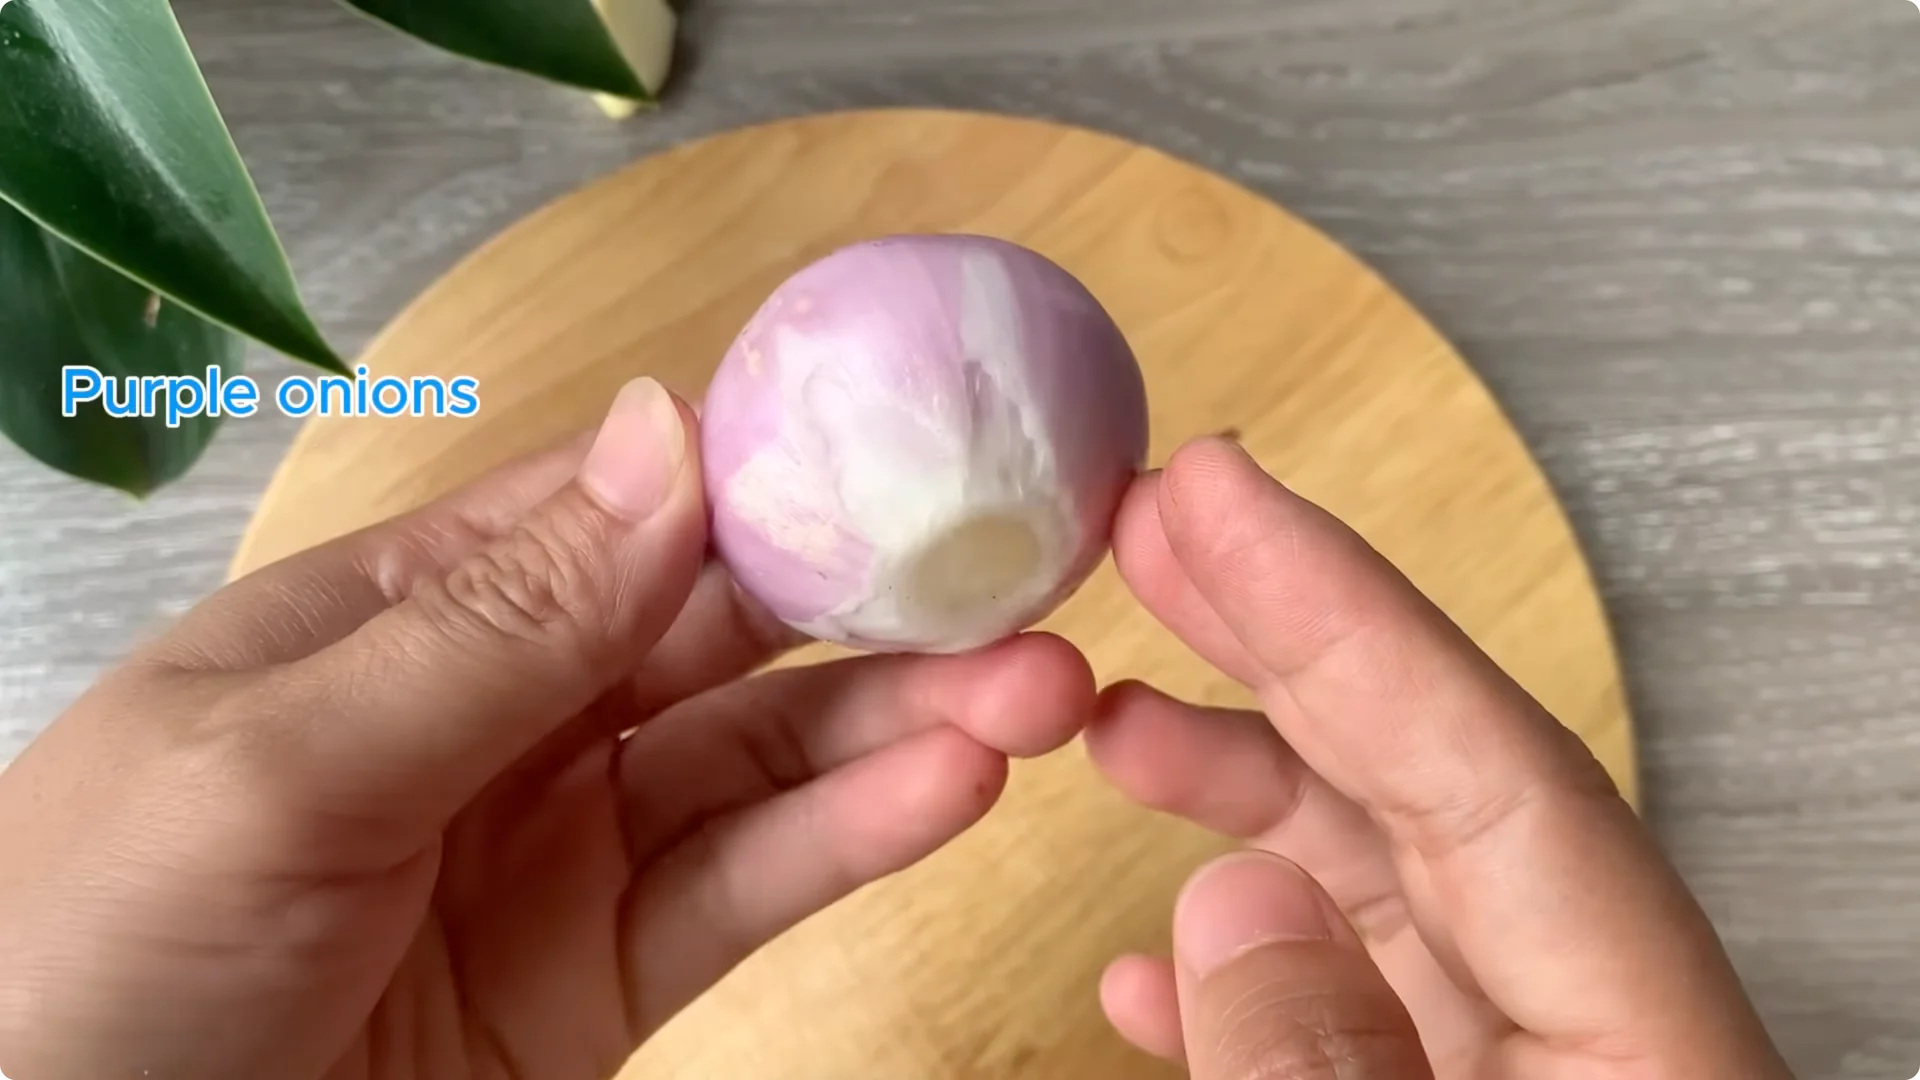
Take one purple onion, peel it, and chop it. Purple onions are rich in natural antibacterials and sulfur compounds which help prevent stem rot while stimulating root growth.
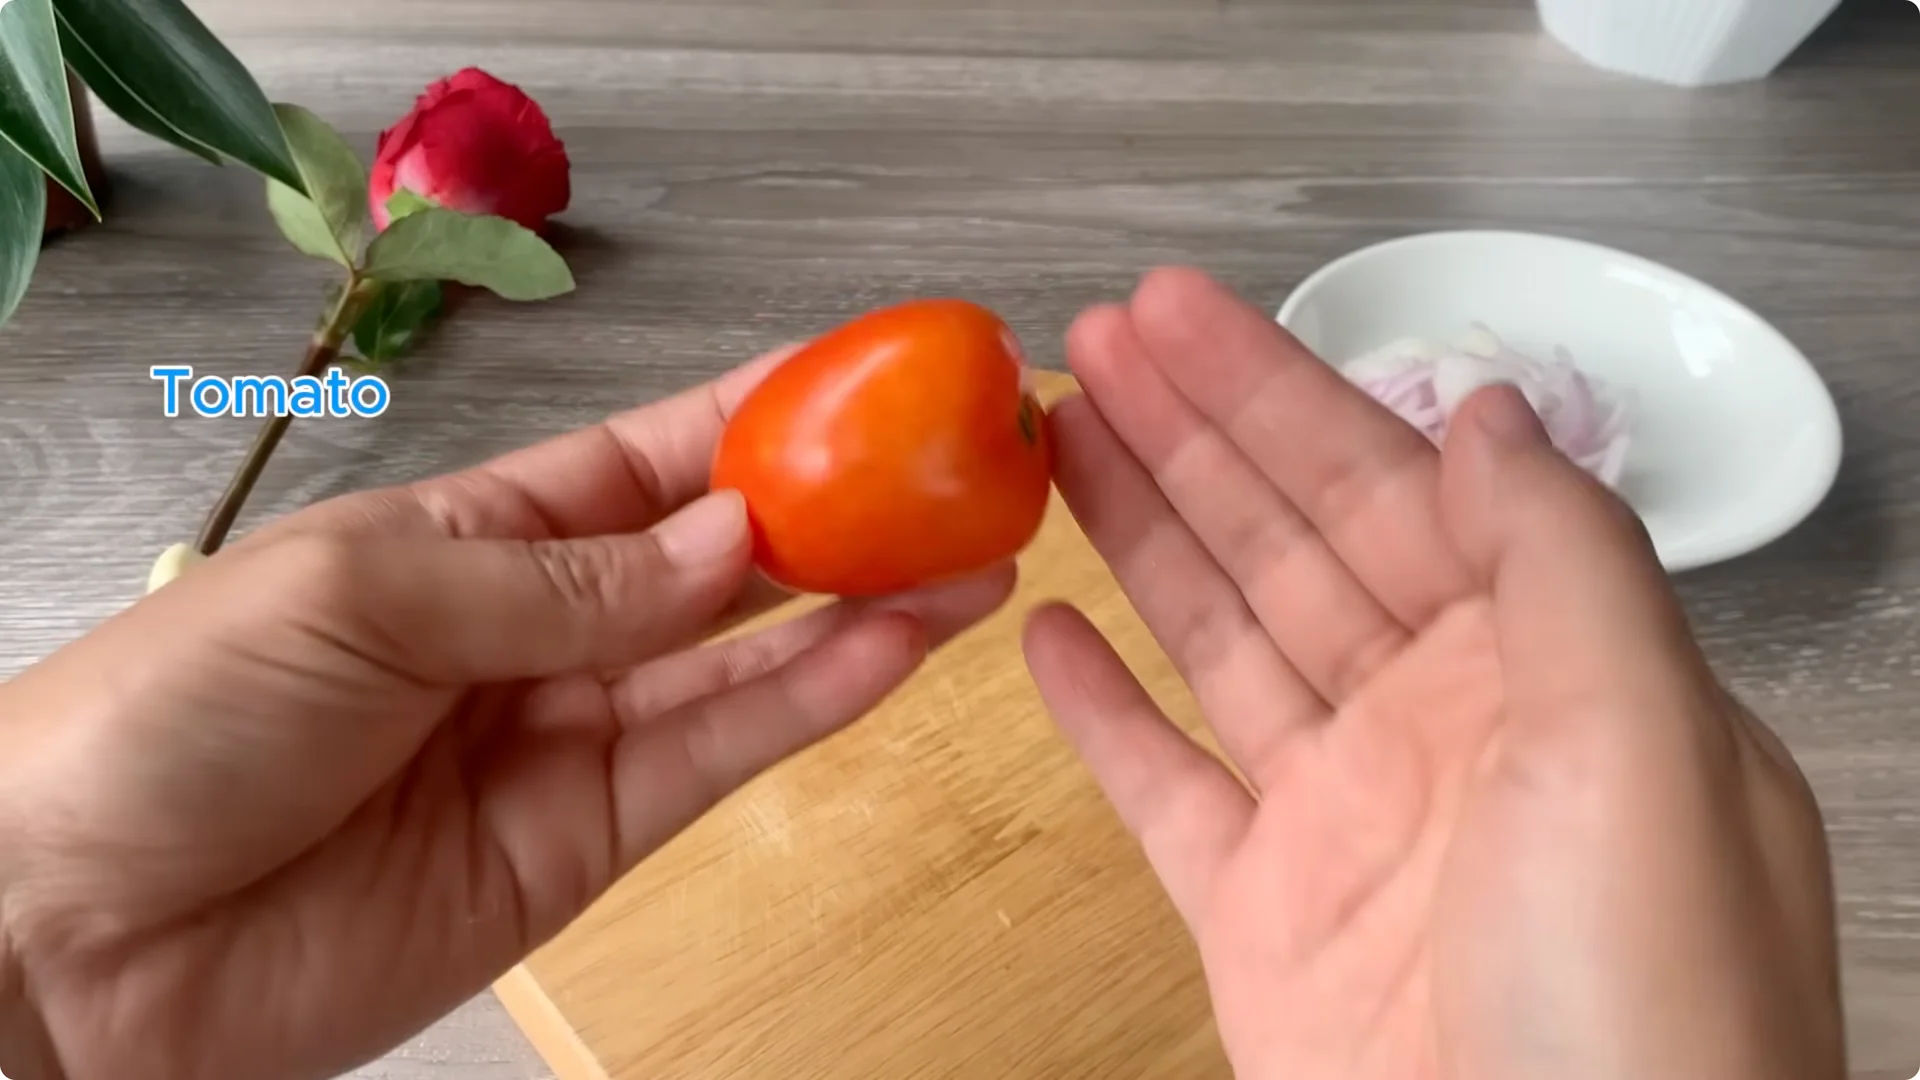
Next take a ripe tomato, remove all the seeds, and take only the outer flesh. Tomatoes are rich in vitamins and mild organic acids which help stimulate cell growth at the base of cuttings.
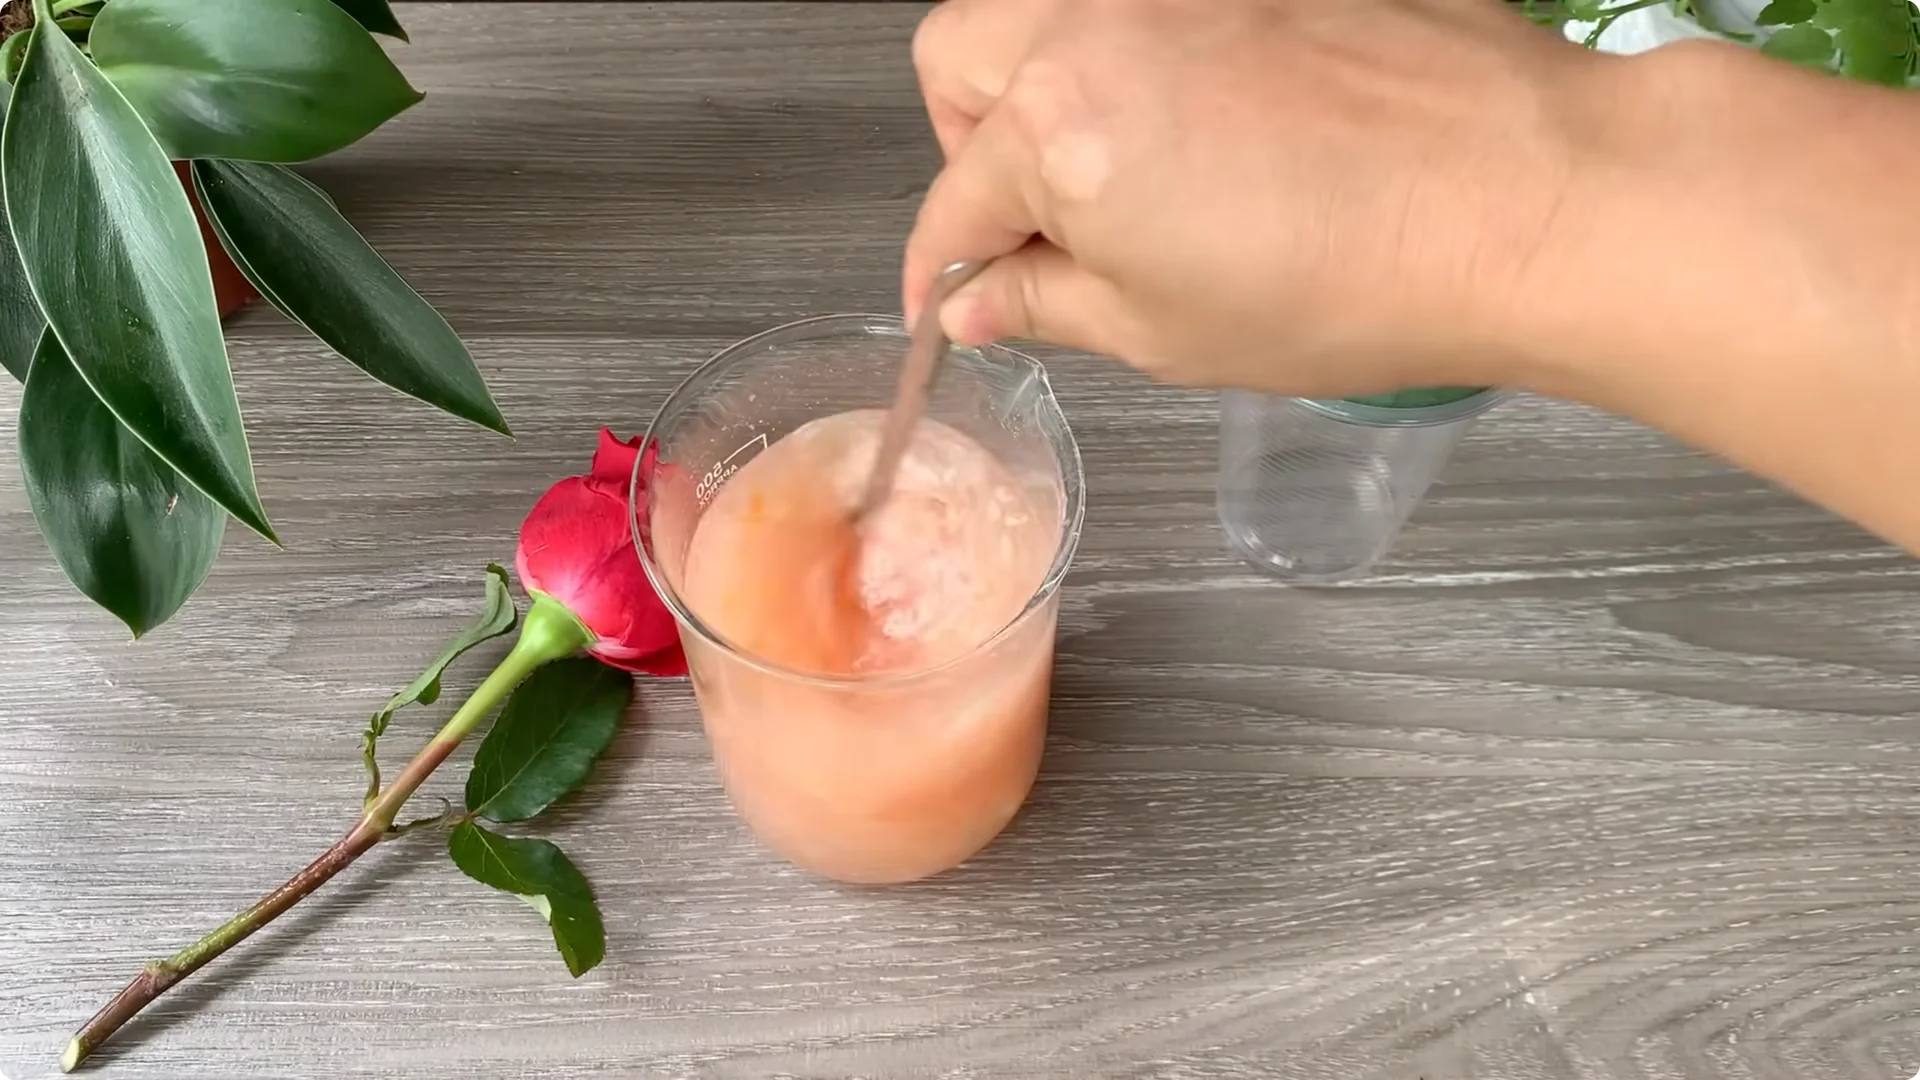
Blend and dilute
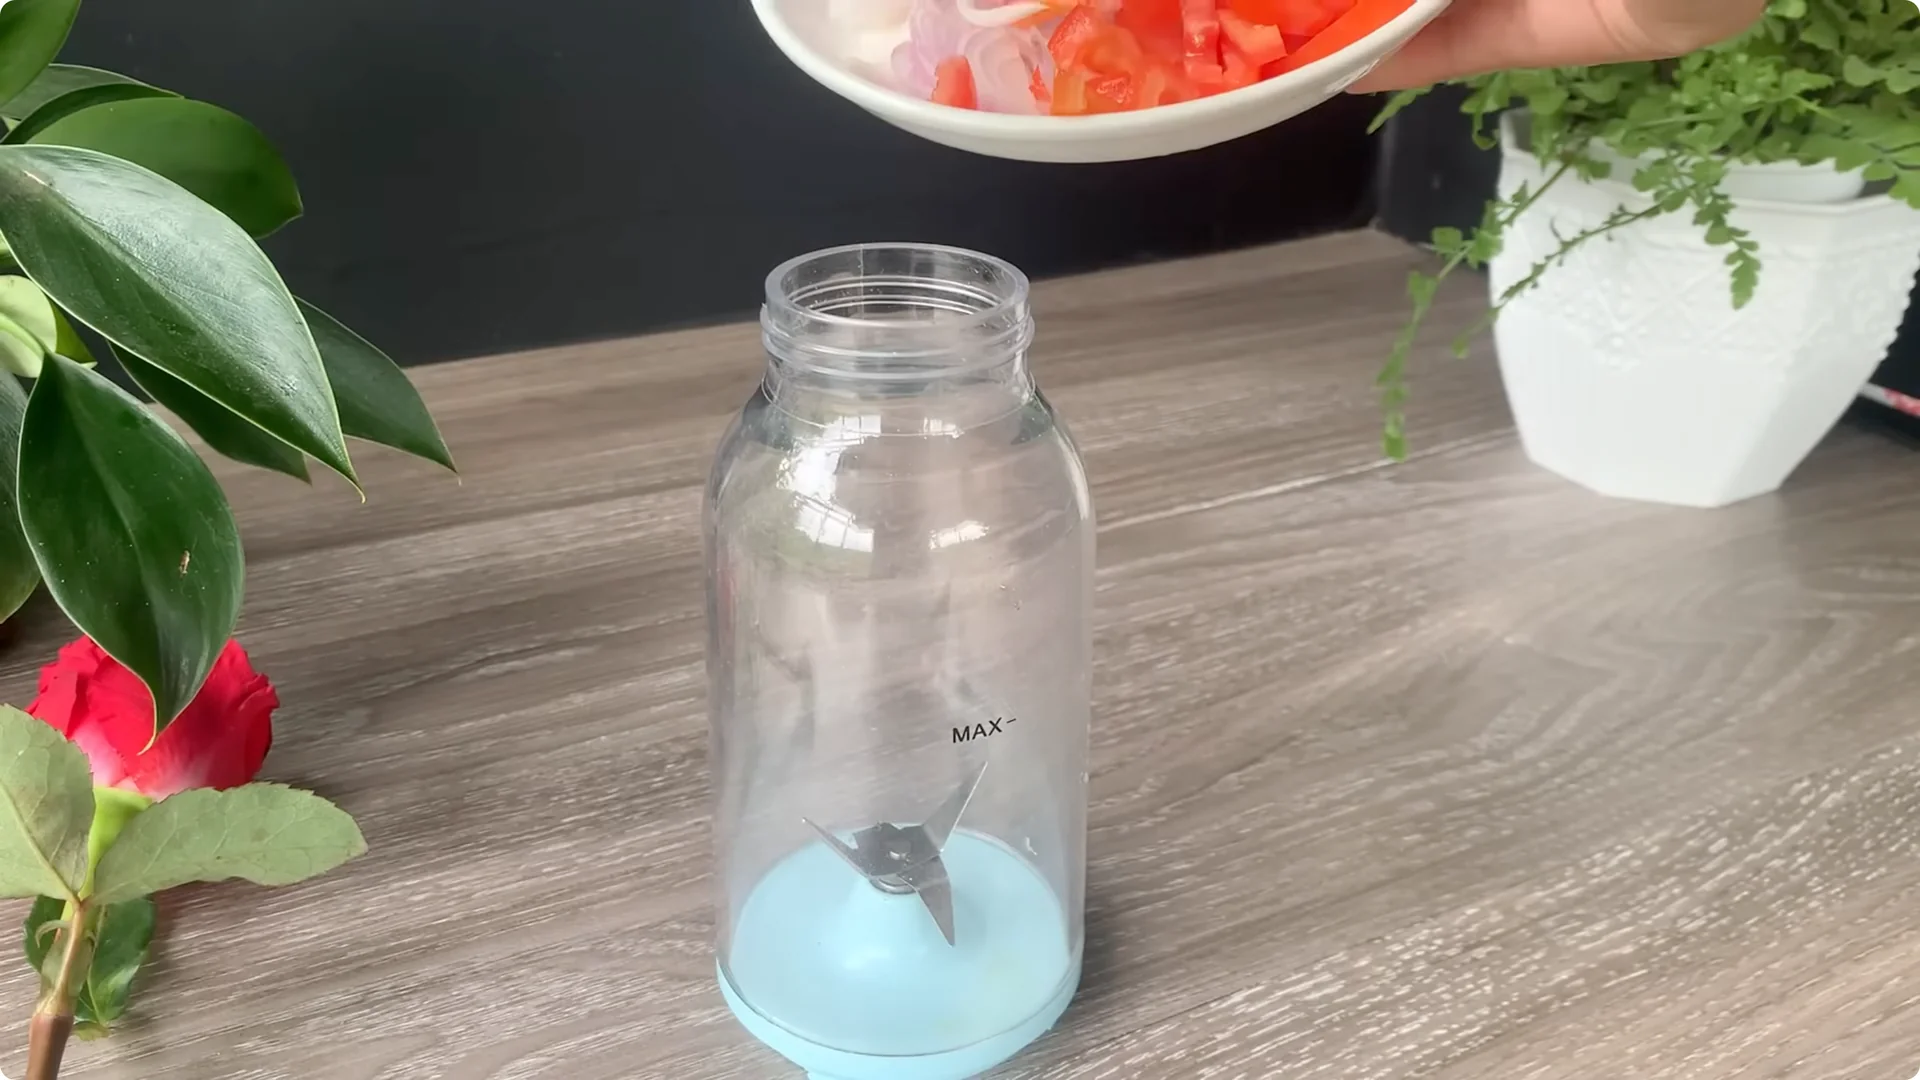
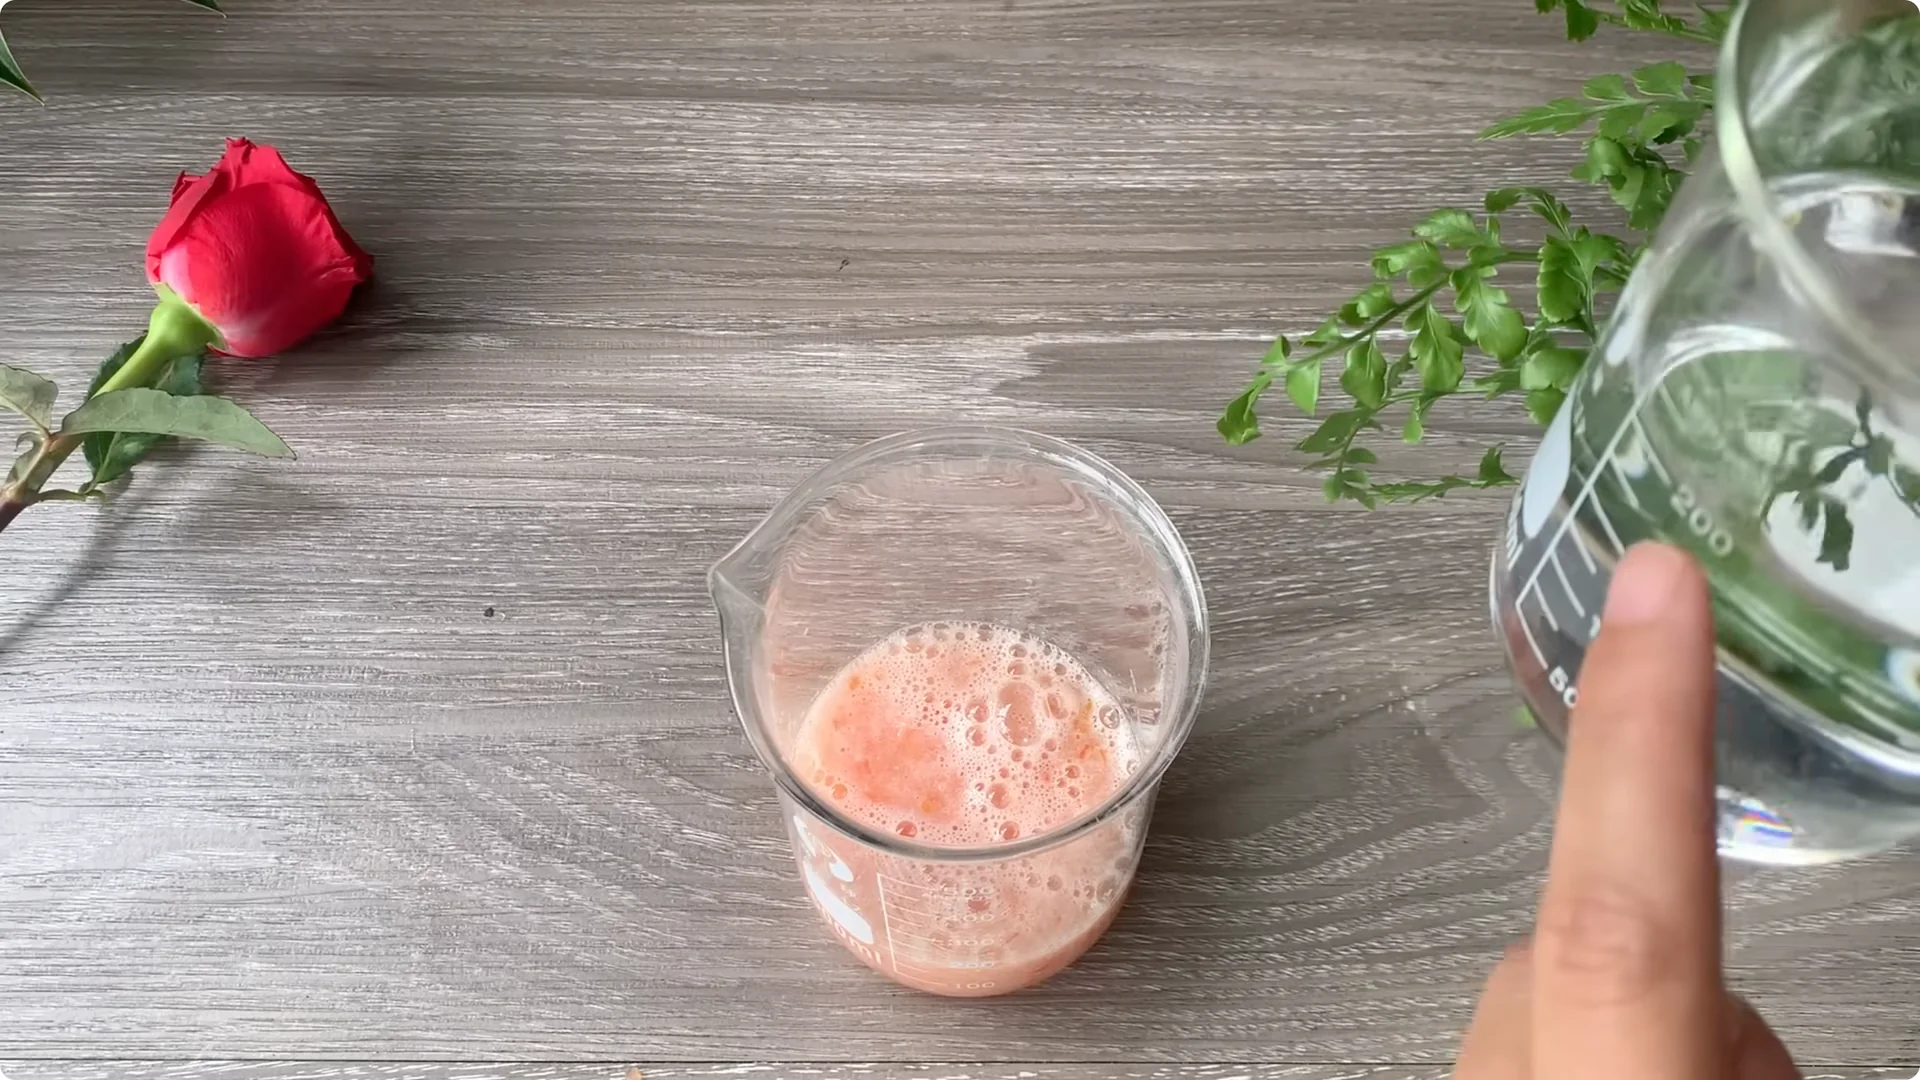
Add both ingredients to a blender and blend until smooth – the goal is to release as many of the beneficial nutrients in the onions and tomatoes as possible. Add 100 milliliters of filtered water, then puree the onion and tomato mixture so that the nutrients blend evenly and are easier to absorb.

Add 200 milliliters of filtered water to the mixture to dilute the solution, helping the substances penetrate the cuttings more easily. Squeeze some lemon juice into the solution. Lemon has mild antibacterial properties and helps young plant roots grow evenly and healthily.
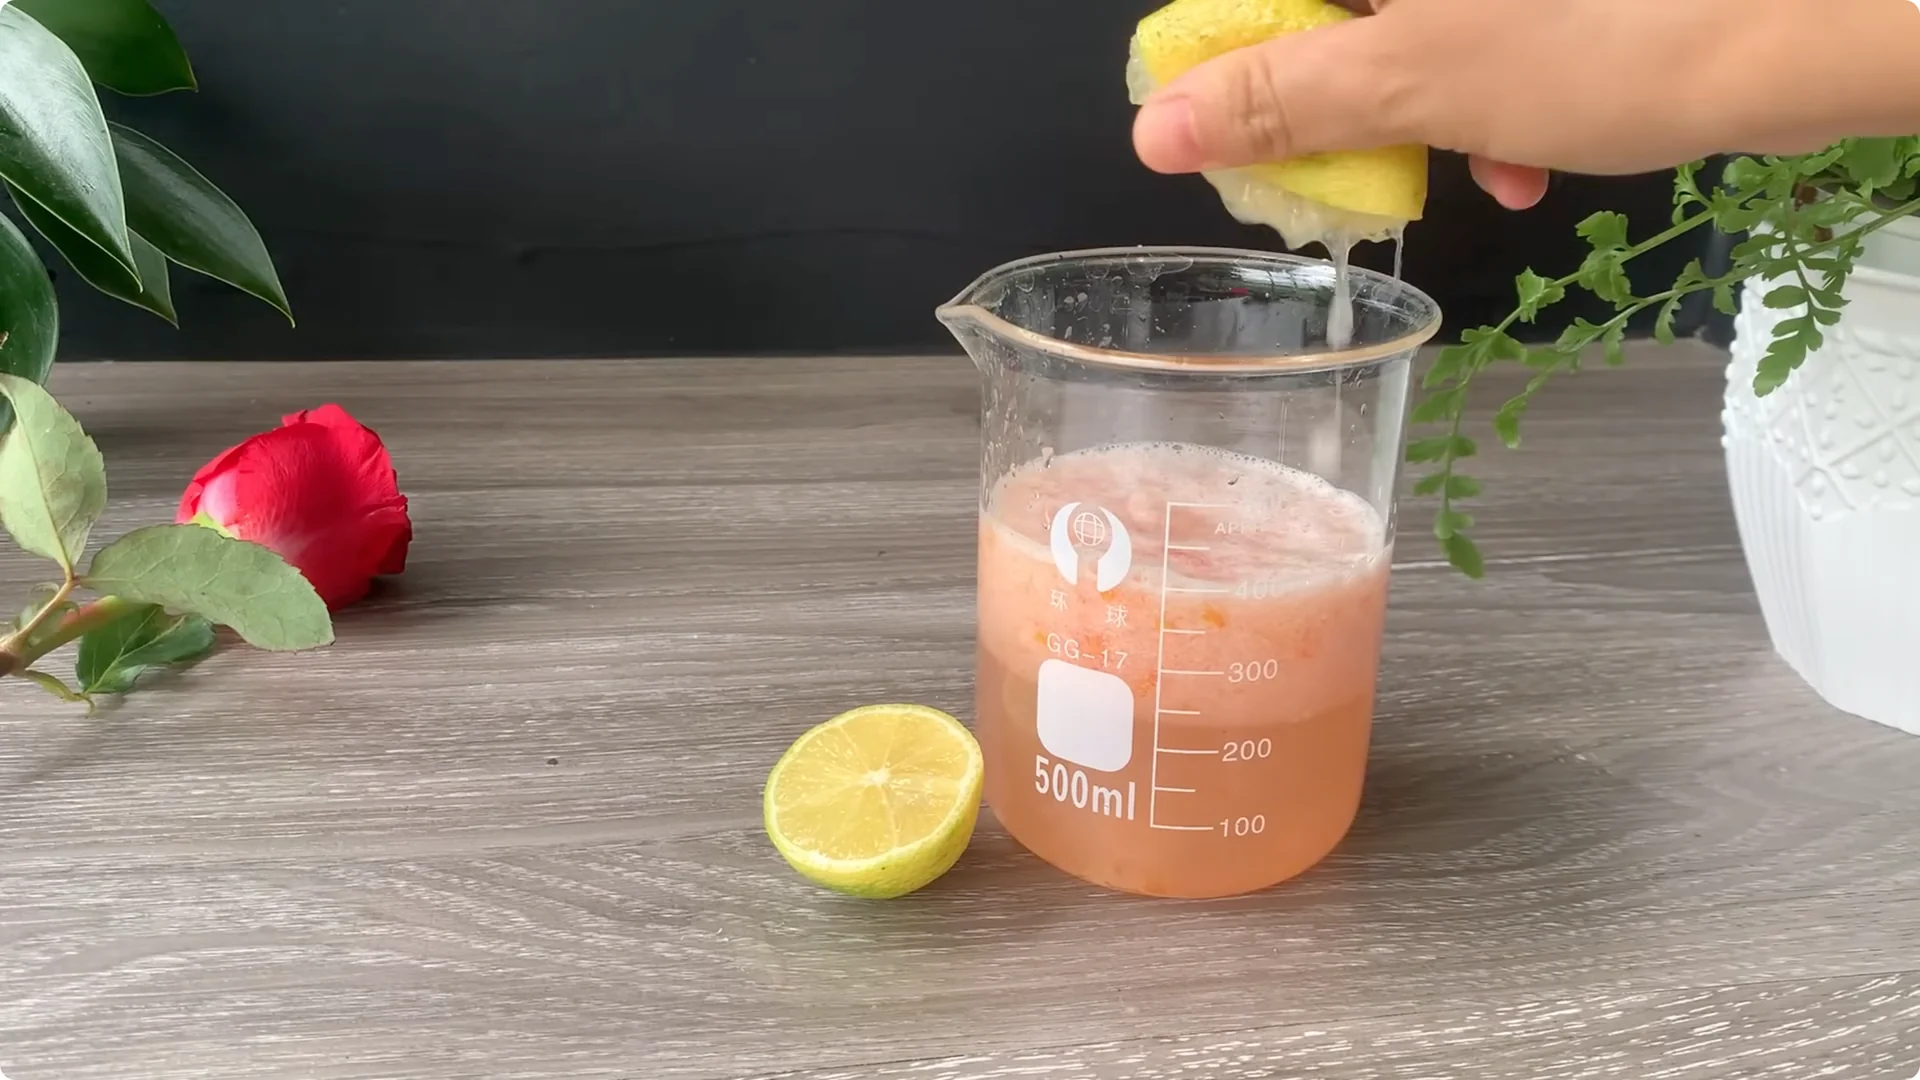
The combination of onions, tomatoes, and lemons makes a powerful natural rooting solution. It protects cuttings while promoting root growth.

Soak the cutting
Soak the base of the rose stem in the solution for about 15 to 30 minutes, allowing the natural active ingredients time to penetrate and begin to take effect.
3. Rose Propagation by Cuttings: Hydroponic Setup
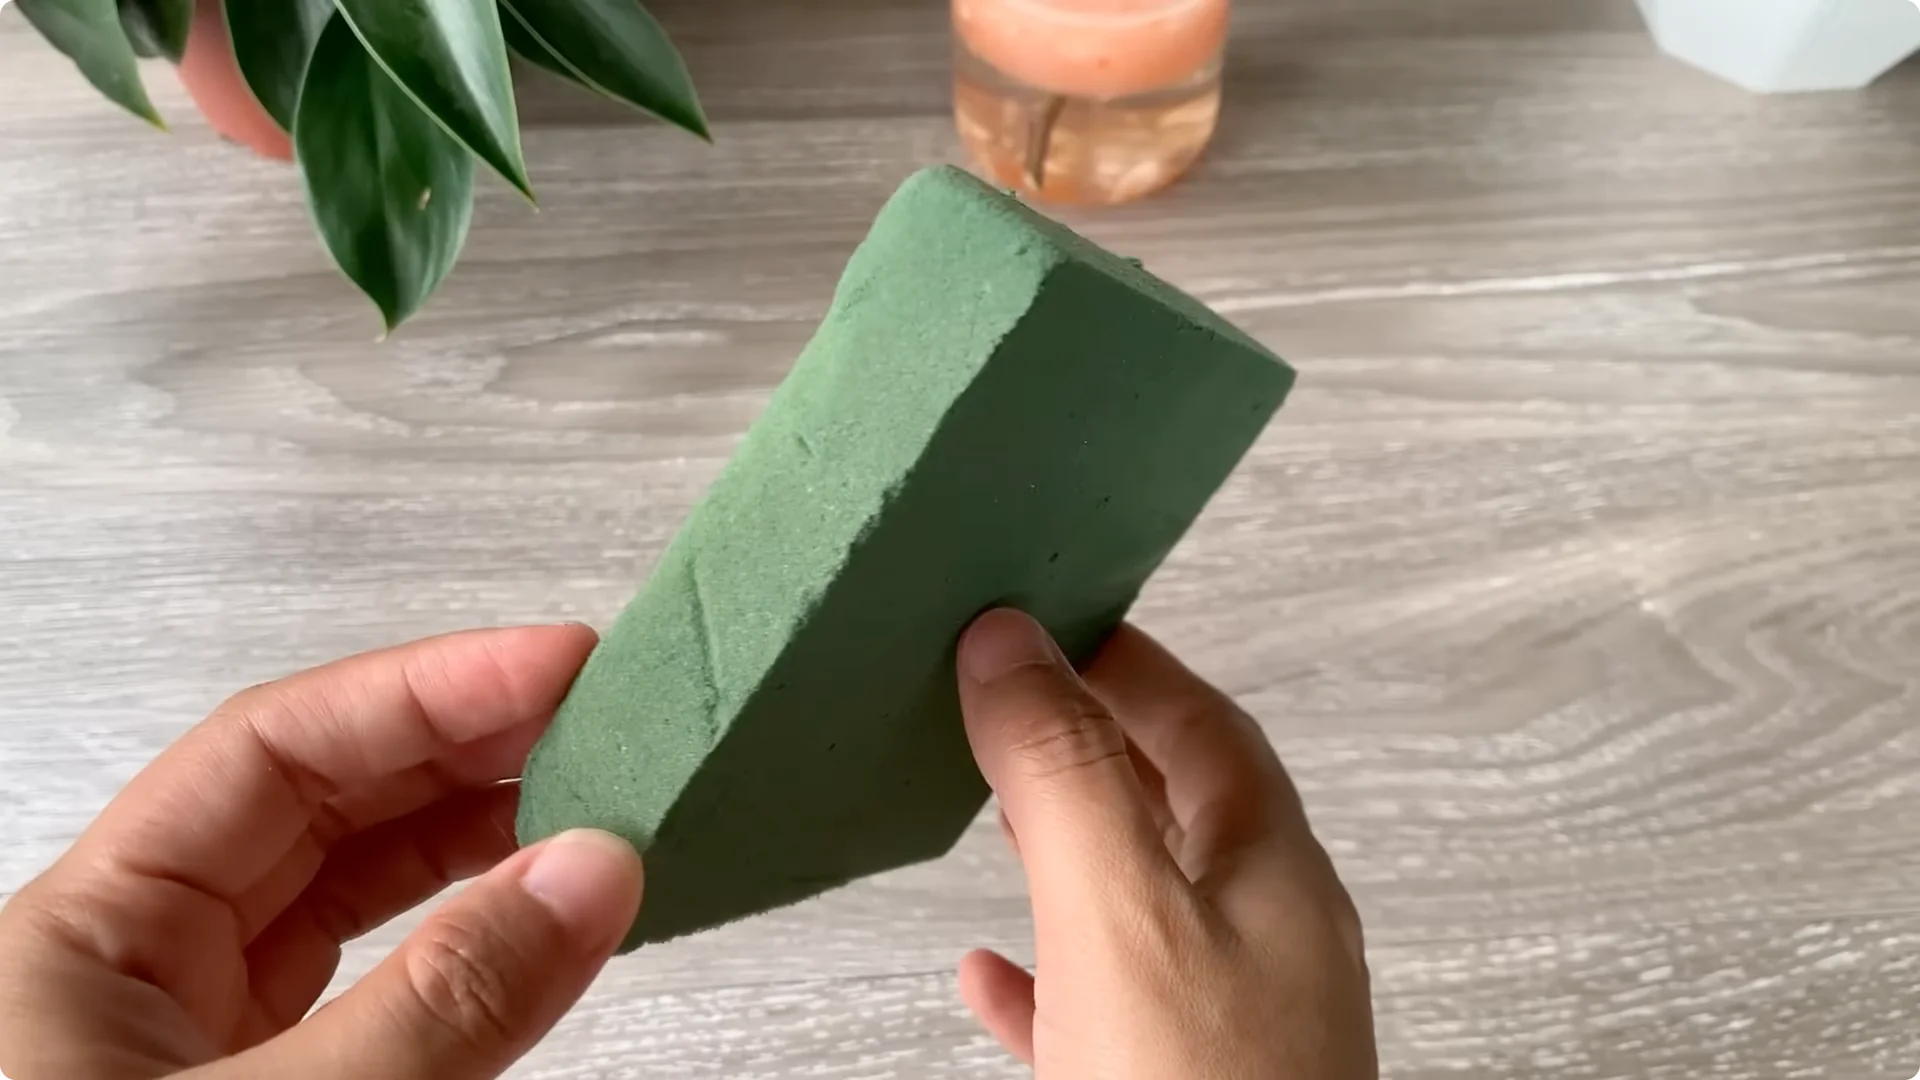
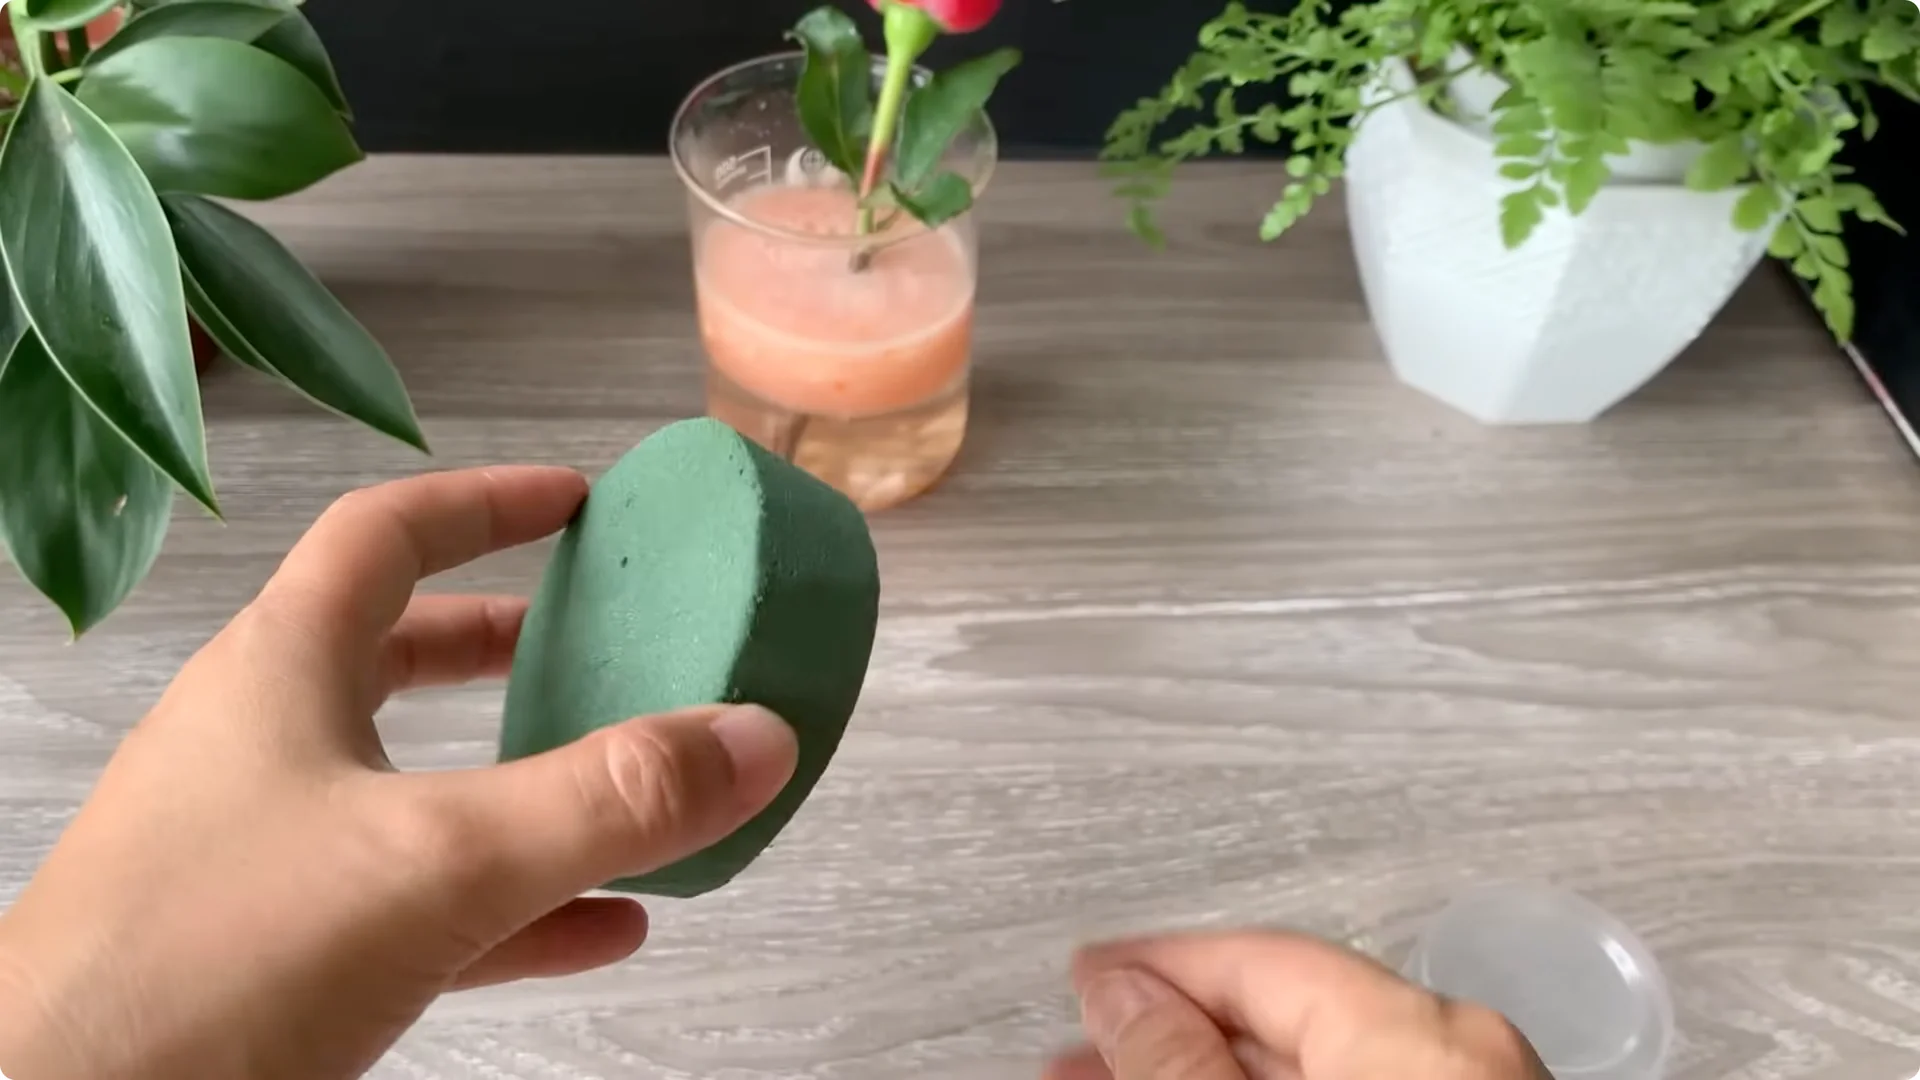
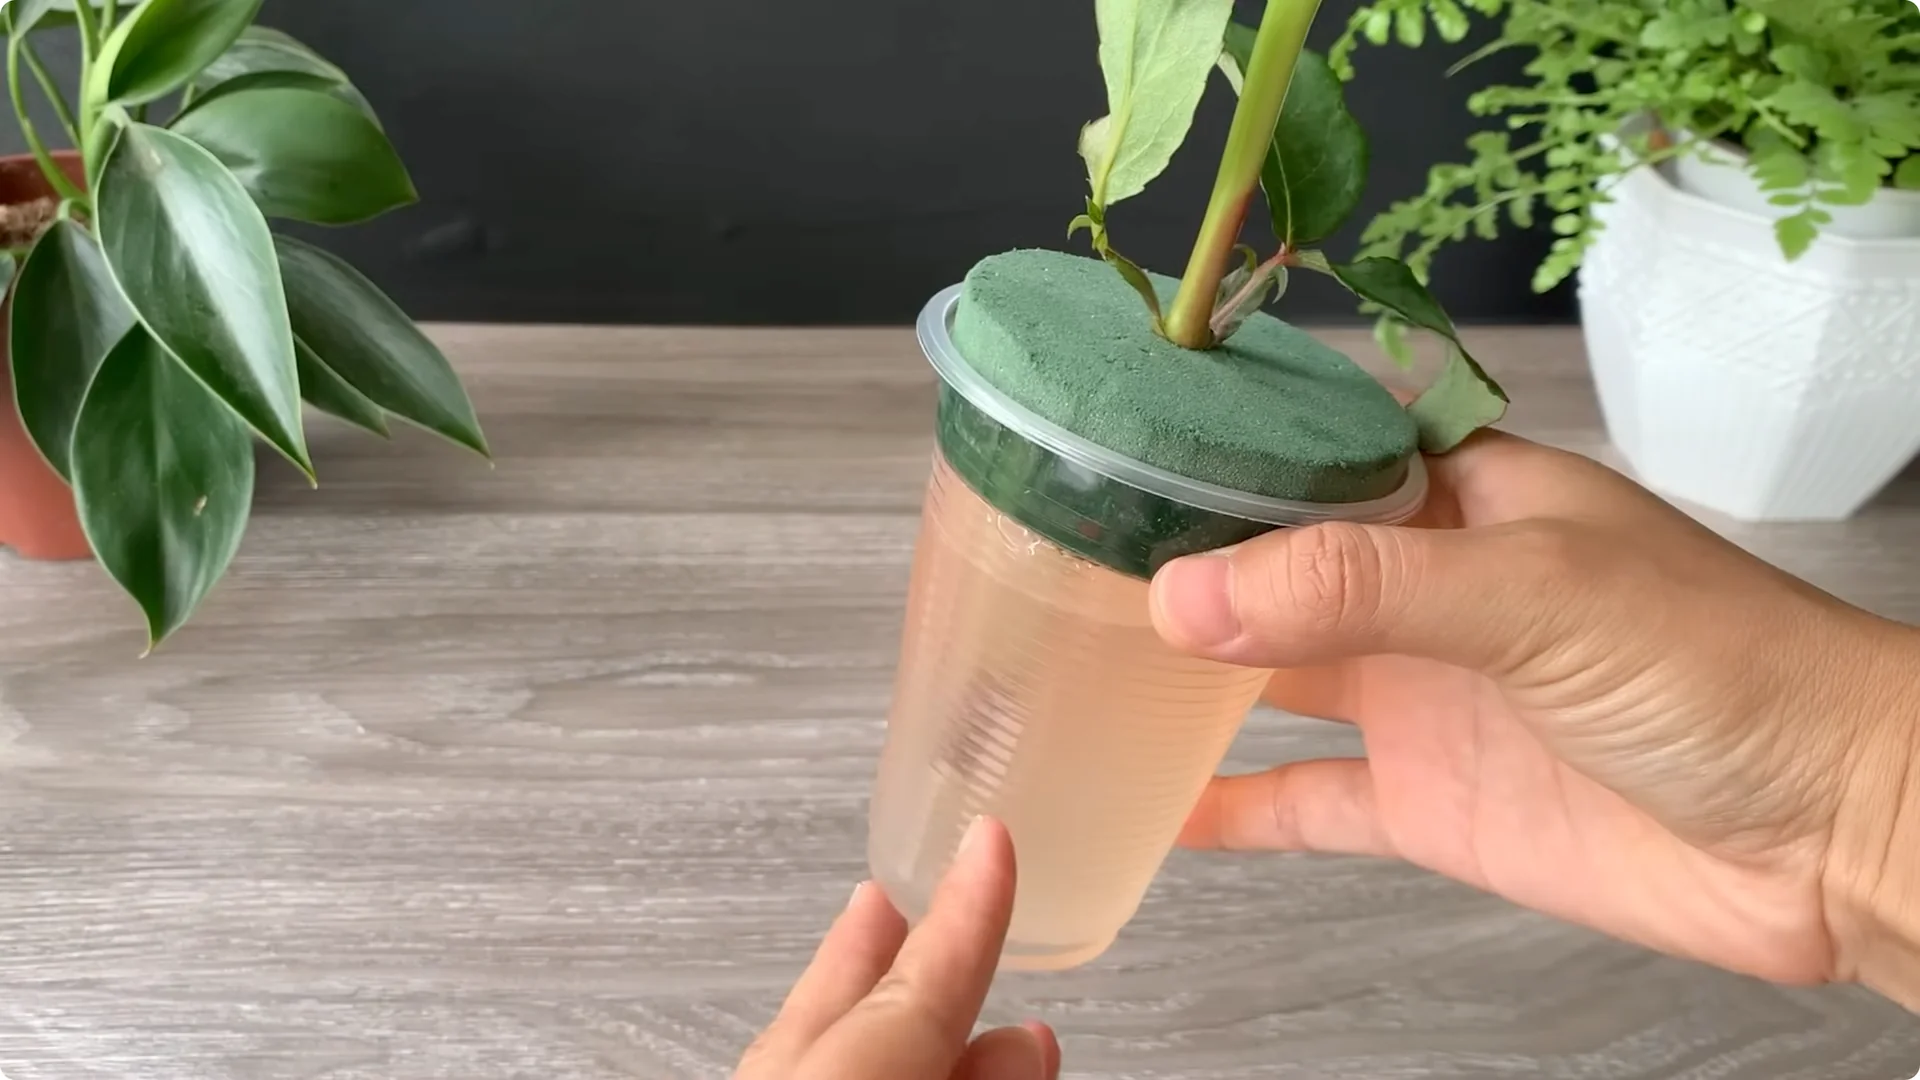
Prepare the cup and sponge
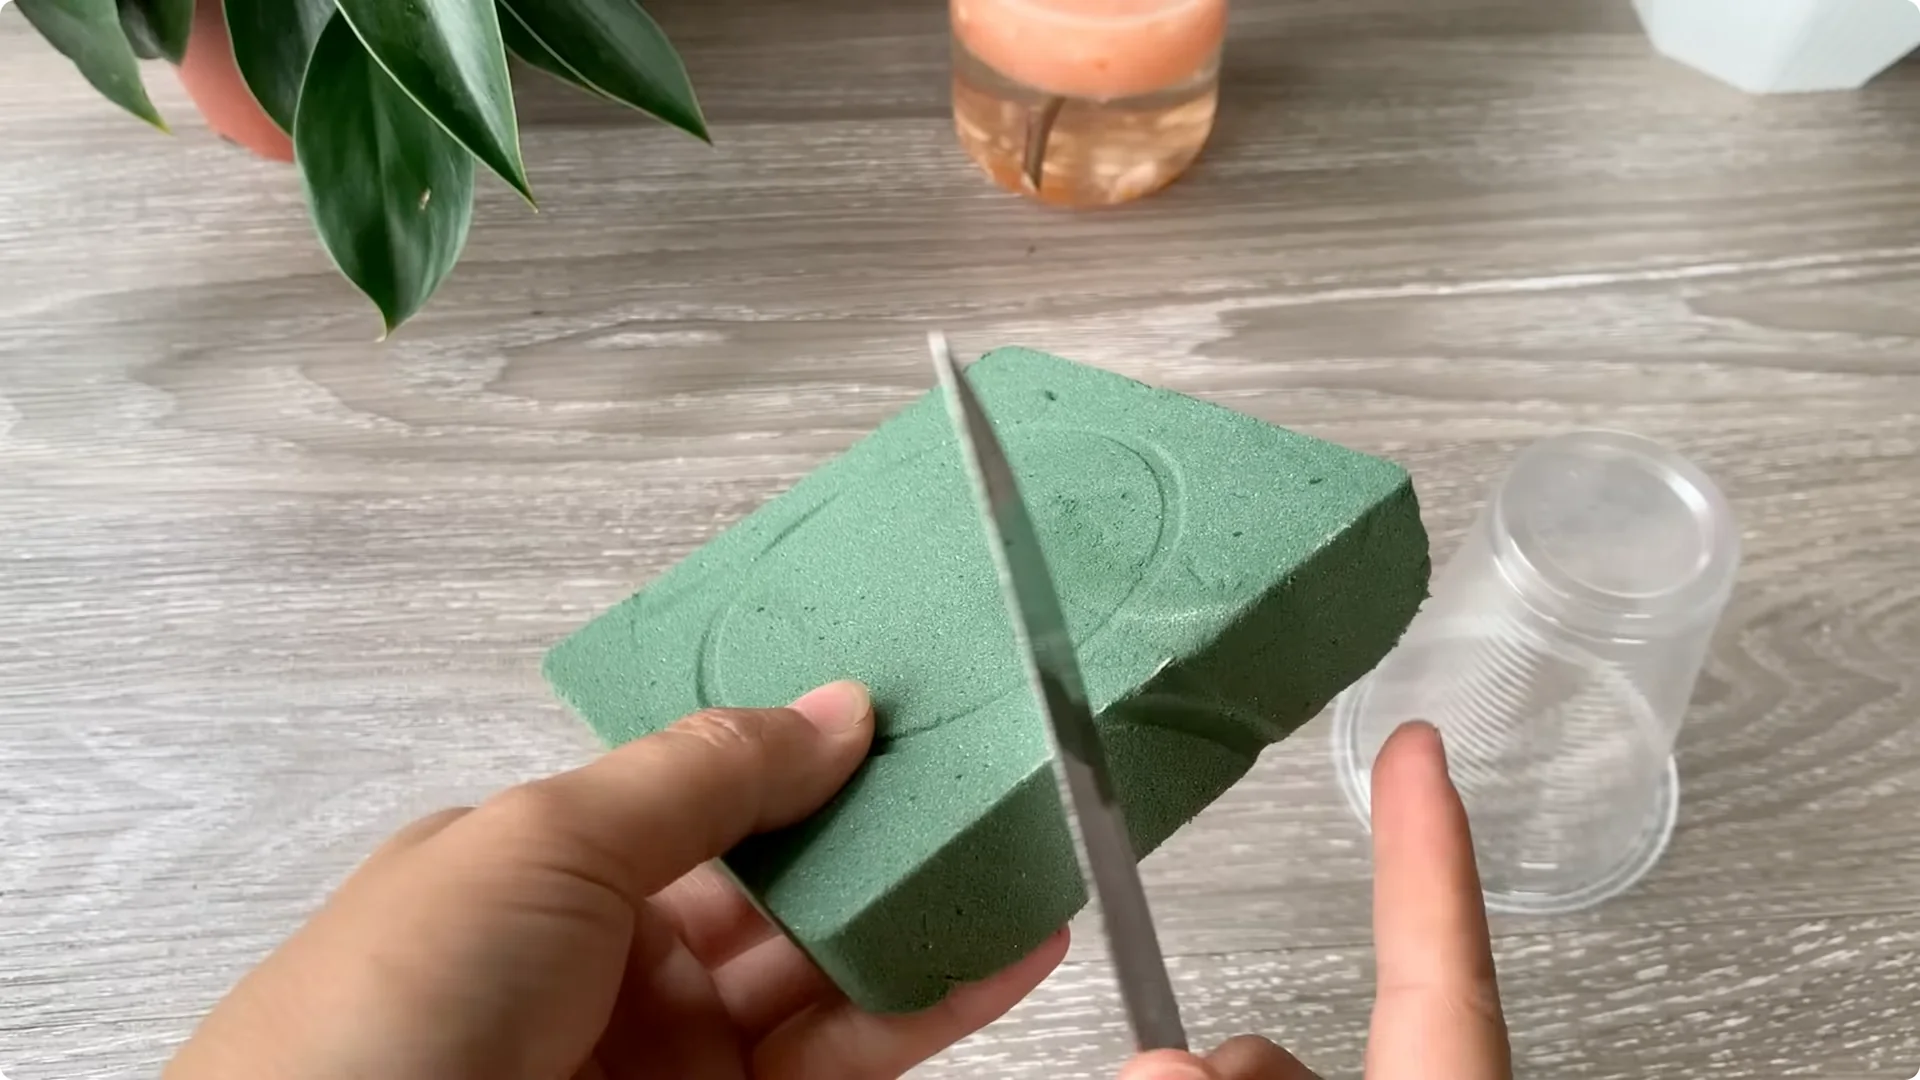
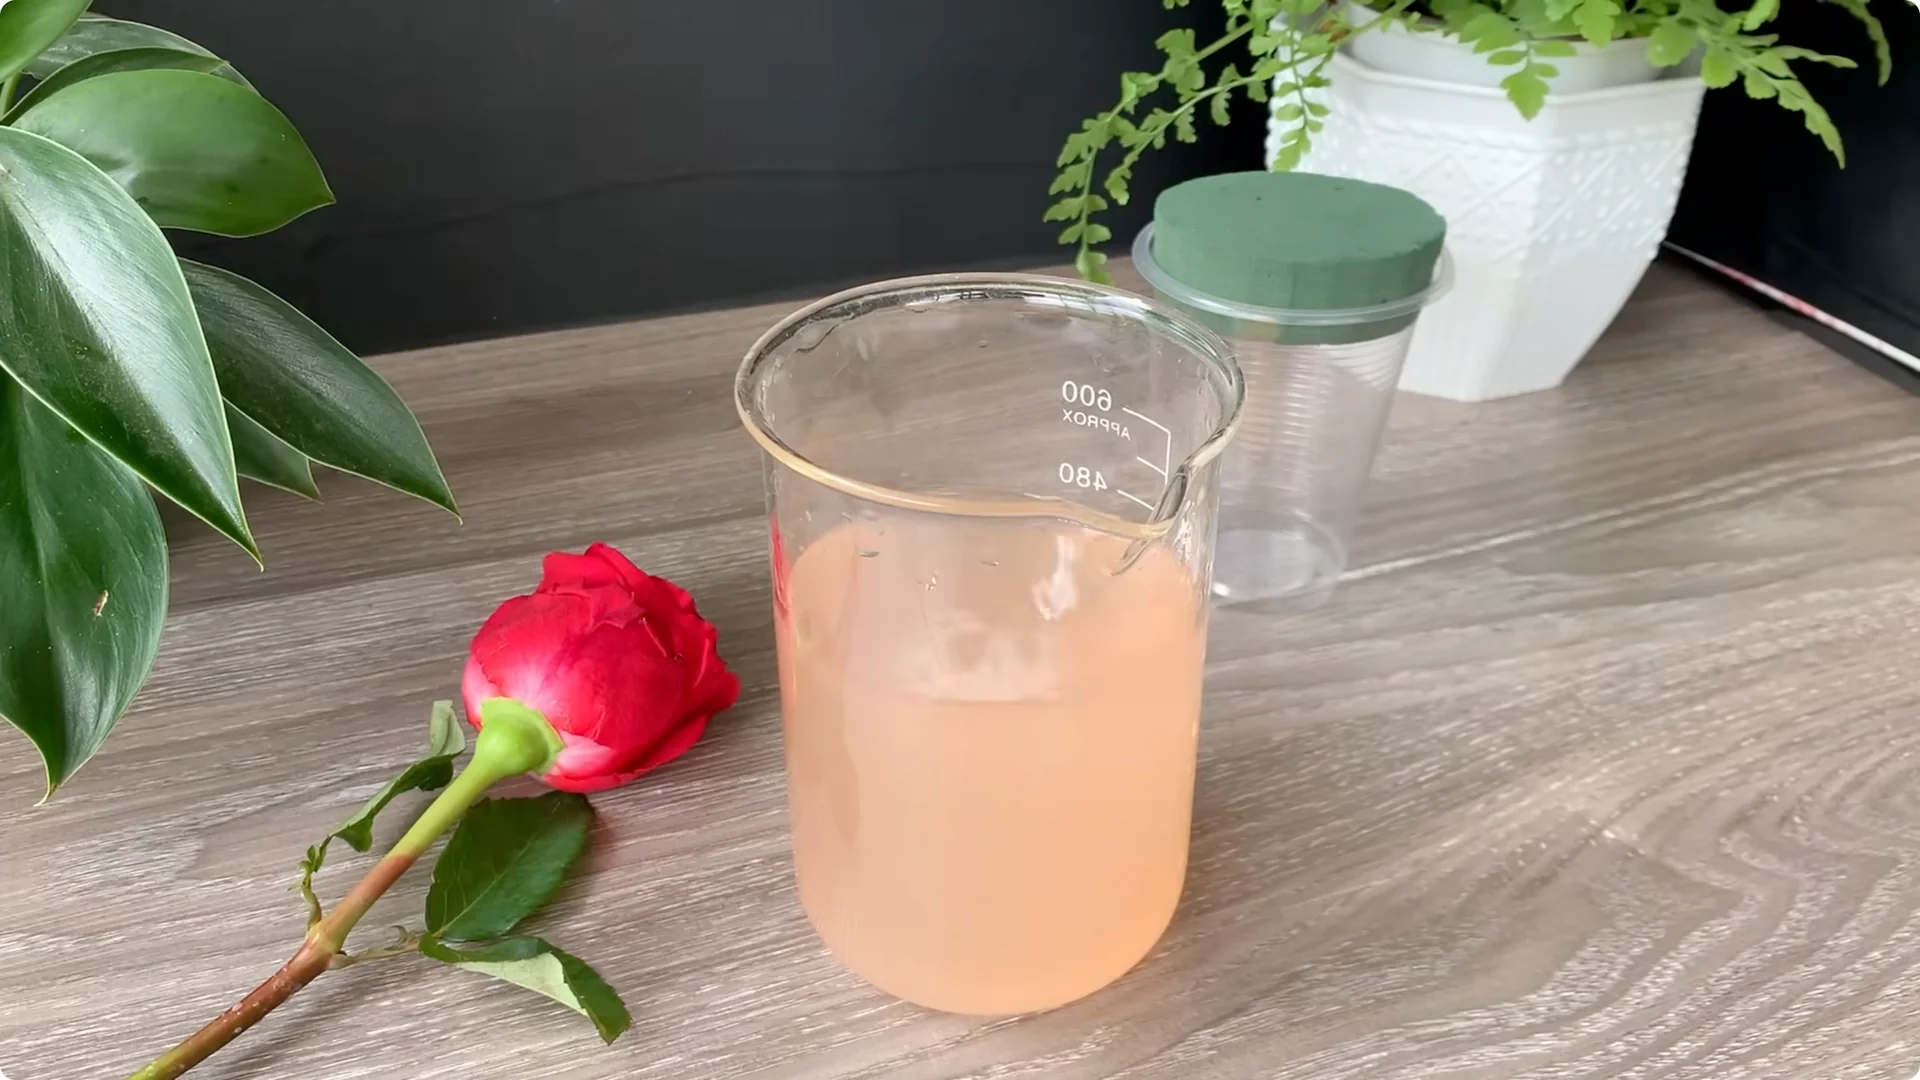
For this method I chose hydroponics, a simple, clean, and very effective way to stimulate natural plant roots. I use a clear plastic cup to hold the onion, tomato, and lemon rooting solution, making it easy to see the roots growing.
The sponge on top holds the cuttings in place and keeps the area moist. This hydroponic method is clean, easy to control, and the roots absorb nutrients continuously without worrying about water logging like in soil.
If you prefer a simple water-only approach, see rose branch in water overnight.
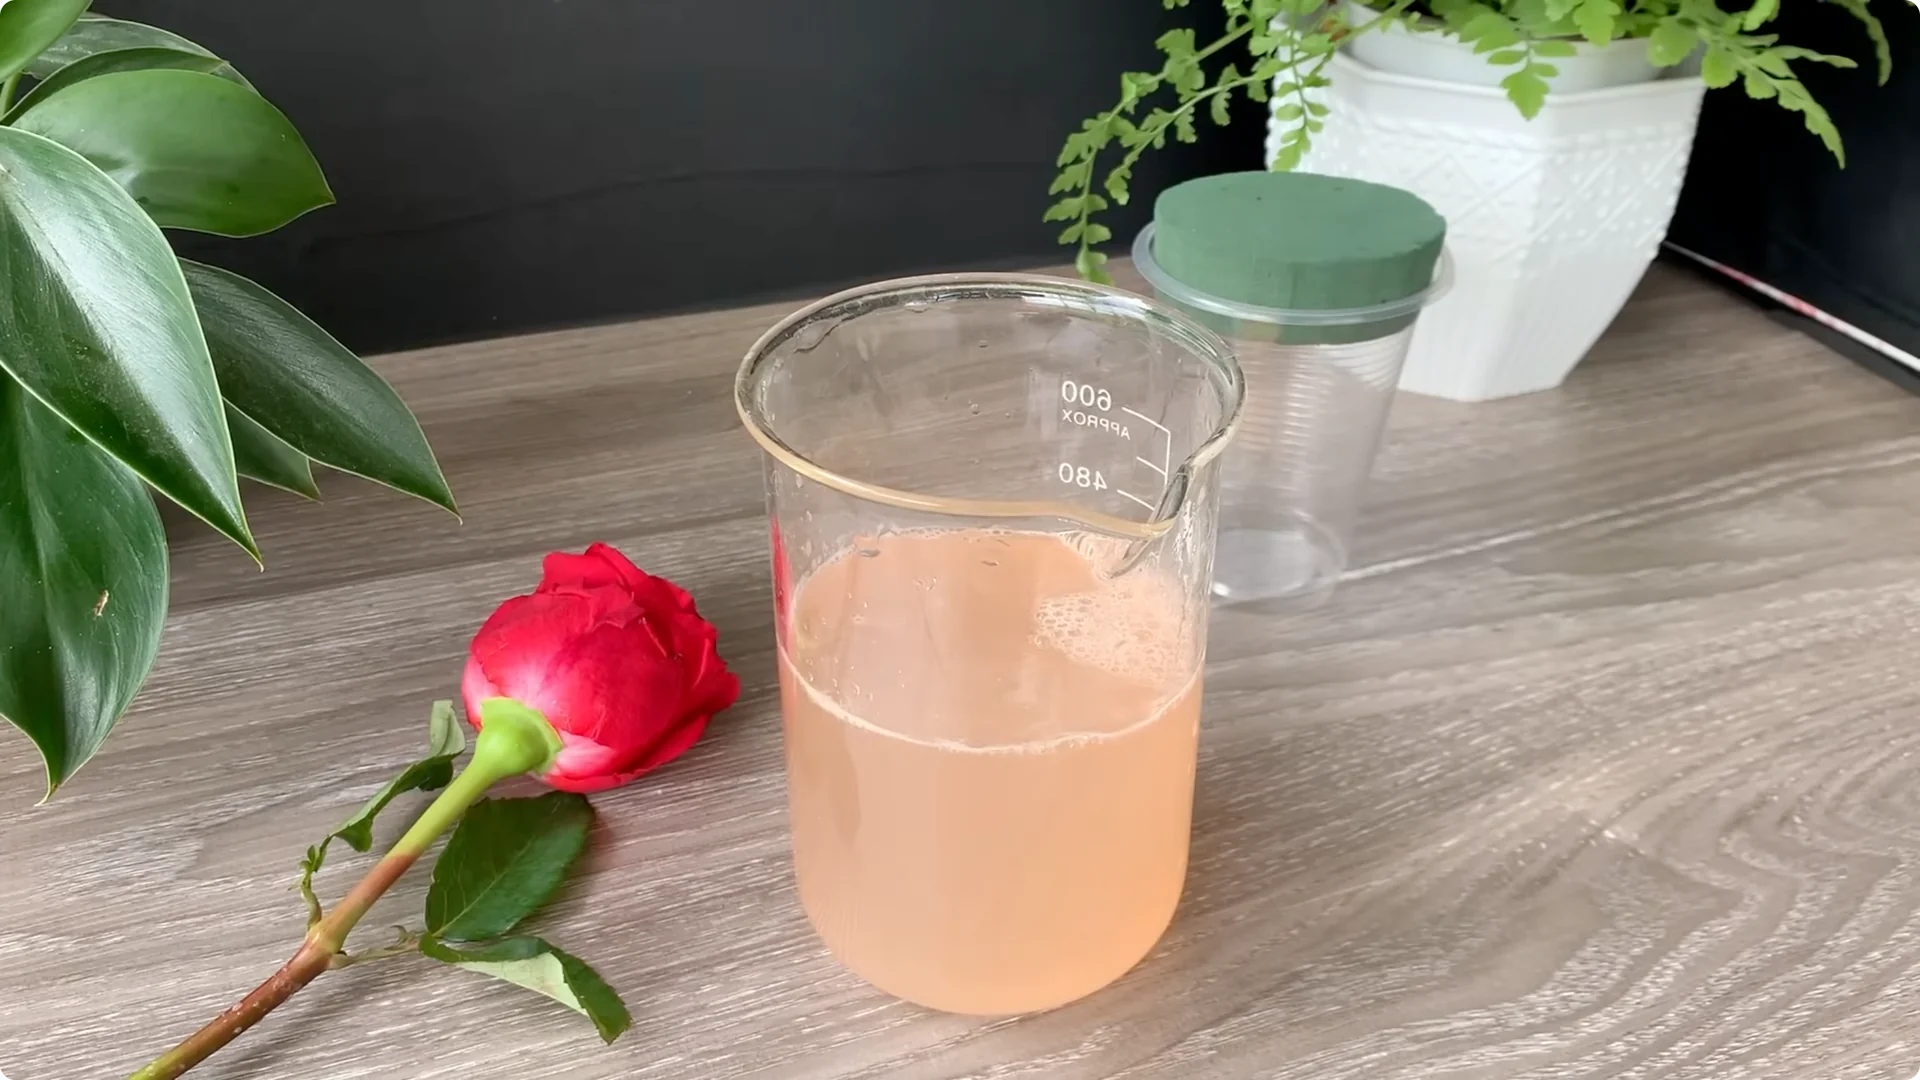
Strain and fill
After soaking, strain the mixture to remove any residue using a strainer or clean cloth. This will help retain a clear concentrated liquid – the complete rooting solution.
Pour the filtered solution into the prepared plastic cup.
Insert the cutting
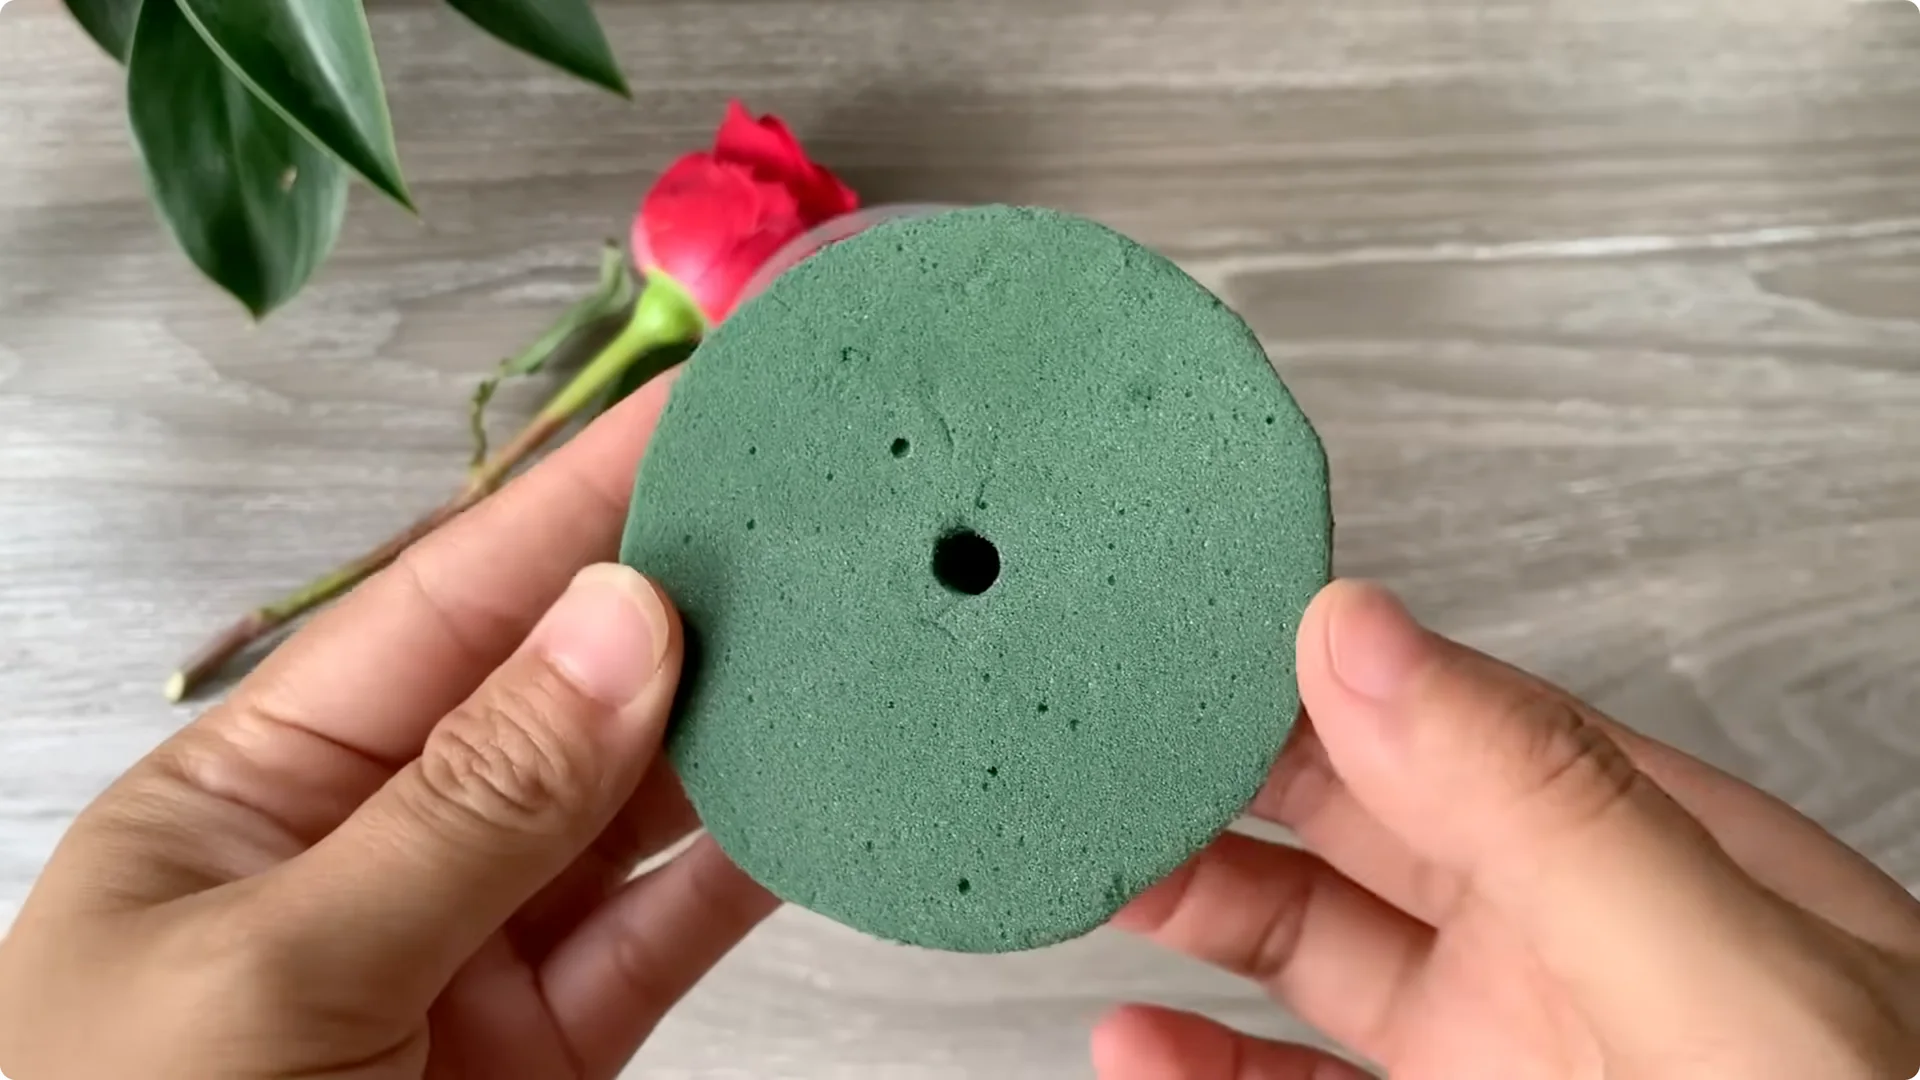
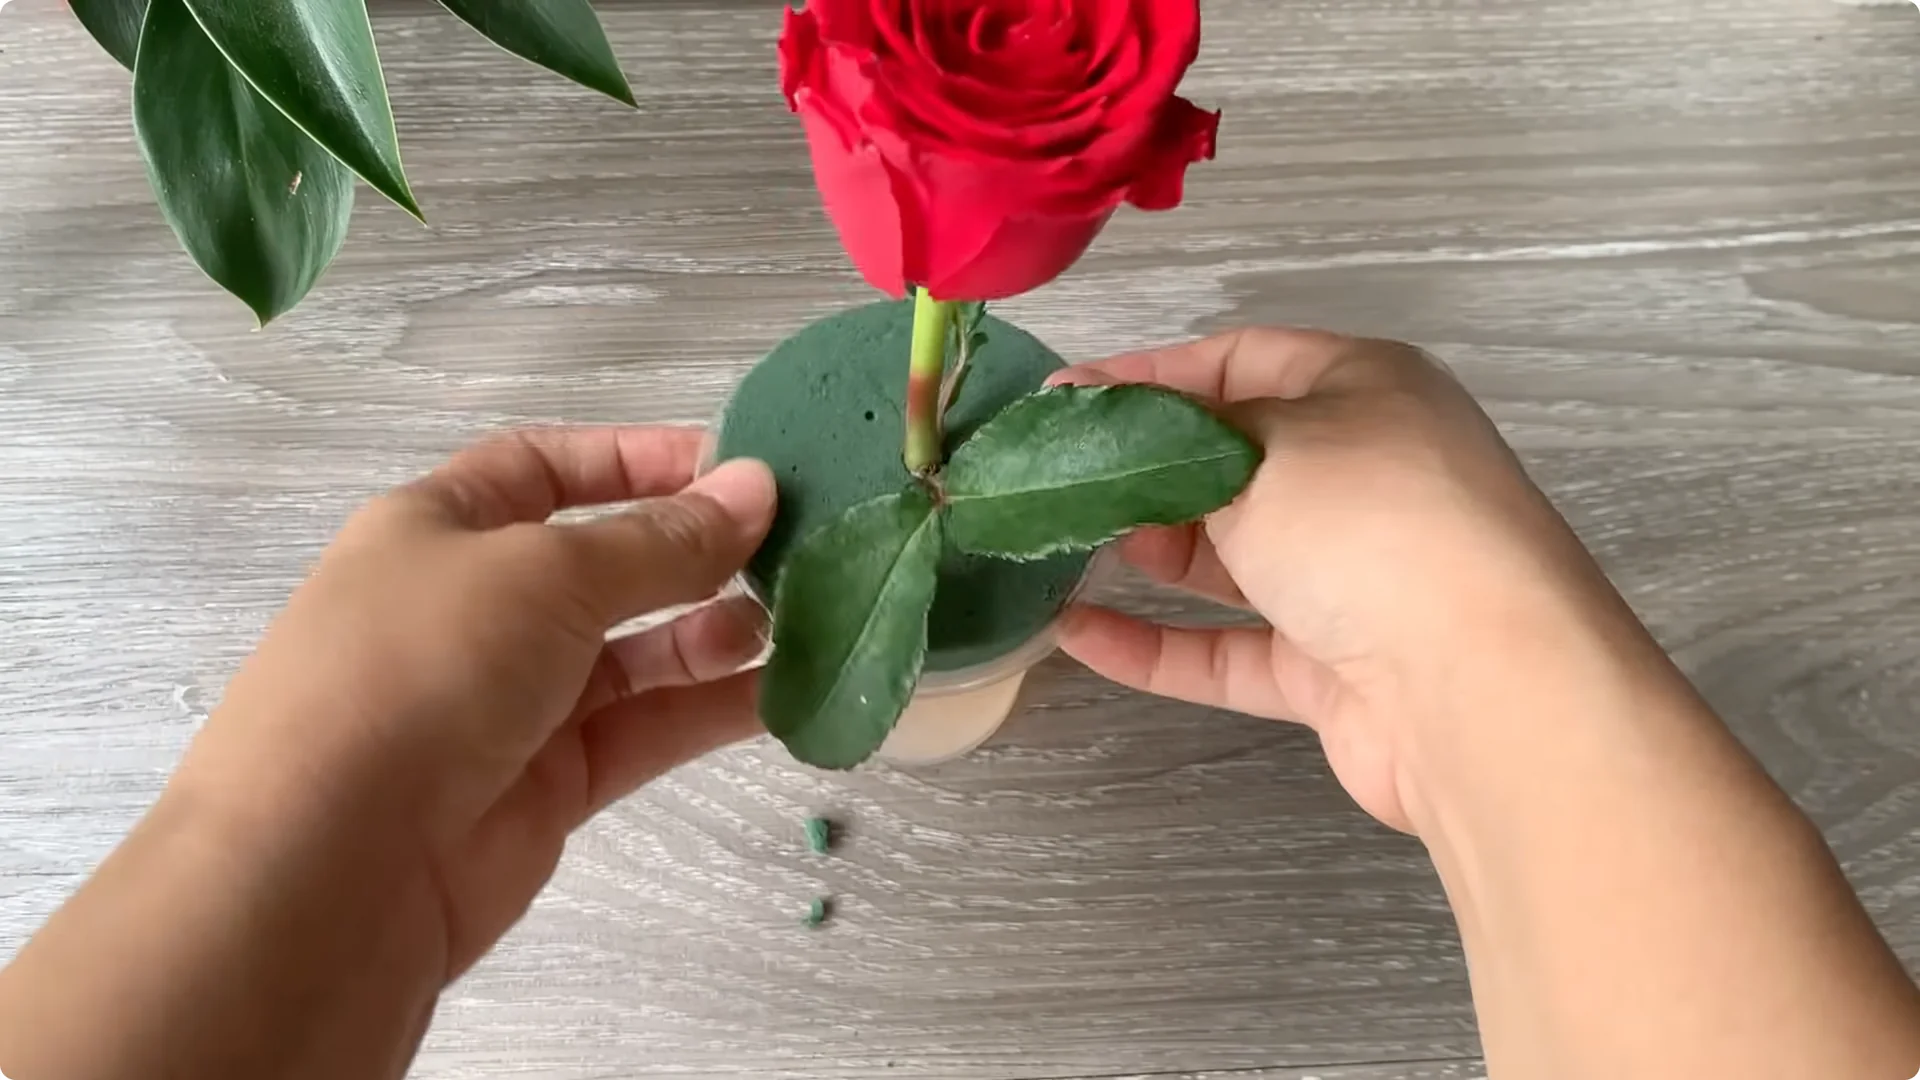
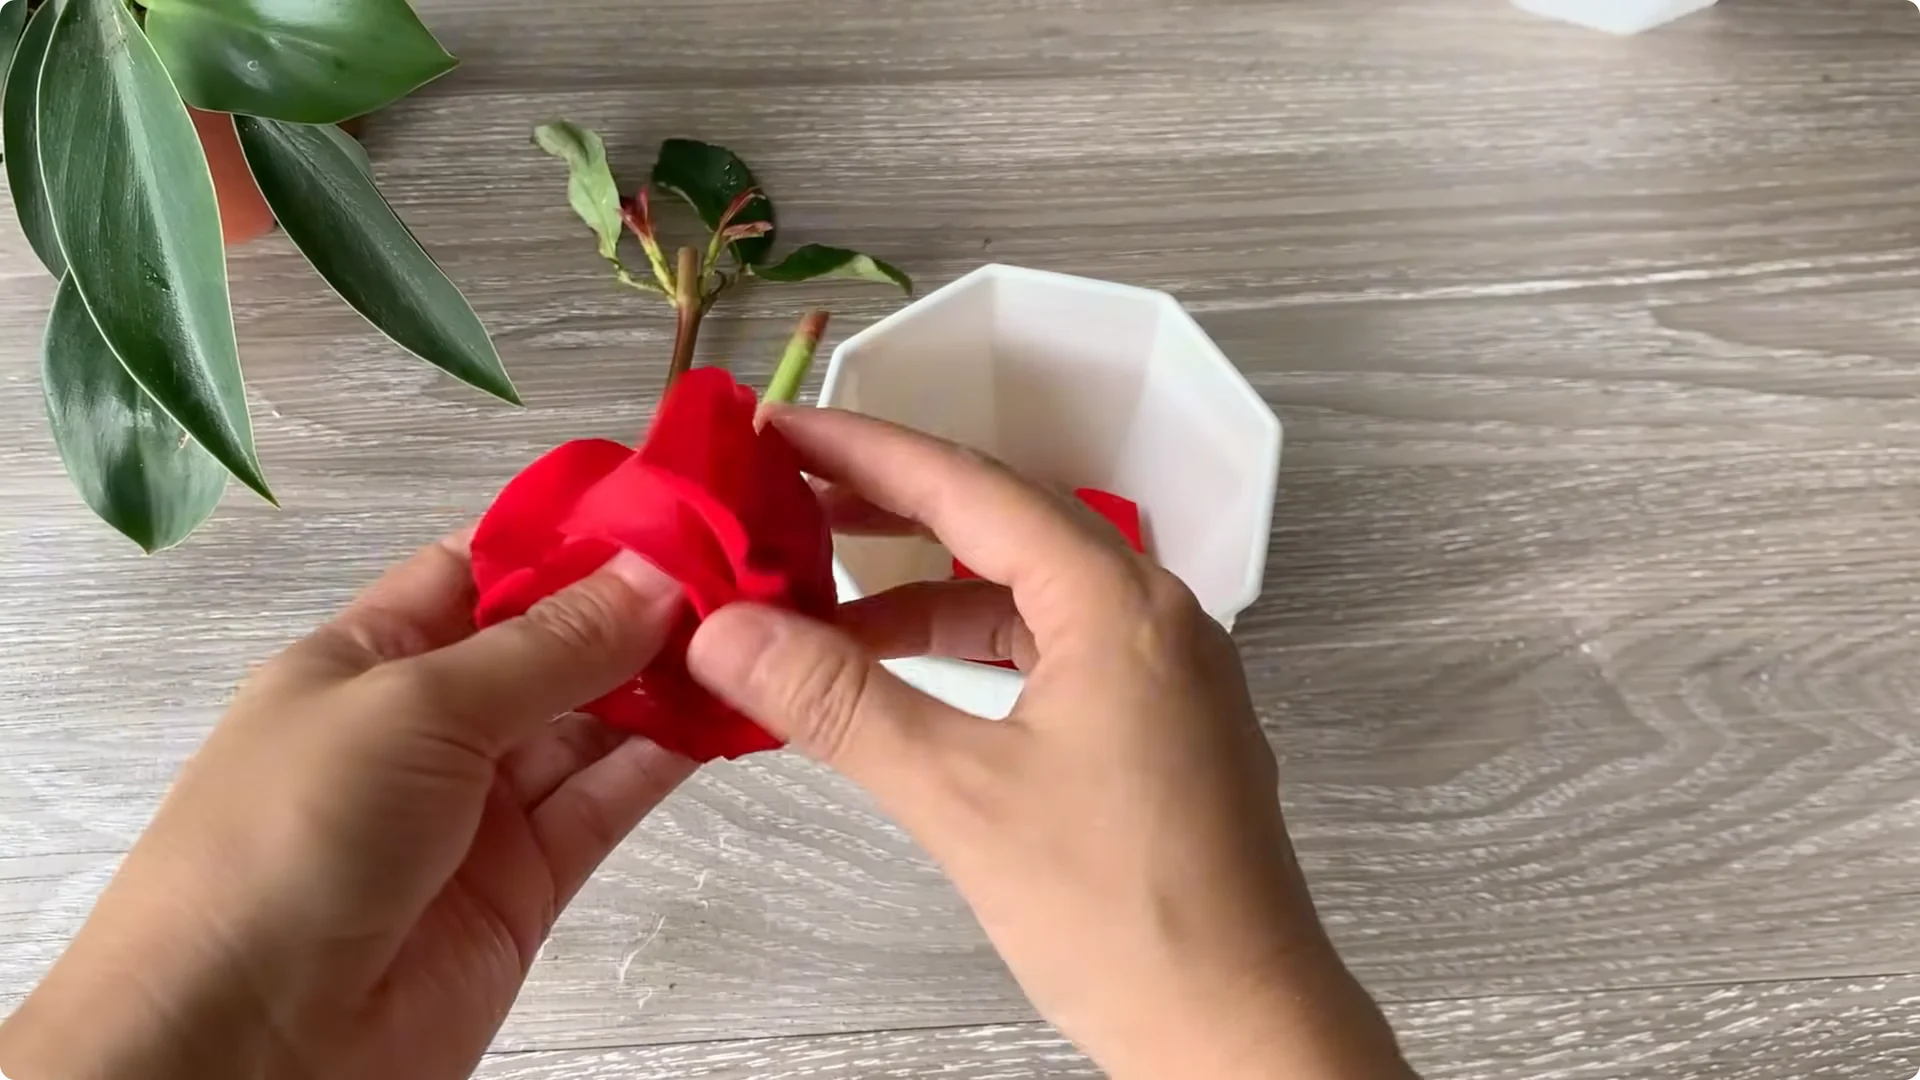
Use a small stick to poke a hole in the center of the sponge, then gently insert the rose stem into the hole you just made, making sure the rose stem is upright and not loose. Place the rose stem in the solution, adjusting it so that the leaf nodes are facing outwards – this is where new shoots will grow.
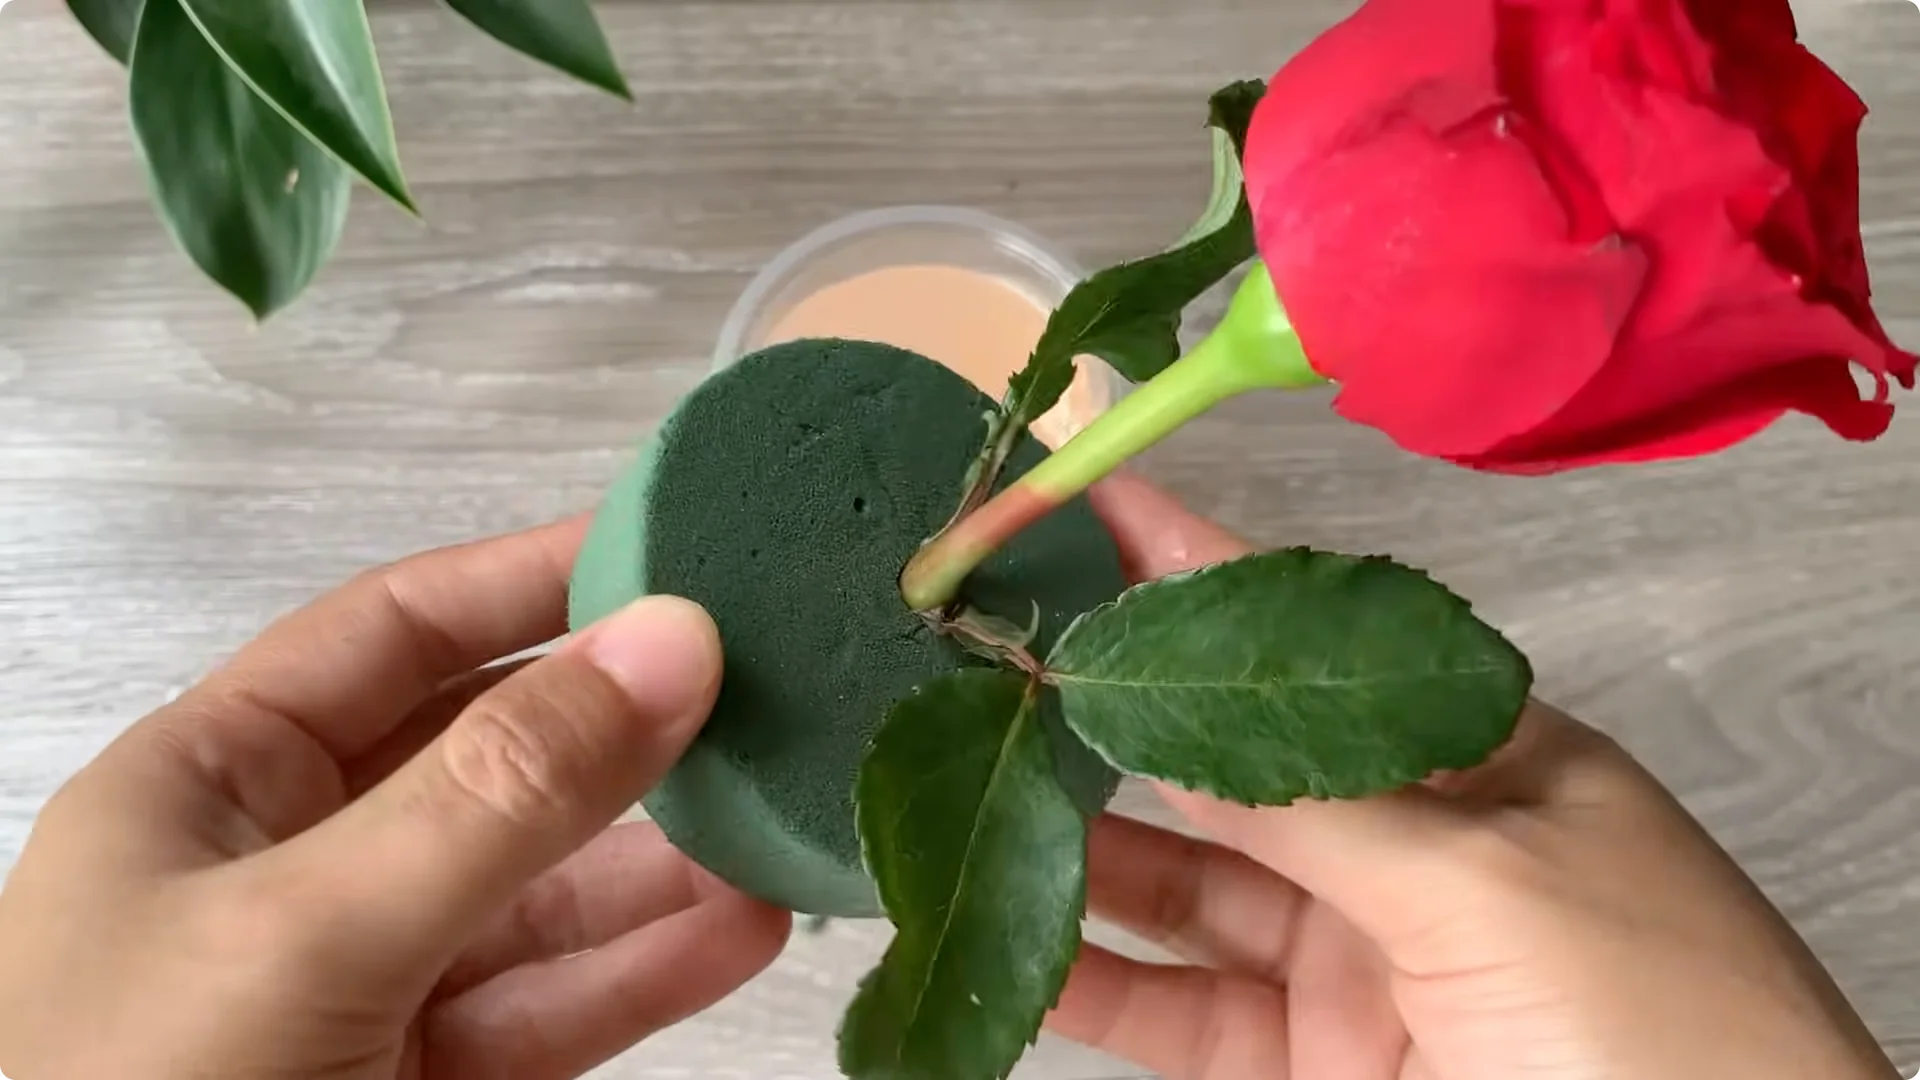
The cuttings should be immersed in the solution to a depth of about 1 to 2 inches (3 to 5 cm), enough to keep the cuttings moist but not too deep.
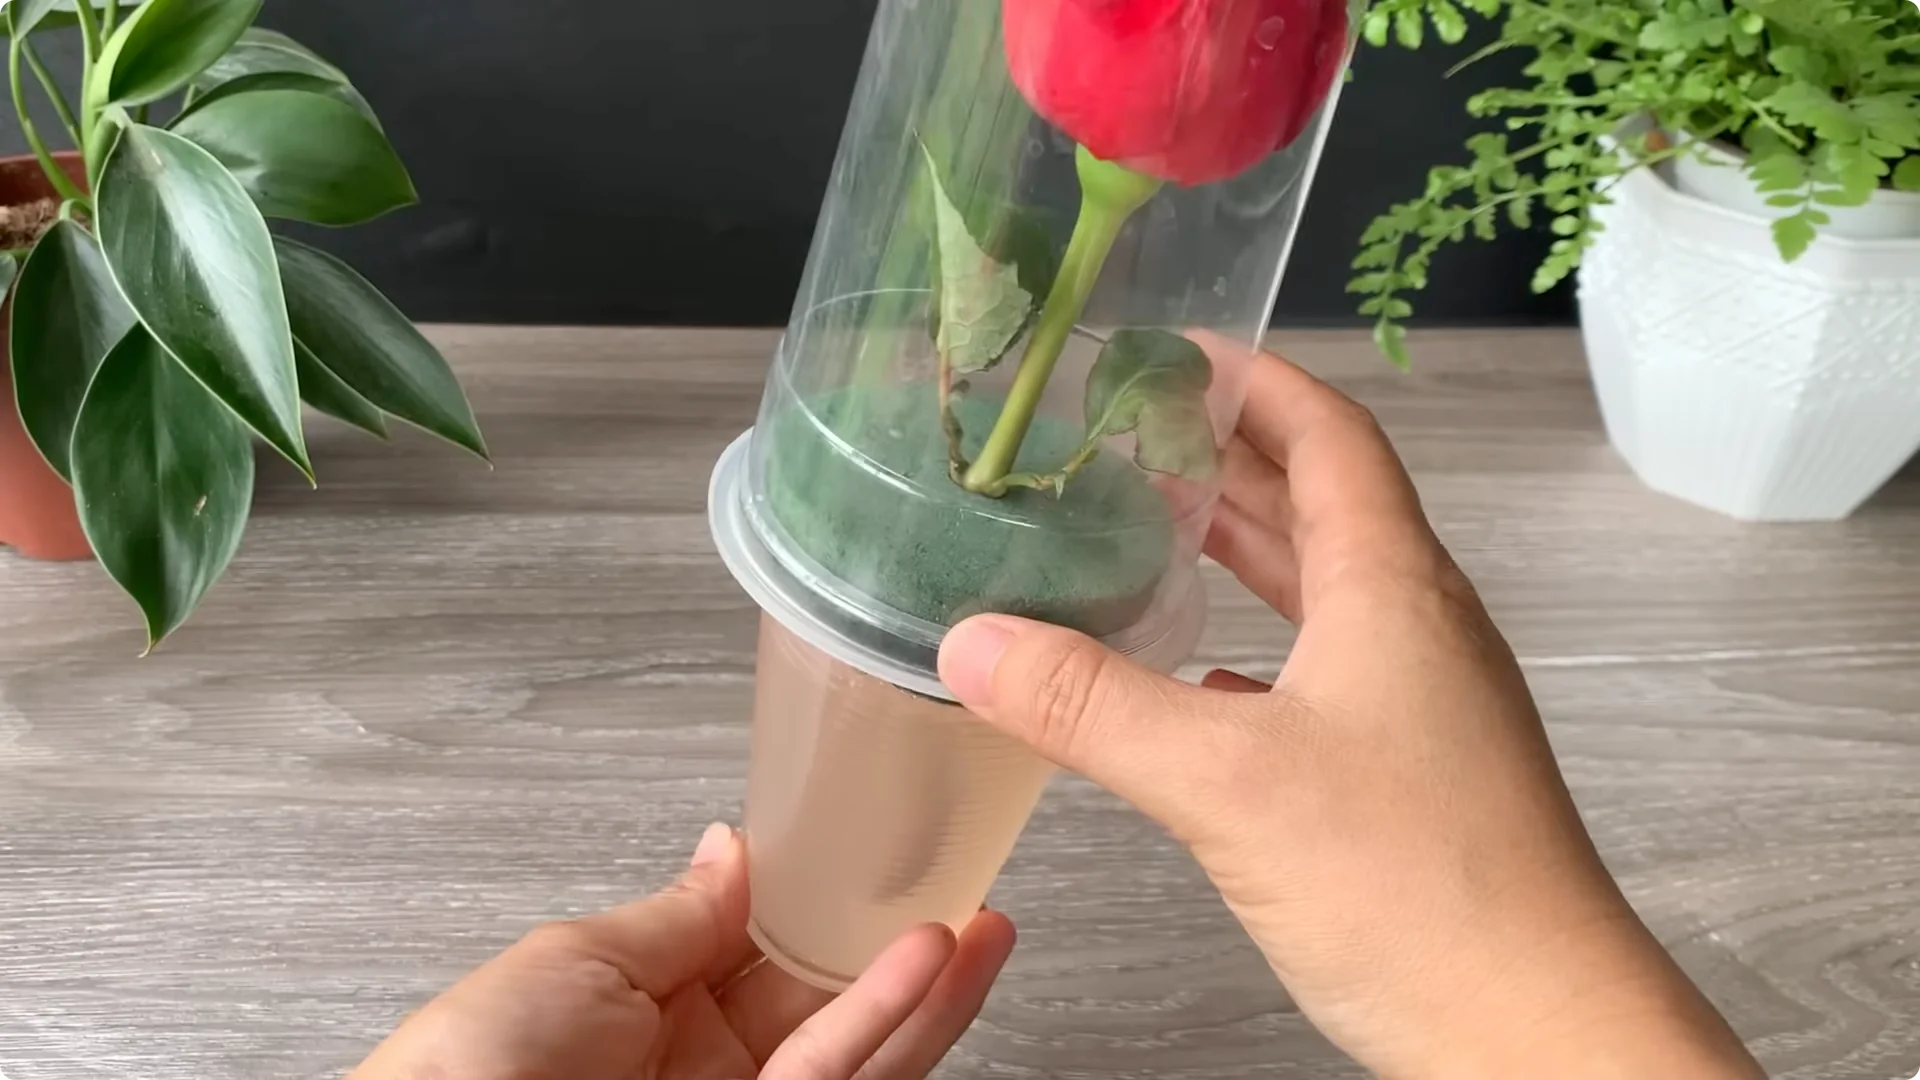
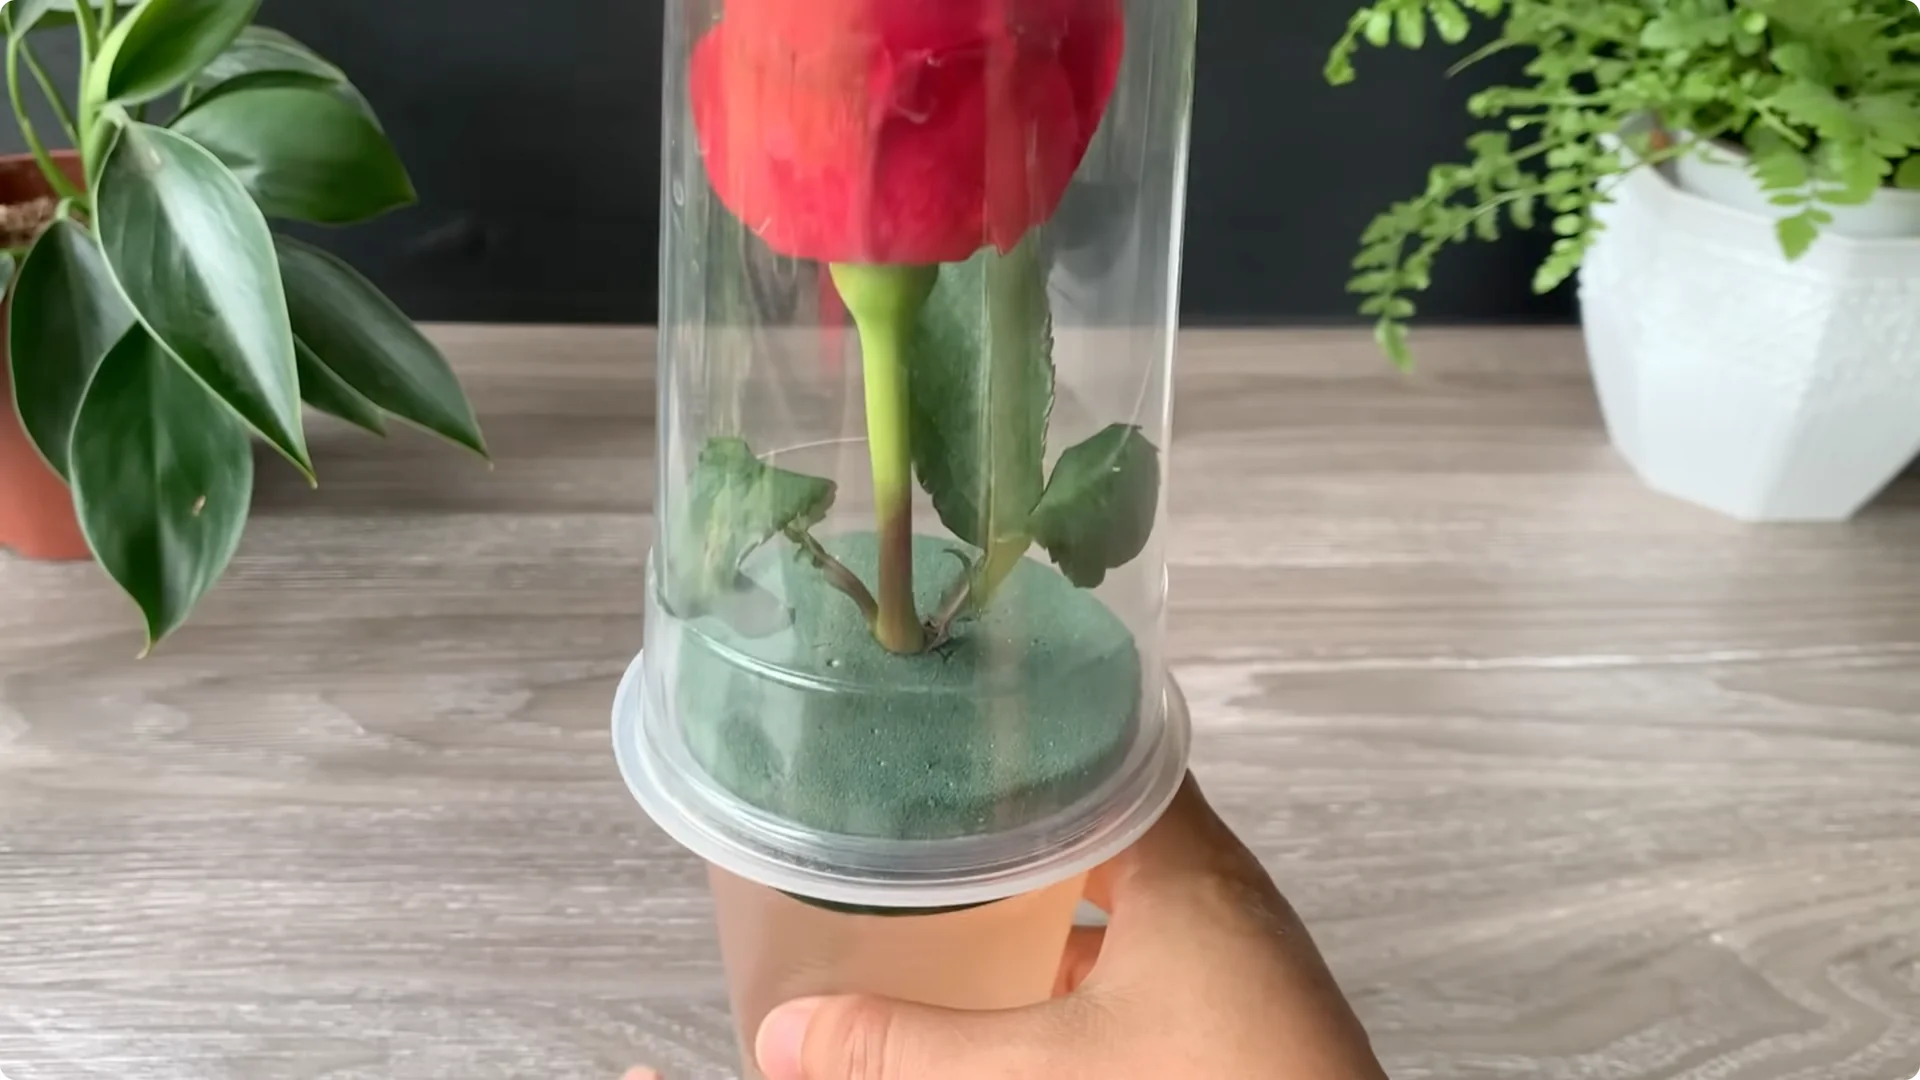
Create a mini greenhouse
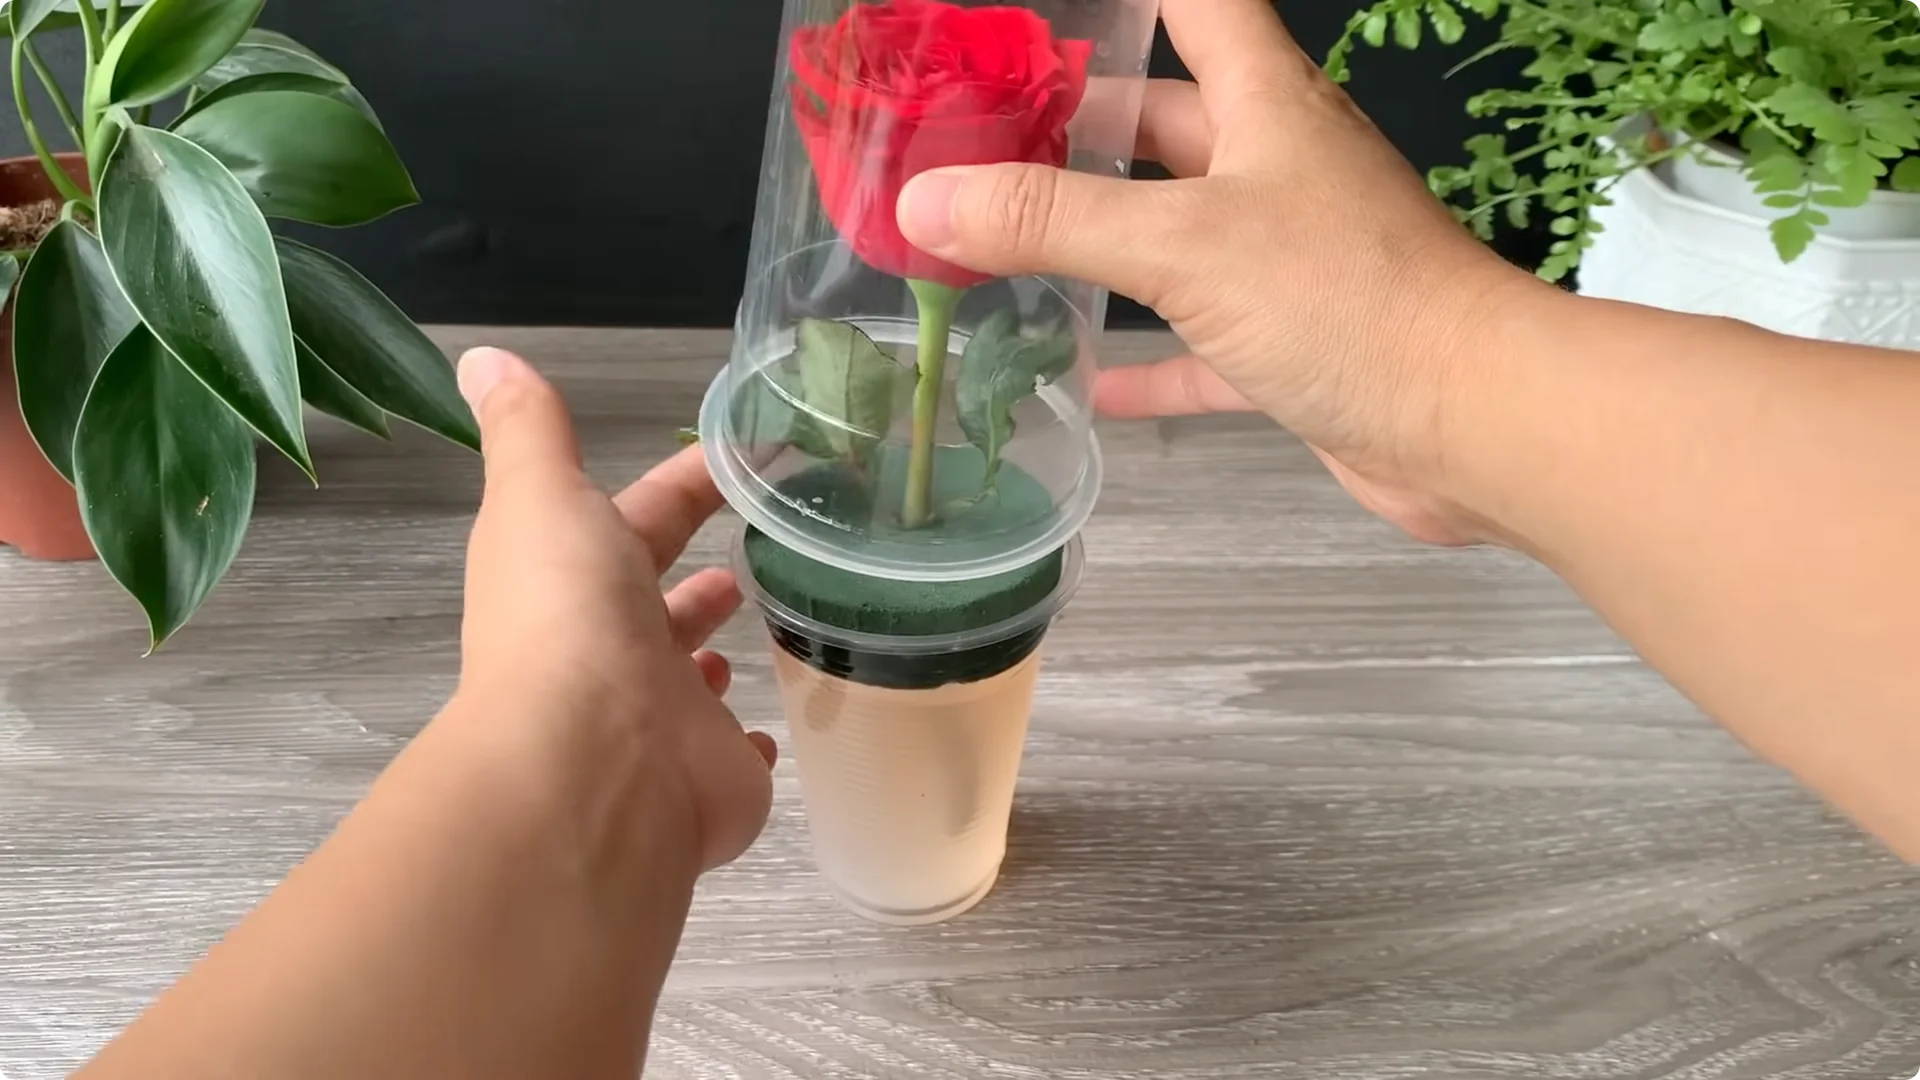
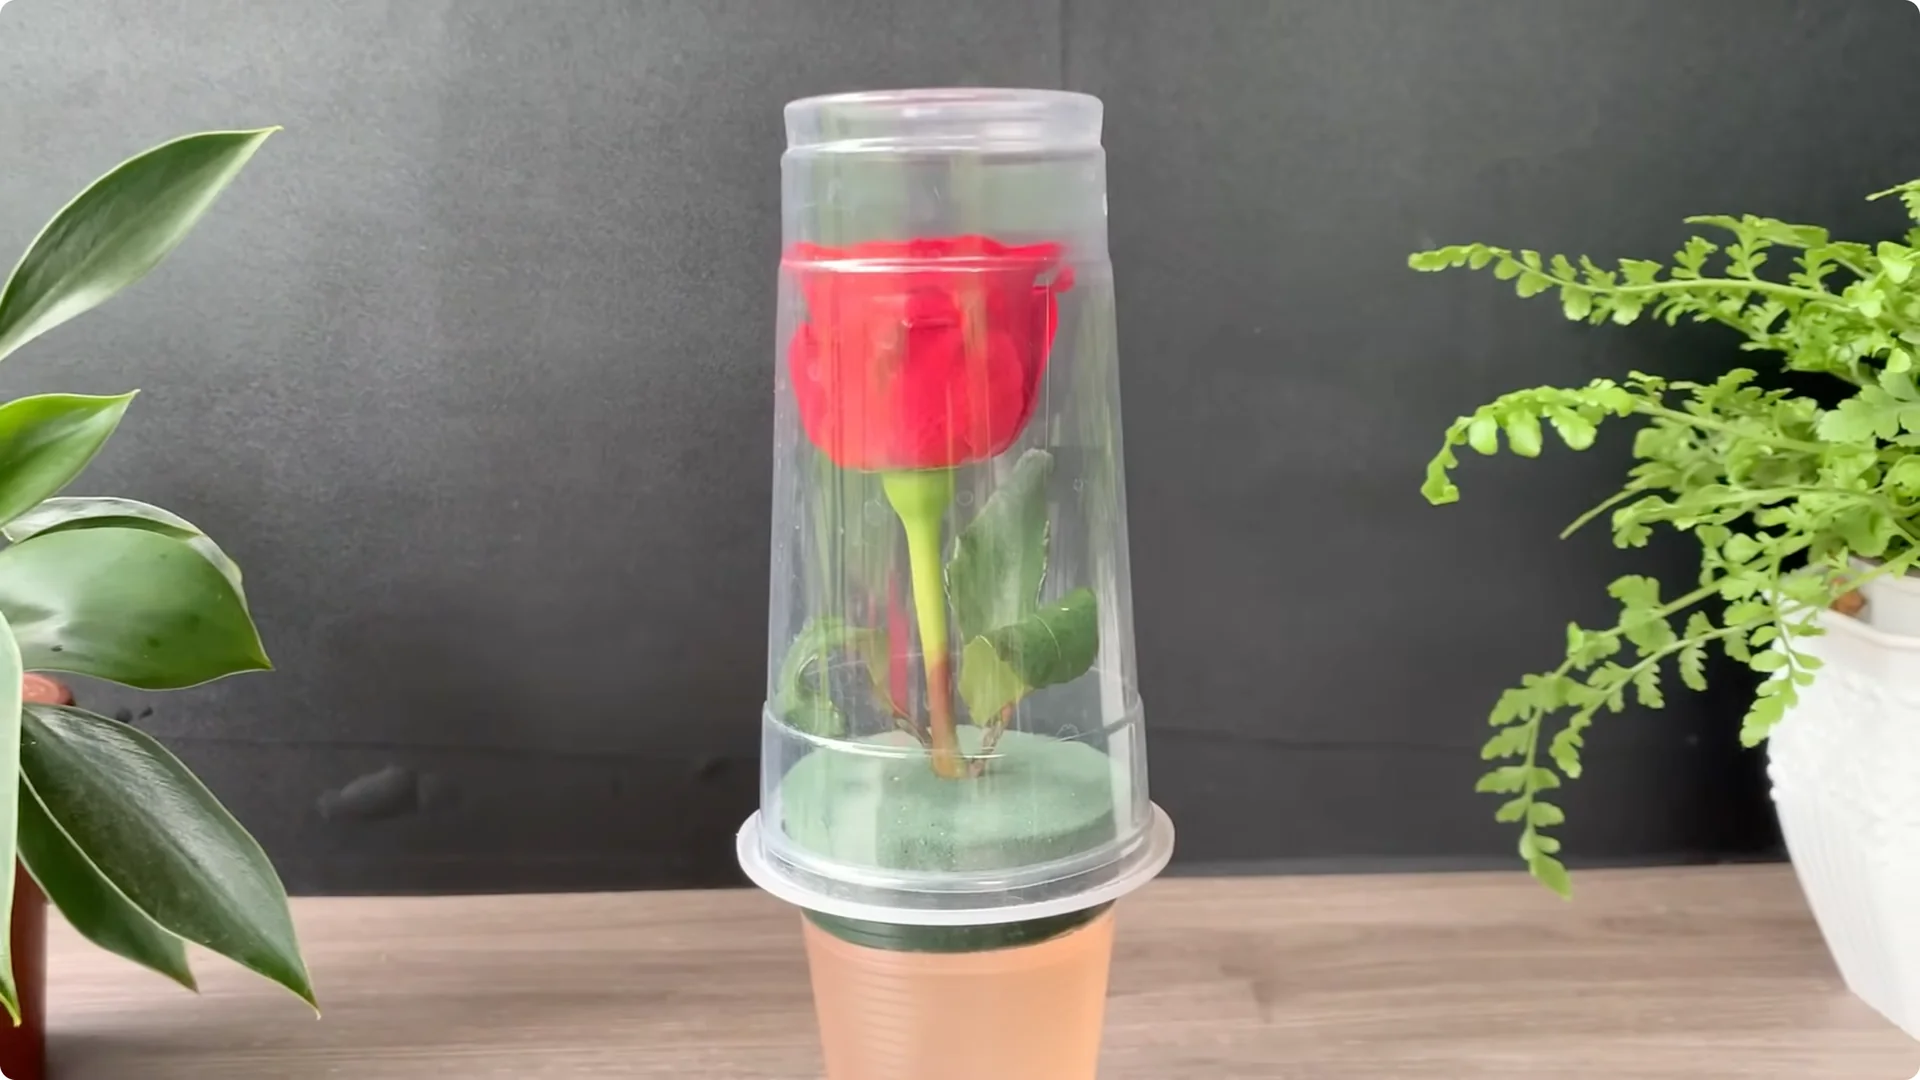
Use a large plastic cup with the bottom cut off and turn it upside down to create a greenhouse effect. This maintains consistent humidity, prevents the cuttings from drying out, and creates ideal conditions for root growth.
Place the cup in a cool place away from direct sunlight. Keep the solution evenly moist – do not let it dry out.
4. Rose Propagation by Cuttings: Rooting Timeline

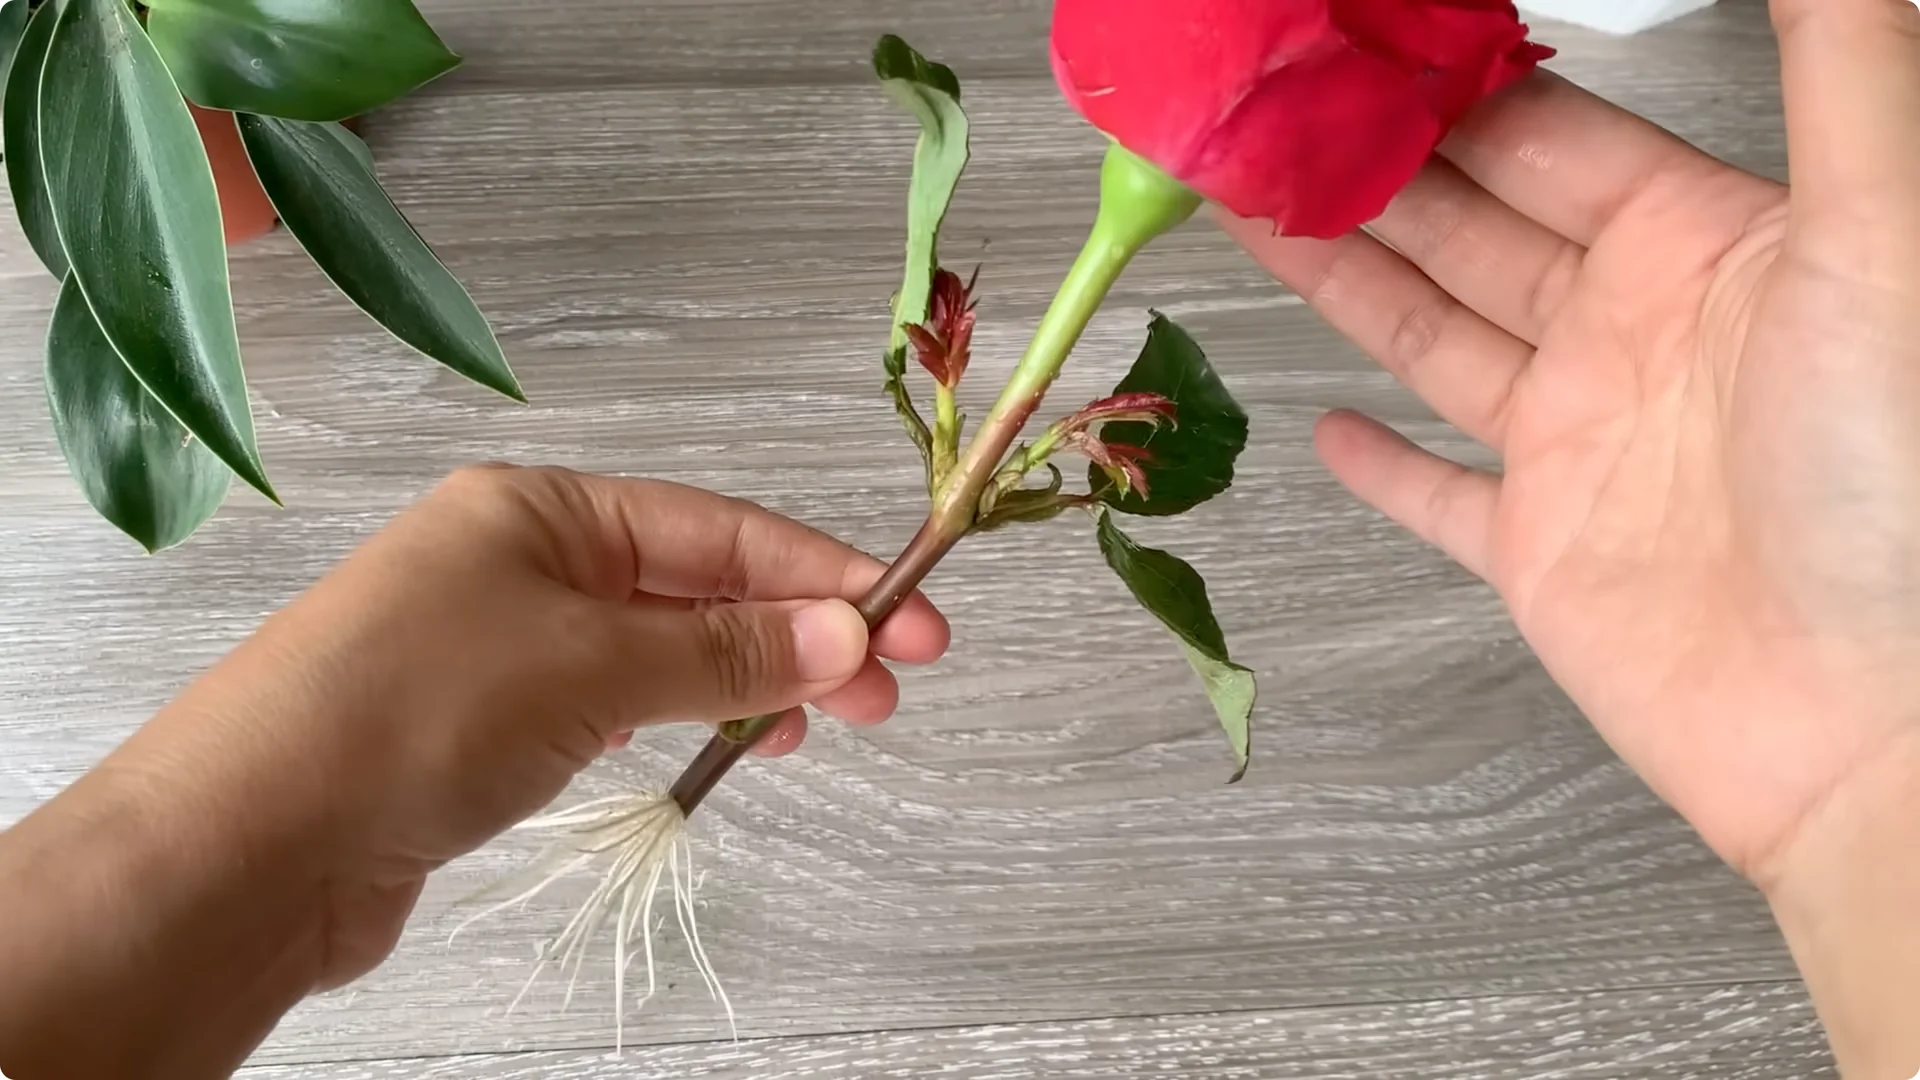
After about 7 to 10 days, if conditions are favourable, you should begin to see the first signs of new life from the leaf nodes. New shoots begin to grow, tiny, green, and full of life. It is a sign that the rose branch is well adapted and ready to grow.
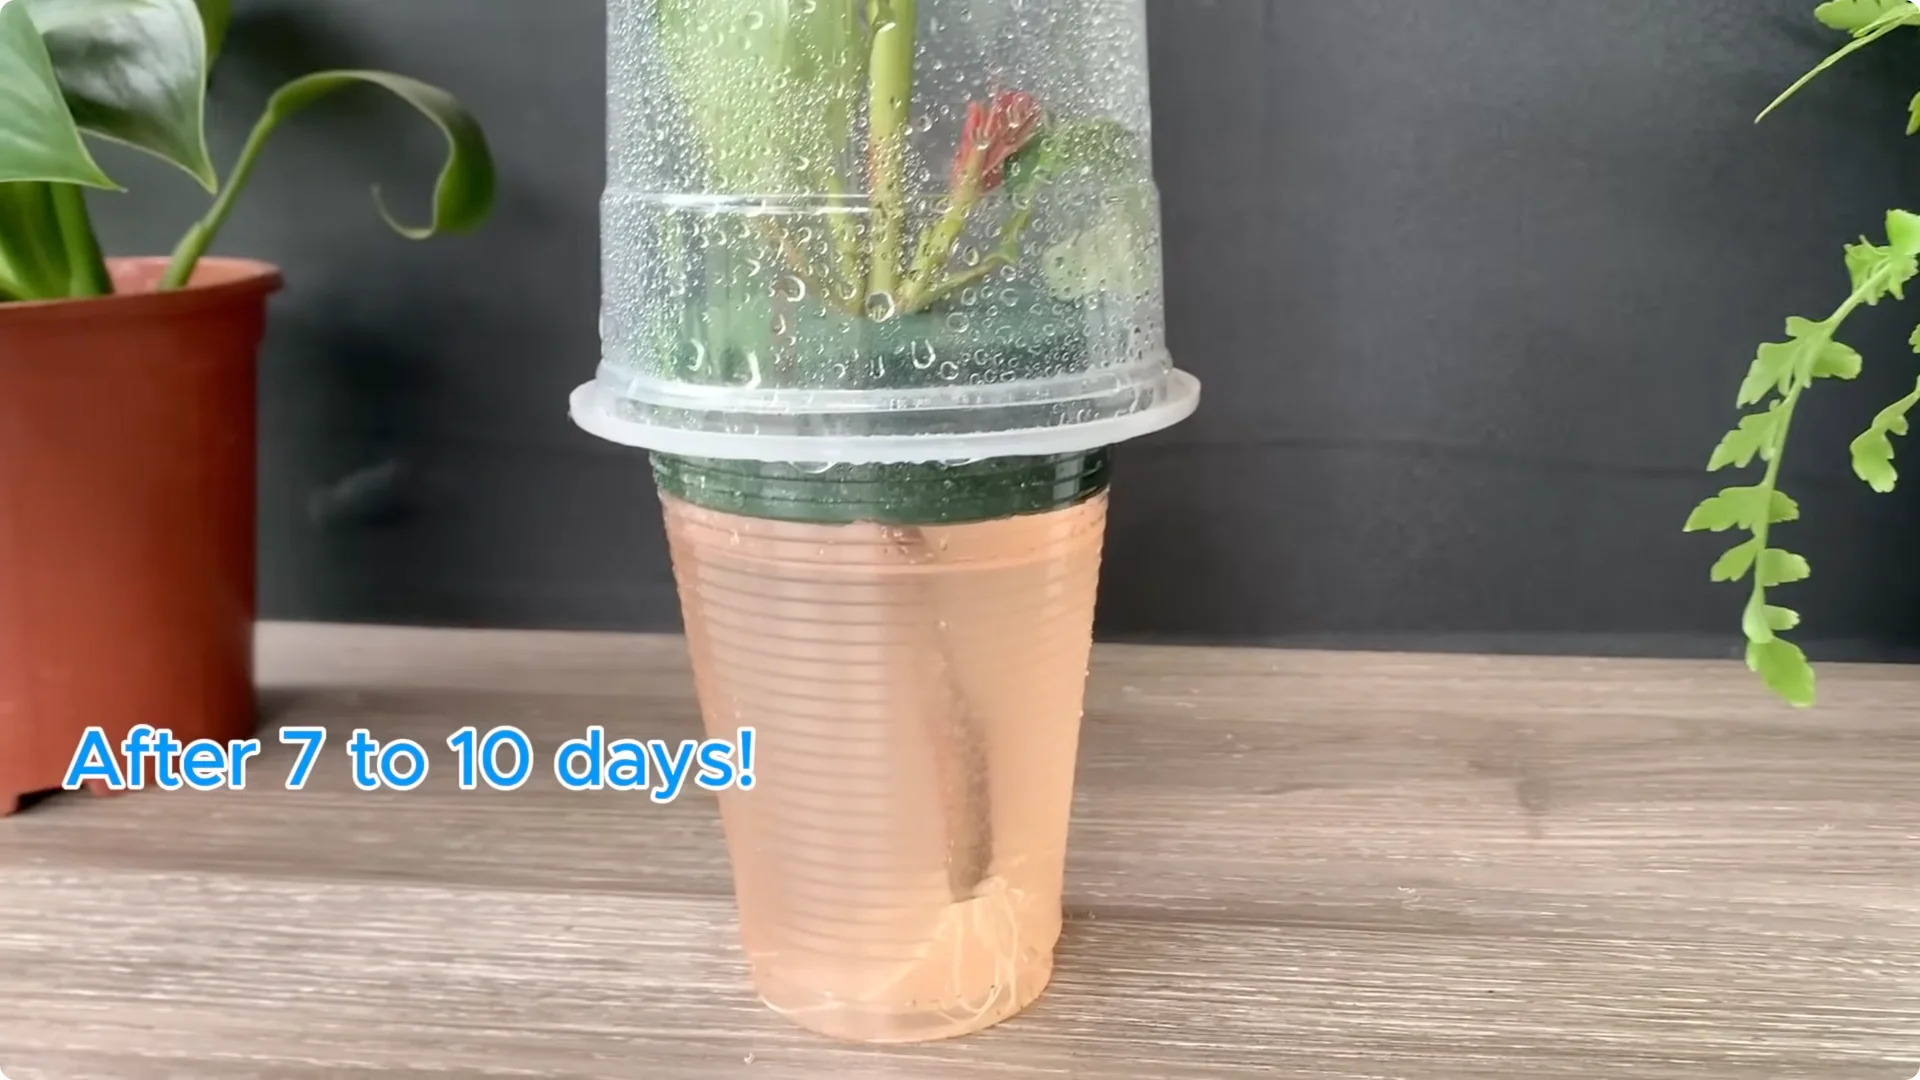
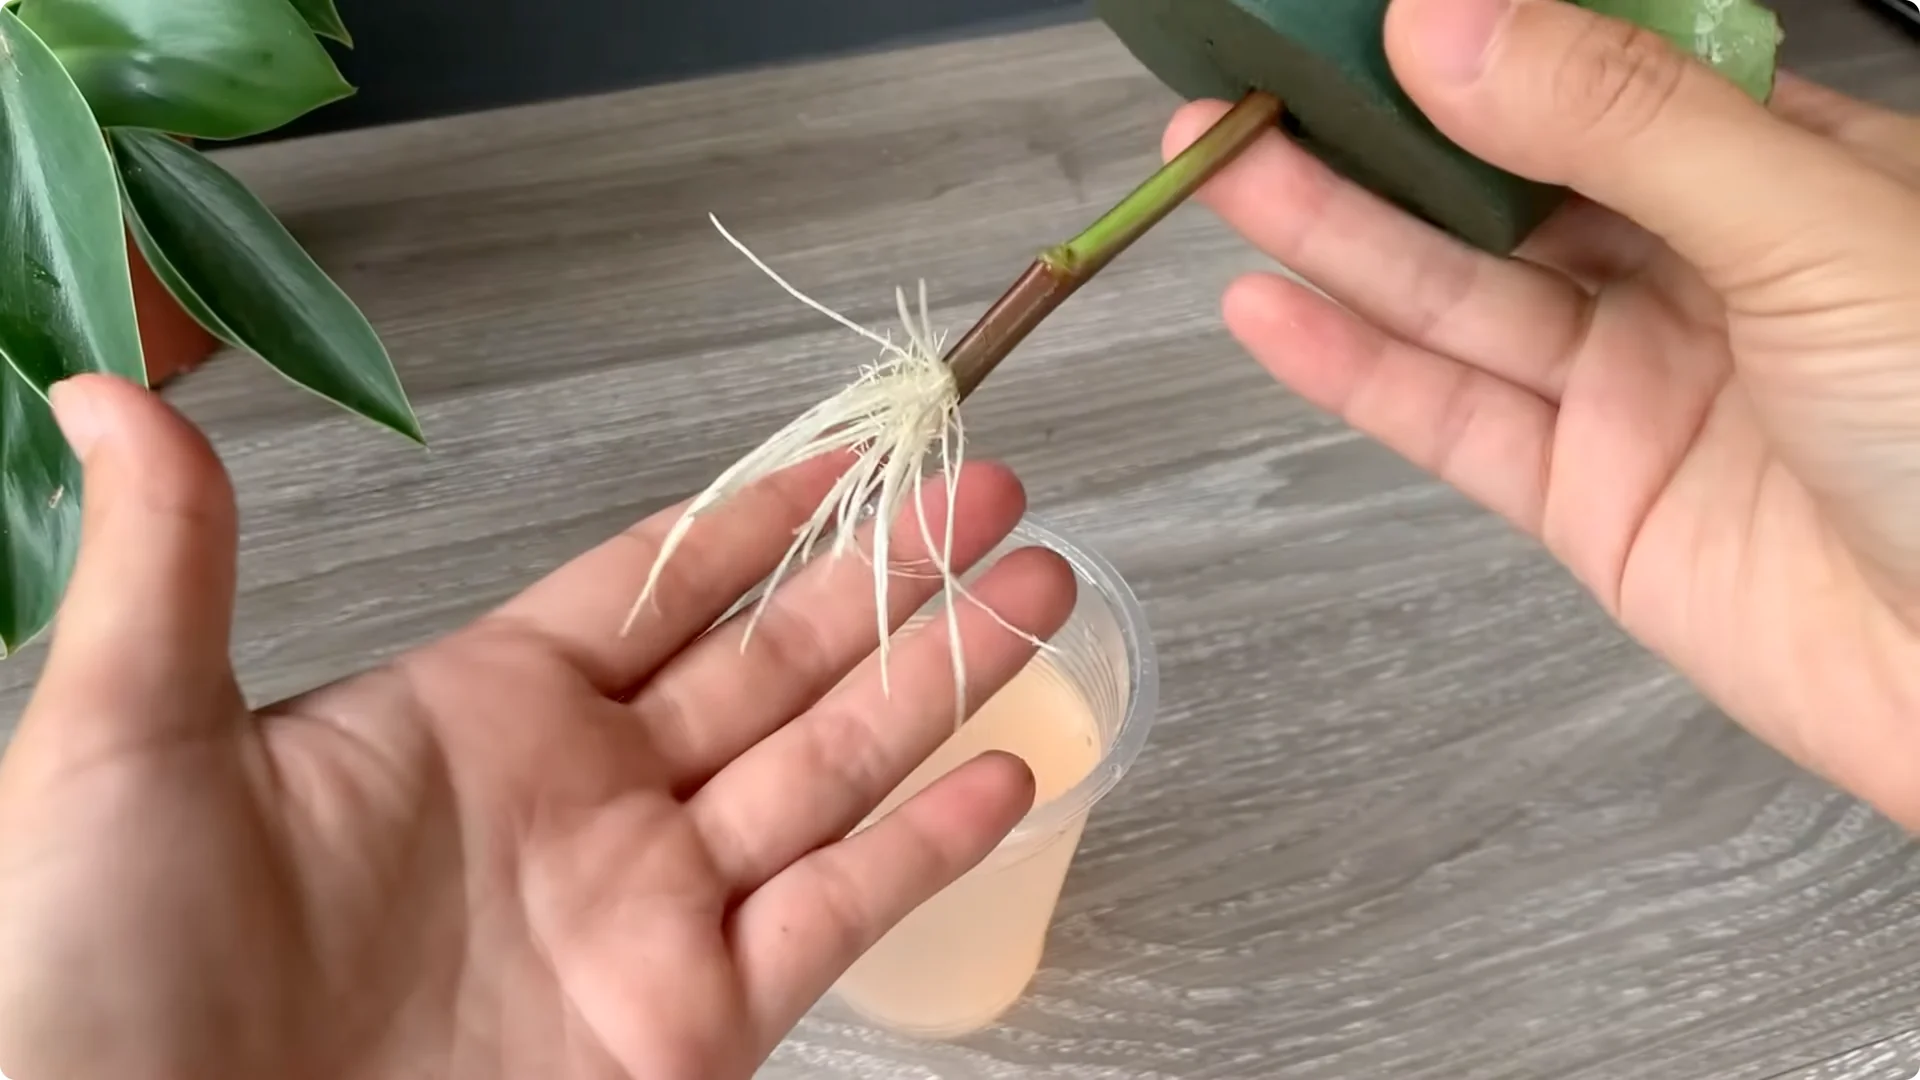
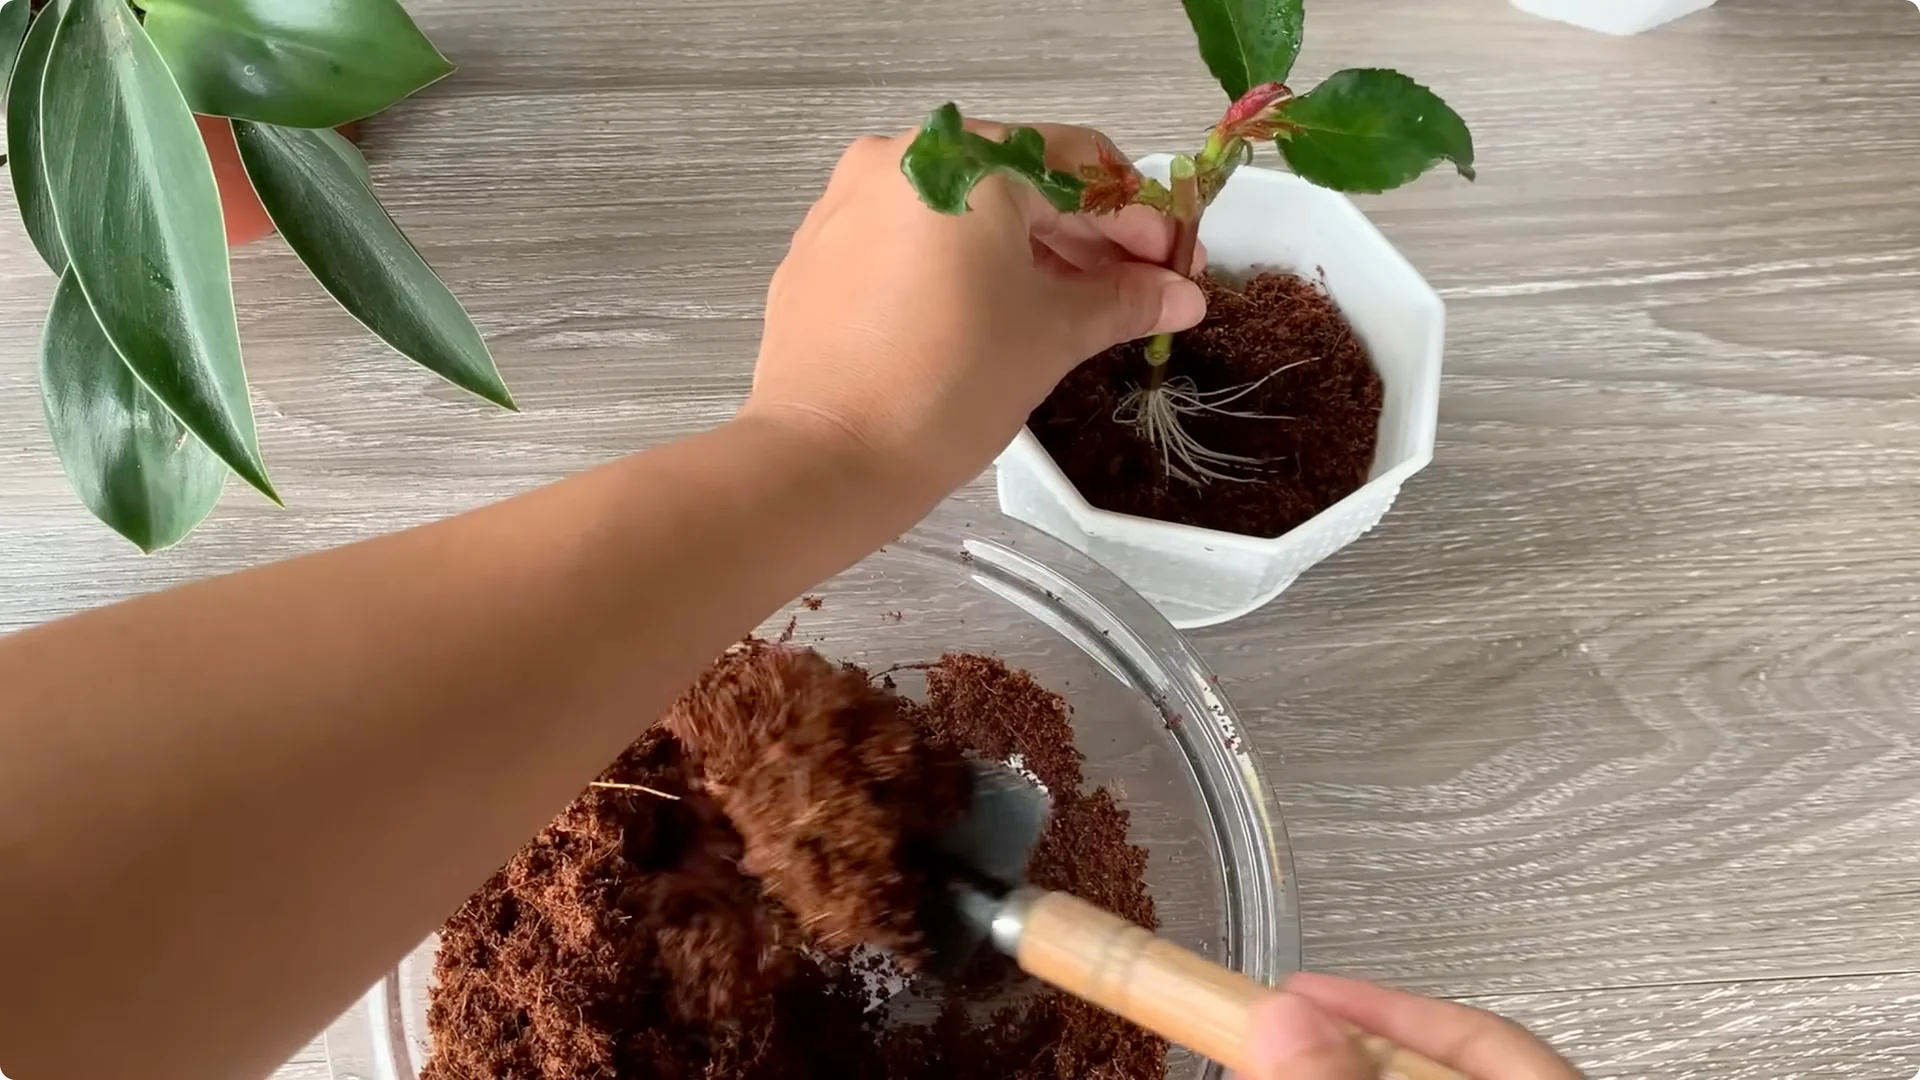
At the base of the plant submerged in the solution, ivory white roots gradually appear, thin but strong. The new roots spread out bit by bit like fragile threads, signalling the promising beginnings of a new rose plant.
For another natural boost, try the potato method for fast rooting.
5. Rose Propagation by Cuttings: Potting Up
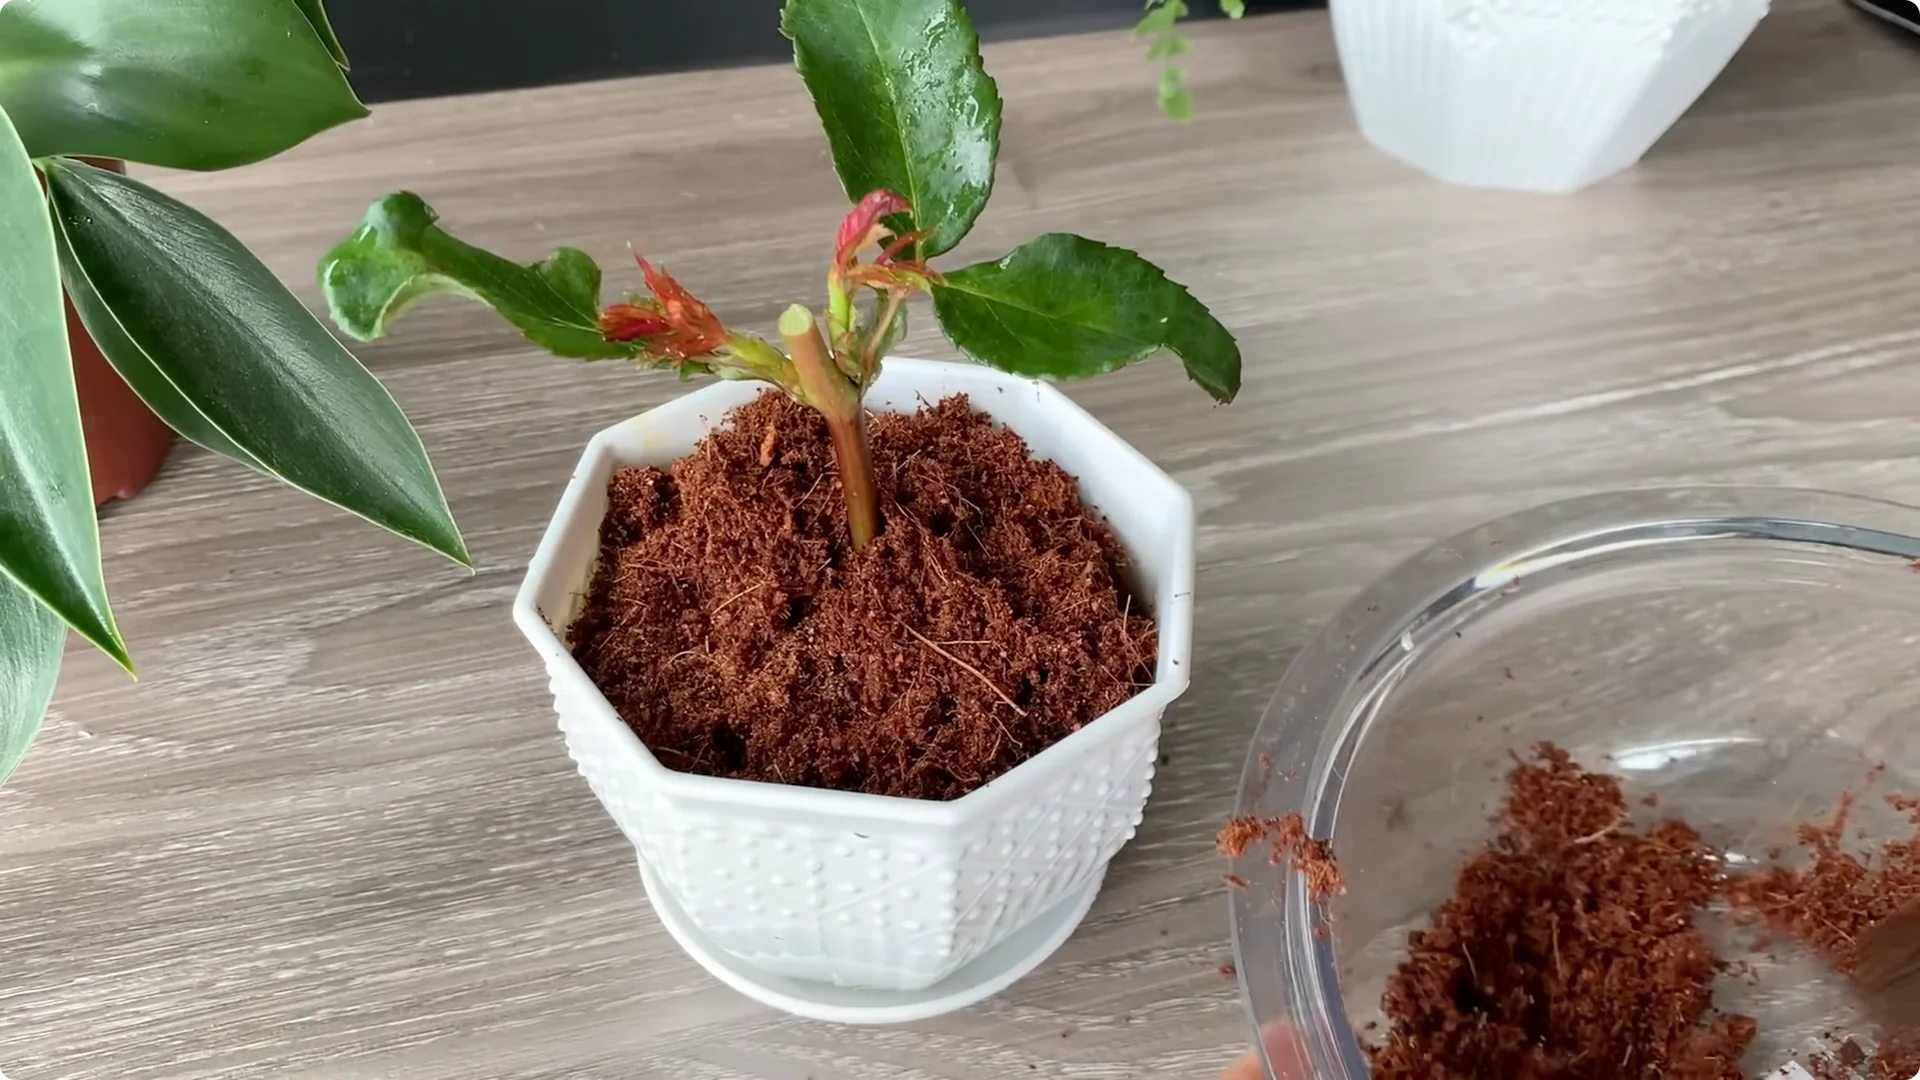
When the roots are about 3 to 5 cm long and the shoots are growing steadily, it is time to move to a larger pot. Prepare a pot with drainage holes and use a loose, airy soil mixture. You can mix garden soil with a little compost or rice husk ash.

Place the cutting in the center of the pot, fill in soil around the roots, and press gently to secure the plant. Water lightly with clean water and place the pot in a cool, lightly lit place.
Final Thoughts
It is amazing how with just simple ingredients and a little patience we can give our rose stems a fresh start, green and full of life. I hope this method brings you joy and bright parts of roses in your garden.