
Between the tall, gently curving stems and long-lasting unique flowers, it is no wonder orchids are popular houseplants. However, orchids can be a challenging plant for beginner houseplant parents because they have specific care requirements that are different from other common houseplants. Their delicate and intricate blooms can feel intimidating to maintain.
These specific care requirements may make it difficult for beginners to keep orchids healthy and thriving, which can lead to disappointment and frustration. With a few tips, tricks and a little bit of gardening know how, your new orchid can flourish in your home for years to come.
1. Orchid Care Basics: Types
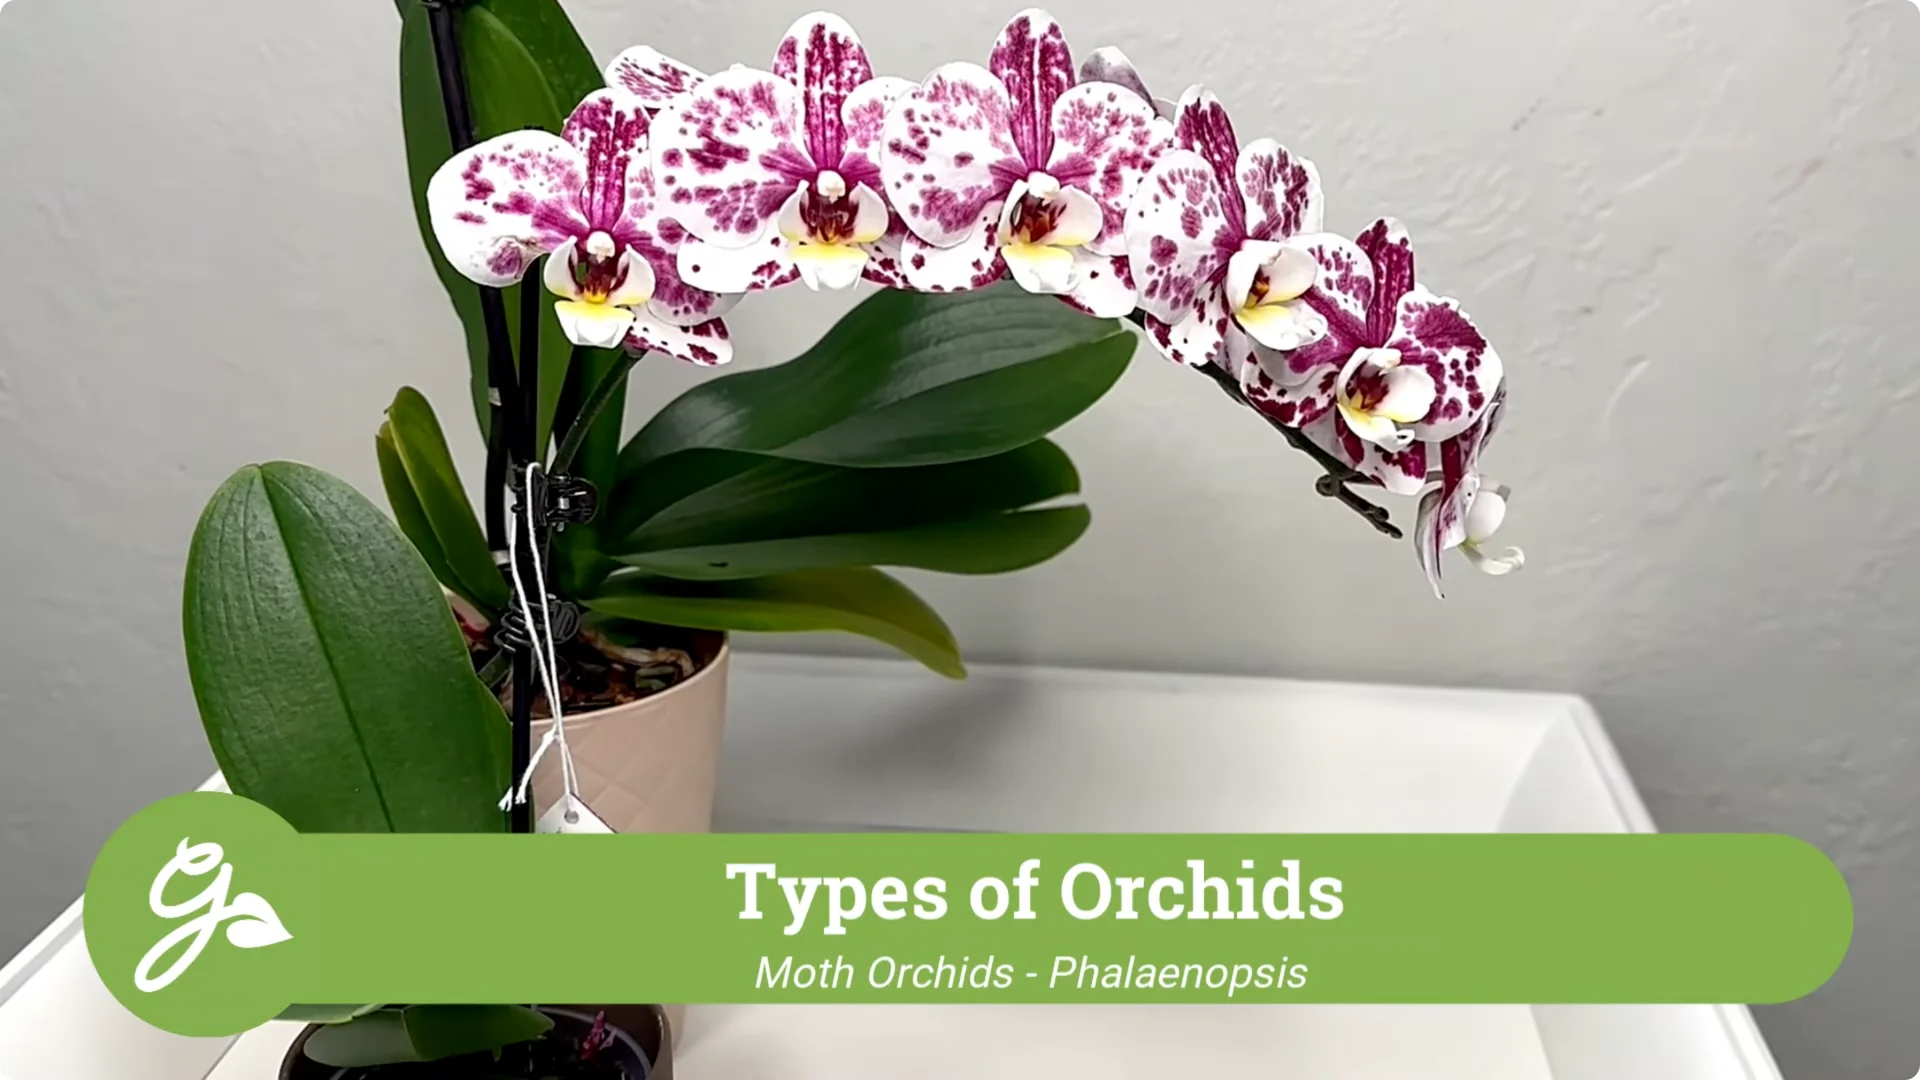
There are more than 20,000 types of orchids in the world, but the most common types to use as houseplants are moth orchids. Moth orchids bloom once or twice a year, and each flower can last as long as three months with the proper care.
These are usually the types found at your local grocery store, garden center and other specialty retailers. Most often they are available in white, but varying shades of pink, purple and peach can also be found.
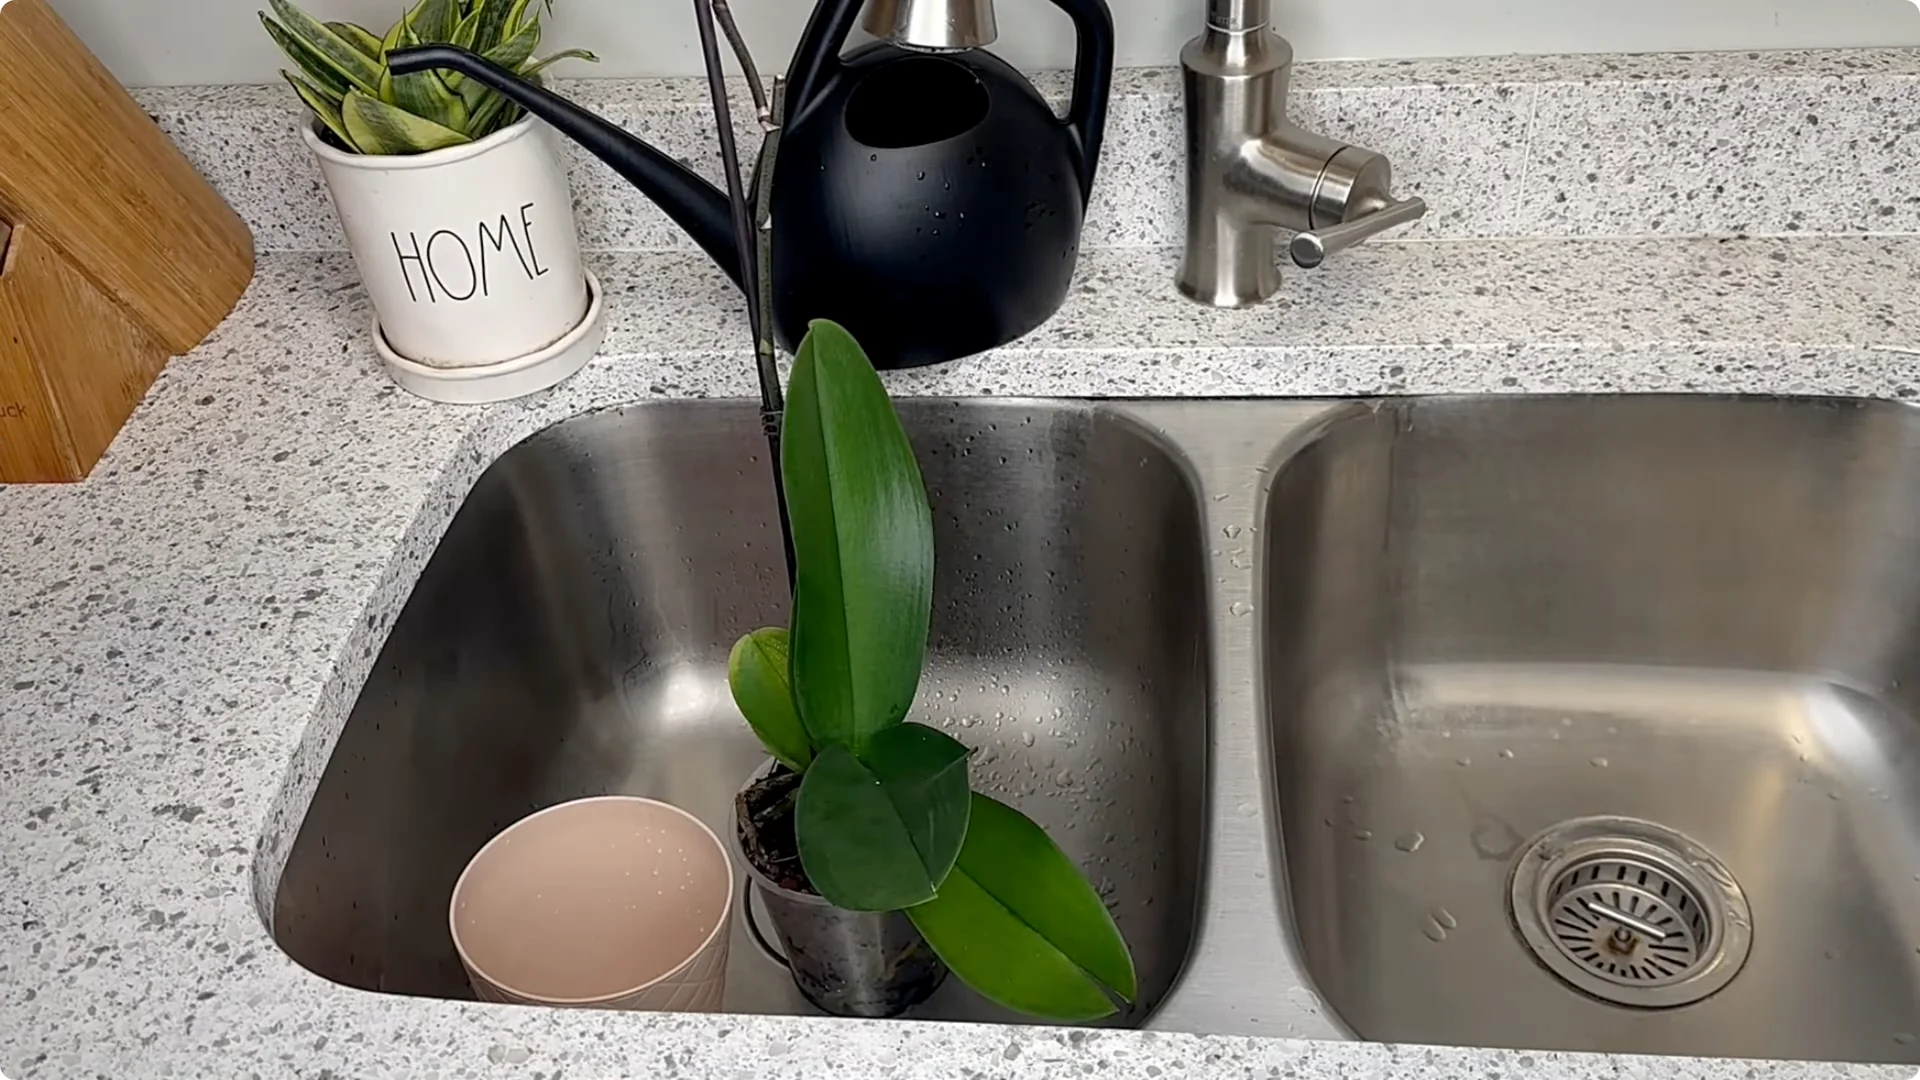
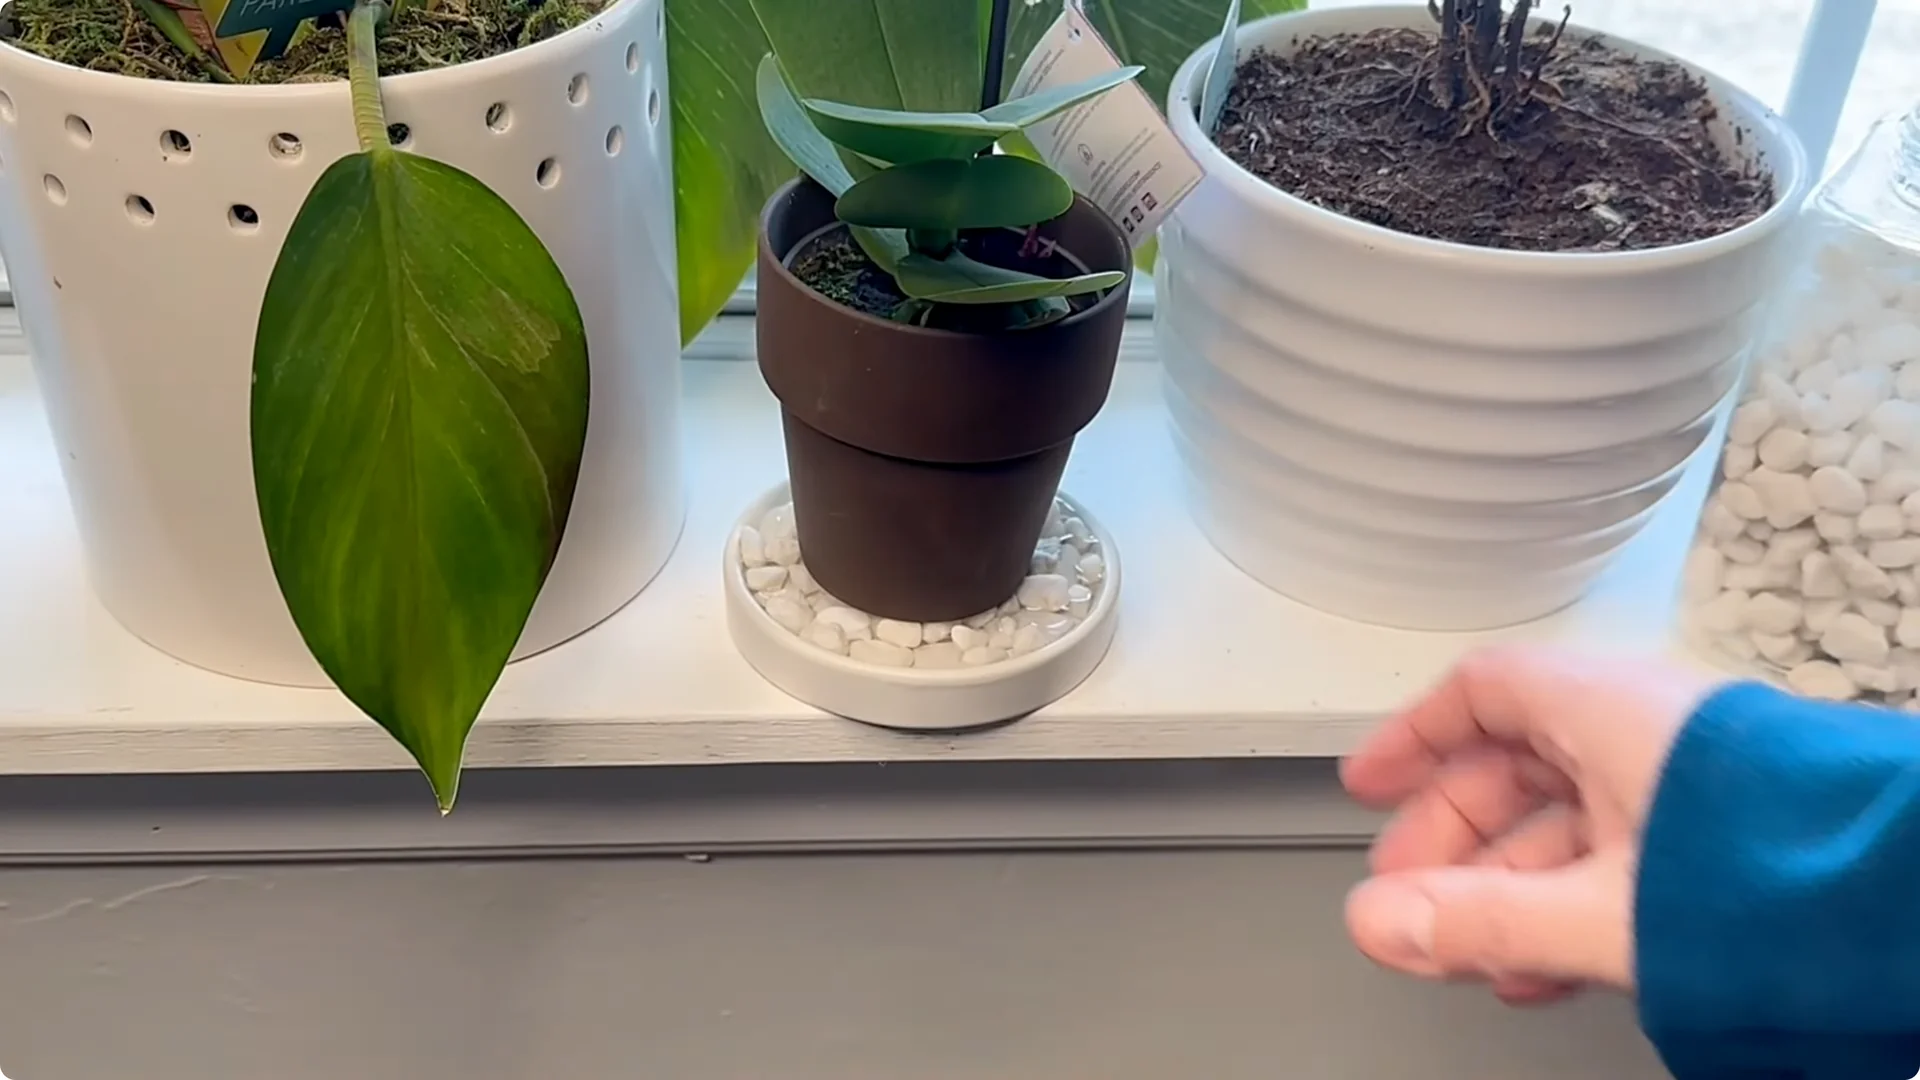
2. Orchid Care Basics: Pots
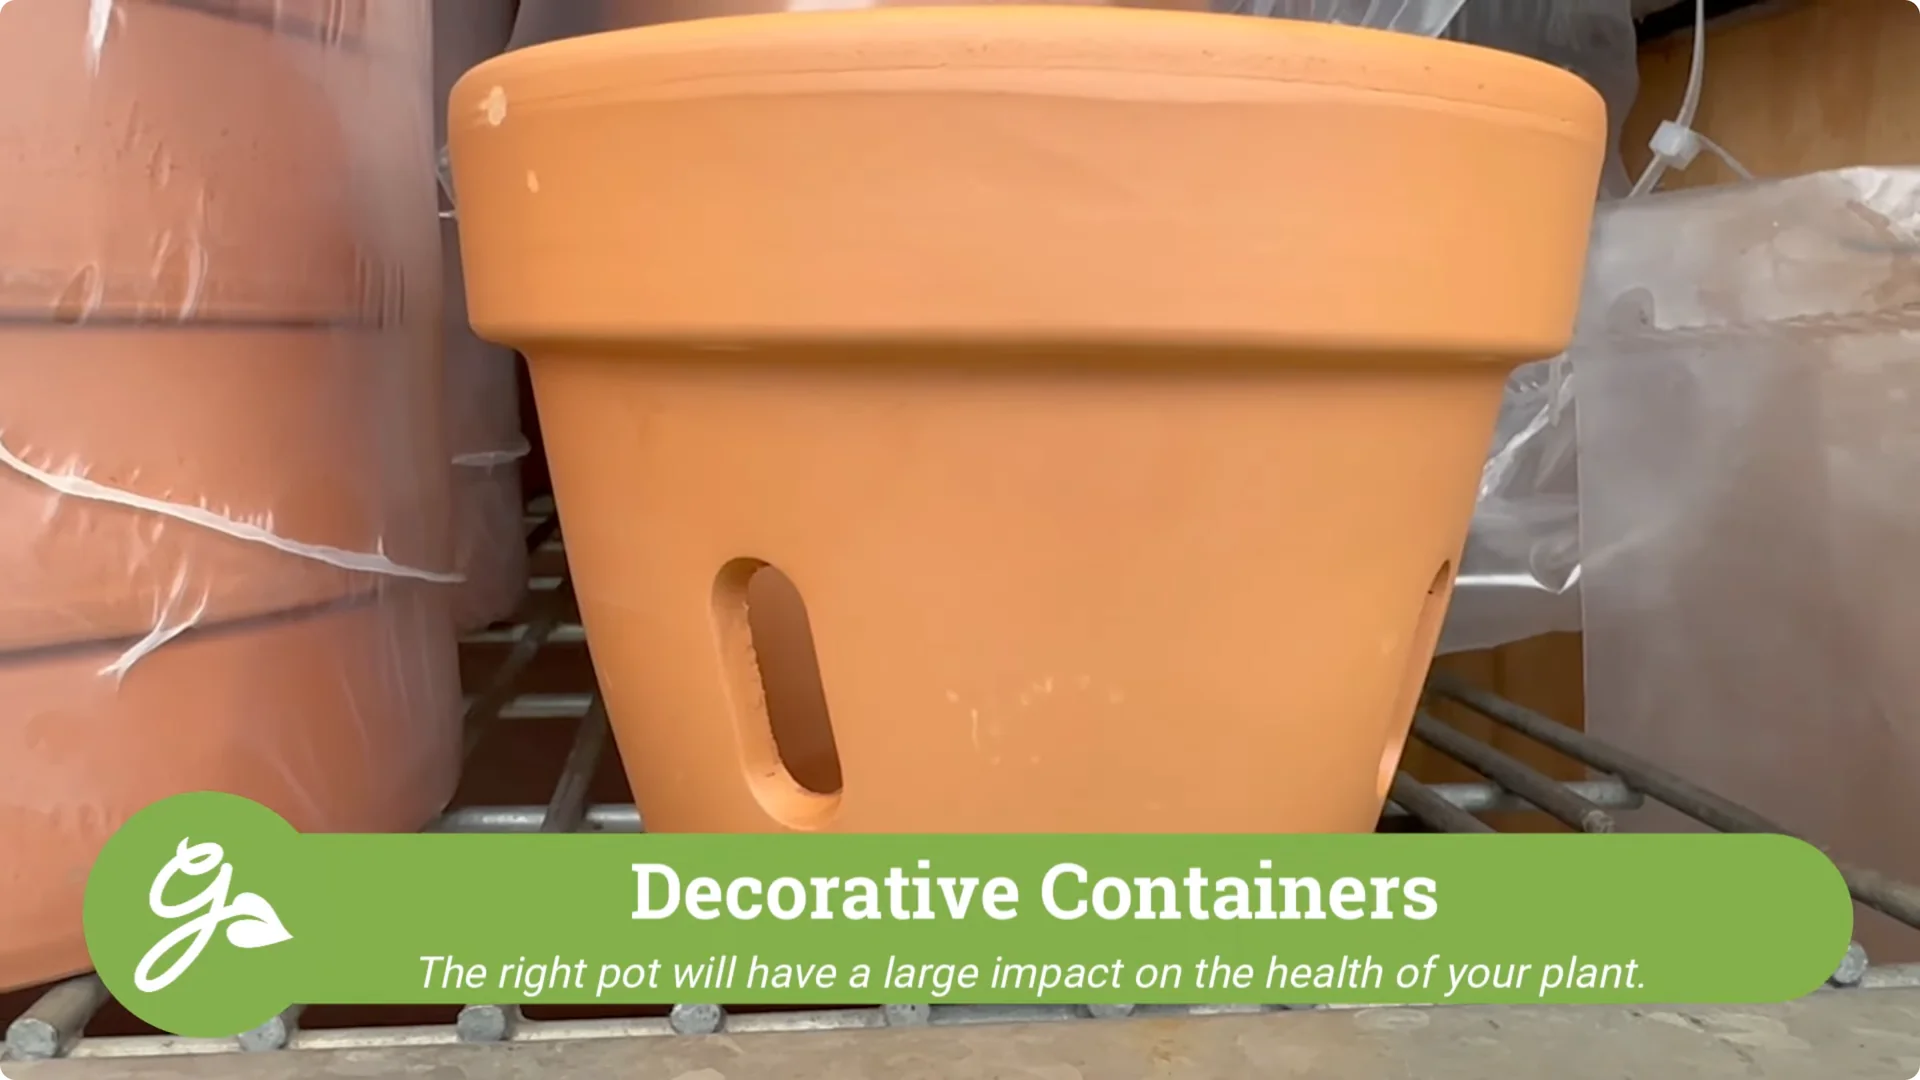
We must first select a pot that will allow them to grow to their fullest potential. When you purchase an orchid, it is usually sold in a clear plastic pot with several drainage holes. It may or may not be placed inside another decorative container.
The not-so-attractive clear plastic pot does have benefits, including ample drainage and the ability to easily inspect the roots for pests, disease or overcrowding. Plus, you can easily switch decorative containers to correspond to different room decor or seasons.
Special pots are often marketed for orchids, but any pot with good drainage can house an orchid plant. Most orchids prefer squat pots to allow their roots to spread out, not down.
3. Orchid Care Basics: Light
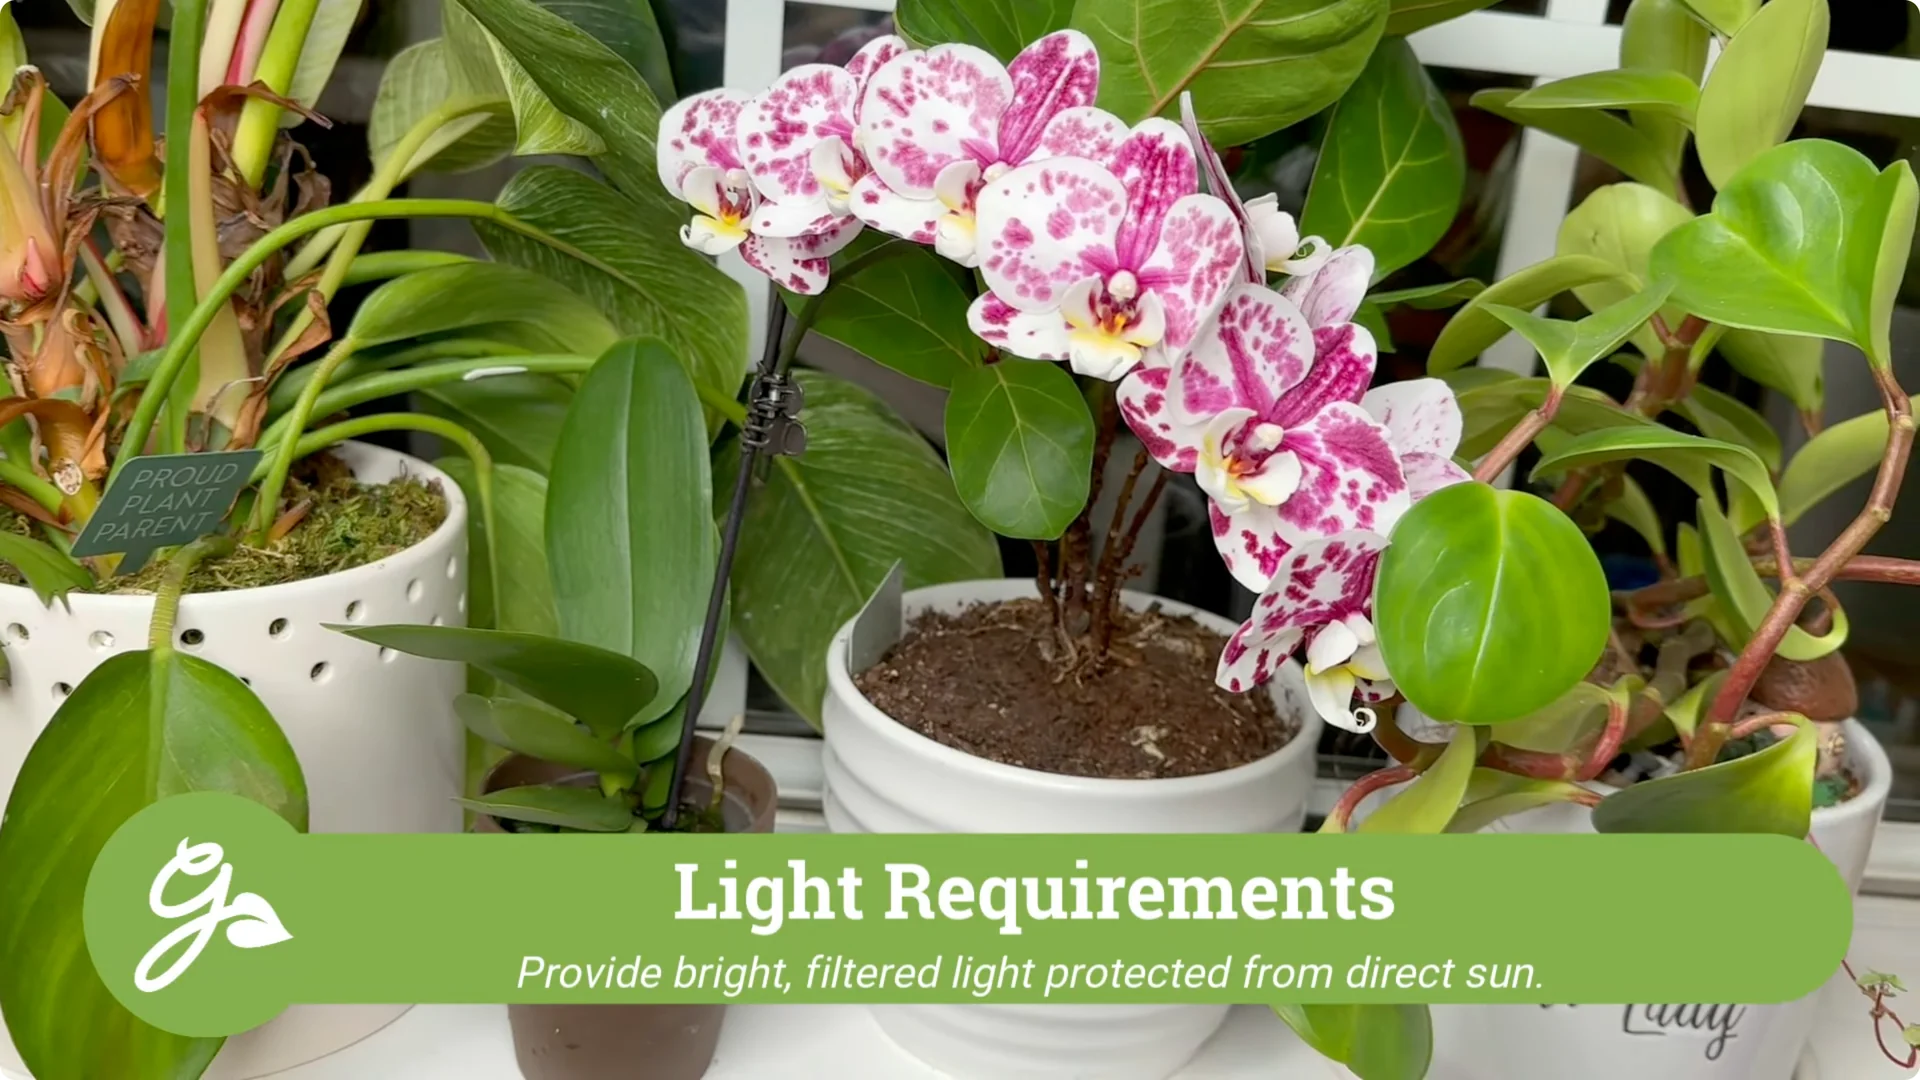
When growing any type of orchid, light is key in maintaining healthy plants. In general, orchids prefer bright, filtered light and should be protected from direct sunlight, which can cause leaf burn.
Place orchids in the home with available light sources in mind. This includes the proximity to windows, especially those east or south facing. If the sunlight is especially intense, hang a sheer curtain to scatter some of the light.
If a windowsill is your only option, moth orchids are especially tolerant of different light conditions from bright to medium. If the orchid is not receiving enough light, it may not bloom as often, or at all.
Read More: Snake Plant Care Tips
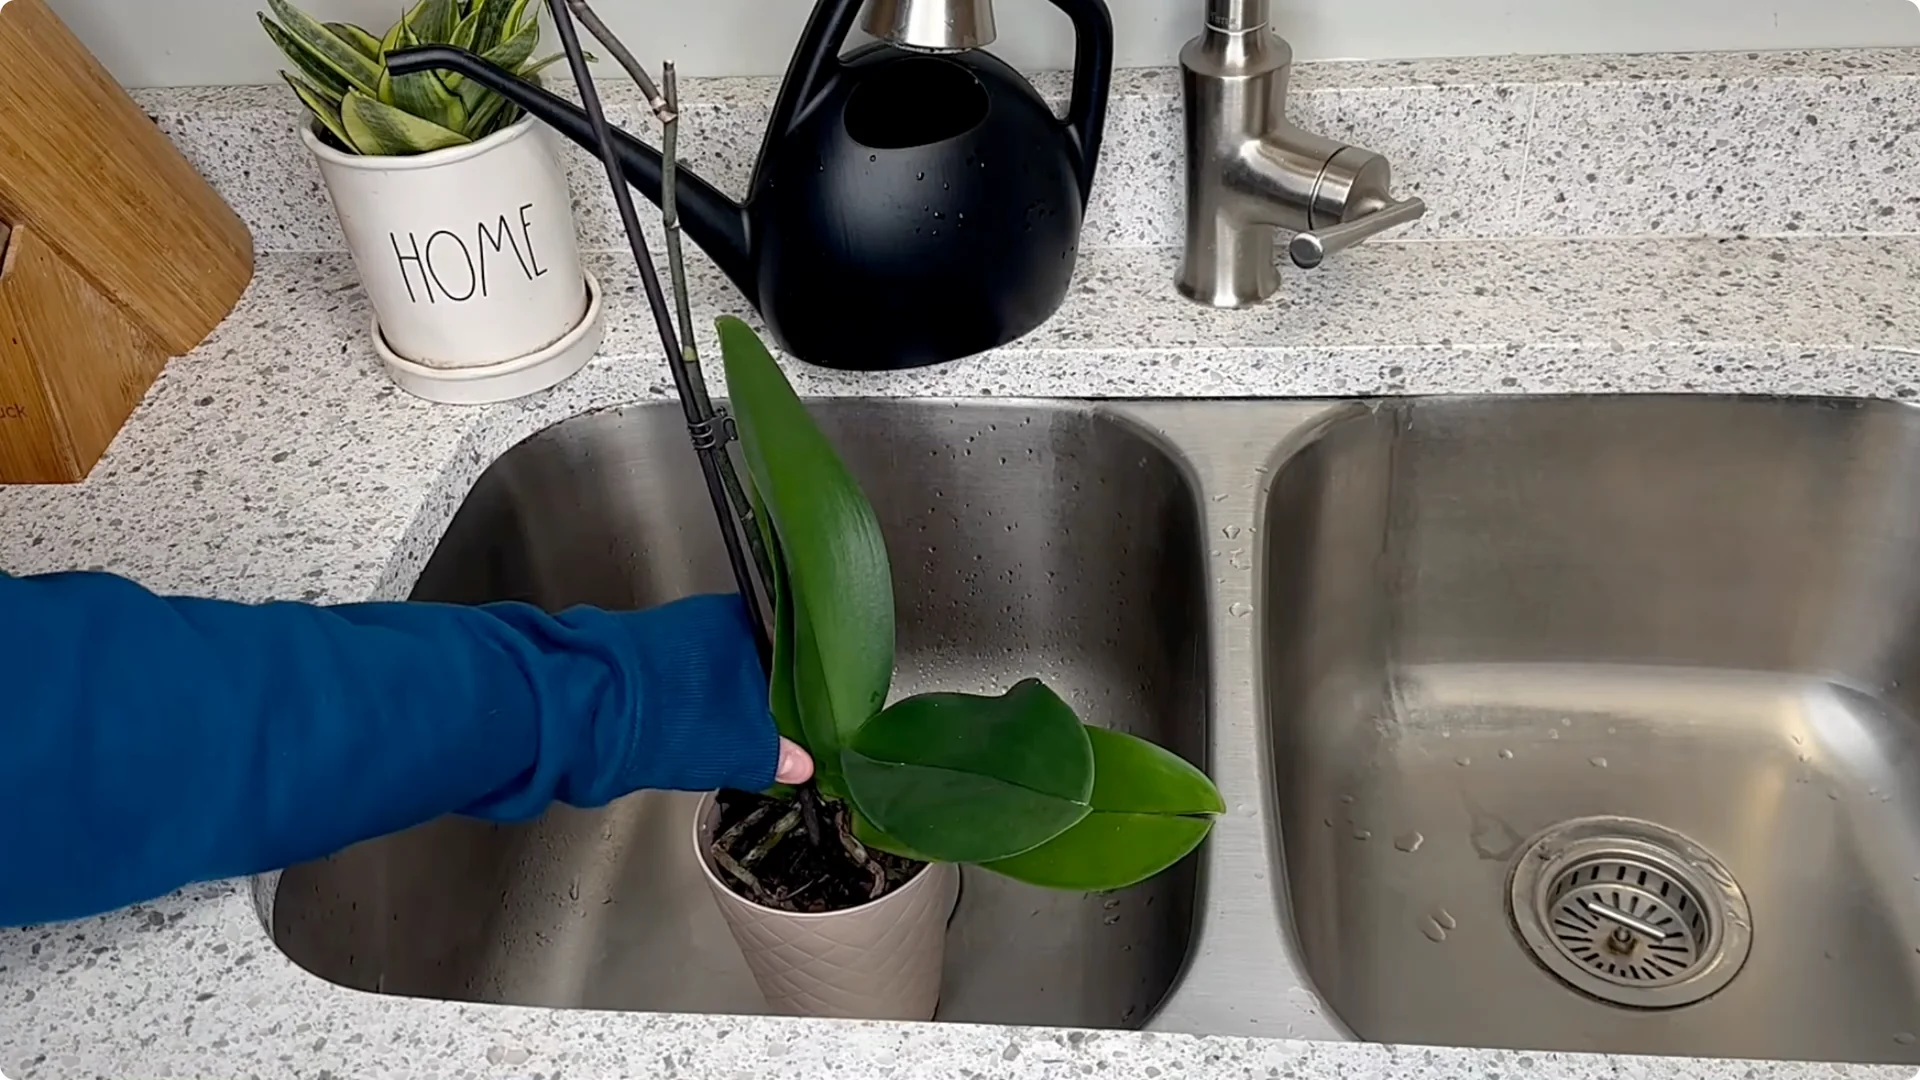
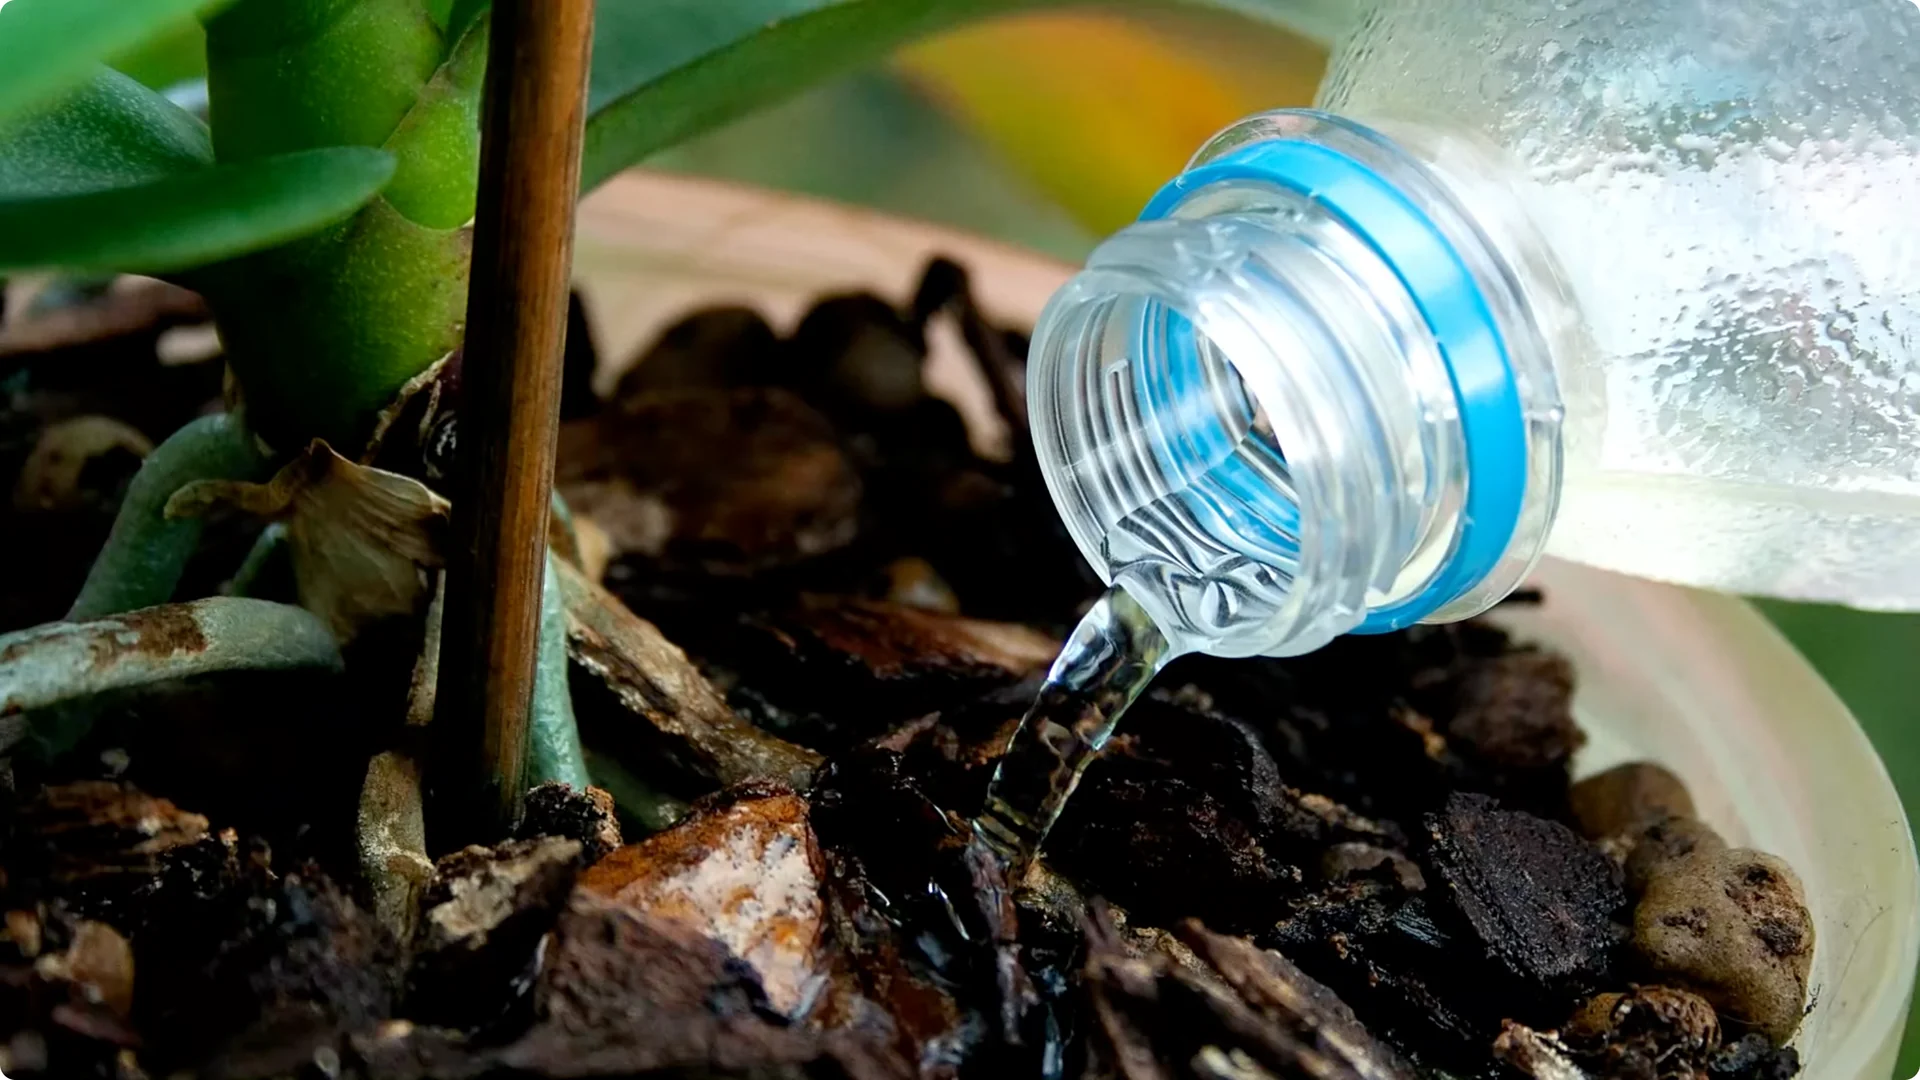
4. Orchid Care Basics: Watering
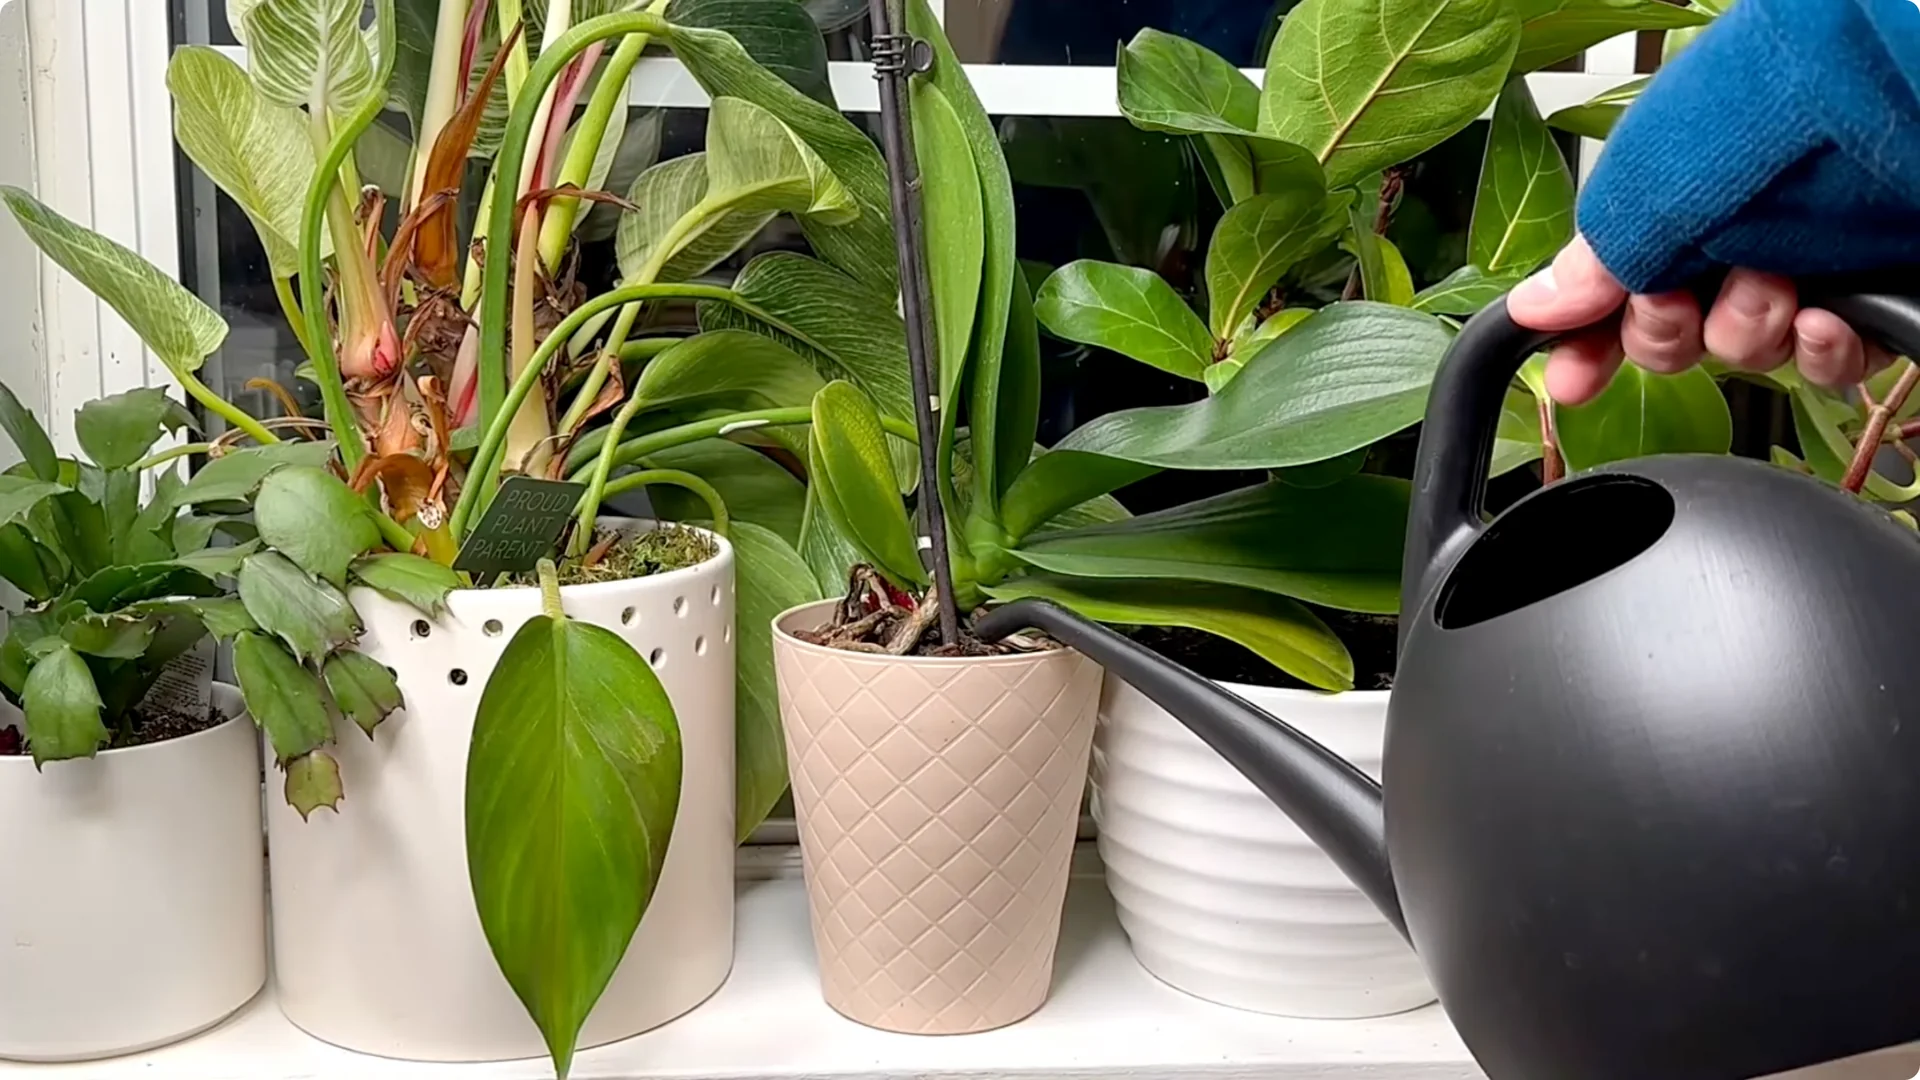
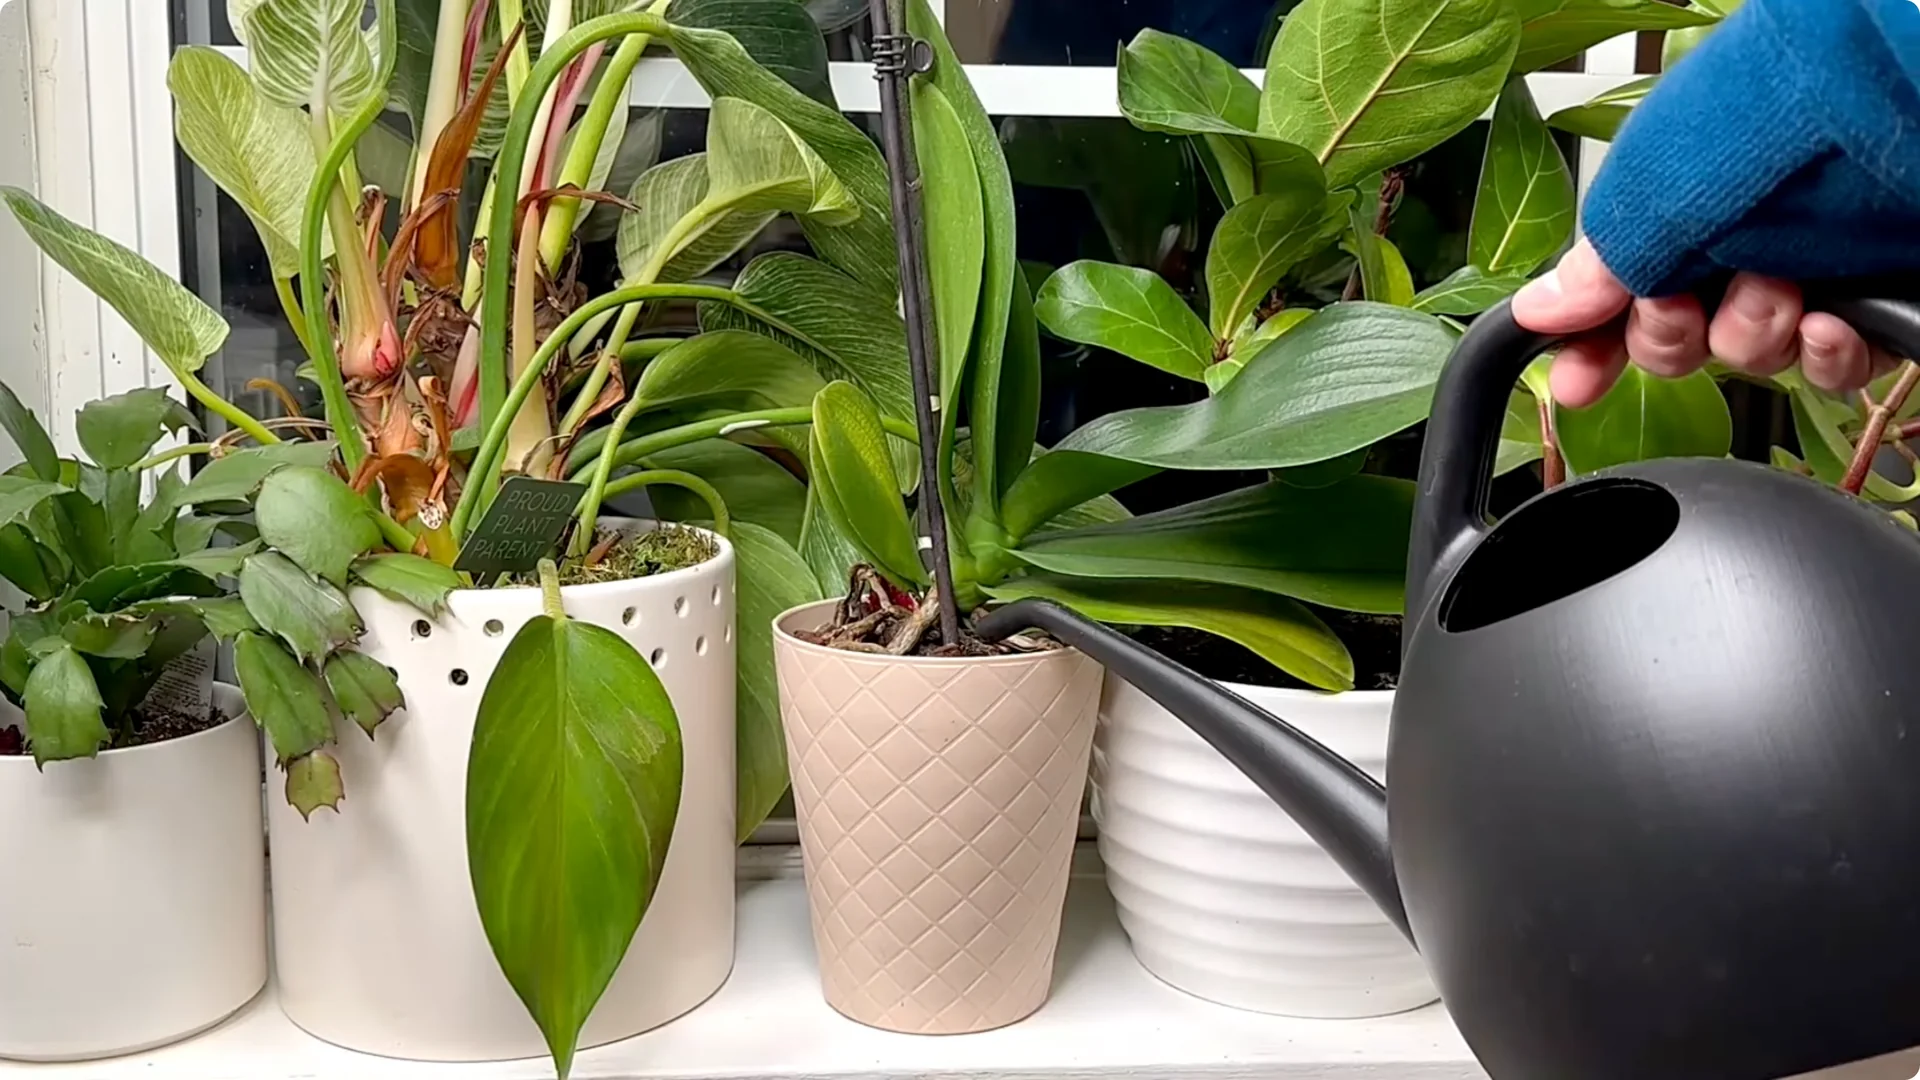
Orchids should be watered about once per week, but the frequency can vary depending on the humidity and temperature of your home. Do not over-water your orchid, as this can lead to root rot. Orchids like their growing medium to dry out between waterings.
Use room temperature water at the base of the plant, not on the leaves. Allow the orchid to drain properly and do not let the plant sit in water. If your plant lives in a clear plastic pot within a decorative pot, remove it during watering to allow for proper drainage.
Water your orchids in the morning so that the moisture has time to evaporate.
Watering steps
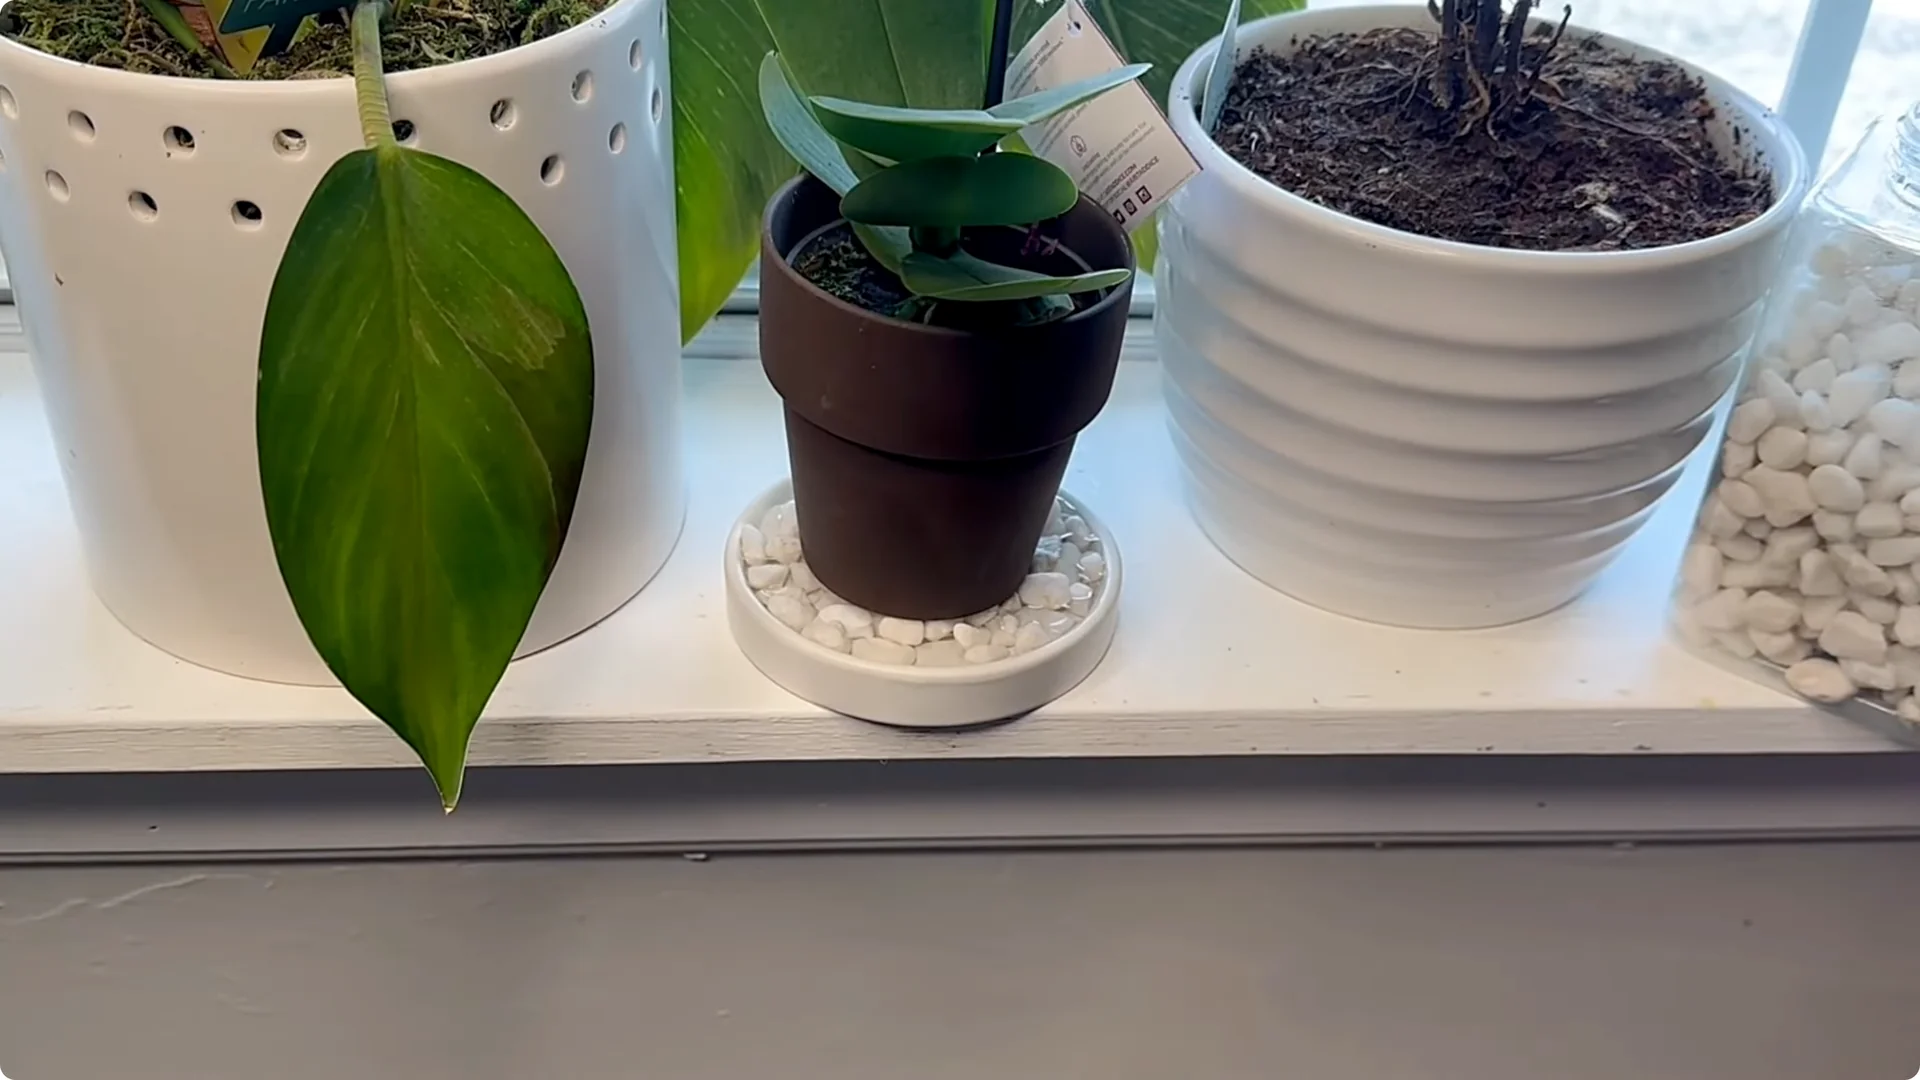
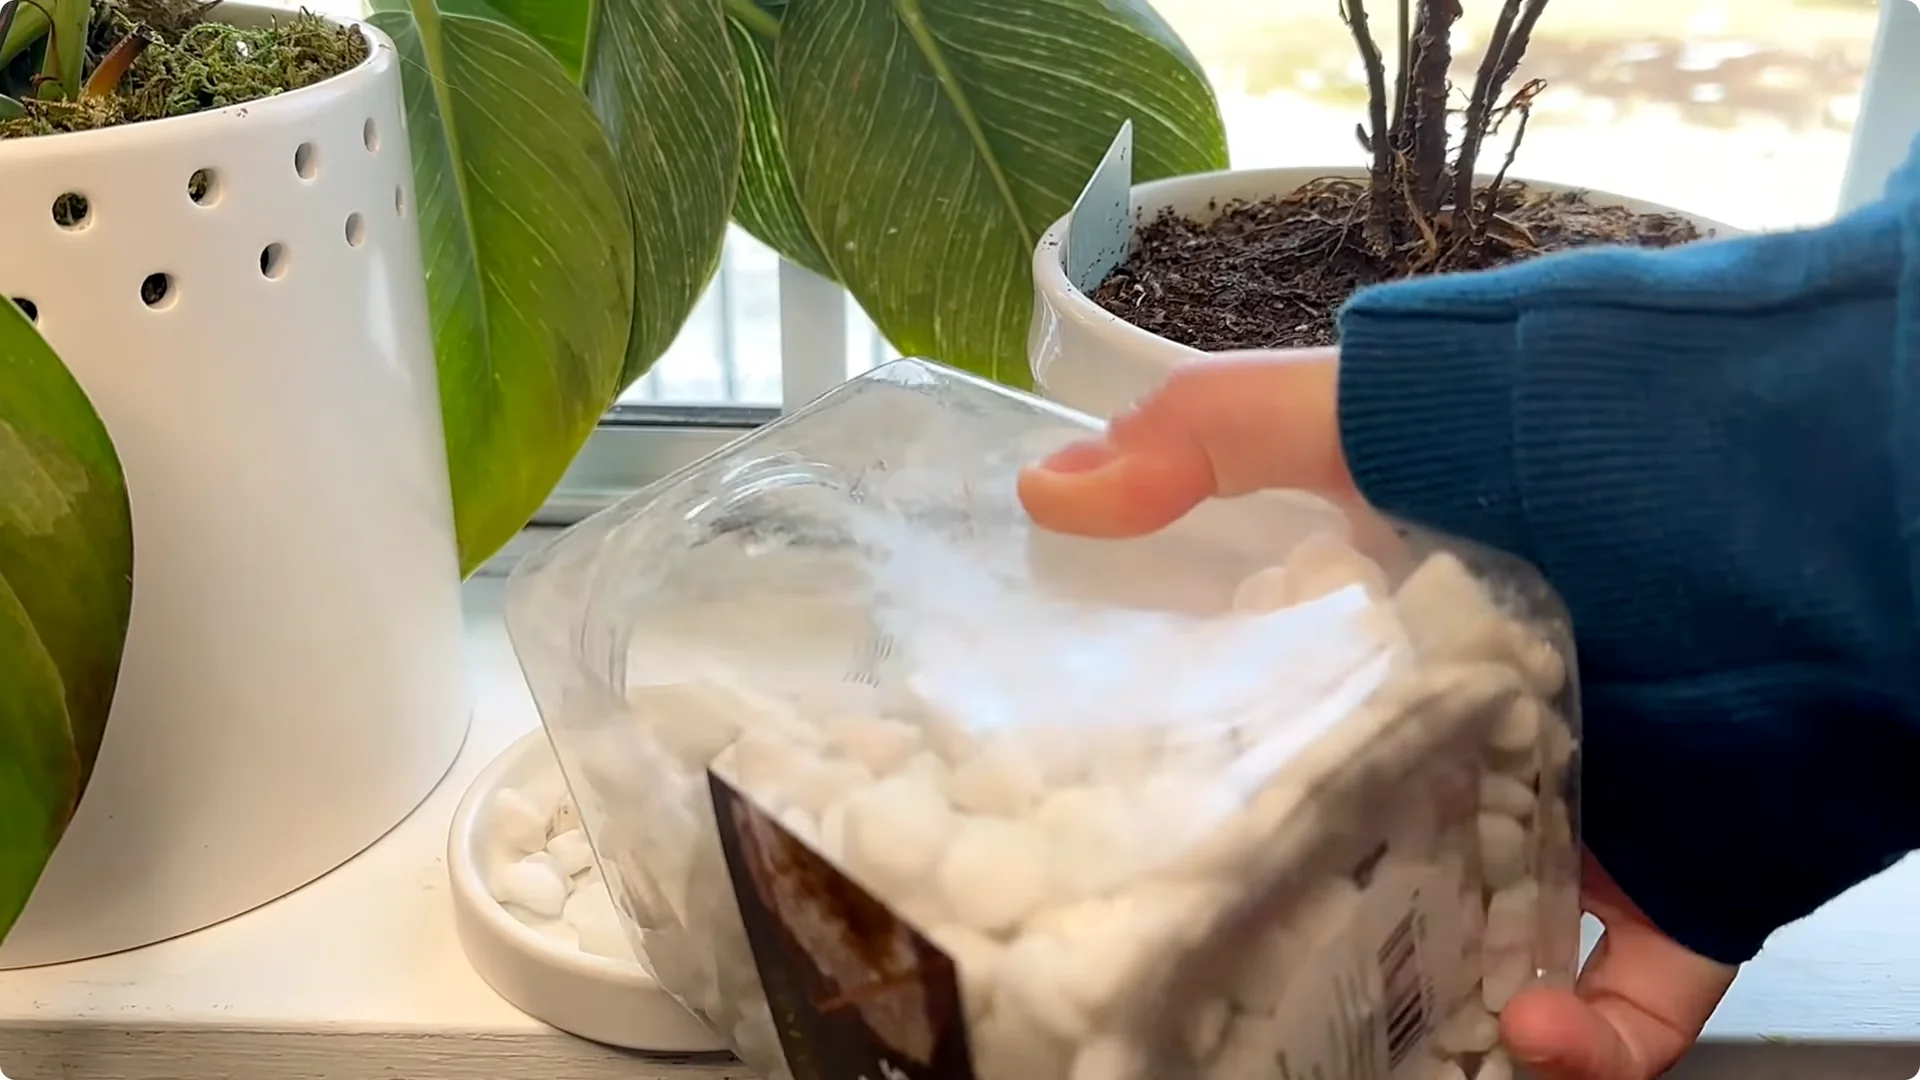
5. Orchid Care Basics: Humidity

While they do not do well sitting in water, orchids do like humidity. You can create a humid environment by filling a tray with a layer of gravel and adding just enough water that the gravel is not quite submerged. Place your orchid’s pot atop this tray.
The evaporating water from the gravel tray will surround your plant in moisture. This is especially important when growing your orchids on a windowsill.
Humidity tray setup

Read More: Money Tree Care Tips
6. Orchid Care Basics: Temperature
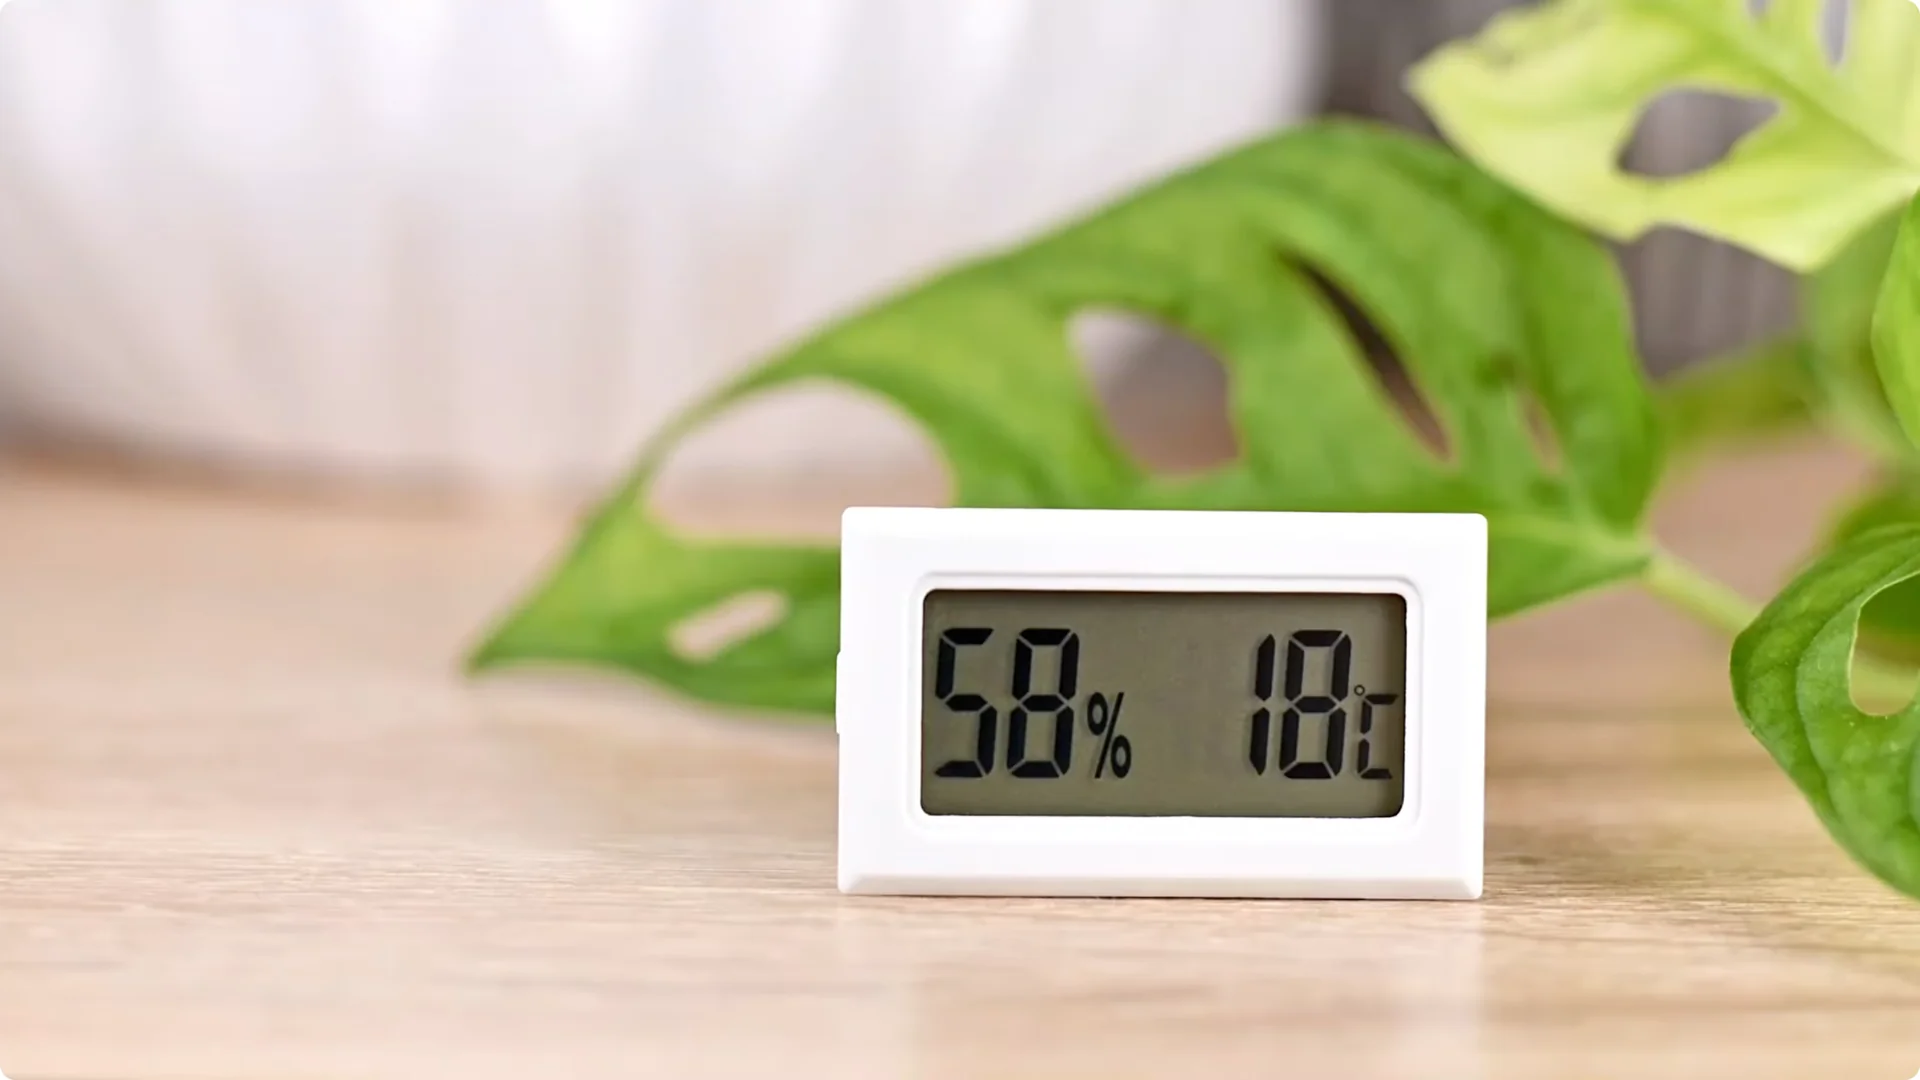
Orchids prefer temperatures between 60 and 80 degrees Fahrenheit (15-26 C). Avoid placing them in drafty areas or near air conditioning vents.
They also prefer warmer temperatures during the day and cooler temperatures at night.
7. Orchid Care Basics: Fertilizing
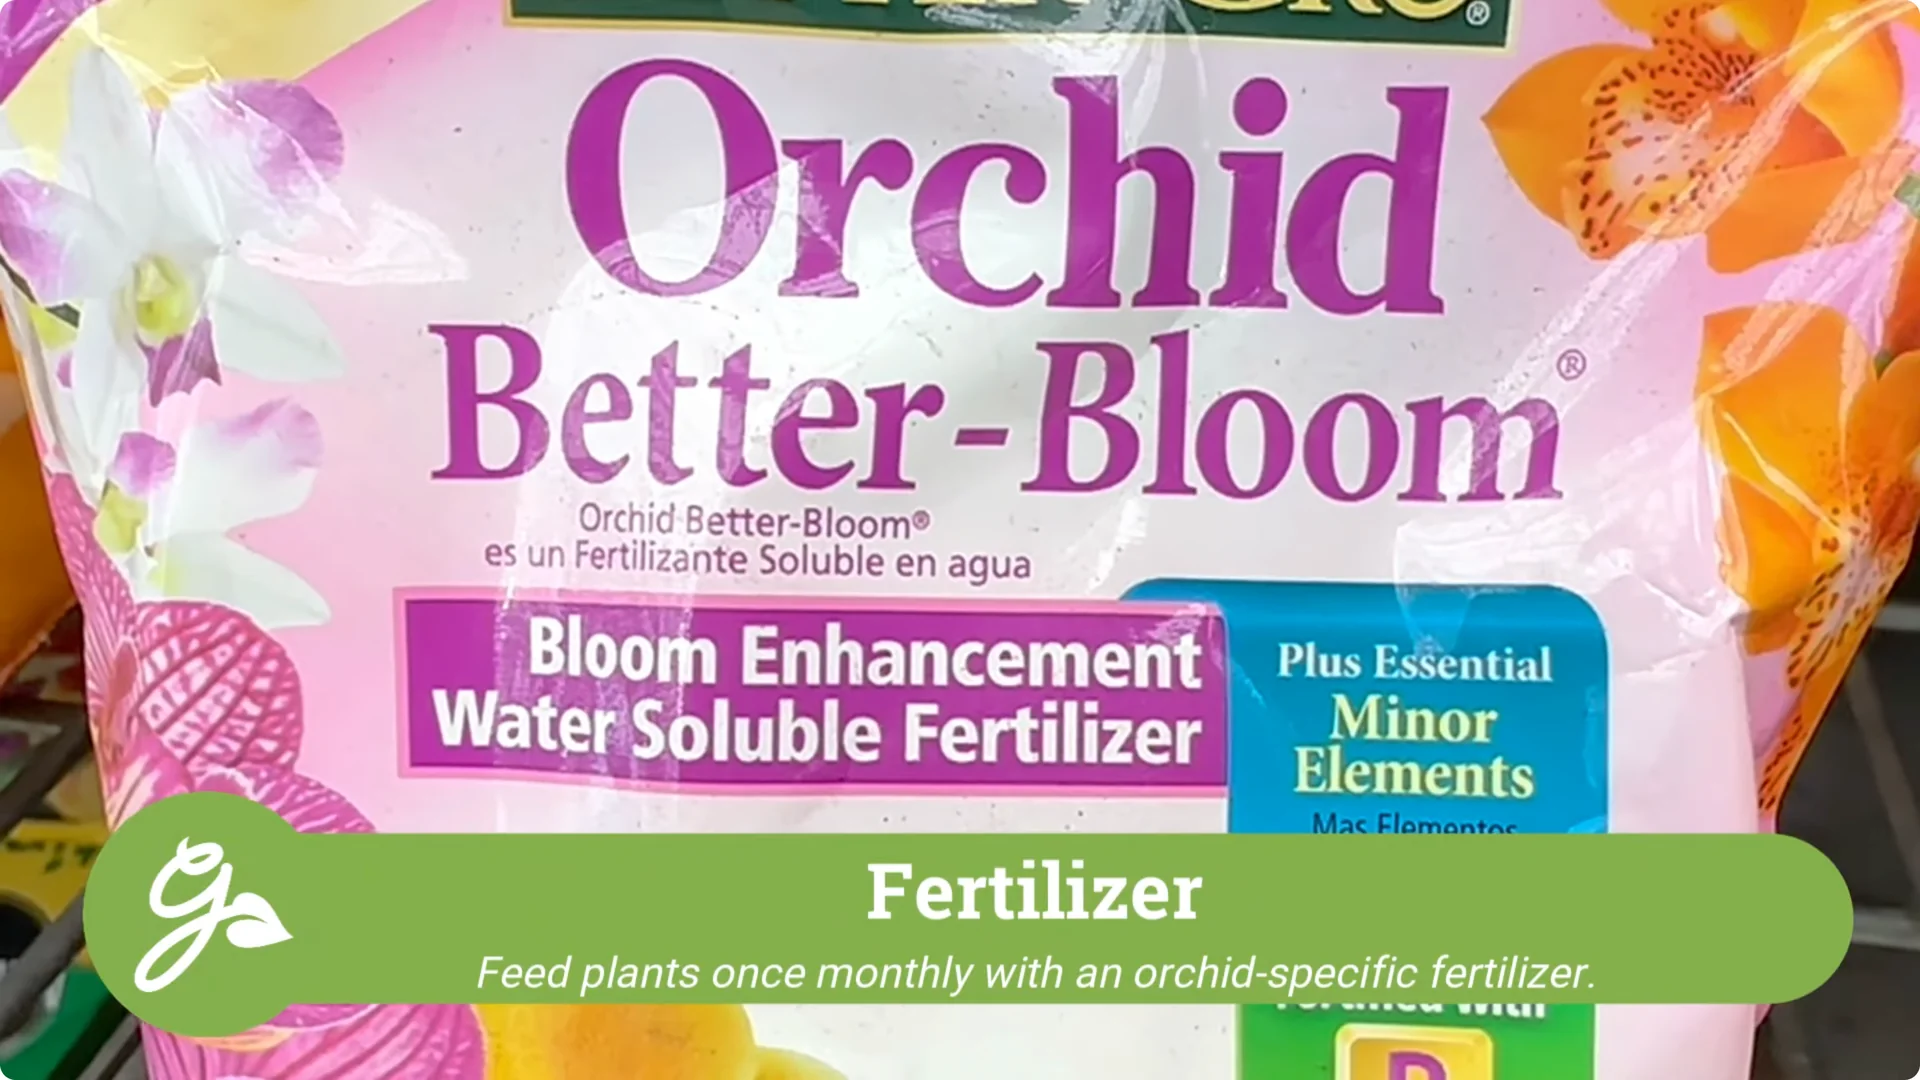
During the growing season, orchids should be fertilized with a water soluble fertilizer with high levels of nitrogen. Any fertilizer specific to orchids would be ideal.
Fertilize the plants once monthly. For best results, dilute the fertilizer by half. In the winter when the plant is dormant, fertilize less often at a higher dilution rate.
It is a good idea to flush the plant with clean water once in a while to get rid of any fertilizer residue not used by the plant.
8. Orchid Care Basics: Blooming and Pruning
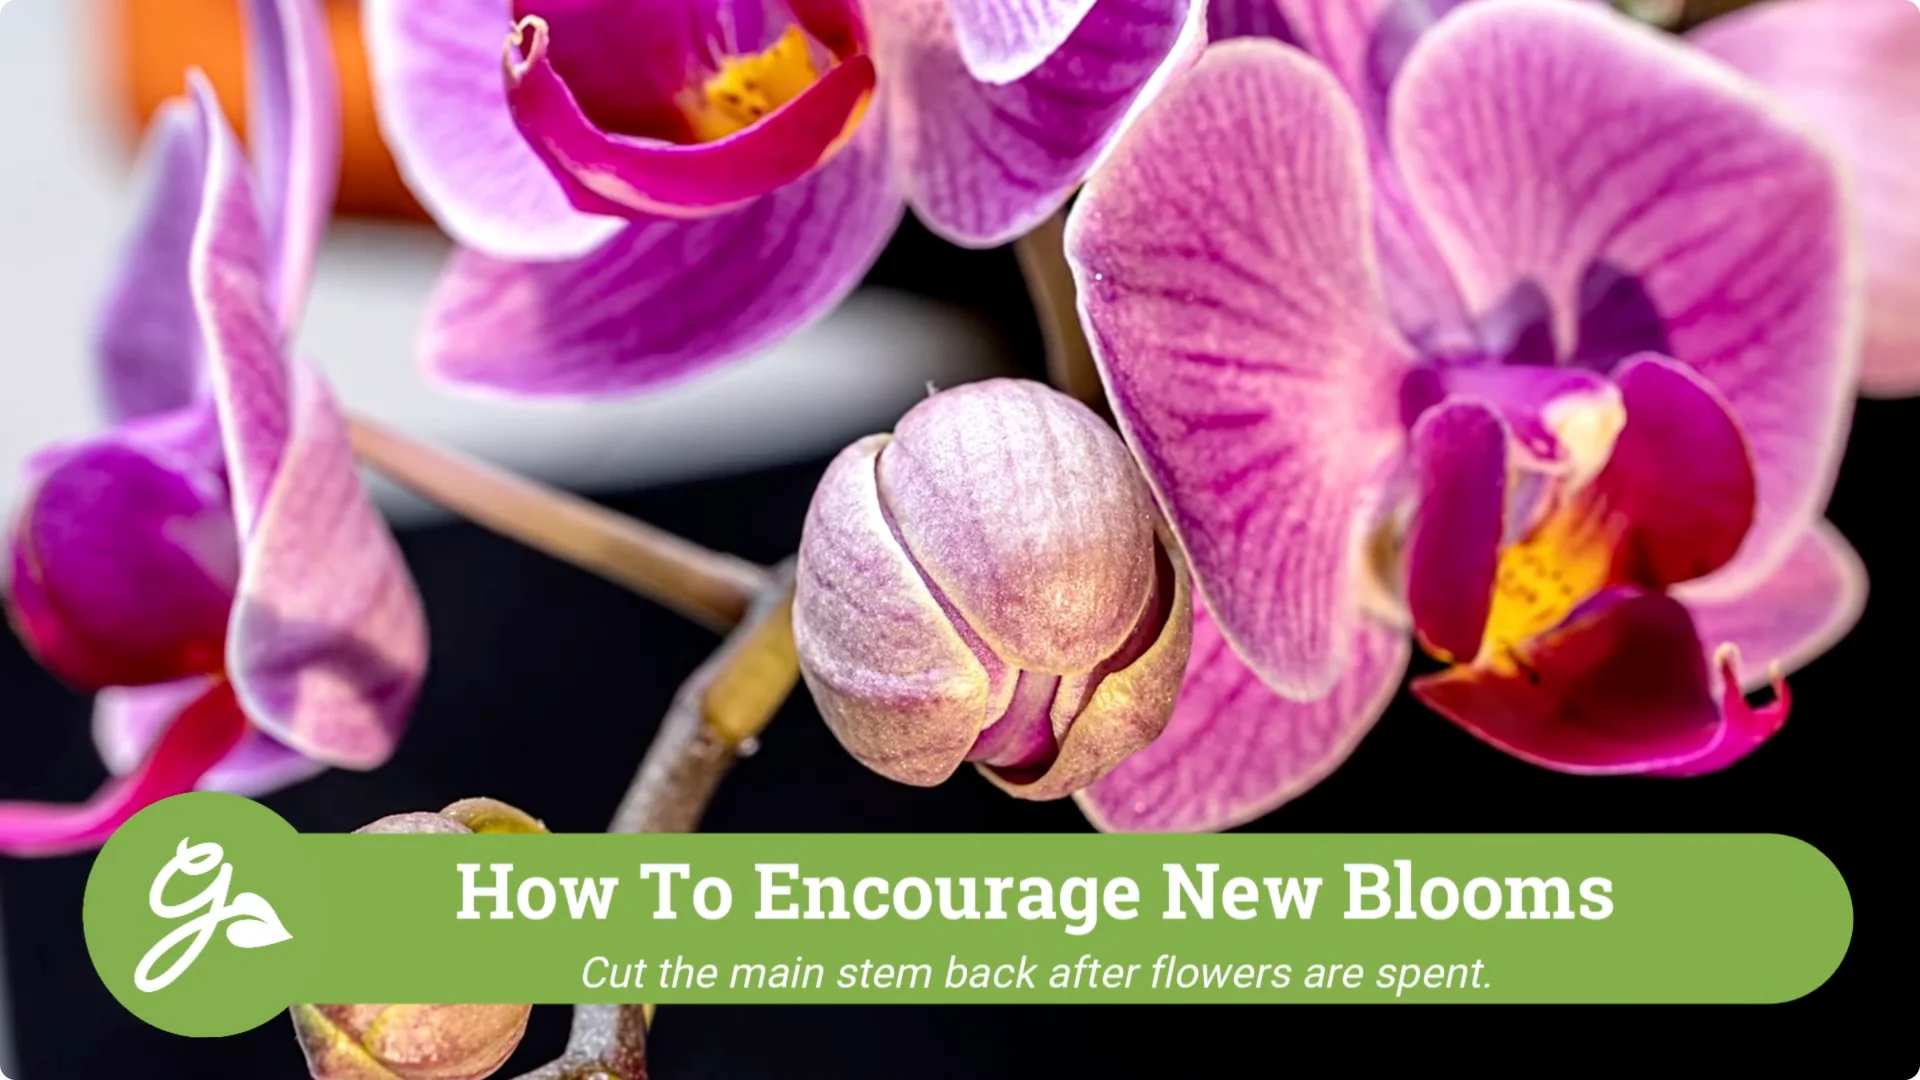
When it comes to blooming, orchids can be a bit tricky. With proper care, they will typically bloom once or twice per year, and each bloom cycle can last for several weeks to several months.
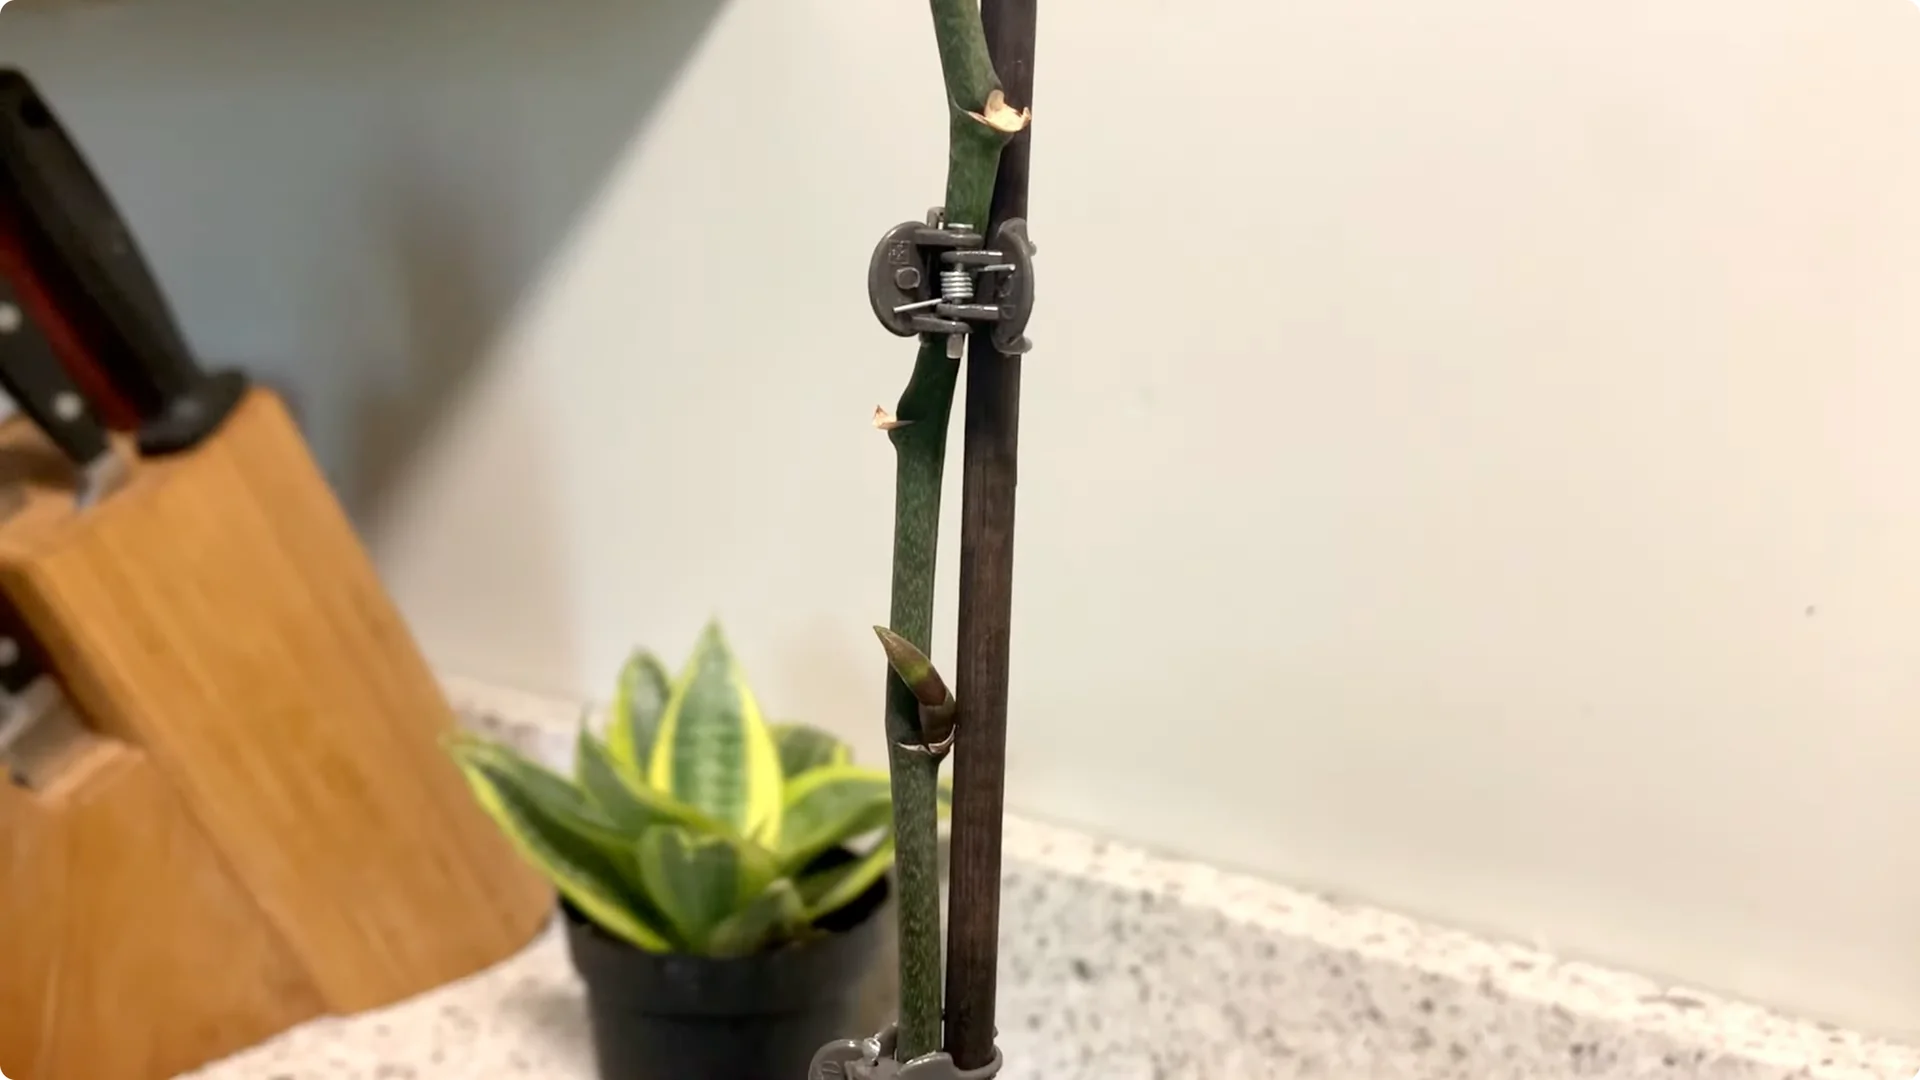
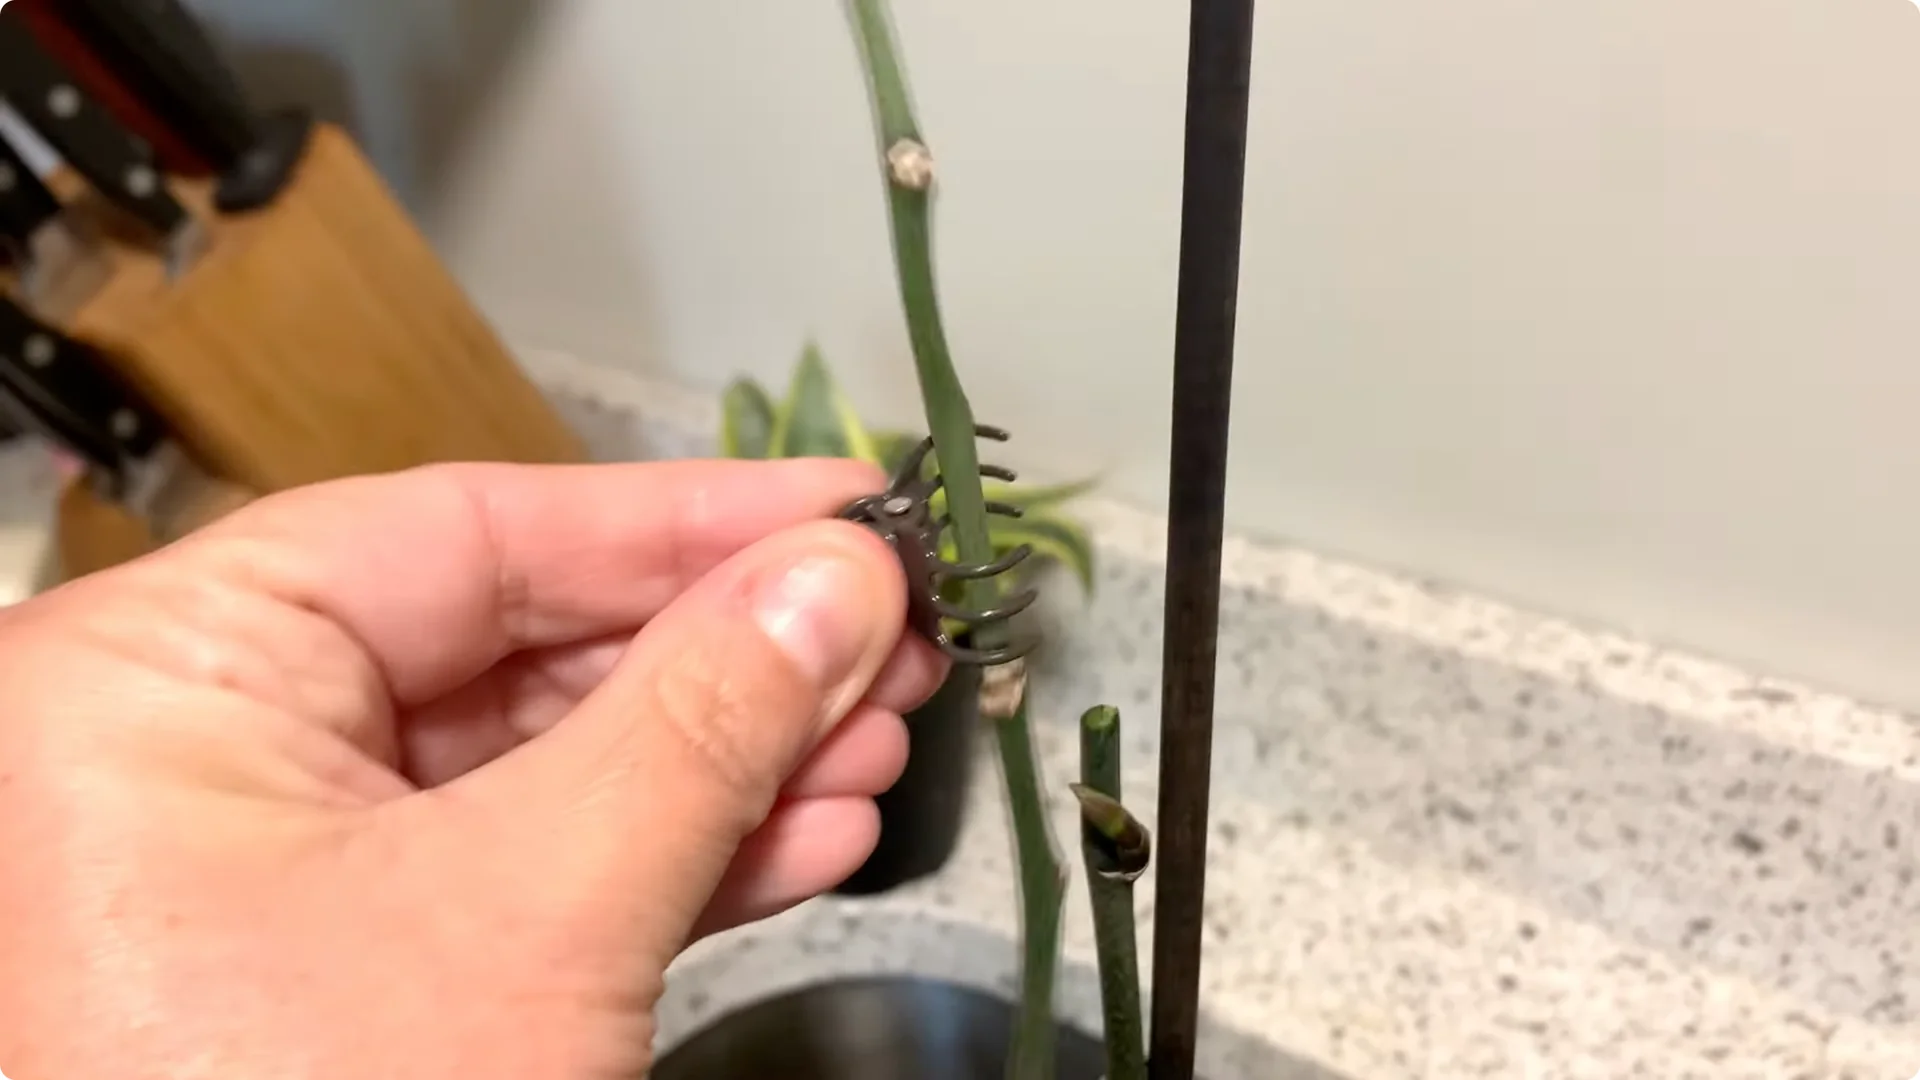
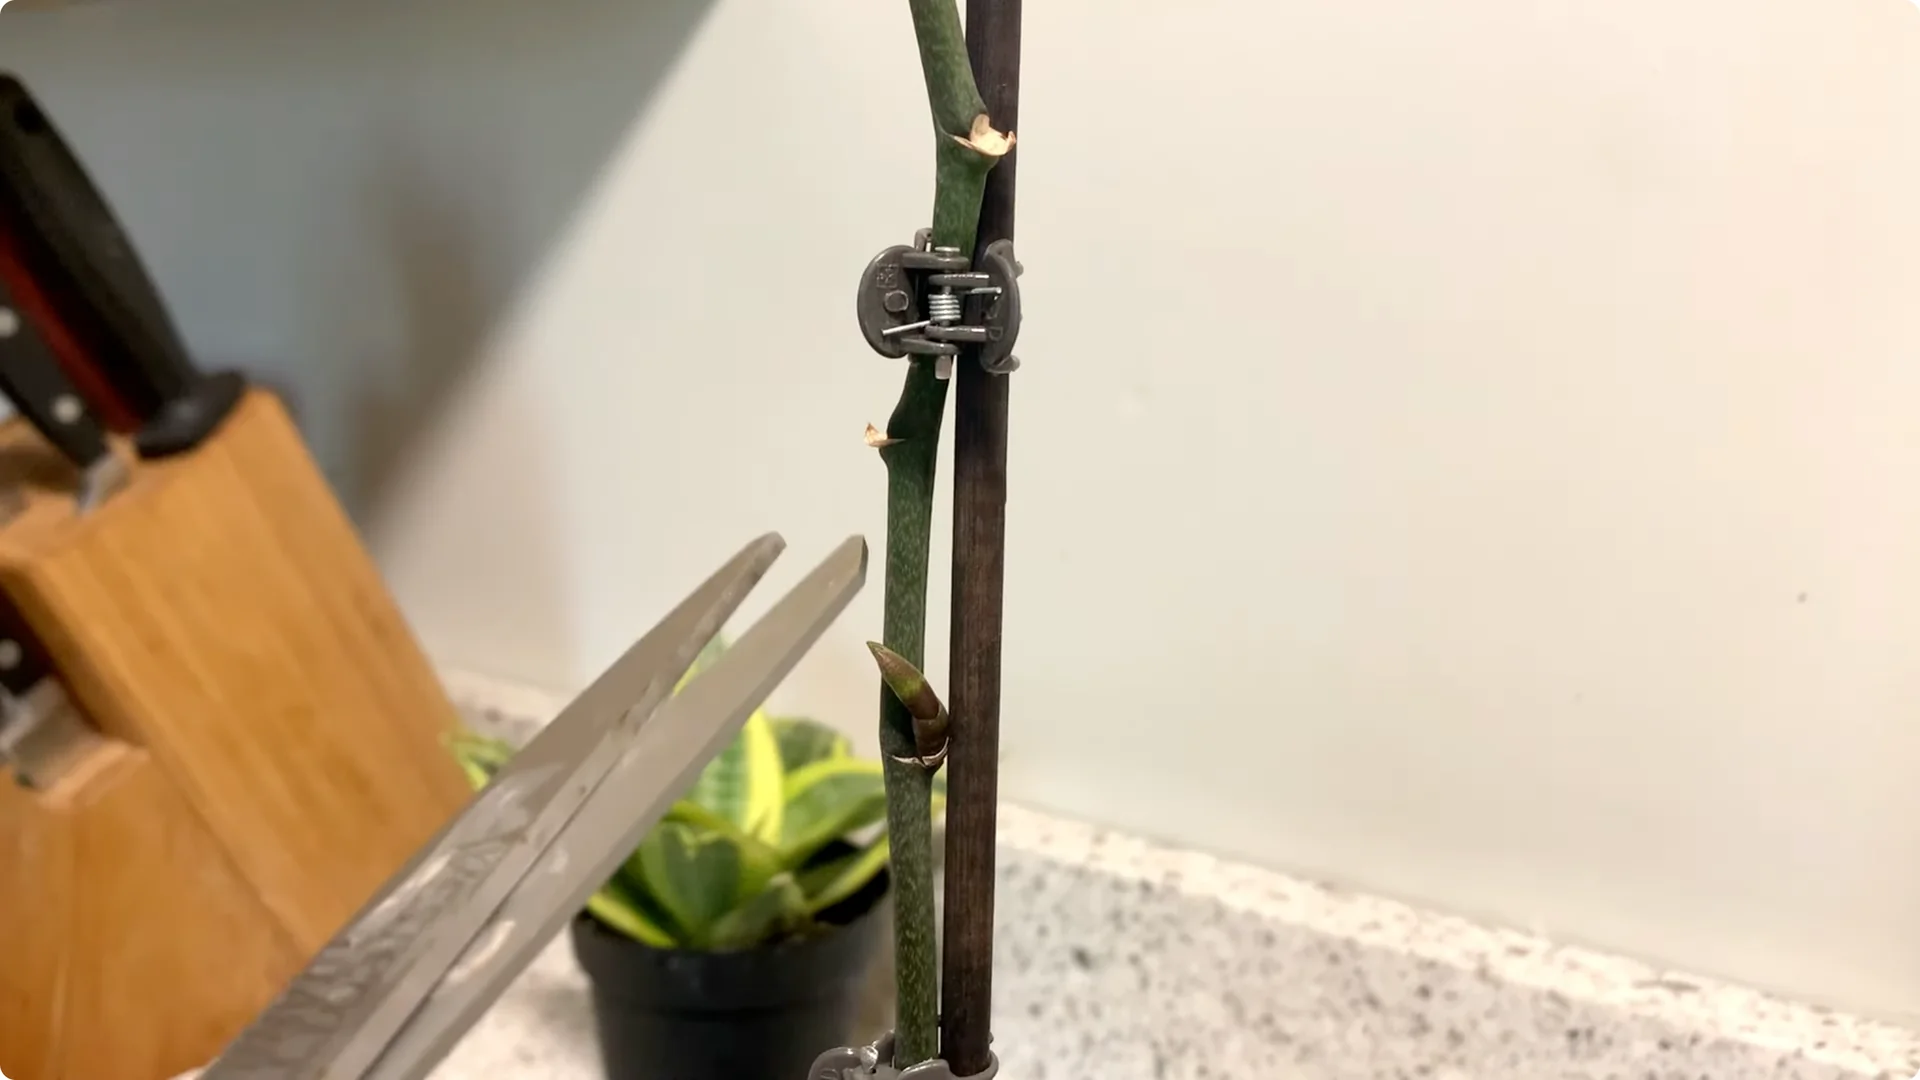
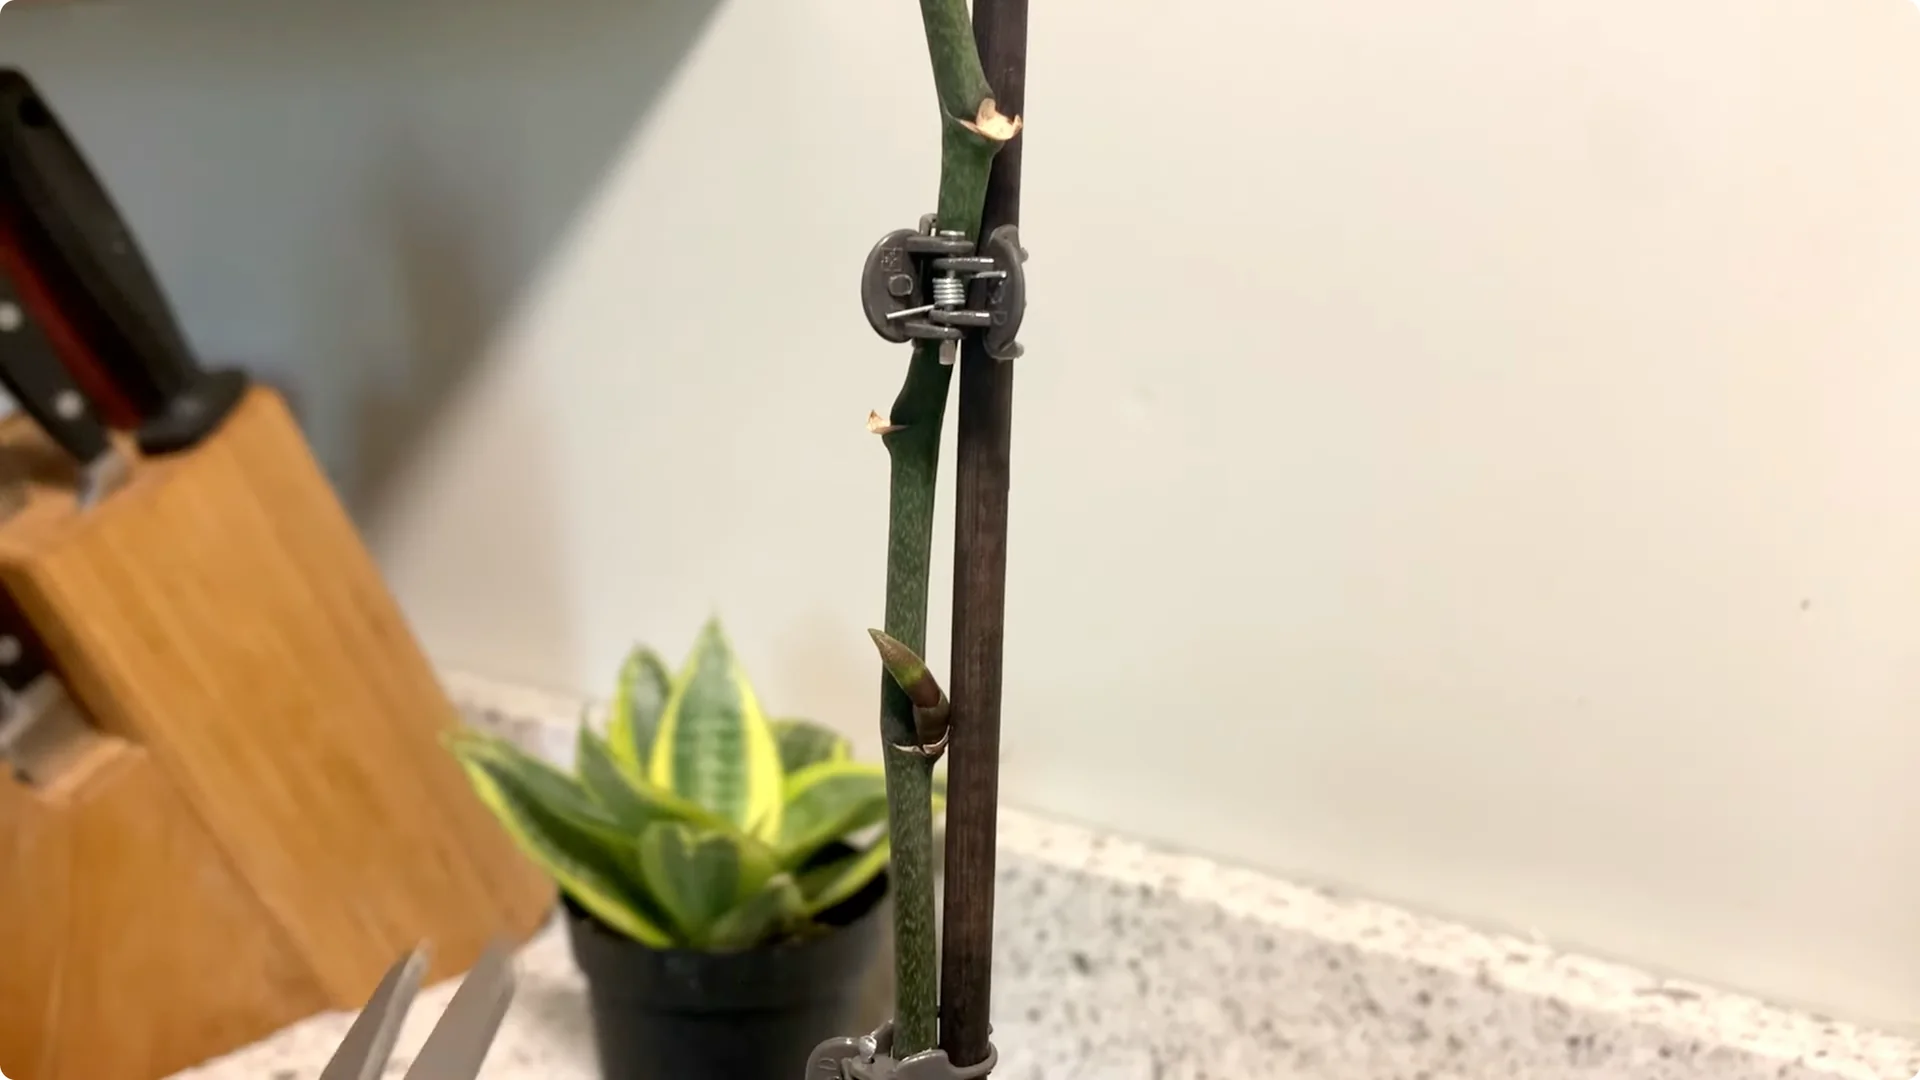
Once the blooms have wilted, remove them promptly to encourage new blooms. Once the final flower has faded, you can cut the main stem back to just a couple of inches from the soil with a clean, sharp knife or scissors. This improves the appearance of the plant and prevents it from wasting energy on a non-producing stem.
After blooms fade
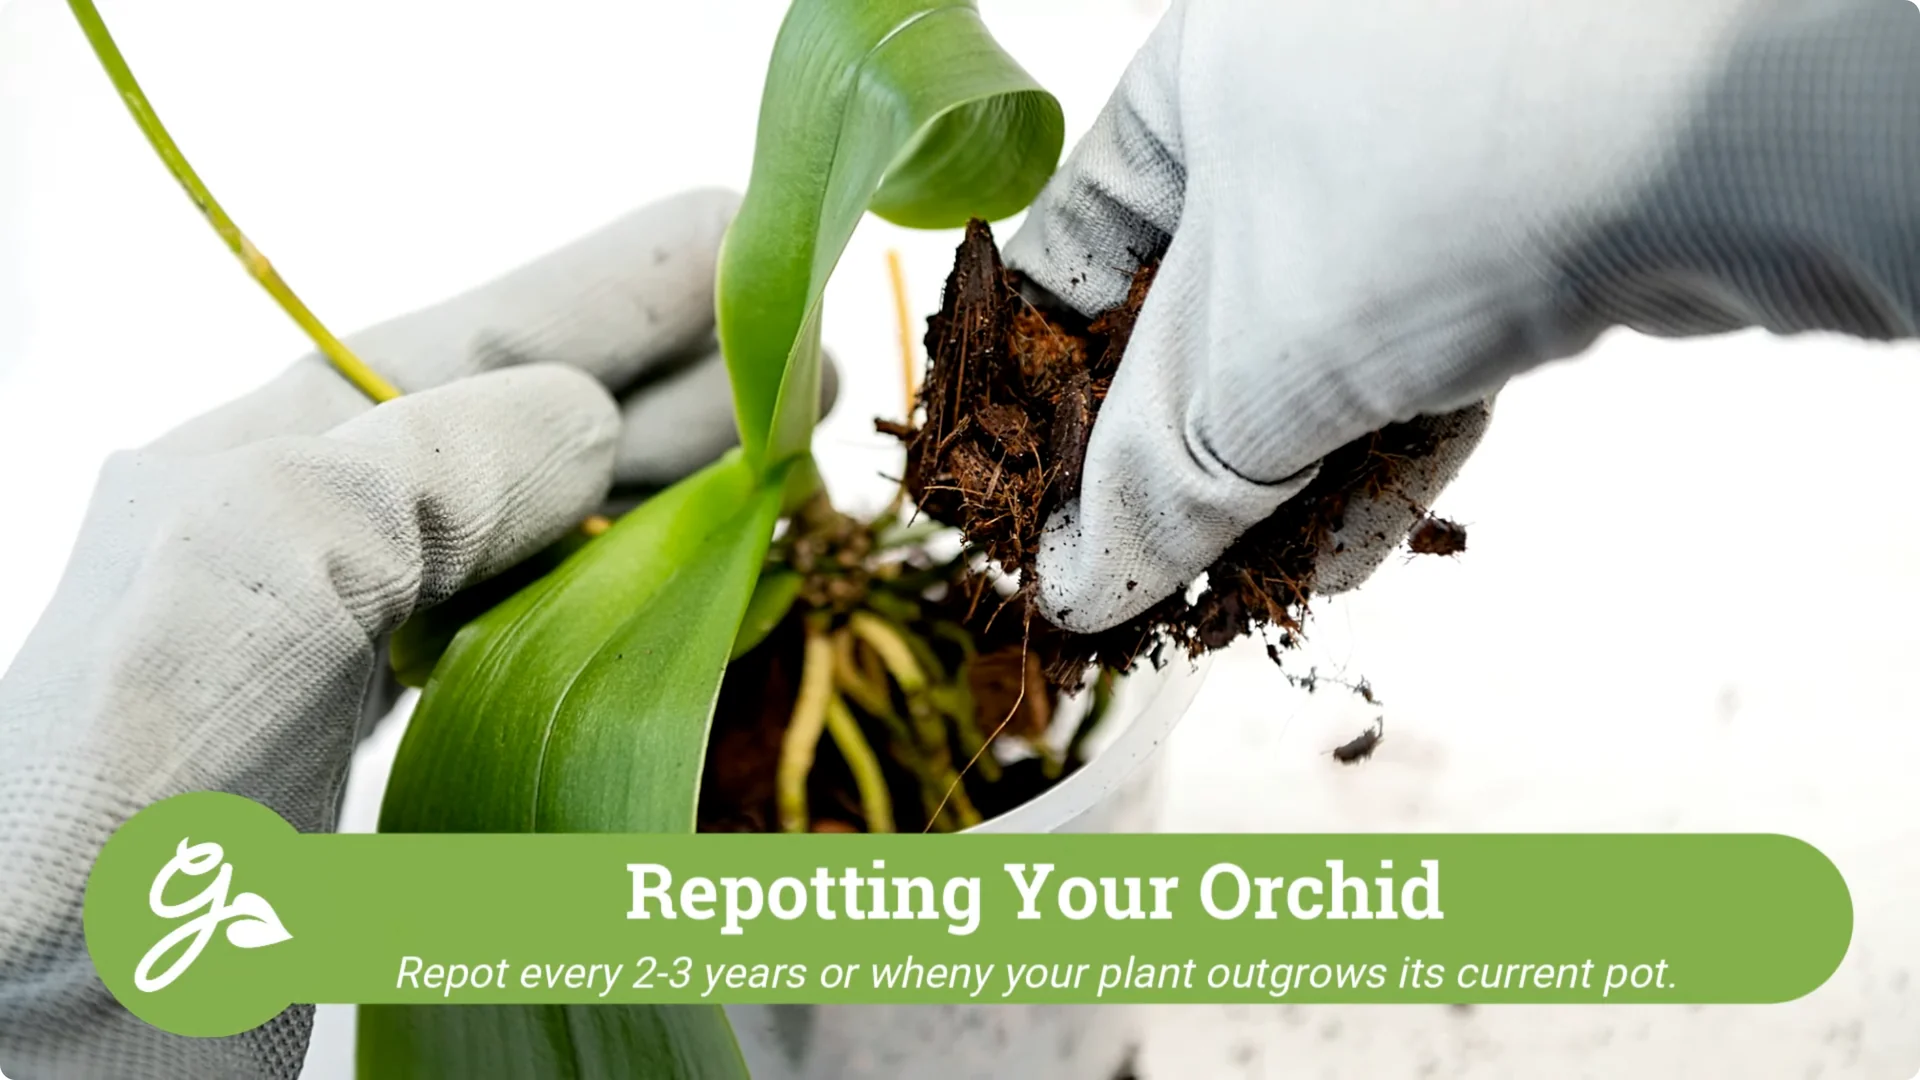
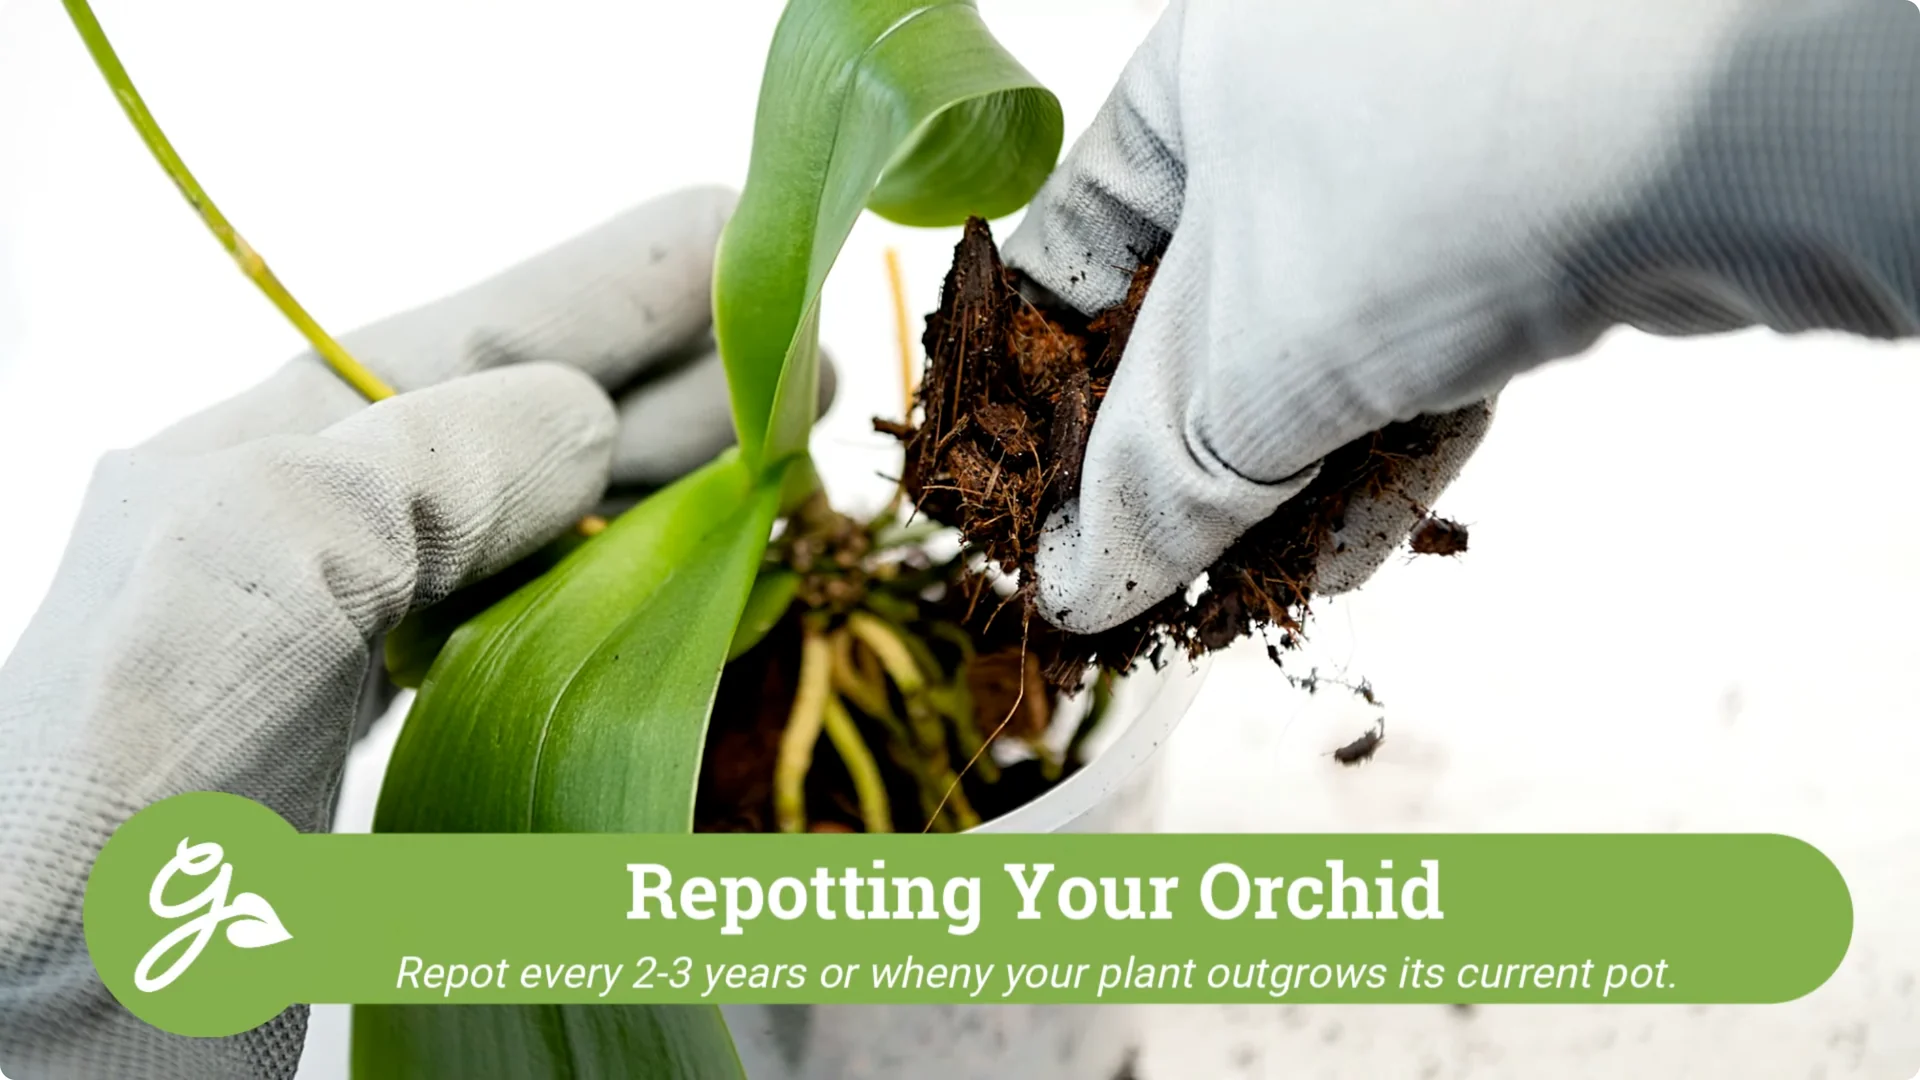
9. Orchid Care Basics: Repotting

Repotting your orchid is only necessary every 2-3 years or when it outgrows its current container. Use a well-draining potting mix specially formulated for orchids. Choose a new container that is only 1-2 inches larger than the one before.
Repotting steps
10. Orchid Care Basics: Troubleshooting Leaves

Even if we follow growing guidelines to a T, sometimes the leaves may turn yellow or even brown. Leaves that are beginning to yellow are usually caused by a lack of proper watering. Find a balance between slightly moist yet not water logged.
Leaves that turn brown may be caused by too much direct sunlight or low humidity. Keep your orchid in a well-lit spot but not in direct sunlight and provide humidity around your plant when necessary.
Read More: Christmas Cactus Care Tips
Orchid Care Basics: Final thoughts
Growing orchids can be a fun and rewarding hobby for beginners. Once you know the basics, your orchid will thrive and bring beauty to your home for many years to come. You may soon have a beautiful collection of orchids to admire of your very own.