
Welcome to my little garden. Have you ever grown roses from cuttings? No chemicals, just a gentle touch of nature.
I’m going to show you how to propagate roses the natural way with the help of potato, garlic, and a touch of honey. This method is more than just a technique. It’s an act of quiet care and connection with nature.
Here is a gentle, step-by-step guide. Experienced gardeners and those finding peace in nurturing life are welcome.
1. Potato Rose Propagation – Select and Prepare the Stem
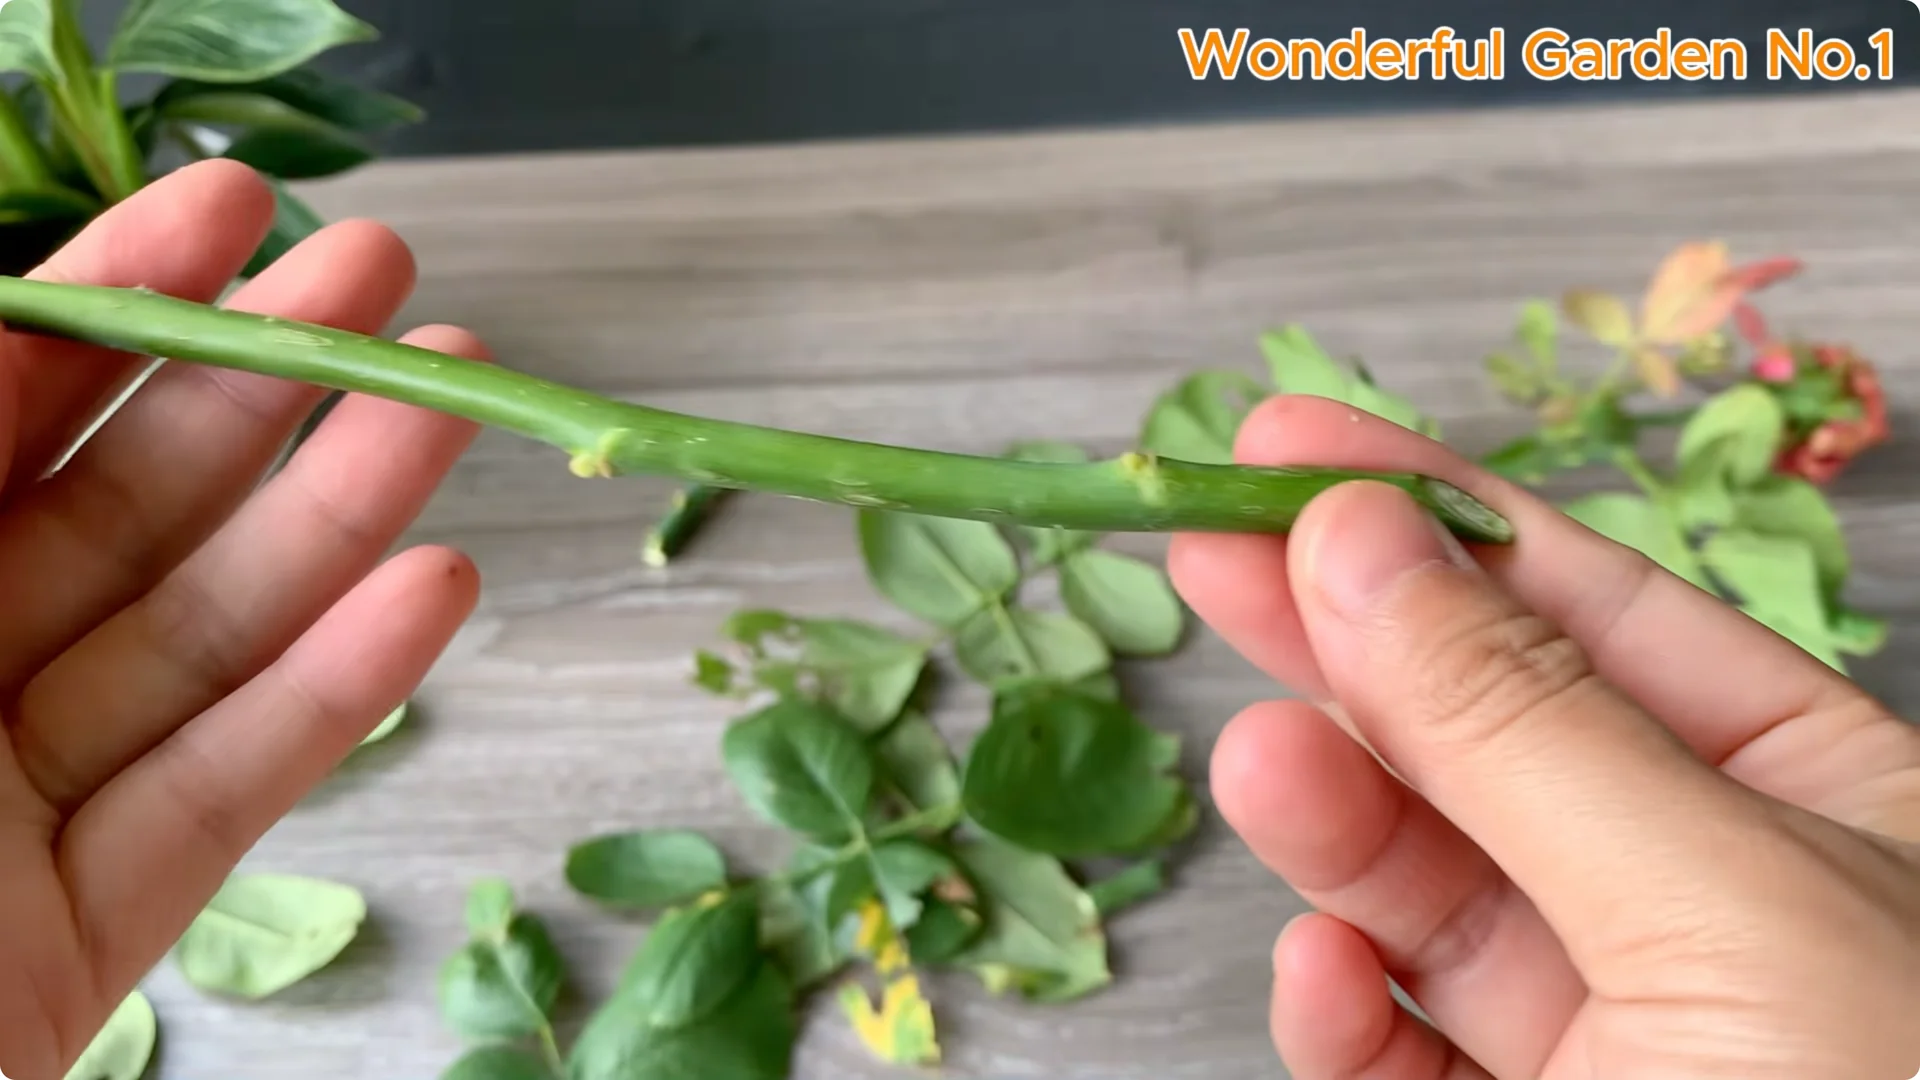
Start by selecting a healthy rose stem. Choose one that is neither too young nor too old, firm to the touch, with at least two or three leaf nodes.
If thorns are present, carefully strip them away. The stem stays unharmed when placed into the soil or rooting medium.
Gently remove the lower leaves, being careful not to disturb the dormant buds where new growth can emerge. Using a clean, sharp knife, cut diagonally just below a node. This angle helps the cut absorb moisture more easily.
For a quicker rooting experiment, see how to grow many roots overnight.
2. Potato Rose Propagation – Natural Garlic Soak
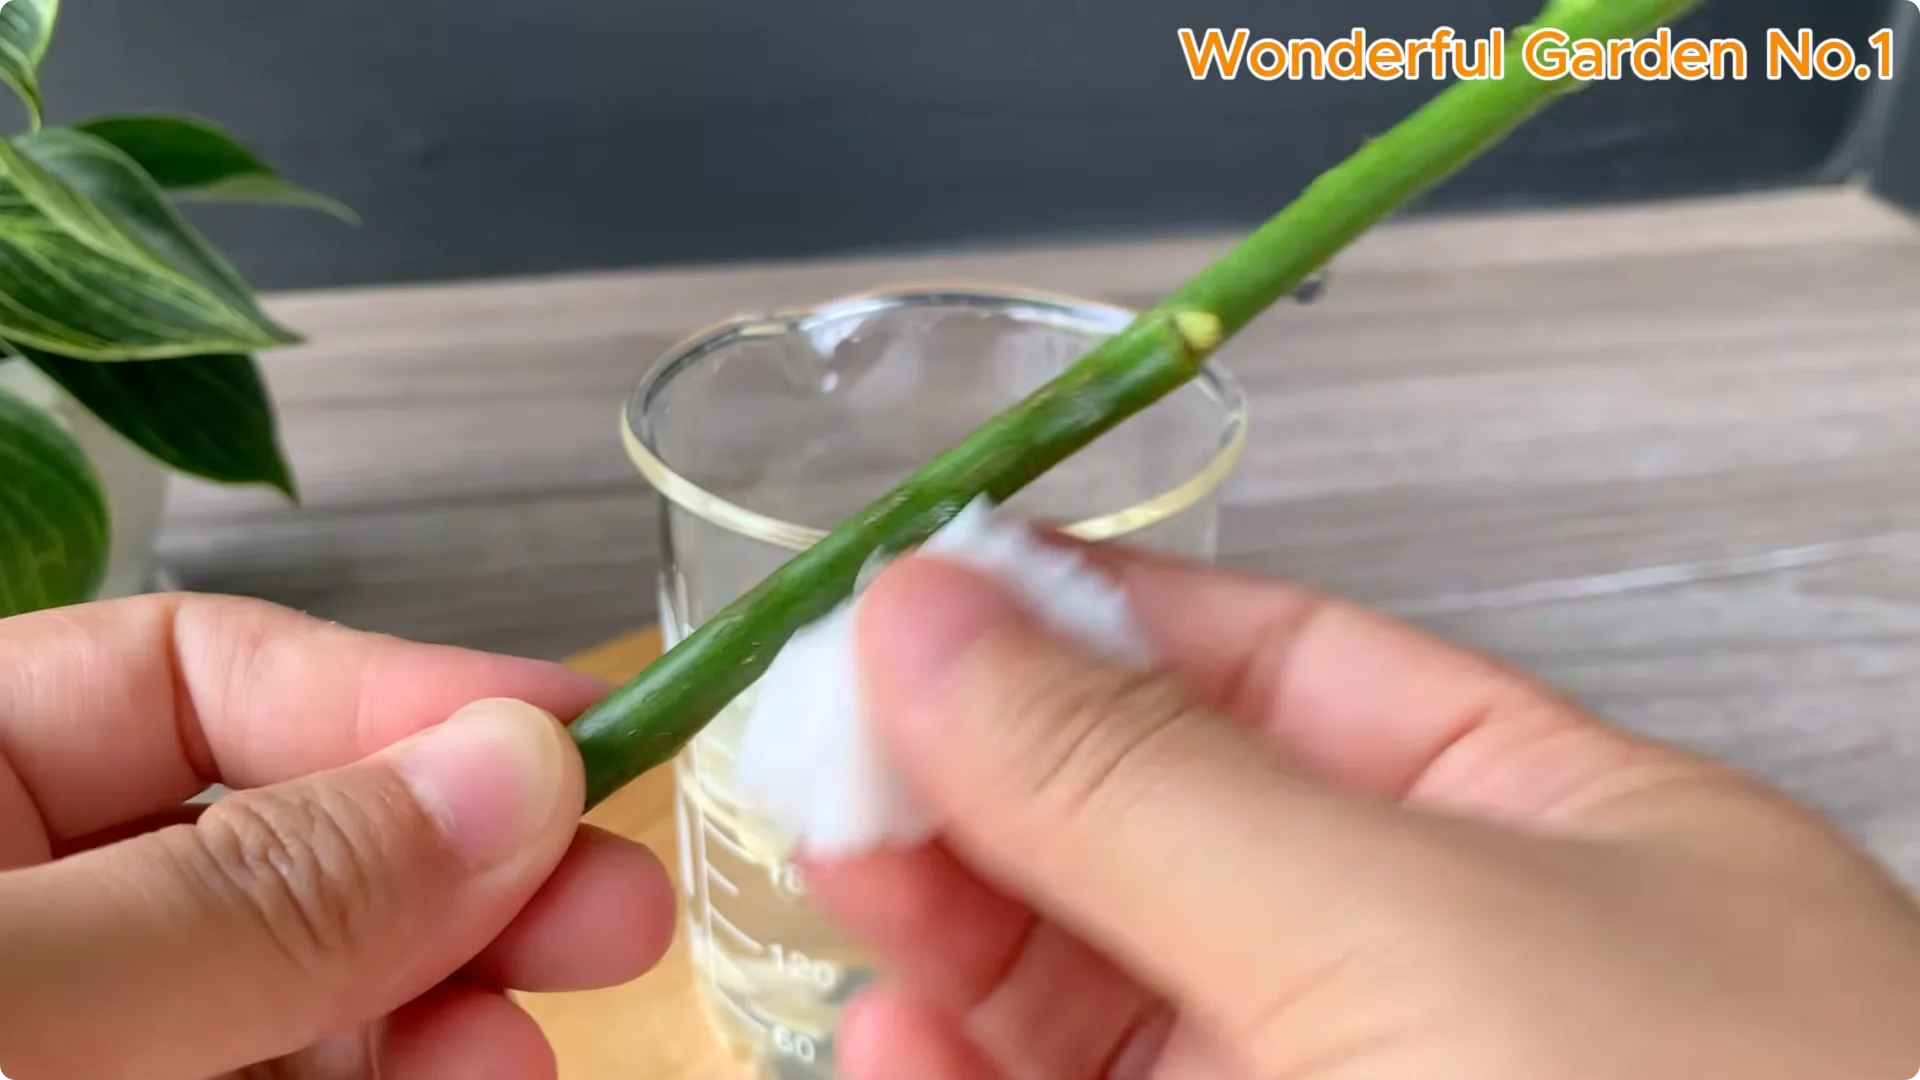
With the cutting prepared, move to a key step that protects and fortifies the stem. Peel and mince a clove or two of garlic, then place them in a cup.
Add about 200 ml of clean water so the natural properties of the garlic can infuse. Next, gently wipe the rose stems with a clean cotton pad.
This helps remove dust and any surface bacteria without damaging the buds. Place the cuttings in the garlic solution and soak for 15 to 20 minutes.
This natural soak helps disinfect the stems, prevent fungal infections, and stimulate root growth, all without synthetic chemicals.
3. Potato Rose Propagation – Prepare the Potato Base
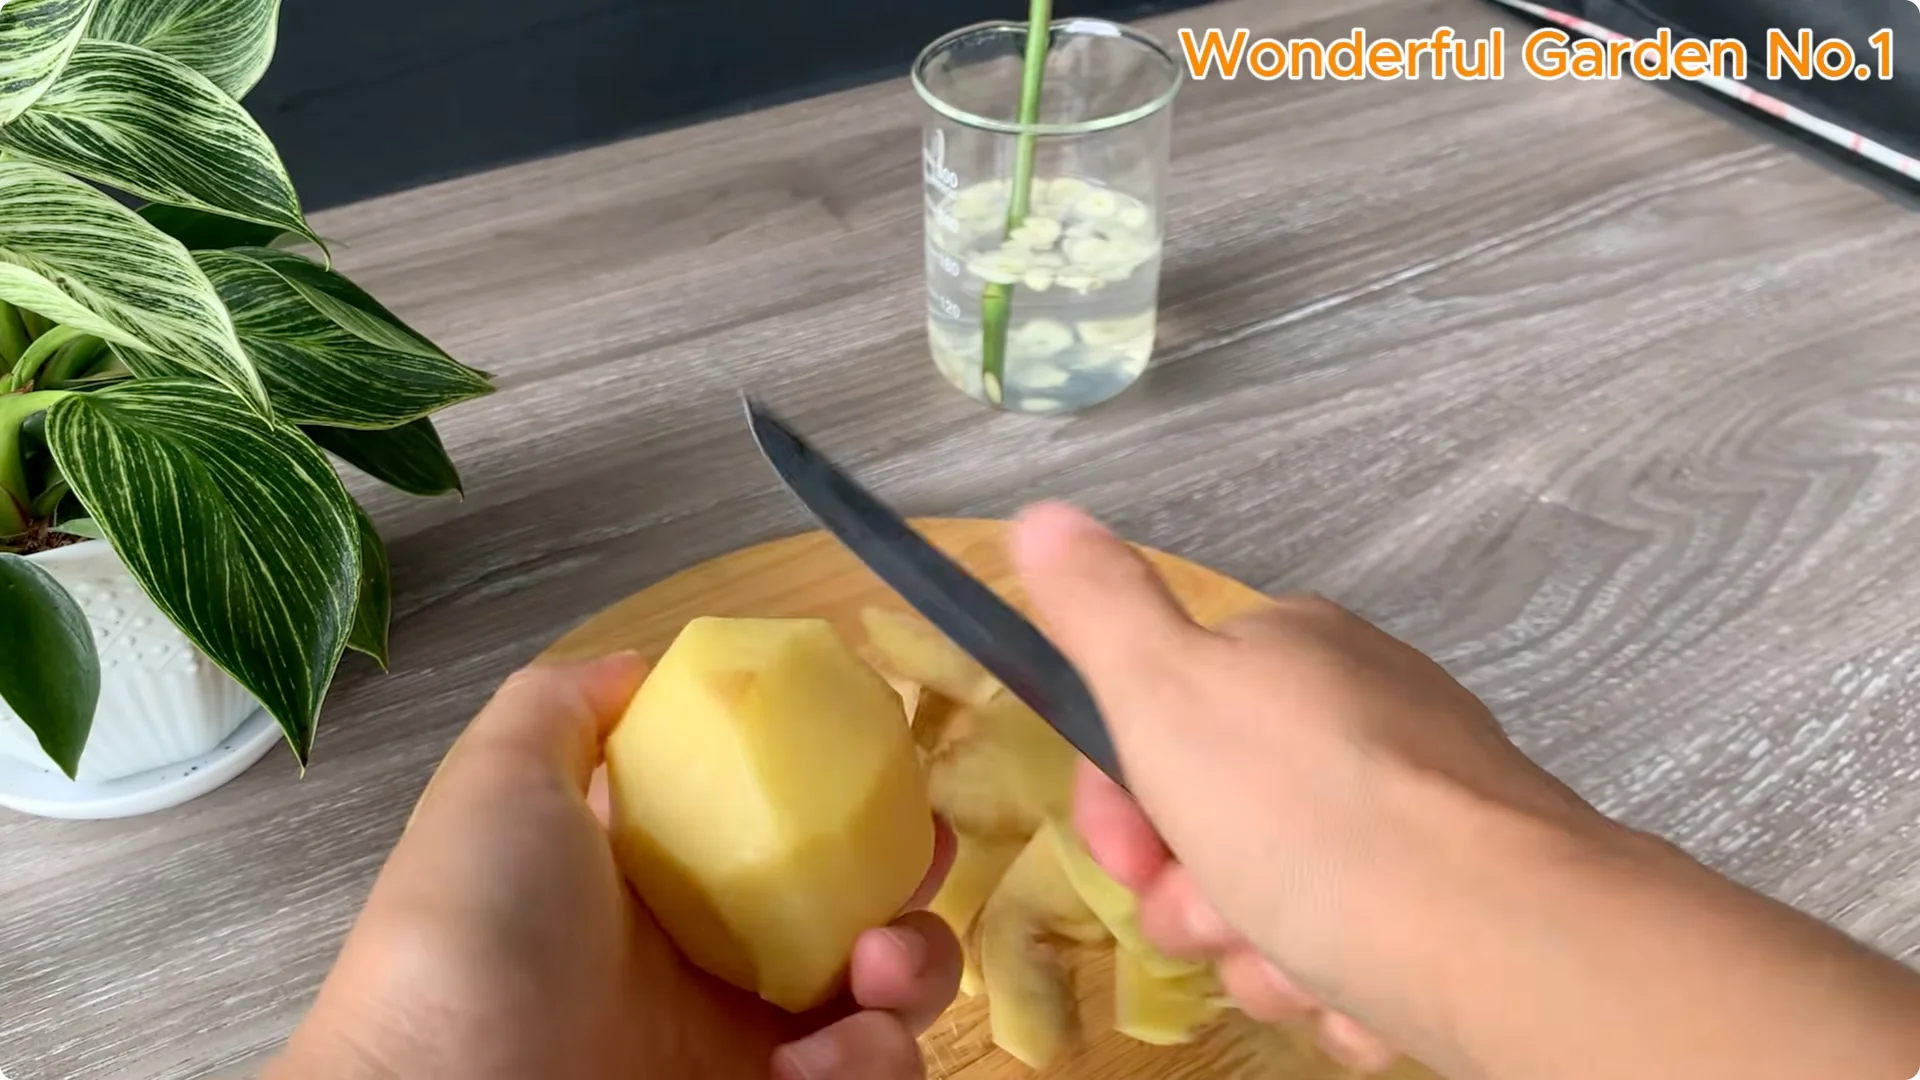
Next, move on to the main ingredient of this method. Potatoes are rich in natural starches, minerals, and moisture that support healthy root growth.
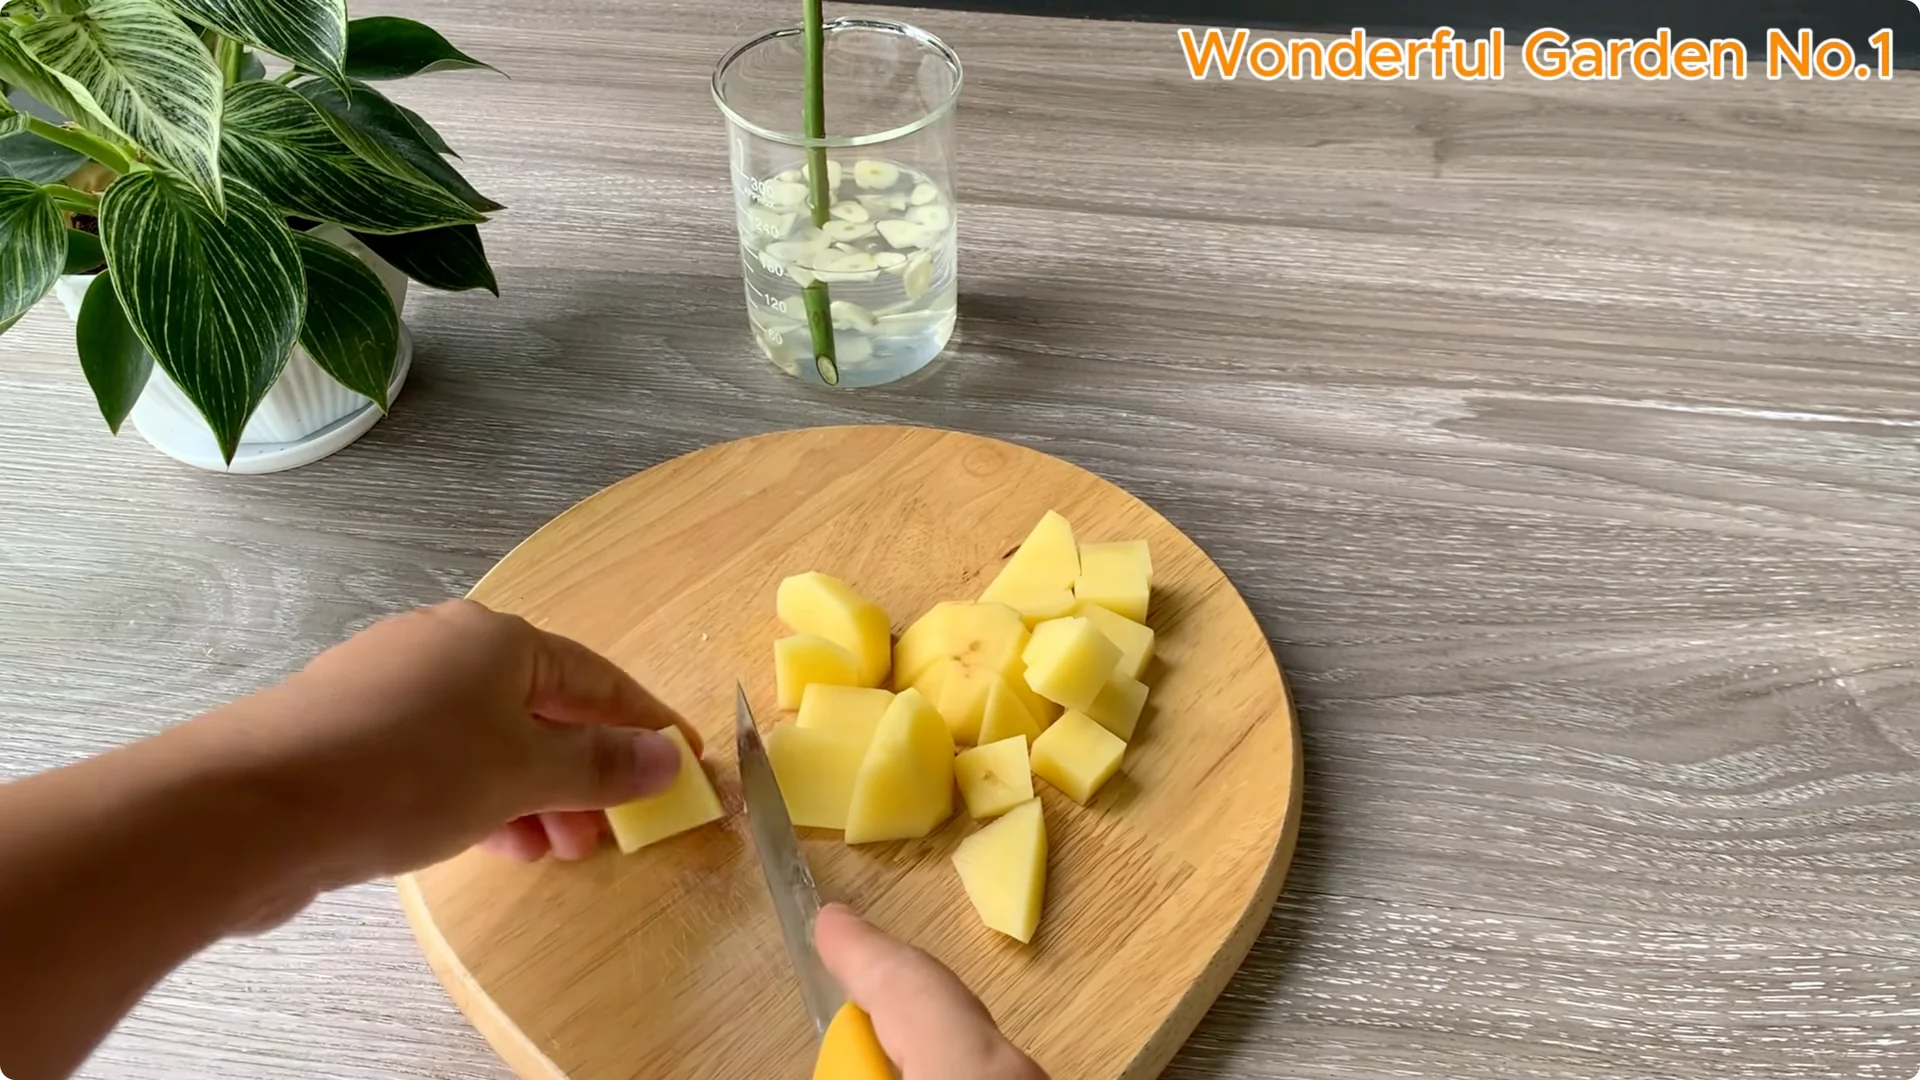
Peel the potatoes and cut into thick slices. Take one piece and carefully carve a hole in the center about 1 to 2 cm deep, just enough to hold the base of the rose cutting firmly.
This provides both moisture and stability. It creates an ideal little environment for roots to form before placing the cutting in the growing medium.
Slice and Bore the Potato
Choose a sturdy slice with no soft spots. Carve a snug hole so the stem stands upright.
Test the fit before planting. The stem should sit firm, not wobbling.
Make the Potato Nutrient Solution
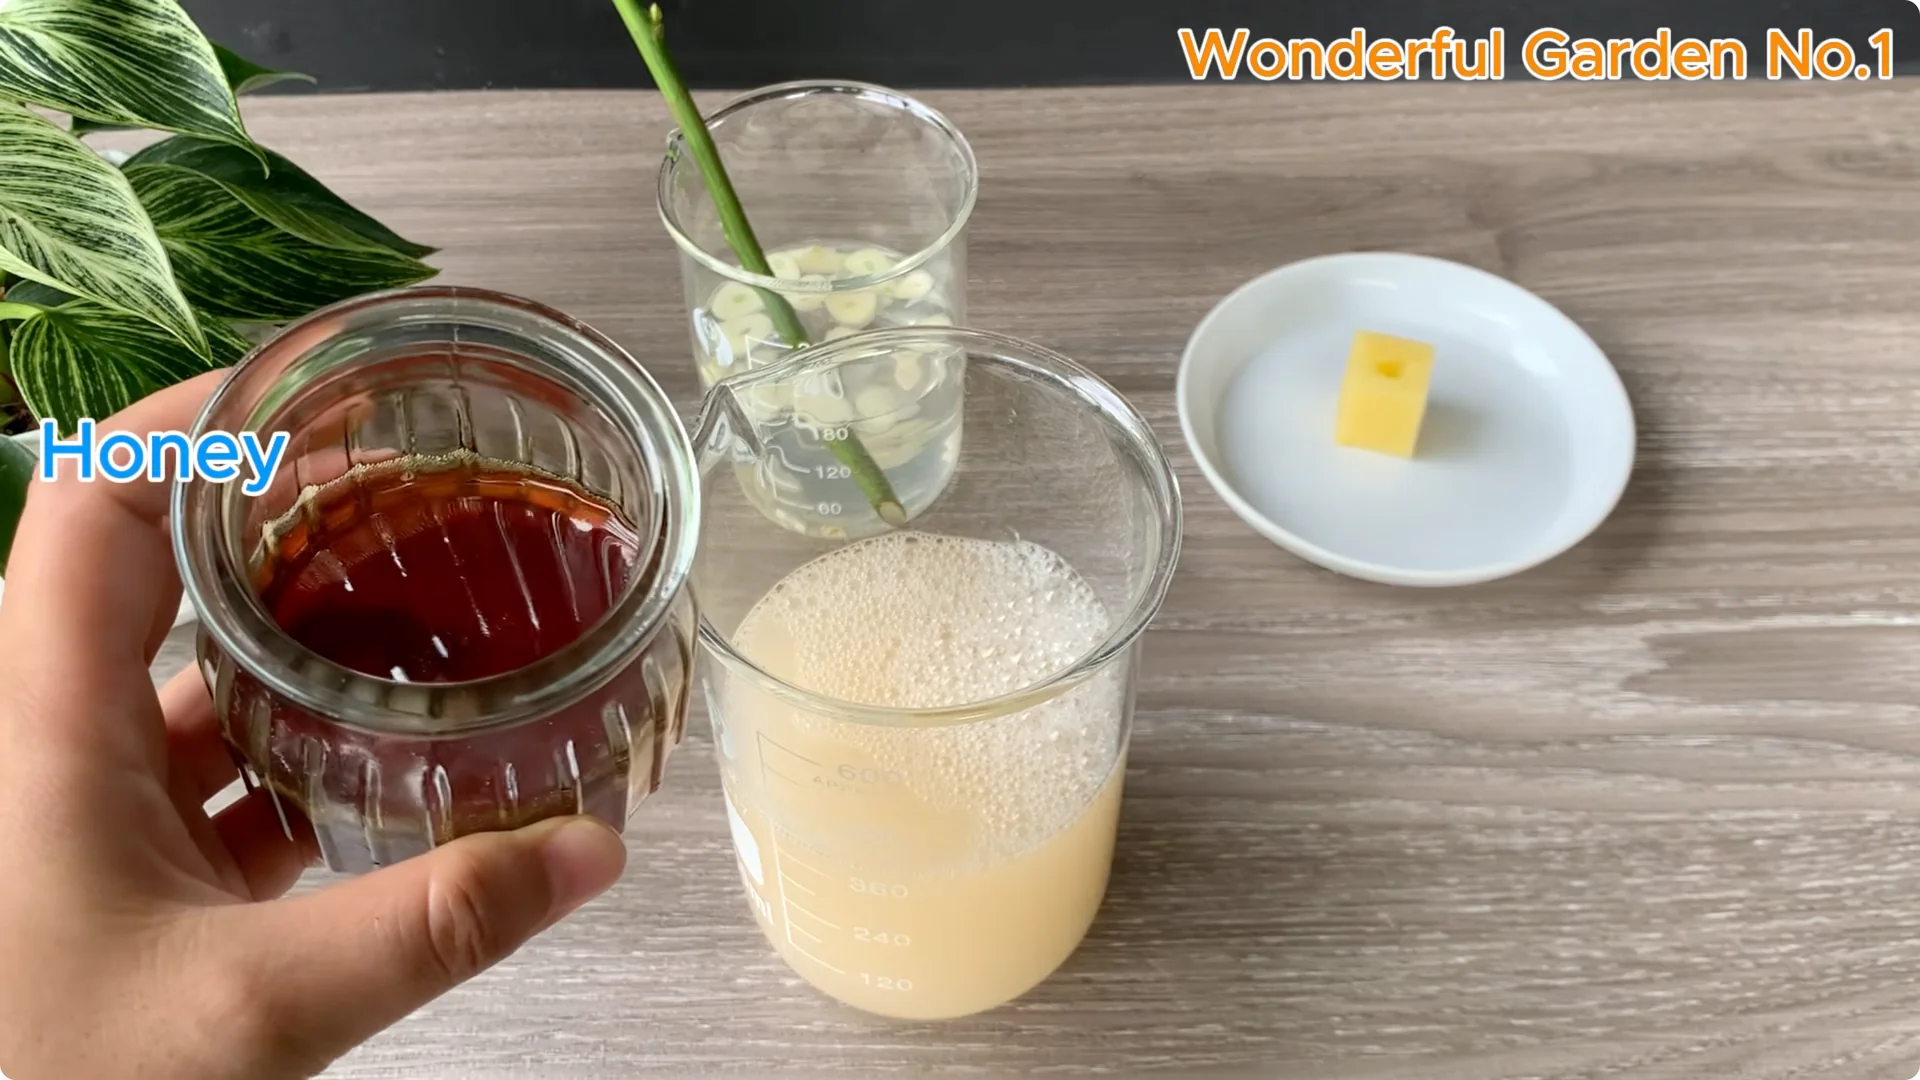
Put the remaining potatoes in a blender with 100 ml of clean water. Blend until the mixture is smooth and thick.
This process helps release the potato’s natural starches and nutrients. Key ingredients that gently nourish the young cuttings.
Next, filter the mixture, retaining only the clear liquid. This ensures a light, clean, and easily absorbed solution for the growing medium.
Add 300 ml of water to the filtered liquid to dilute, creating a balanced, gentle solution. Stir in a spoonful of honey, a natural antibacterial that also helps promote rooting.
Let the solution sit for about 10 to 15 minutes. The short rest allows the nutrients to soak in, making the mixture more effective when applied to the soil.
You can also try a carrot method that multiplies roots for similar projects.
4. Potato Rose Propagation – Prepare the Growing Medium
For this method, I use clean sand as my growing medium. Fill a small plastic cup with clean sand.
Sand drains well, reducing the risk of rot and allowing air to circulate around the stem. These are ideal conditions for root growth.
Moisten the sand with the natural rooting solution you just prepared. This solution provides light nutrients and helps create a favorable environment for root growth.
After soaking the rose cuttings in the garlic solution, gently pat them dry with a clean cotton pad. Next, apply a small amount of turmeric powder to the cut section.
Turmeric is known for its natural antibacterial and antifungal properties. It helps protect the wound and promote healthy root growth.
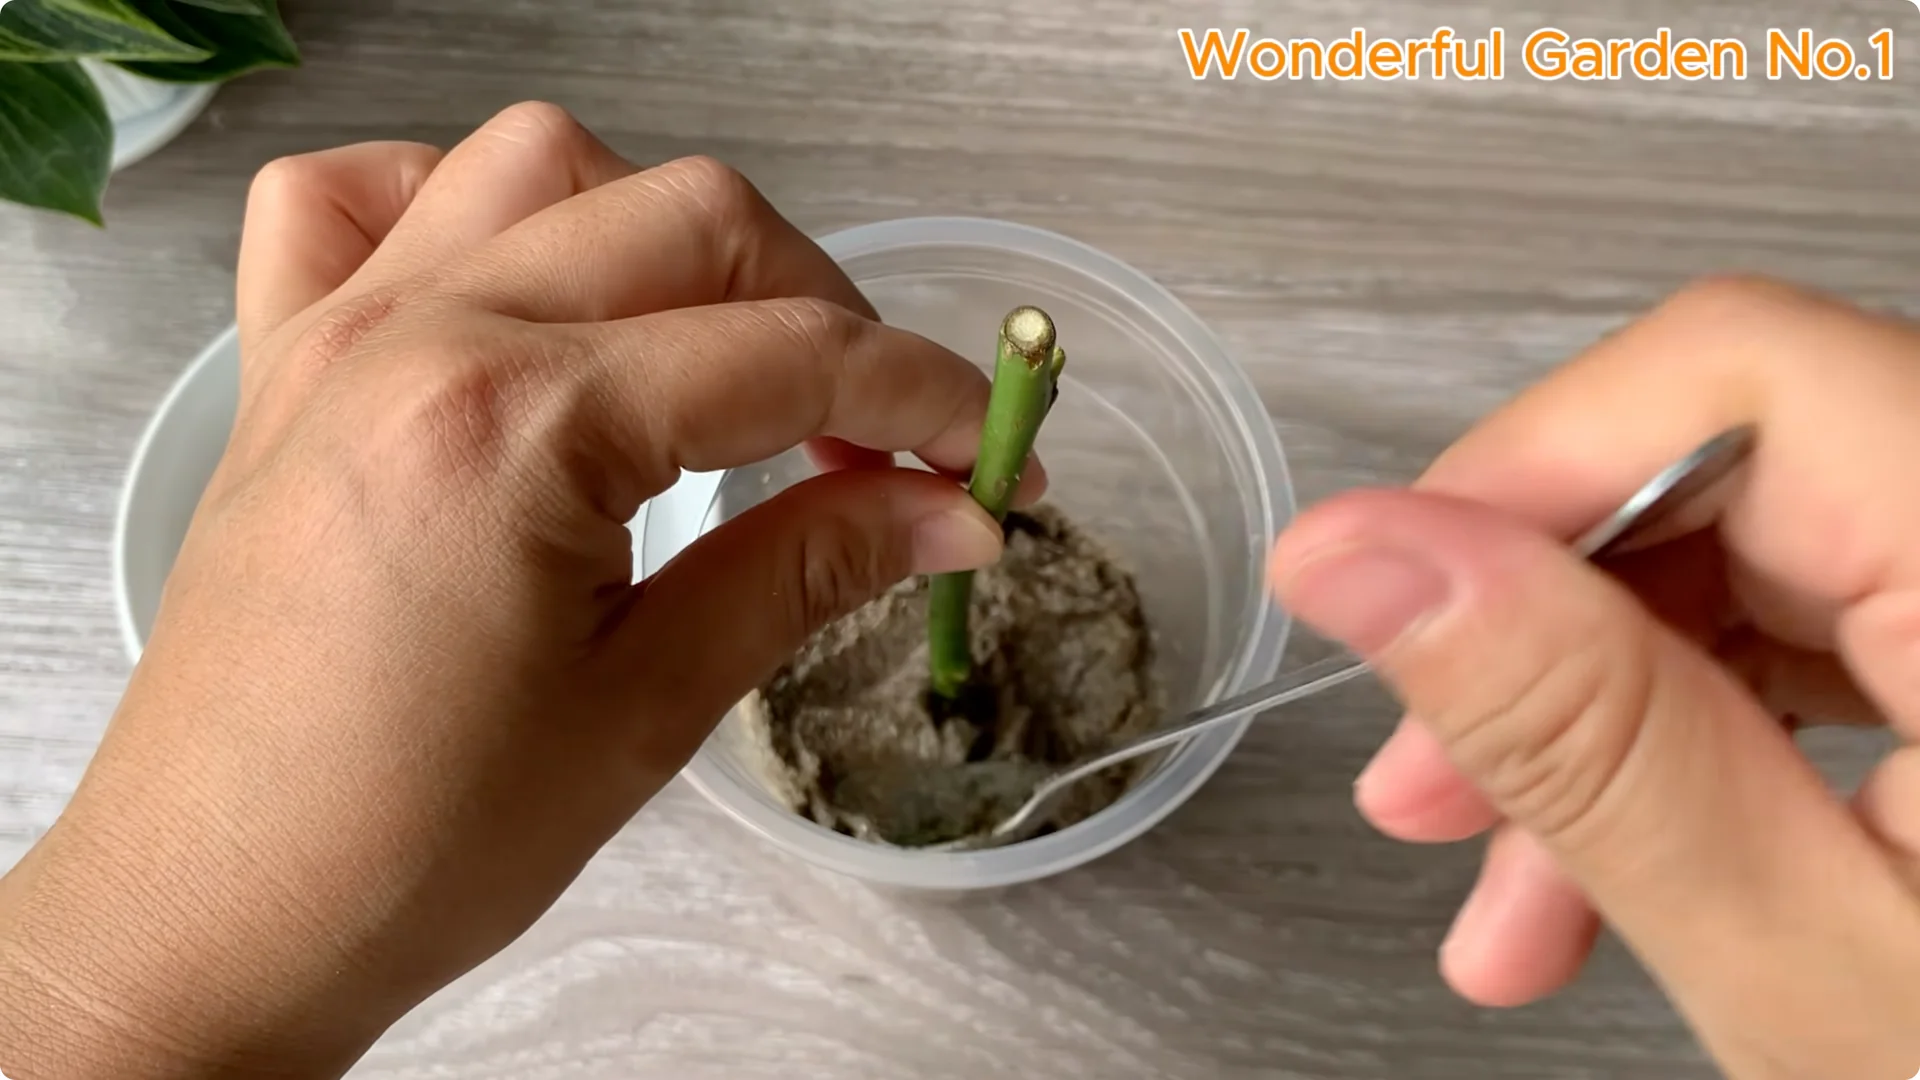
Insert the rose stem into the prepared potato slice, fitting it snugly. Make a small hole in the middle of the sand and set the potato with the stem inserted into the hole.
Cover the potato completely with sand, making sure the potato is stable and the stem is upright. To maintain humidity and warmth, cover the cup with a clear lid to create a simple greenhouse effect.
Place the cup in a bright but well ventilated area away from direct sunlight. This quiet, protected space encourages the cuttings to gently form roots over time.
5. Potato Rose Propagation – Rooting Progress
After about 3 to 4 weeks, with proper care and patience, you may begin to see the first signs of new life. New buds begin to form, tiny at first, almost hidden.
They grow into reddish green tips that gently open into new leaves. Each bud is a silent sign of success and new life.
Below the surface, roots begin to form fine white threads. They gently extend and anchor themselves into the moist sand.
Over time, they grow stronger, longer, and more branched. They anchor themselves into the growing medium, signaling the cutting is now self-sustaining and ready for the next stage.
To see how strong roots fuel sturdy stems and blooms, explore this guide on roots, stems, and blooming.
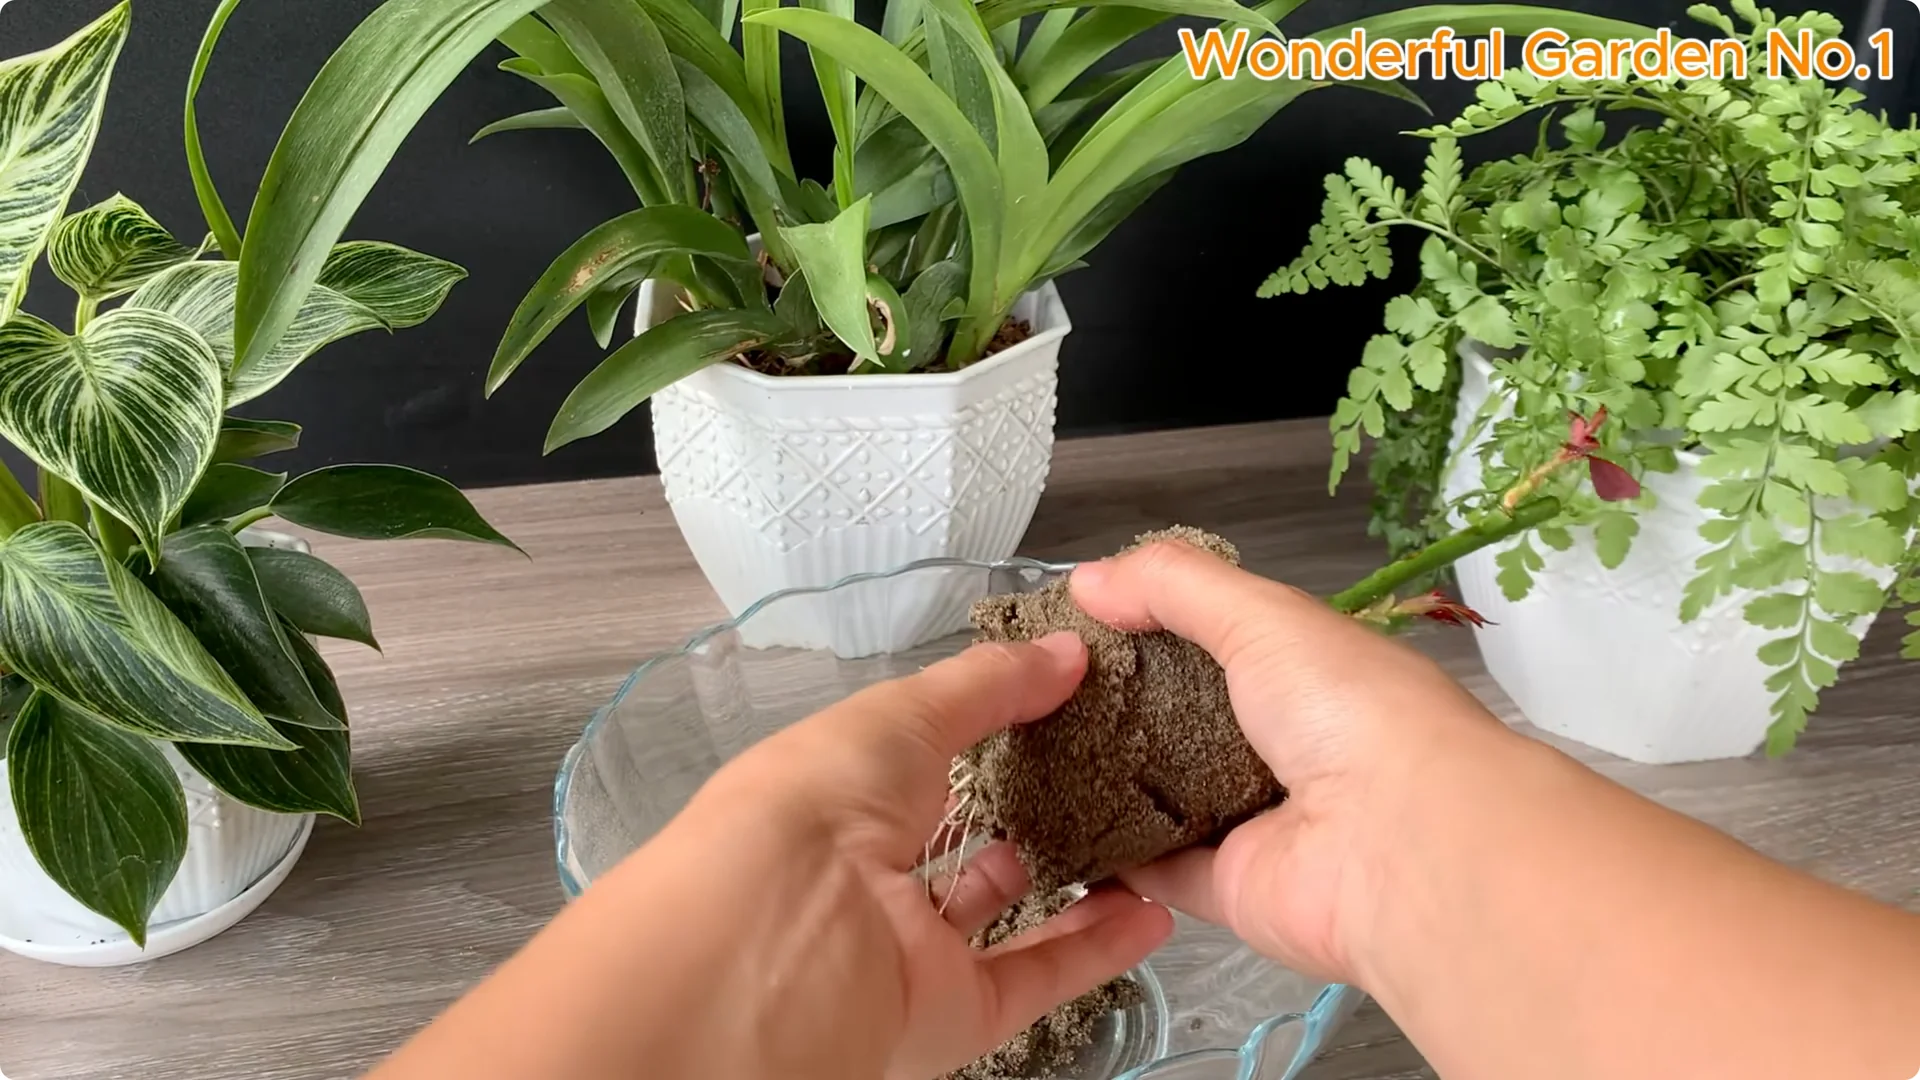
6. Potato Rose Propagation – Transplanting
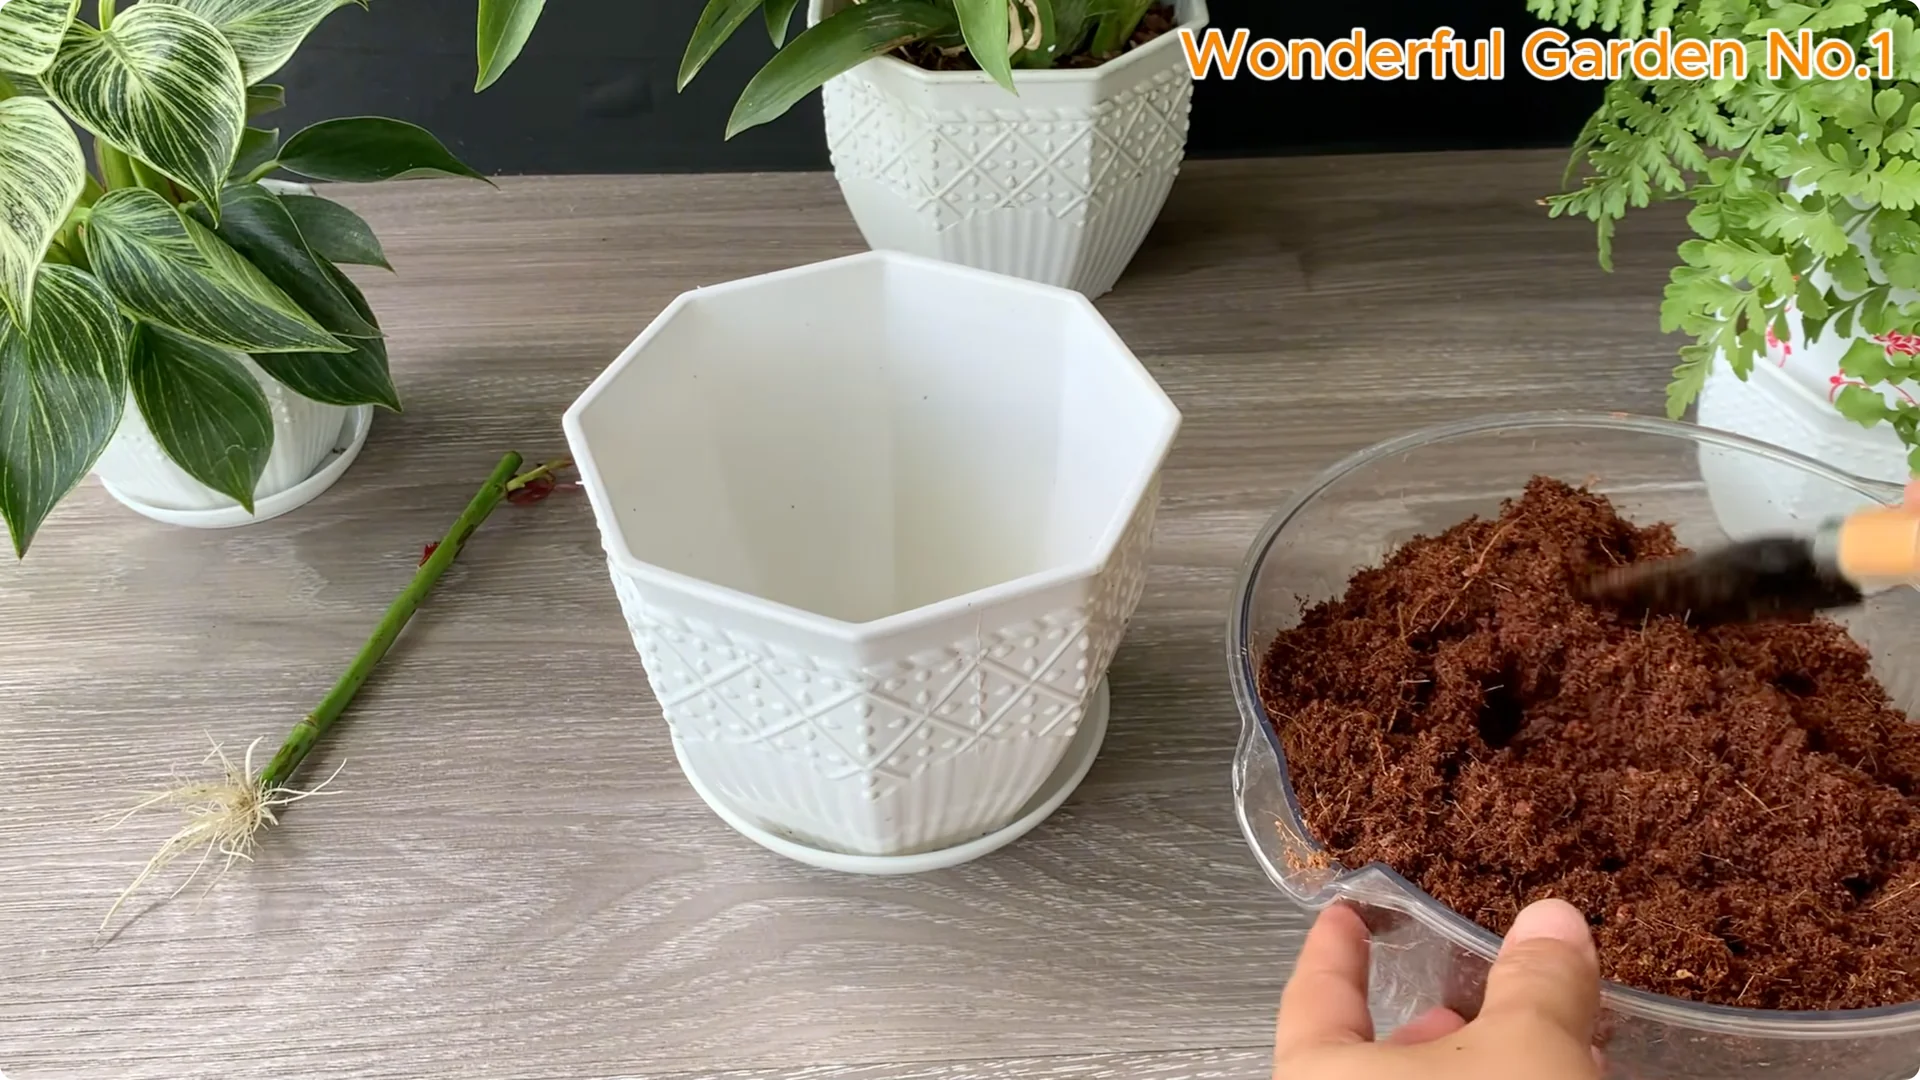
Once the roots are well established and the shoots are growing steadily, move to transplanting into a larger pot. This gives the young rose more room to grow roots and gradually acclimate to open conditions.
Choose a loose, well-draining soil mix and handle the cutting gently to avoid damaging the delicate roots. Let the plant grow in the larger pot for a few more weeks in a bright, sheltered location.
Once the plant is stronger and fully acclimated, transfer it to garden soil. It can thrive in its permanent home.
Final Thoughts on Potato Rose Propagation
From a simple cutting, with just a little help from nature, a new rose begins its quiet journey. If this inspires you, try this method yourself.
Slow, natural, and incredibly rewarding.