
Roses tell stories where beauty is nurtured by the hands and love from the heart. With a little patience and love, roses will bloom, thrive, and brighten your garden all year round. Join me in propagating roses simply with organic materials at home.
I invite you on a gentle journey to discover the enchanting world of roses. Tiny stems can carry hope for tomorrow’s garden. This method is simple, natural, and kind to your plants.
1. Rooting Rose Cuttings: Choose Healthy Stems
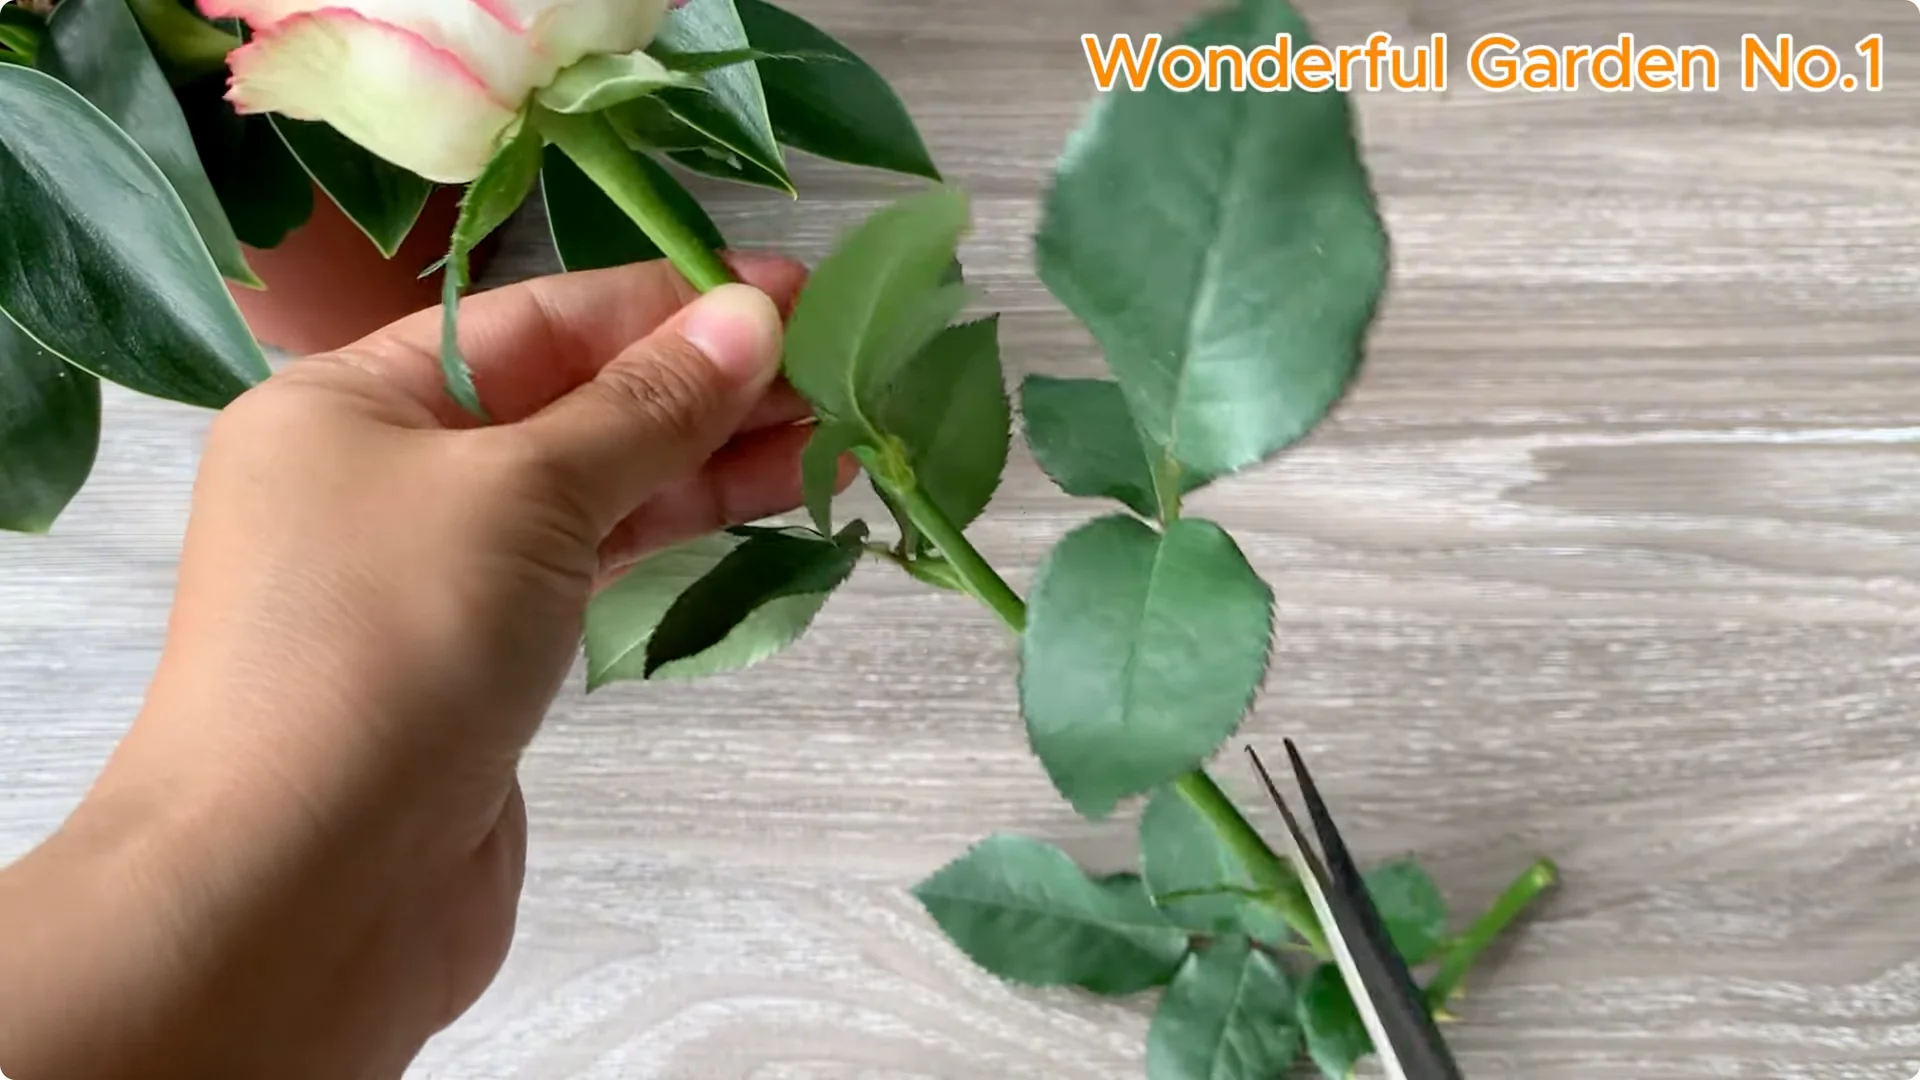
Find a young branch, not too young and not too old, about 15 to 20 cm long with three to four leaf buds. Remove all the leaves and thorns from the lower part, leaving only one or two small leaves at the top. Be gentle so as not to disturb the dormant buds where new shoots will sprout.
Cut the base of the branch at a 45 degree angle just below a leaf node. It is like creating a small doorway for new life. Rub a clove of garlic gently on the cut, as it acts as a natural antibacterial and stimulates healthy growth of the branch.
For more ways to boost rooting with natural ingredients, see how garlic can transform a rose branch.
2. Rooting Rose Cuttings: Natural Rooting Solution
Orange and Garlic Base
Let’s start with a simple familiar ingredient: orange peels. Gently peel the orange, then cut the peel into small pieces that contain natural essential oils to help fight bacteria and stimulate root growth. Orange peels help cuttings root quickly, improve soil, retain moisture, and add natural nutrients.
Add 3 cloves of peeled and chopped garlic. Garlic is a great natural antibacterial and antifungal agent, helping protect cuttings from bacteria, mold, and soil-borne pathogens. It also stimulates root growth, keeping seedlings healthy from the very beginning.
Soak and Strain
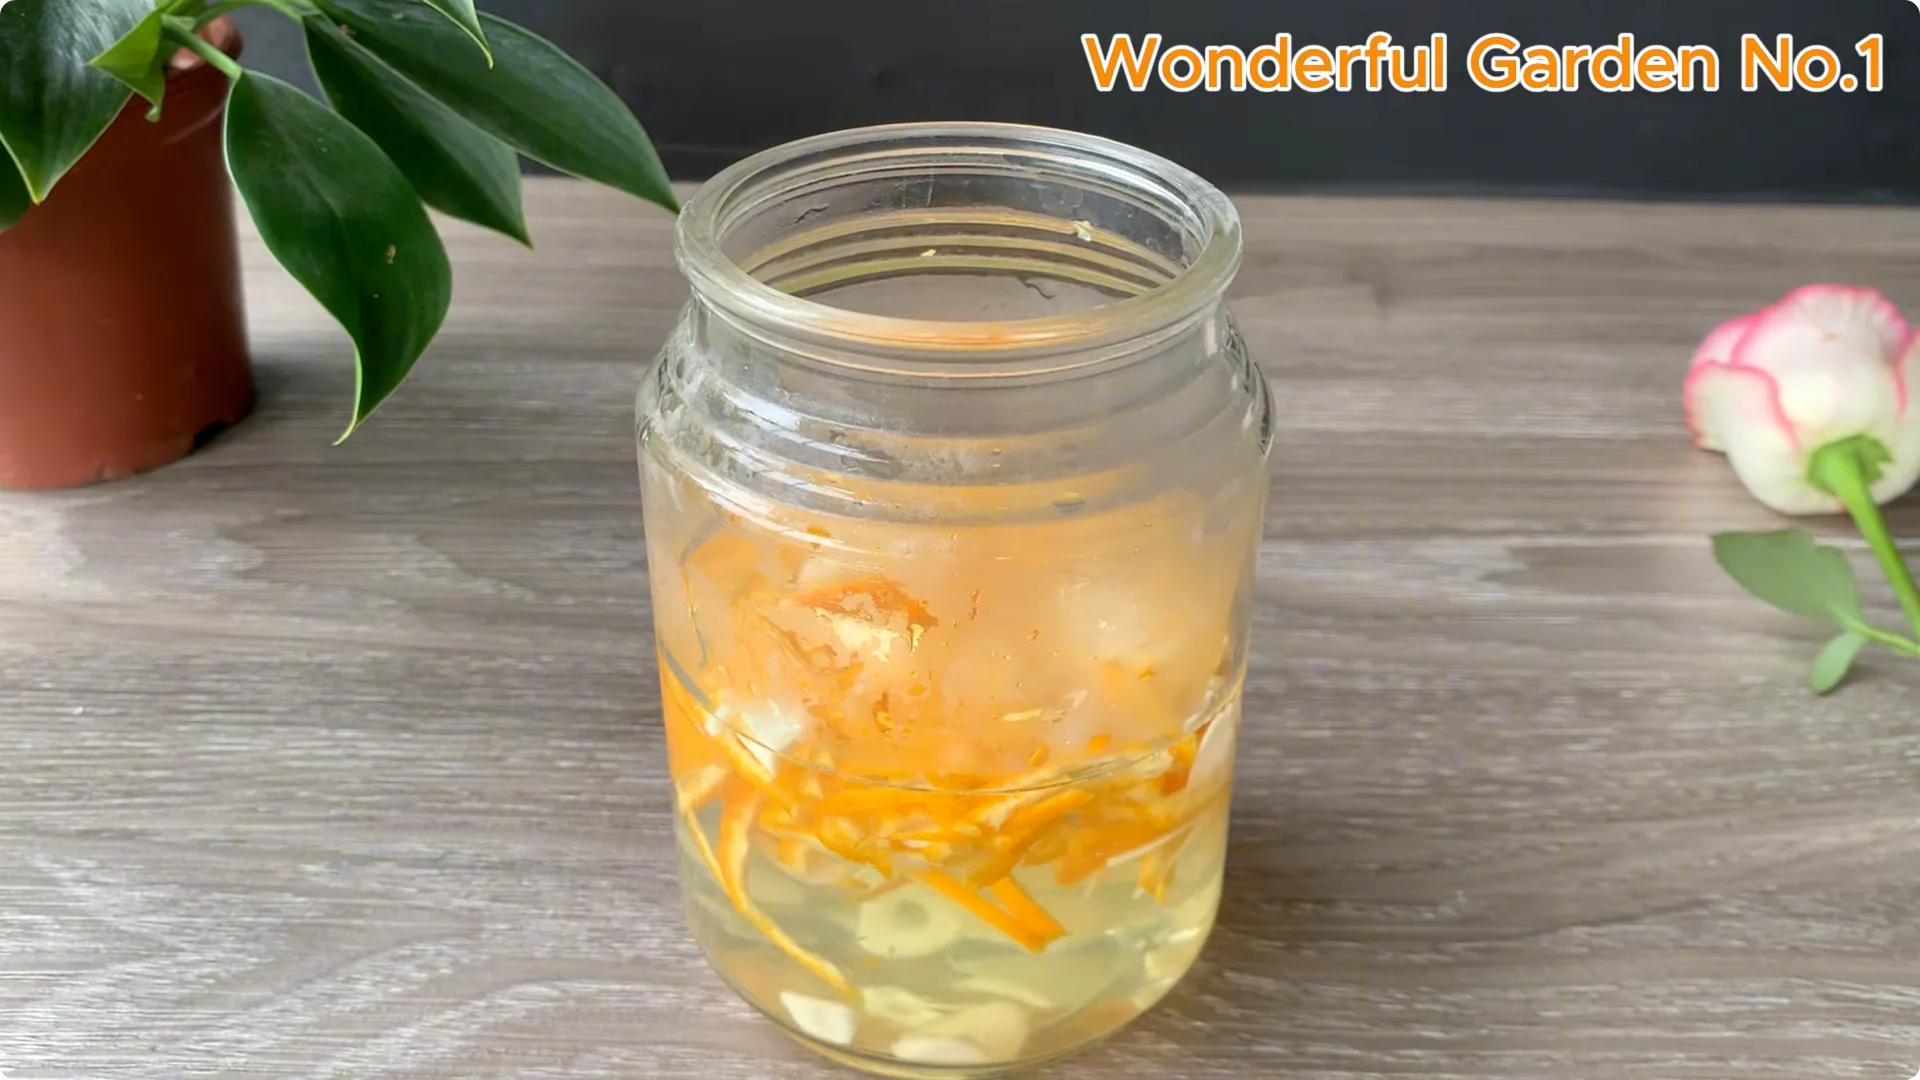
Put lemon peel and garlic in a glass jar. Warm the water to release natural essences that help disinfect, resist fungi, and stimulate root growth more effectively. Soak for 1 to 2 hours to draw out the essences.
After soaking, filter out the residue and keep only the clear water. Removing impurities helps the solution penetrate evenly into the cuttings. This promotes rapid, disease-free root growth.
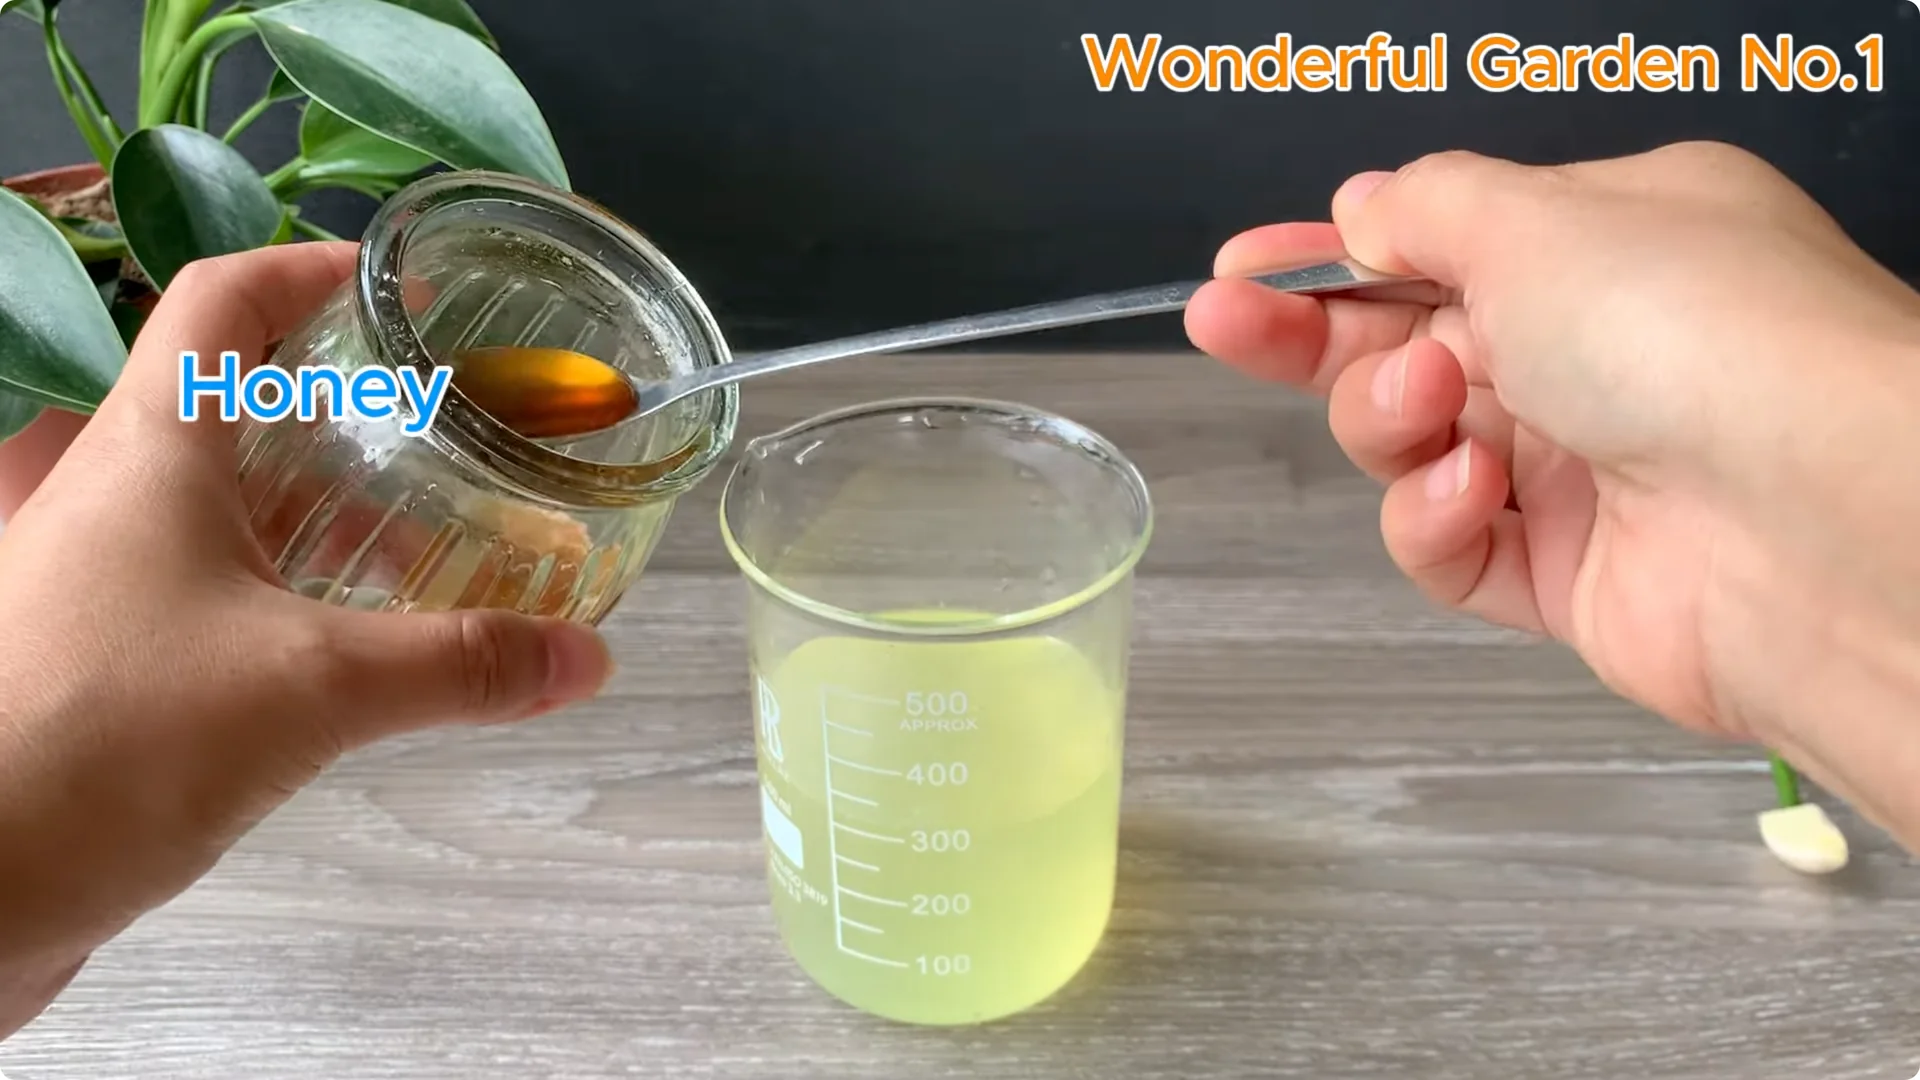
Honey Boost
Add 1 tablespoon of honey to the strained solution. Honey is a natural antibacterial, rich in enzymes and nutrients that protect the cut, prevent infection, and stimulate strong root growth. Stir the mixture well.
Prime the Cutting
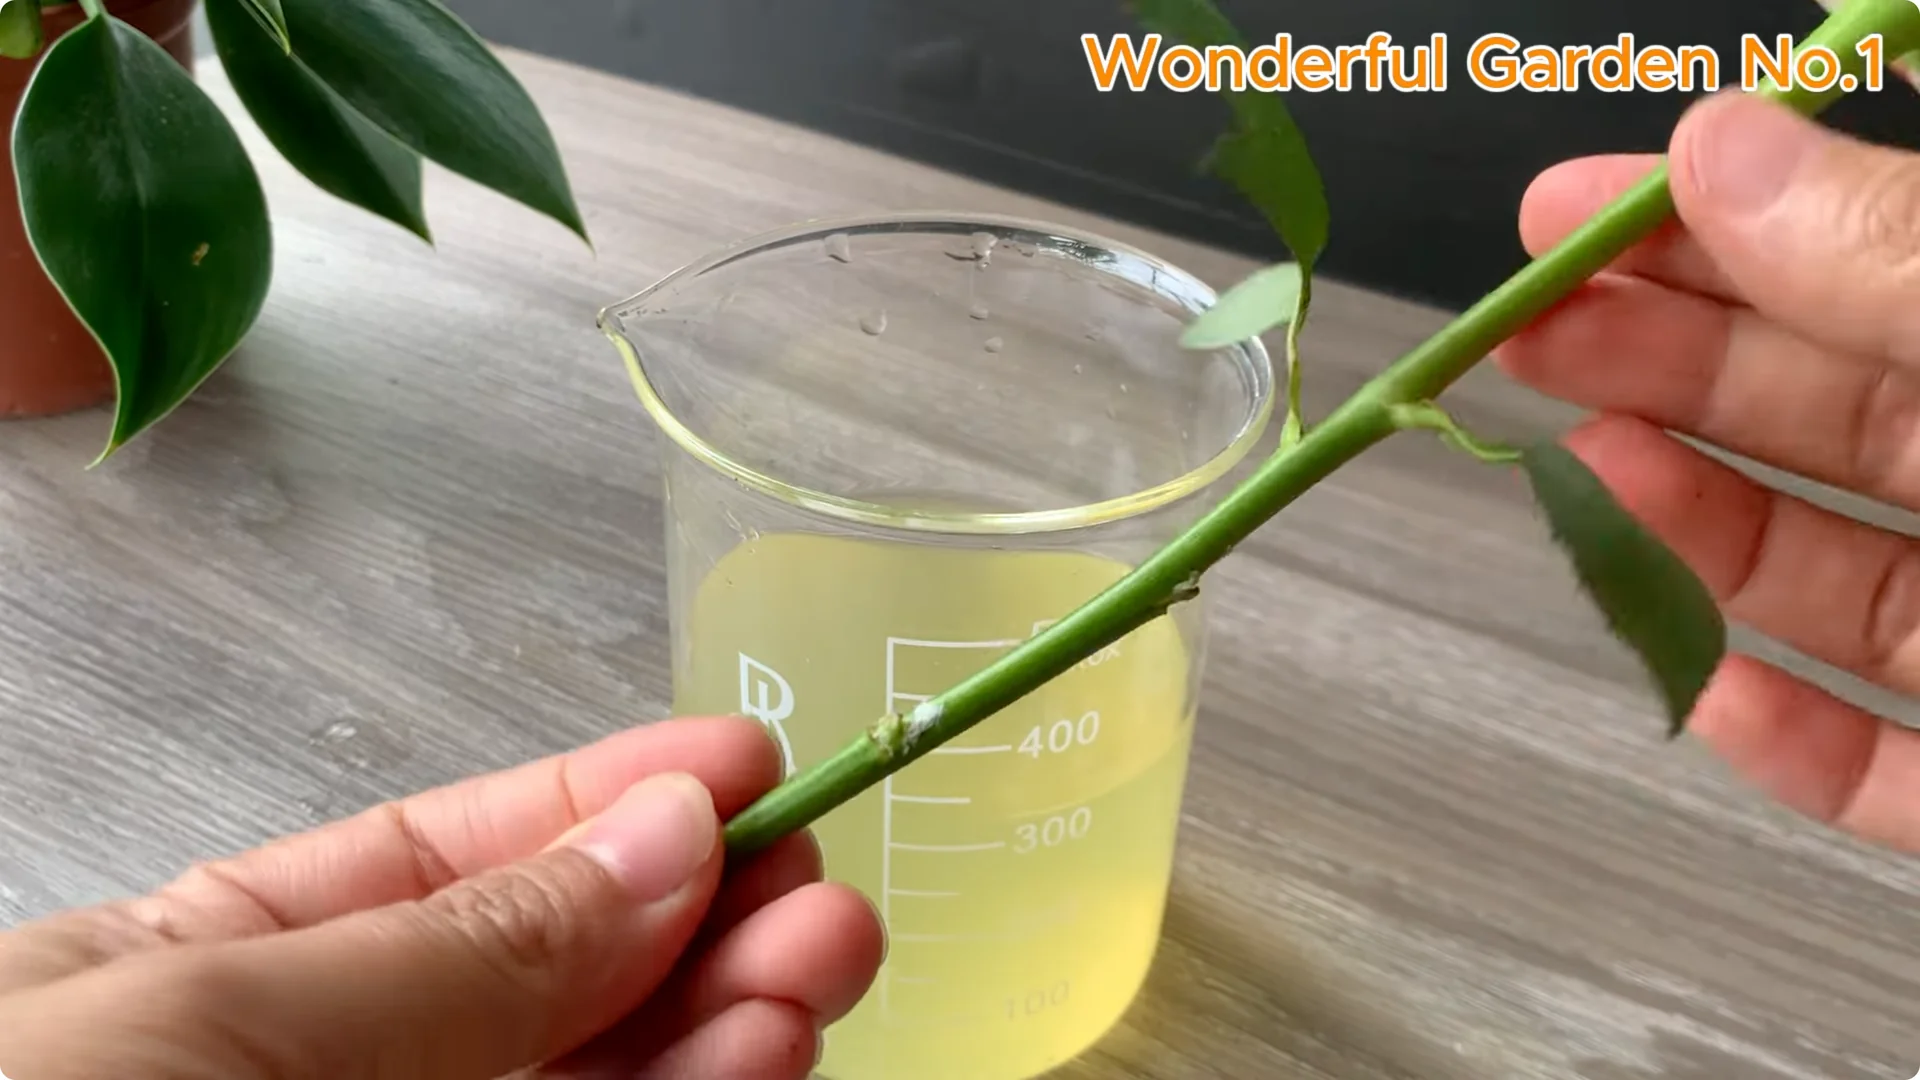
Gently soak the base of the rose cuttings in the solution. This step helps the cutting absorb nutrients and prepares it for the rooting process. Let the base take in the goodness before setting it to root.
Read More: Rose Potato Grows 99 Roots Overnight
3. Rooting Rose Cuttings: Water Soaking Setup
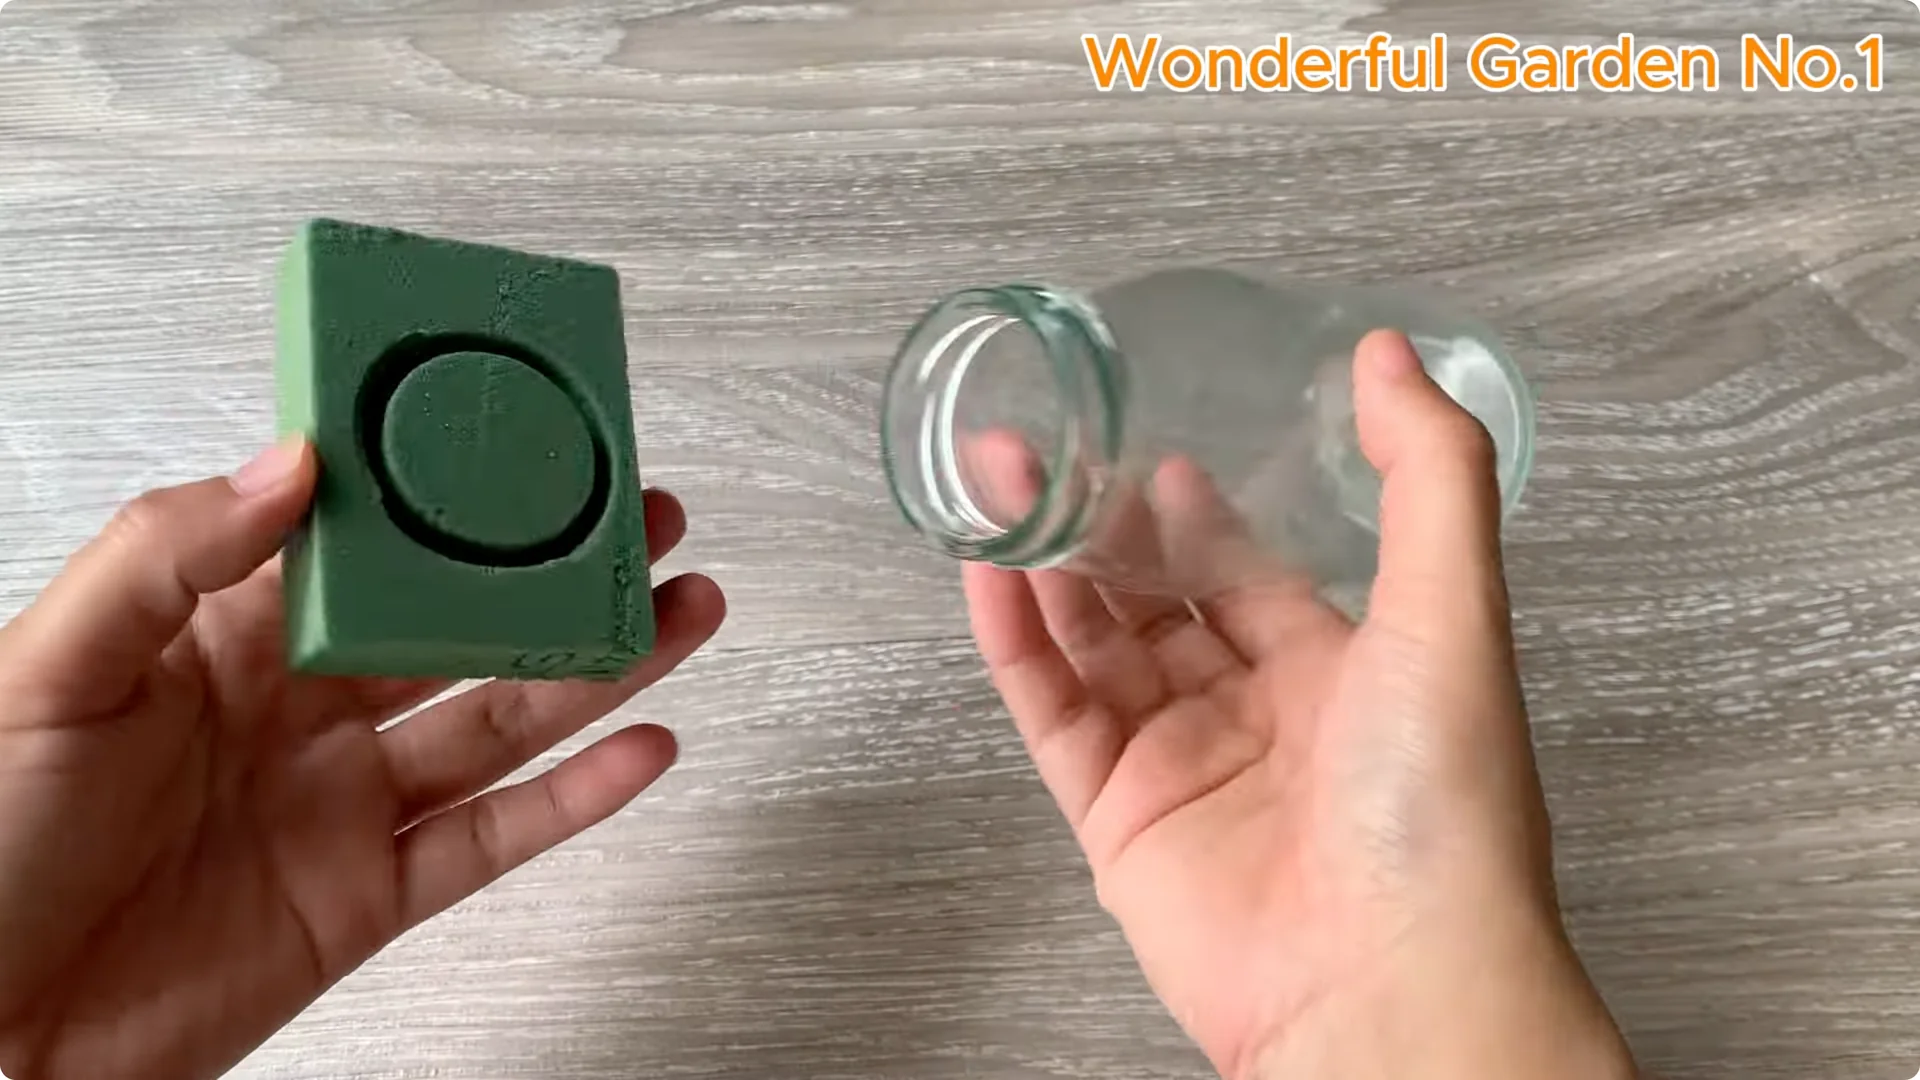
For this method, I use the water soaking technique, a gentle, clean, and effective way to help rose cuttings root quickly. I use a glass jar and a piece of sponge as a soft lid to hold the stem firmly. This avoids shaking the stem during the rooting process.
Hydroponics creates a stable humid environment that provides oxygen and nutrients continuously to the base. Young roots grow healthily without worrying about water logging or fungal infections. It keeps the stem supported and calm.
I dilute the rooting solution by adding about 100 milliliters of clean filtered water. This ensures enough moisture and avoids making it too thick, which can affect young branches. Gently pour the solution into the prepared glass jar.
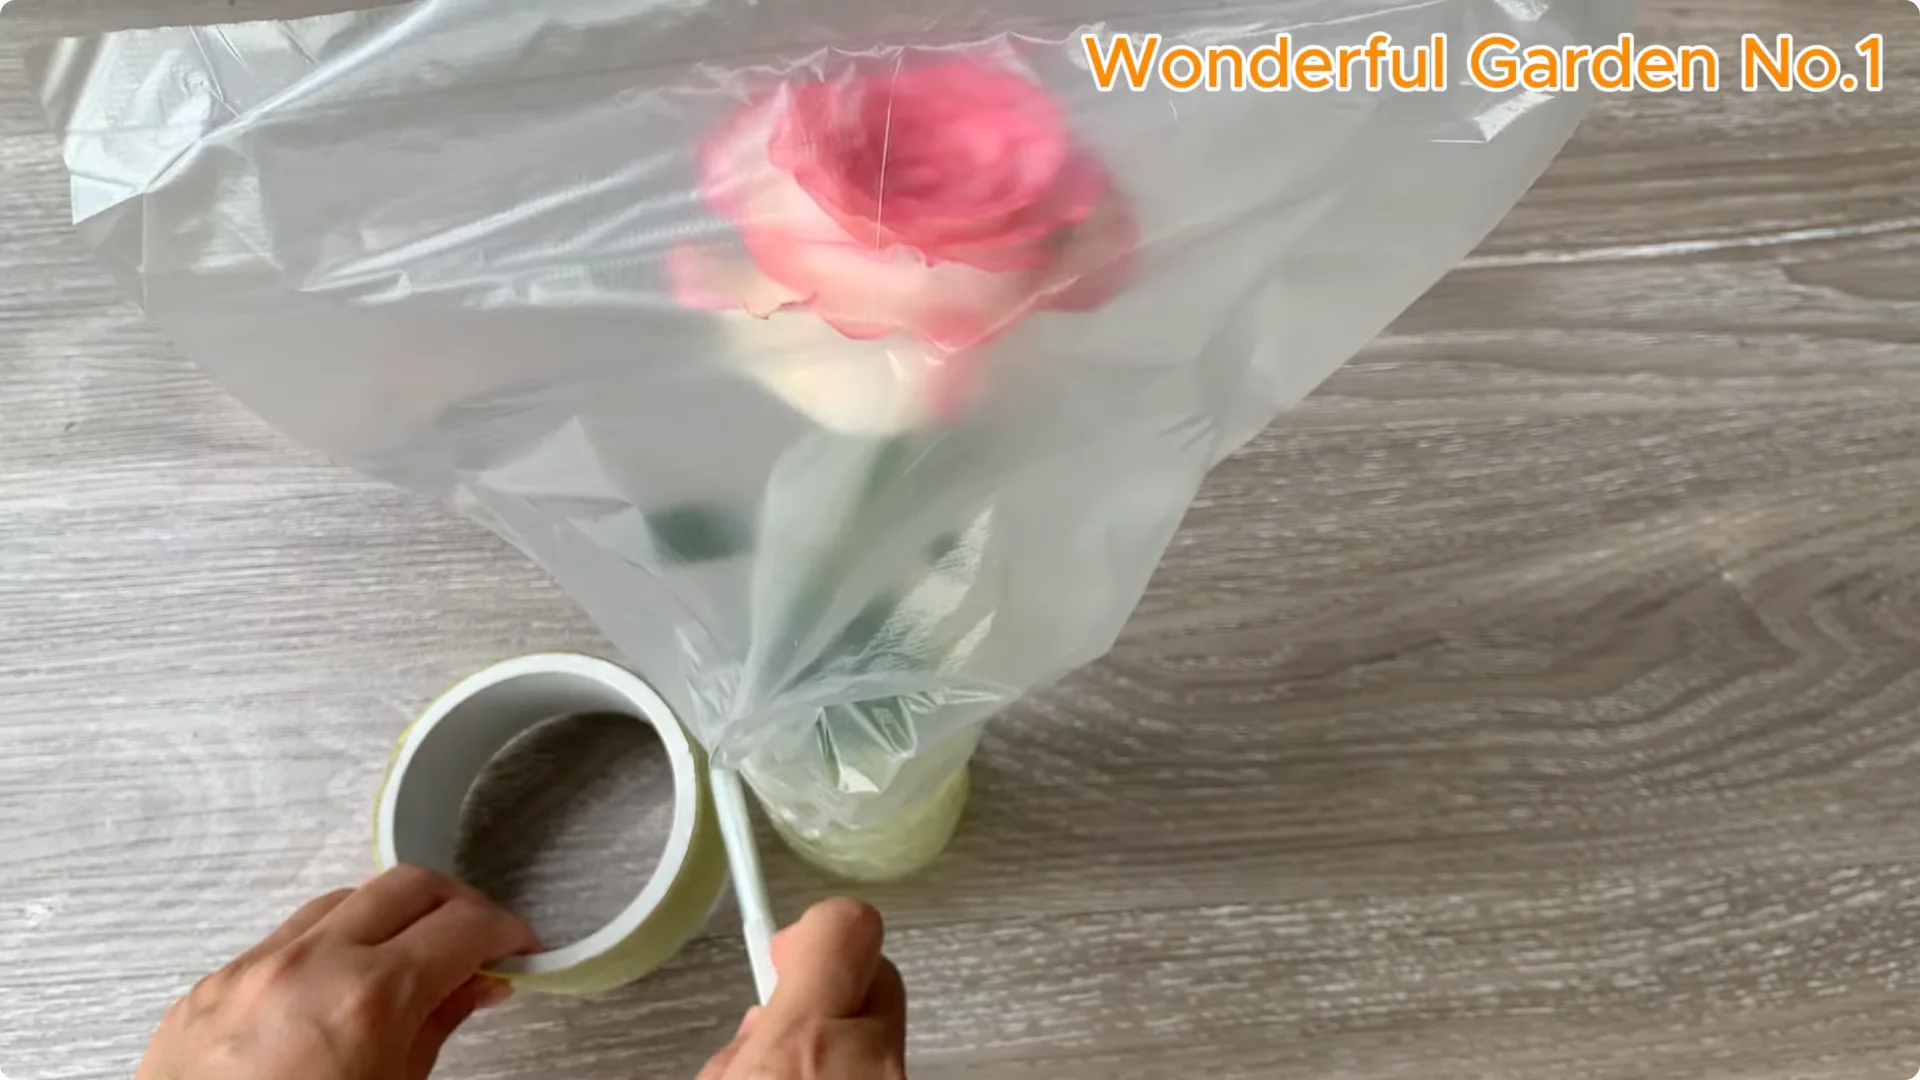
Use a small plastic string tied loosely below the leaf nodes to support the points where new shoots will begin to emerge. Insert the rose stem through the sponge so that the base is submerged in the solution and the leaf buds sit above the sponge. Seal the jar with a plastic bag and tape to create a mini greenhouse effect that maintains stable humidity.
4. Rooting Rose Cuttings: Care During Rooting
Keep the solution moist and place the jar in a bright area away from direct sunlight. Make sure the liquid level stays steady. Add clean filtered water if needed.
Watch for signs of germination and root growth. This usually appears after 2 to 3 weeks. Be patient and let the plant work quietly.
5. Rooting Rose Cuttings: Signs of Success

After 2 to 3 weeks, you should begin to see clear signs of new life. Small buds will emerge from the dormant buds on the branch. They will be bright green, juicy, and full of life.
This shows the cutting is healing and preparing to grow into healthy new branches. The first thin white roots will appear at the base under water. They gradually grow longer and thicker, forming a strong root network to absorb water and nutrients.
Healthy roots are evenly grown, bright white, not black or soft. This indicates they are free from rot or infection. Keep conditions steady until the root system thickens.
Read More: Spoon Sparks Roots Rose Branch
6. Rooting Rose Cuttings: Potting Up
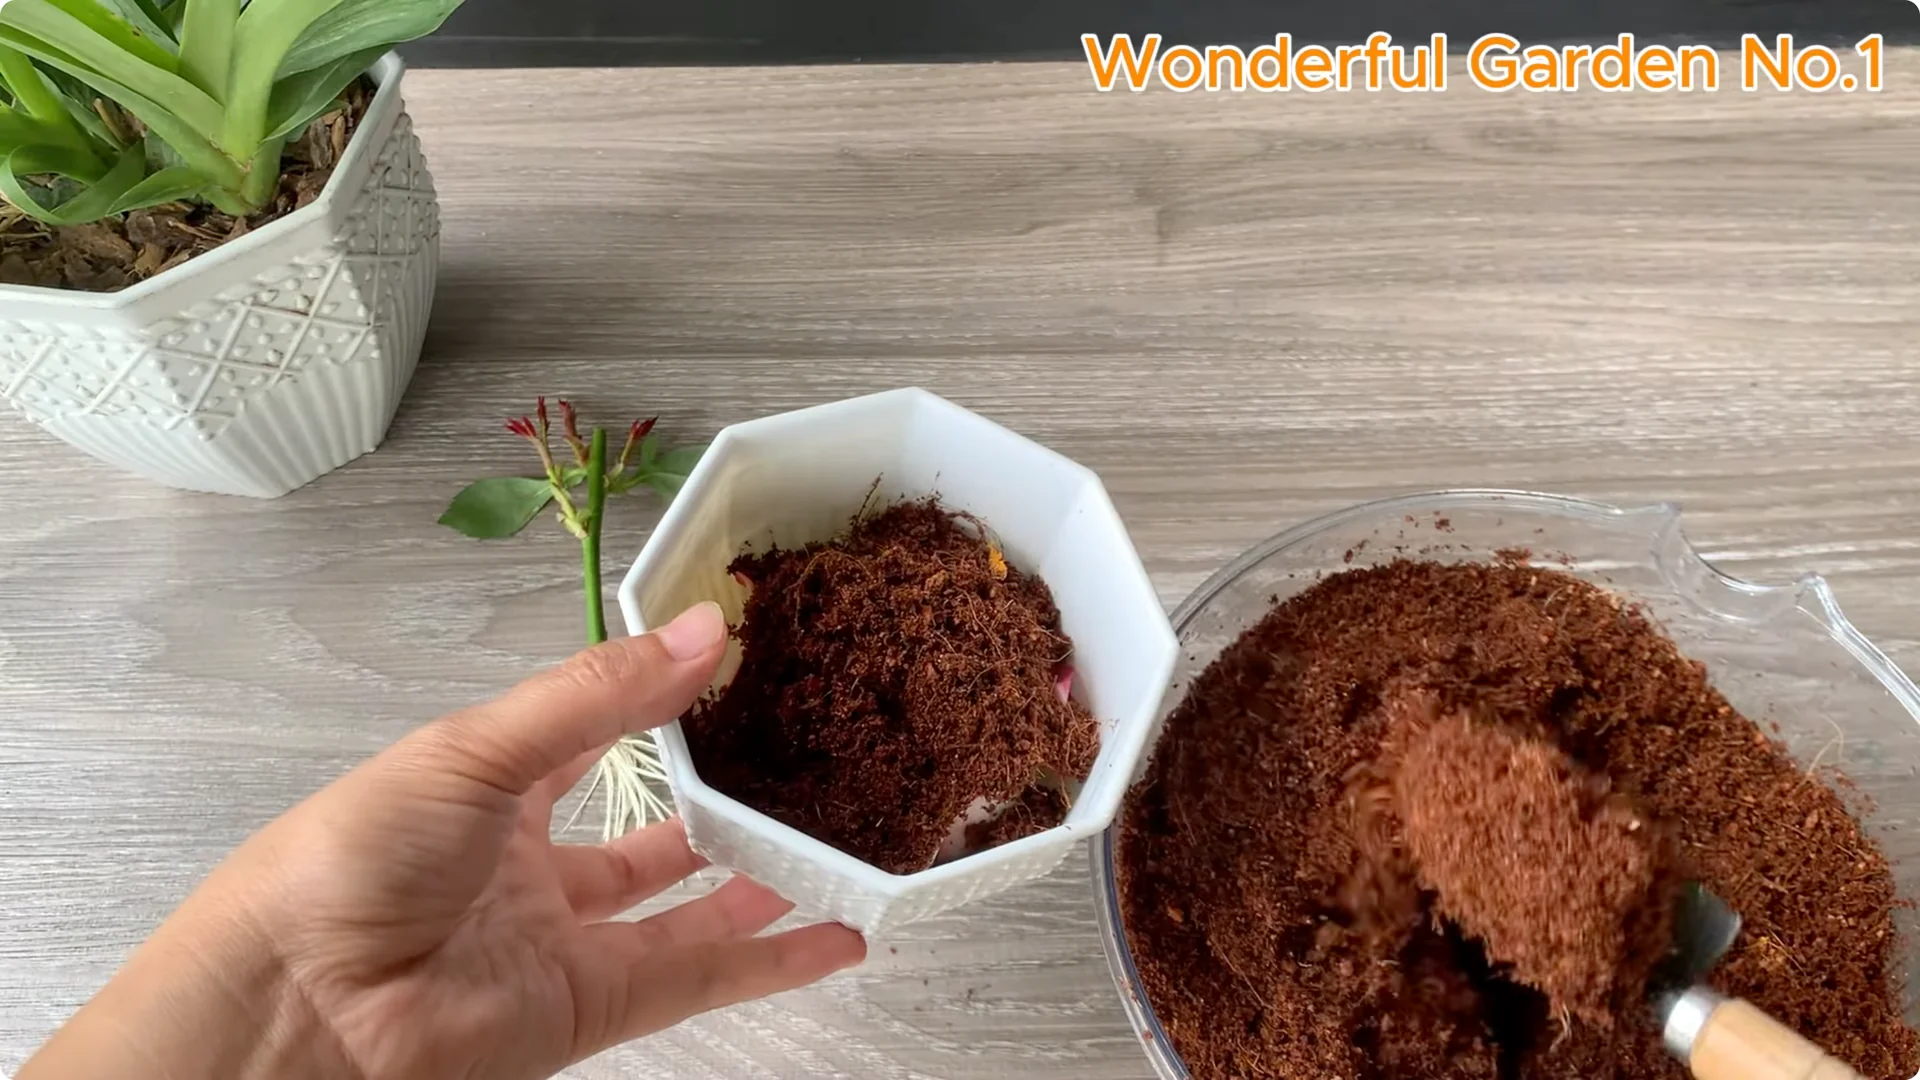
Once the roots have developed well, transfer the cutting to a larger pot to give it enough room to grow. Do this before planting it in the ground. Handle the young roots gently.
I often use coconut fibre, a natural breathable material that retains moisture well. You can also substitute other loose mixes such as sandy soil or loam blends. Give the seedling an airy, nurturing home.
Final Thoughts
I hope this simple natural method helps your garden become more vibrant and full of life. With care, patience, and gentle organic support, rose cuttings will root and grow strong. Have a fun and relaxing time gardening.