
Welcome to my little garden. Here we slow down, breathe deeply, and enjoy the peaceful beauty of nature. Every visit is an opportunity to reconnect with the earth, with ourselves, and with the joy of growing.
Today, I’m going to show you a simple natural way to grow beautiful roses right from cuttings. It’s gentle, practical, and rooted in everyday ingredients. With patience and care, you’ll watch new life unfold.
1. Rose Cutting Propagation – Select and Prepare the Cutting
H3: Choose the right stem
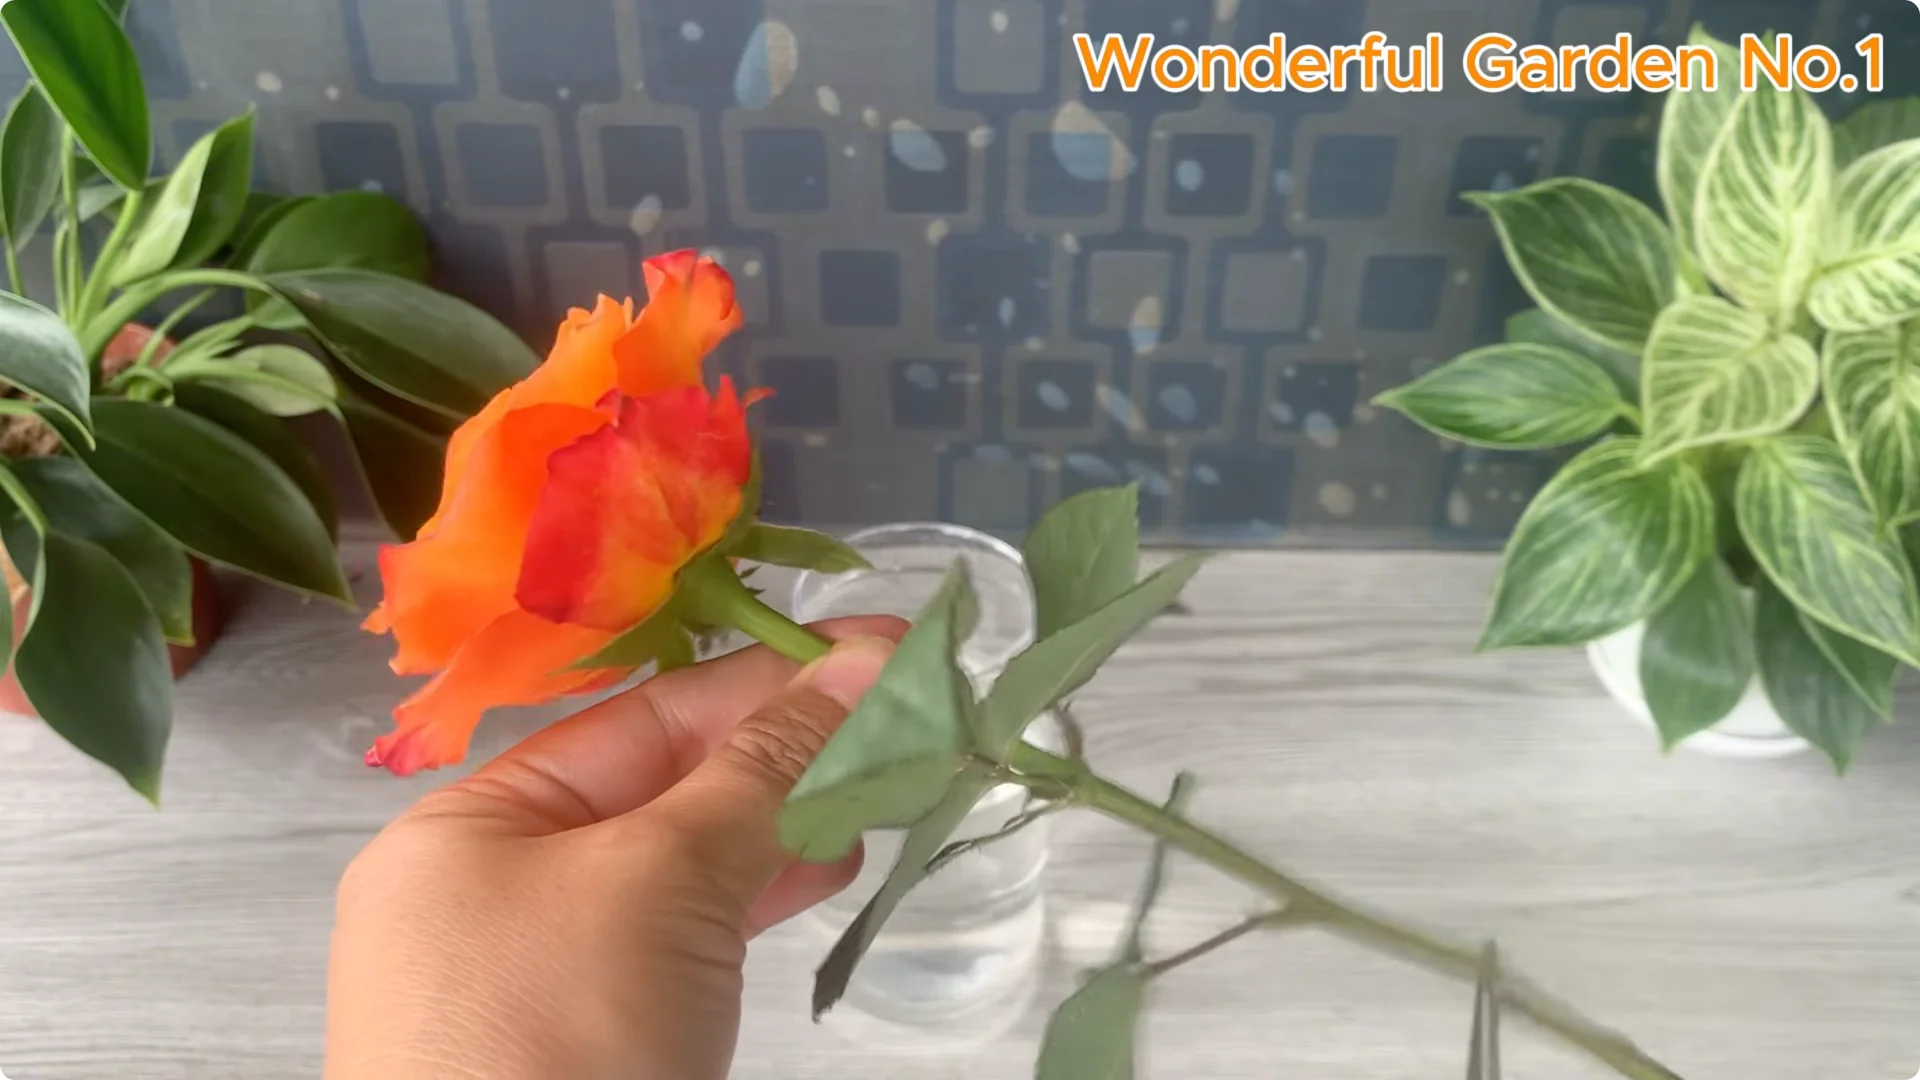
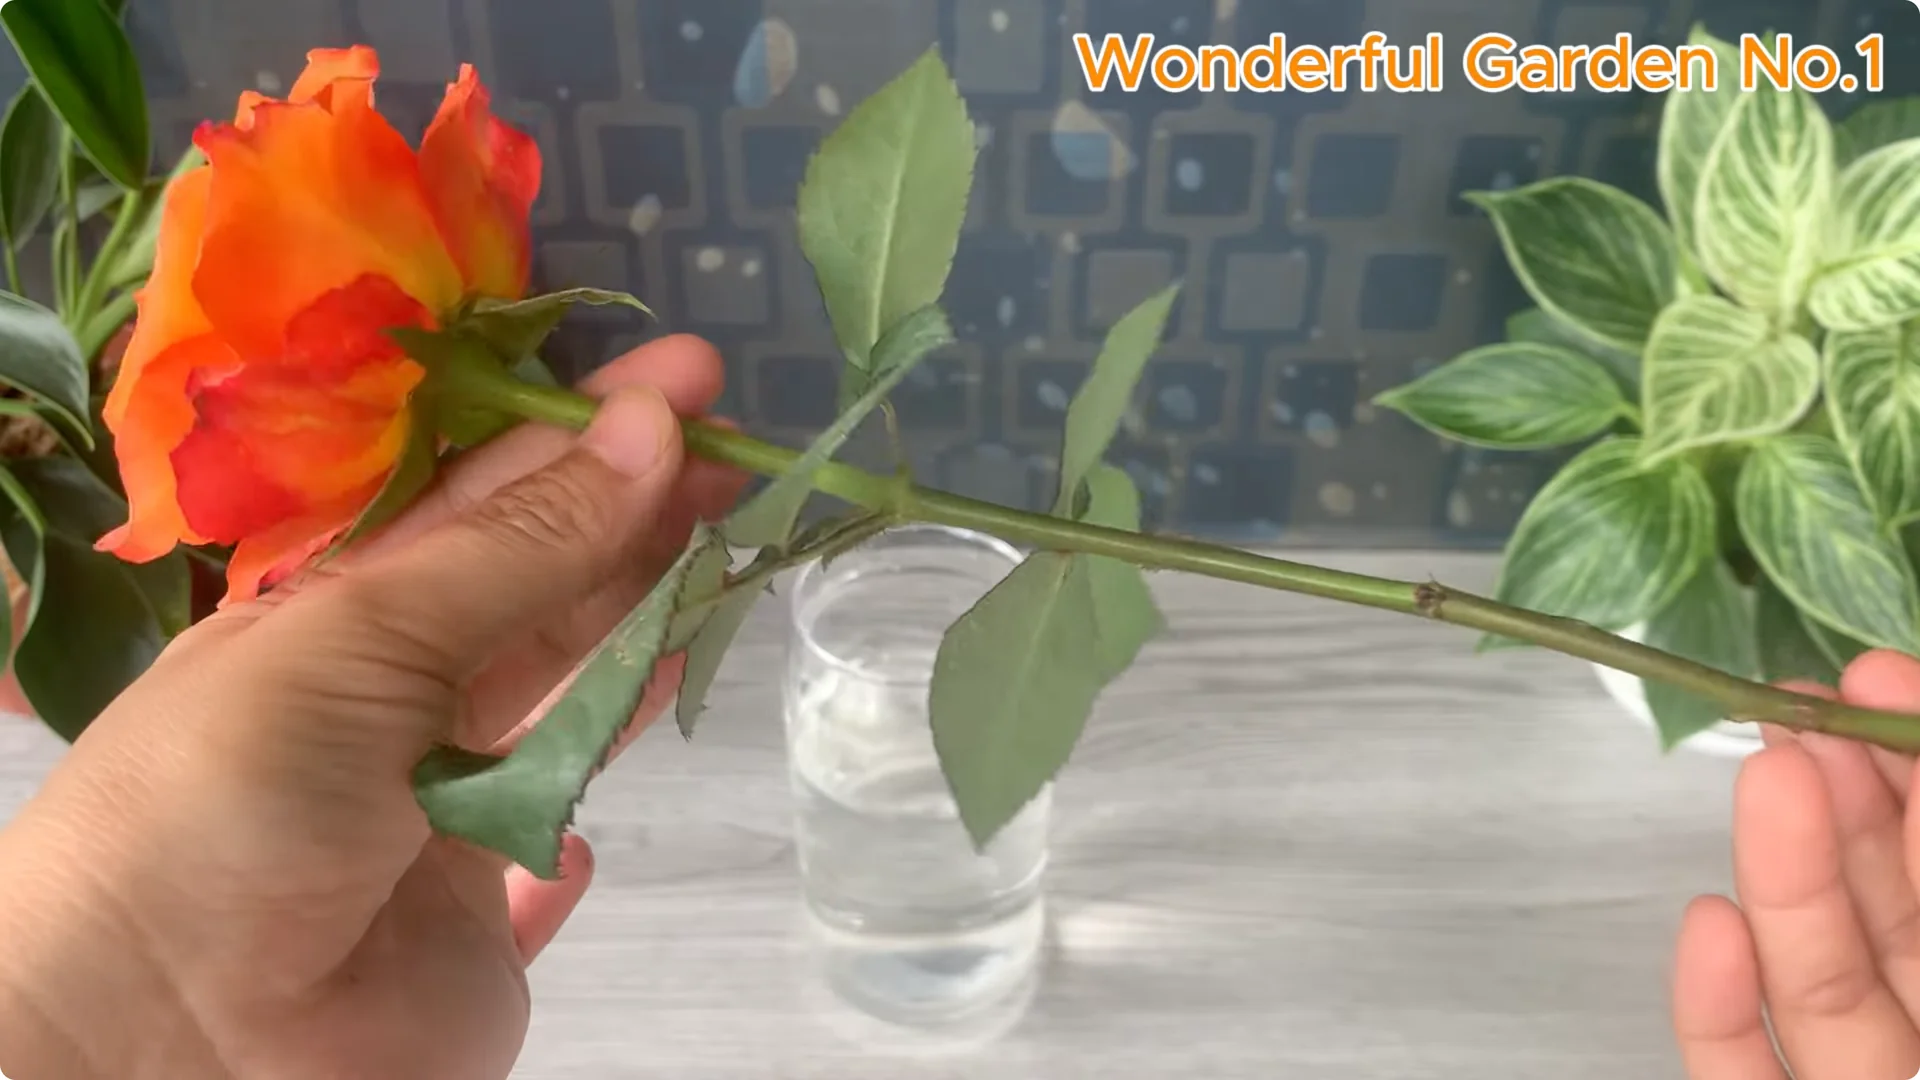
Select a healthy rose stem, strong, fresh, and about as thick as a pencil. Gently cut off the lower leaves, leaving only one or two at the top. This helps the cutting focus energy on root development while still supporting light photosynthesis.
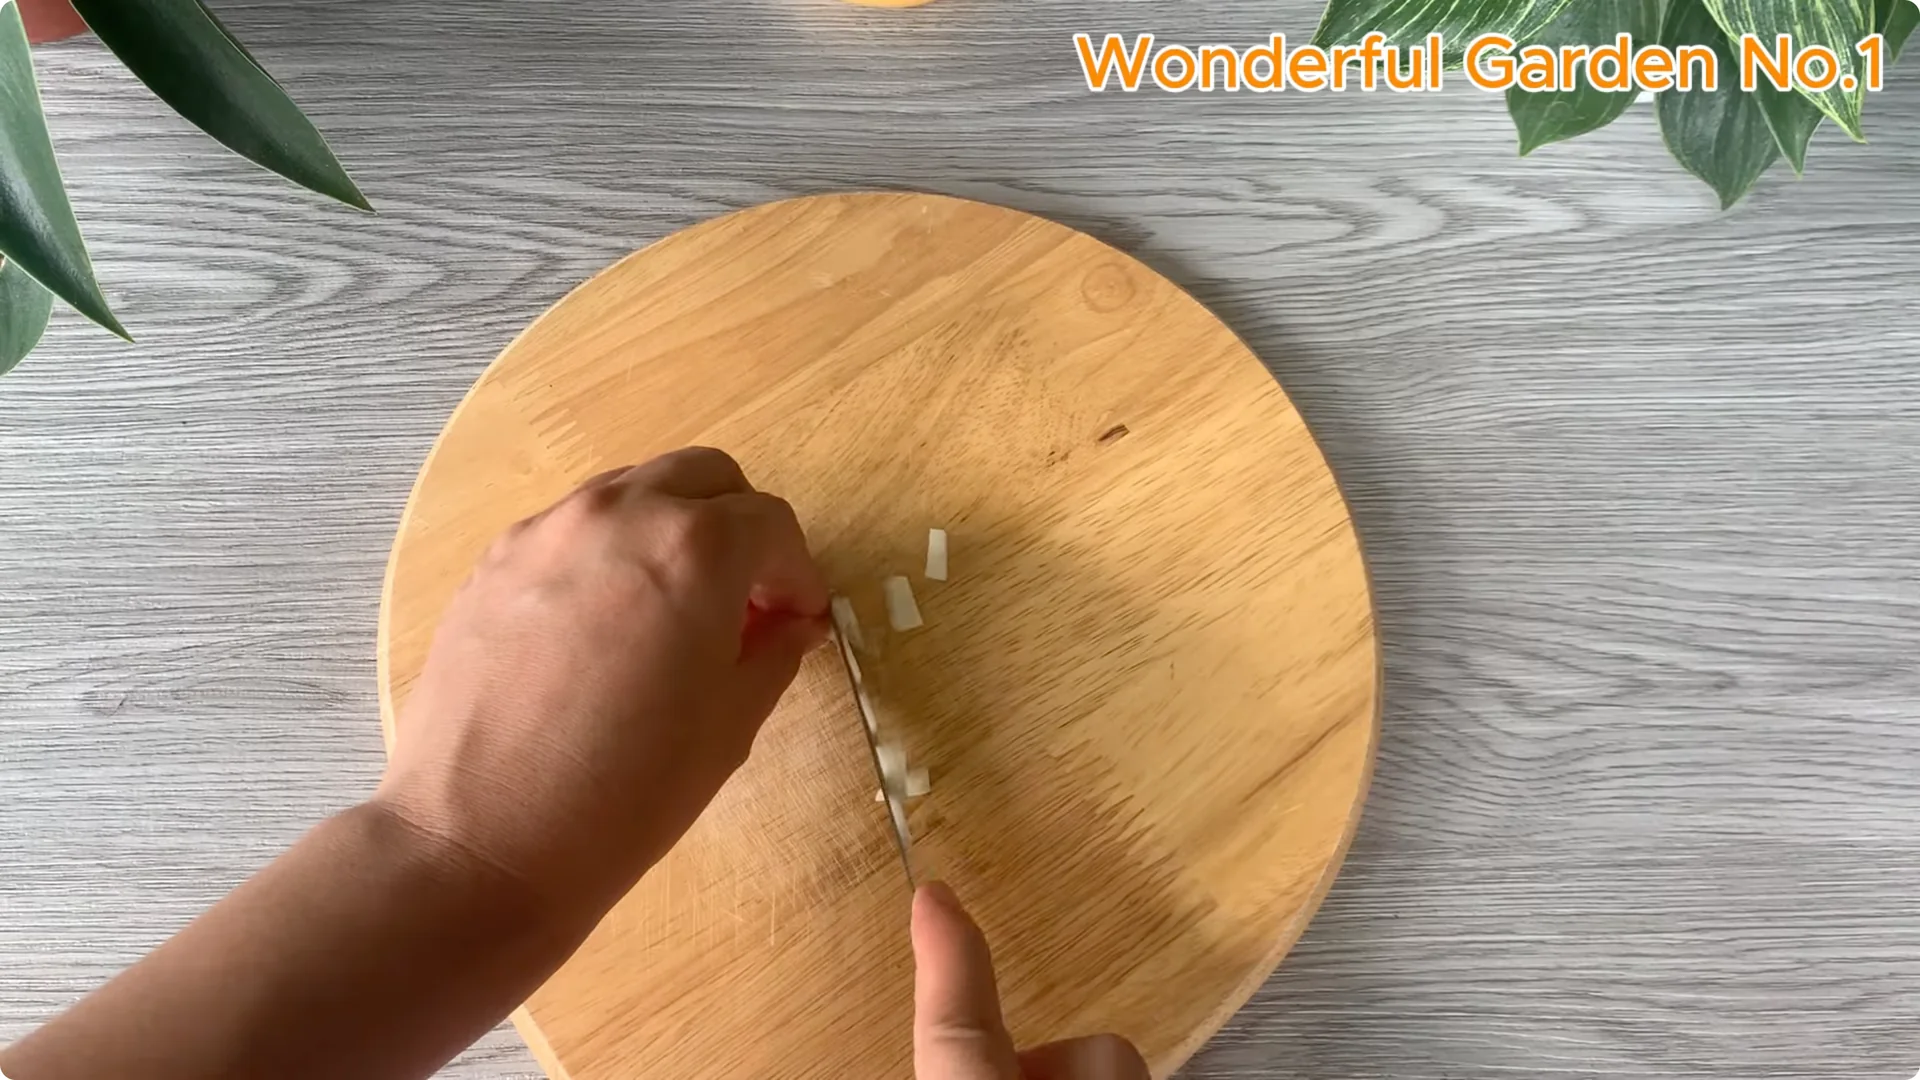
H3: Make a clean angled cut
Cut cleanly at a 45° angle. This increases the surface area for rooting and helps the stem absorb moisture more efficiently. With a few careful prunings, you prepare it for a new life.

H3: Add a natural antiseptic
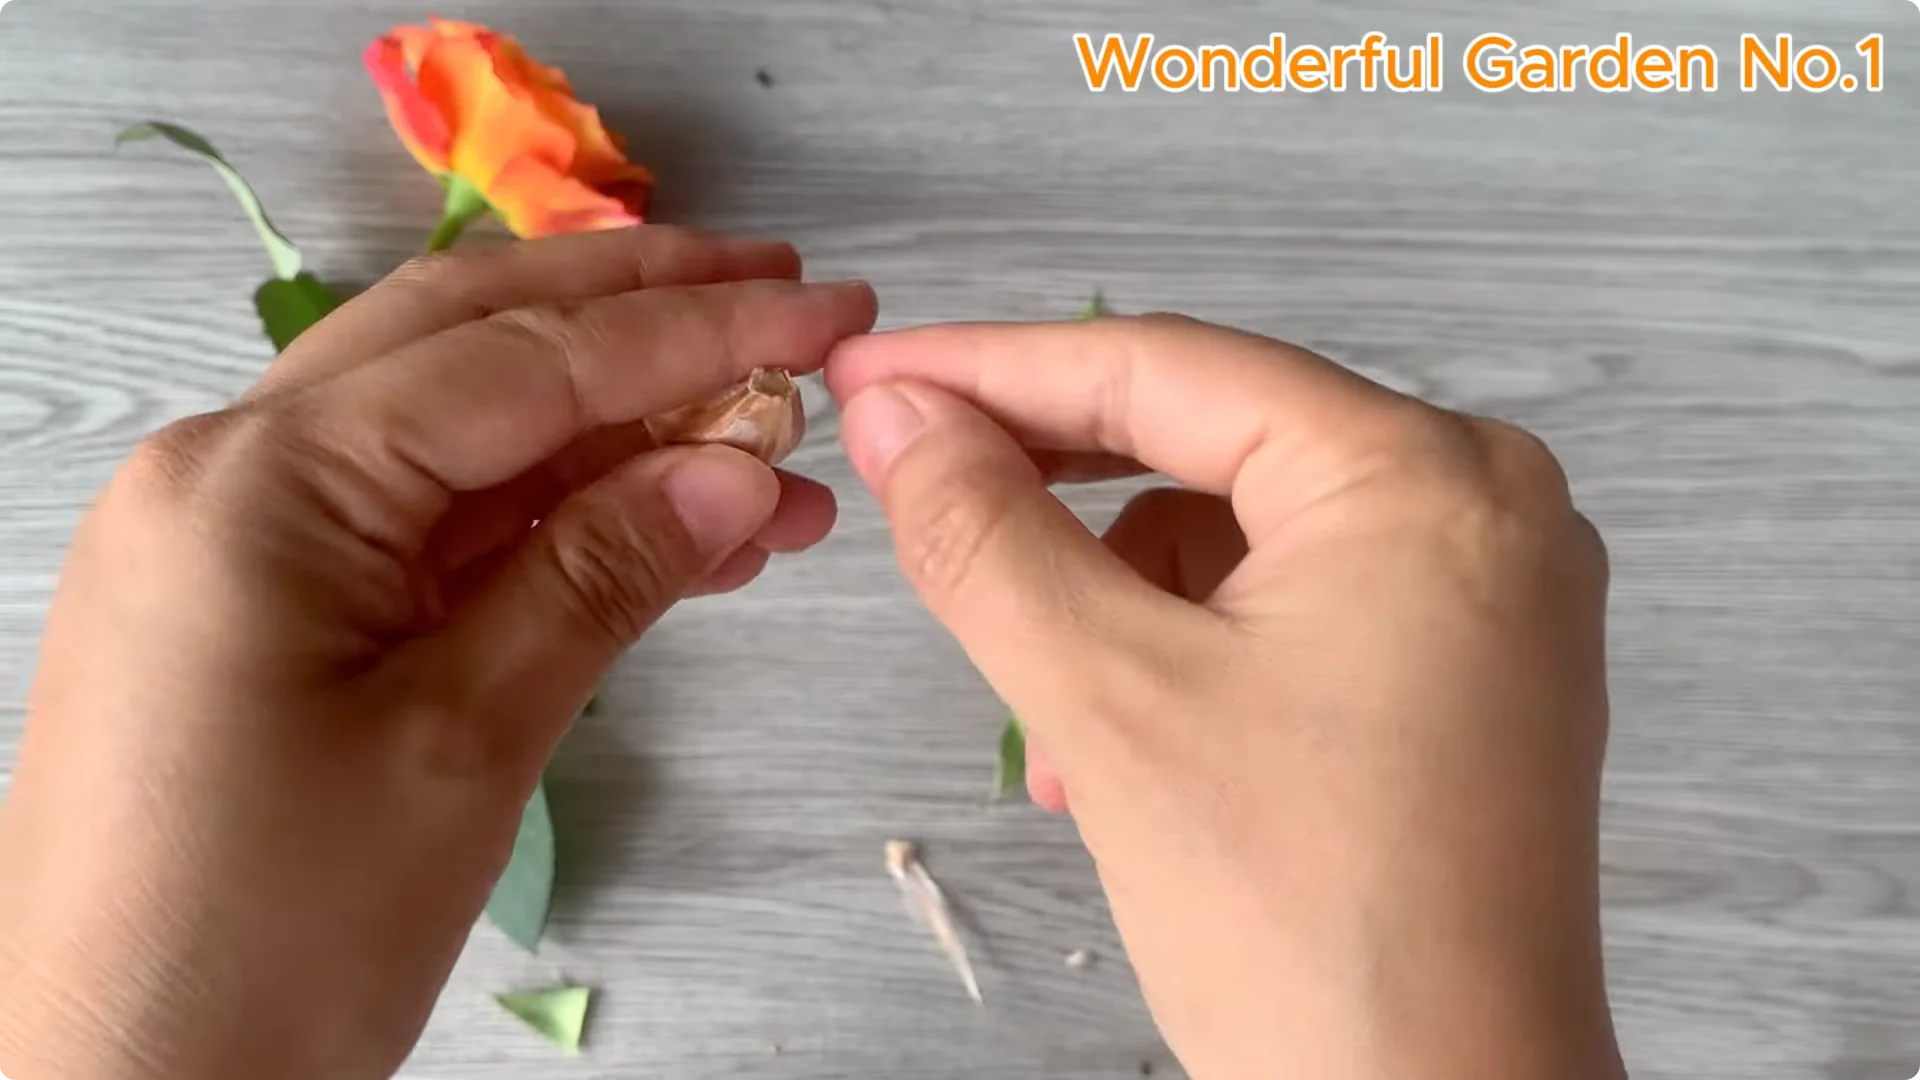
Take a clove of garlic and gently rub it over the cut surface. Garlic acts as a natural antiseptic, protecting the stem and quietly promoting root growth. It’s a simple start that helps prevent problems early.
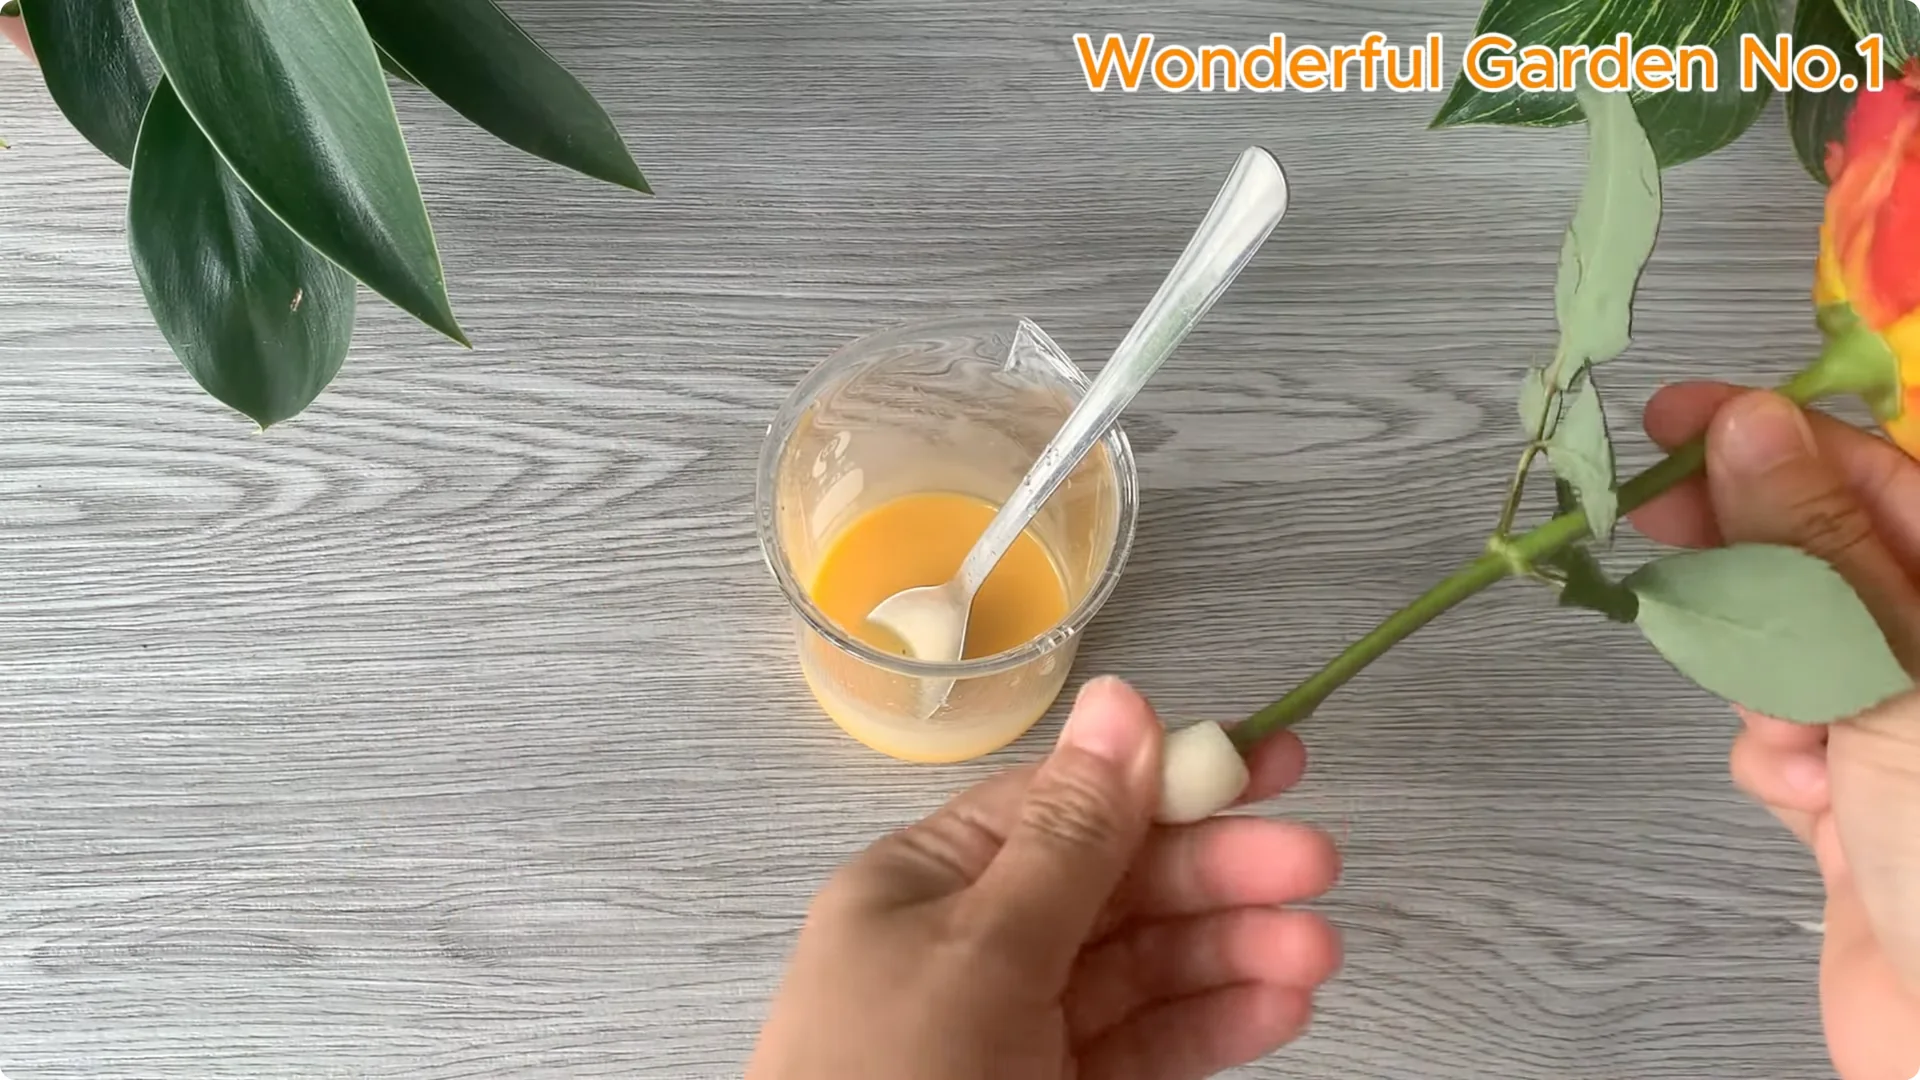
H3: Nutrient dip with egg yolk and lemon
Take an egg and gently separate the yolk from the white. Cut a fresh lemon in half, remove the seeds, and squeeze half into the bowl with the egg yolk. Stir until smooth, then place the base of the rose cutting into this mixture and let it soak for about 10 minutes.
For an easy pantry-style start, see this 1 cup approach for rose branches that pairs well with this gentle method.
2. Rose Cutting Propagation – Make a Natural Rooting Solution
H3: Garlic and aloe vera base
First, chop a clove of garlic. Garlic is a powerful natural antiseptic that protects the cut from harmful bacteria and fungi. It also gently stimulates root growth.
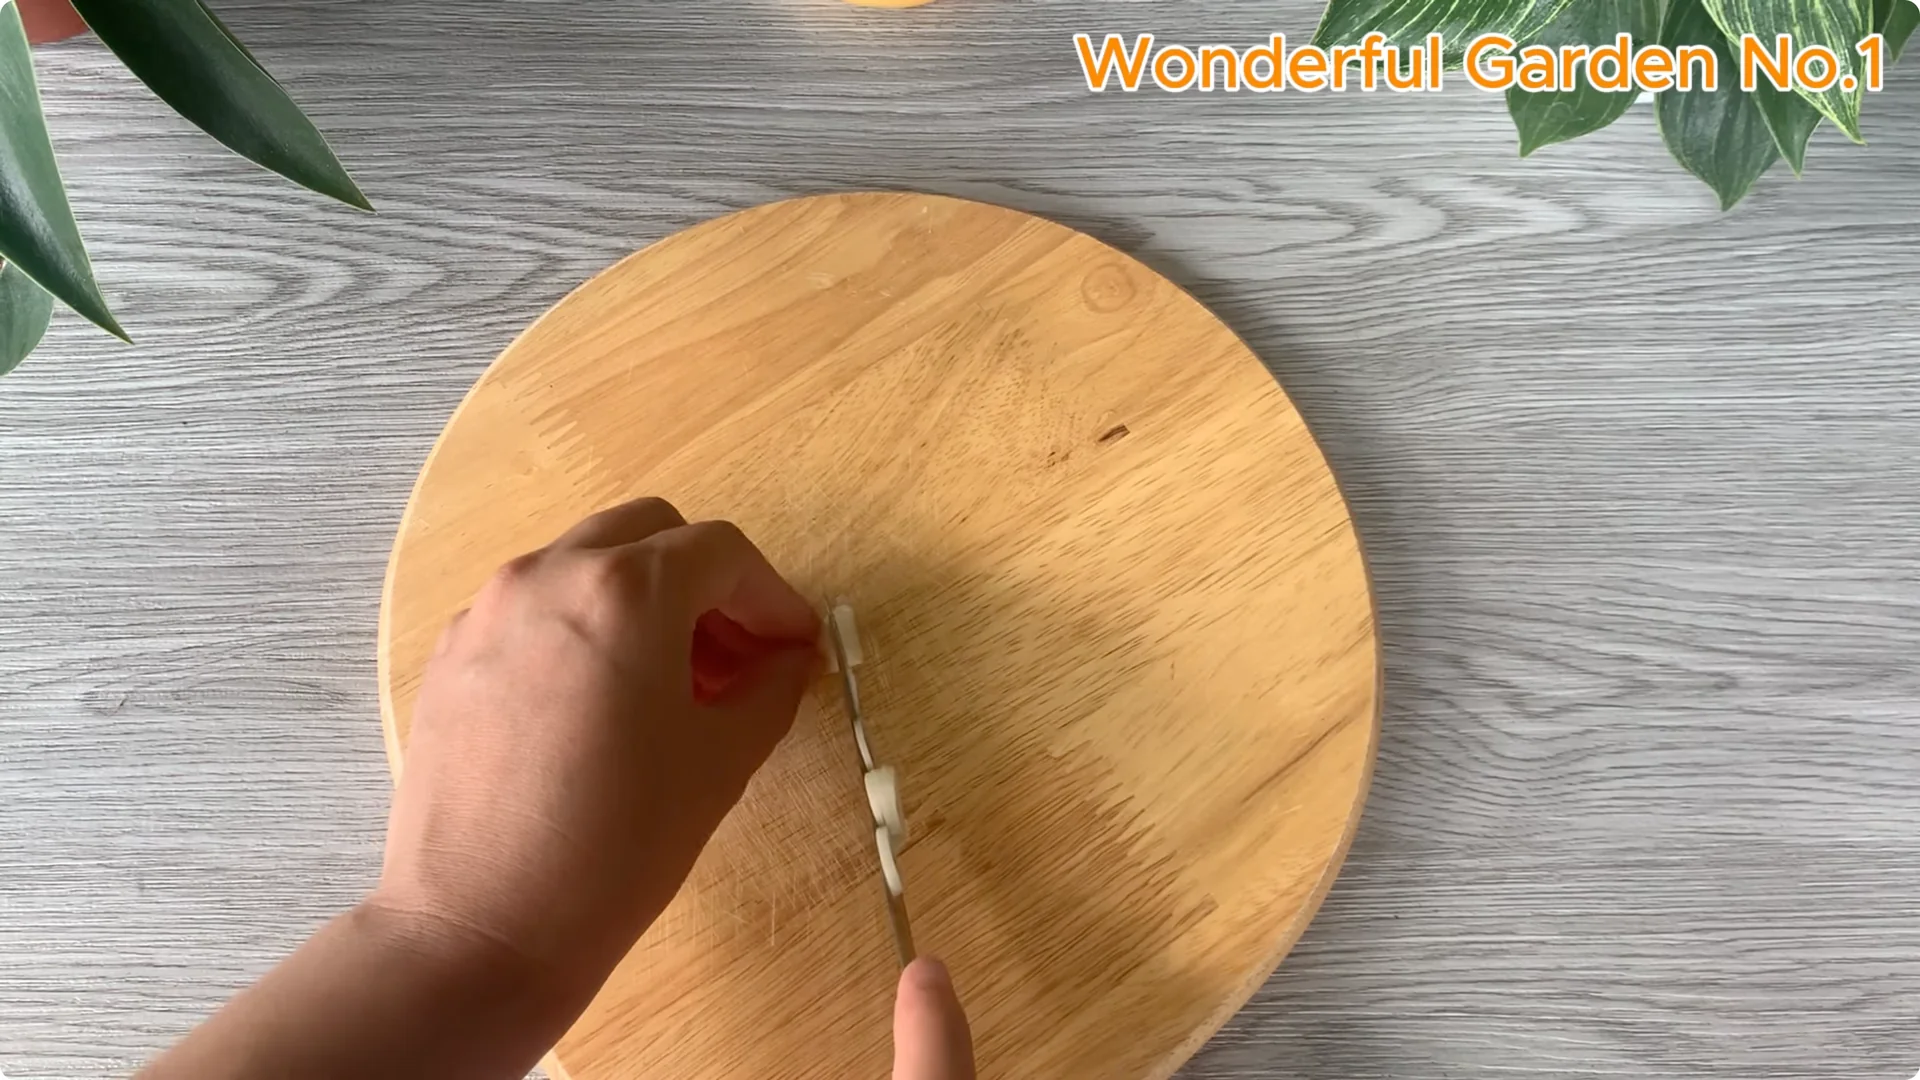
Next, take a piece of fresh aloe vera. Carefully peel off the outer skin, then cut the gel inside into small cubes. Aloe vera is soothing to plant tissue and rich in natural growth hormones that aid in rooting.
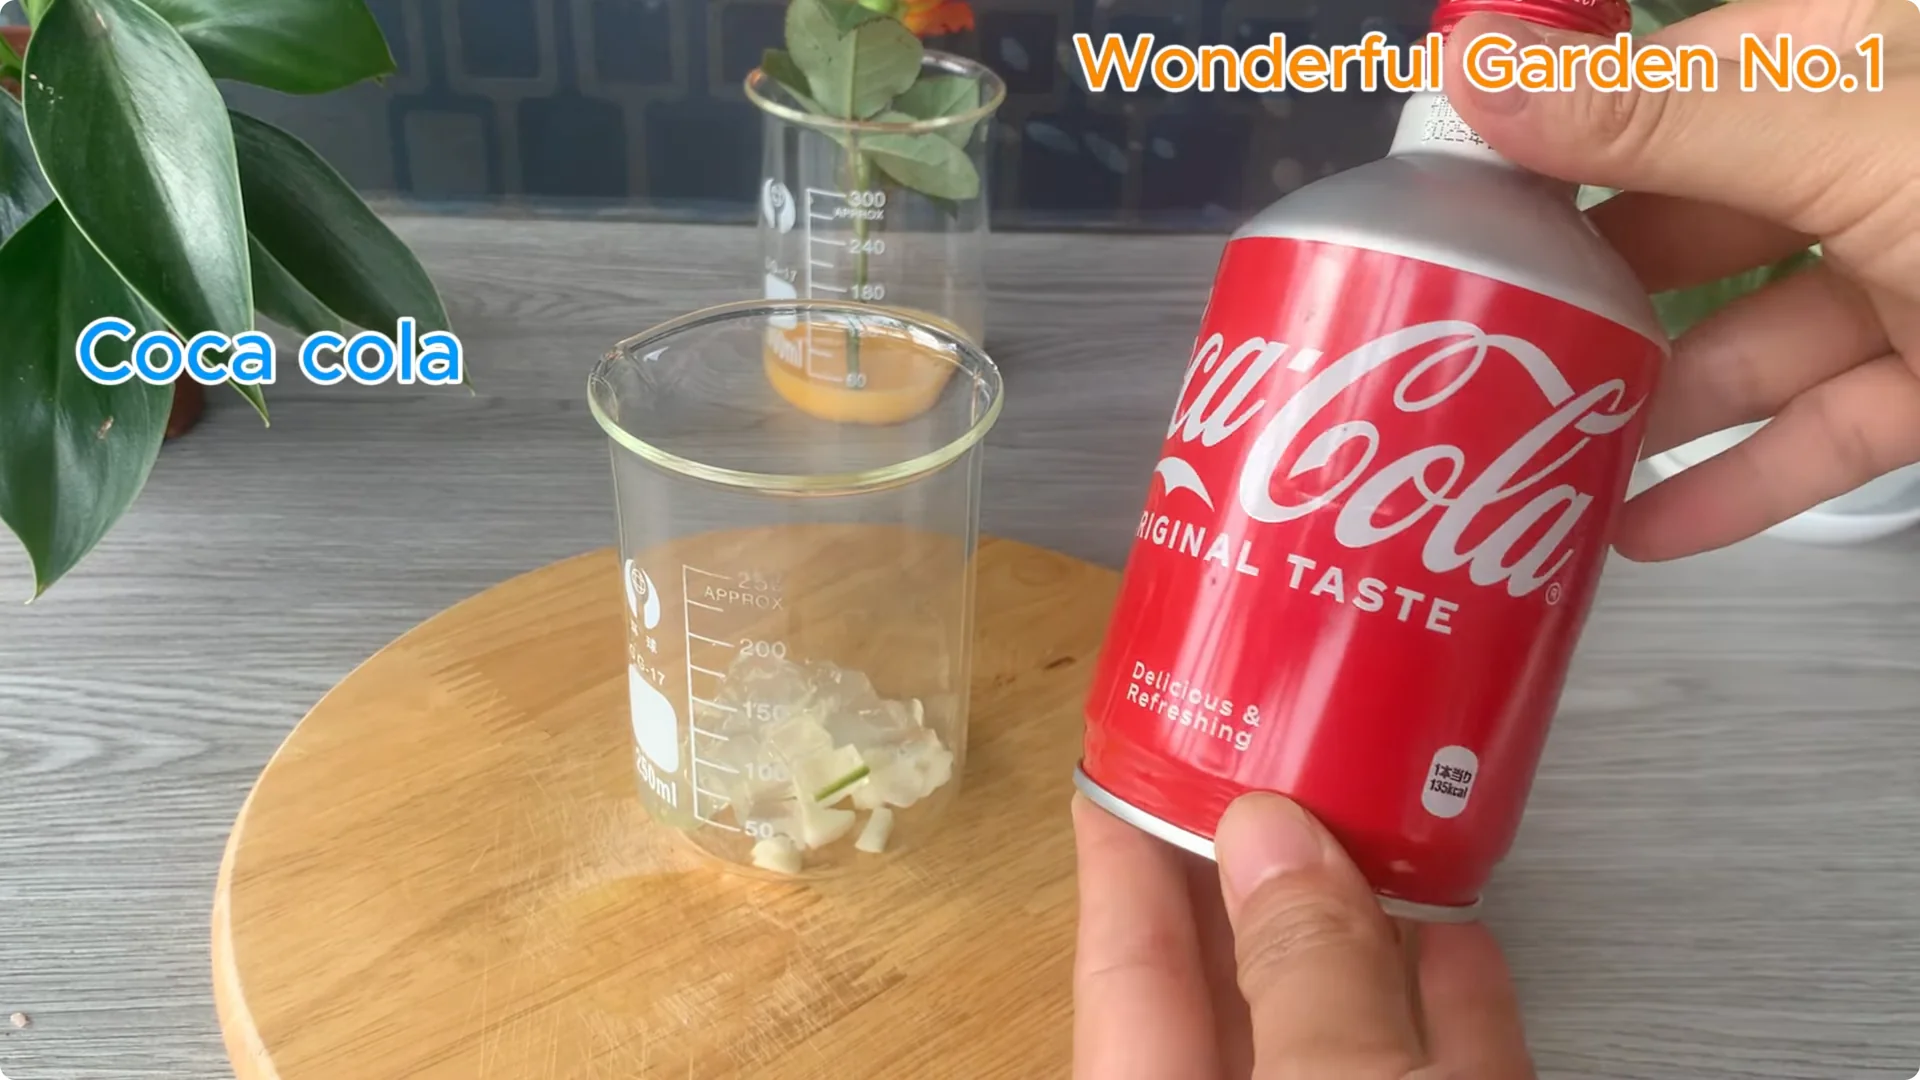
H3: Add a little acidity and energy
Pour 200 ml of Coca-Cola into the bowl of aloe vera. The slight acidity helps soften the plant tissue, making it easier for the roots to sprout. The small amount of sugar provides energy during those crucial early days.
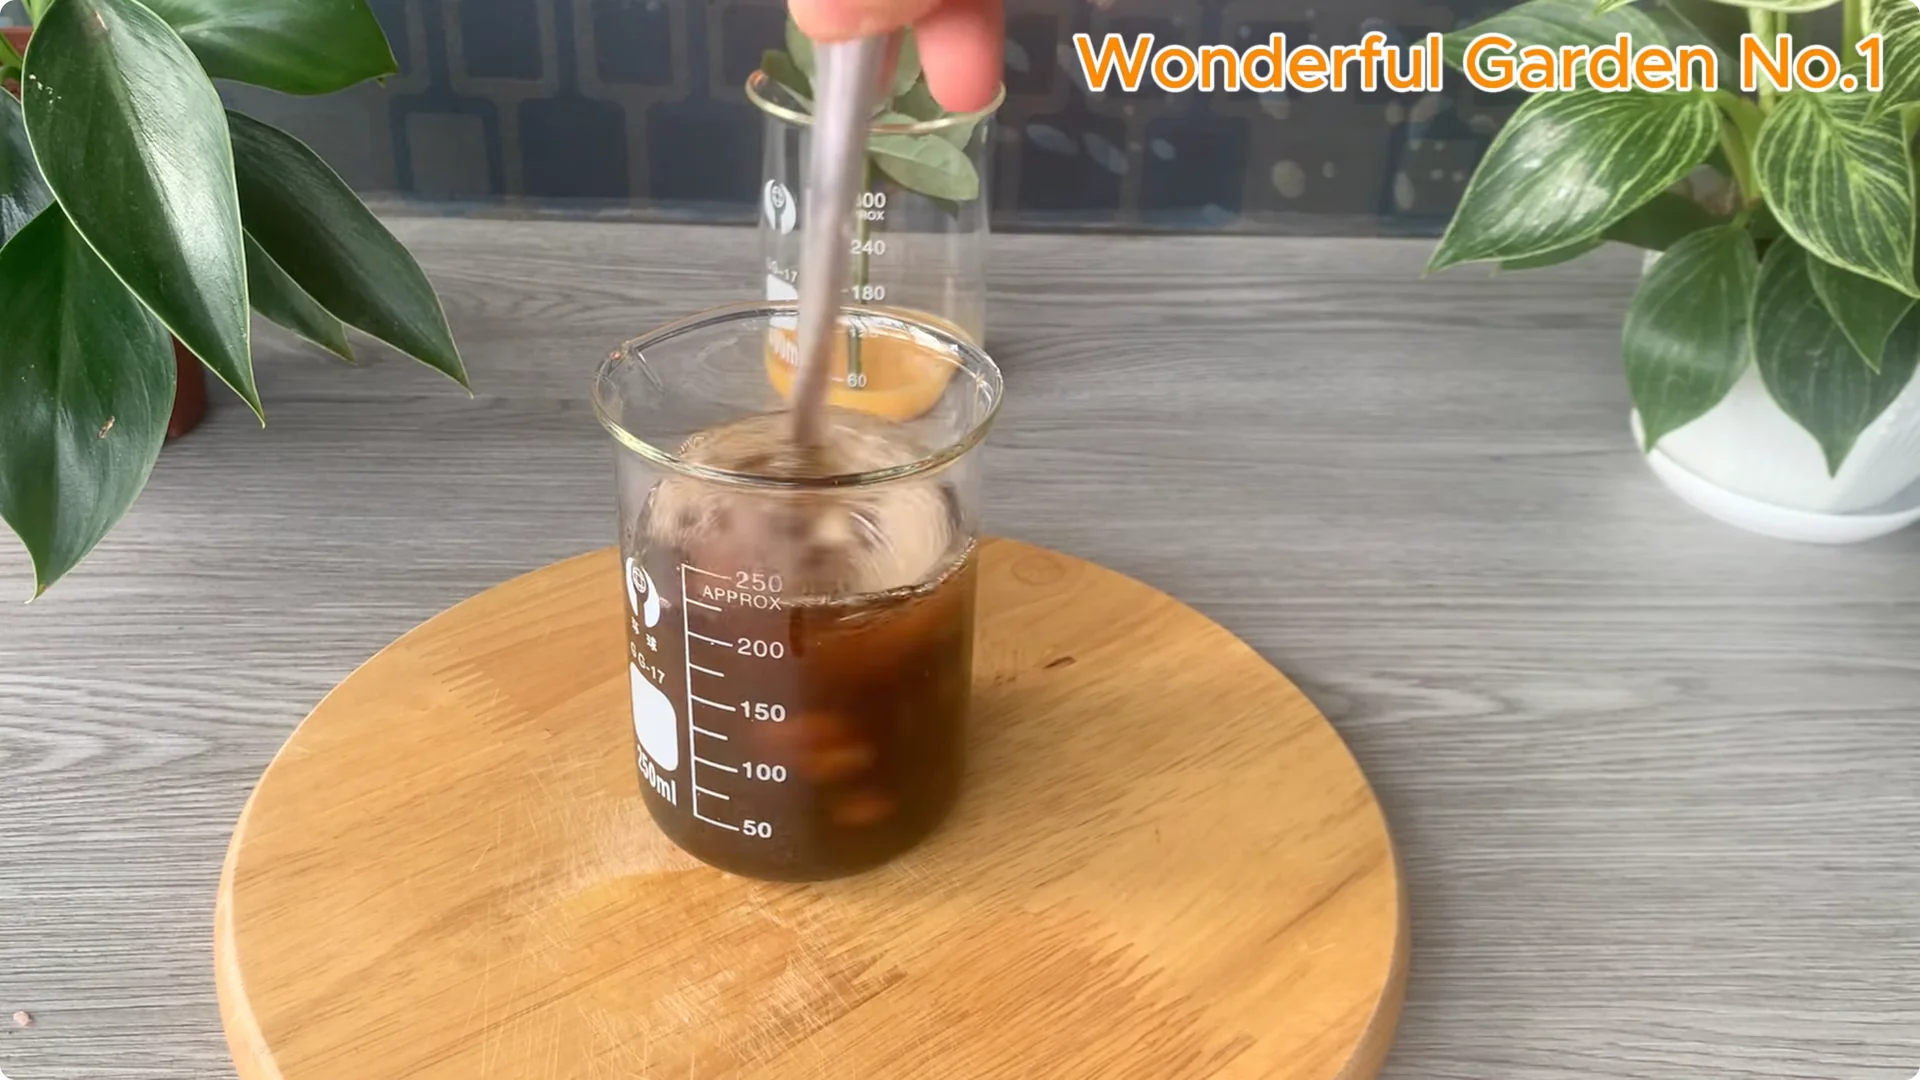
H3: Combine and steep
Gently stir everything together until the ingredients are well combined. This simple mixture will act as a powerful organic tonic, stimulating natural root formation. It gives your cuttings the best possible start.
3. Rose Cutting Propagation – Hydroponic Setup
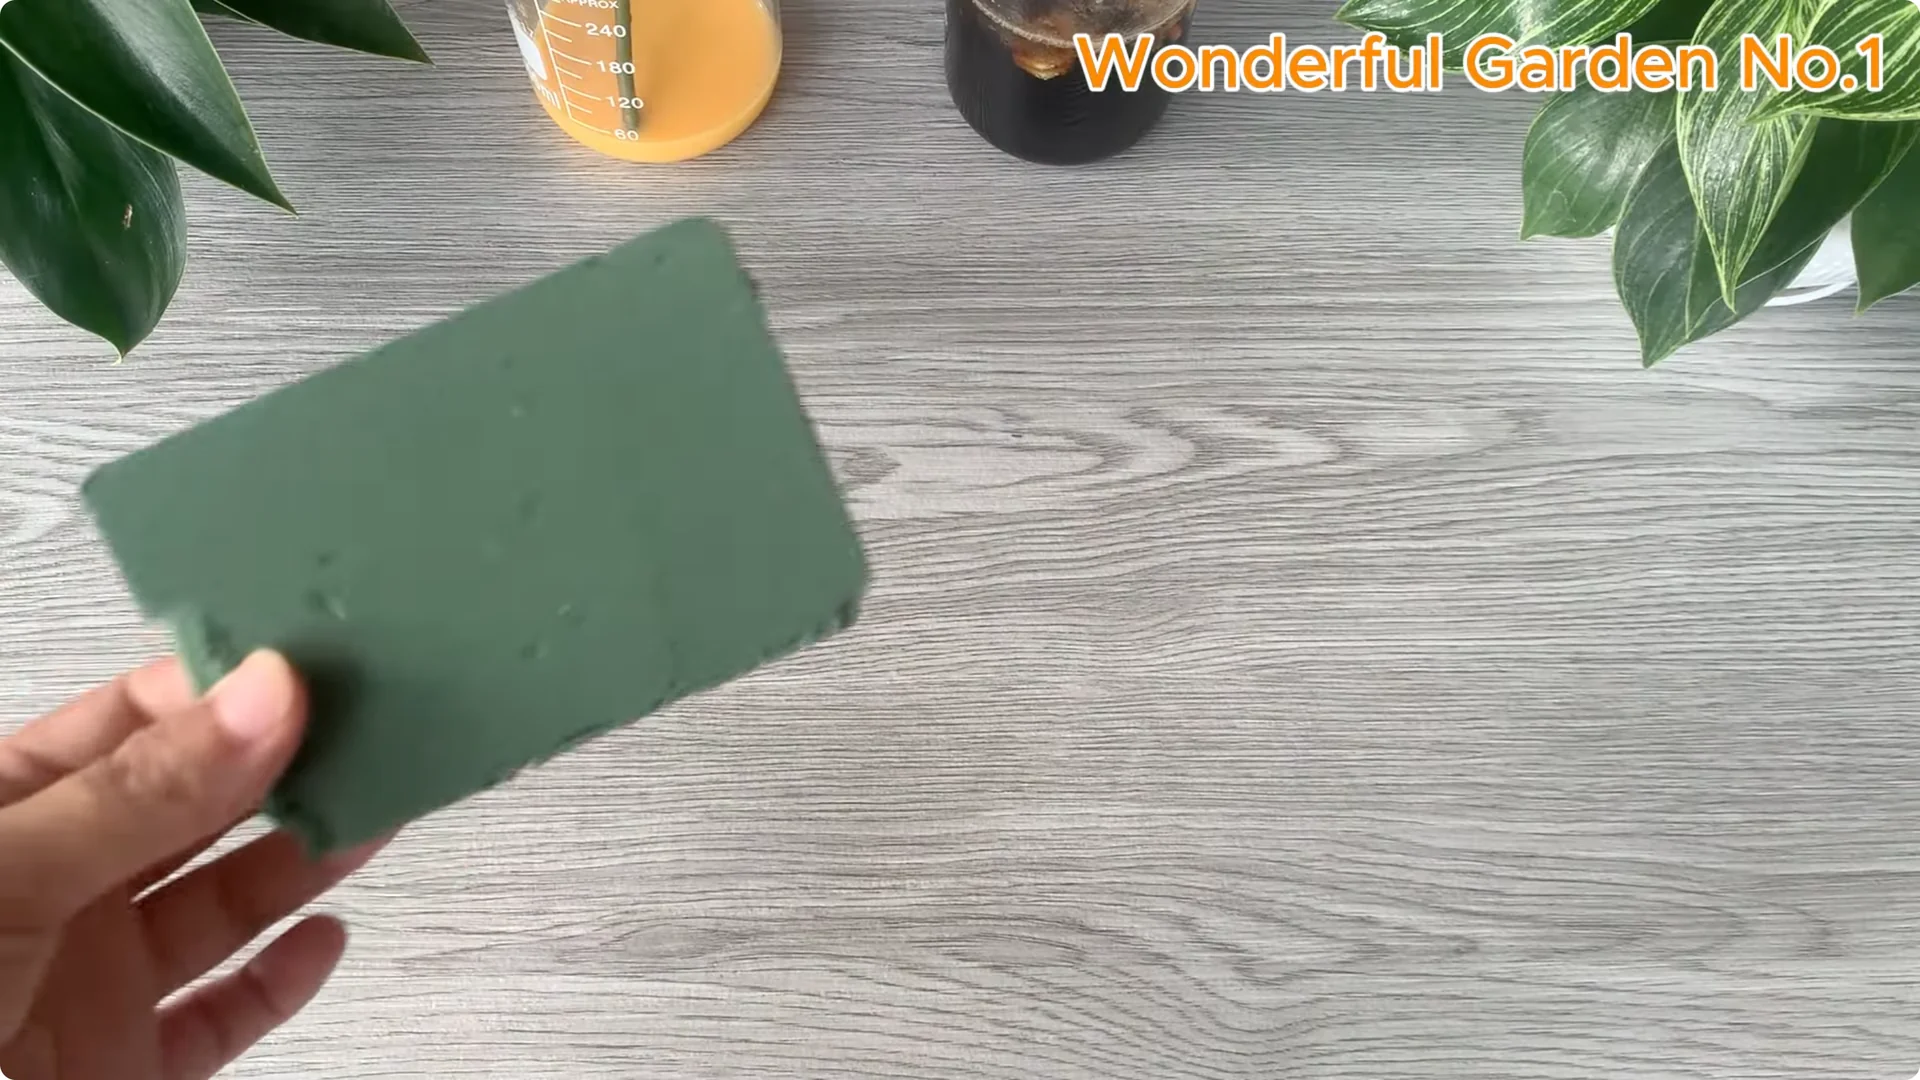
H3: Prepare the setup
For this method, use a sponge, a clear glass cup, and the natural rooting solution you just prepared. Hydroponic propagation allows cuttings to grow in a clean, oxygen rich environment. It reduces the risk of rot and promotes strong root growth.

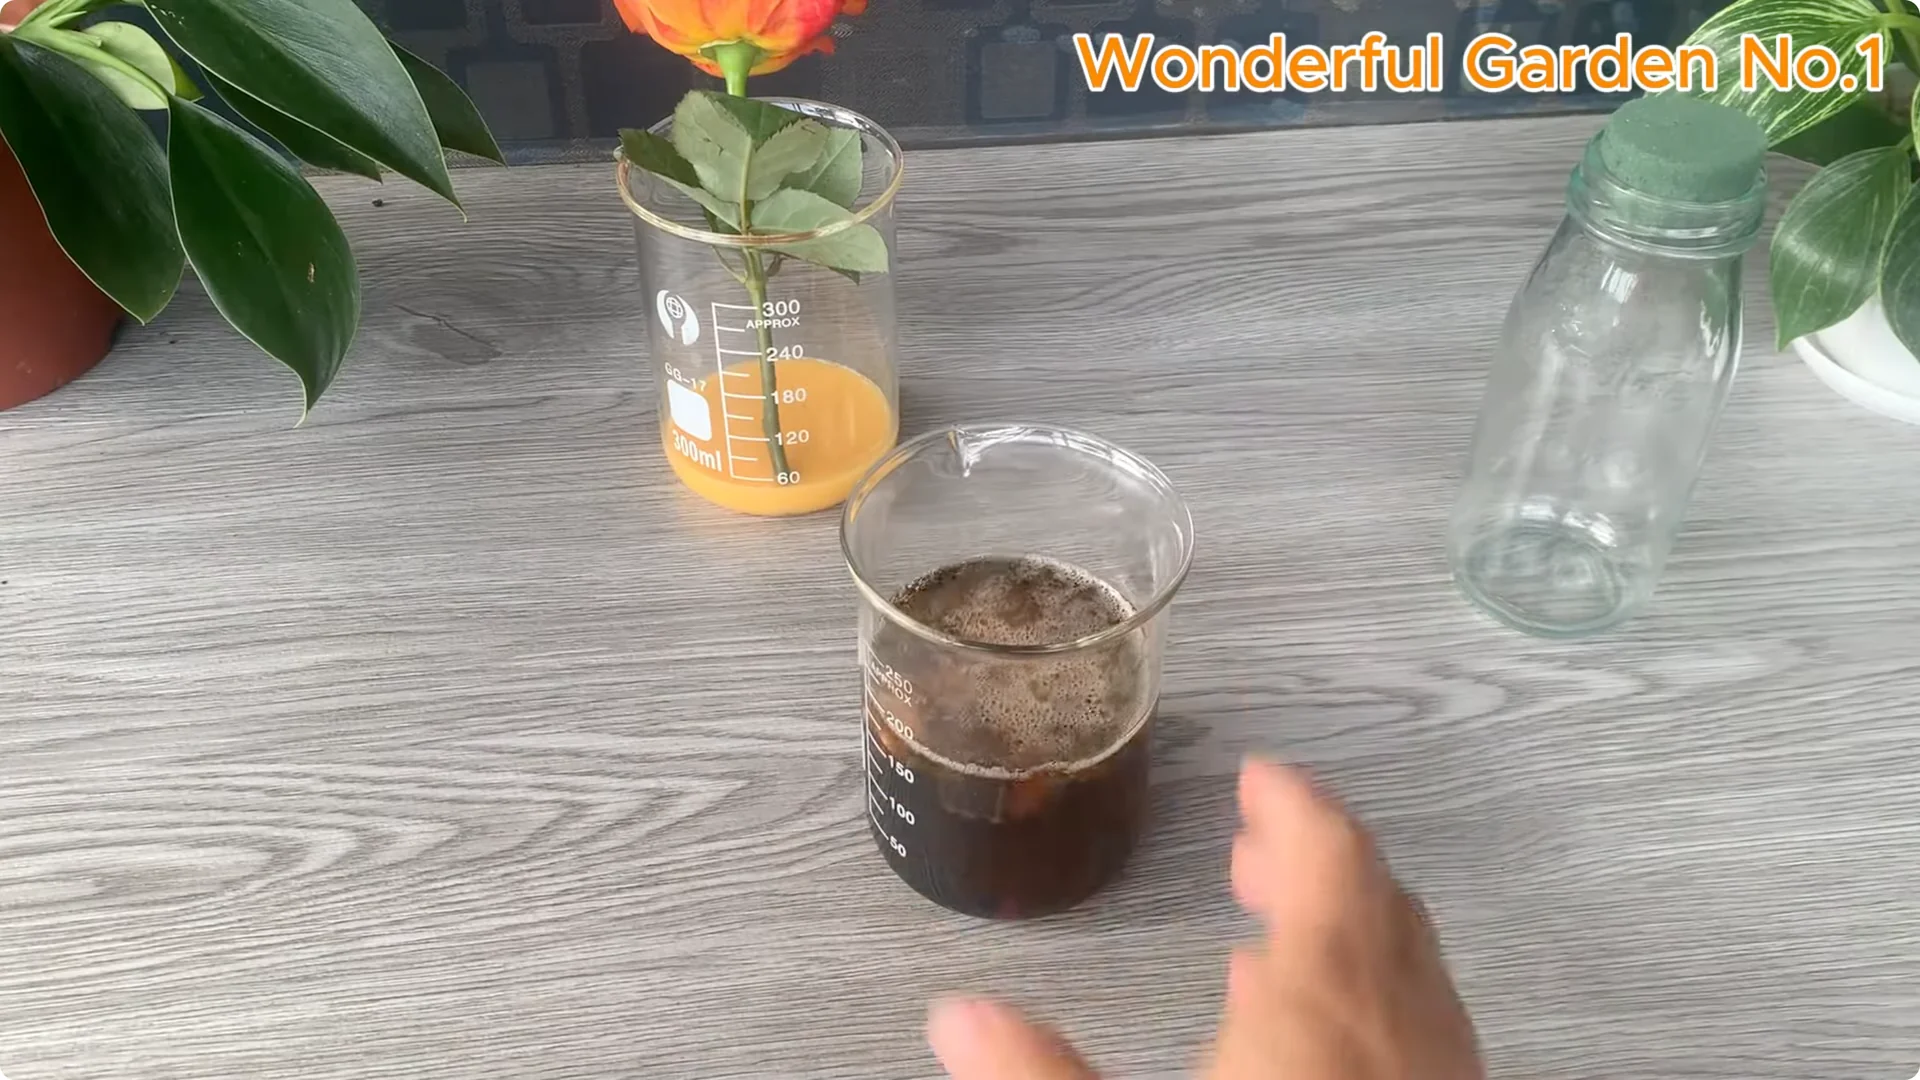
H3: Strain and dilute
After the ingredients have steeped, strain the mixture to remove any solids, leaving a clear liquid. Add 100 ml of clean water to slightly dilute the solution so it stays gentle but nutritious. Pour the mixture into a glass jar.
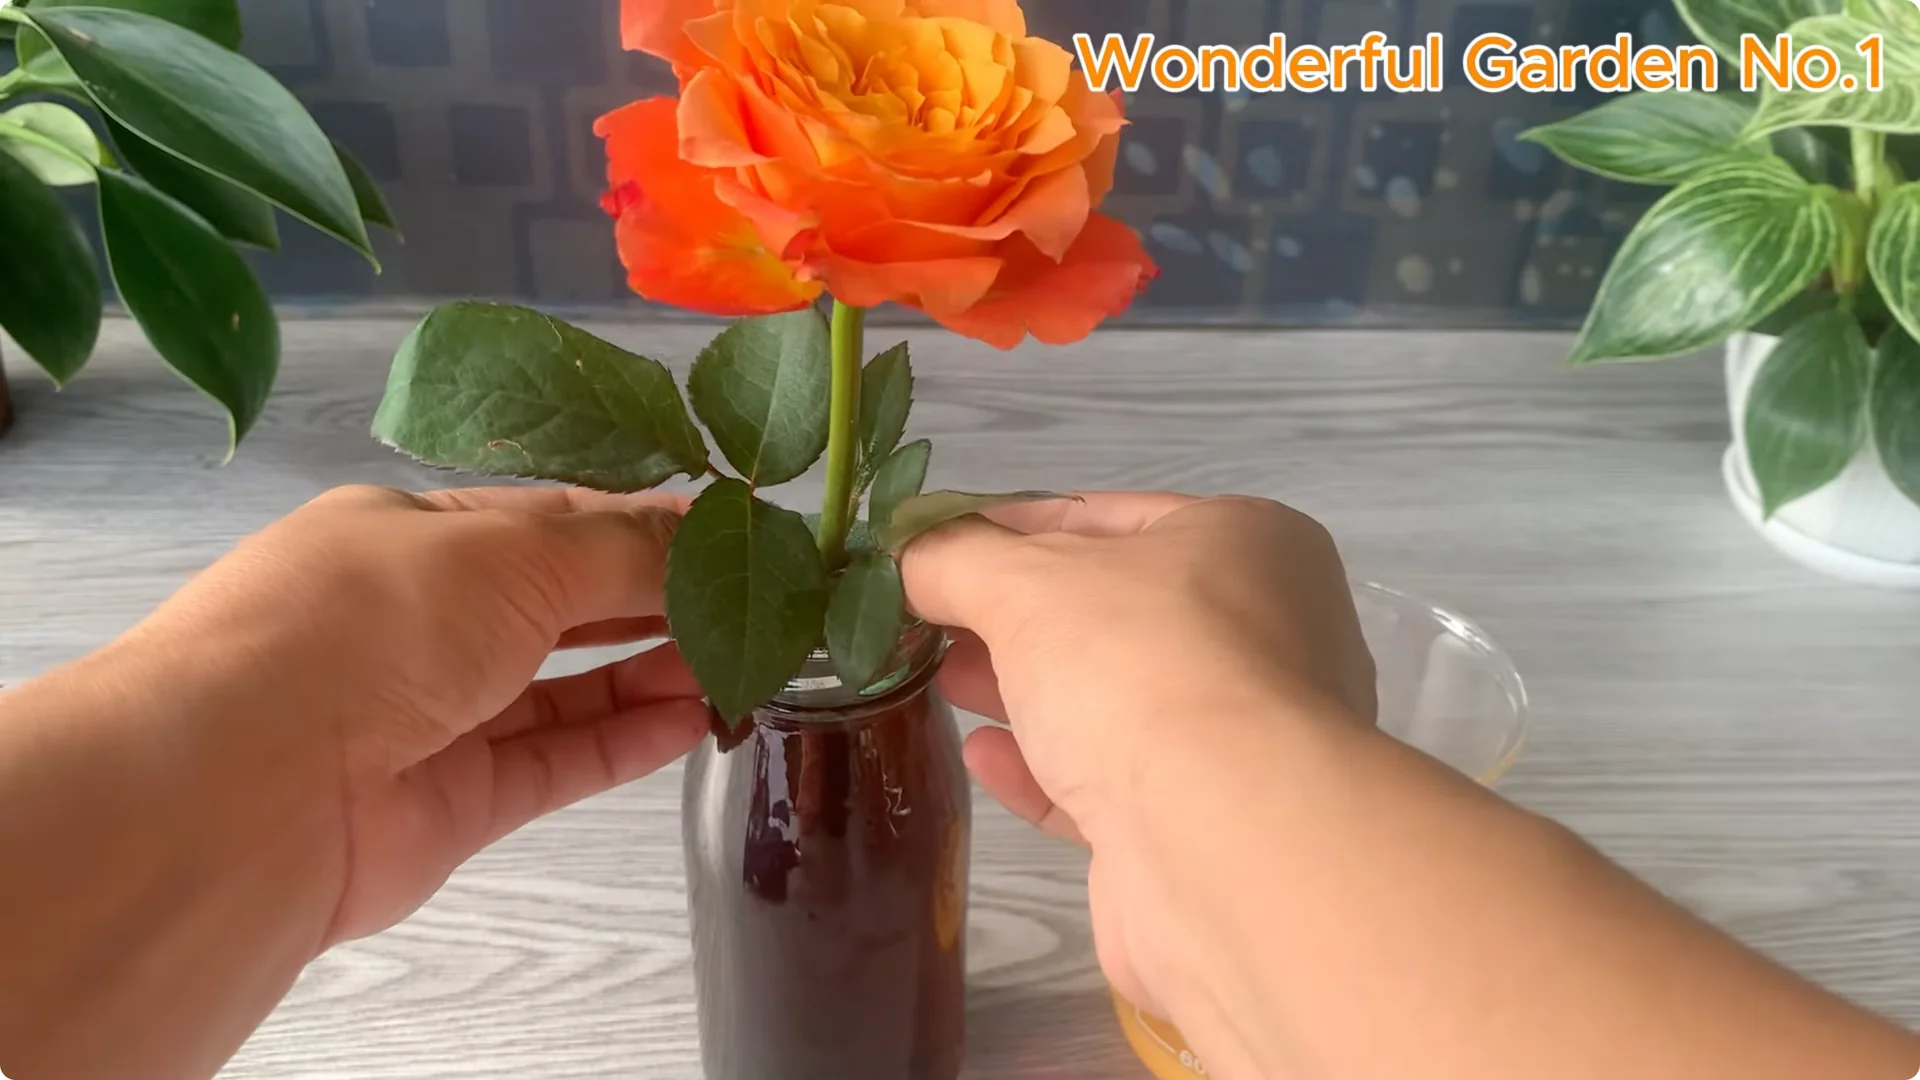
H3: Place the cutting
Use a small stick to make a hole in the middle of the sponge. Gently insert the rose stem into the hole, with the leaf nodes facing outward. Submerge the stem 3 to 5 cm in the solution so roots can form at the cut end while new shoots emerge from the nodes.
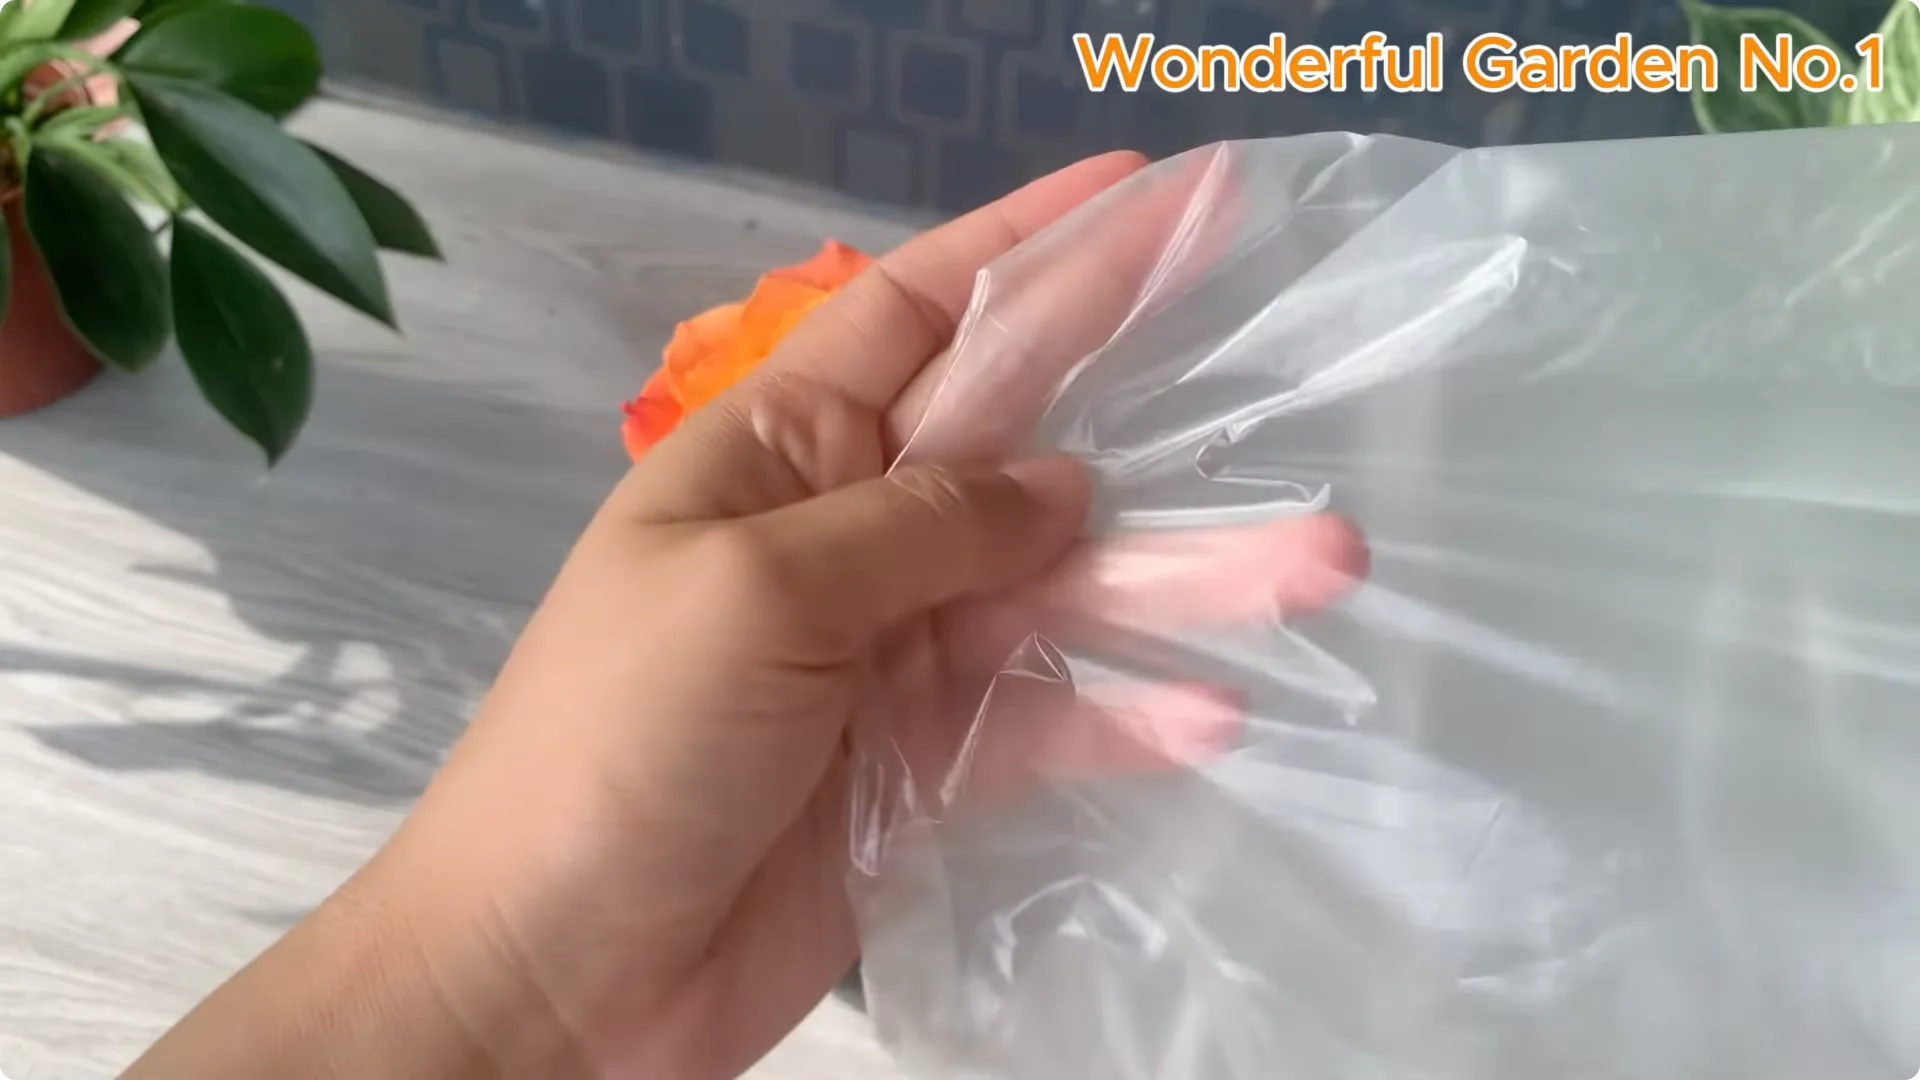
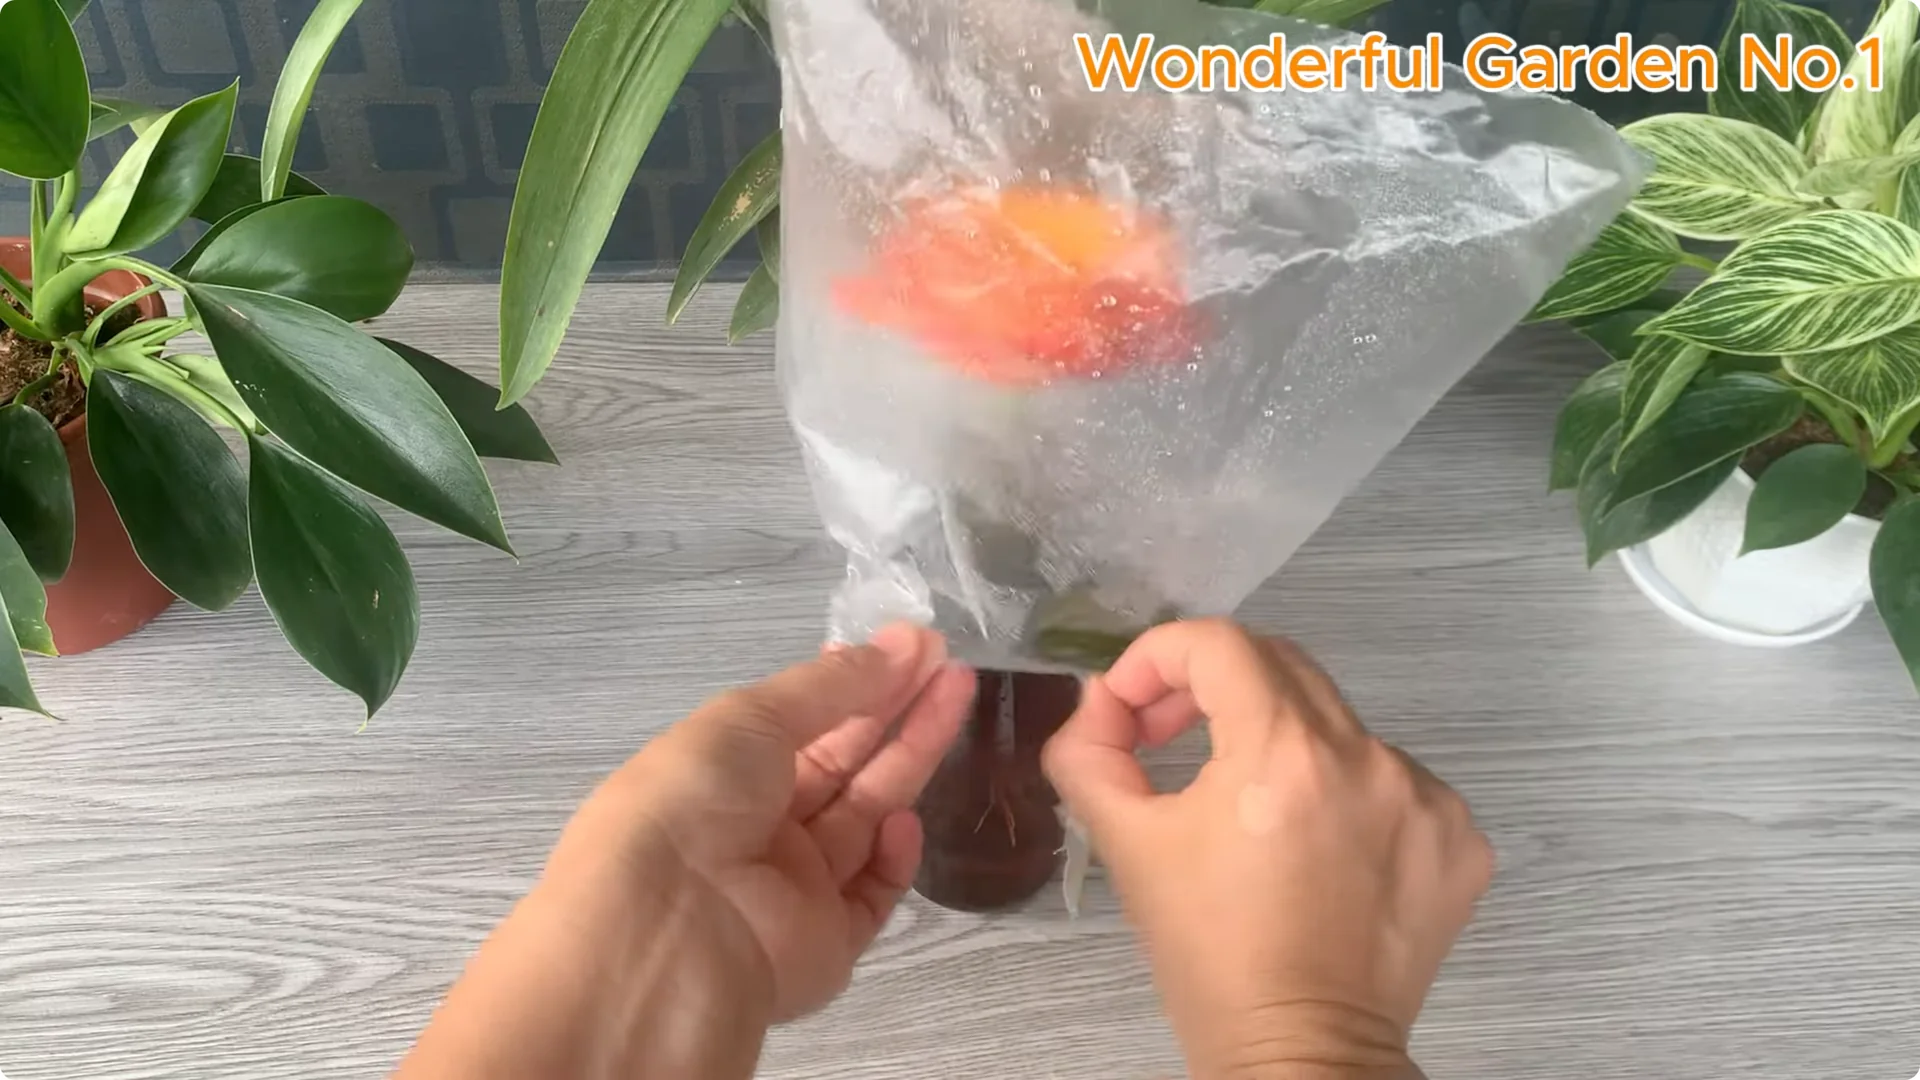
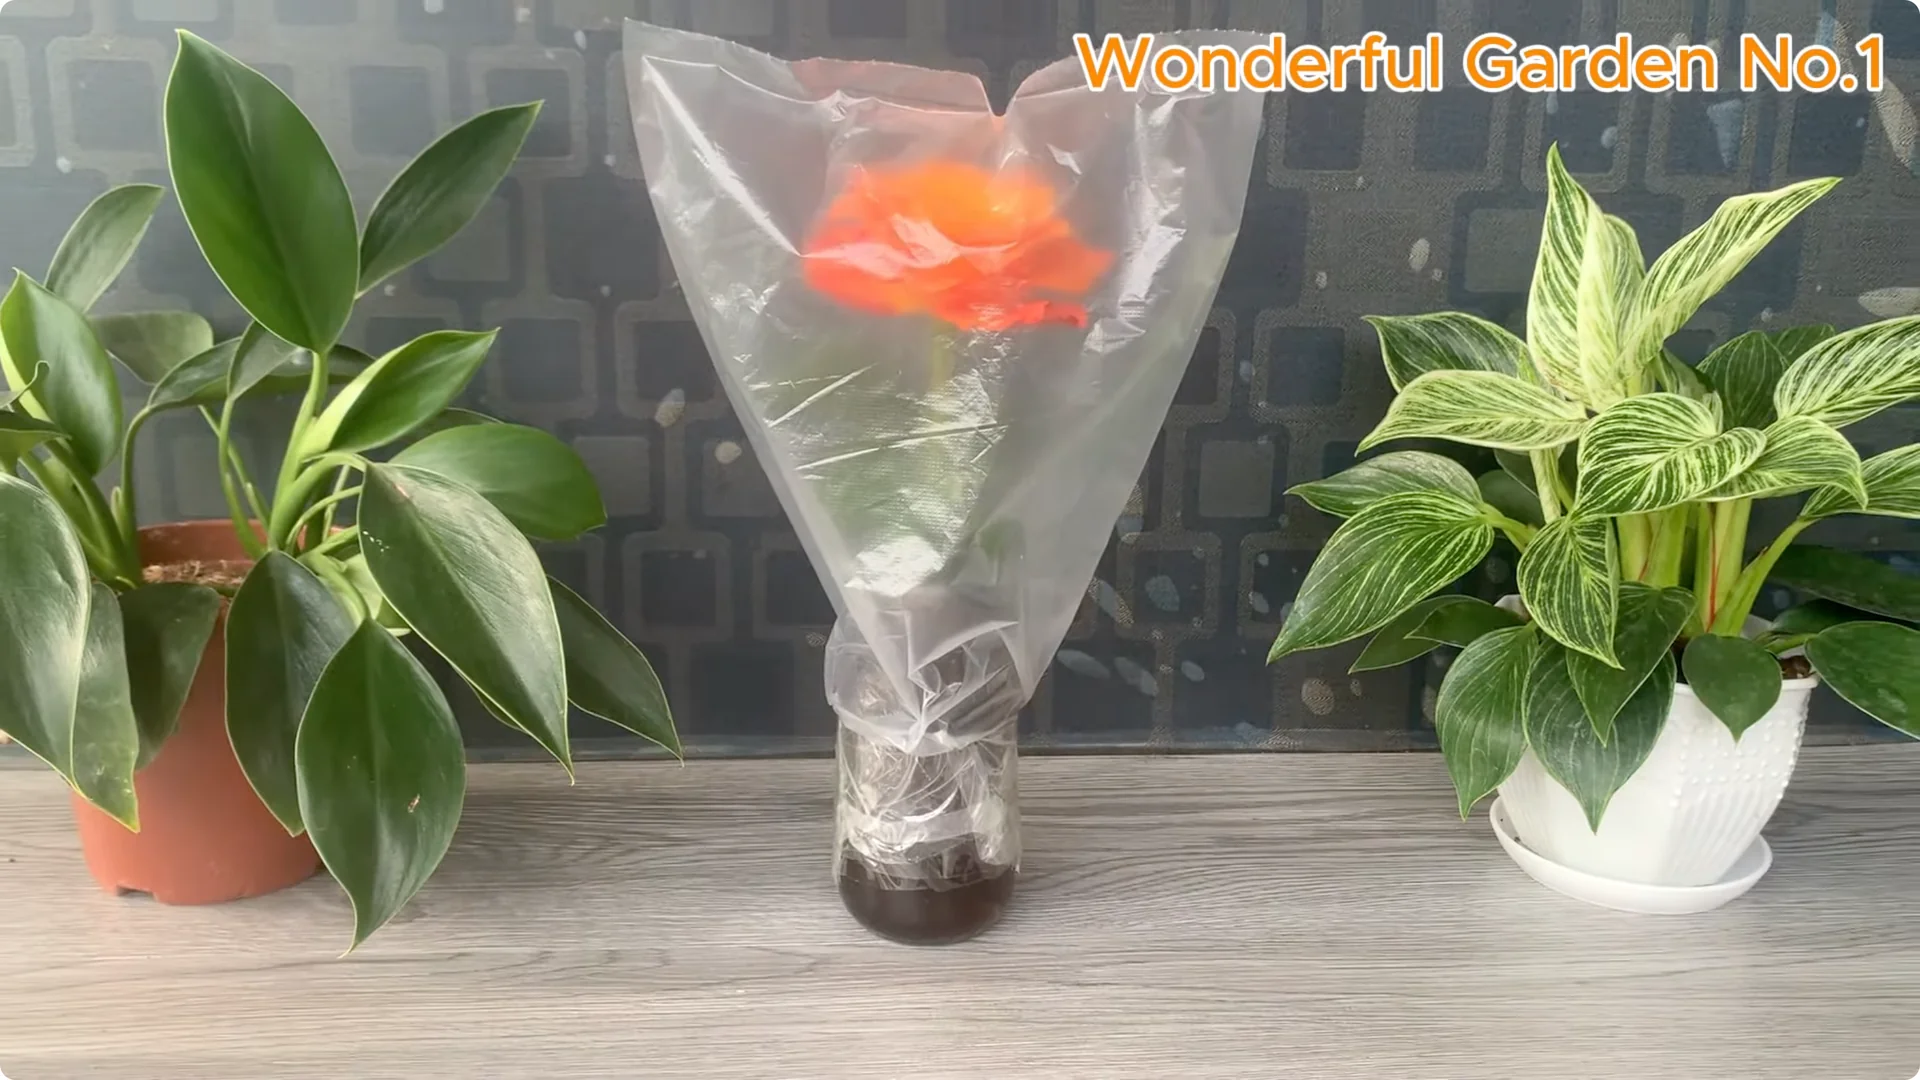
H3: Create a mini greenhouse
Cover the glass with a plastic bag and secure it around the base with tape. This creates a mini greenhouse effect, maintaining consistent warmth and humidity. It’s ideal for rooting.
H3: Light, warmth, and moisture
Place the cutting in a bright, warm location out of direct sunlight. Keep the sponge slightly damp so the cutting stays hydrated without water logging. In warm, bright, and consistently moist conditions, shoots may appear in 7 to 10 days, and roots usually develop within 2 to 3 weeks.

4. Rose Cutting Propagation – Monitor Growth
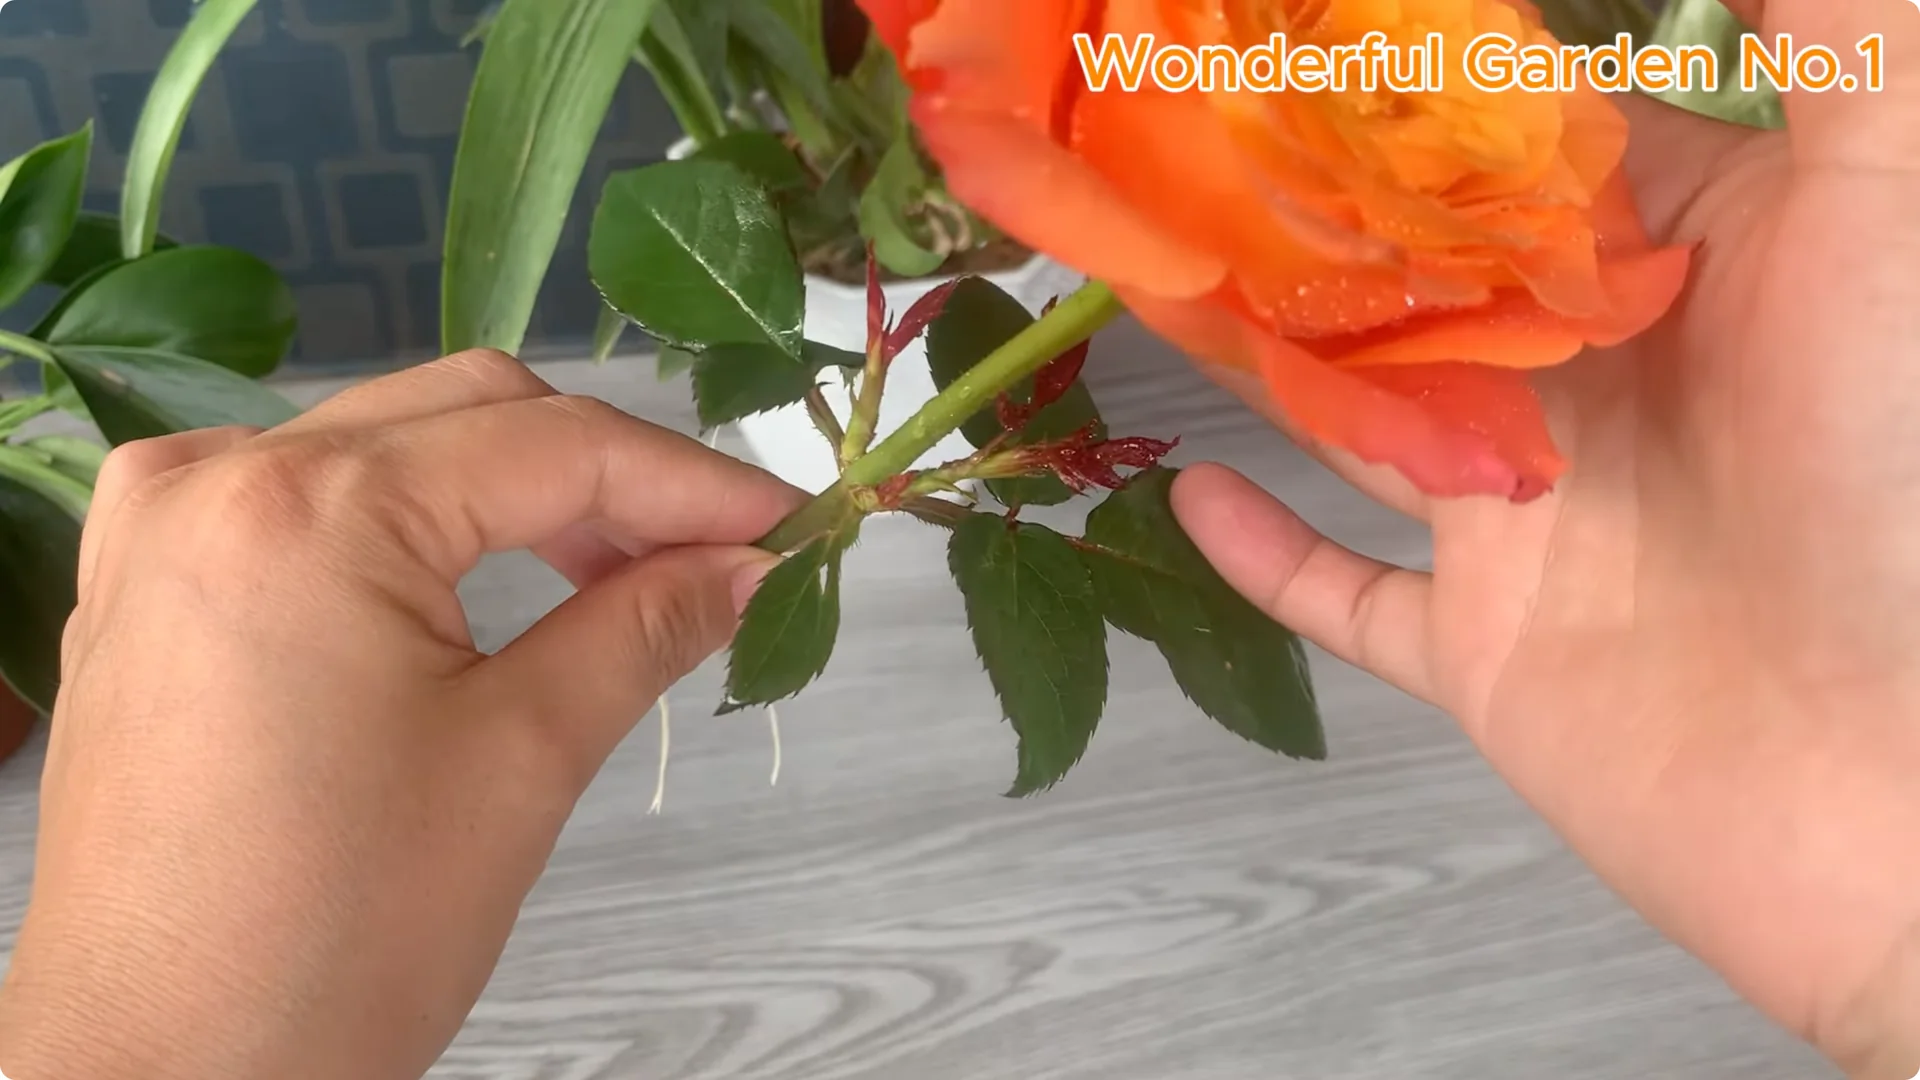
H3: Watch for new shoots
At the leaf nodes, small green shoots begin to appear. Delicate and promising, they slowly open into fresh new leaves. These early signs offer gentle reassurance that your cuttings are responding well and starting to grow.
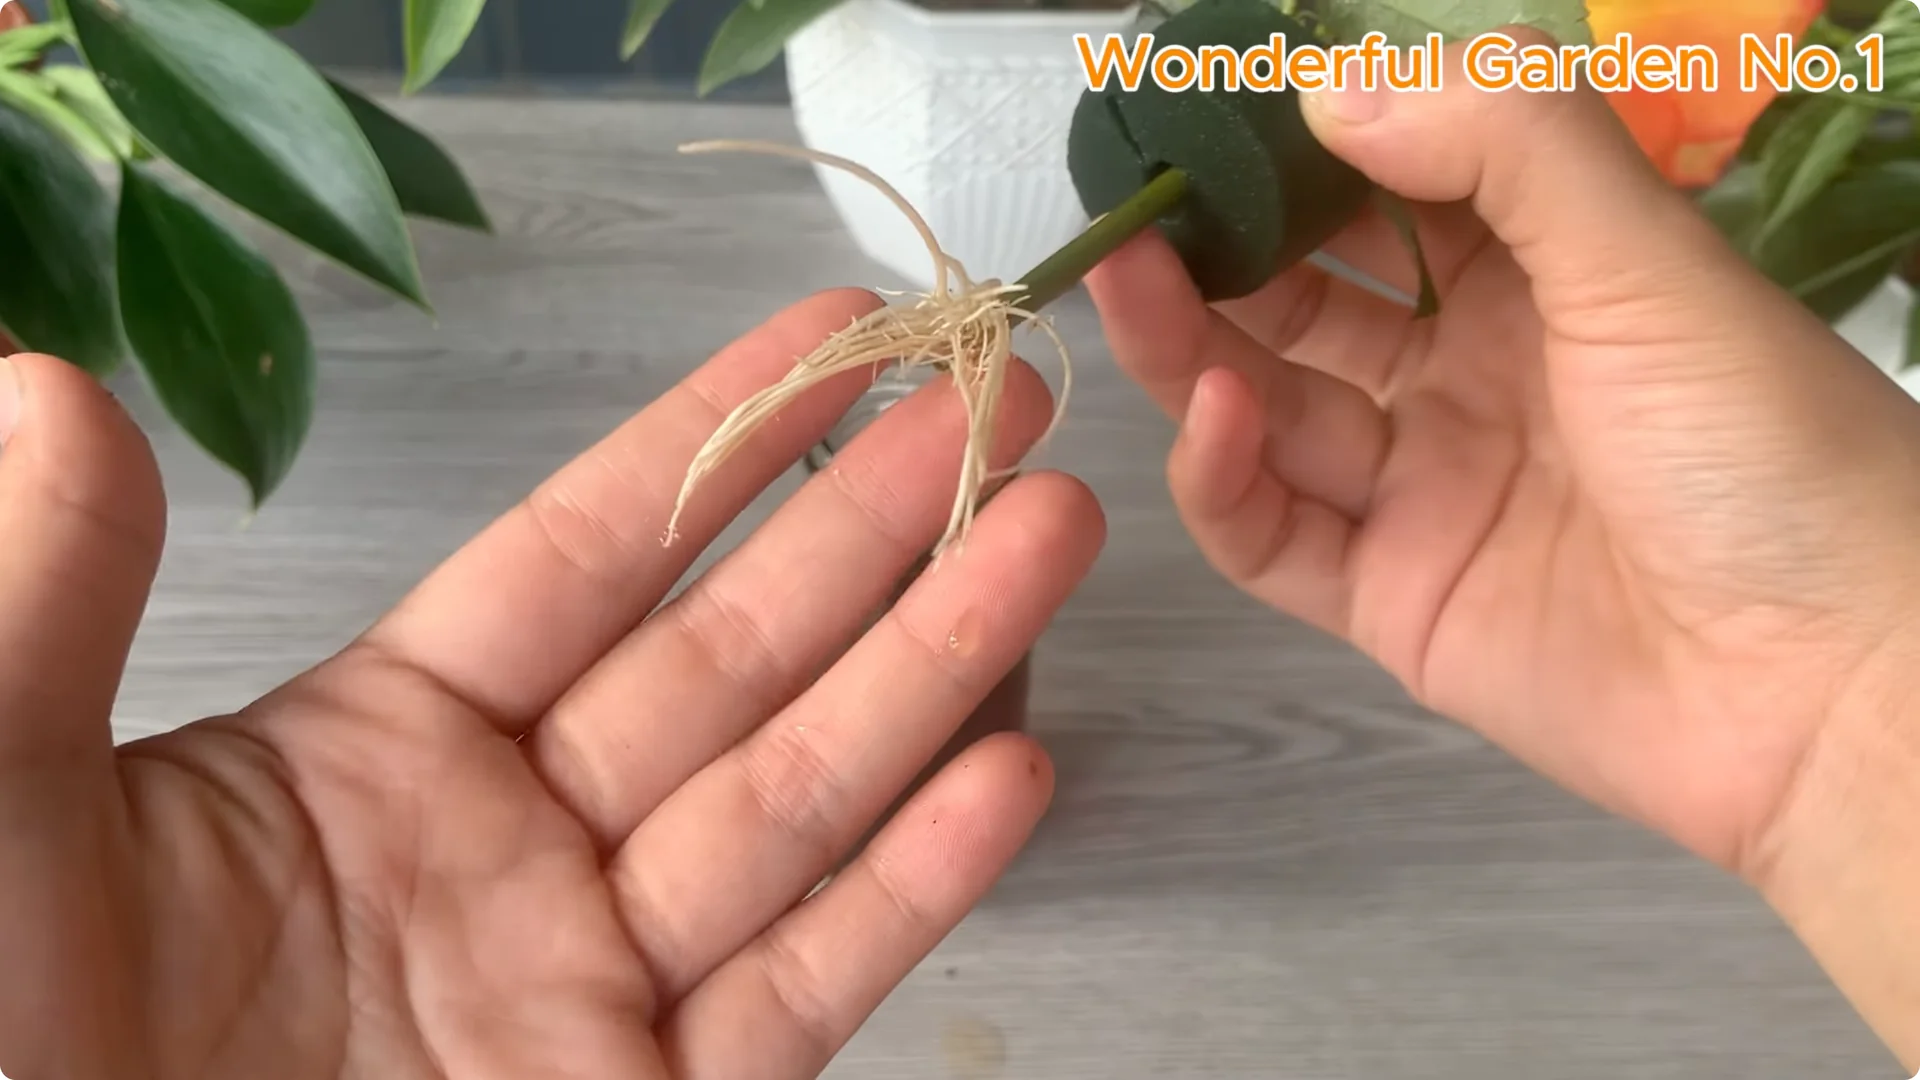
H3: Root development
From the cut end of the stem, tiny white roots begin to sprout. Fragile at first, they slowly thicken and branch as they search for moisture and anchorage. It’s a quiet transformation filled with life and hope.
For more on timing and development, see this helpful guide on how rose branches root and bloom.
5. Rose Cutting Propagation – Potting Up
H3: Transition to a pot
Once the roots are strong and well developed, move your young rose into a larger pot. This gives it more room to spread out and continue growing in a protected environment. Think of it as a gentle stepping stone before planting into garden soil.

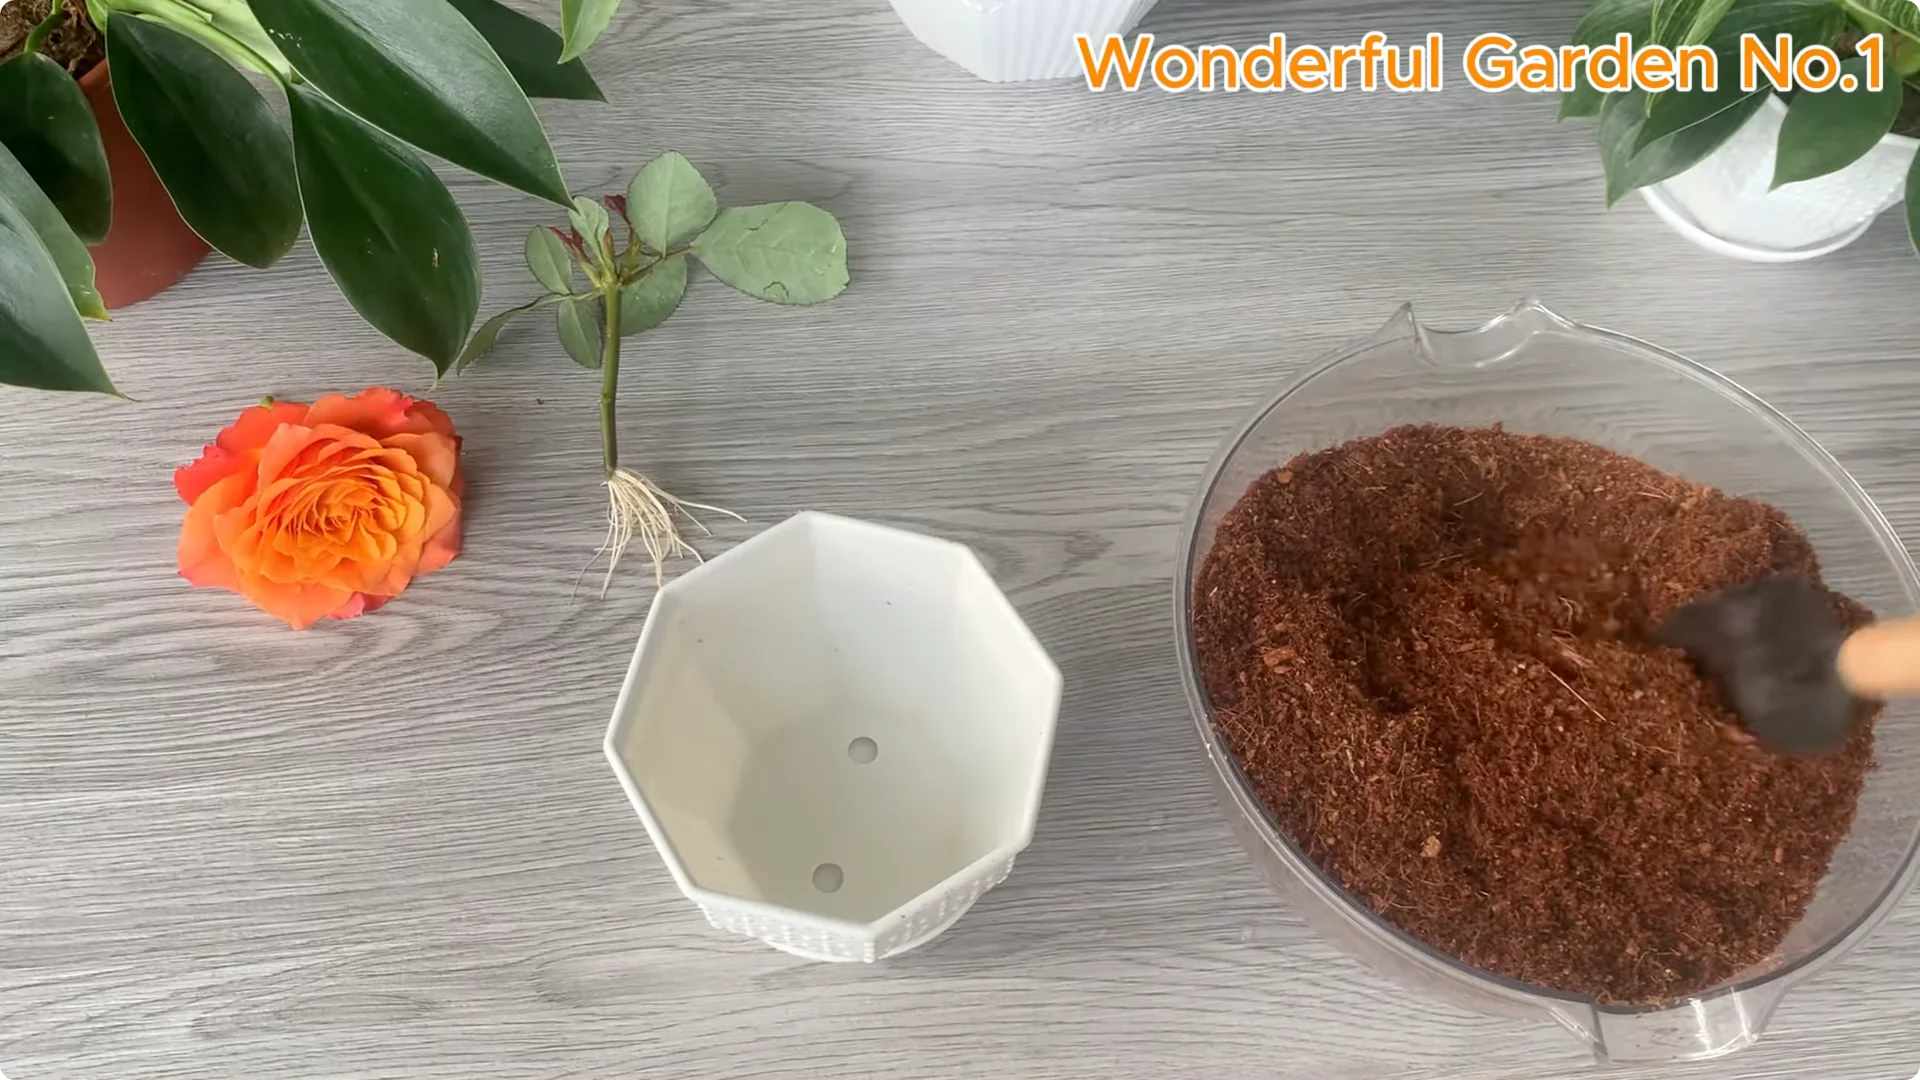
H3: Choose the right pot and soil
Choose a pot that is at least 15 to 20 cm deep and has good drainage holes. Roses prefer light, well drained soil rich in organic matter. A mix of garden soil, compost, and a little sand, plus perlite, will keep the soil aerated and healthy for root growth.
If you want a simple kitchen trick that pairs nicely with this approach, explore the bread trick for rose cuttings to support early rooting.
Final Thoughts
This is a simple, natural way to grow new roses with love and patience. With clean cuts, gentle antiseptics, and a nurturing hydroponic start, your cuttings get the best chance to root and thrive. Tend them carefully, and you’ll soon welcome a new rose to your garden.