If you are captivated by the timeless beauty of roses but have trouble getting them to root or bloom, here is a simple all natural trick that can revive even the most stubborn rose stems. Just a few spoonfuls of oats and a few B1 tablets gently stimulate healthy root growth. This gentle yet powerful method is easy to follow at home.
Start by selecting a healthy semi-woody stem, not too young, not too old. This stage provides the perfect balance between flexibility and maturity, giving your cuttings the best chance of rooting. Prepare your tools and materials before you begin.
1. Getting Rose Cutting Propagation Started
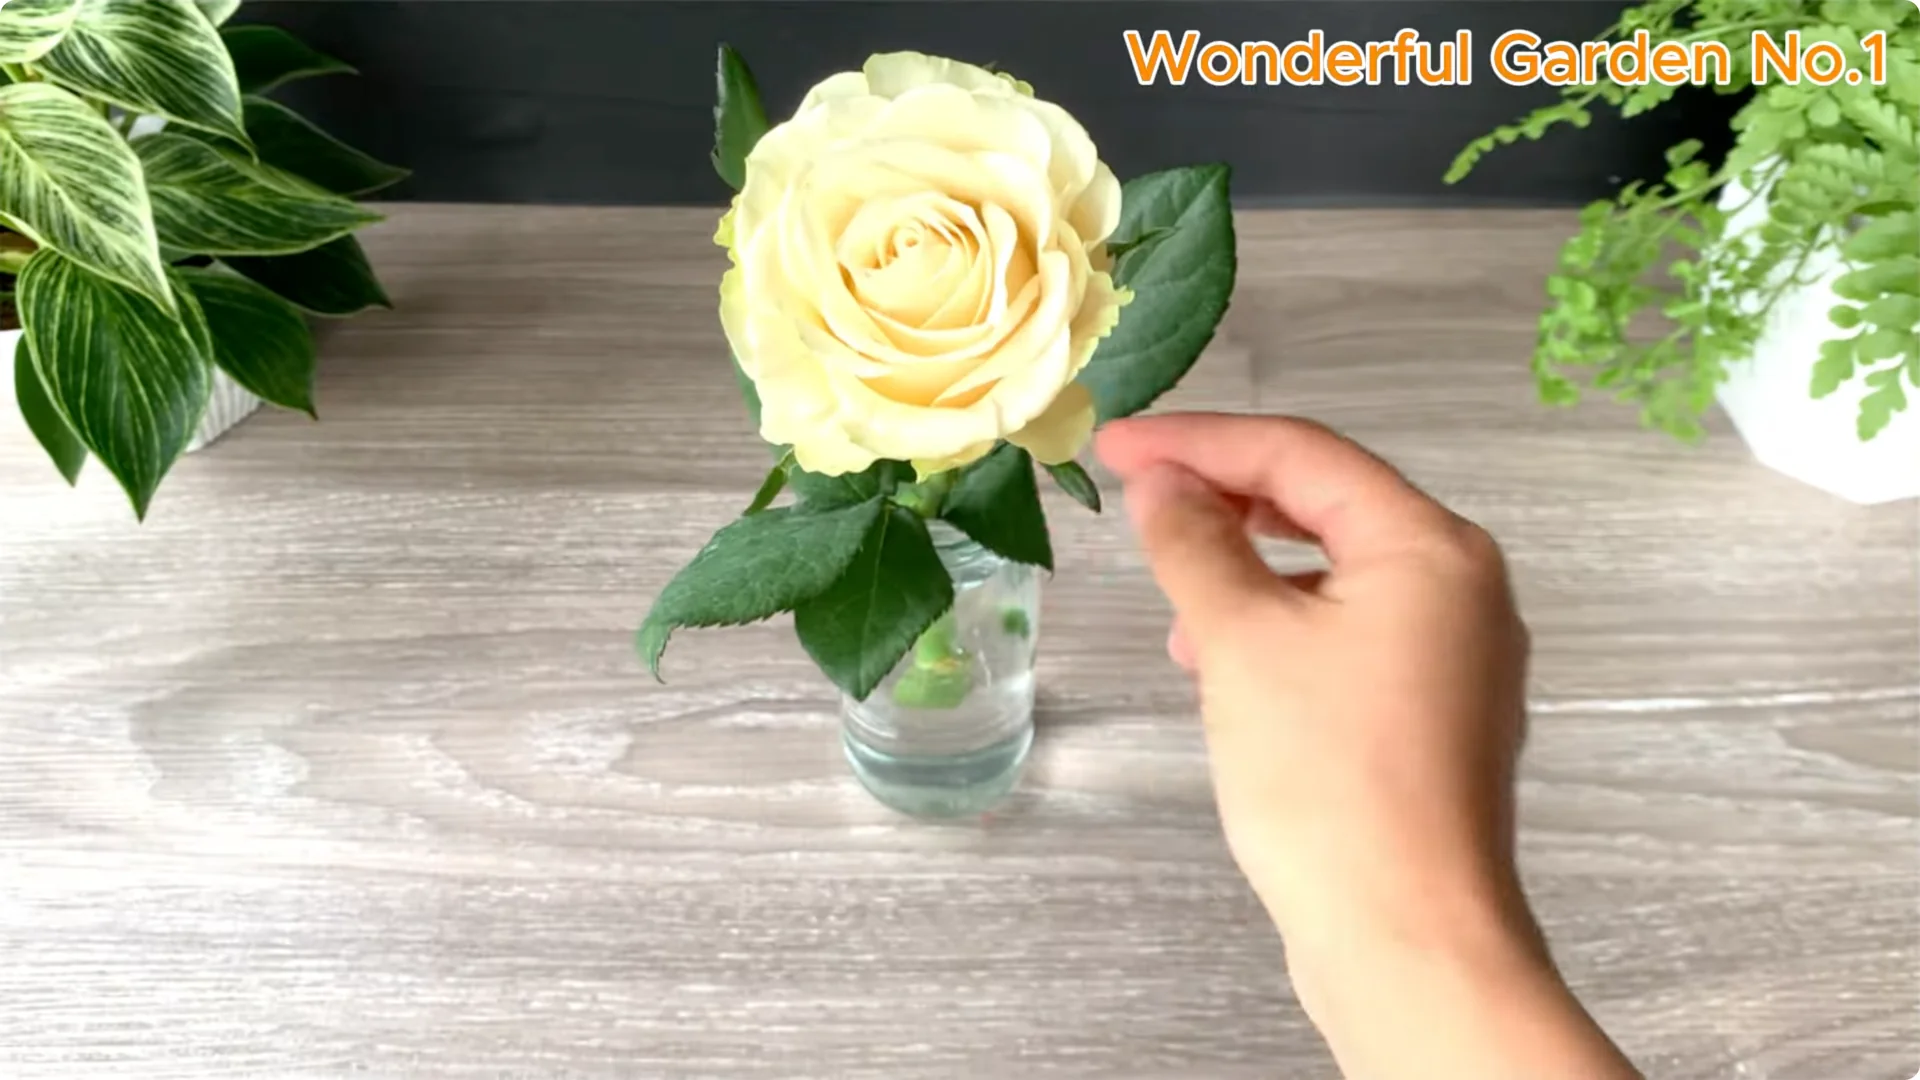
Choose and prep the stem
Start by selecting a healthy semi-woody stem with no disease or damage. Carefully trim the lower leaves, leaving only two or three at the top. This helps the plant conserve energy while still keeping enough leaves to support photosynthesis.
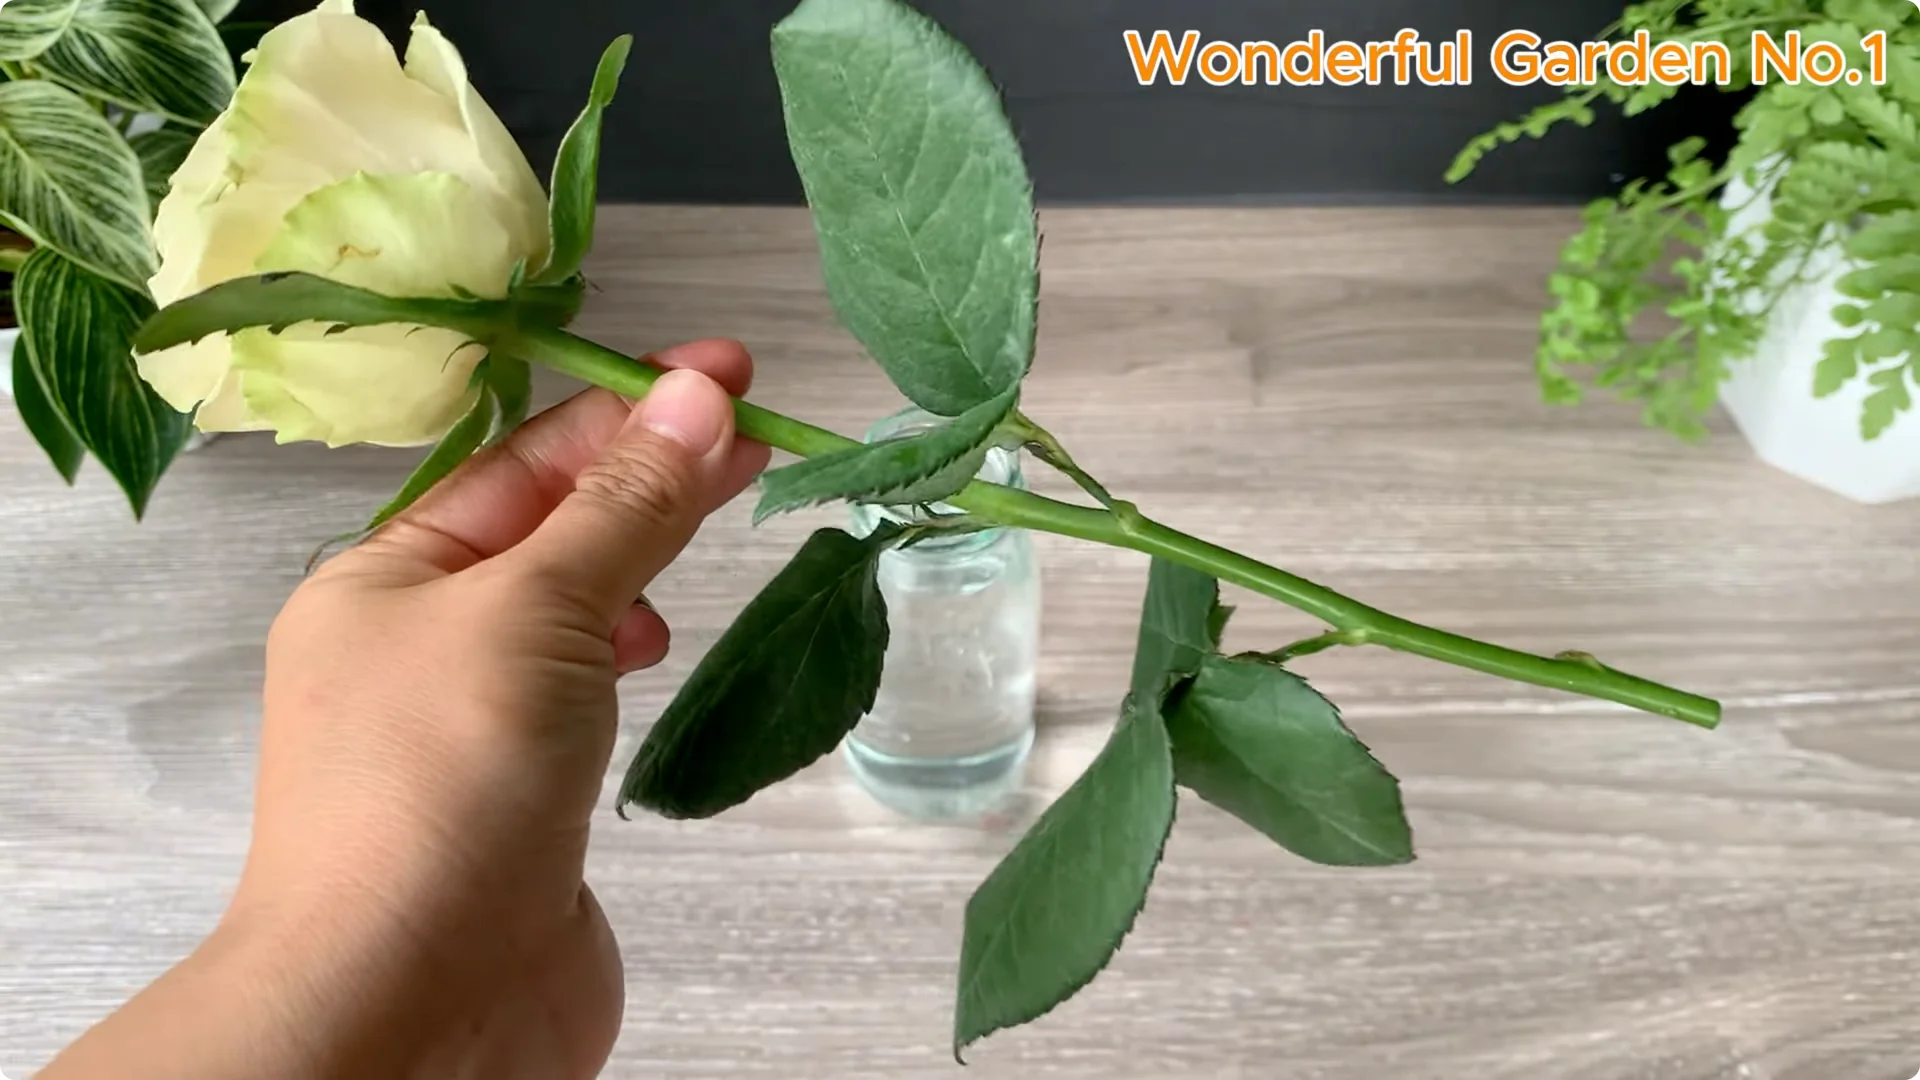
Be gentle during this step to avoid damaging dormant buds or button eyes. These are where new growth will eventually emerge. Handle the cutting with care from this point onward.
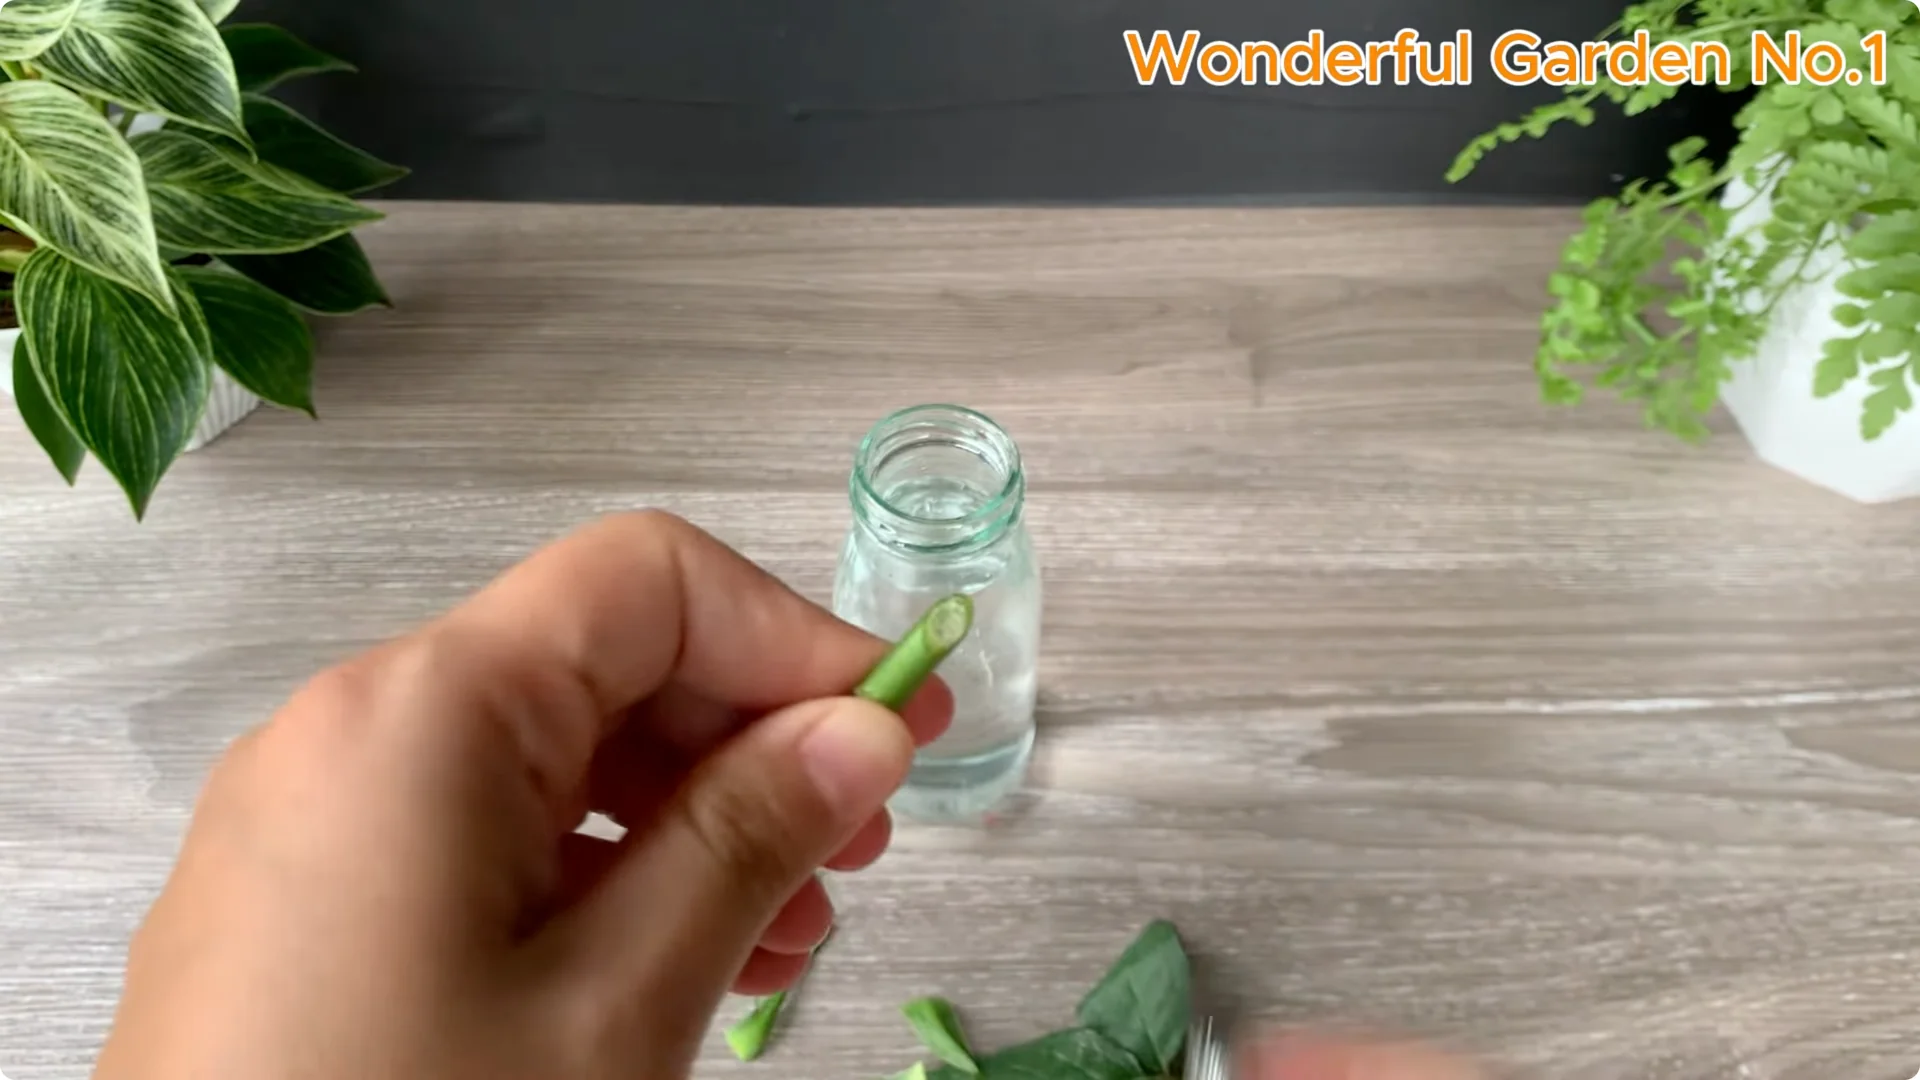
Make the cut and keep it moist
At the base of the cutting, make a clean angle cut of about 45 degrees. The angled cut promotes root growth and helps prevent water accumulation that can cause rot. Dip the stem in clean water to keep it moist and to stimulate rooting.
2. Rooting Solution for Rose Cutting Propagation
Oats for natural support
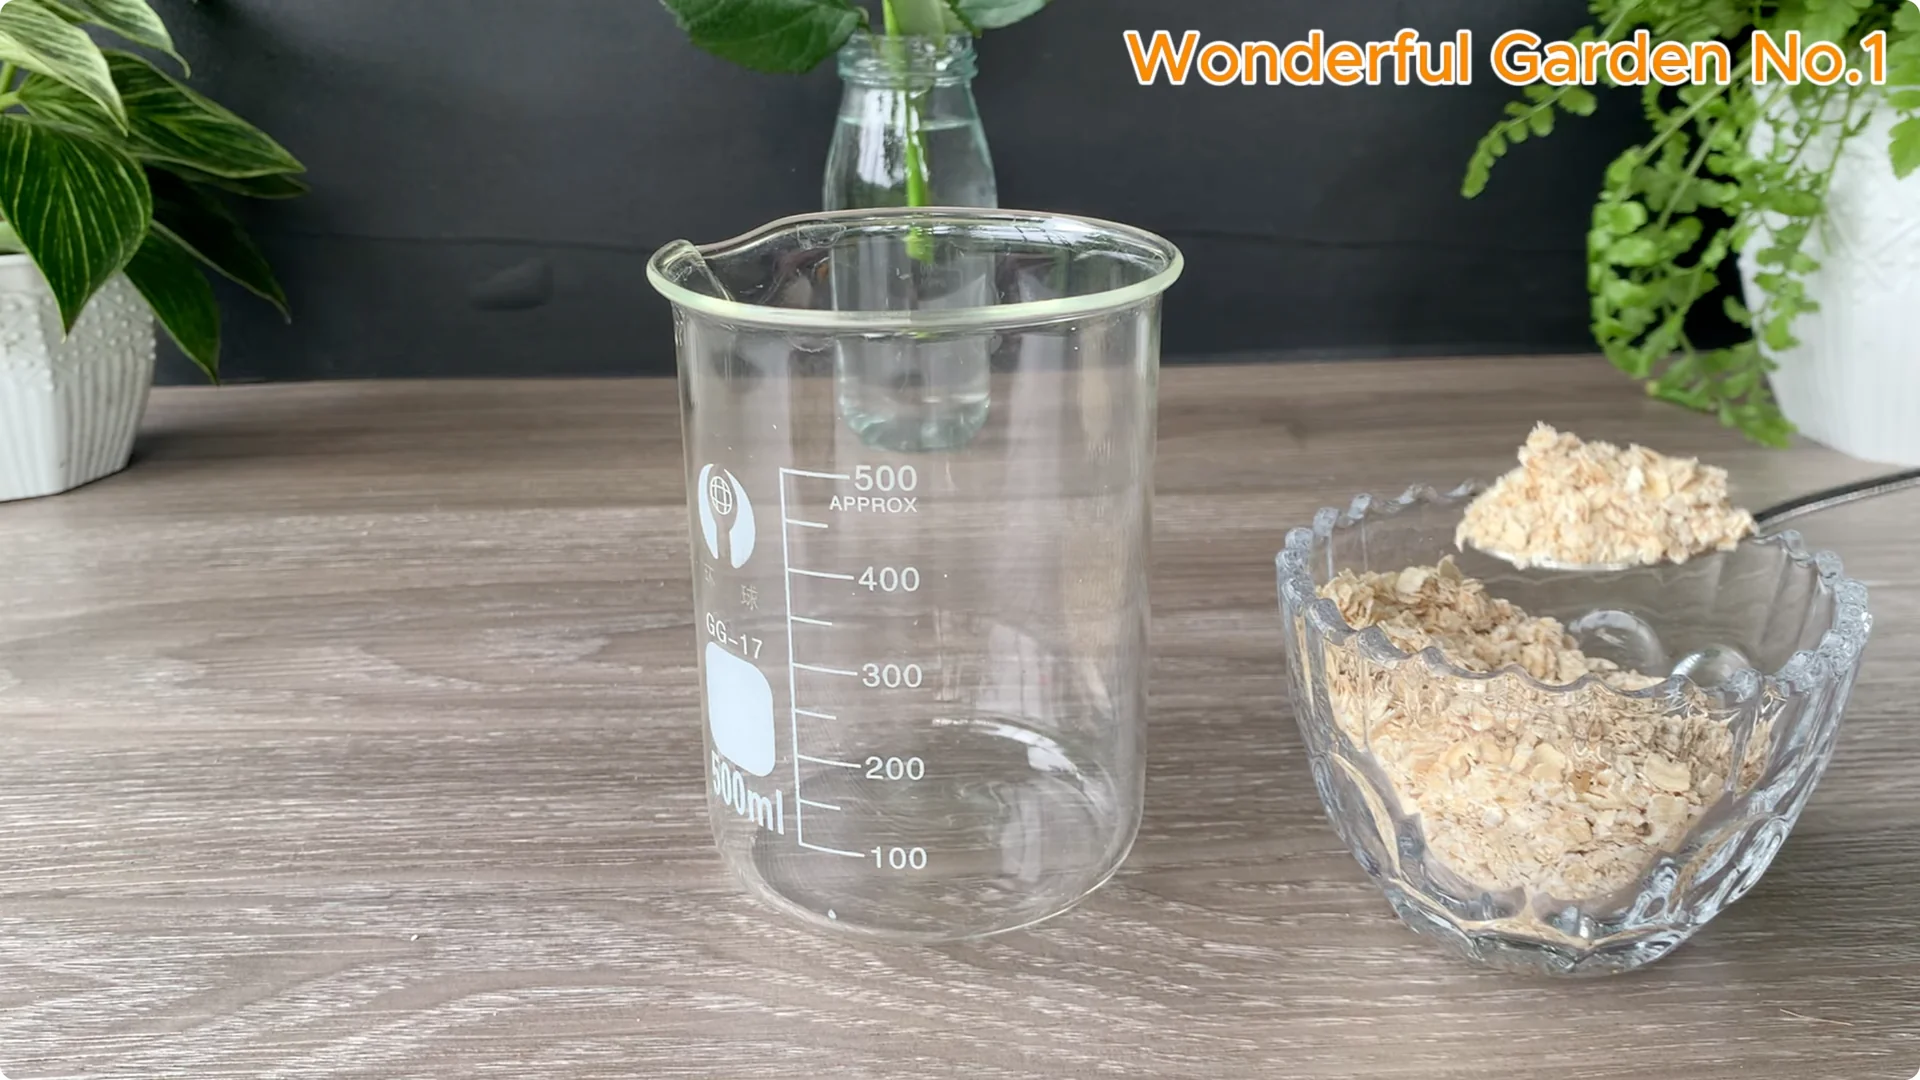
Prepare a gentle all natural rooting solution to promote healthy root growth. Add 2 tablespoons of oats to a cup. Oats are rich in nutrients, vitamins, and plant hormones that can stimulate root growth and nourish young cuttings.
Warm water and B1
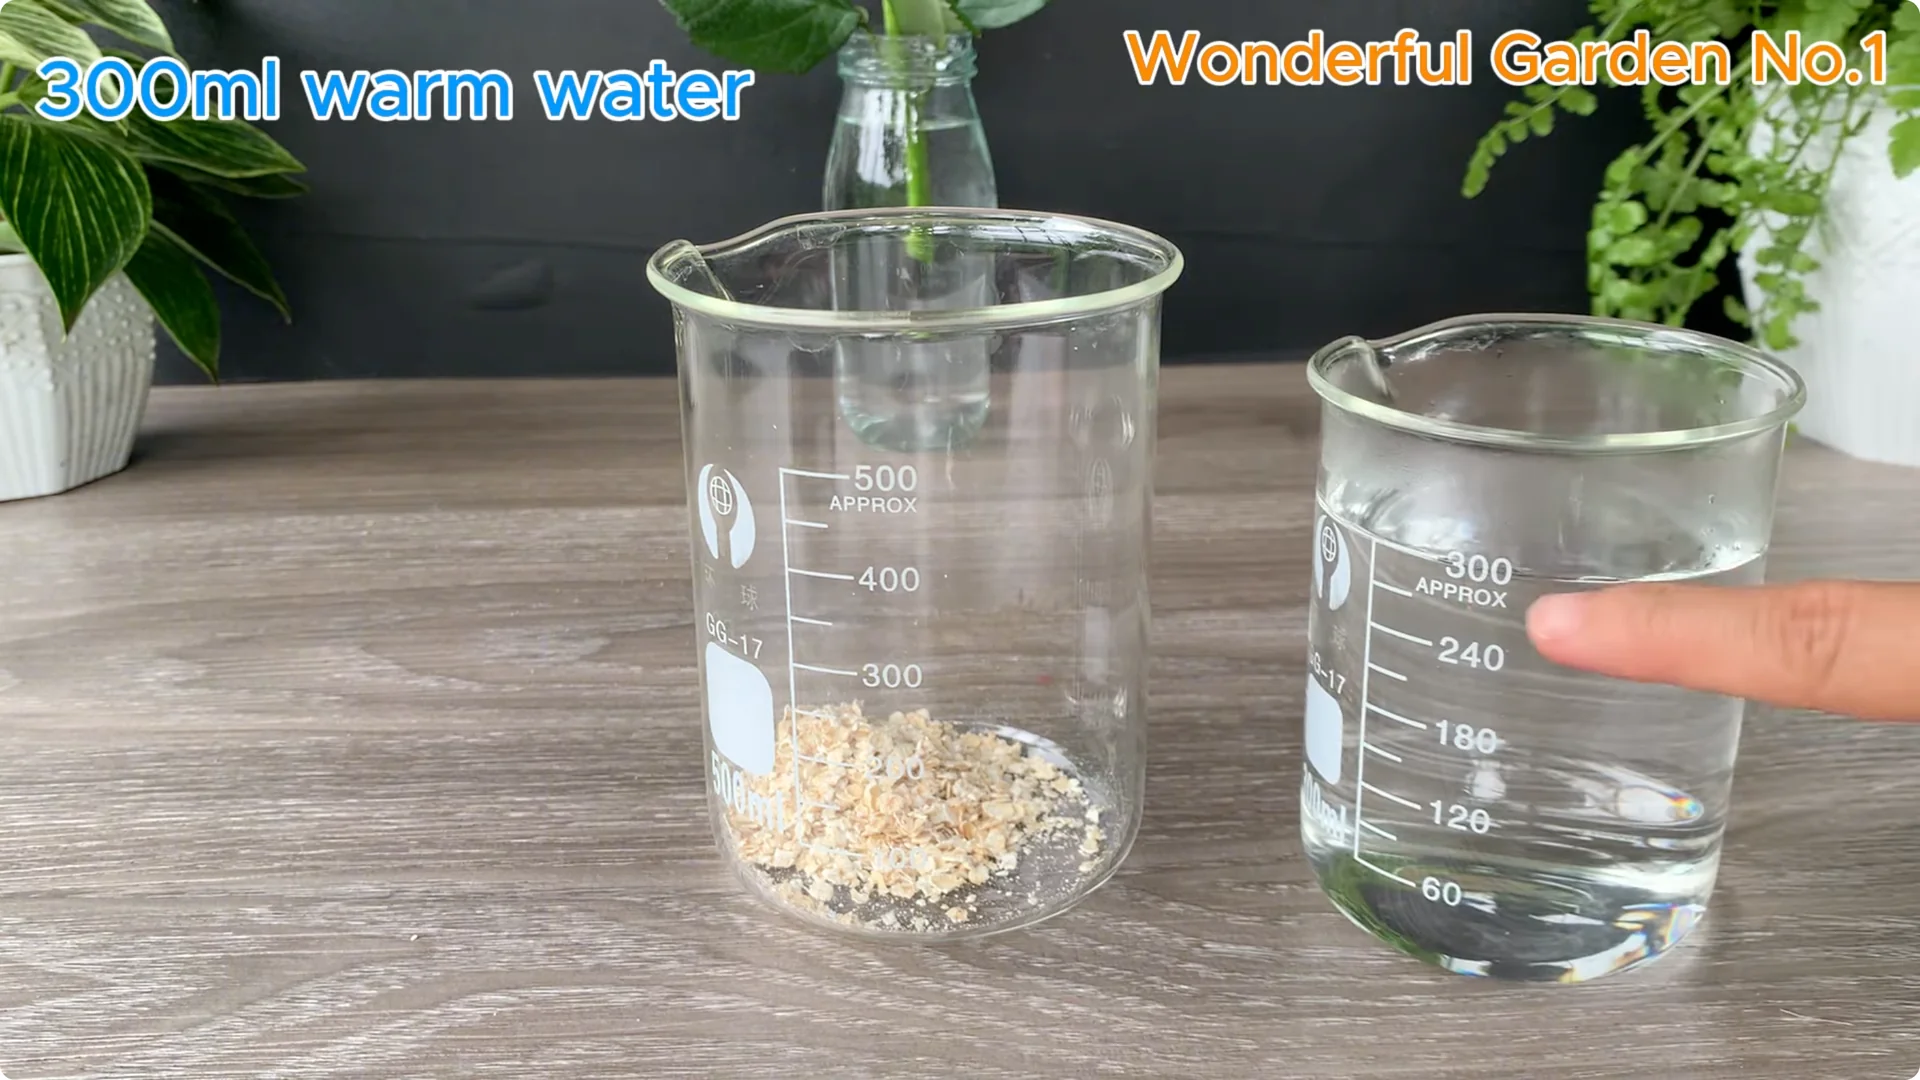
Pour in 300 milliliters of warm water around 40 degrees Celsius. Next, add three vitamin B1 tablets to the cup. Vitamin B1 (thiamine) plays an important role in reducing transplant shock and promoting new root formation.
Honey and a short steep
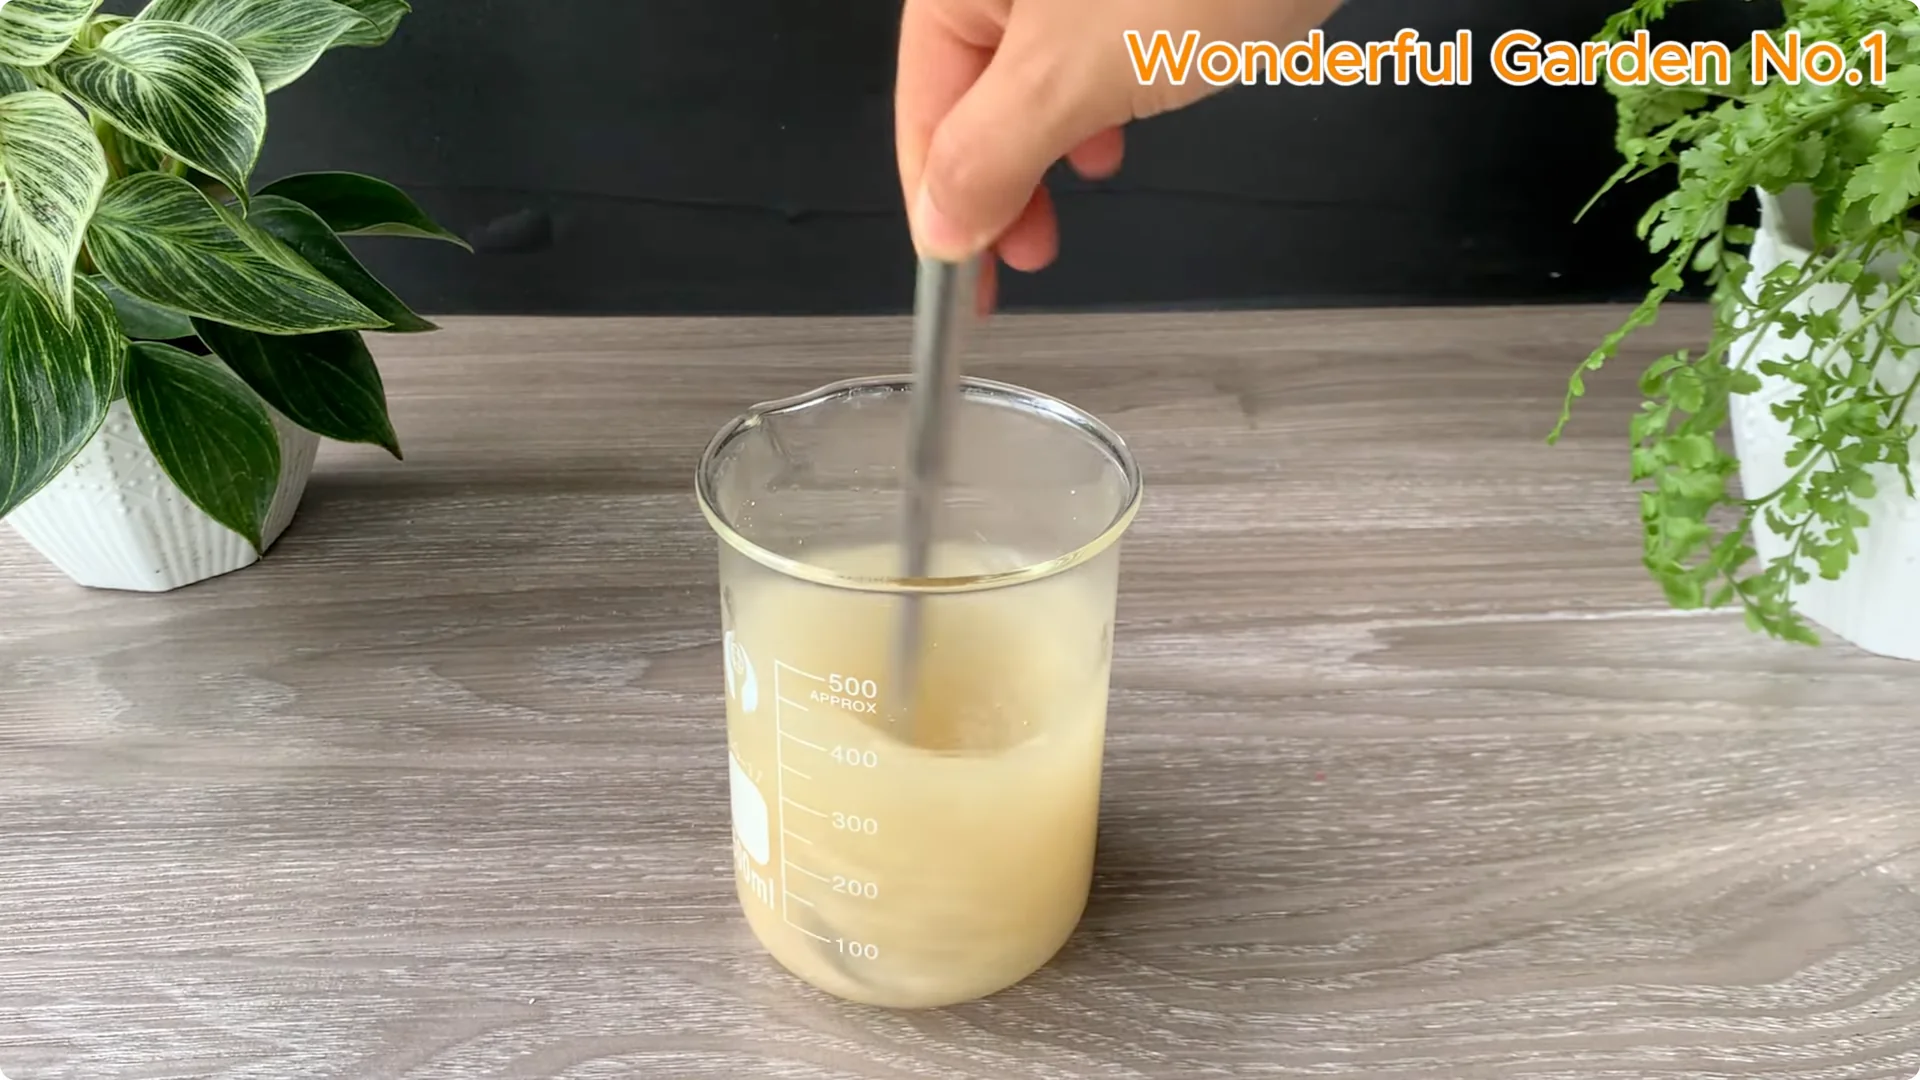
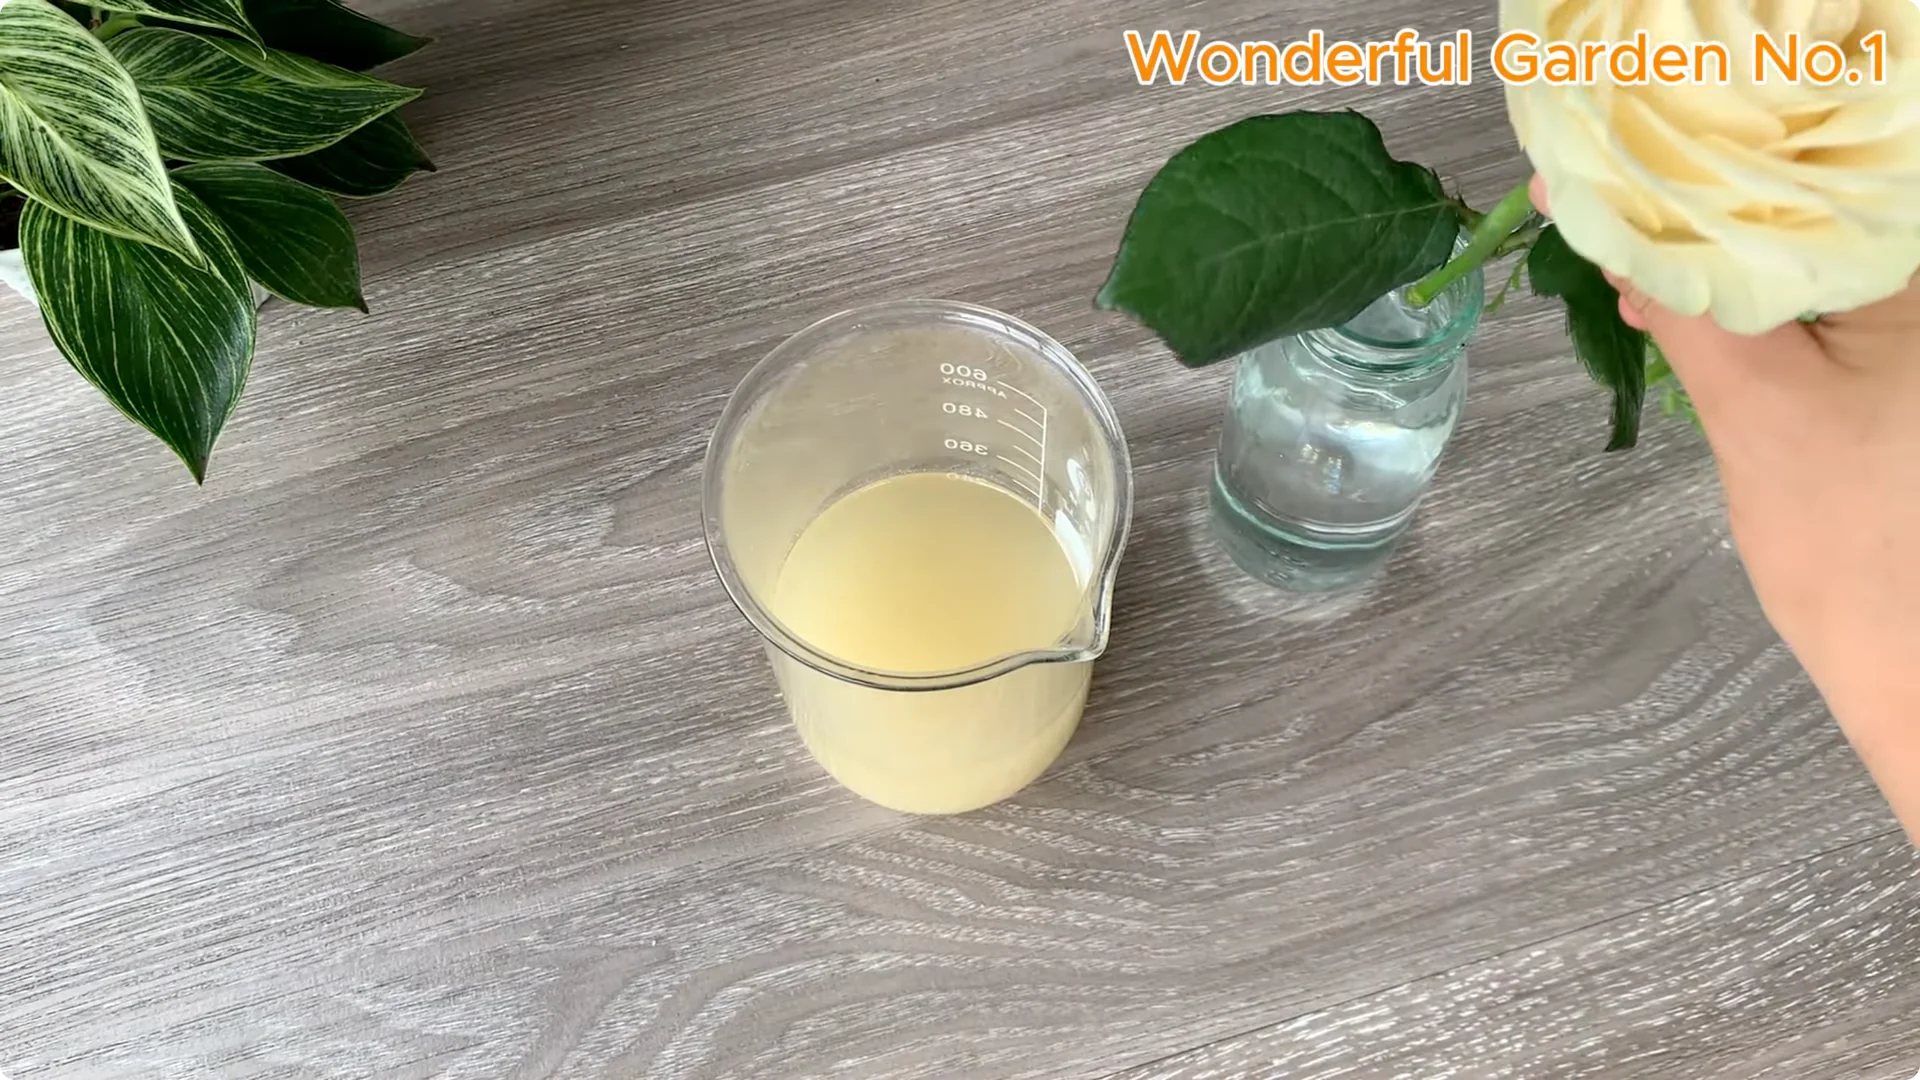
To enhance the mixture, add 1 tablespoon of honey. Honey acts as a natural antibacterial agent and provides trace minerals that support root growth. Gently stir the mixture, then let it steep for about 30 to 60 minutes so the nutrients fully dissolve.
After soaking, strain the mixture through a sieve or clean cloth to remove the residue. Leave only the clear liquid. This gives you a completely natural rooting solution.
Read More: Soaking Rose Cuttings Fast Rooting Blooming
3. Soak and Prepare Medium for Rose Cutting Propagation
Soak the rose stems in the liquid for about 30 minutes. This helps the plant absorb nutrients and gently stimulates root growth. Keep the stems fully submerged during the soak.
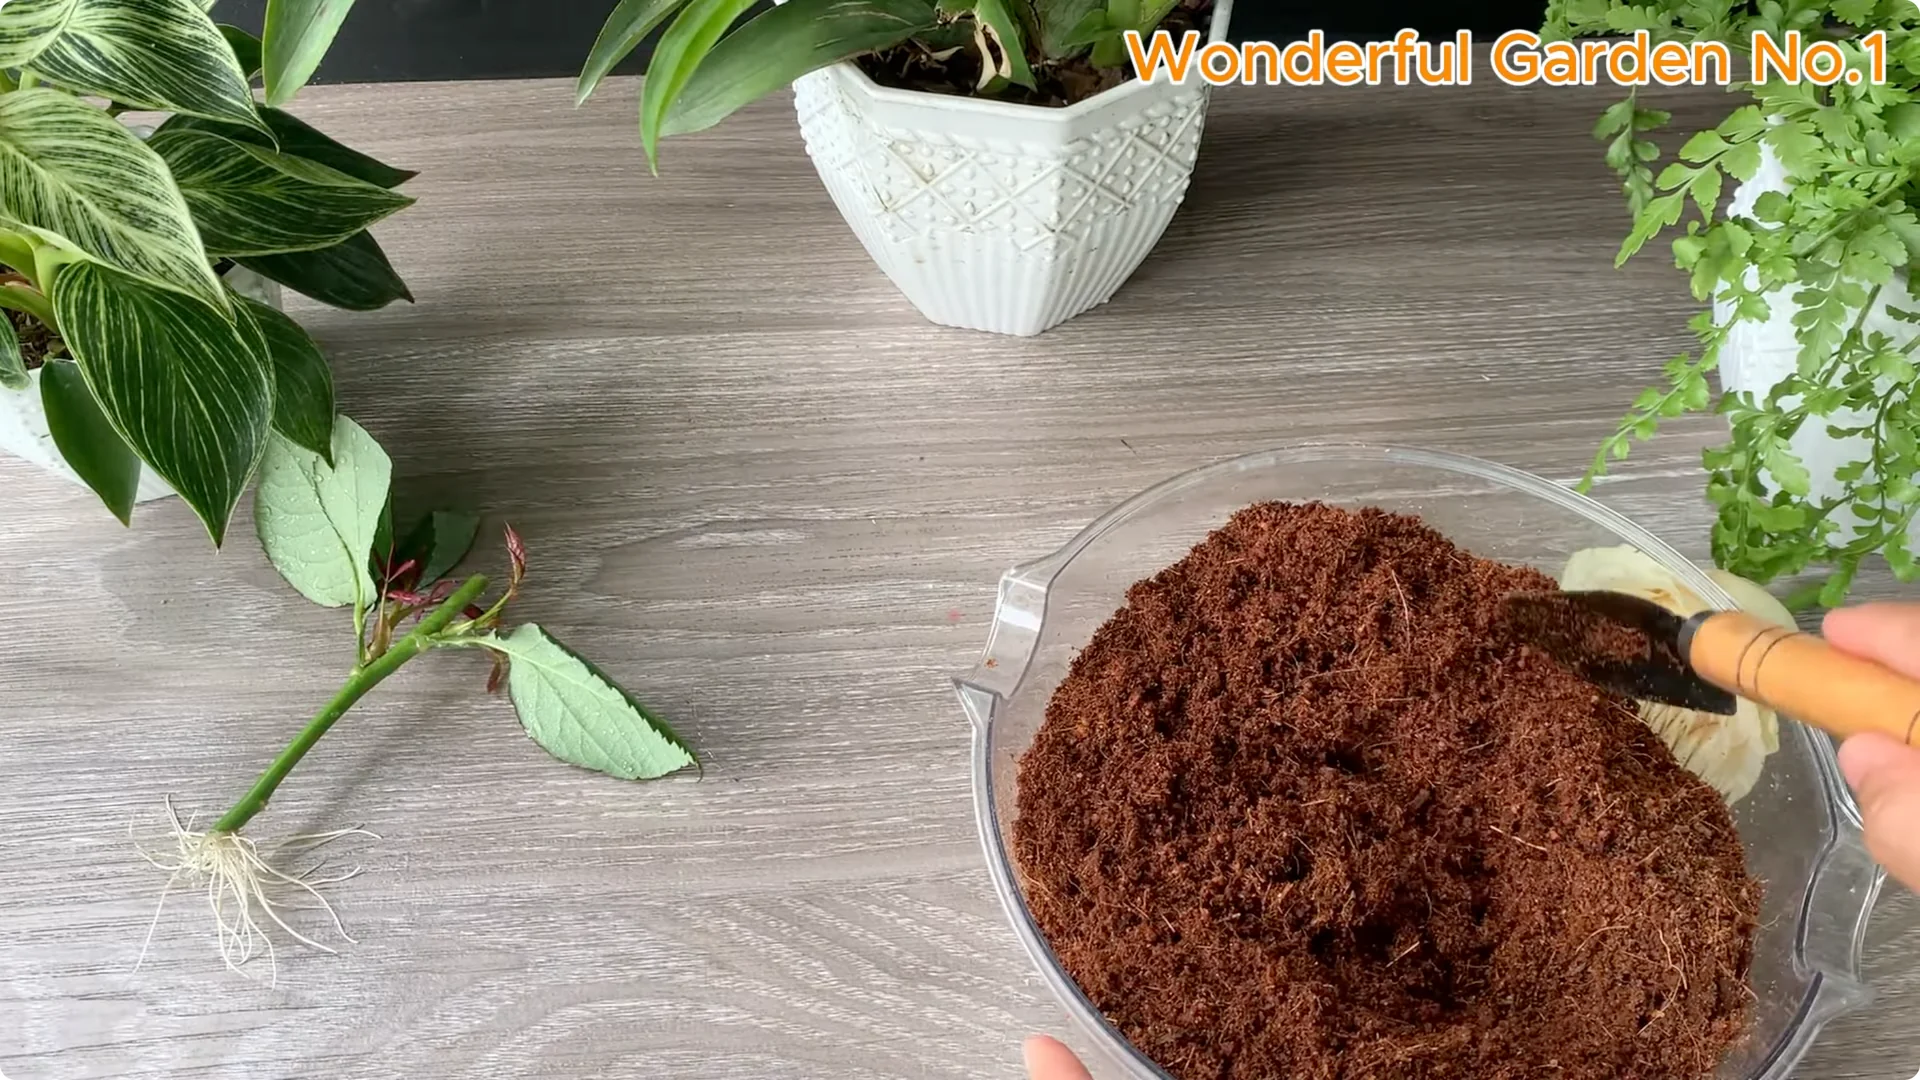
For the growing medium, use a 1 to 1 mix of sand and coconut fiber. This combination provides excellent drainage while retaining enough moisture to support root growth. Moisten the medium with the rooting solution to create the ideal environment.
4. Potting and Mini Greenhouse for Rose Cutting Propagation
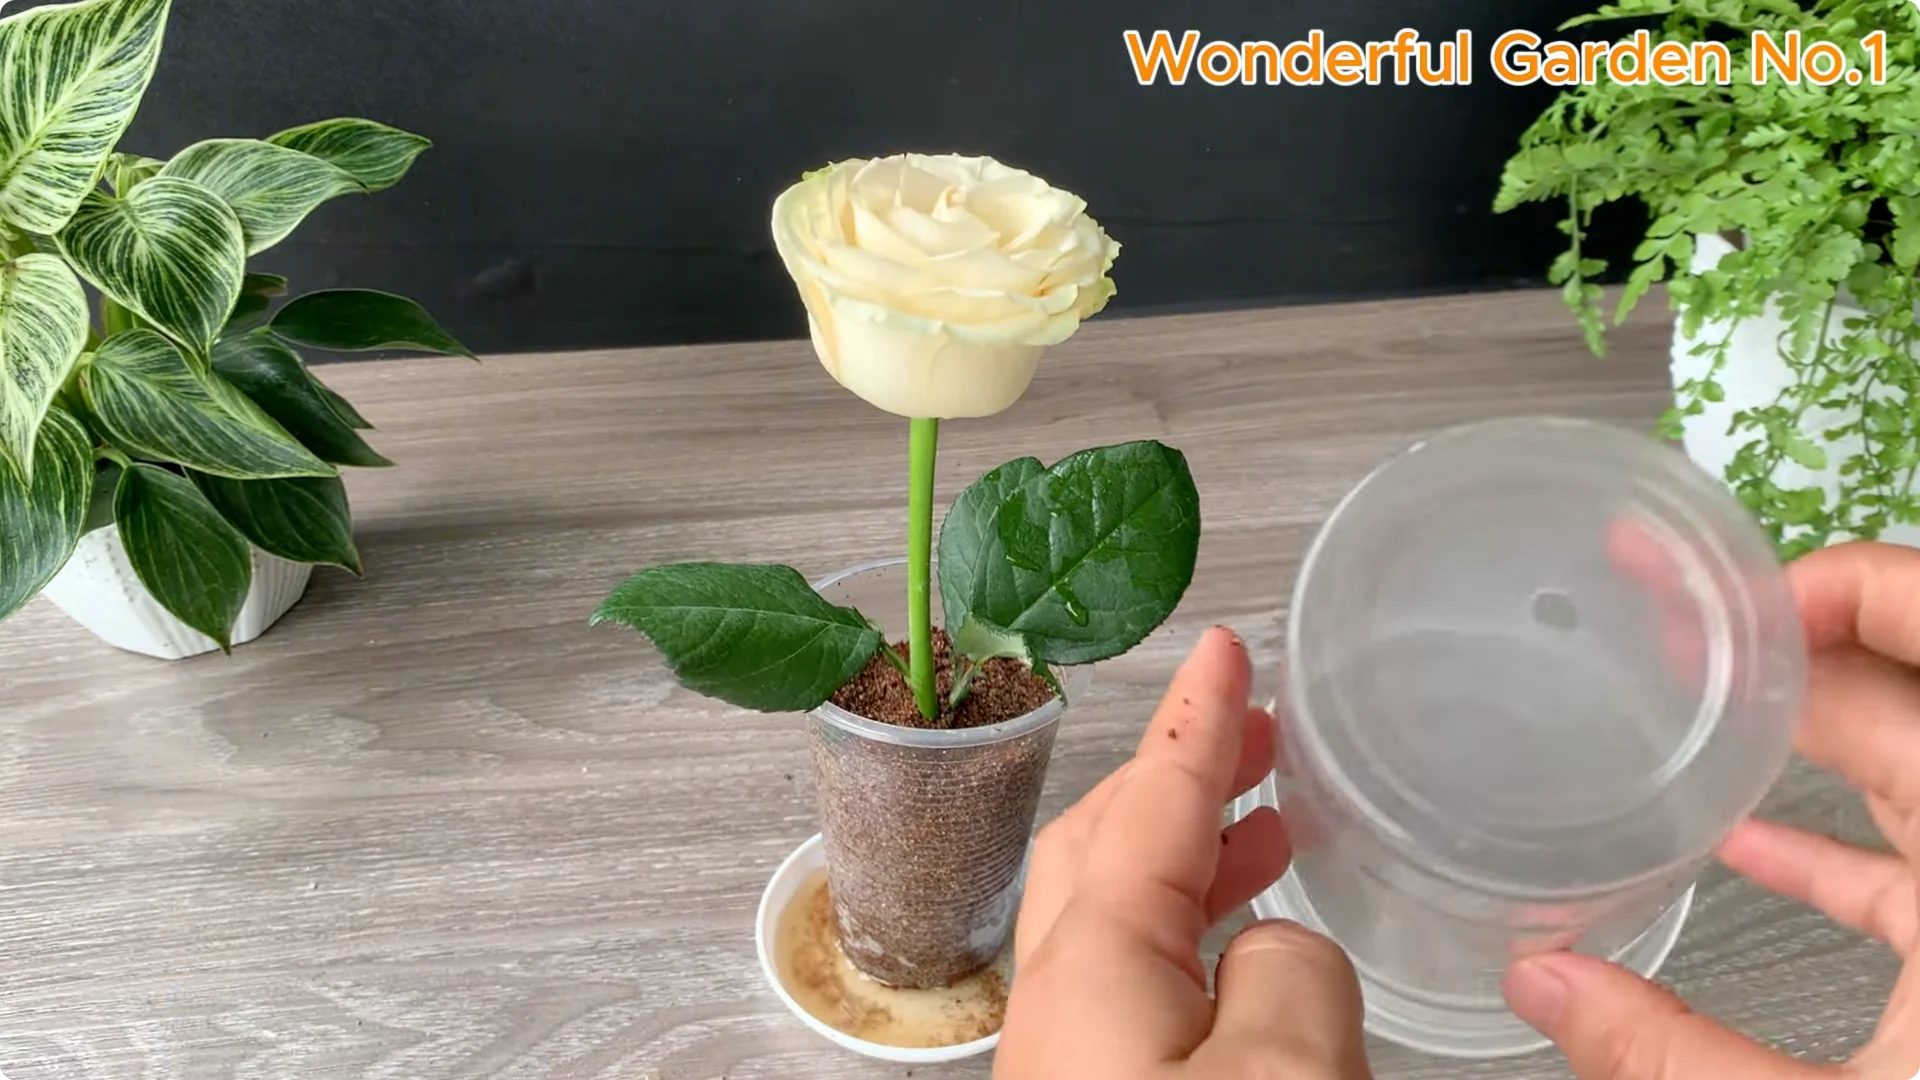
Fill a plastic cup with drainage holes with the moist mixture. These holes allow excess water to drain, preventing water logging. Use a small stick to poke a hole in the center of the cup.
Gently insert the rose cutting, making sure the leaf nodes remain above the surface. Firm the medium lightly around the stem. Keep the cutting upright and stable.
Cover the cup with a larger clear plastic cup to create a miniature greenhouse effect. This helps maintain moisture and warmth, ideal conditions for rooting. Place the cup in a cool, well ventilated area away from direct sunlight to prevent heat stress and moisture loss.
Many growers favor a simple one-cup method for rooting and blooming that mirrors this setup. For a detailed look at that approach, see this one-cup method. It pairs well with the natural solution described here.
5. What to Expect in Rose Cutting Propagation
In about two to three weeks, you may begin to see small shoots and new roots forming. Timing depends on the condition and health of the cutting. Patience and steady moisture are key.
You will begin to notice small shoots emerging from the leaf nodes. This is a clear sign that the cutting is growing. Avoid disturbing the medium while these shoots establish.
Beneath the surface of the growing medium, fine white roots begin to grow and spread out. They firmly anchor themselves in the moist substrate. These young roots are essential for absorbing water and nutrients, and their healthy growth signals success.
Read More: Onion Water Sparks Roots Rose Stem
6. Potting Up in Rose Cutting Propagation
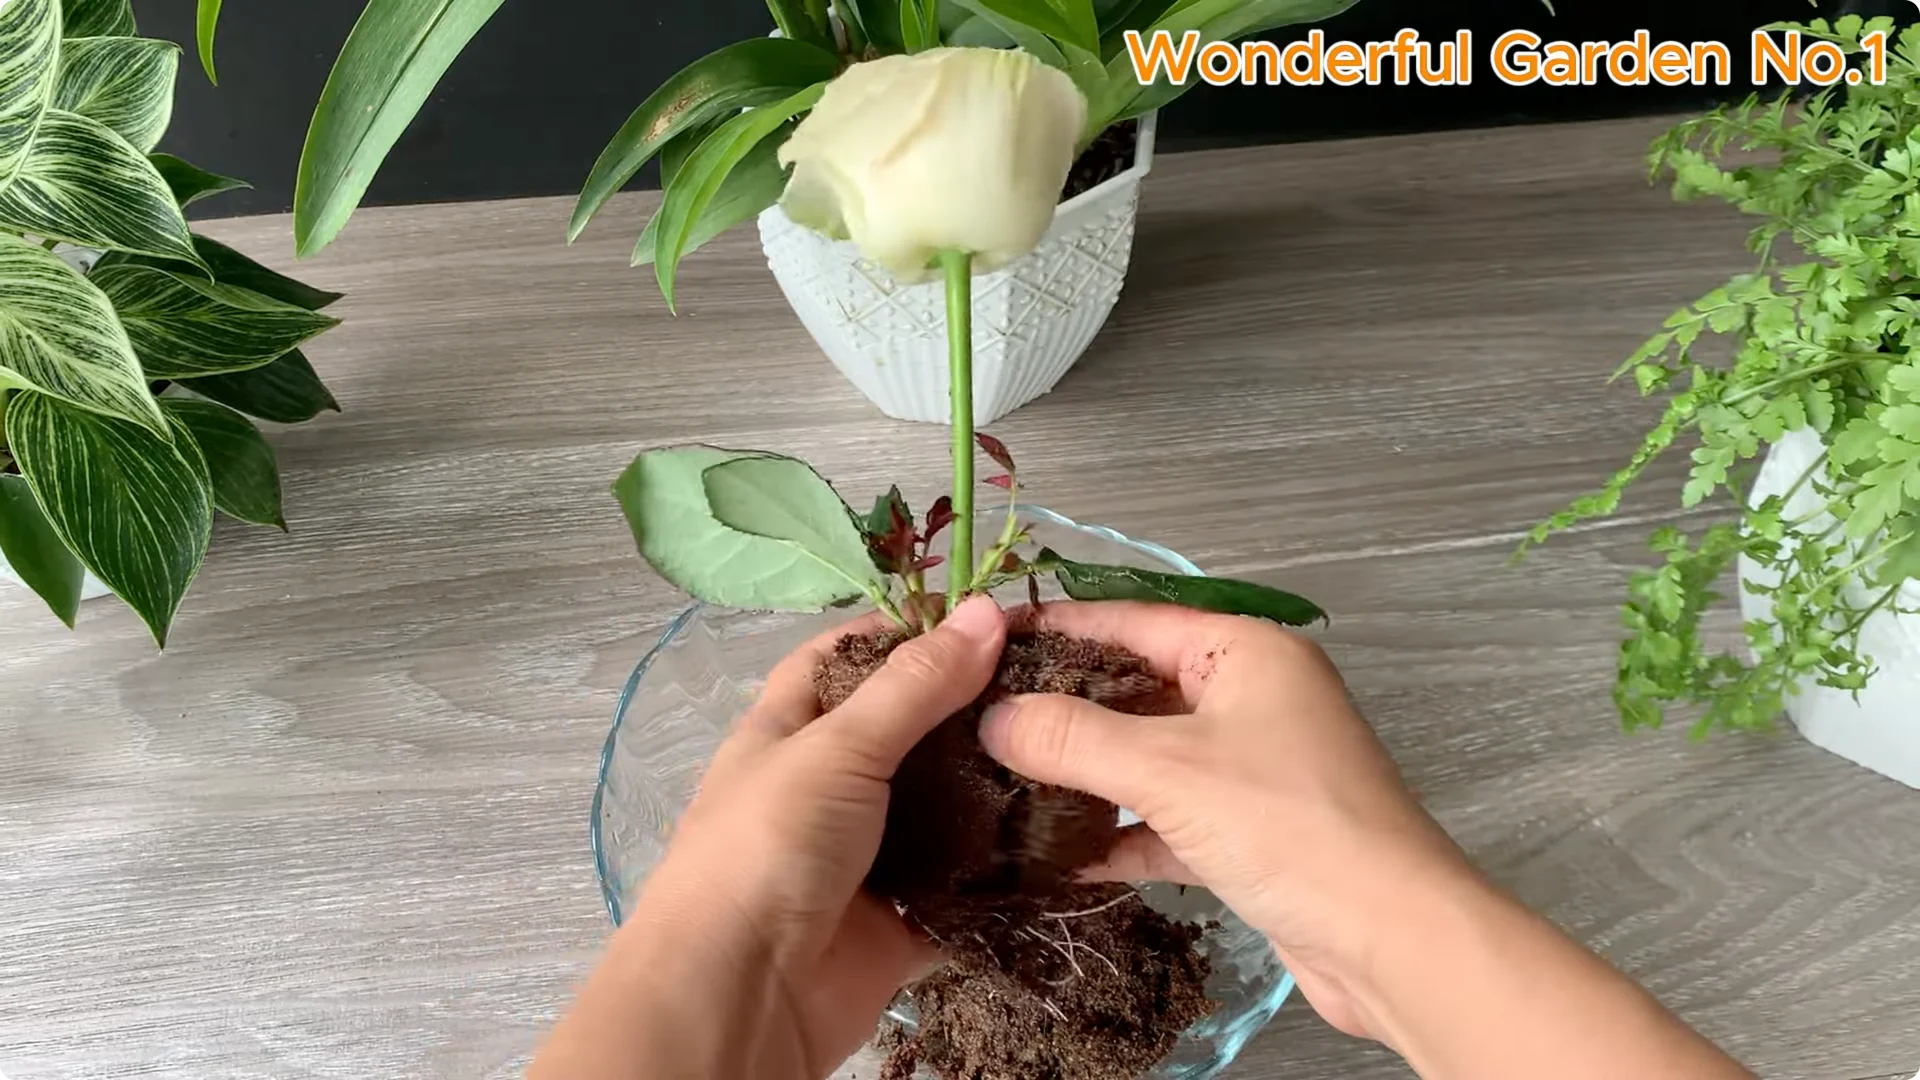
Transfer the young plant to a larger pot so it can grow stronger and acclimate before planting directly in the ground. Handle the new roots gently during this move. Keep the root ball intact.
Choose a pot with good drainage holes. Fill it with coconut fibre or loose, airy soil to create the ideal environment for the young plant to grow. Water lightly and keep it in bright, indirect light.
Final Thoughts on Rose Cutting Propagation
A simple blend of oats, vitamin B1, and honey supports clean, vigorous root development. A well prepared cutting, a breathable medium, and steady humidity complete the recipe. Follow these steps and enjoy strong, healthy roses from cuttings.