I welcome you to my peaceful corner where we take care of nature and explore the wonders of plants together. I am happy to share a completely natural method of propagating roses. It is a little secret I have tested with an almost absolute success rate, gentle enough for beginners to do at home.
Let nature work its magic. Follow each step with care and patience. Your roses will respond beautifully.
1. Rooting Rose Cuttings – Choose Stems
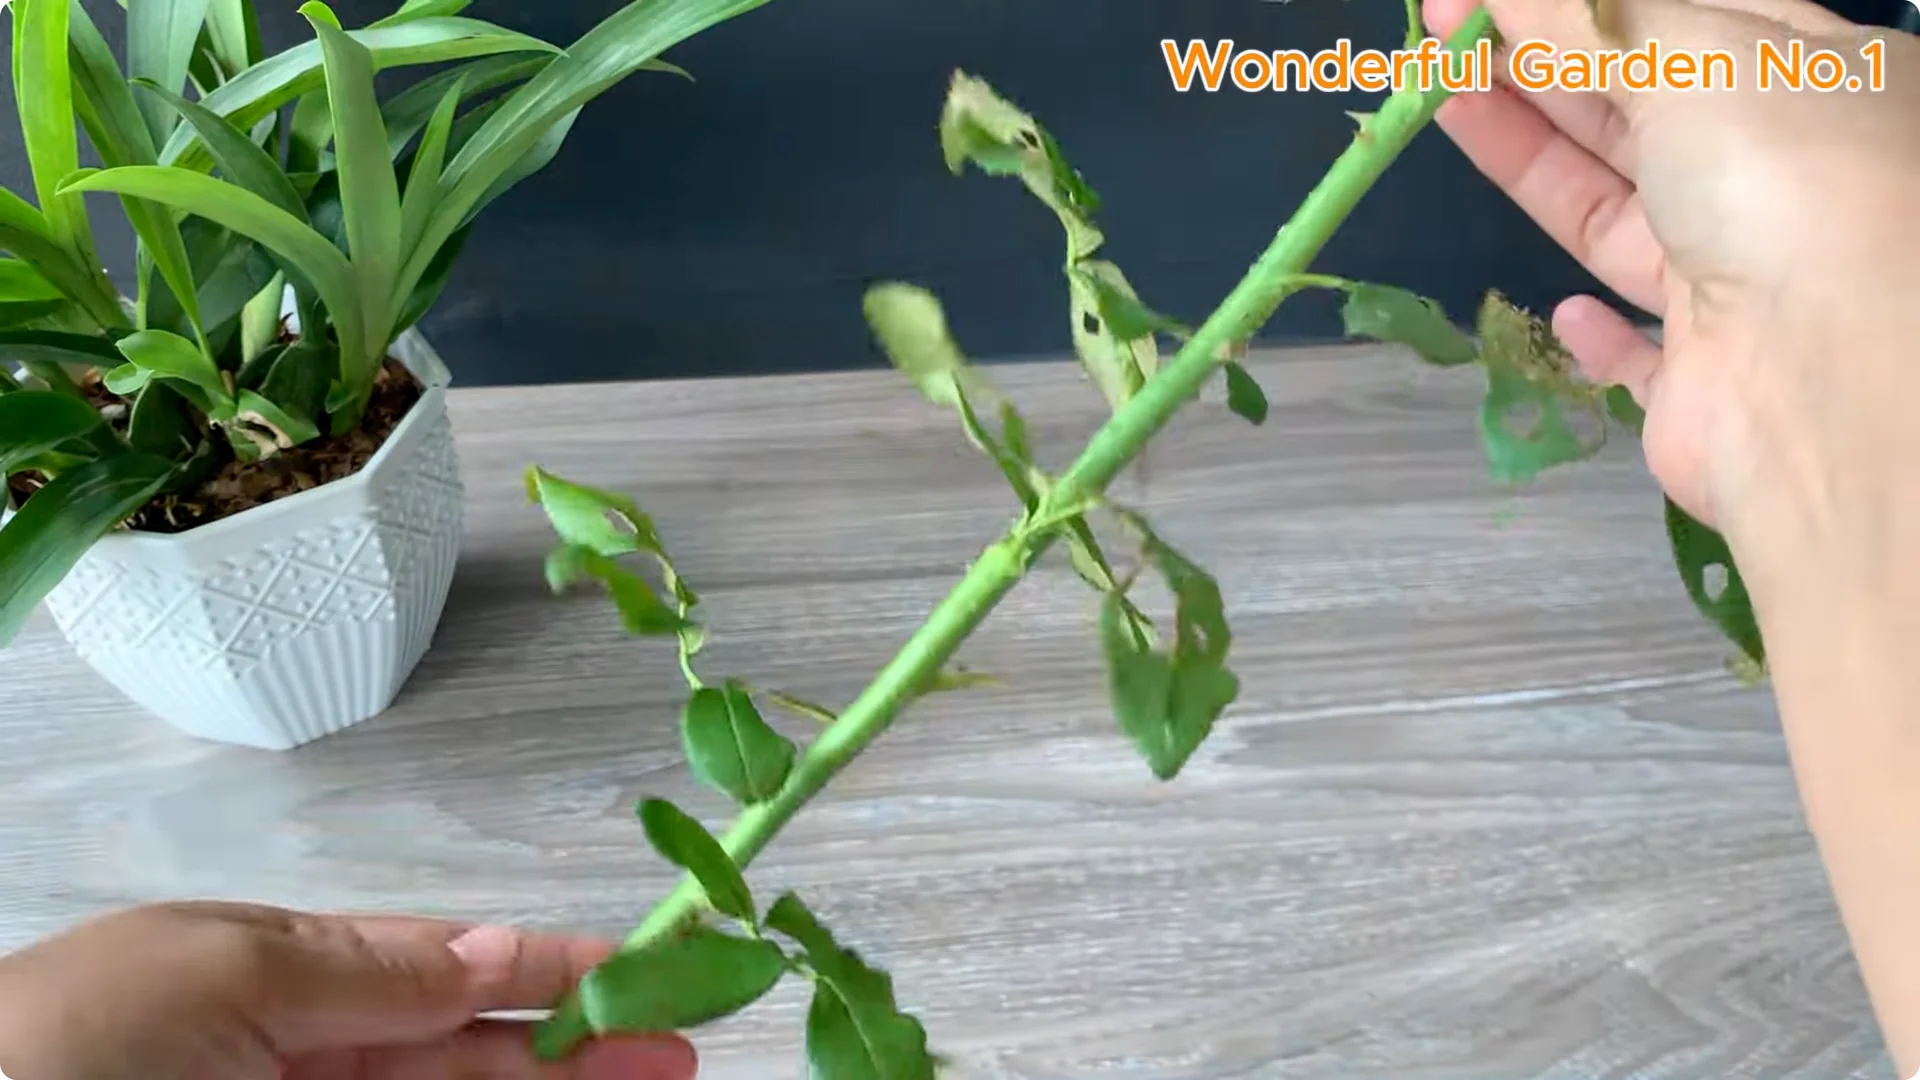
Start by selecting a healthy rose stem, one that is straight, disease-free, and has intact bark. This is the foundation for a successful start. Remove all leaves so the cutting can focus its energy on growing roots instead of nourishing leaves.
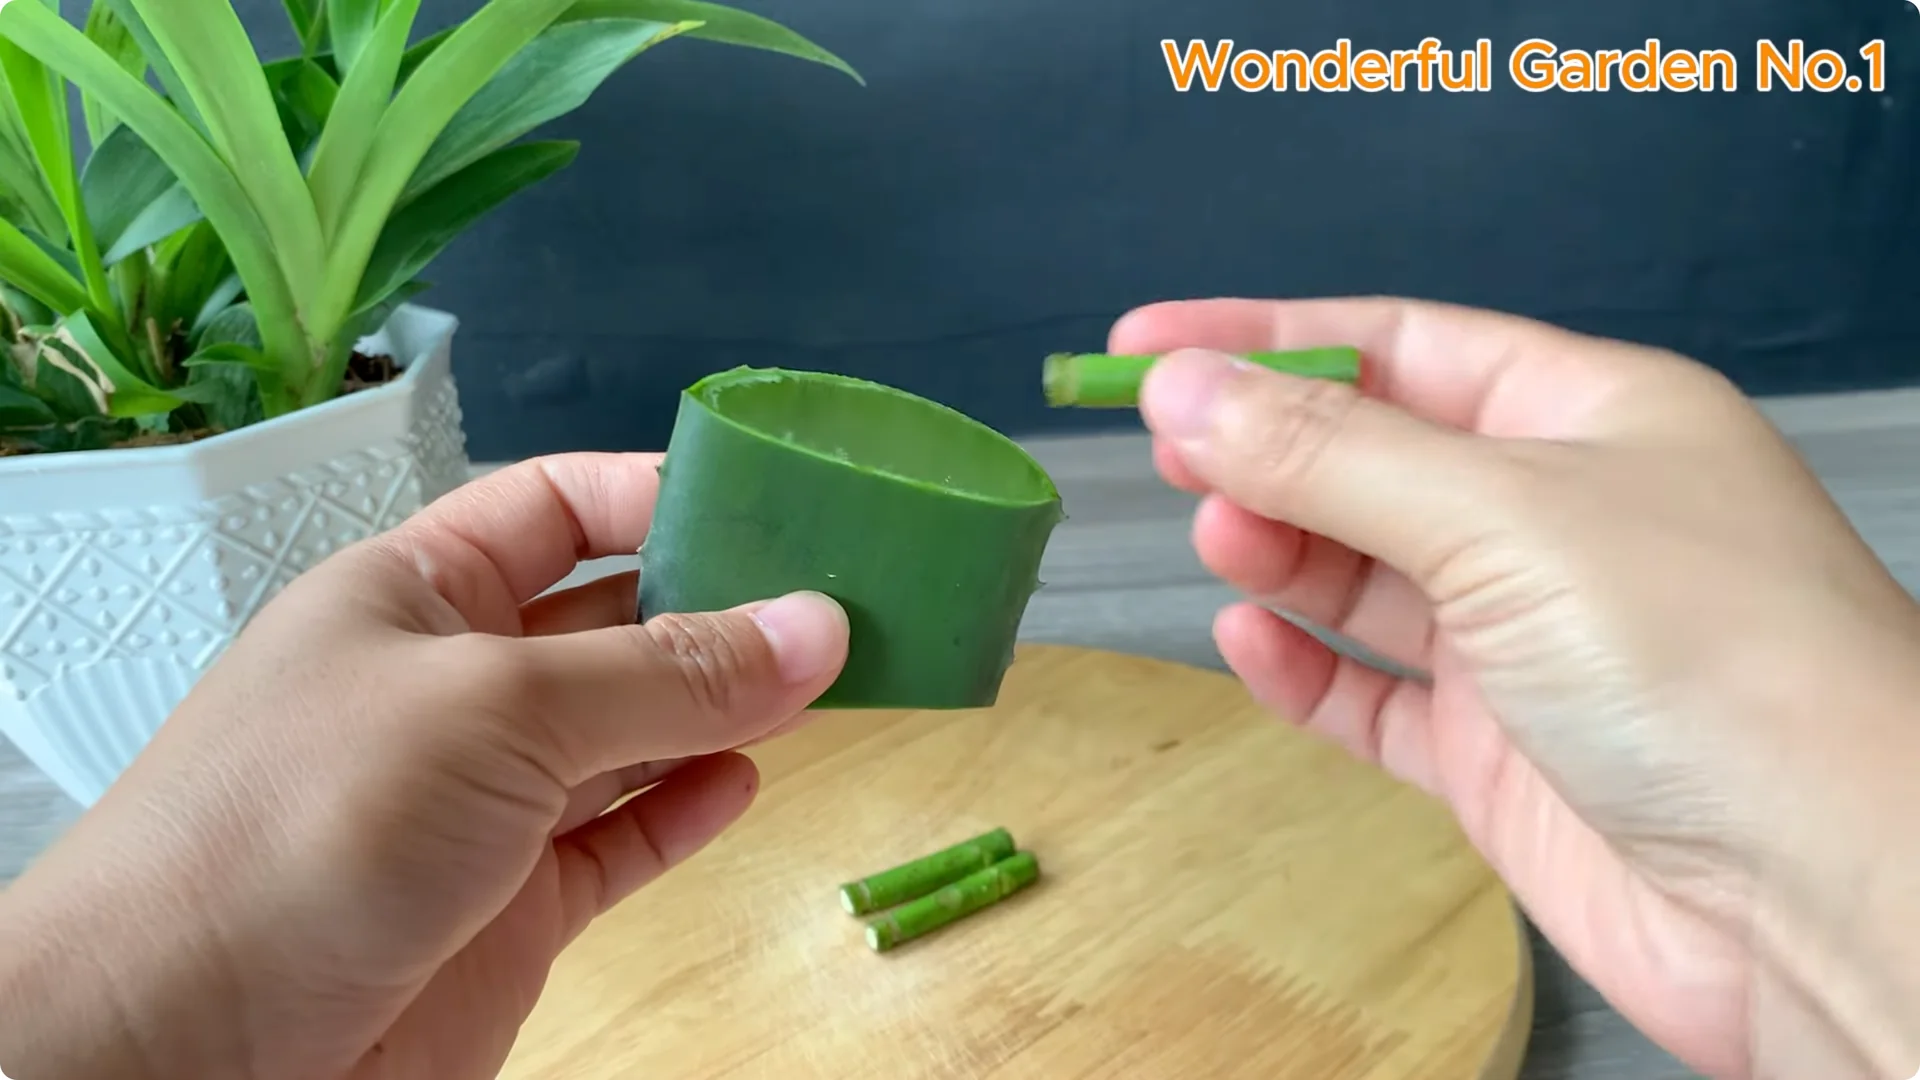
Avoid damaging dormant buds along the stem. New buds will awaken from these dormant buds and begin a new life cycle. Next, cut the branch into short pieces, each about 3 to 4 cm long.
When cutting, use a sharp blade or specialty scissors to get a clean, crisp cut. Smooth and precise pruning will help avoid damaging plant tissue. This creates the best conditions for new roots to form.
Expose the Wood Layer
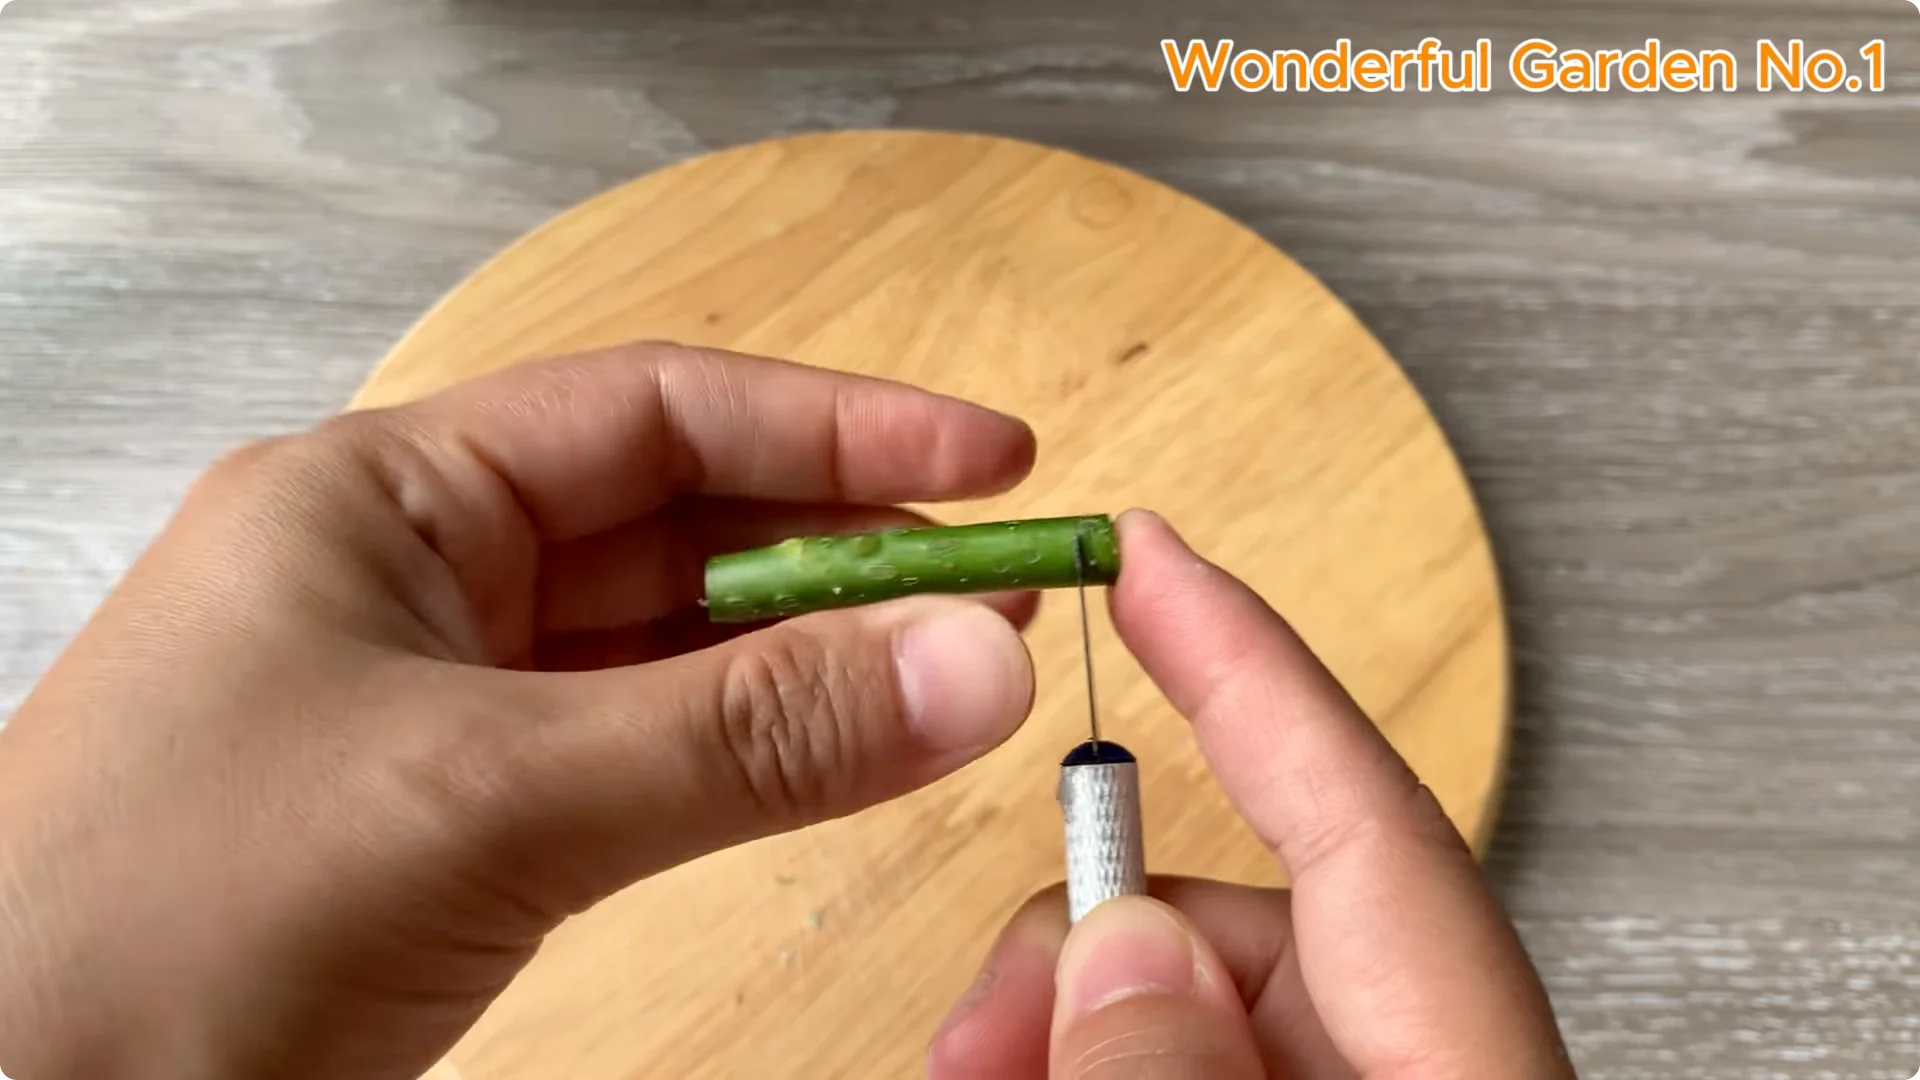
Gently peel back the thin layer of bark around the base of the branch. This exposes the wood inside where the cells can easily grow roots. It is an old technique, but a very effective one.
It is like opening a door to let new life in. Work slowly and gently. Do not remove more bark than needed.
2. Rooting Rose Cuttings – Natural Antibacterial Boost
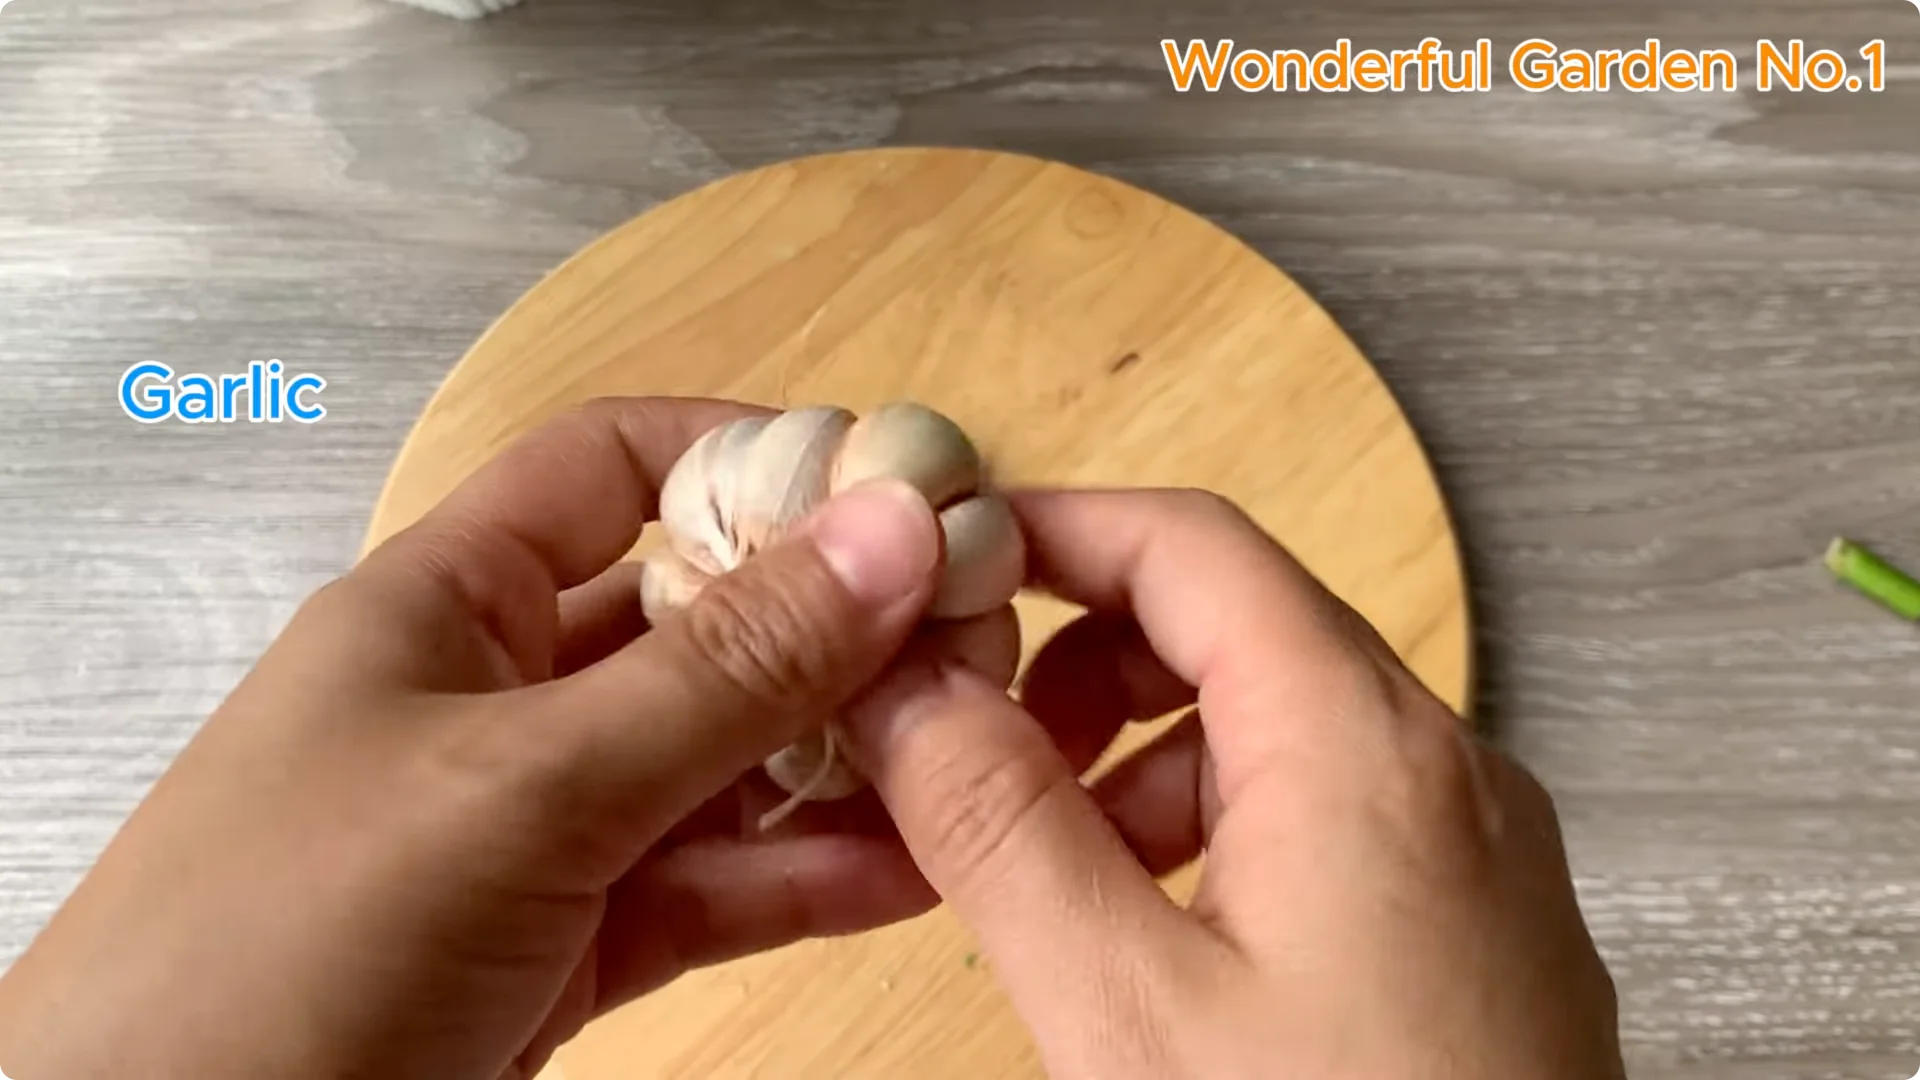
Peel and gently rub a garlic clove over the cut you just made. This is more than just a folk remedy. Garlic is a natural antibacterial and antiseptic that helps prevent fungus and bacteria from damaging the cutting in the early days.
3. Rooting Rose Cuttings – Seal Moisture
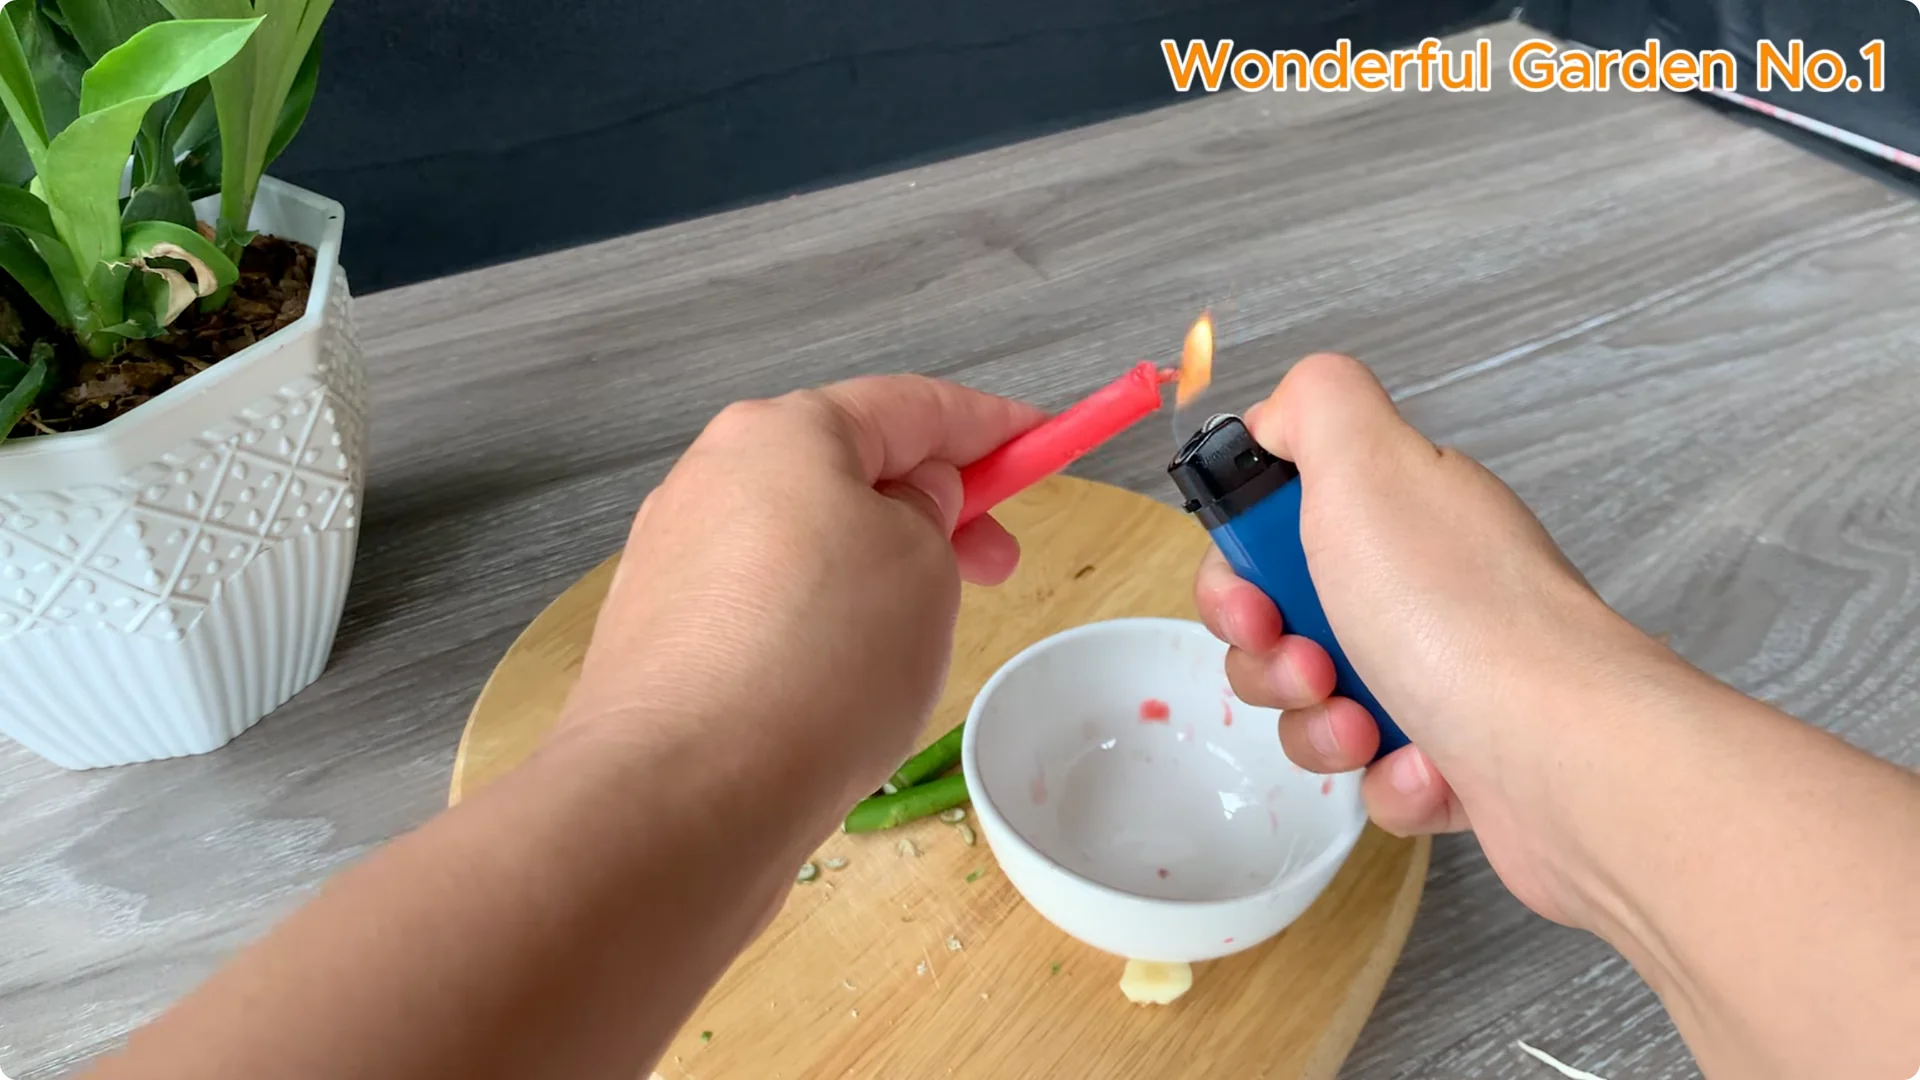
Using a small candle, gently warm the wax and dab a little on the tip of each rose stem. This thin layer of wax helps retain moisture inside the cutting and protects the tip from bacteria in the air. It is like a delicate little hat keeping warm and gently protecting.
A simple detail with a remarkable effect. Do not overcoat the tip. Just a thin seal is enough.
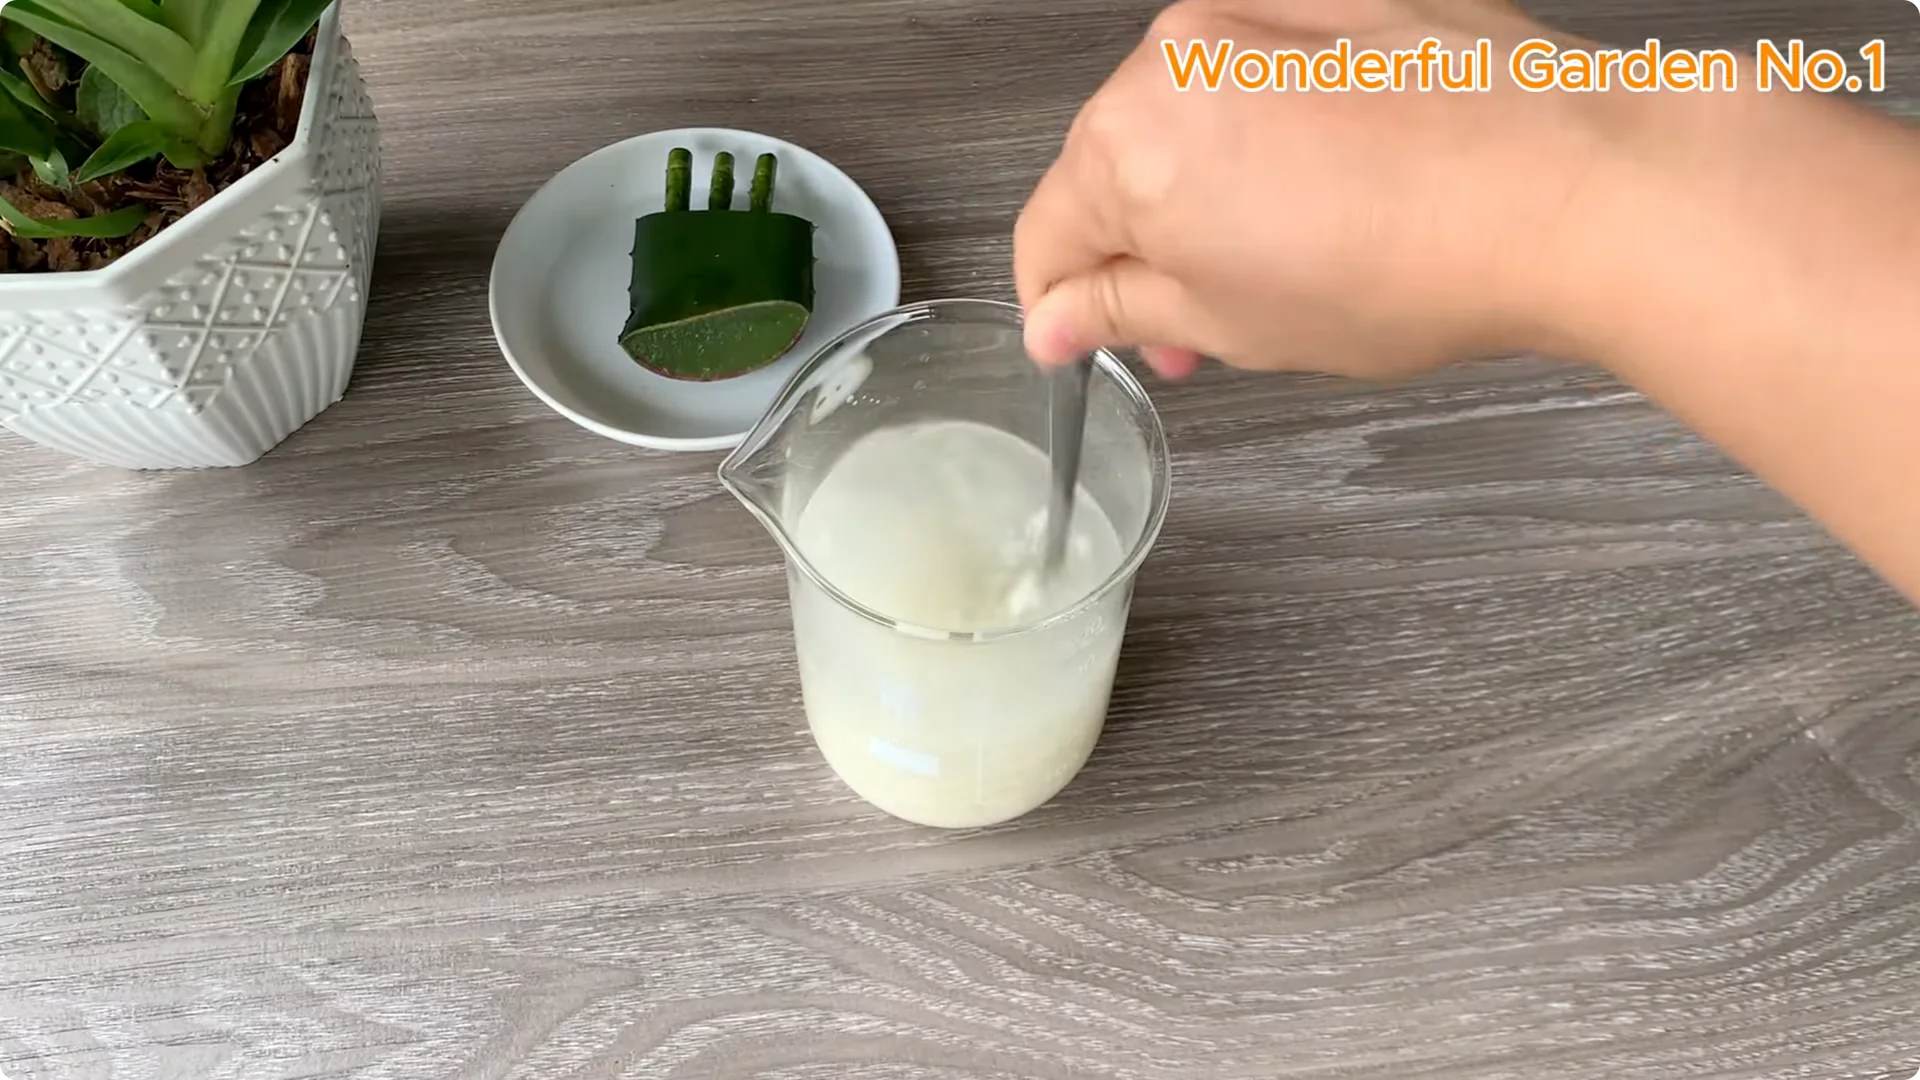
4. Rooting Rose Cuttings – Aloe Vera Soak
Cut a slice of fresh aloe vera. Insert the base of the rose stem into the aloe vera flesh for about 10 minutes. Aloe vera provides moisture, natural nutrients, and aids tissue healing, creating ideal conditions for roots to begin forming.
Read more natural options for water methods here: water trick. Gentle approaches help beginners succeed. Choose what suits your setup.
5. Rooting Rose Cuttings – Make the Rooting Solution
Gather the Ingredients
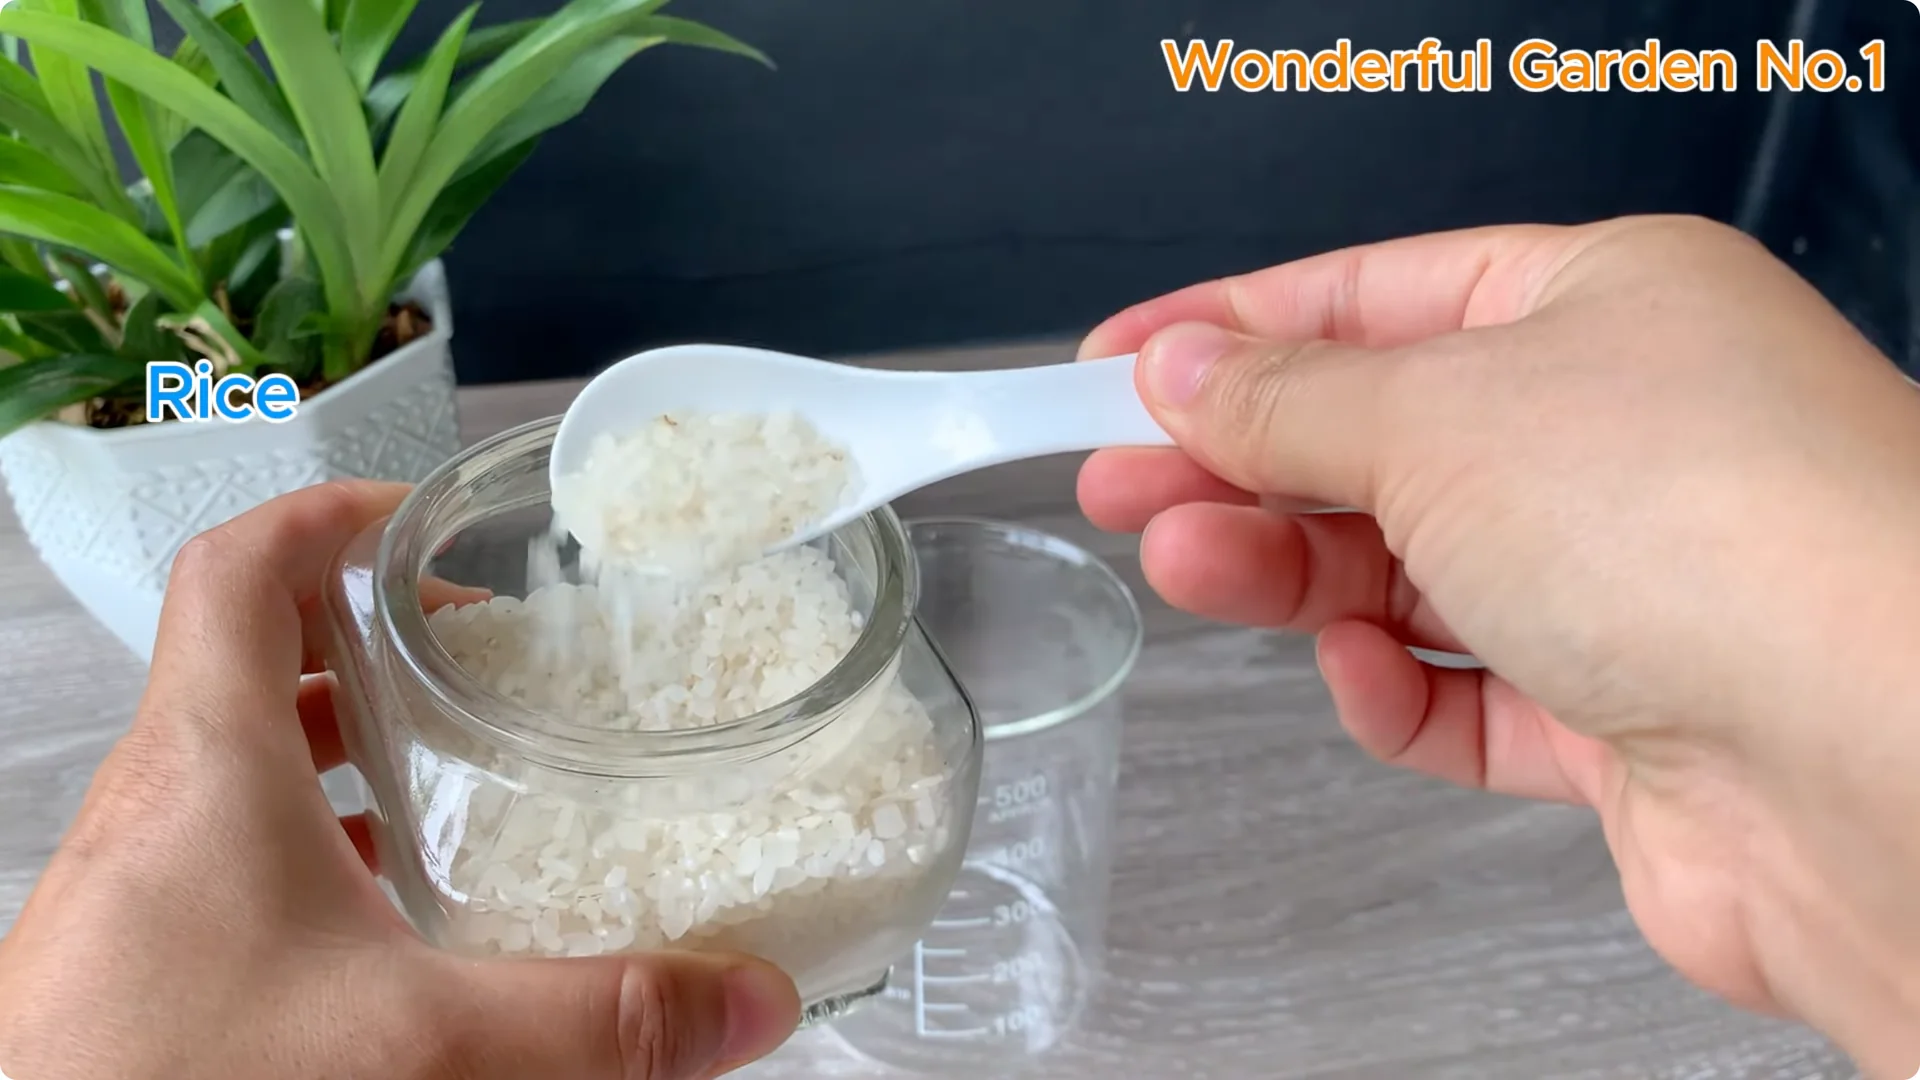
Prepare 50 g of rice, equivalent to five small spoons. Rice is not only a food but also contains many nutrients that support root growth. Pour 350 ml of clean water into the rice cup.
Next, add three cloves of garlic. Use fresh or dried garlic, peeled and chopped. Garlic stimulates the growth of plant roots and adds antibacterial protection.
Mix and Infuse
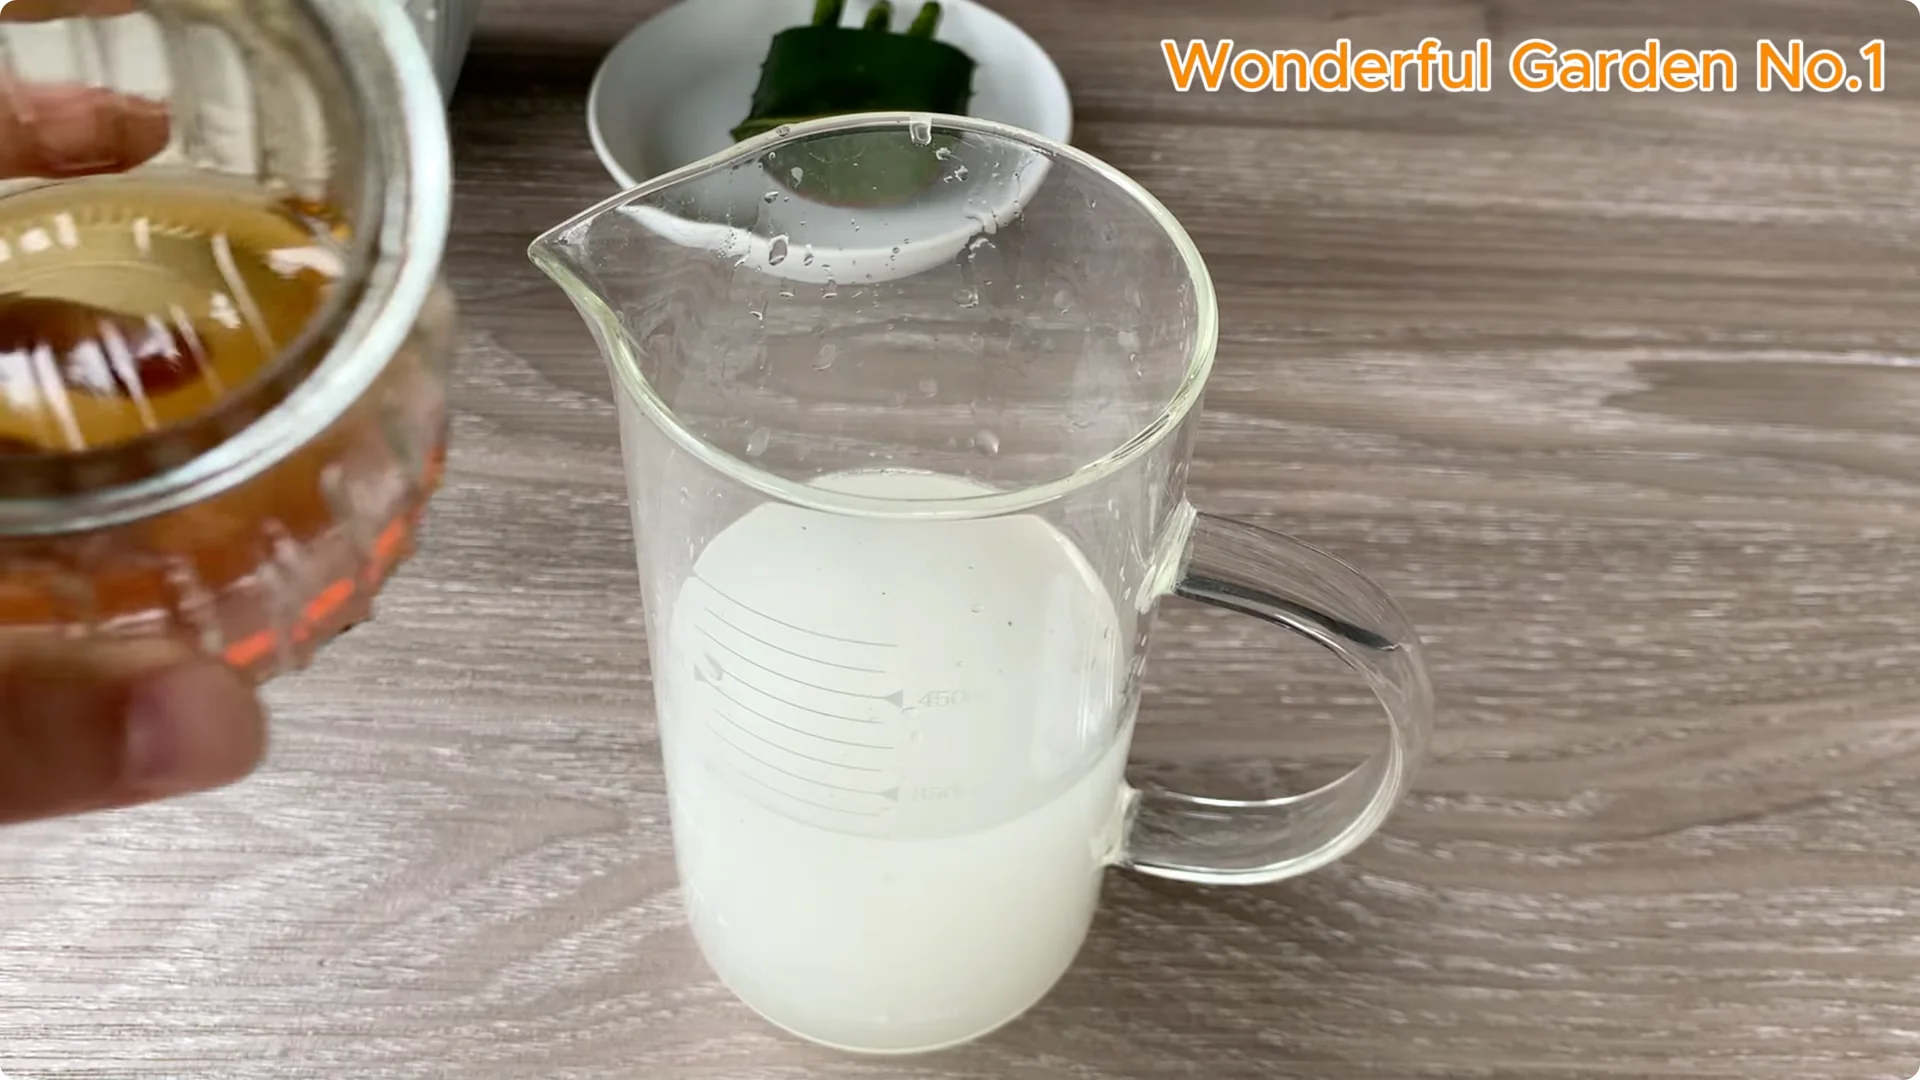
Add minced garlic to the prepared cup of rice water. Stir gently to mix the garlic with the nutrients in the rice water. After mixing well, let it rest for about 5 minutes to let the nutrients blend into the water.
After soaking, filter out the remaining residue. Keep only the clear liquid solution. This is the secret that helps stimulate natural and safe root growth.
For a simple water-based method, see rapid growth. It pairs well with careful cutting prep. Use it when supplies are limited.
Finish With Honey
Add a tablespoon of raw honey to the mixture. Honey contains enzymes and antioxidants that help fight bacteria, promote root growth, and protect cuttings from harmful agents. With the delicate combination of rice, garlic, and honey, you have a complete rooting solution that is natural, safe, and highly effective.
6. Rooting Rose Cuttings – Prepare the Medium
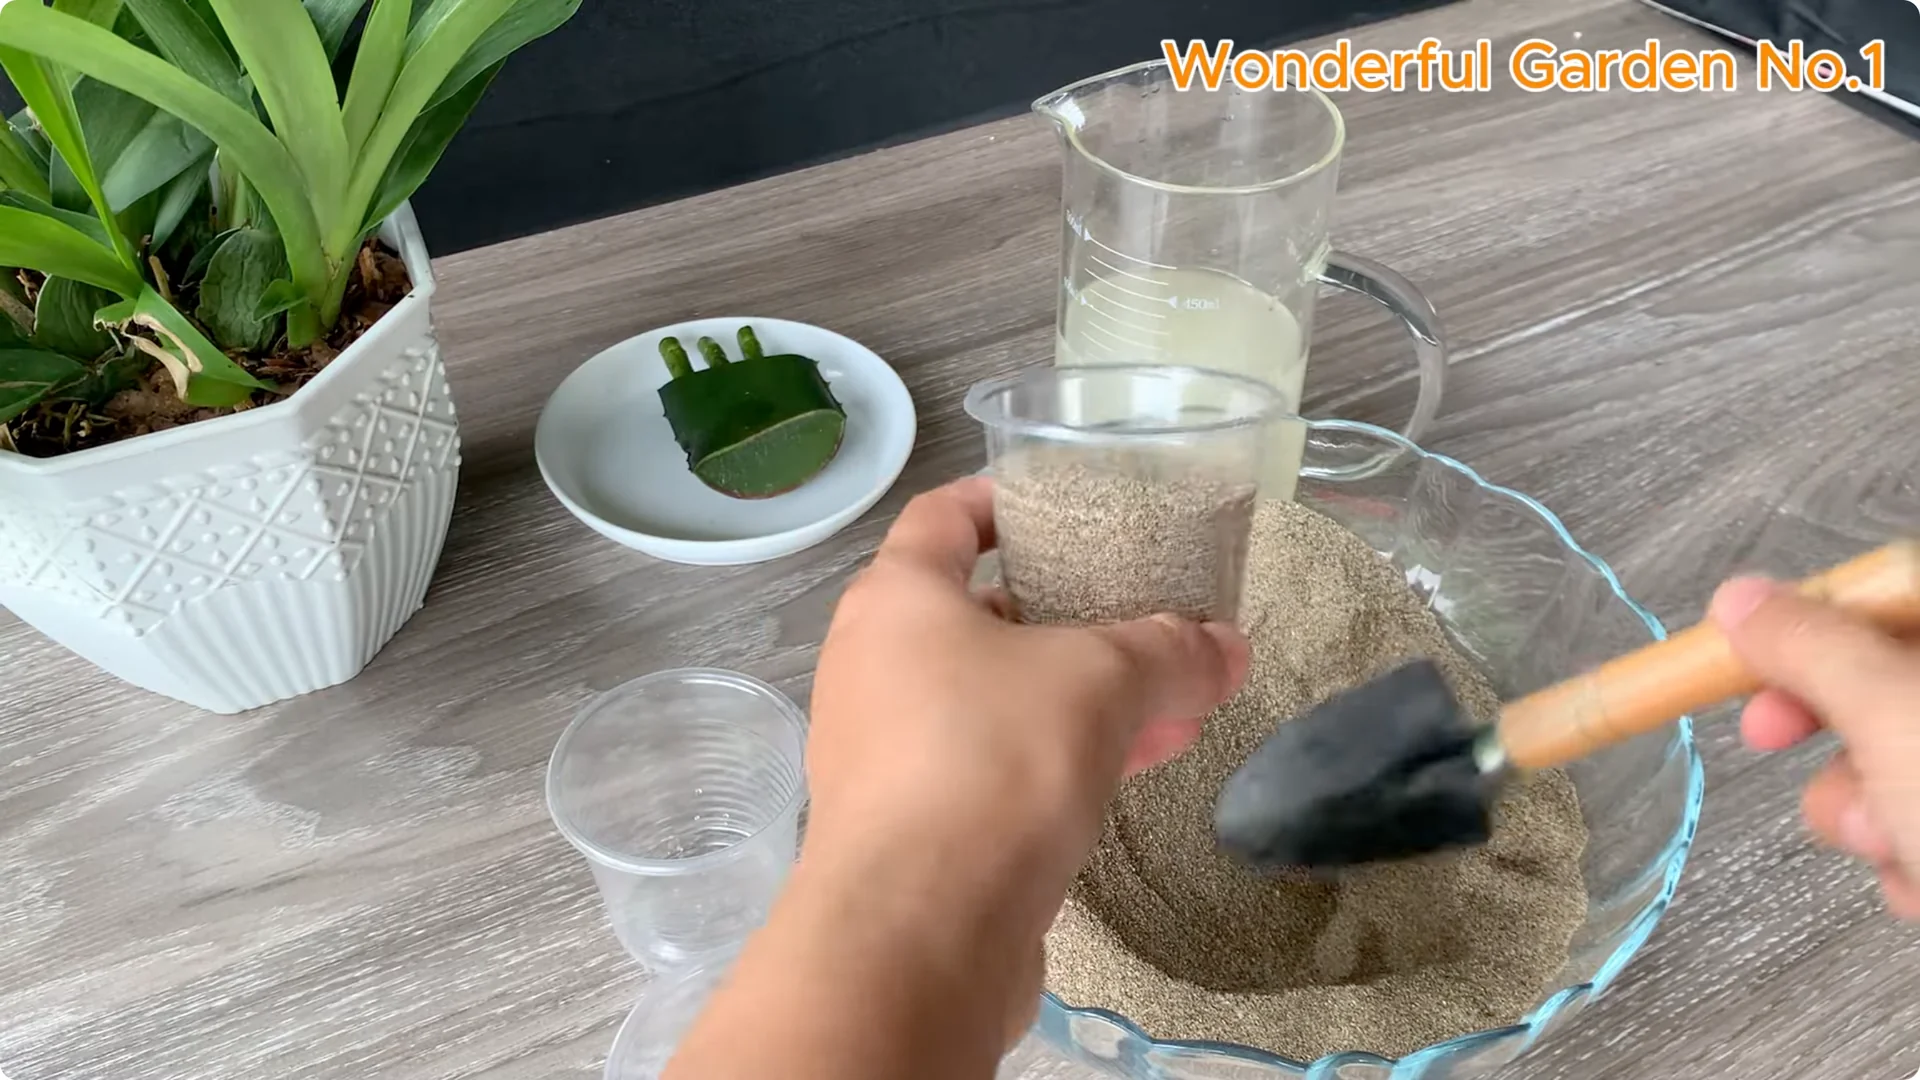
Use clean sand as the growing medium. Sand has a loose, airy texture that is very suitable for young roots to grow healthily without being flooded or suffocated. Fill small cups with sand.
Moisten the sand with the rooting solution you just prepared. Create a moist, nutrient-rich environment for the cuttings. Do not overwater.
7. Rooting Rose Cuttings – Plant and Create Humidity
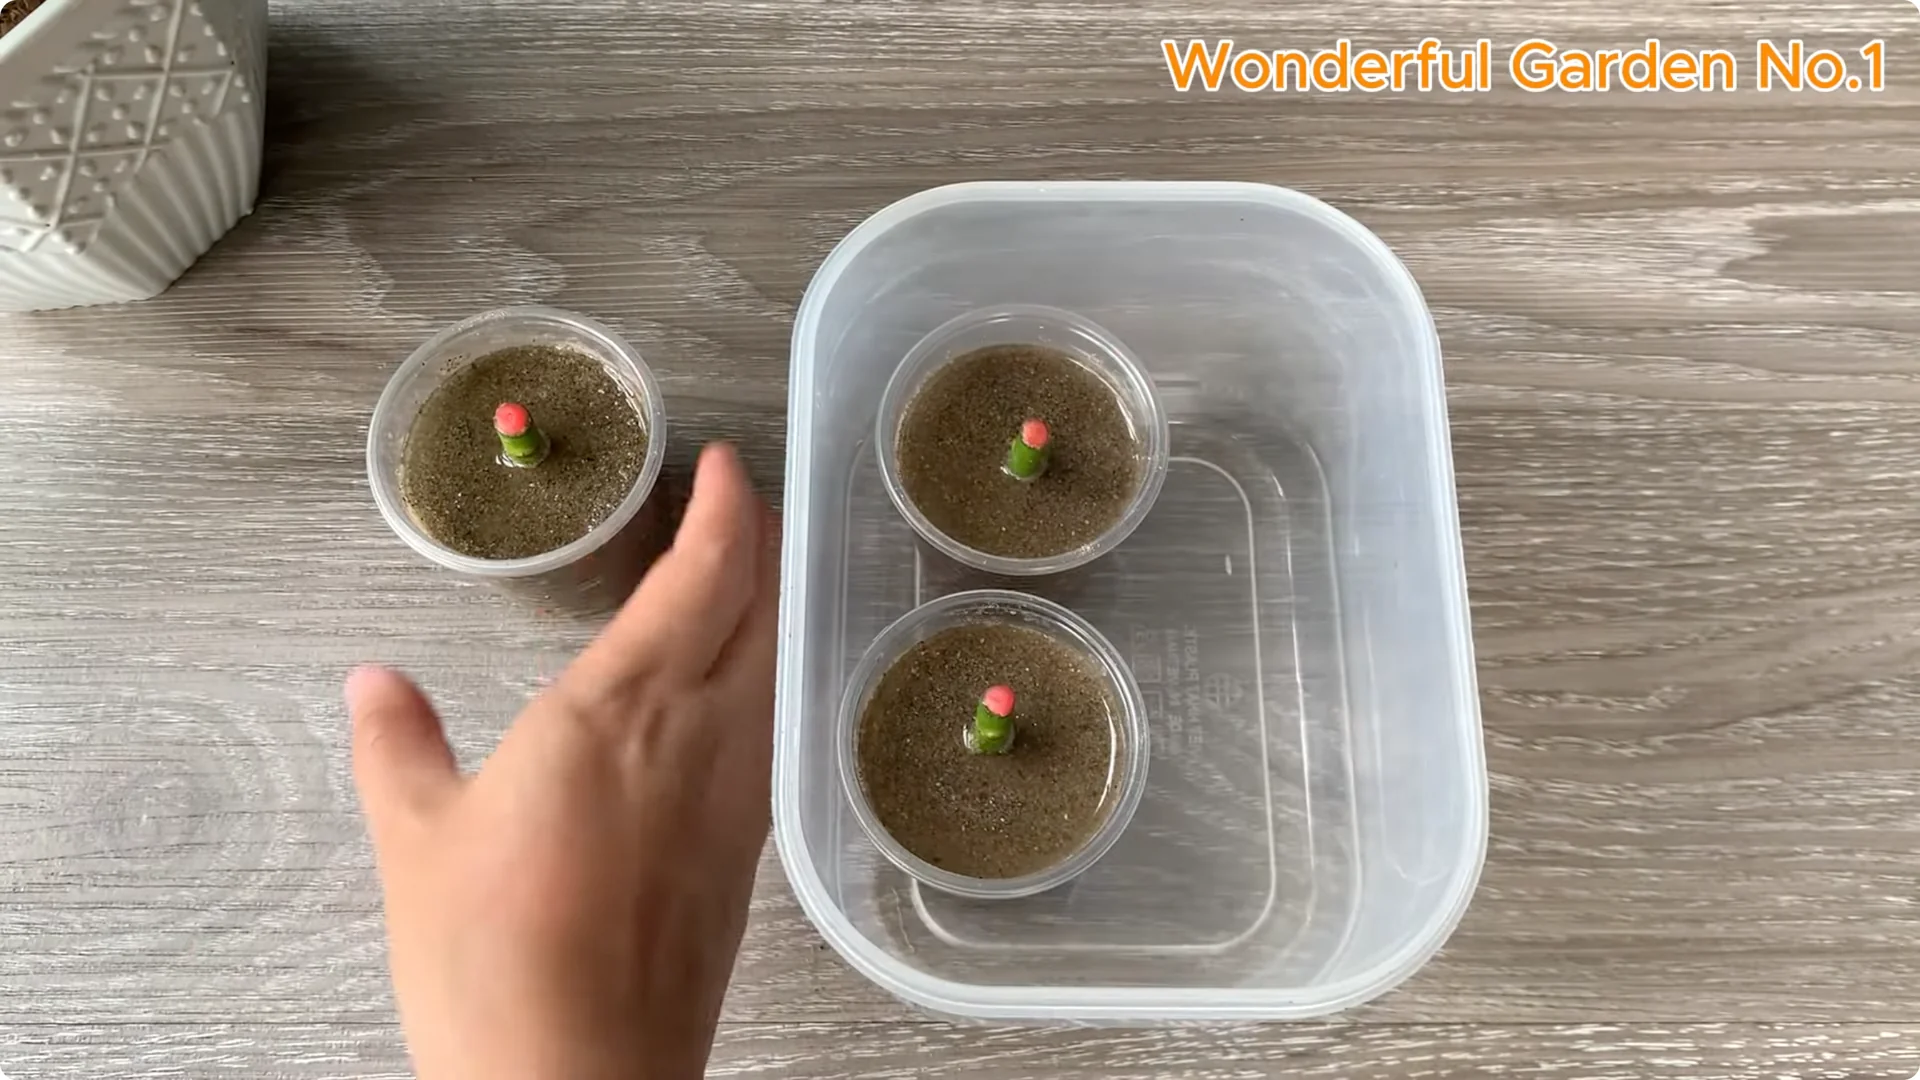
Gently insert each rose stem into the center of the sand cup. Leave the leaf segments facing outwards, creating space for new buds to grow comfortably. Keep each cutting upright and stable.
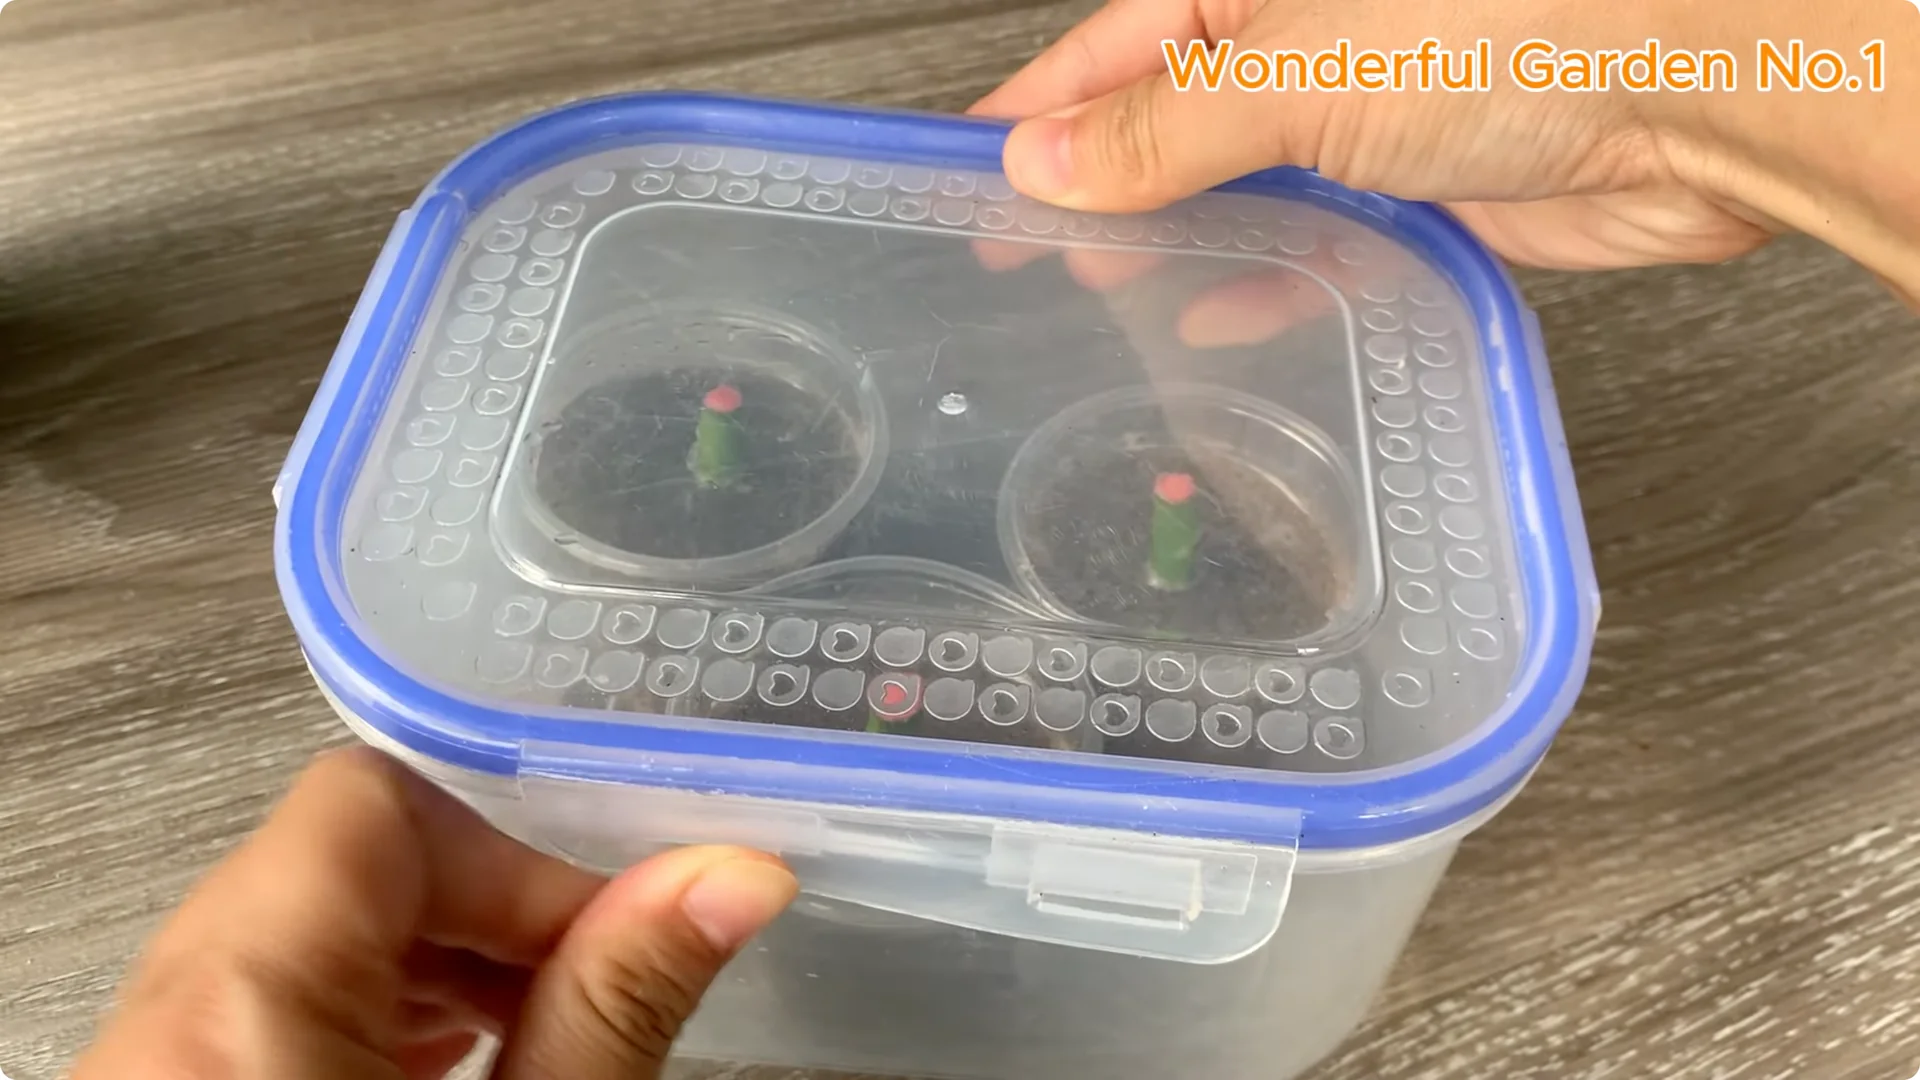
Place the cups in a large plastic container and cover tightly. Leave the box in a cool place away from direct sunlight. This protected space helps the cutting grow roots peacefully.
8. Rooting Rose Cuttings – Daily Care and Patience
Check the moisture daily. Keep the sand slightly moist, avoiding it getting too wet or too dry, both of which can harm growing roots. Patience here matters most.
Every day that passes is a step closer to success. Stay gentle with airflow and temperature. Resist the urge to disturb the cuttings.
If you like minimal tools, this simple idea can help too: simple step. Consistency beats speed. Let the plants set the pace.
9. Rooting Rose Cuttings – Signs of Success
Fresh green shoots will start to emerge from the leaf nodes as the first signs of awakening life. These shoots are soft and full of promise. Celebrate steady, not sudden, growth.
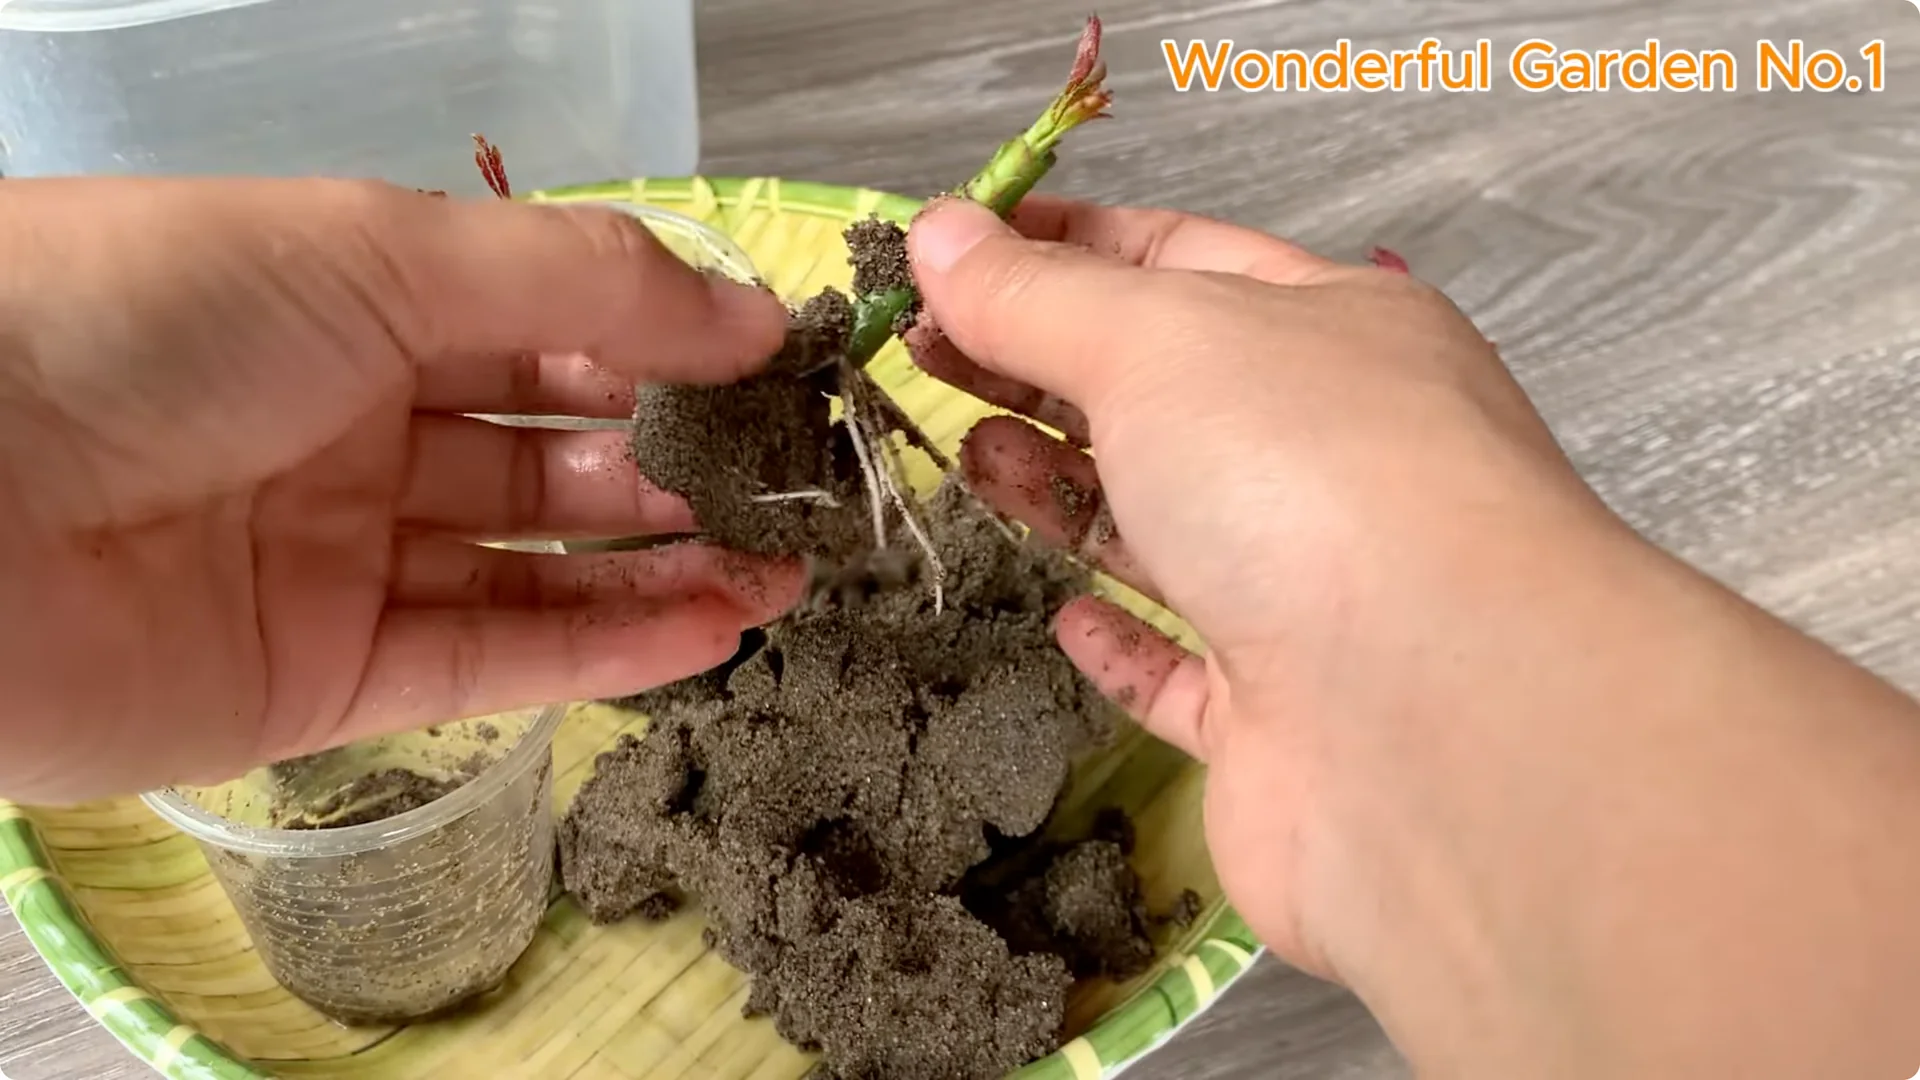
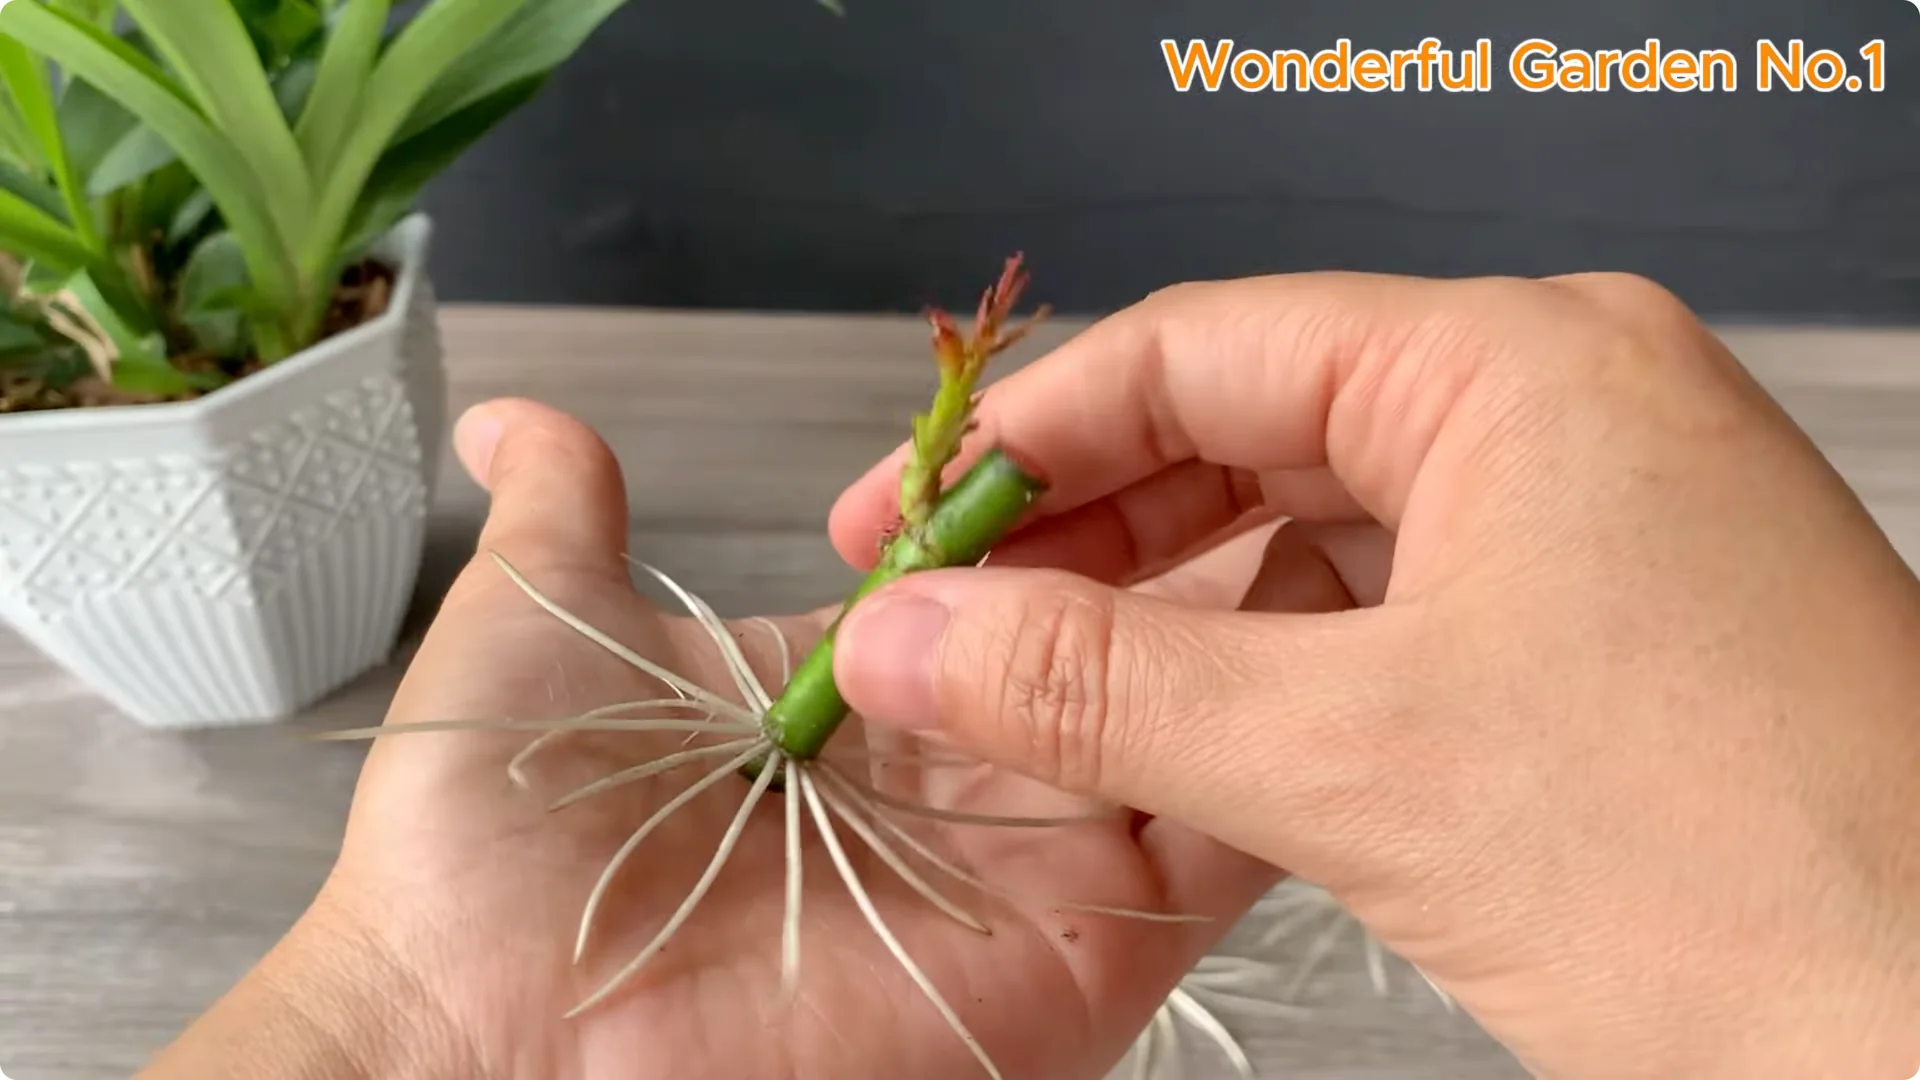
The most important part is the root system, the underground heart of the plant. Slender white roots will begin to spread in the sand, clinging tightly and absorbing the necessary nutrients to nourish the entire cutting. This is your green light to plan transplanting.
The even growth of shoots and roots is proof of success. From here, the plant will gradually mature and become stronger. It is preparing for the brilliant flowers of the future.
10. Rooting Rose Cuttings – Potting Up
Once you see both shoots and roots growing steadily, move the plant to a larger space. Give it room to develop without stress. Handle roots carefully when lifting.
At this stage, I decided to use treated coconut fiber as the growing medium. Coconut fiber retains moisture very well while creating the necessary ventilation to help roots grow healthily. Water gently after transplanting.
Alternatively, use loose, humus-rich, well-drained soil. It is ideal for growing young plants after rooting. Keep the plant in bright shade for a few days to settle.
Final Thoughts
From a simple little branch to a rooted cutting ready for the light, each step is calm and intentional. Natural ingredients and gentle care guide the process at home. Keep the environment clean, the moisture balanced, and your patience steady.