
Today I want to show you a simple and natural way to grow new rose plants from cuttings using only a few things you already have at home. Milk and garlic peels. It’s easy to do, doesn’t require any chemicals, and gives a real sense of joy when you see new roots forming.
First, we’ll make a natural rooting mix. Then we’ll prepare the cutting, plant it in sand, and keep it moist and protected. After a short wait, you’ll see fresh shoots and strong roots.
1. Rooting Mix – Rose Cutting Propagation
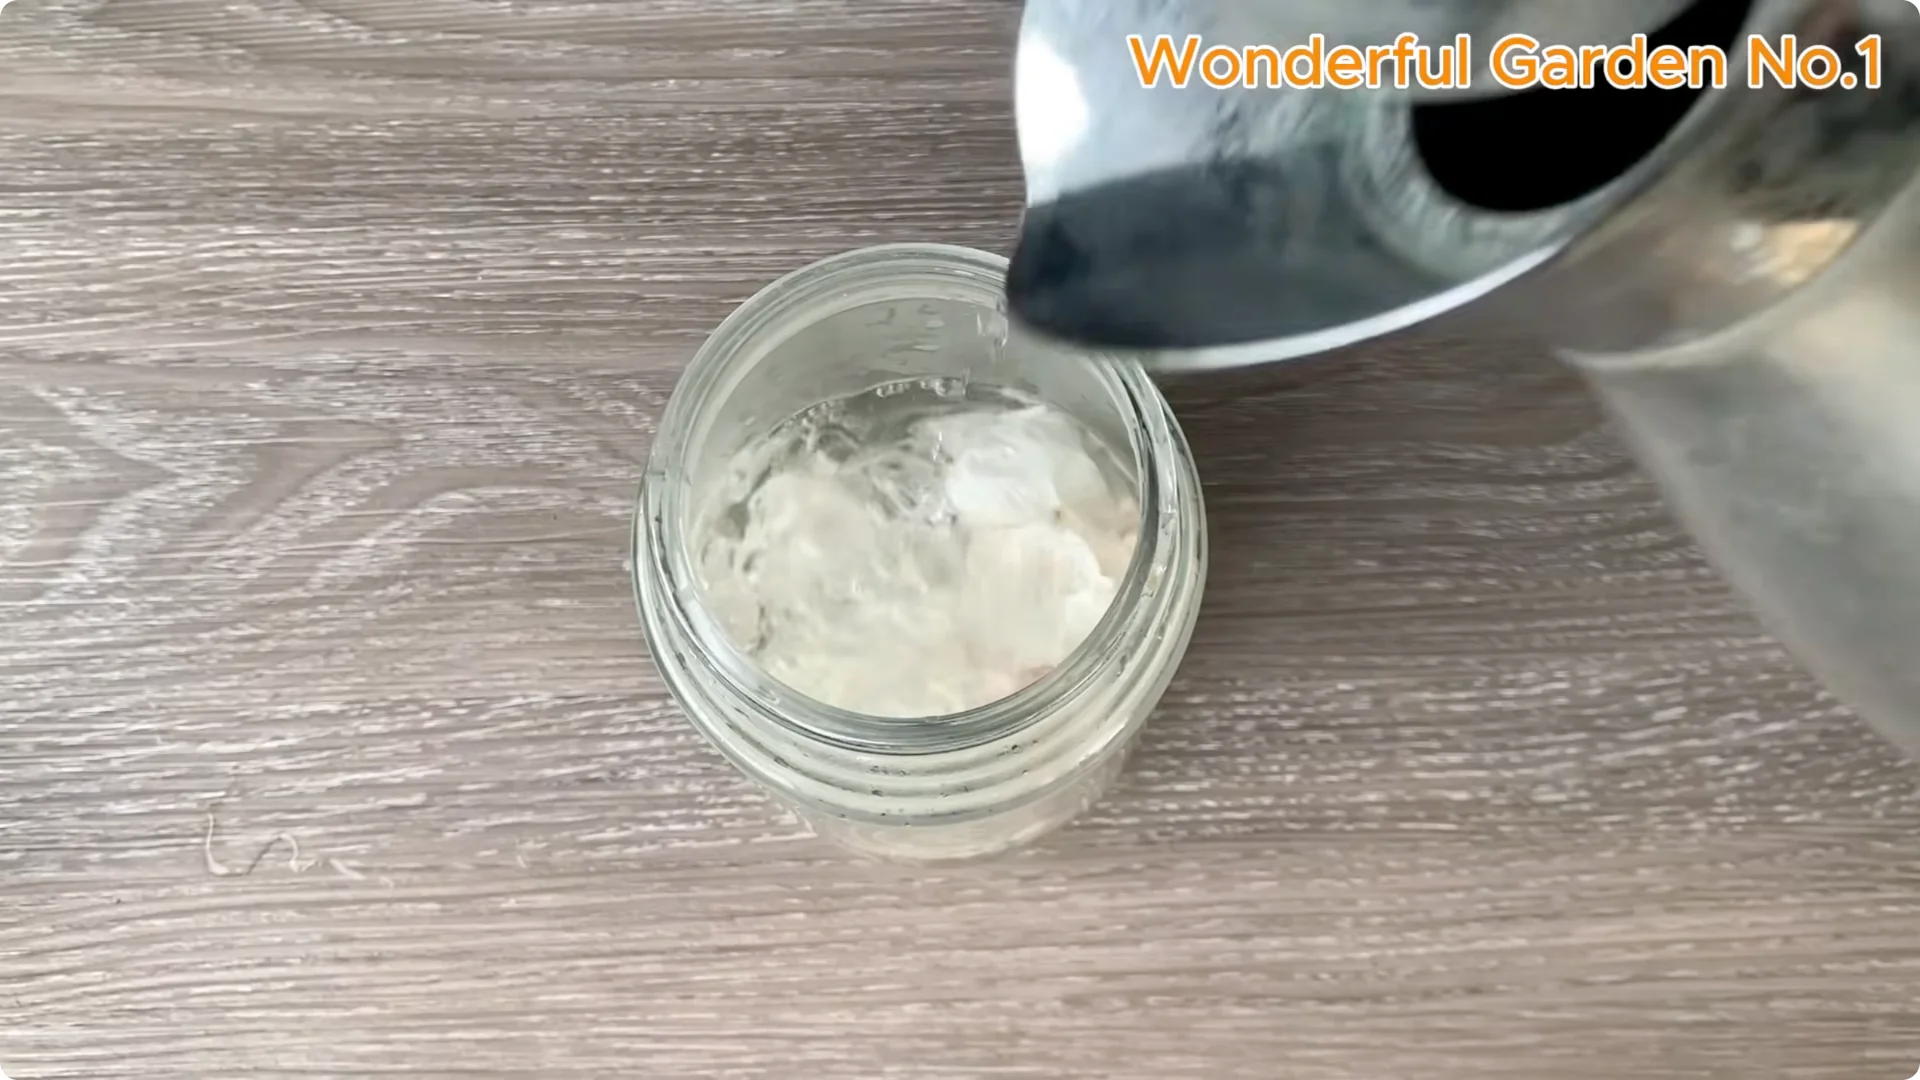
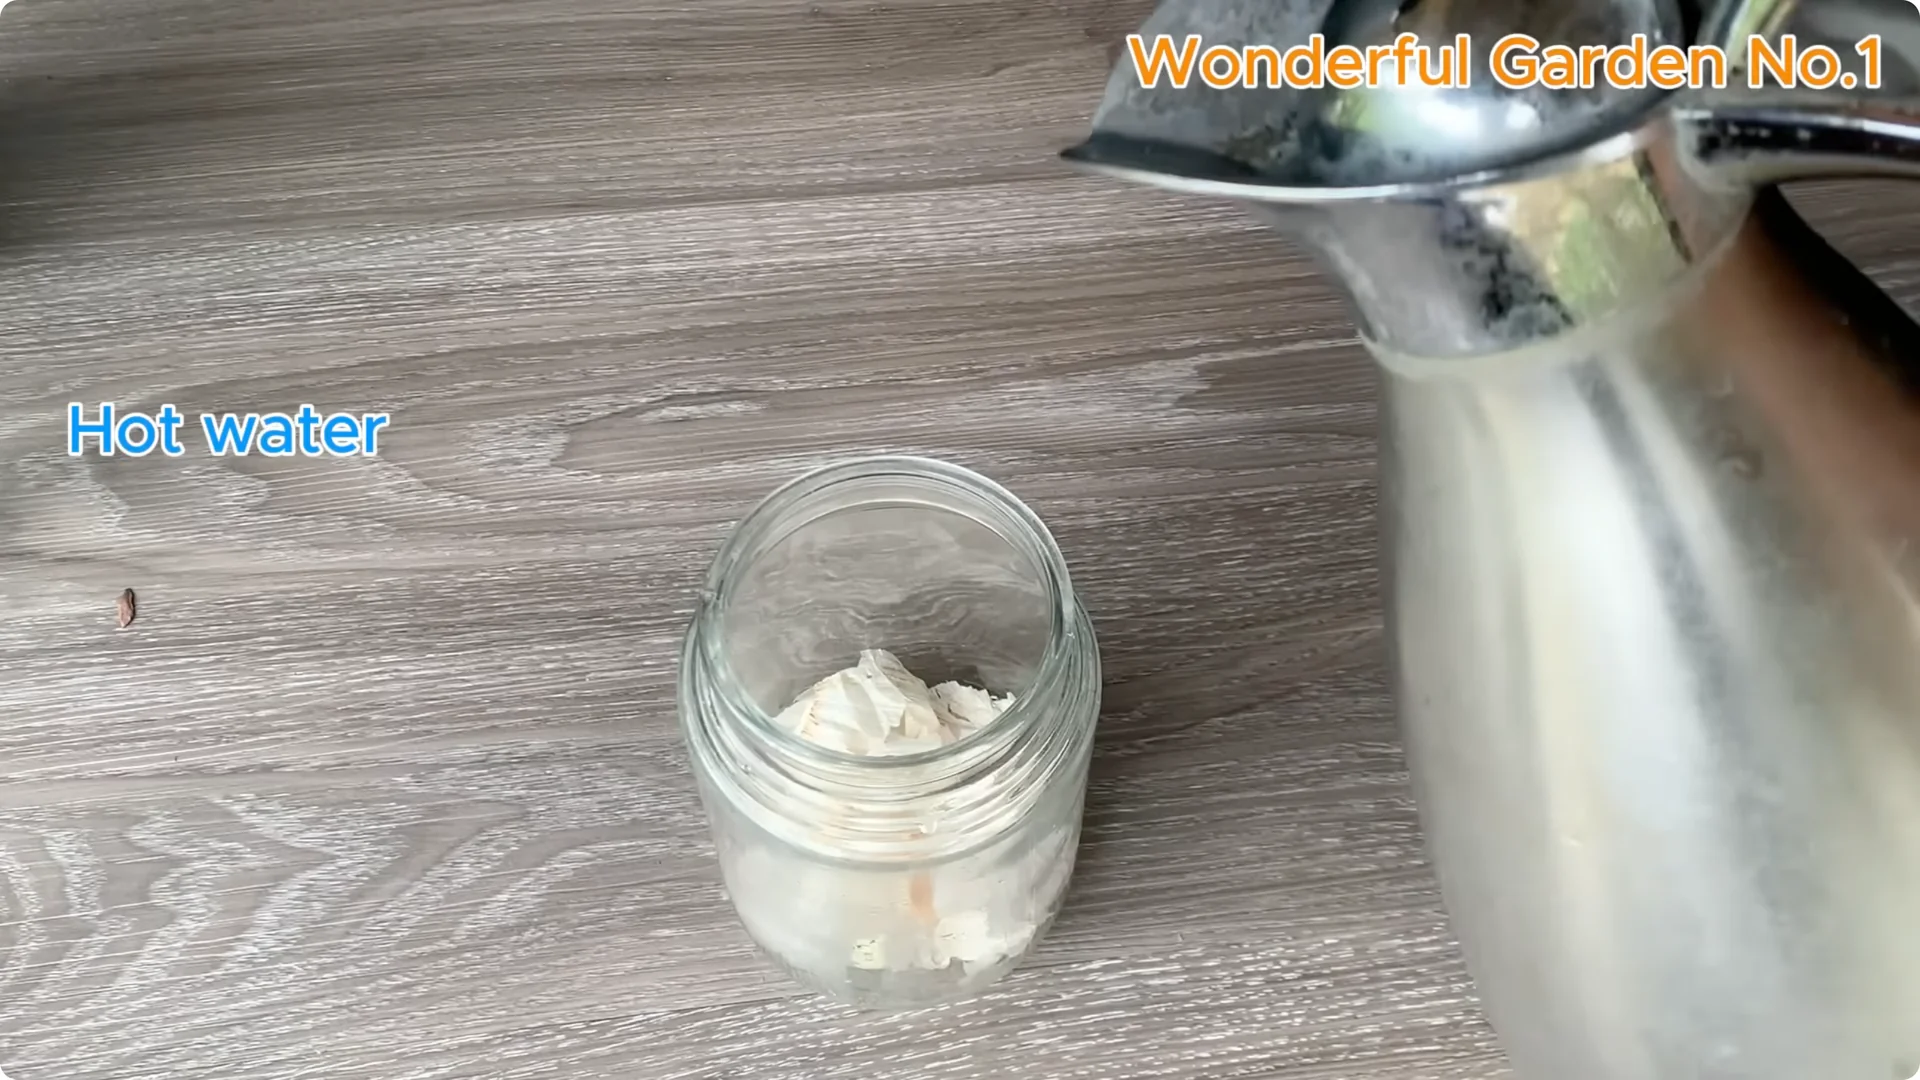
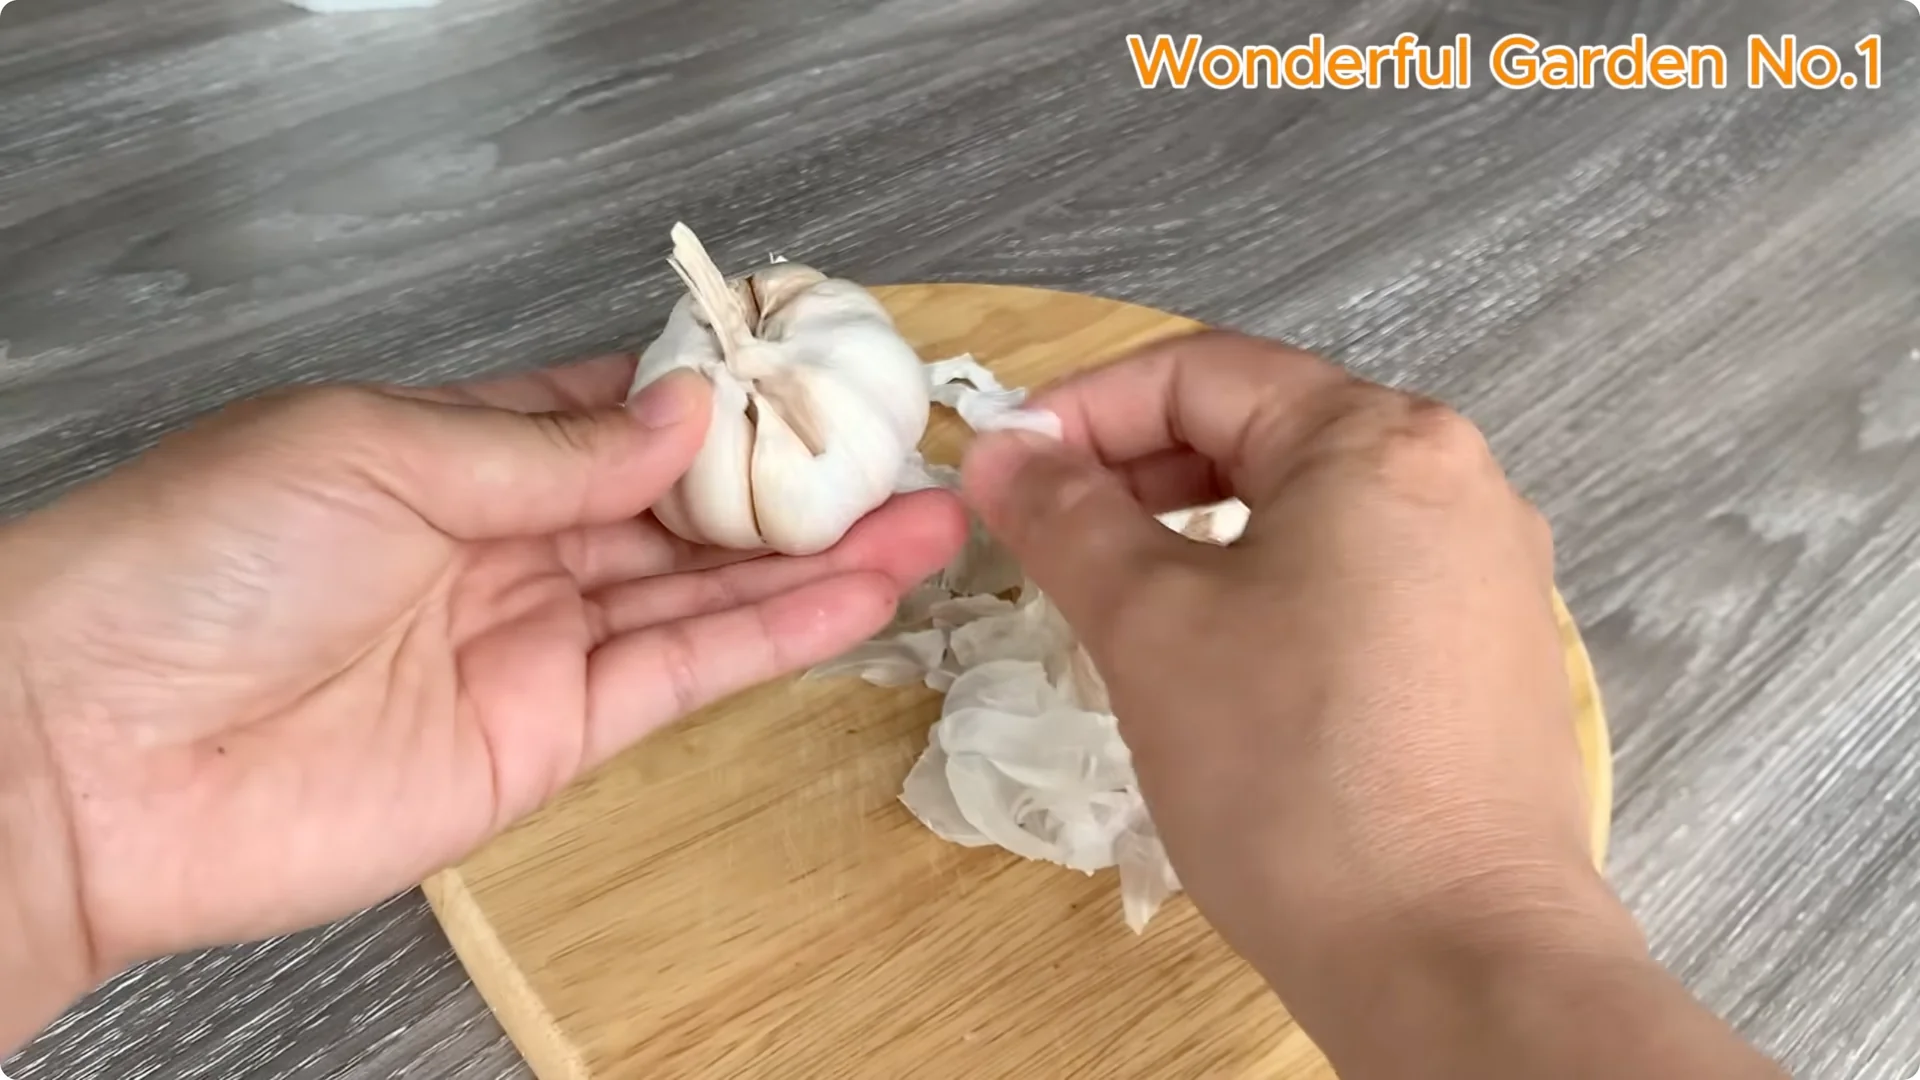
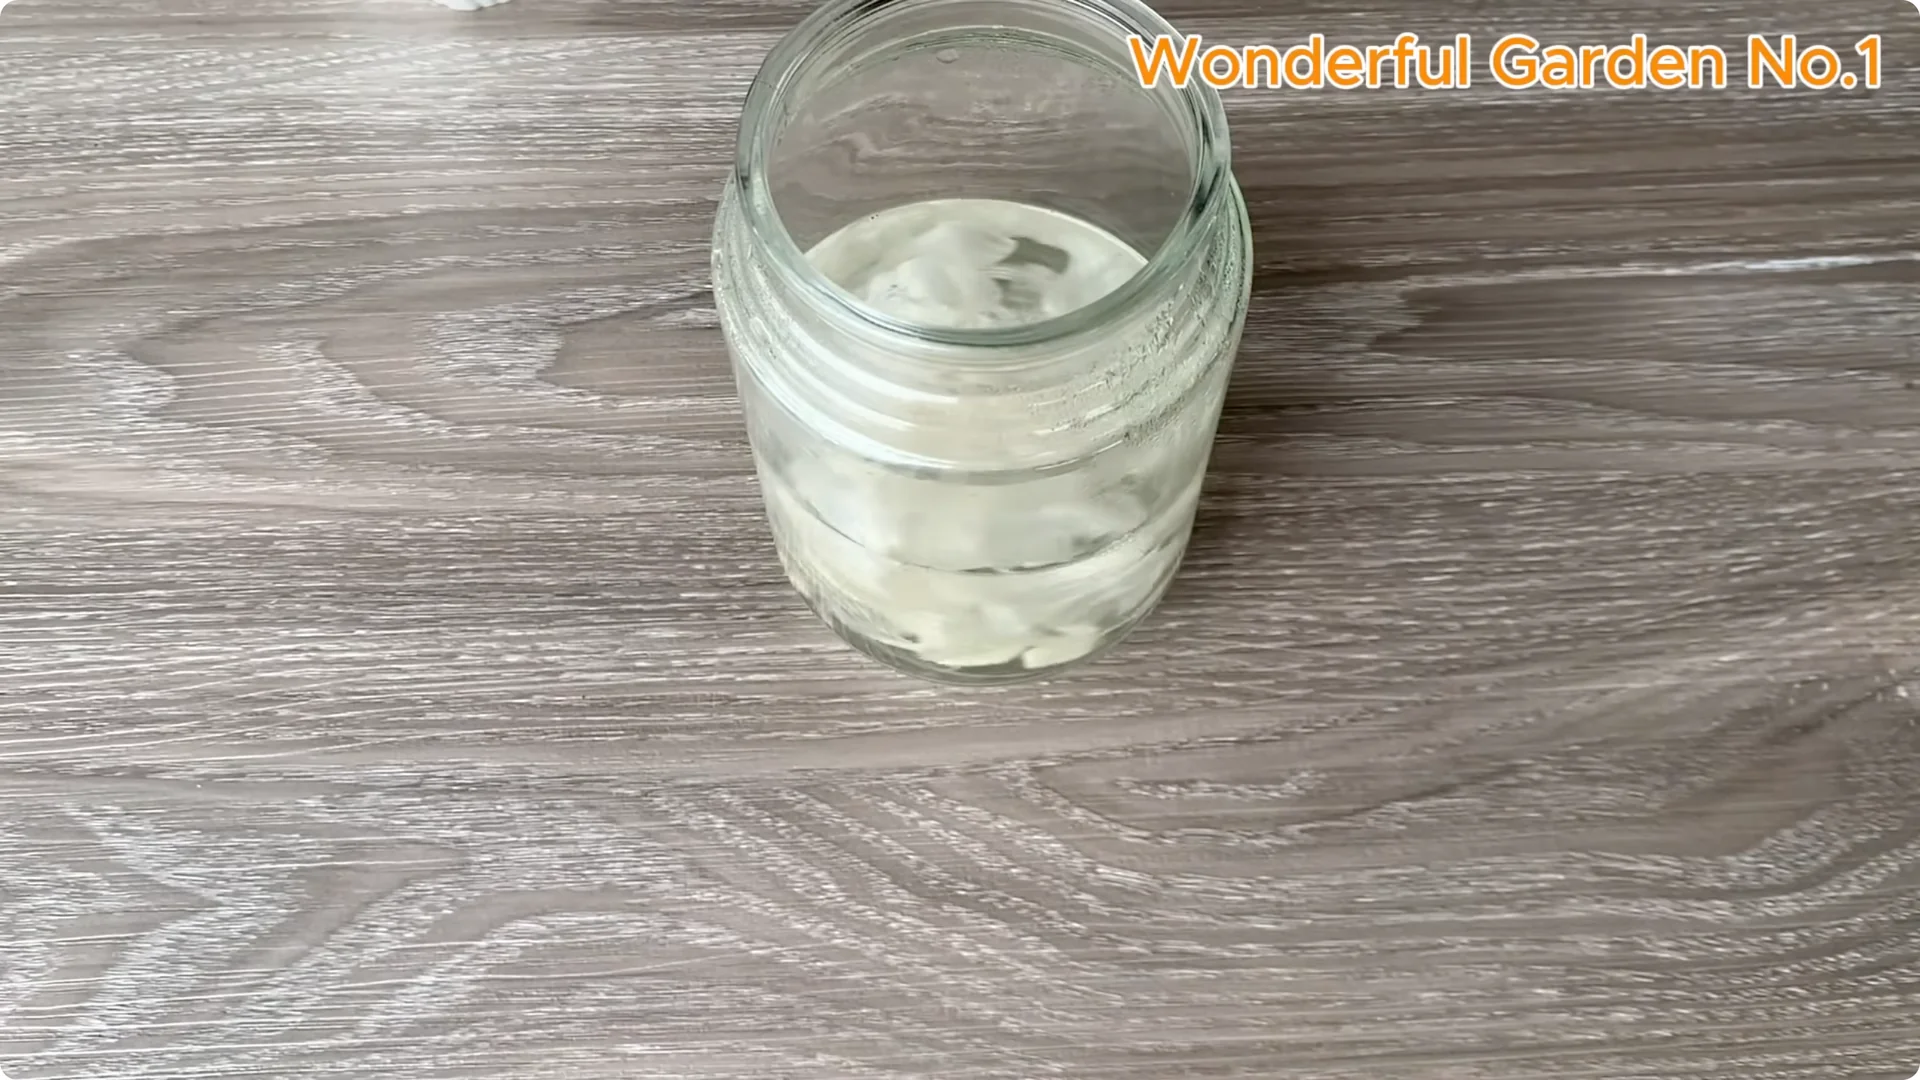
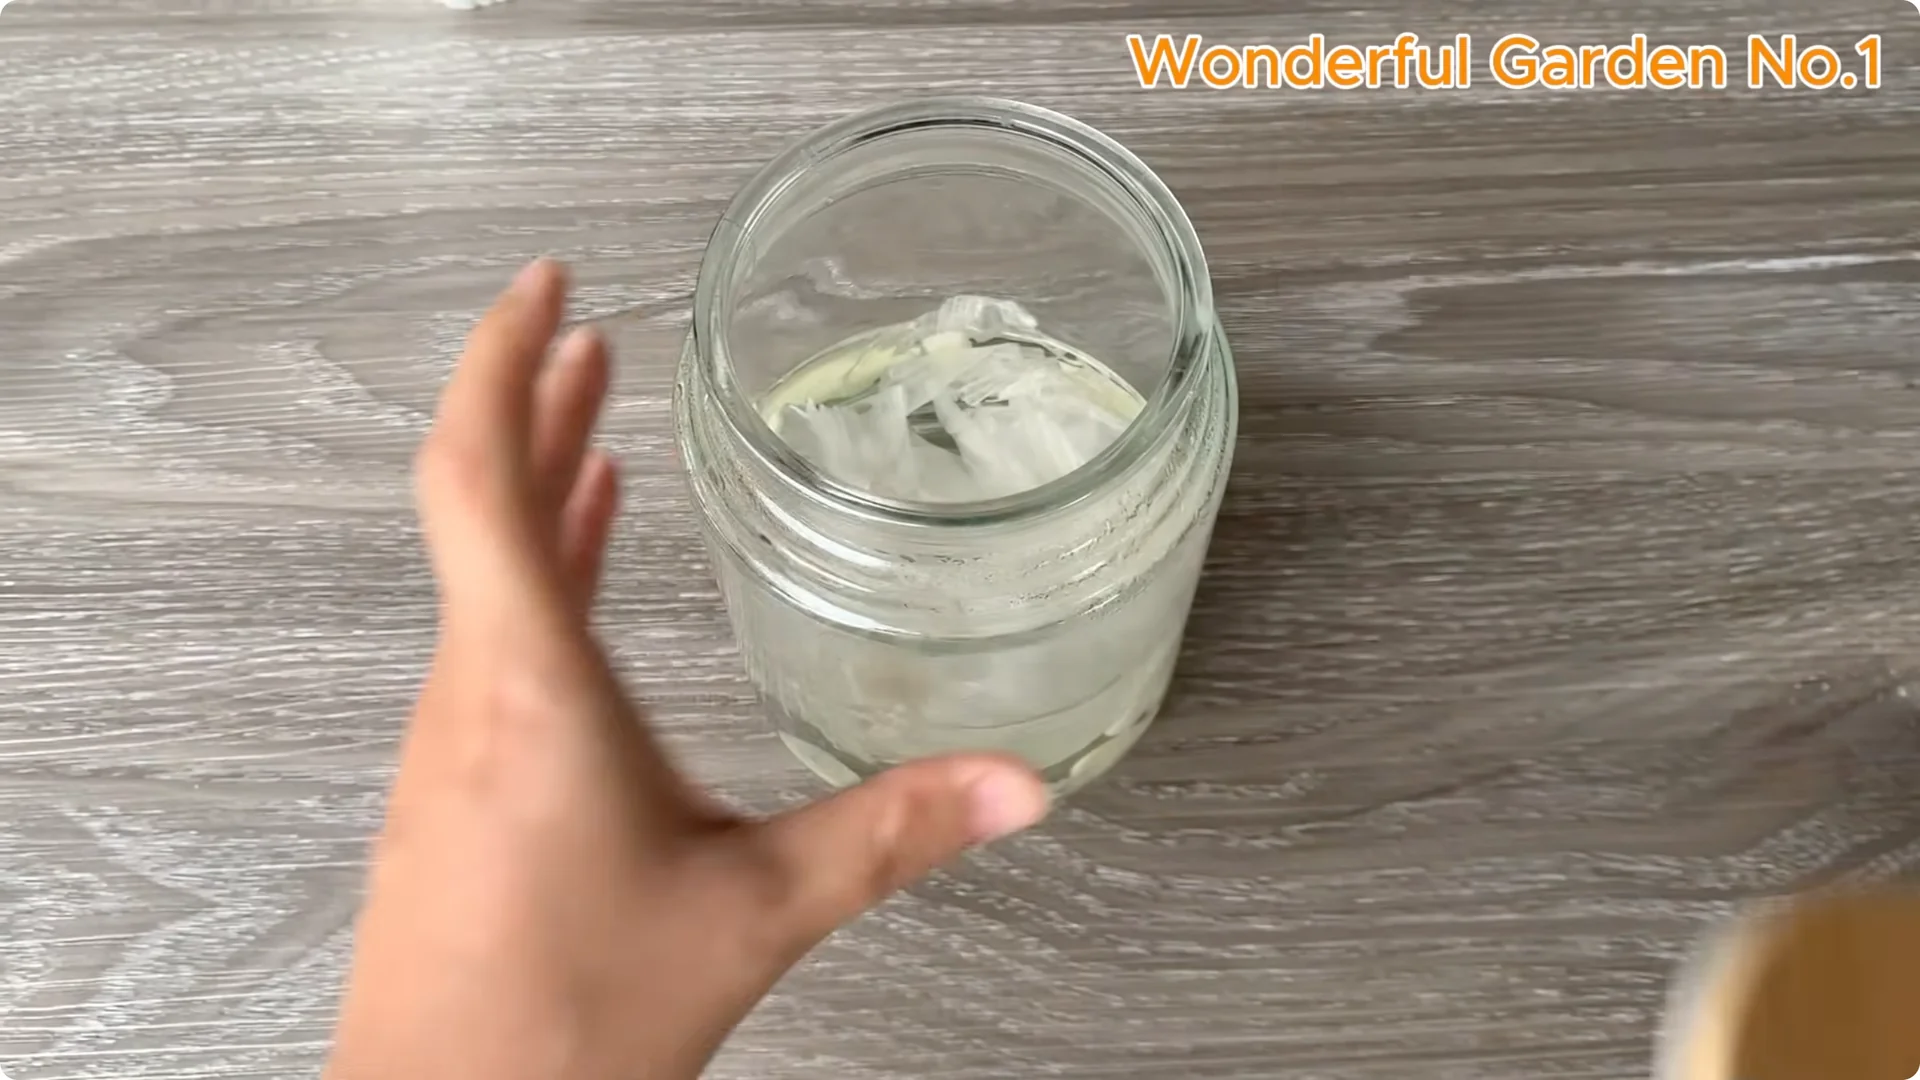
Put the skins of two garlic bulbs along with one peeled and minced garlic clove in a clean glass jar to prepare the solution. Pour 200 ml of boiling water into the jar containing the garlic peels. Soak for 10 minutes to extract the essence and natural antibacterial essential oils.
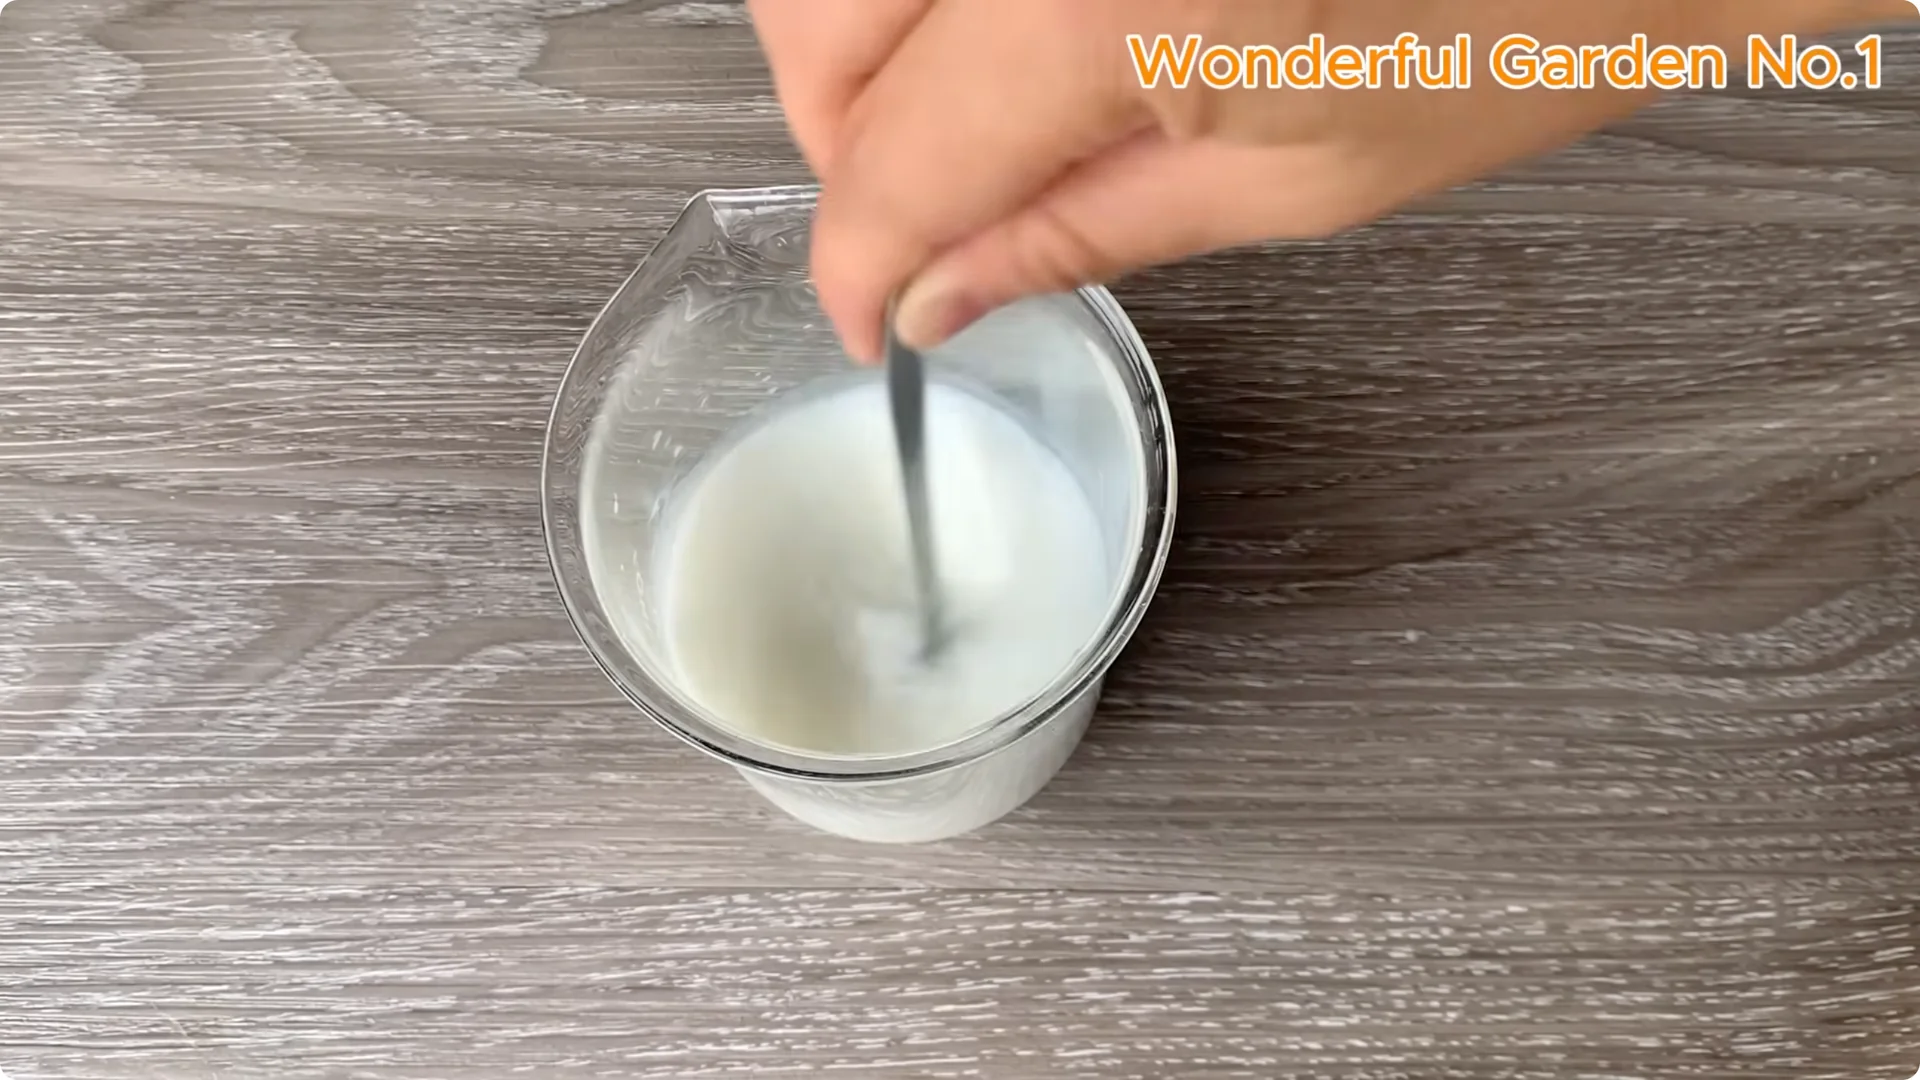
When the soaking time is over, strain the mixture through a sieve to remove the residue. Retain the clear liquid for soaking the branches. Stir in 100 ml of fresh milk.
This mixture helps protect your cut from infection, and the milk provides gentle nutrients to support root growth. Please use within the same day. This is a natural product and will spoil quickly.
Read More: Spoon Trick Boosts Rose Cutting Roots
2. Prepare Cuttings – Rose Cutting Propagation
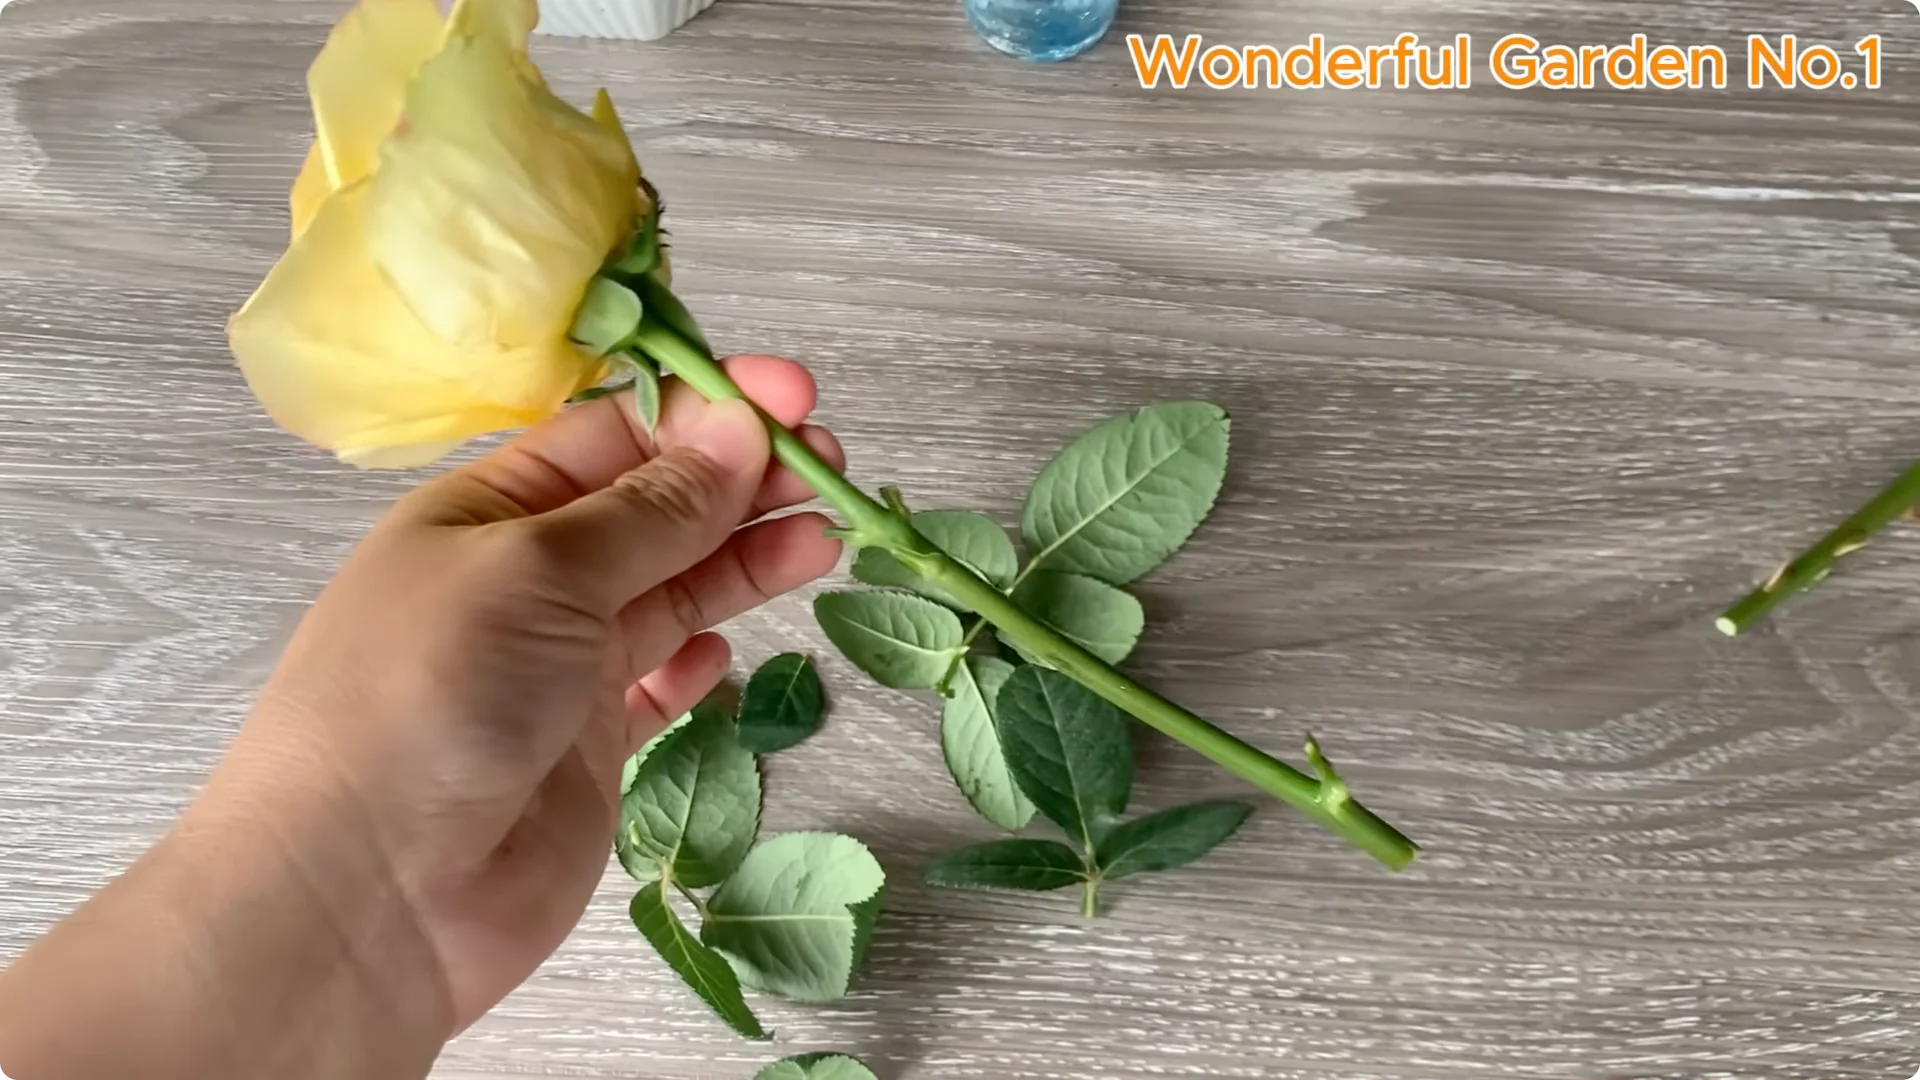
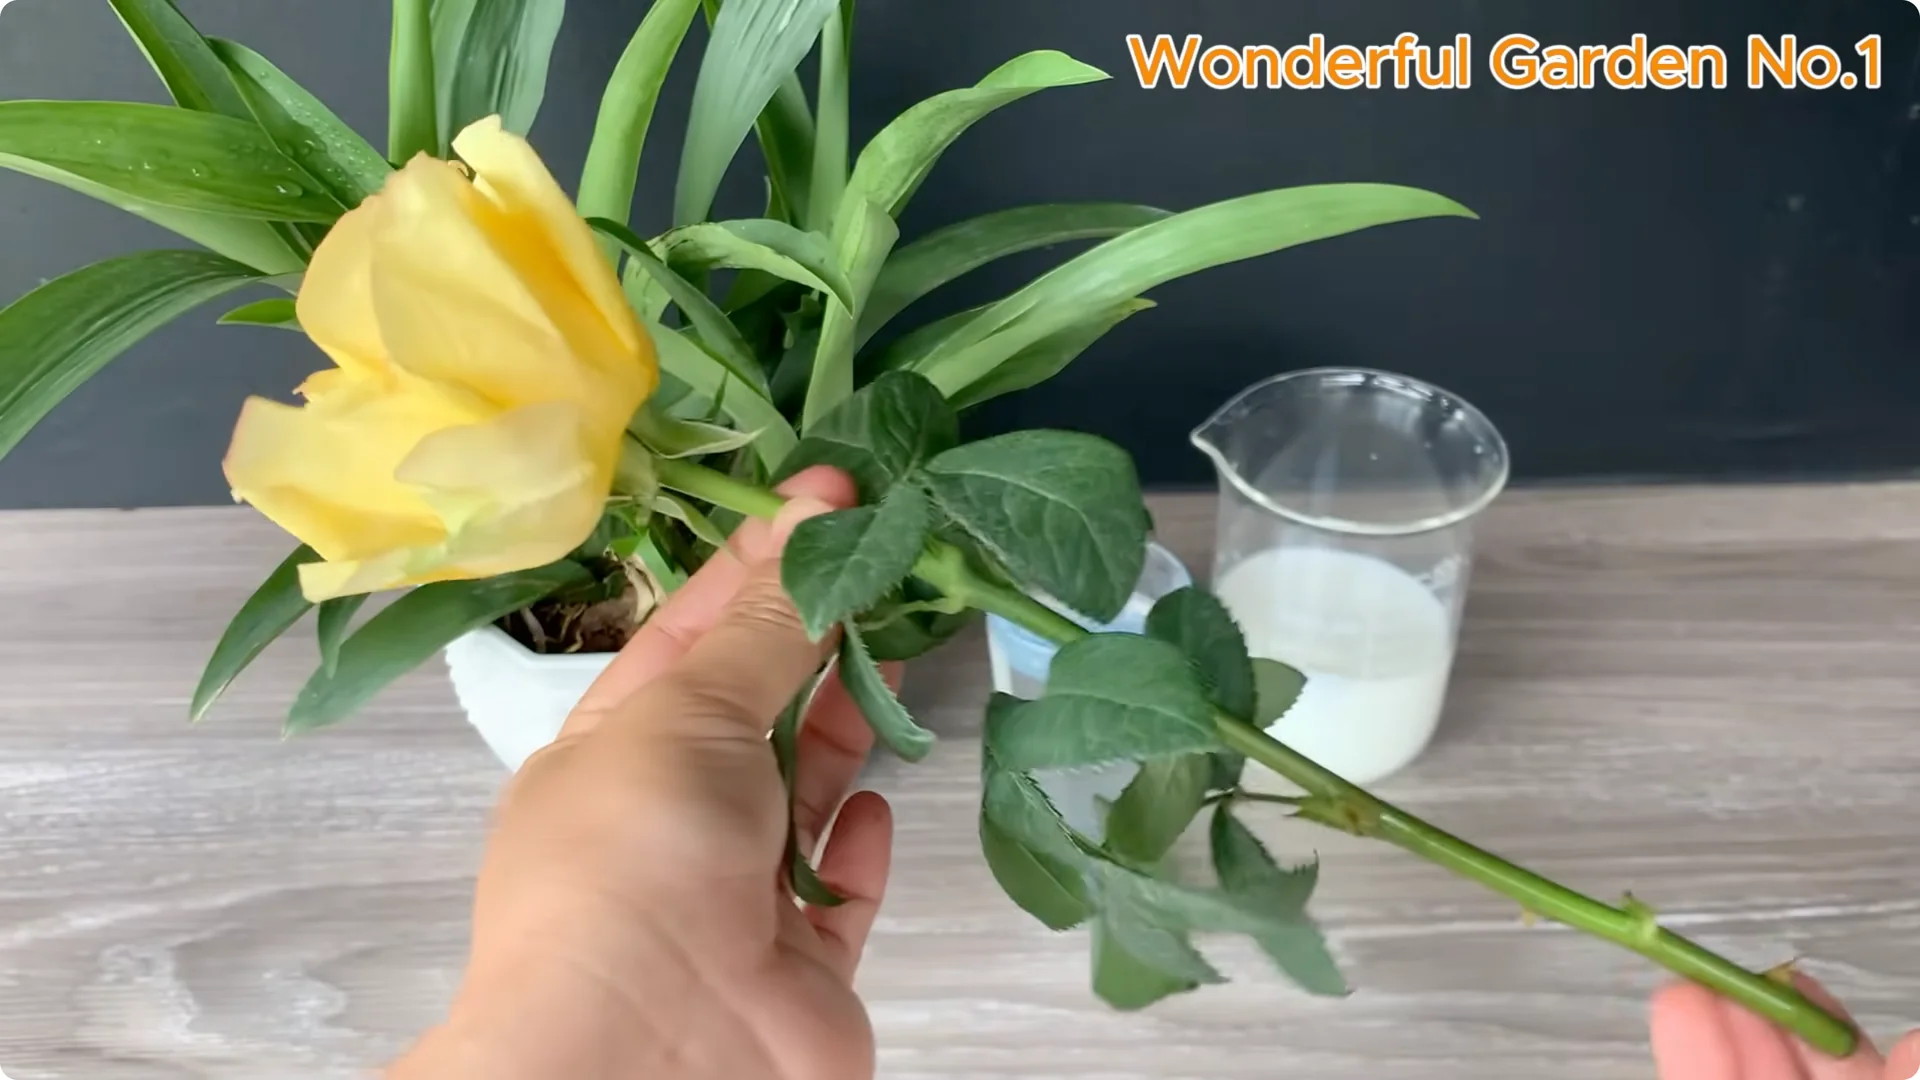
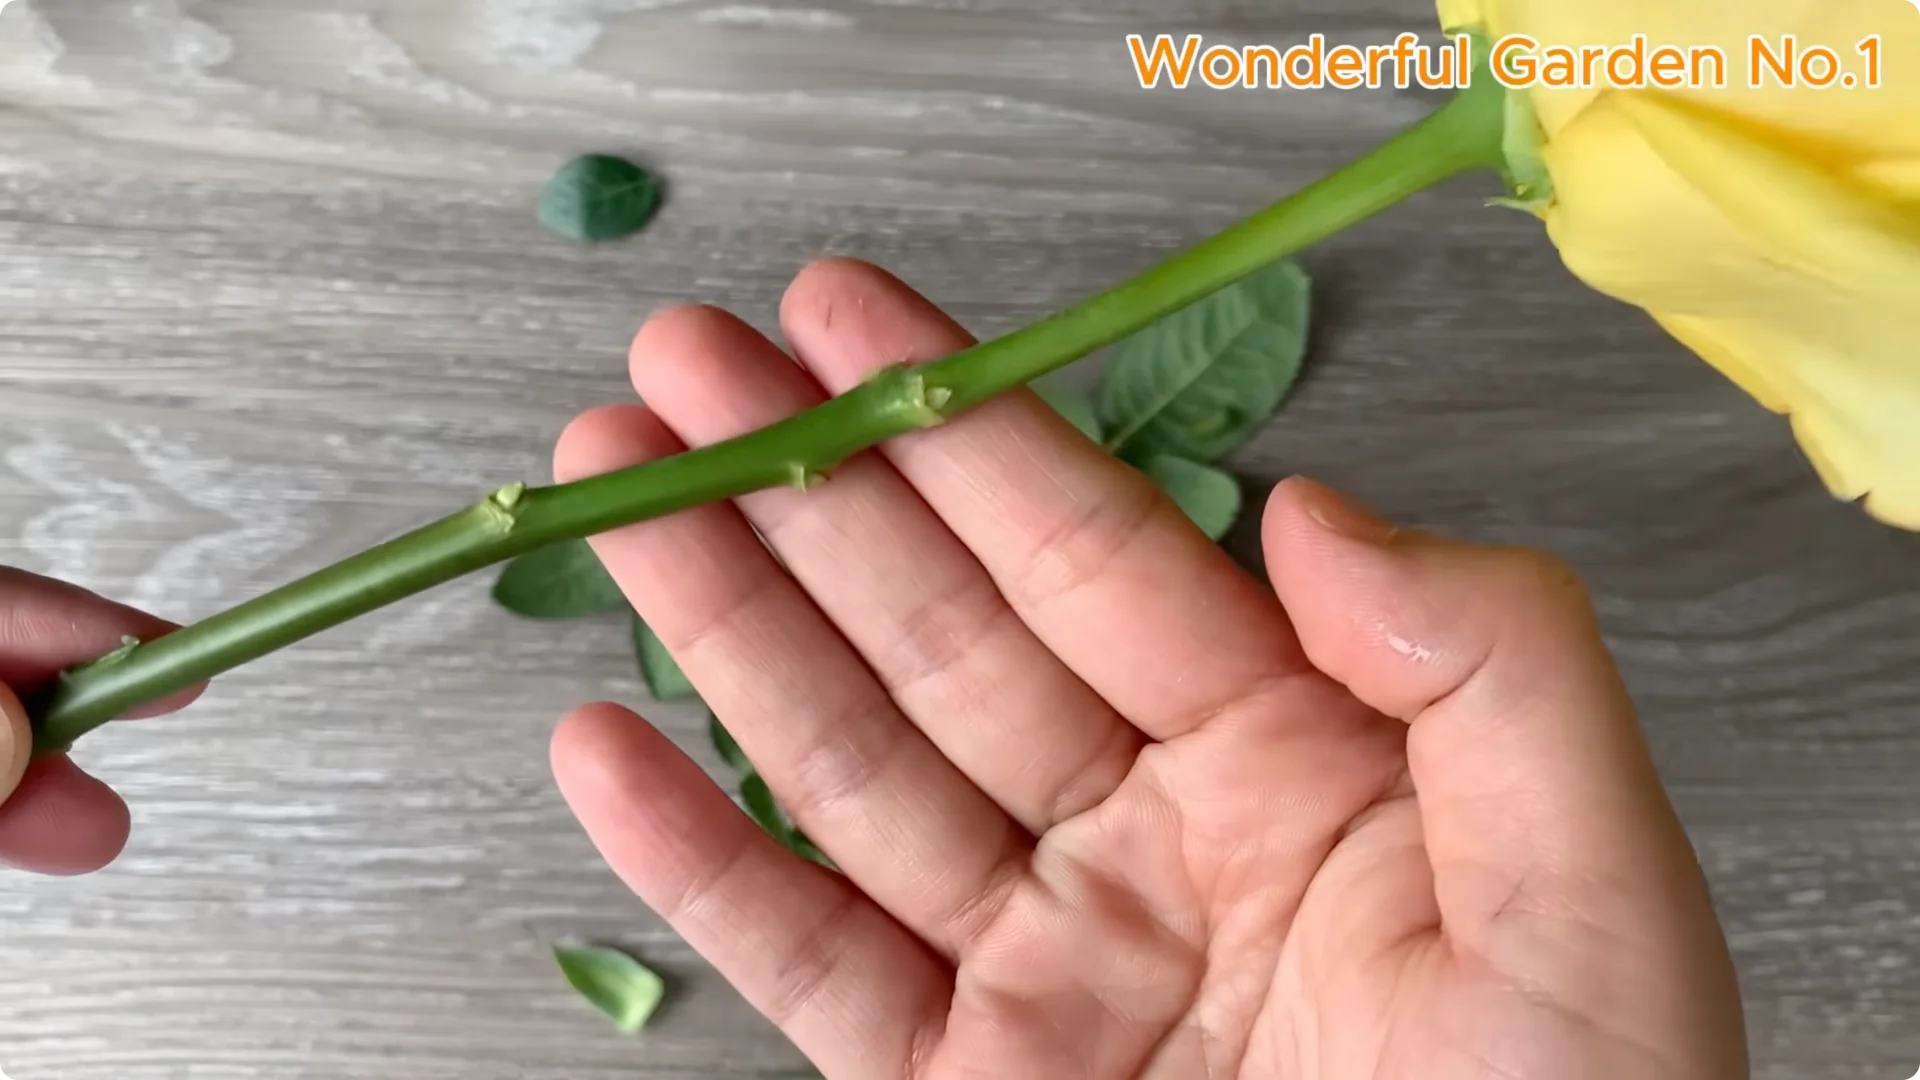
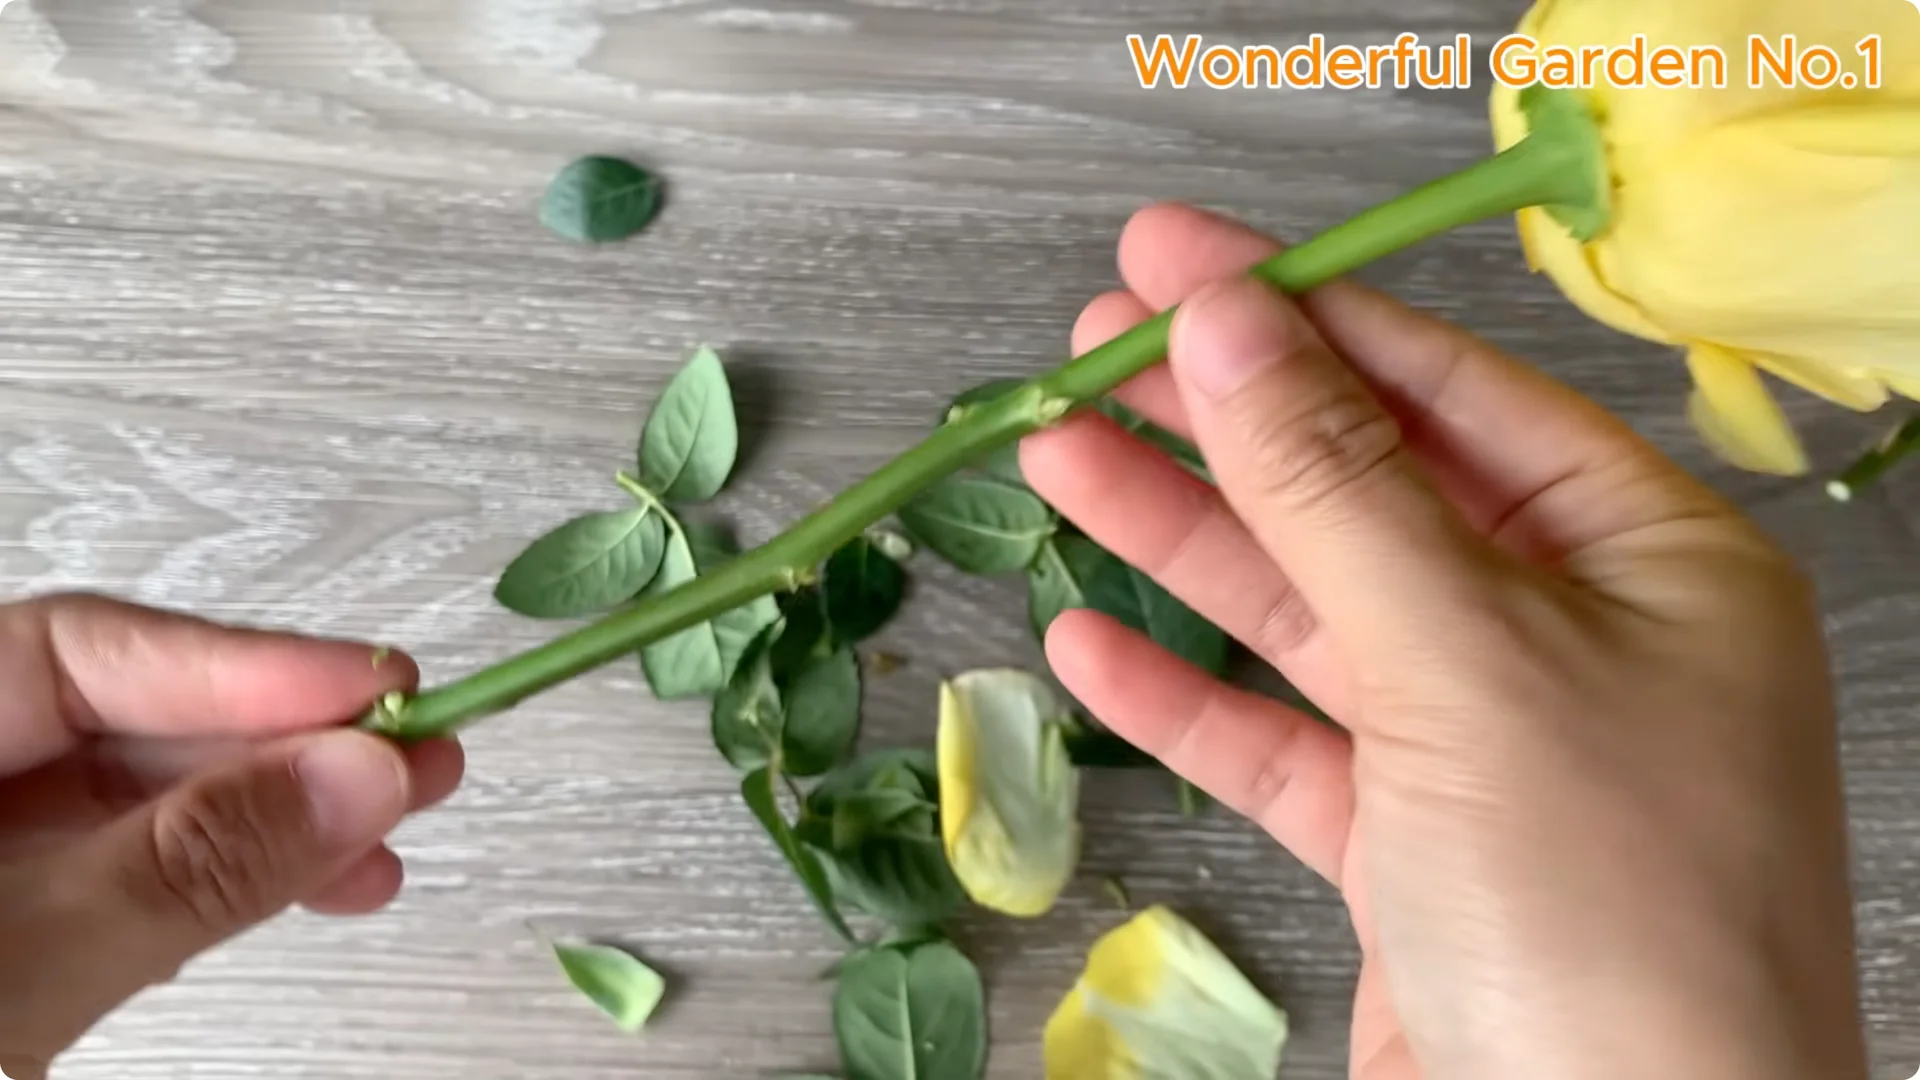
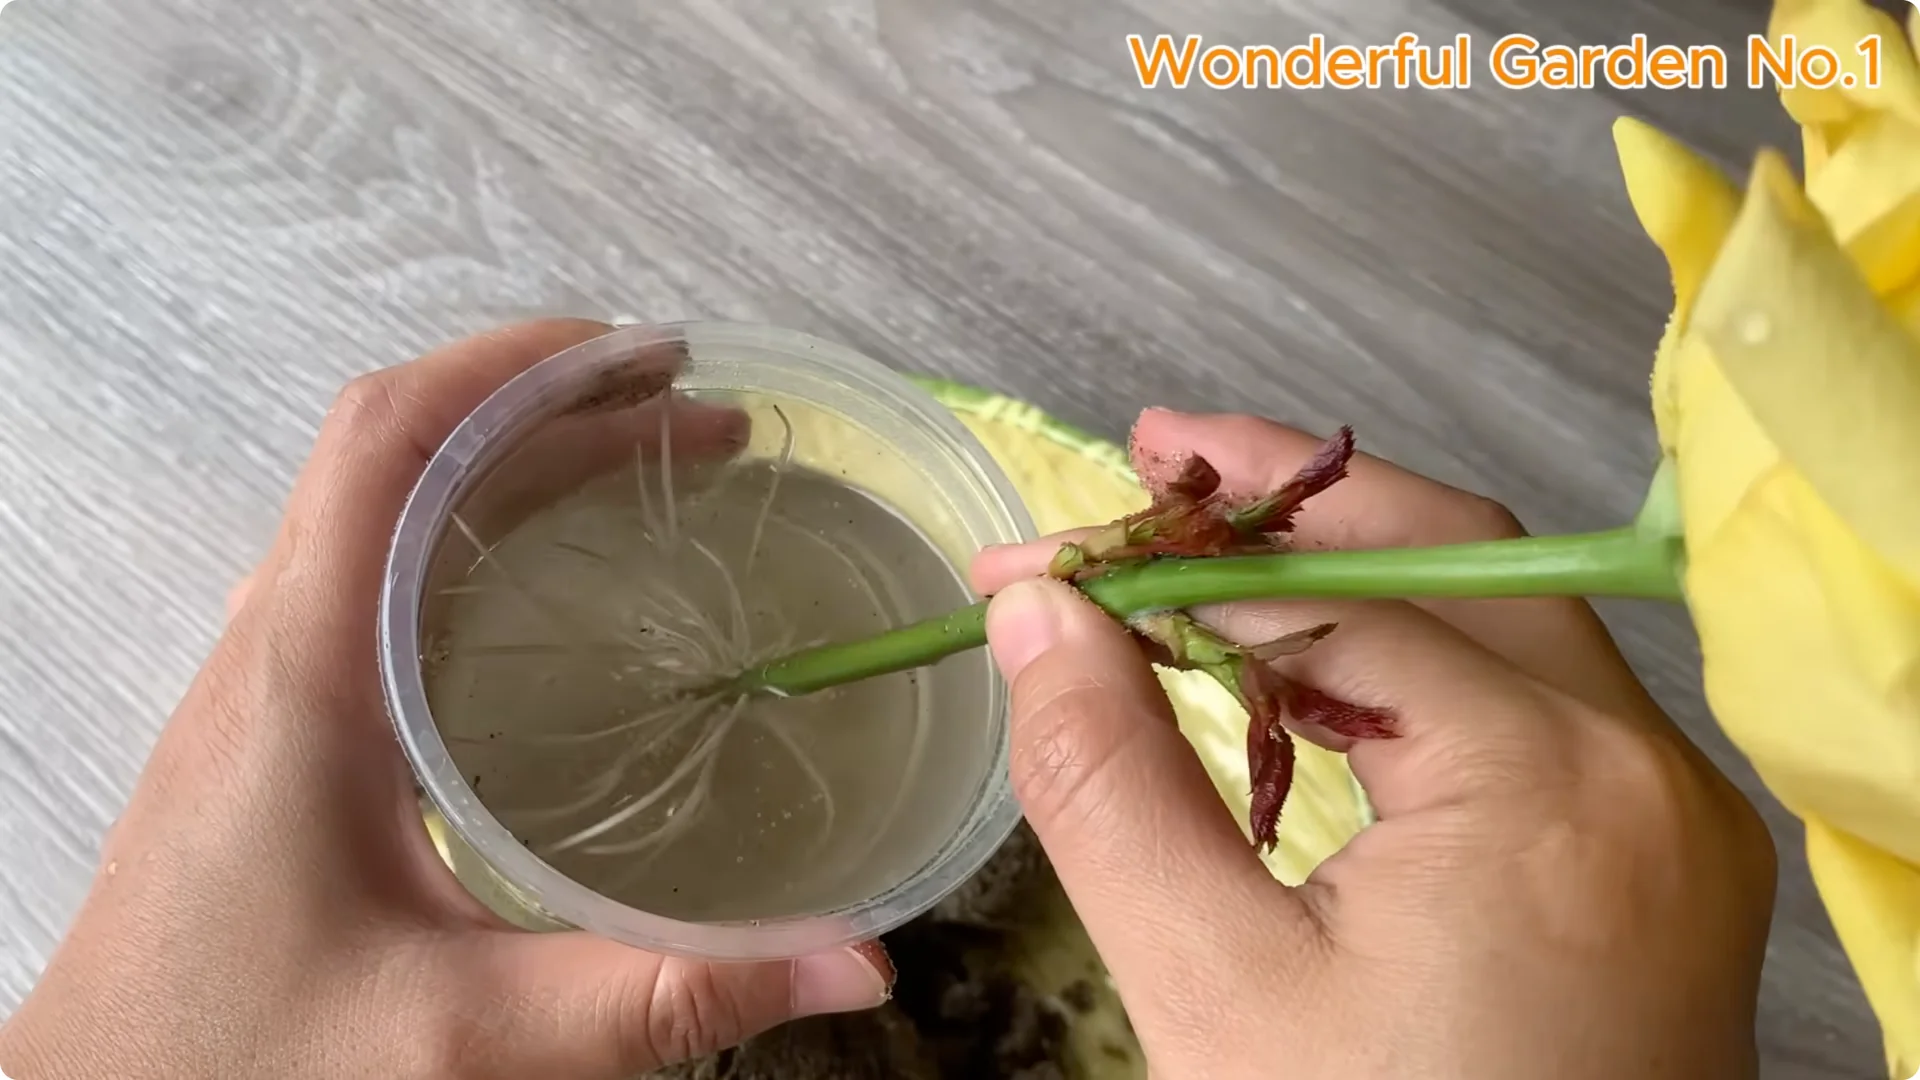
Choose a rose stem that is not too young and not too old, about 15 to 20 cm long. Cut off the leaves at the bottom of the branch to limit water loss and create conditions for better root development. Gently prune the leaves near the dormant buds, avoiding damaging this area, as this is where new growth will develop.
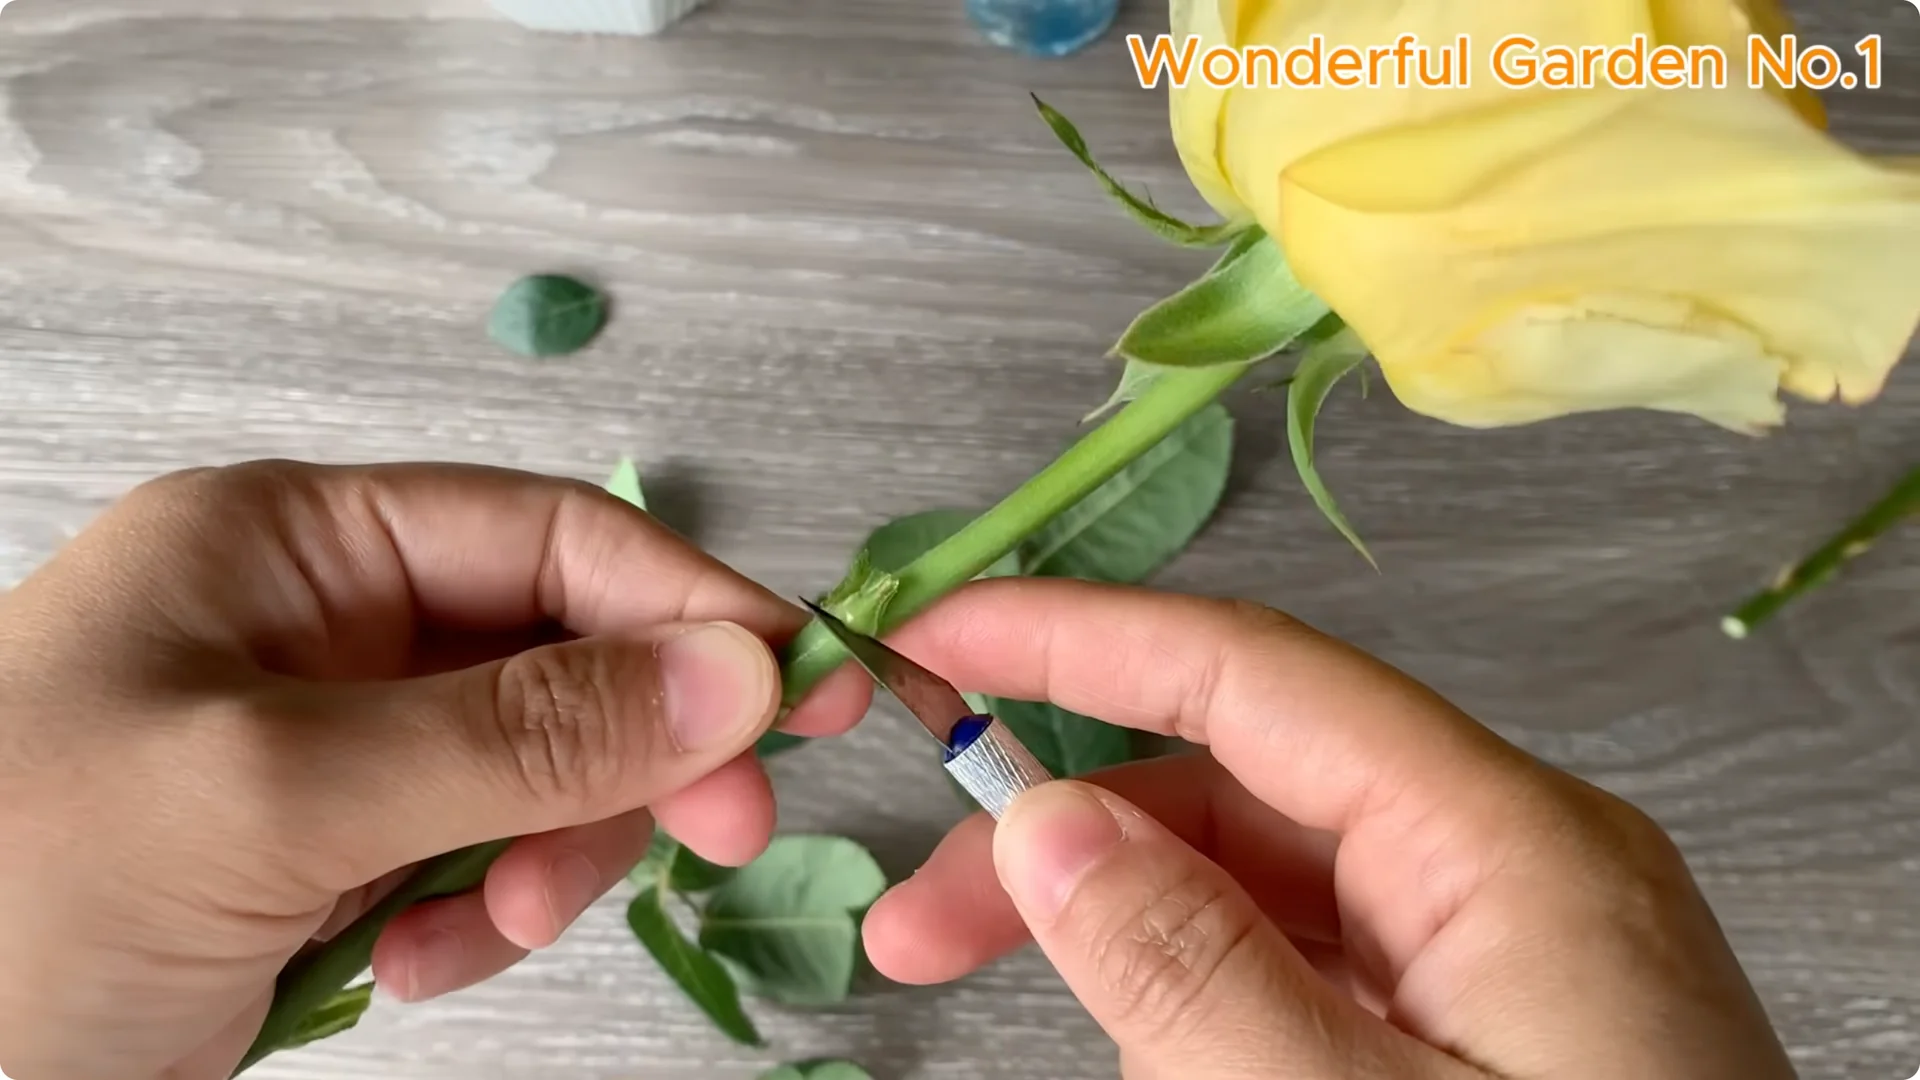
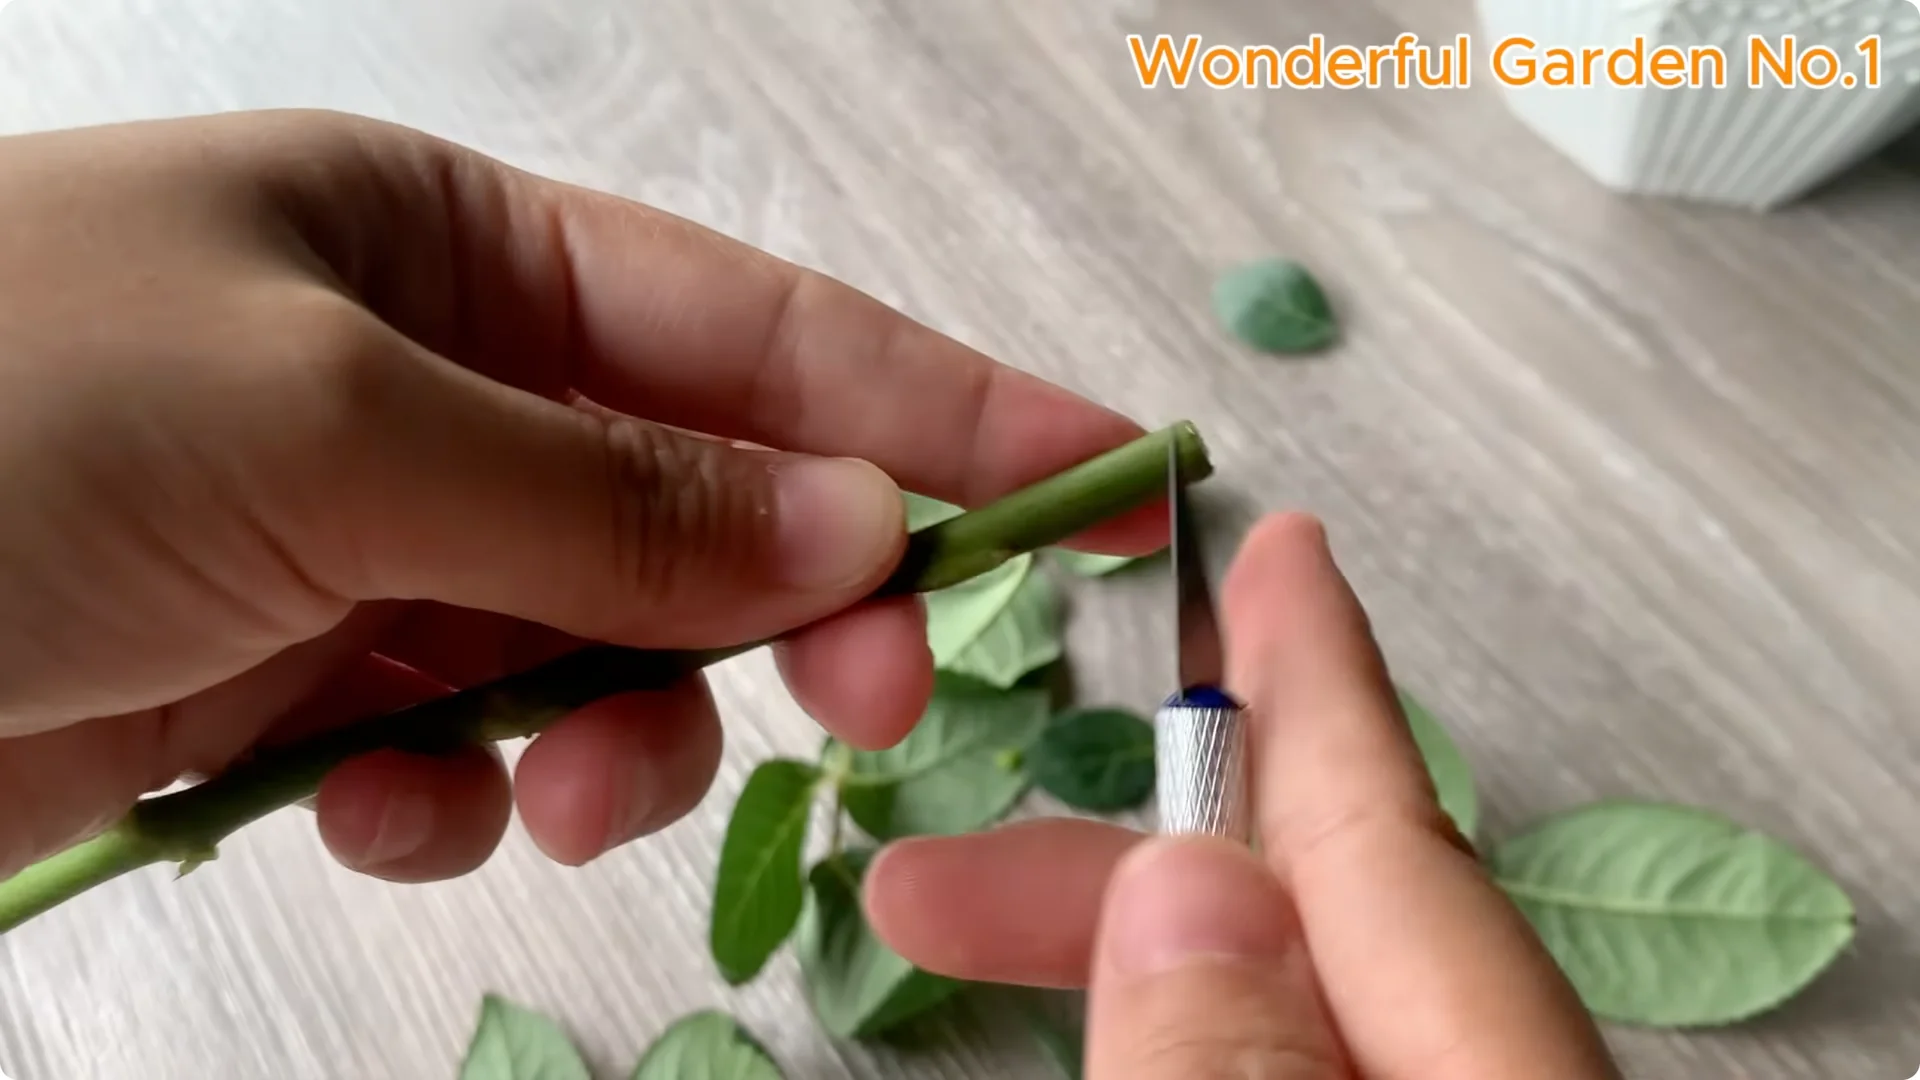
Cut neatly at a 45° angle just below a leaf node to increase the contact area. This helps the roots grow better and limits infection. Then dip the base of the cutting about 3 to 5 cm in the milk and garlic solution and leave for a few hours.
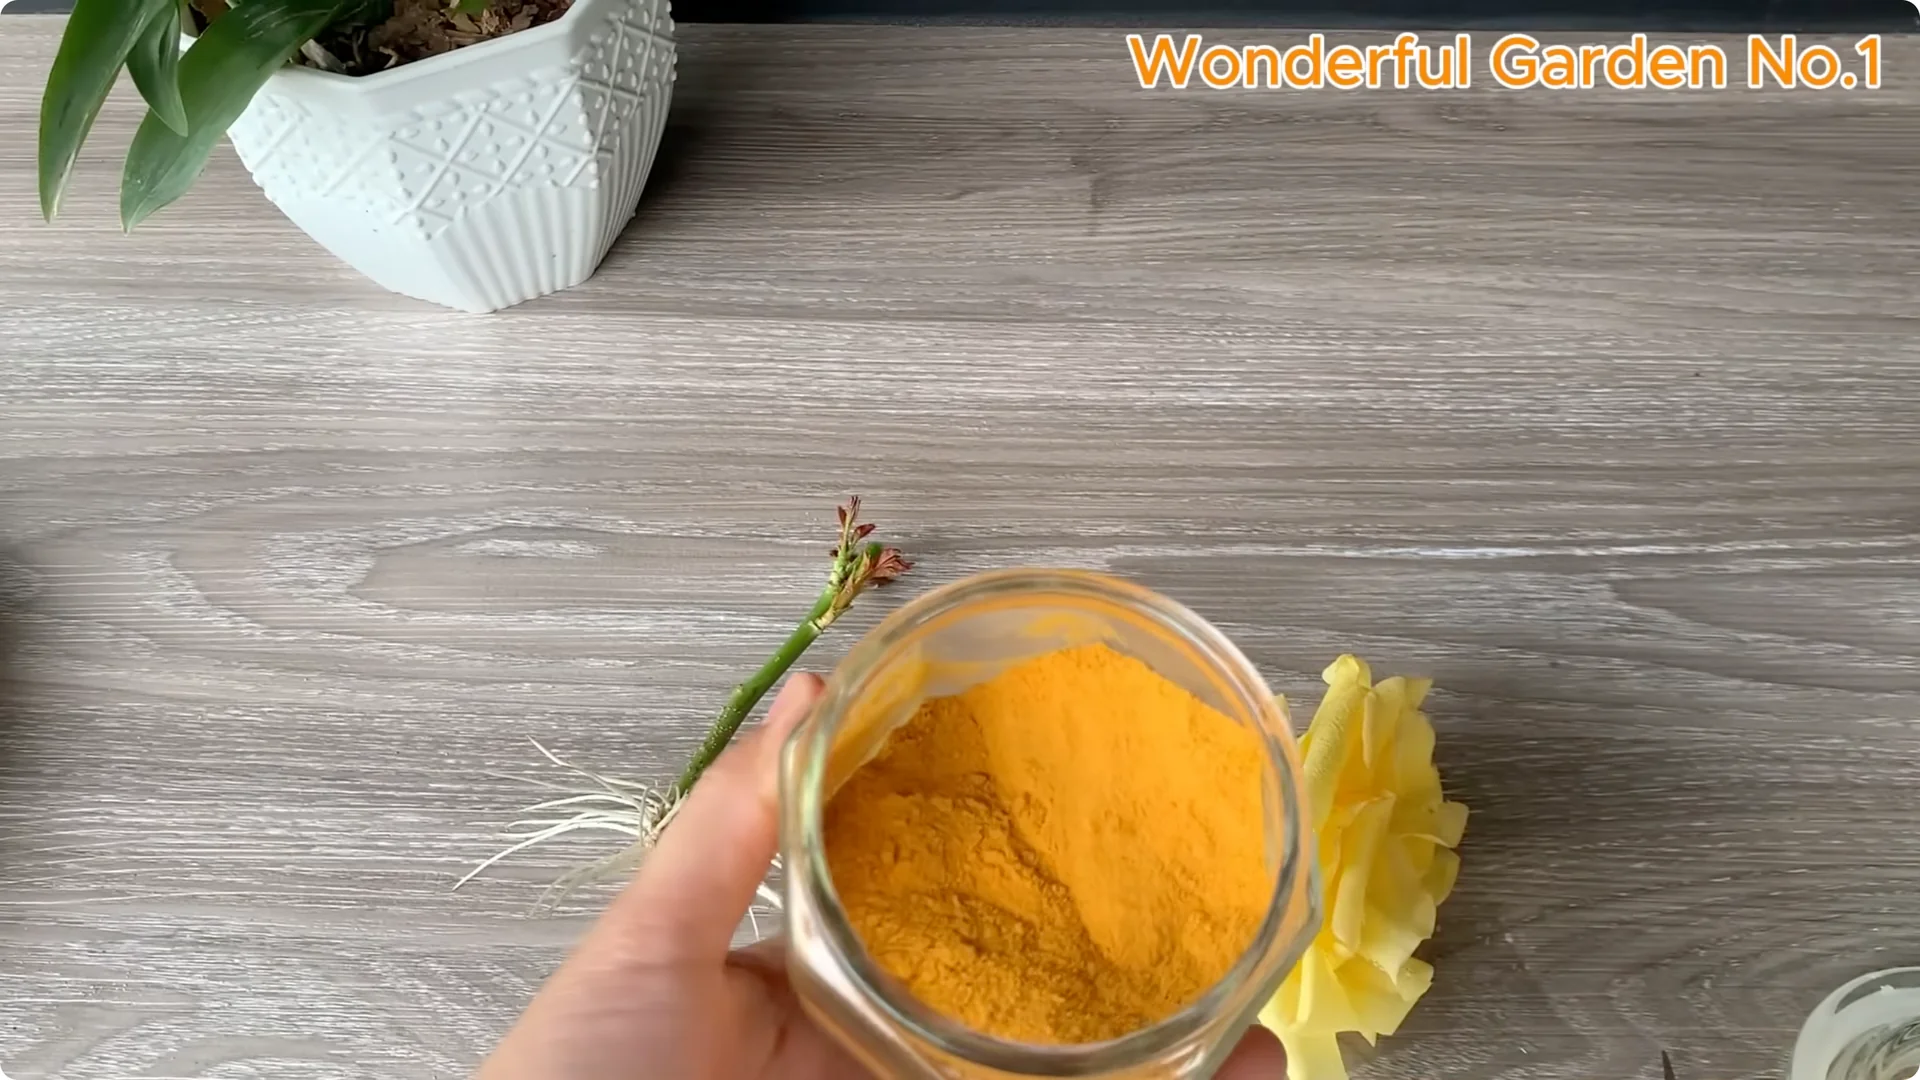
Soaking cuttings in a solution of milk and garlic helps stimulate strong root growth and protects cuttings from harmful agents. Sprinkle a little turmeric powder on the cut to naturally disinfect and help the wound heal quickly. This reduces the risk of root rot during the cutting process.
Read More: One Spoon Sparked 999 Roots Rose Stem
3. Plant and Care – Rose Cutting Propagation
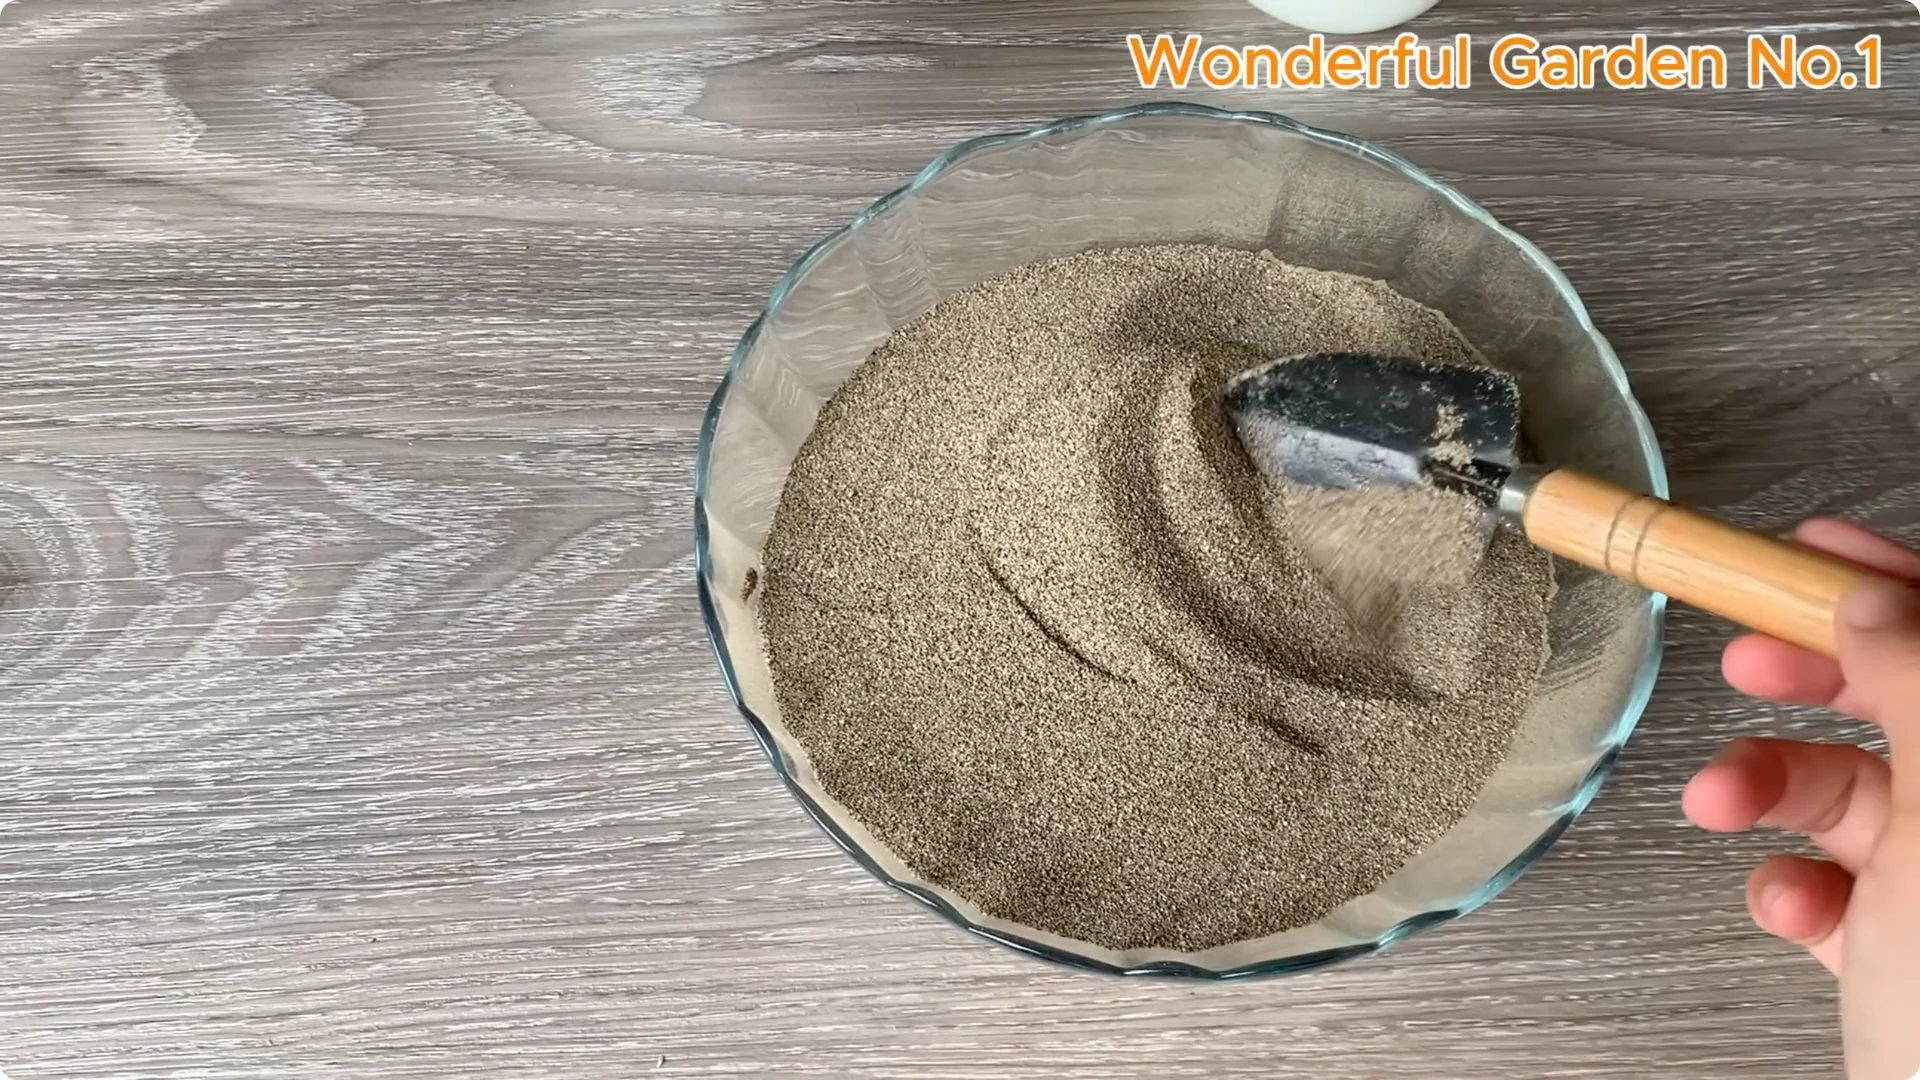
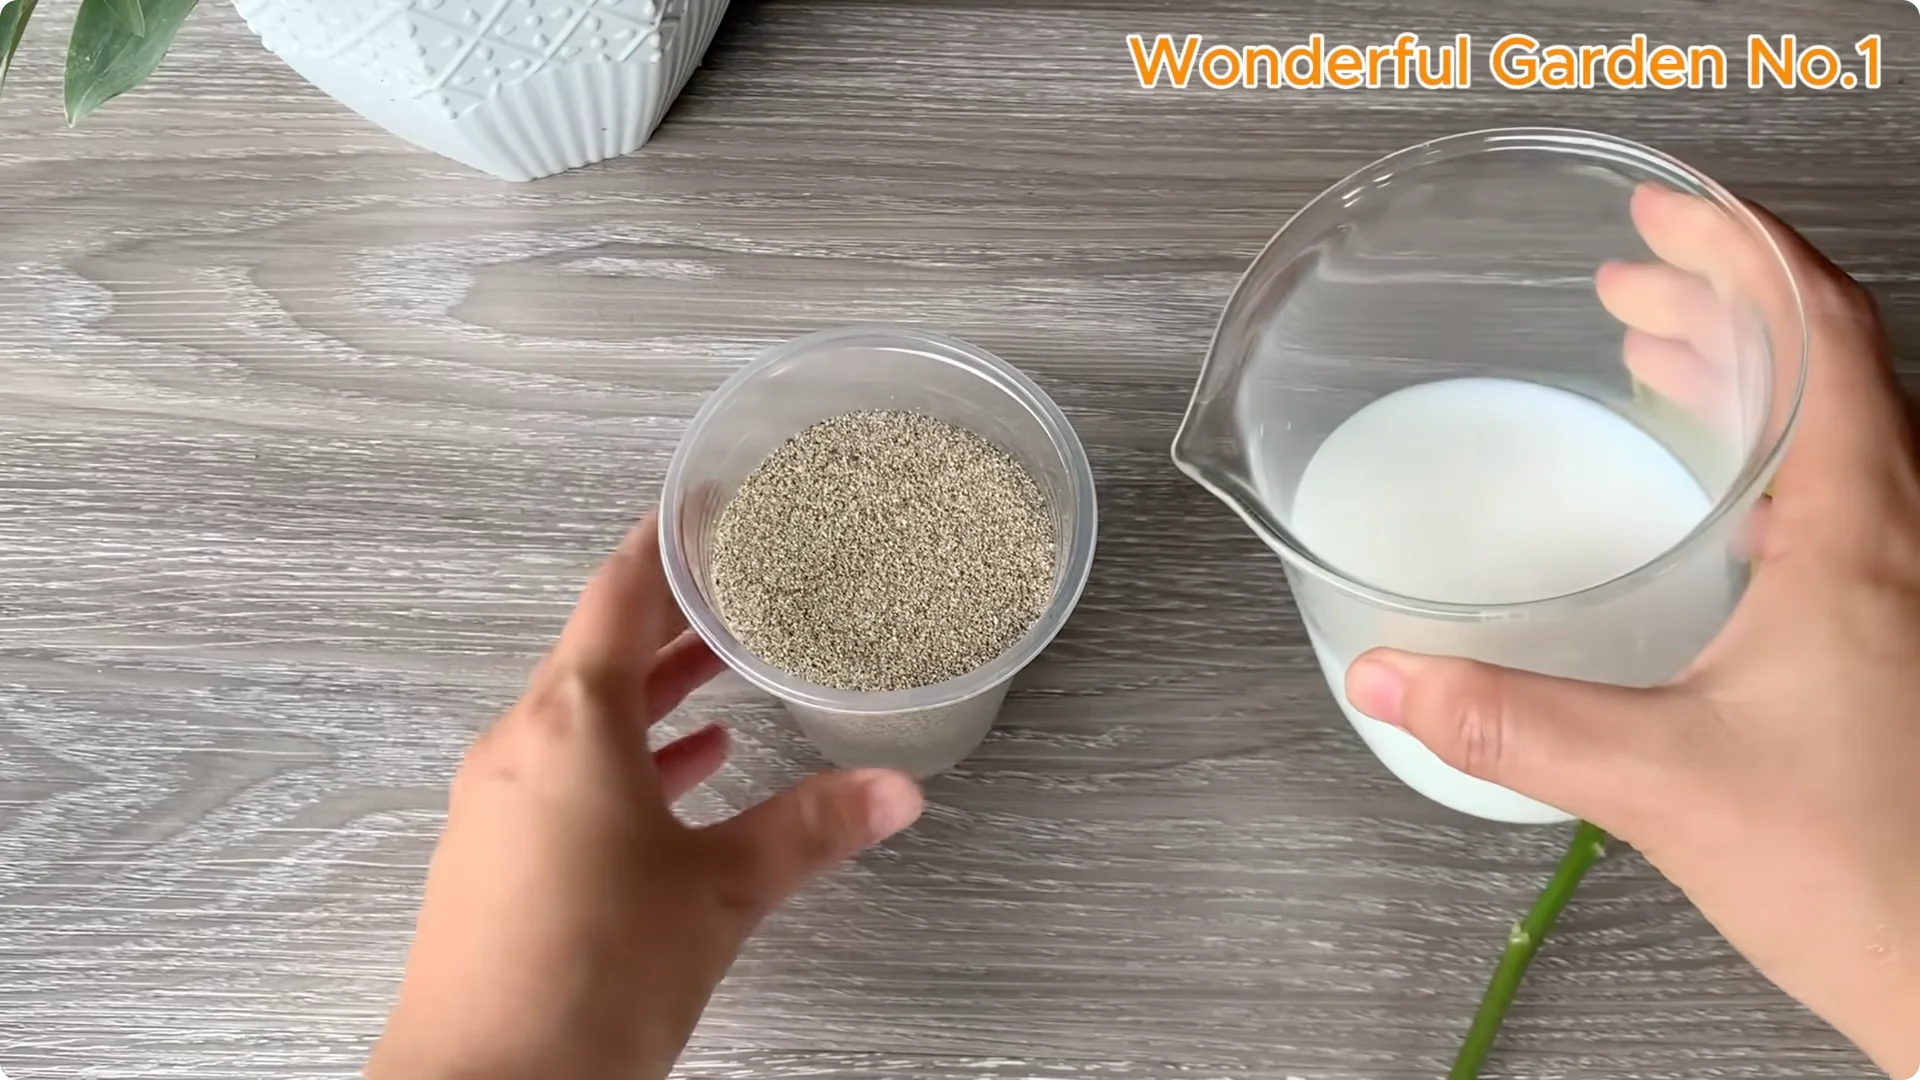
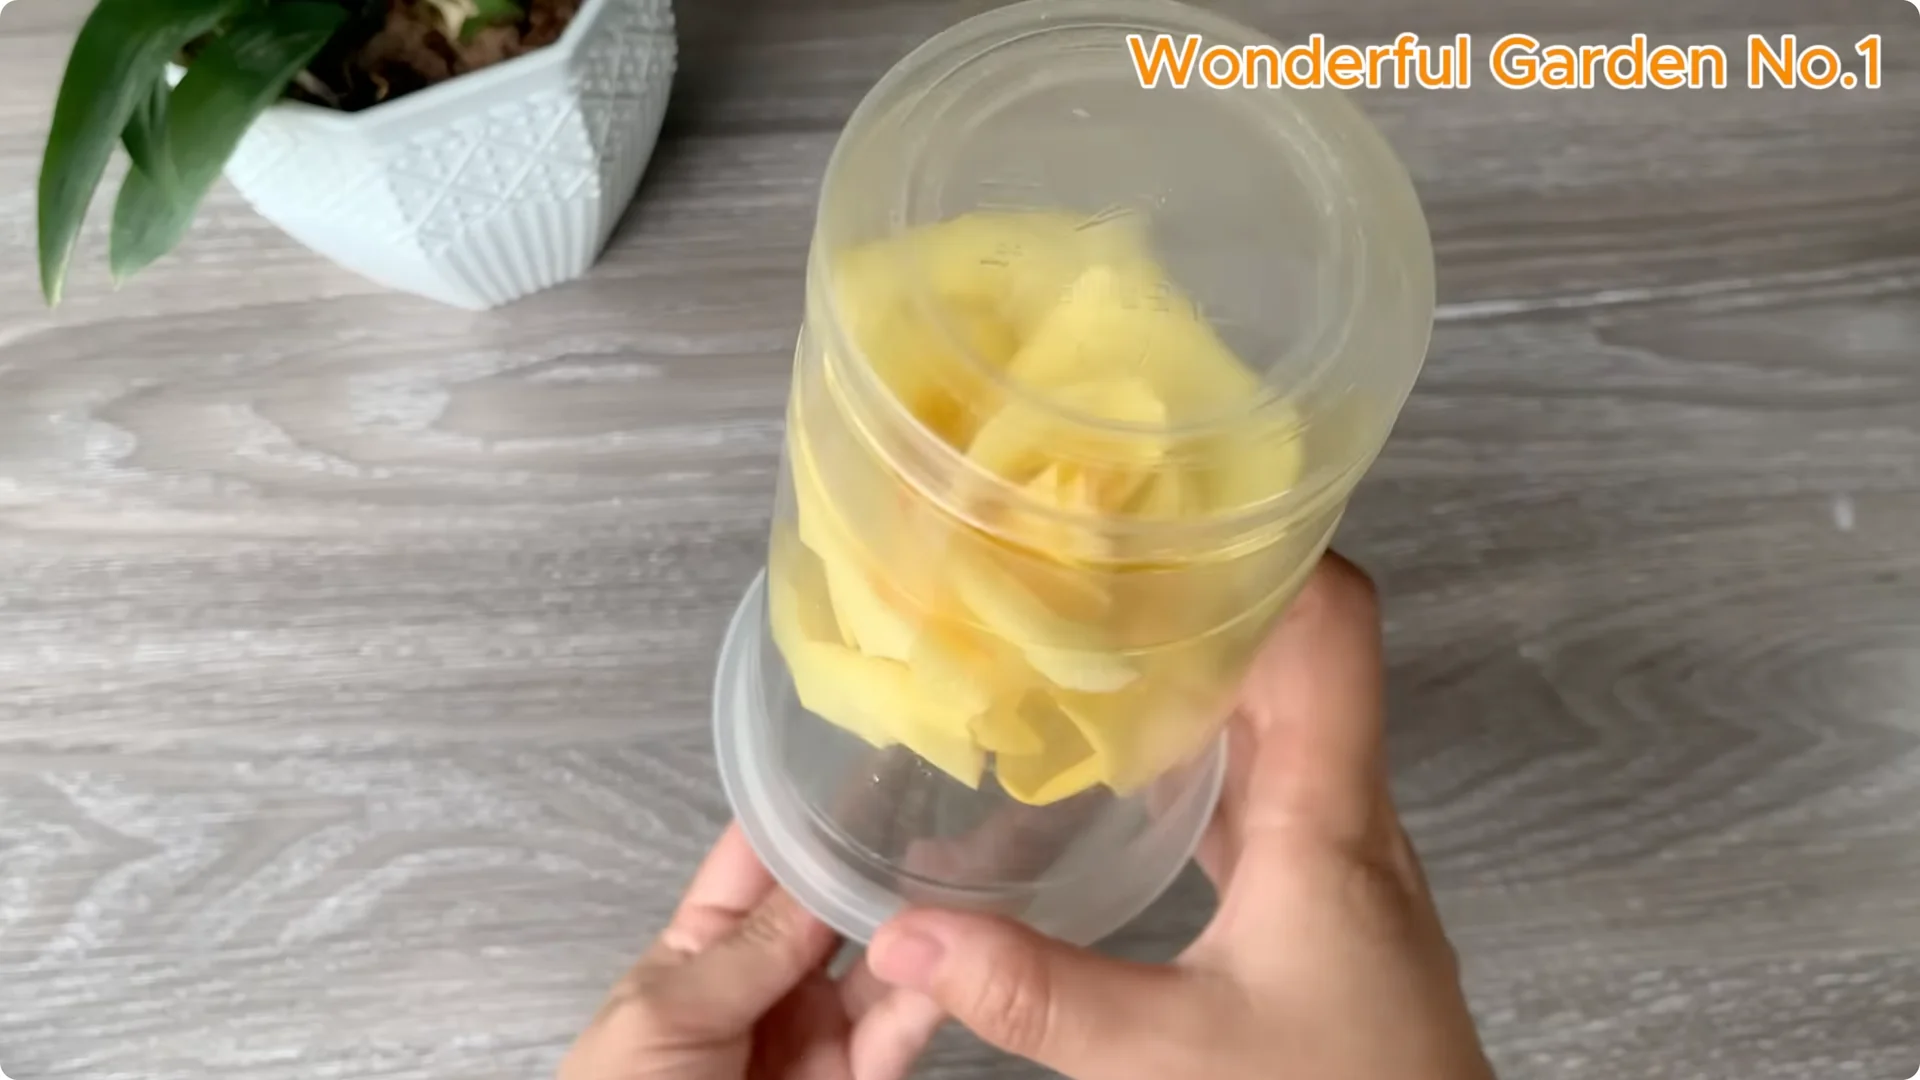
In this method, I use sand as a growing medium, which helps ensure good drainage and maintain stable moisture levels. Sand helps create open space for the roots to thrive. It reduces water logging and rot and promotes healthy growth of the cuttings.
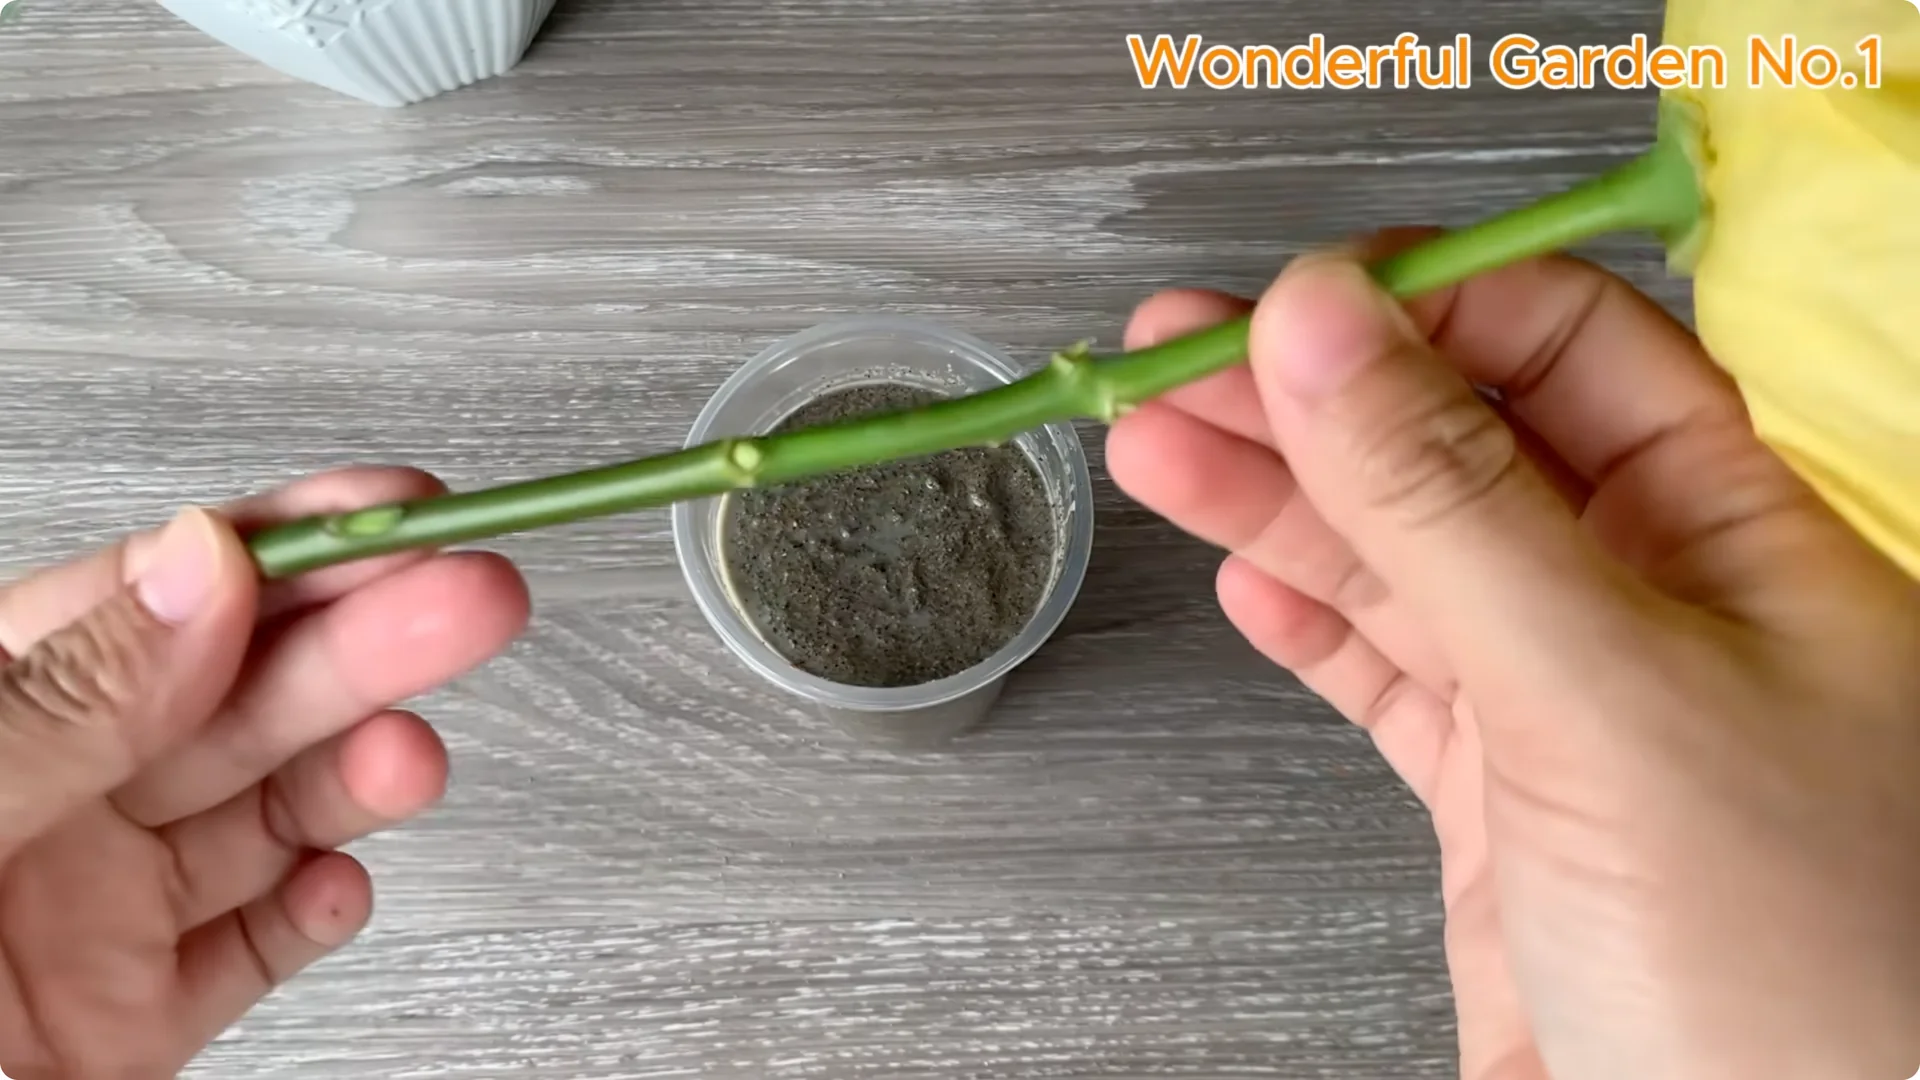
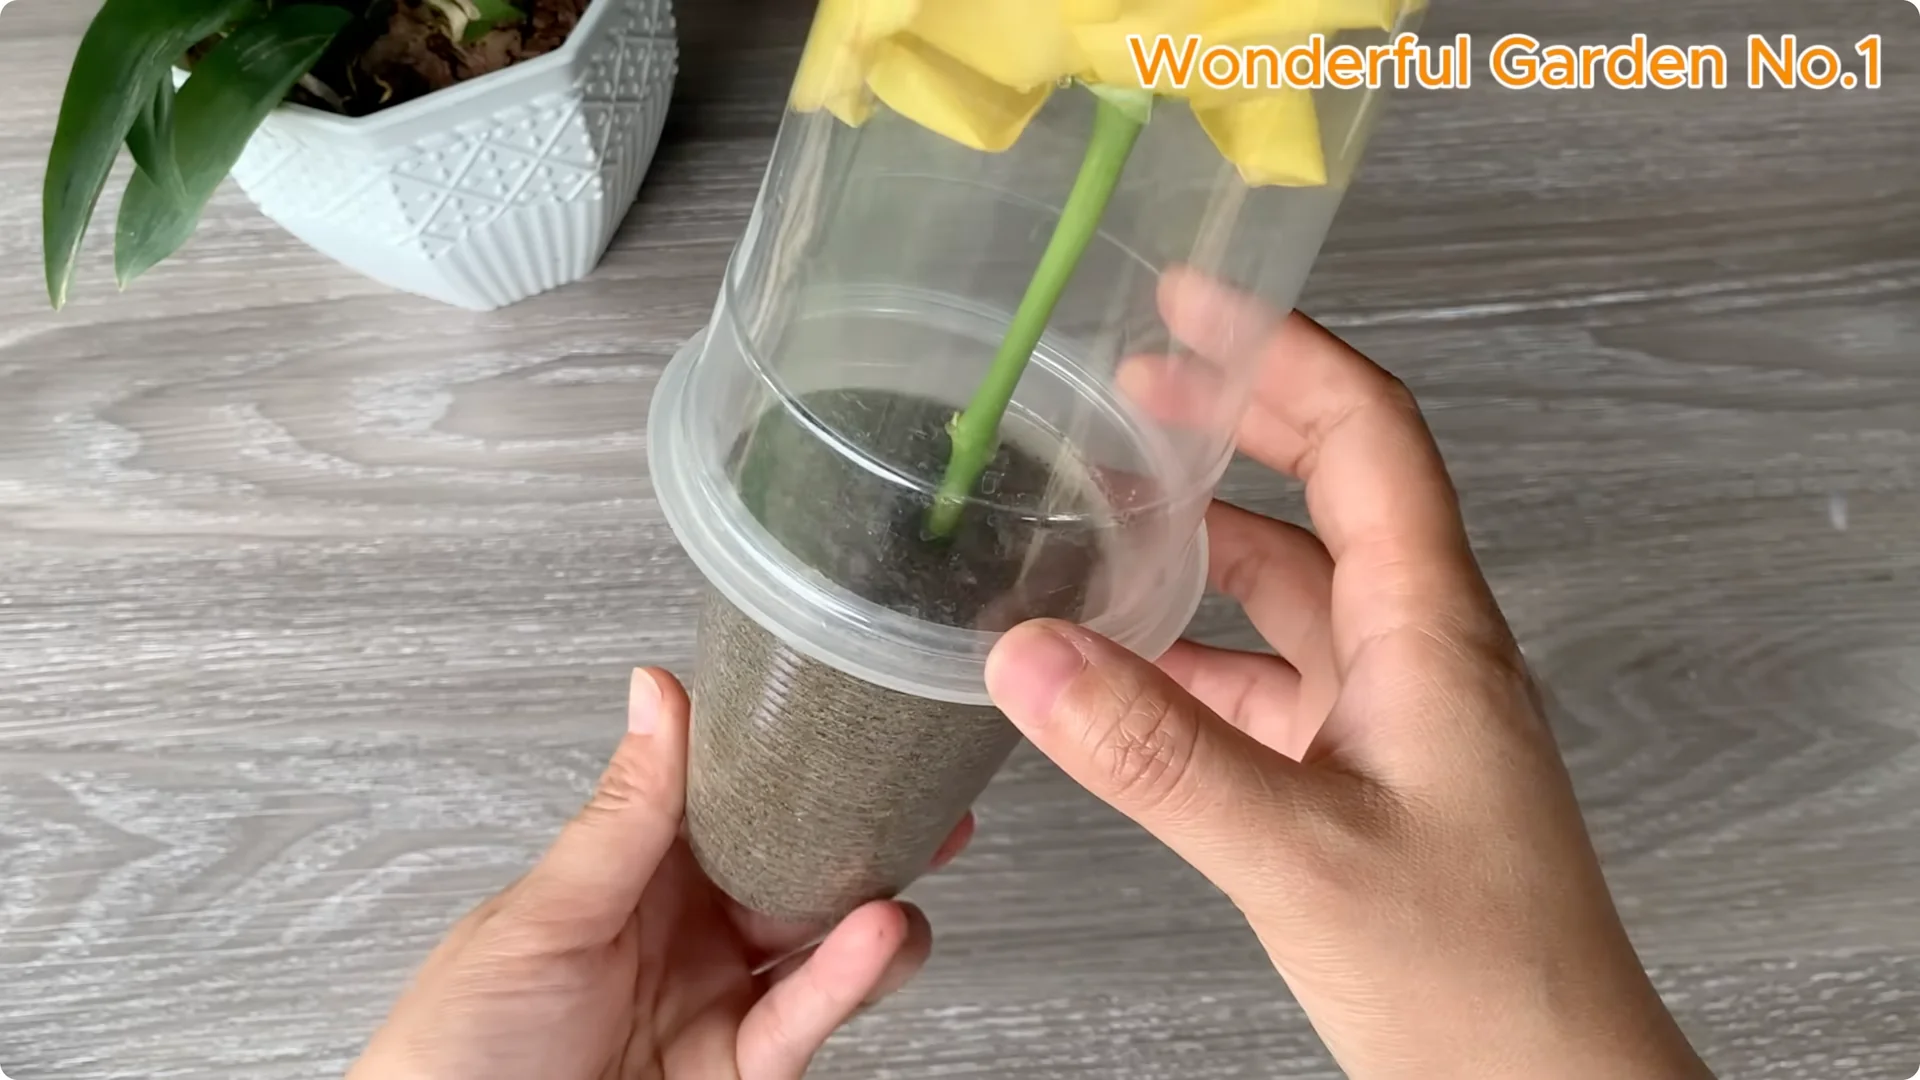
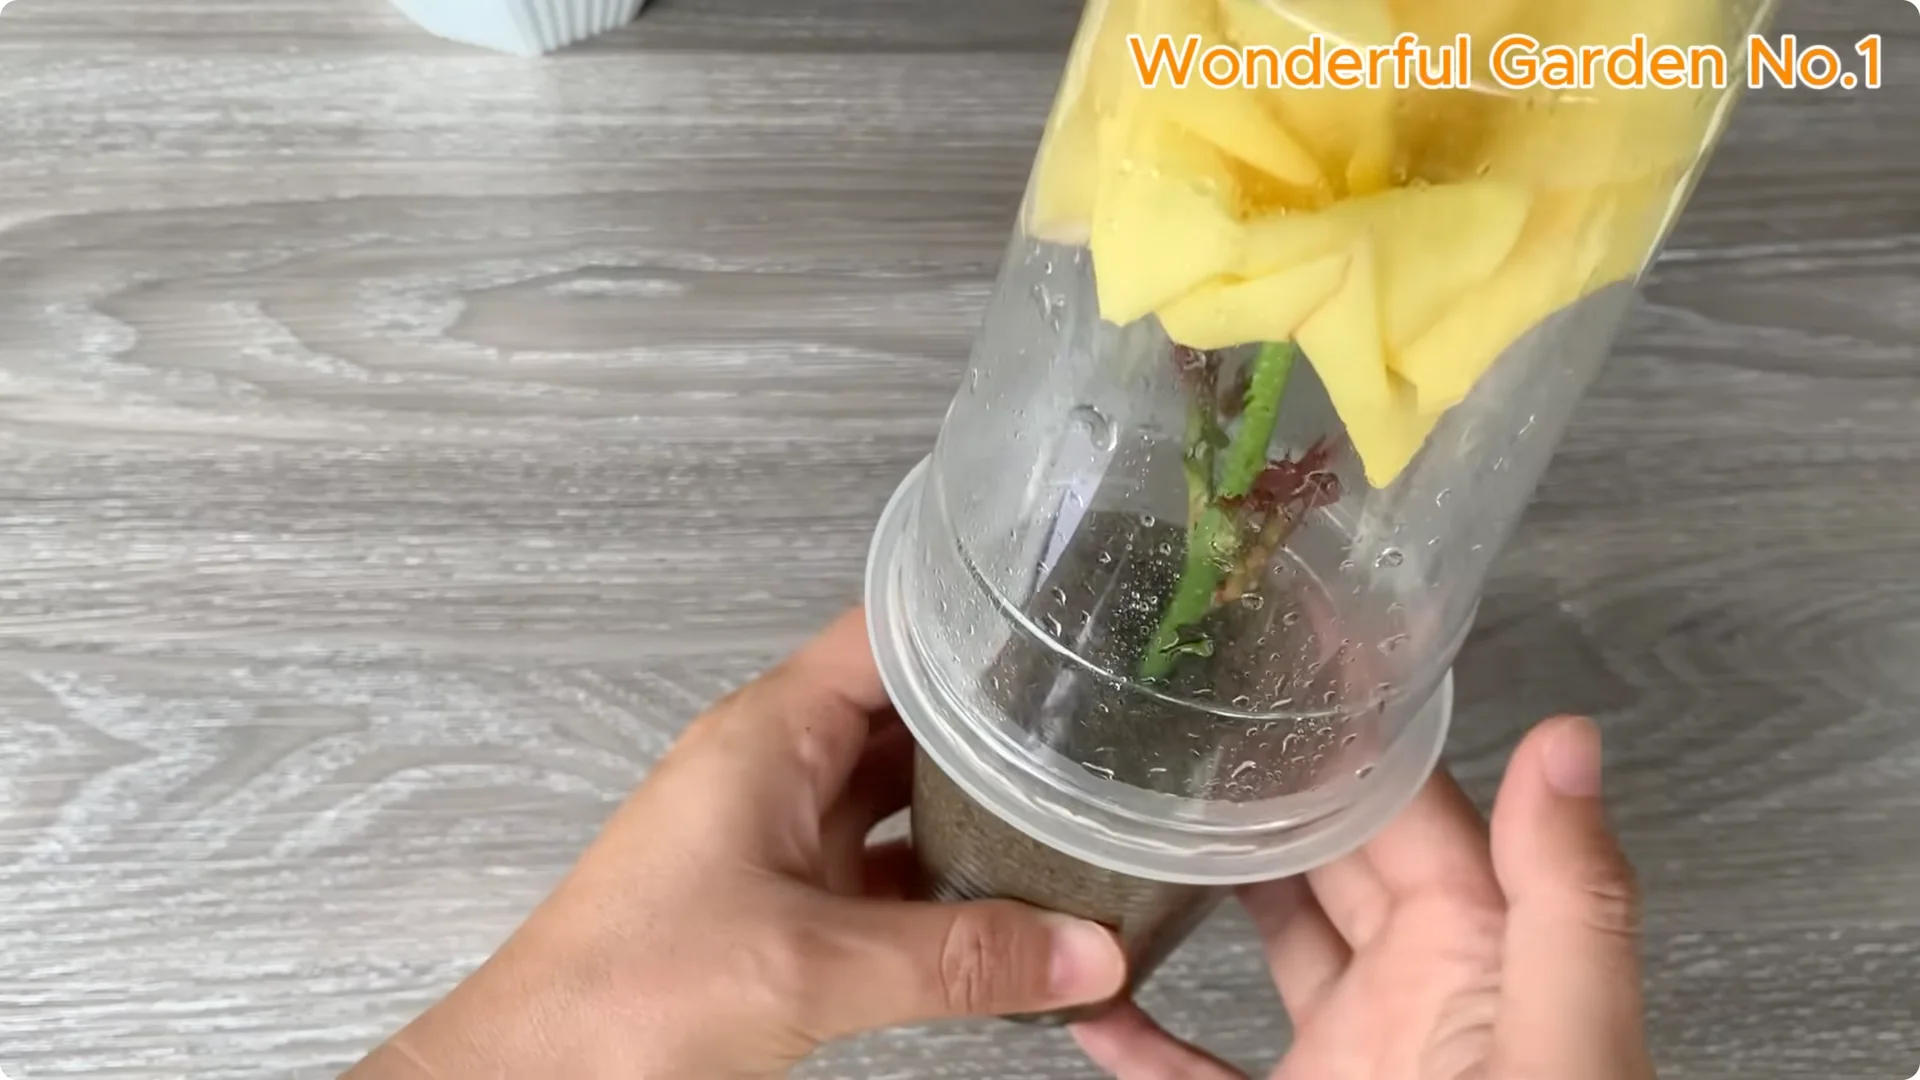
Use the garlic and milk solution to moisten the sand in the cup. This helps to sterilize the growing medium and create an initial nutrient medium, helping the cuttings grow faster and stronger. Insert the cutting into the center of the sand cup with the leaf buds facing out to help new shoots grow more easily.
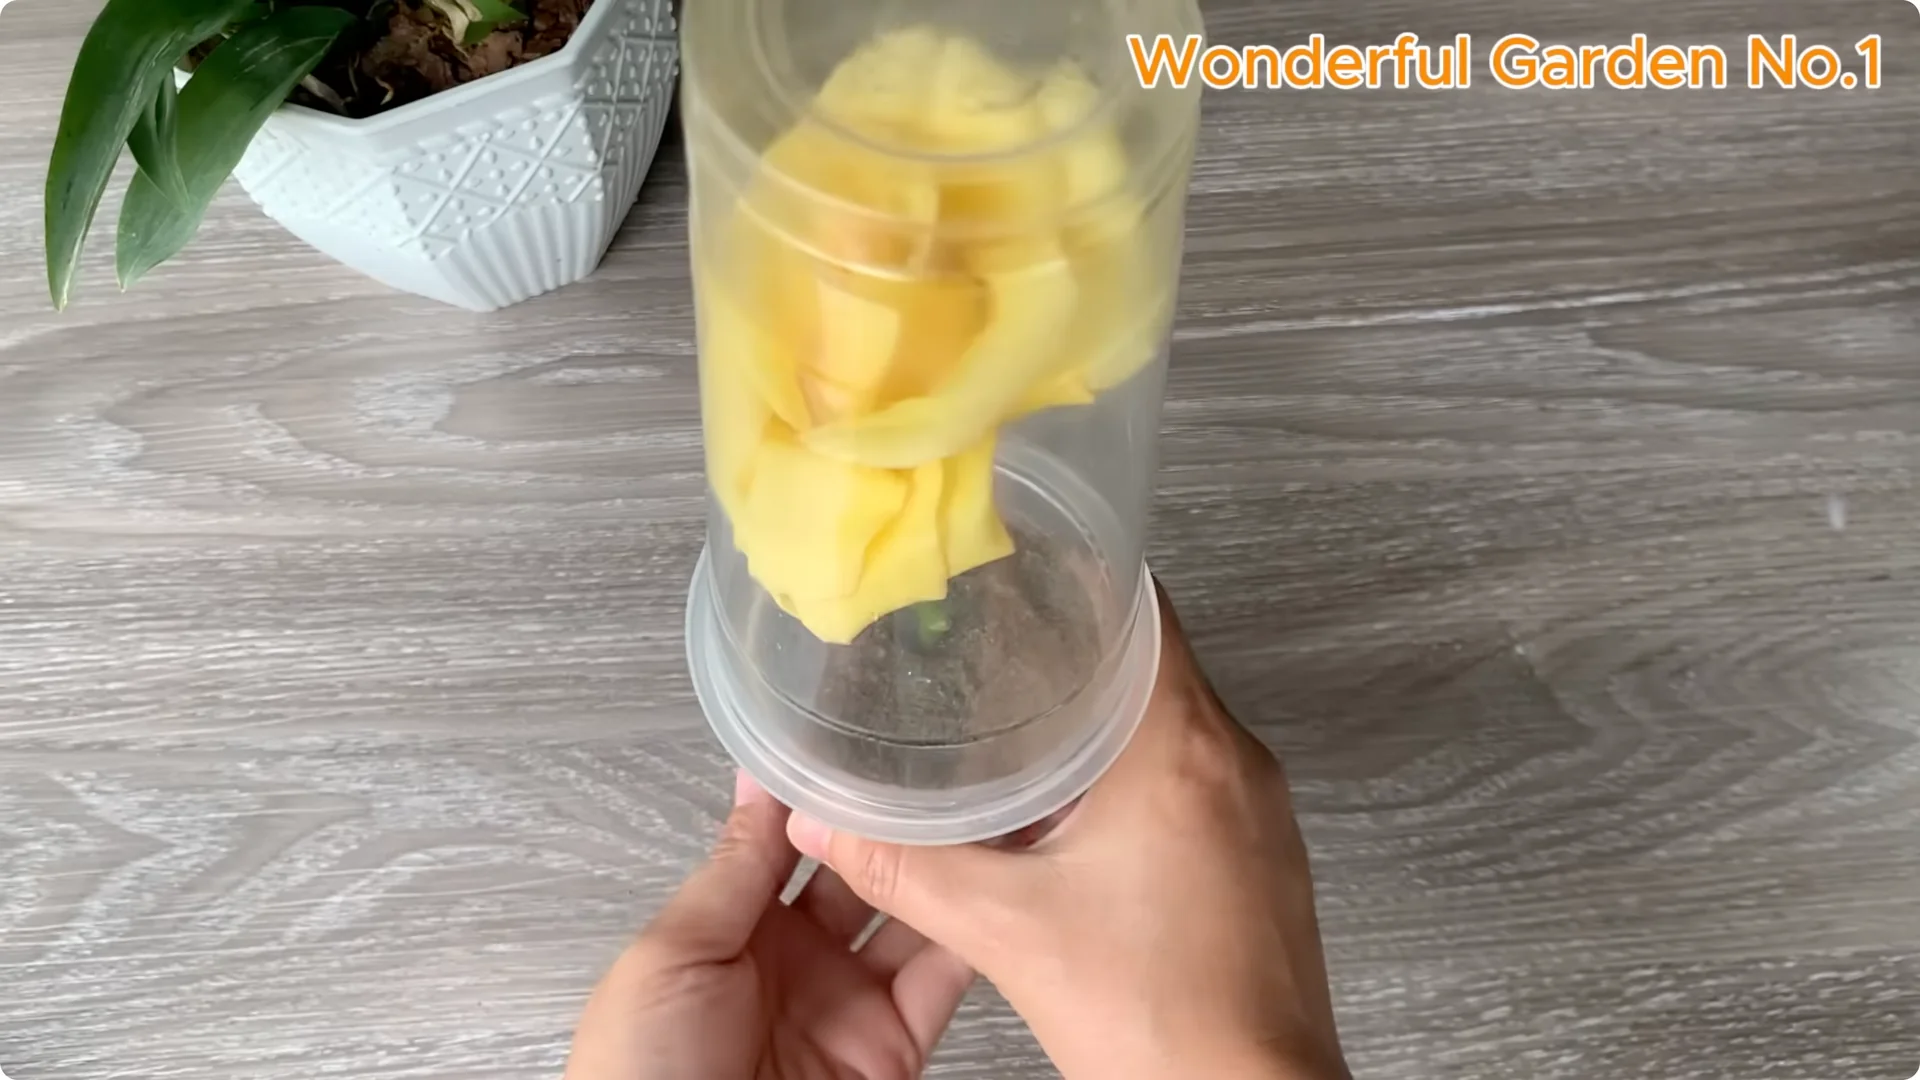
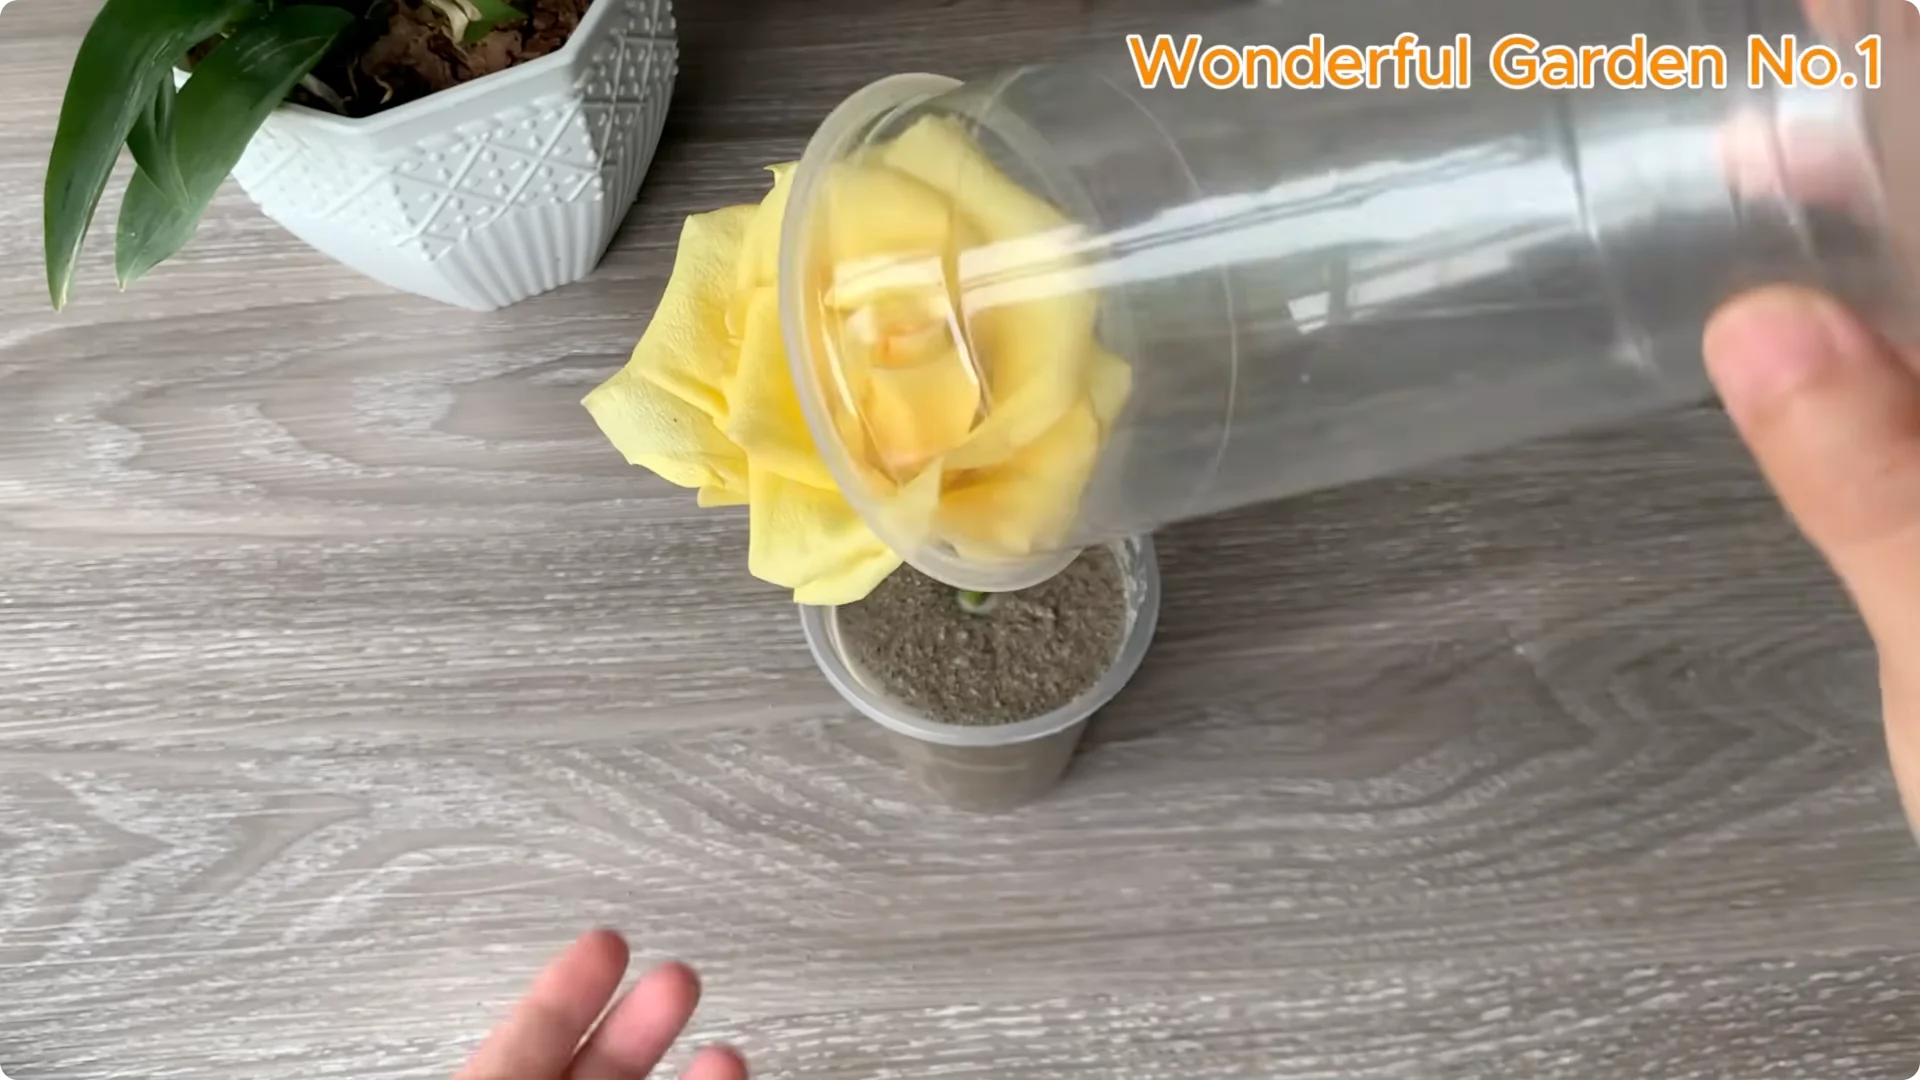
To help your cutting thrive, keep moisture in but avoid overwatering. Use a large upside down cup to create a mini greenhouse effect, effectively keeping the cuttings moist and protected. Place the pot in a shady spot with soft, filtered light, no direct sunlight.
Mist lightly every day to keep the air moist. Every few days, you can spray a little milk diluted with water, about one part milk to five parts water. This helps the plant absorb nutrients naturally.
Read More: Rose Potato Grows 99 Roots Overnight
4. Signs of Success – Rose Cutting Propagation
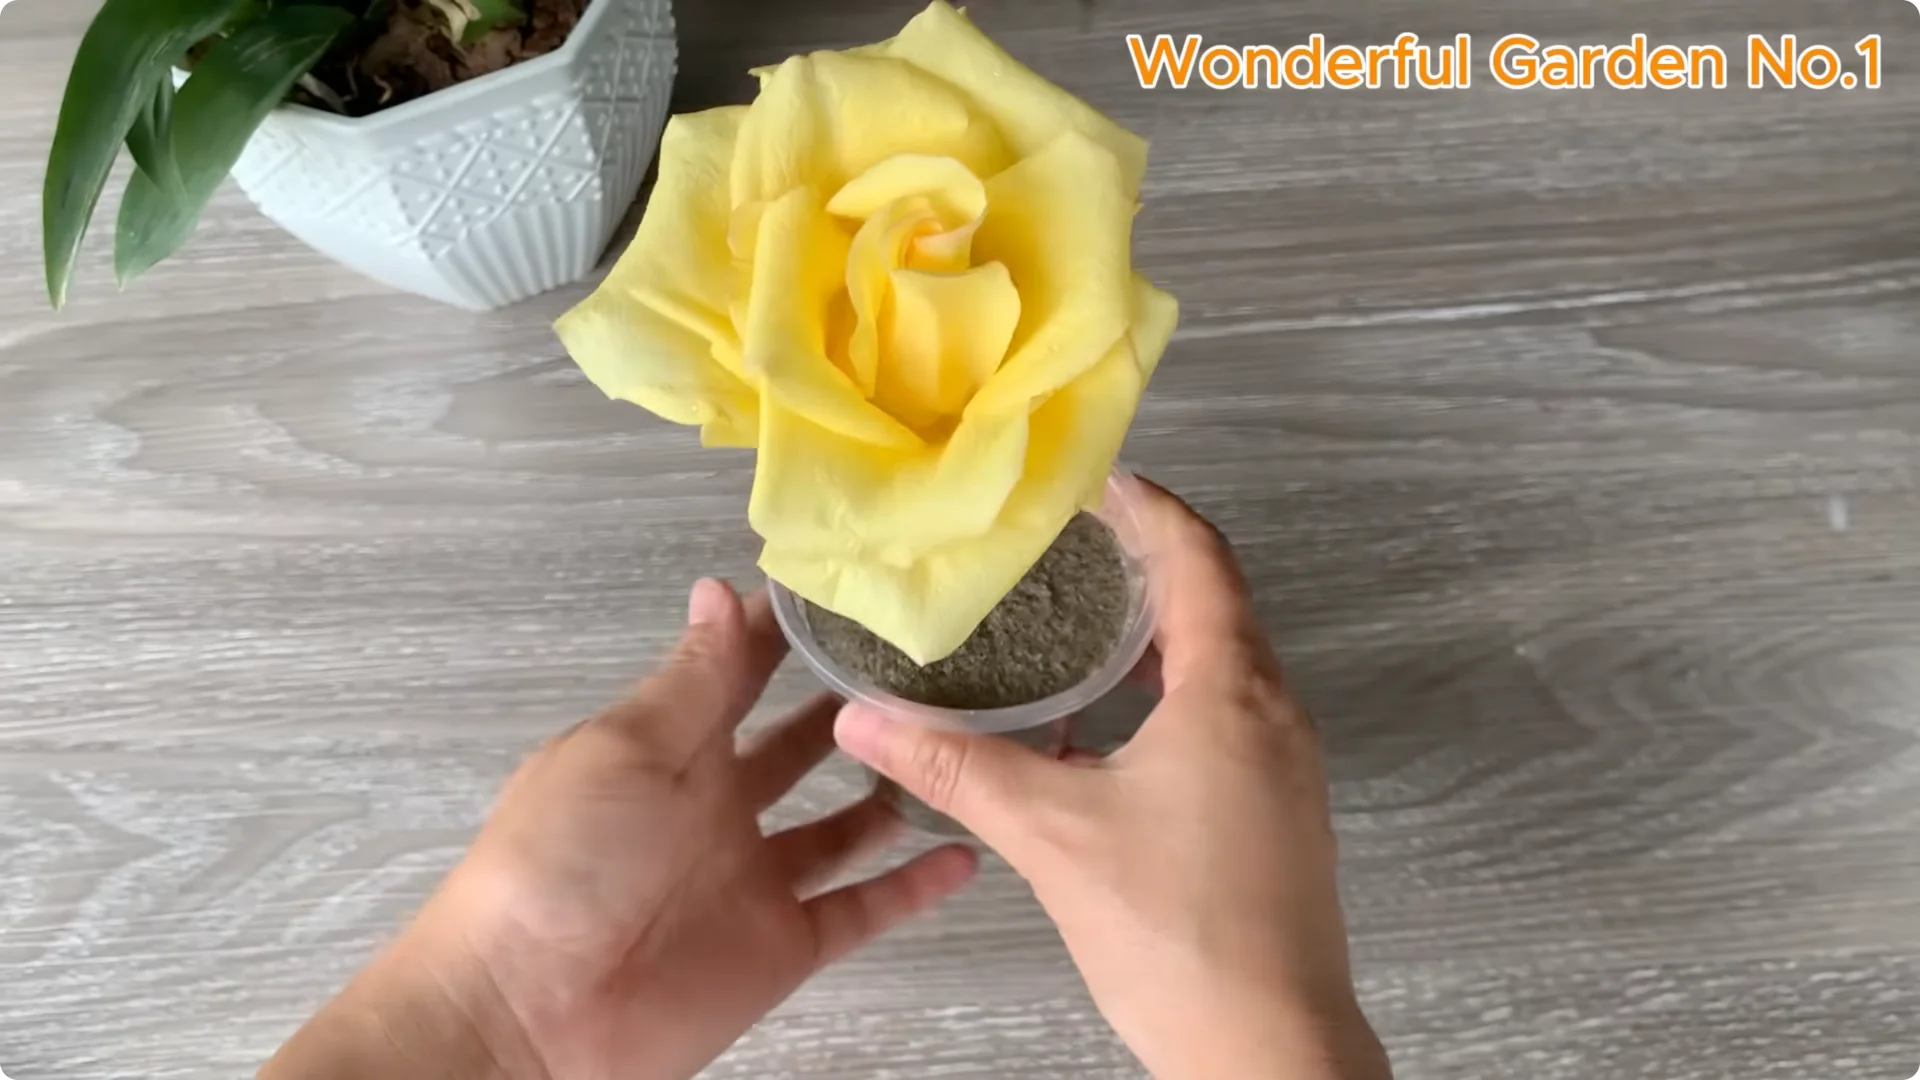
After just 10 to 14 days, you should start to see new shoots emerging. Strong white roots will cling to the growing medium. These are clear signs that the cuttings are doing very well.
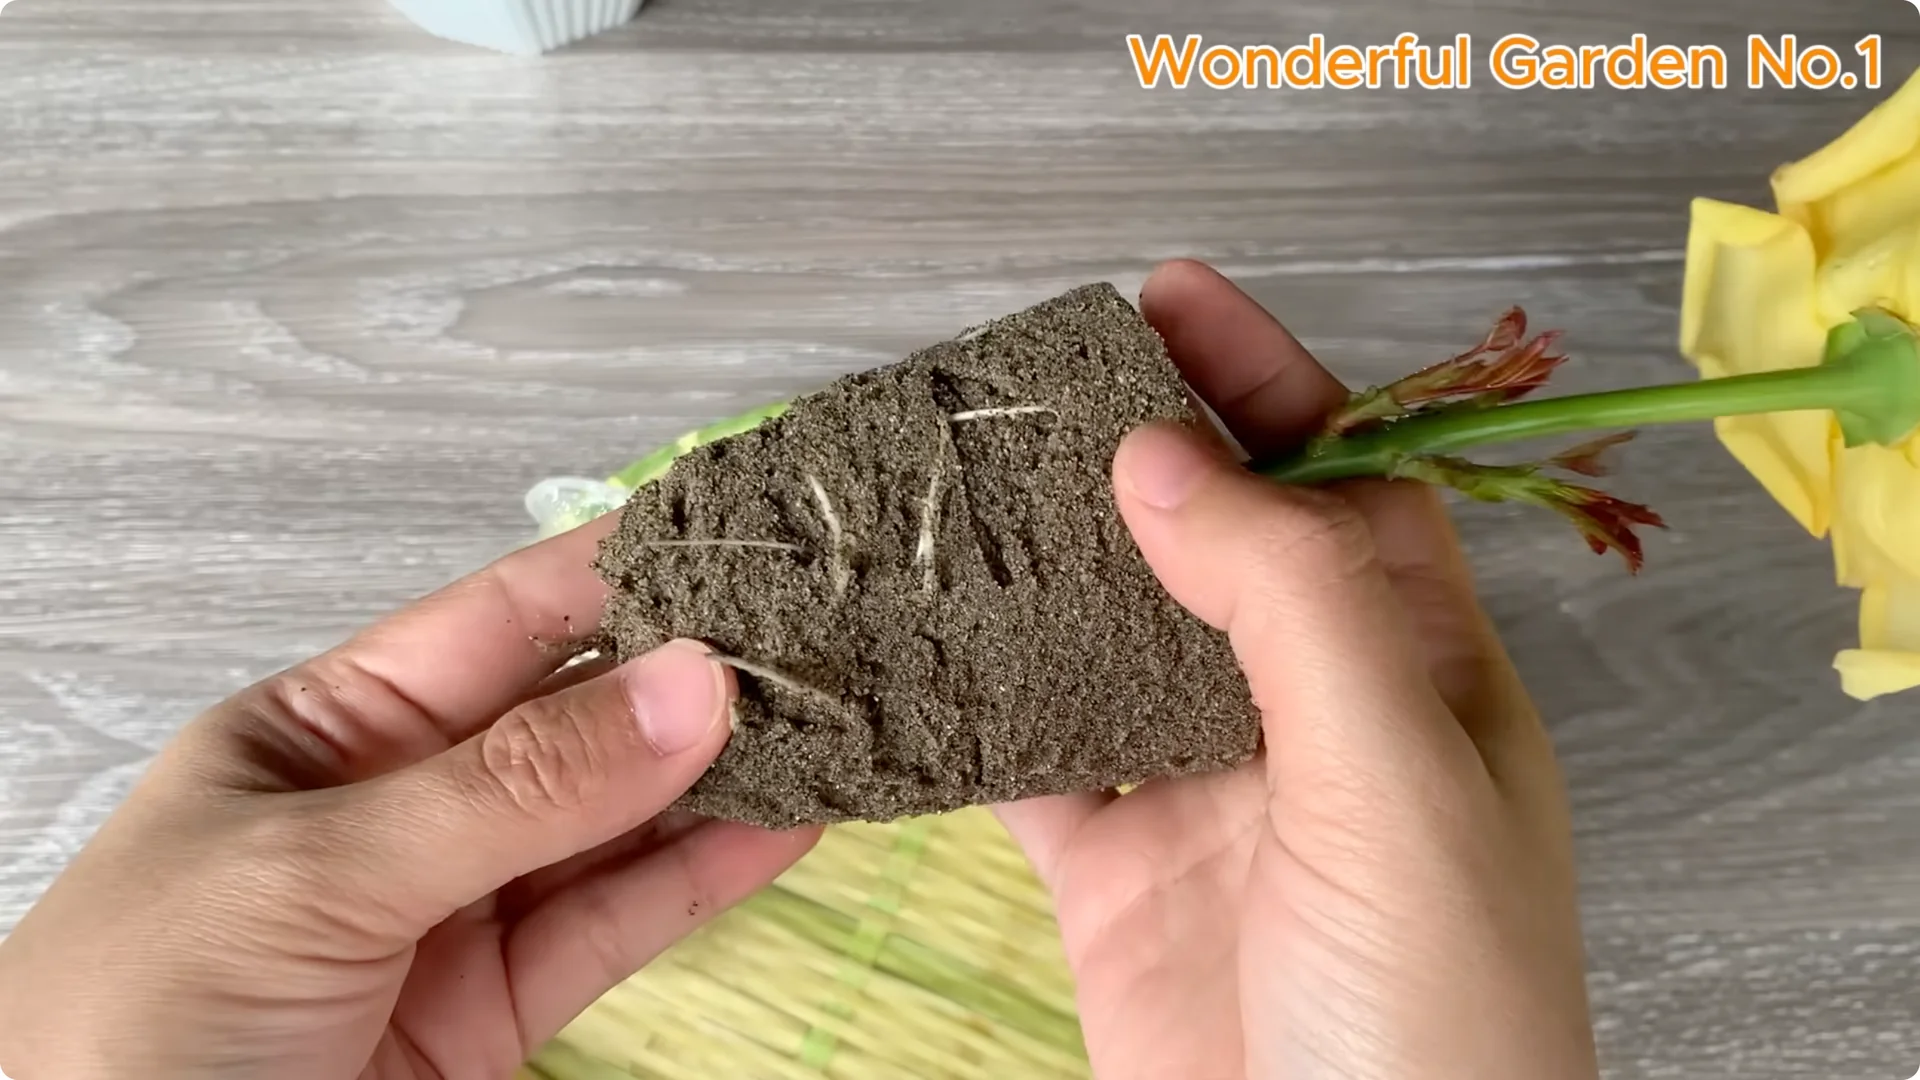
When that happens, your rose is ready to be potted up and grow freely. Keep the young plant in gentle light and maintain even moisture as it establishes. Continue with light misting and avoid harsh sun until growth is steady.
Final Thoughts – Rose Cutting Propagation
A natural and peaceful way to grow roses from cuttings. No chemicals or fancy tools required. Just a little time, patience, and care.