Welcome to my garden, where every rose is a love song of nature. I’m going to show you a simple yet fun way to propagate roses. No chemicals, no fertilizers, just rice, coffee, and a little patience.
If you love natural beauty and believe in simplicity, this method is a gift. Magic often starts with the simplest things. Let’s begin with a small secret from the kitchen.
1. Rice base for Rooting Rose Cuttings
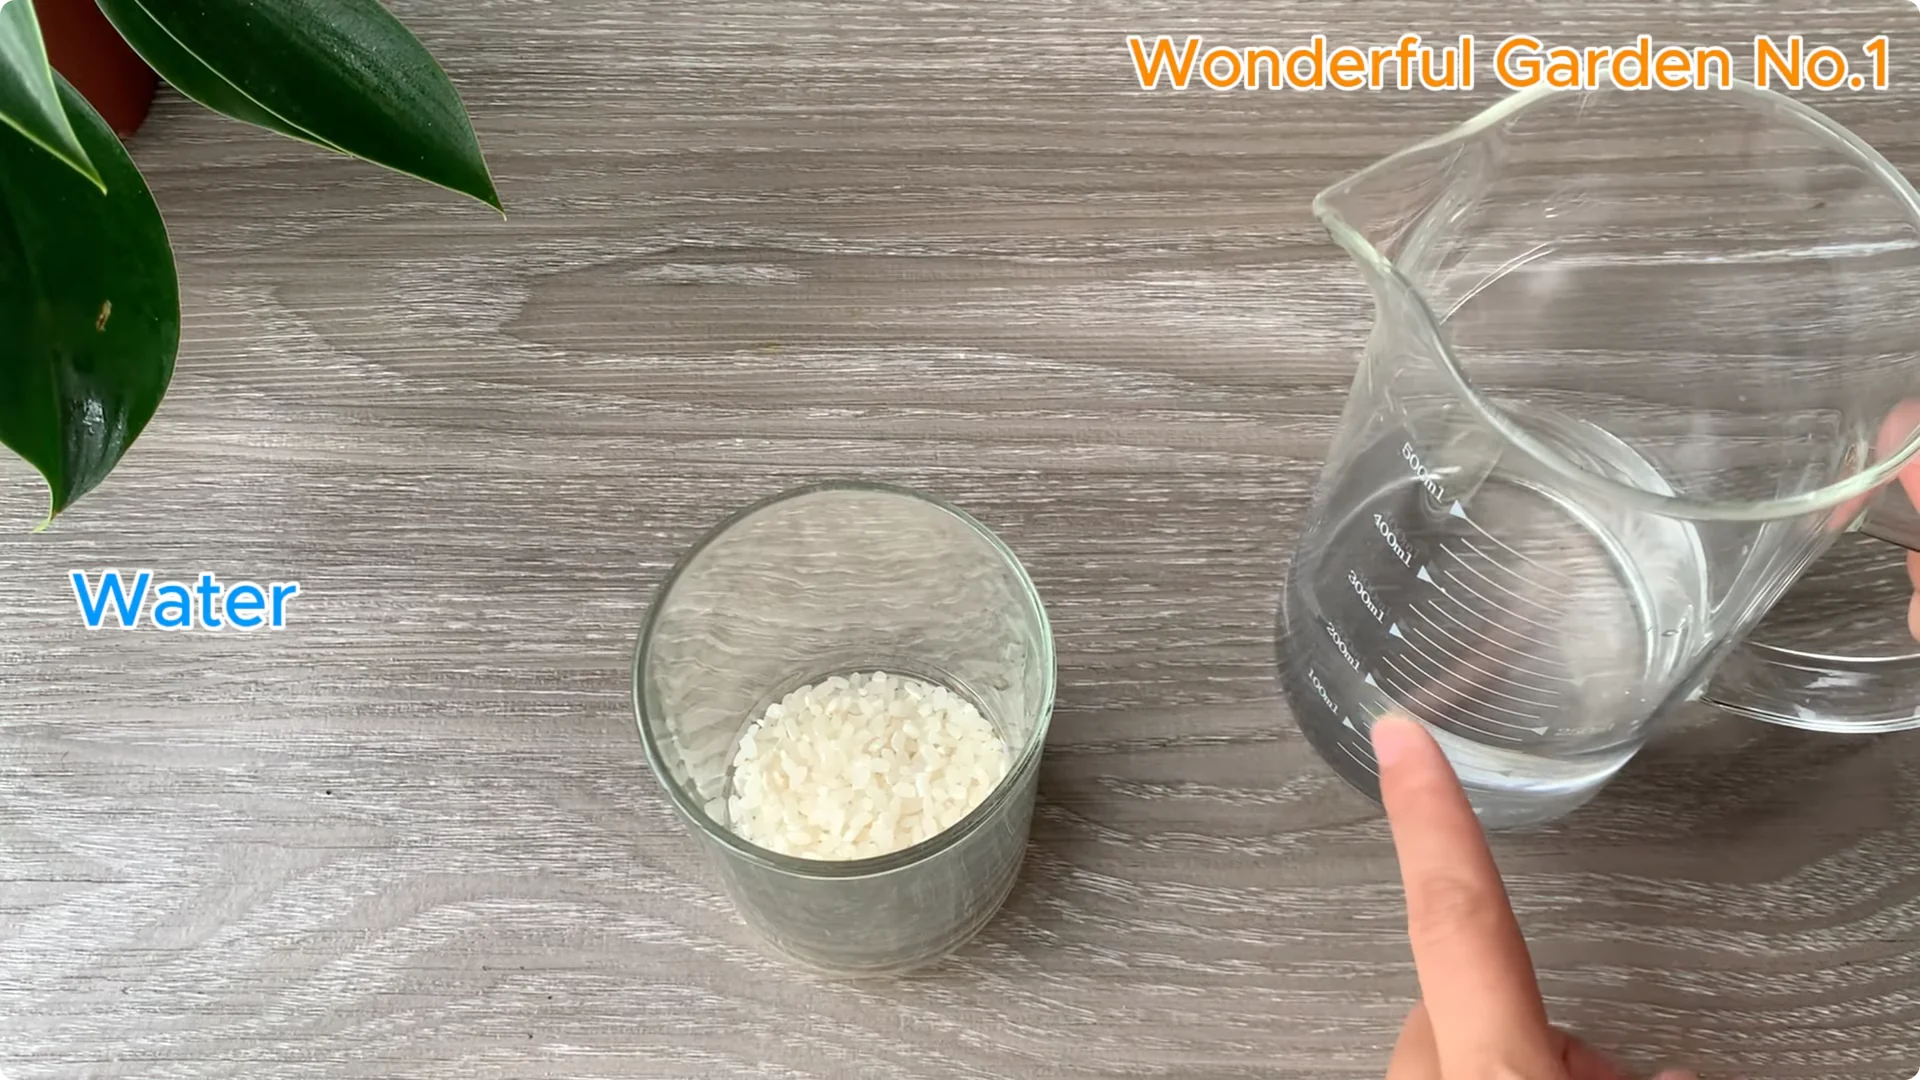
Create organic fertilizer from familiar ingredients. We will start with rice, a rich source of vitamin B and essential minerals. It helps roses grow healthy and root quickly.
Take about 3 tablespoons of white rice. Add rice to 200 ml of clean water. Stir gently and let it stand for about 2 hours so nutrients slowly seep into the water.
This creates a light, effective, nutrient-rich solution that young plants love. Keep the liquid clean and simple. Aim for clarity and purity.
For quicker rooting support, see ways to speed up rooting rose branches.
2. Coffee tonic for Rooting Rose Cuttings
Next is pure coffee, rich in antioxidants and trace minerals. It enhances plant vitality, stimulates blooms, and helps colors last longer. Use one teaspoon of pure coffee.
Put it in a cup and pour about 300 ml of boiling water through a filter. Let it sit for a few minutes to fully extract. You now have a wonderful natural tonic that awakens life in every flower.
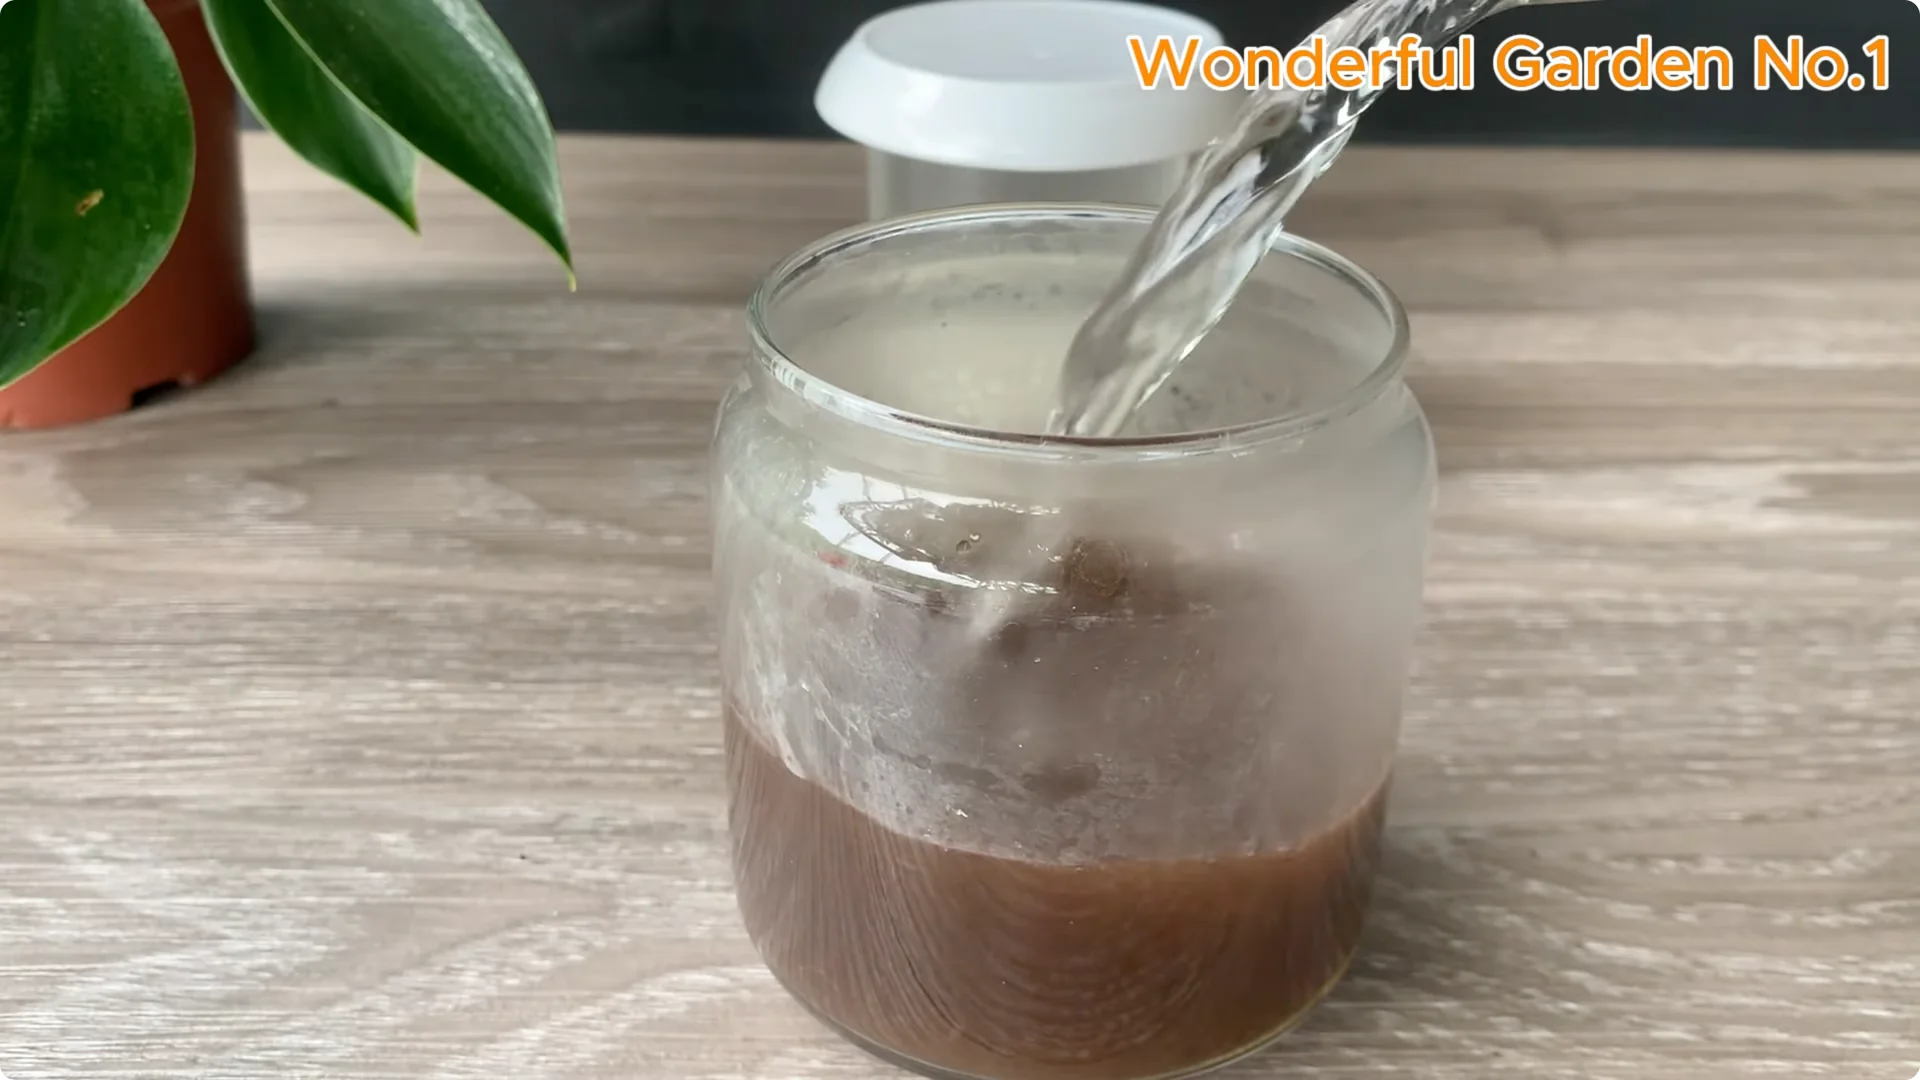
3. Combine and prepare the rooting solution
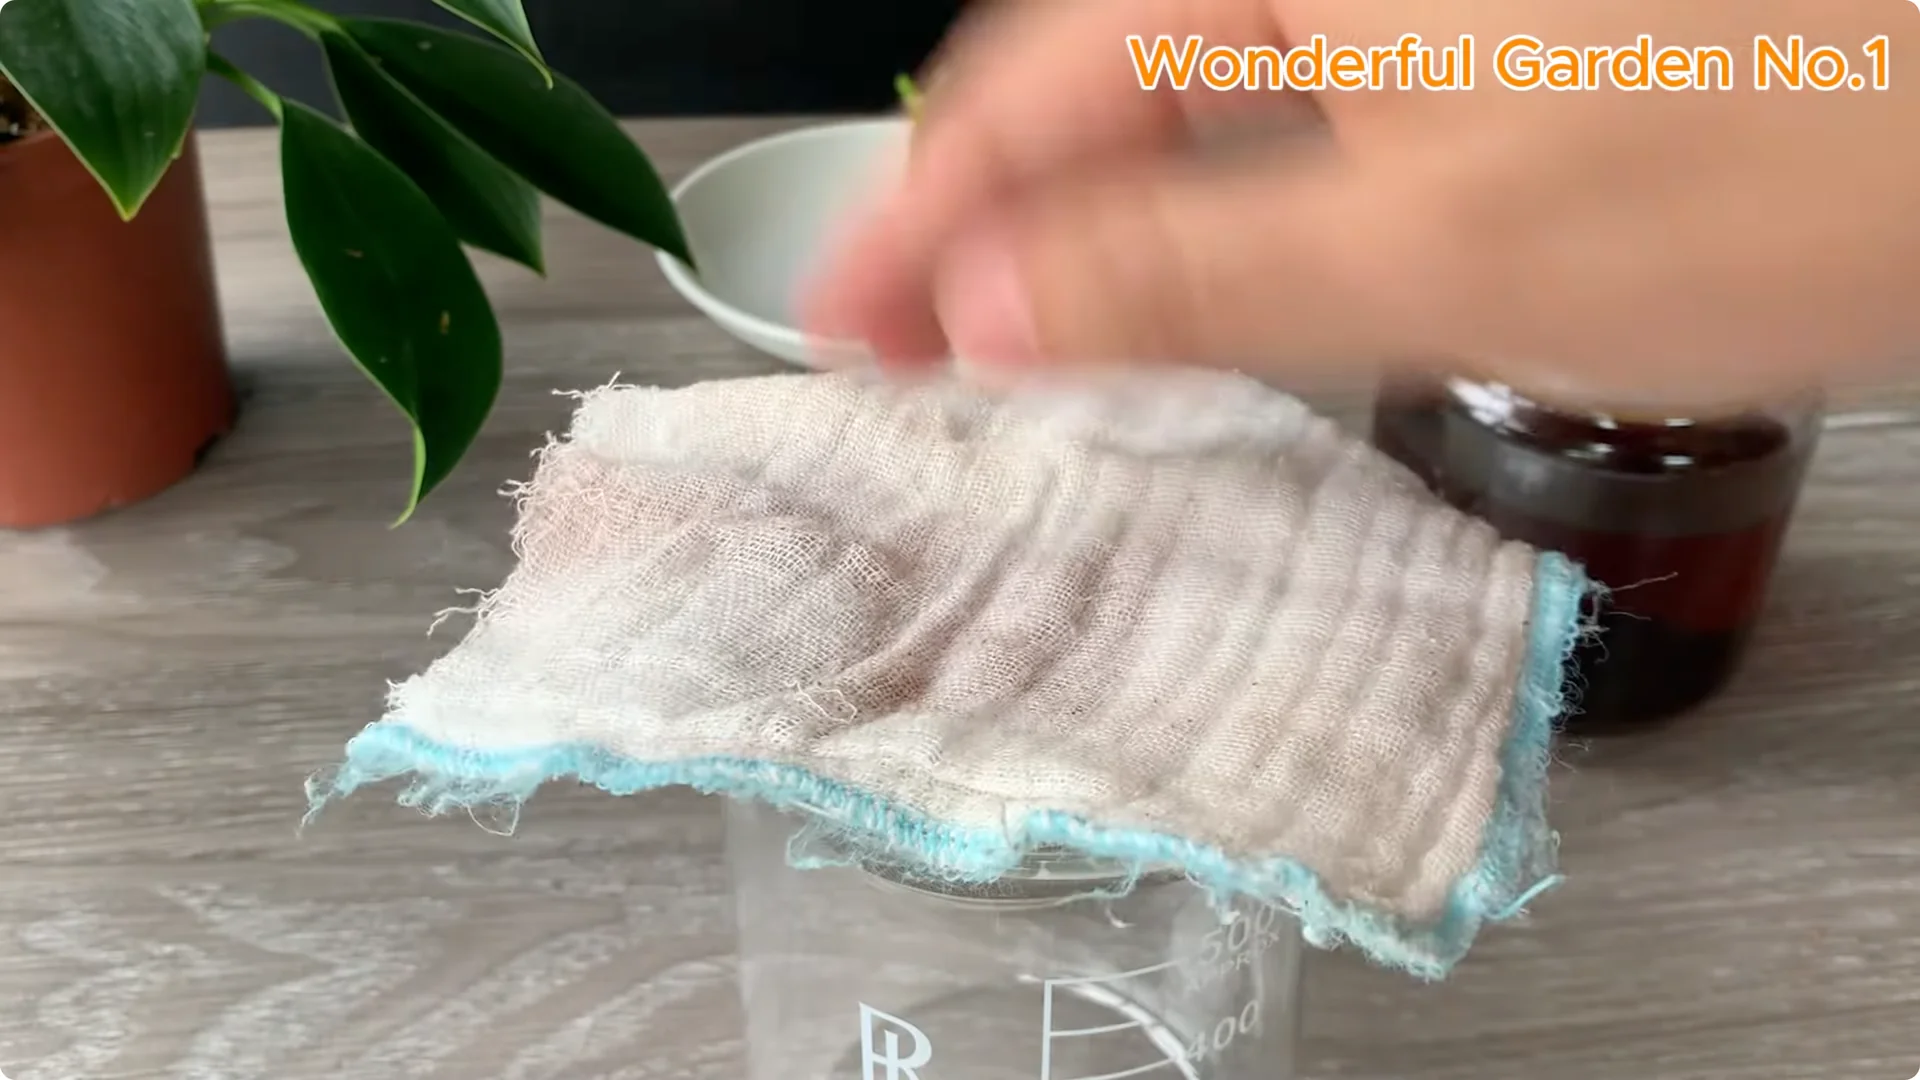
Once both liquids are ready, combine them. Filter out any residue and keep only the clear water. This prevents clogging in the growing medium and limits mold.
Soak the base of the rose stem in the solution for a few minutes. This provides essential nutrients from the start and stimulates early, healthy root growth. It also forms a gentle antibacterial layer that protects the cut from fungus and bacteria during the sensitive early stages.
For an extra boost, try a one spoon method for strong root formation.
4. Prepare the cuttings for Rooting Rose Cuttings
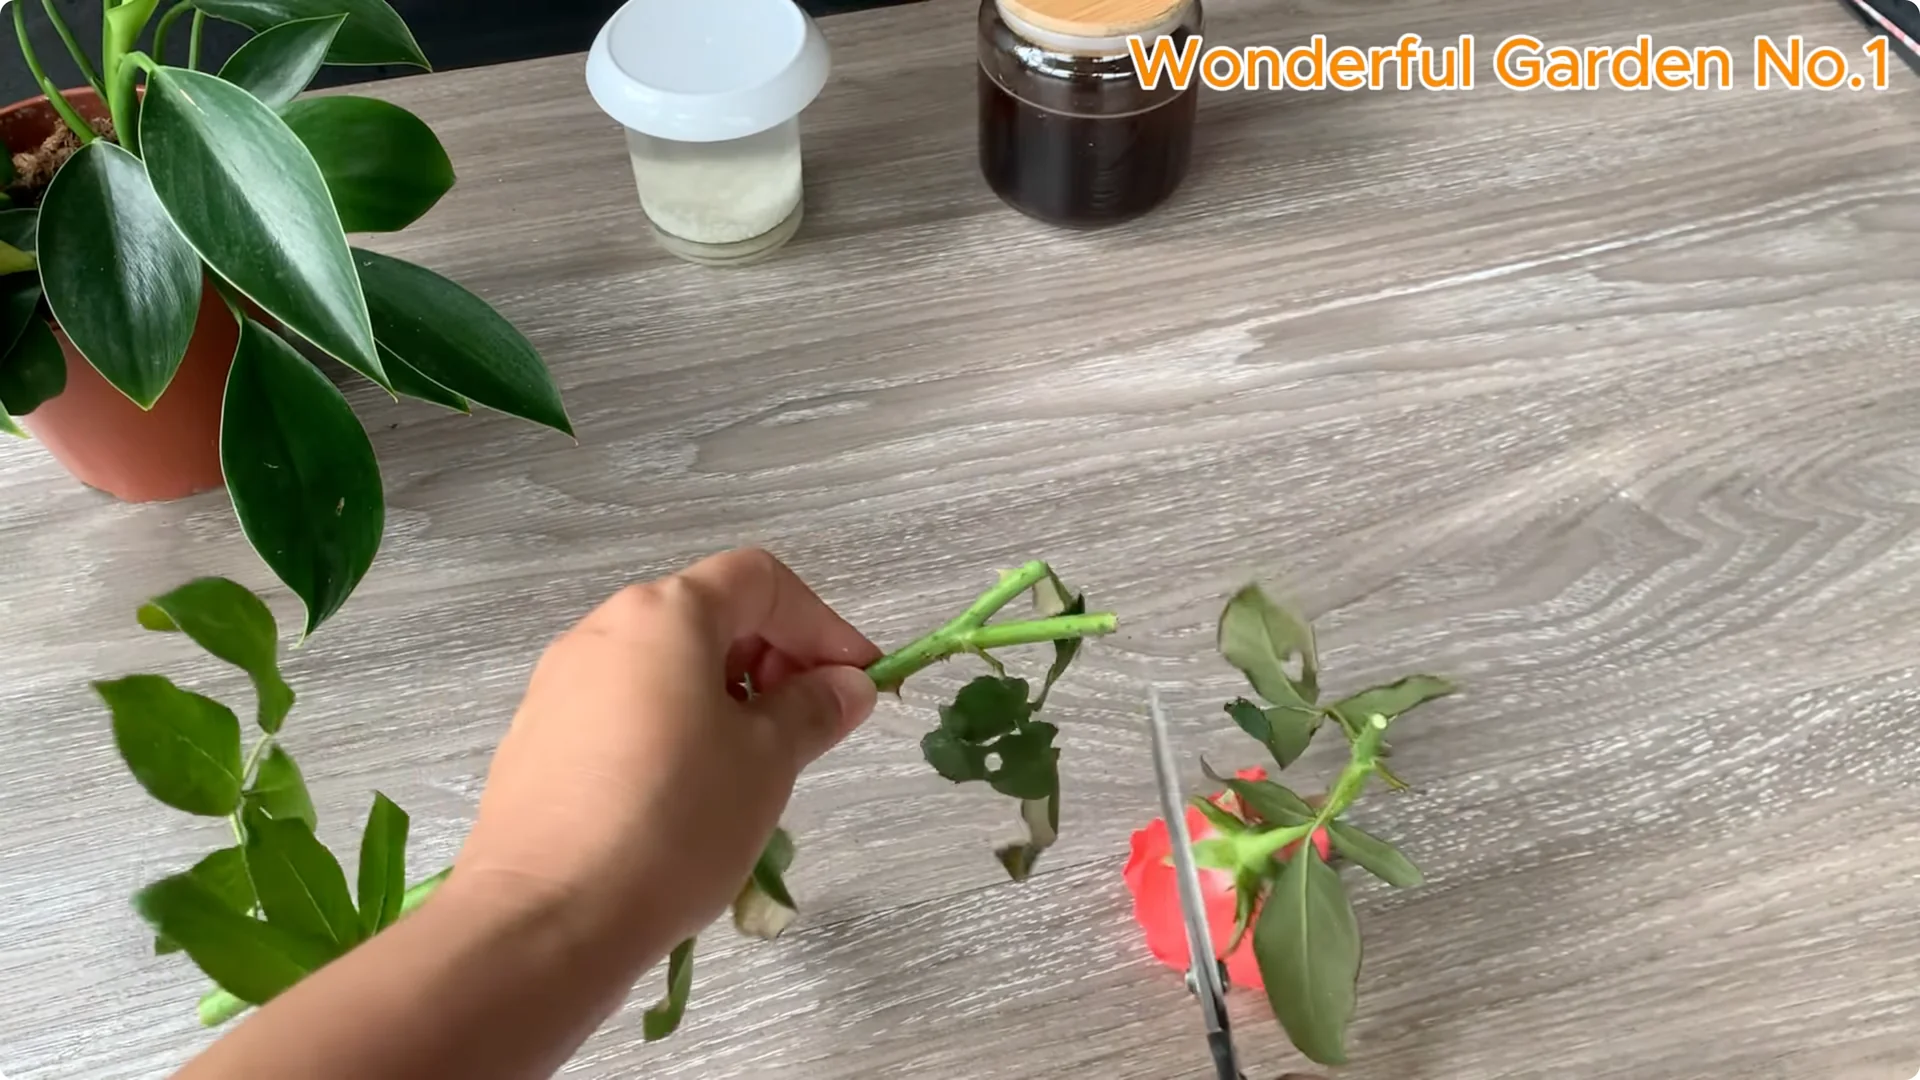
Cut a healthy rose cutting from the mother plant, about 15 to 20 cm long. Gently remove the lower leaves to preserve energy for the dormant buds. Those are the quiet places where life begins.
Use sharp scissors and cut the rose stem at a 45-degree angle. A diagonal cut increases contact with the substrate and improves water and nutrient uptake. It also allows better drainage and helps the cutting root safely.
Clean cuts for Rooting Rose Cuttings
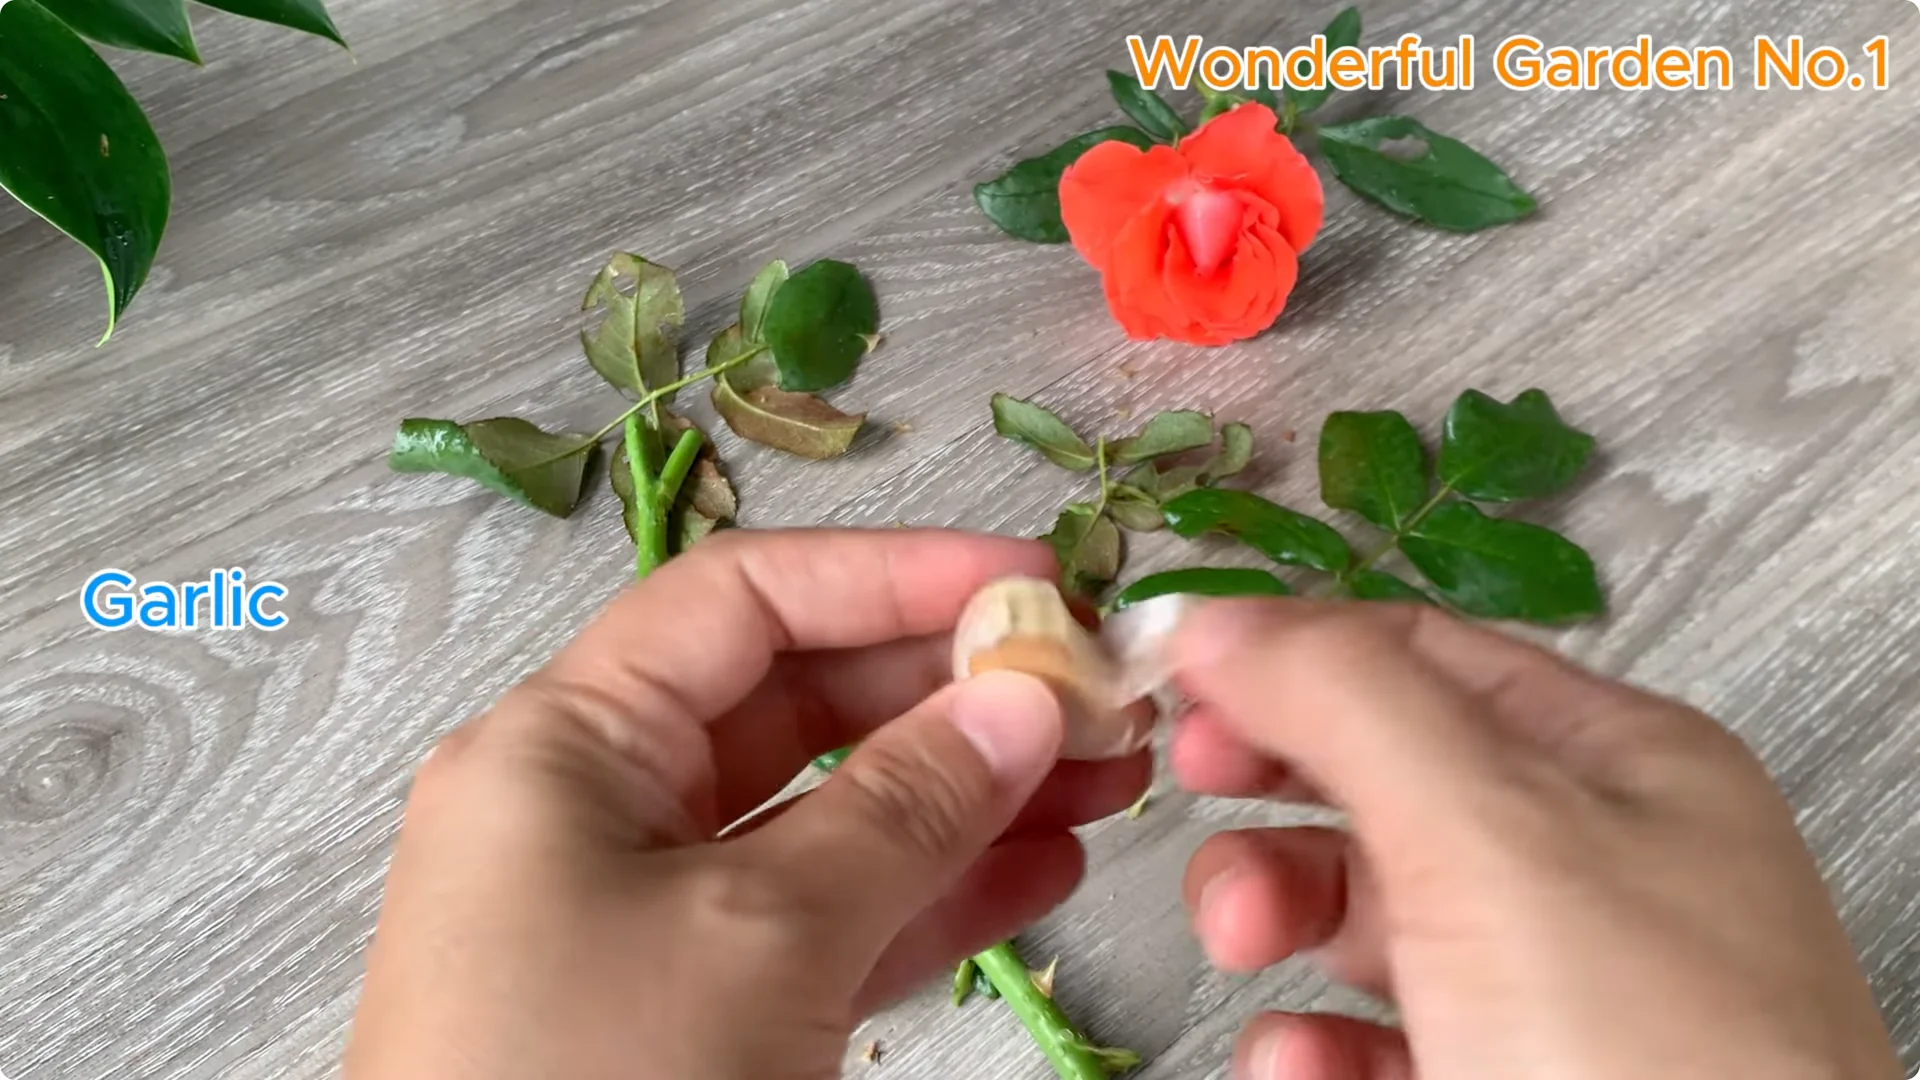
Take a clove of garlic and rub it gently on the cut. This natural step helps fight bacteria, prevent rot, and stimulate faster rooting thanks to garlic’s protective compounds. Stay gentle and thorough.
Lightly apply turmeric powder to the stem. It helps prevent mold and keeps the cut safe from harmful bacteria. The cutting grows healthier and safer in the early stages.
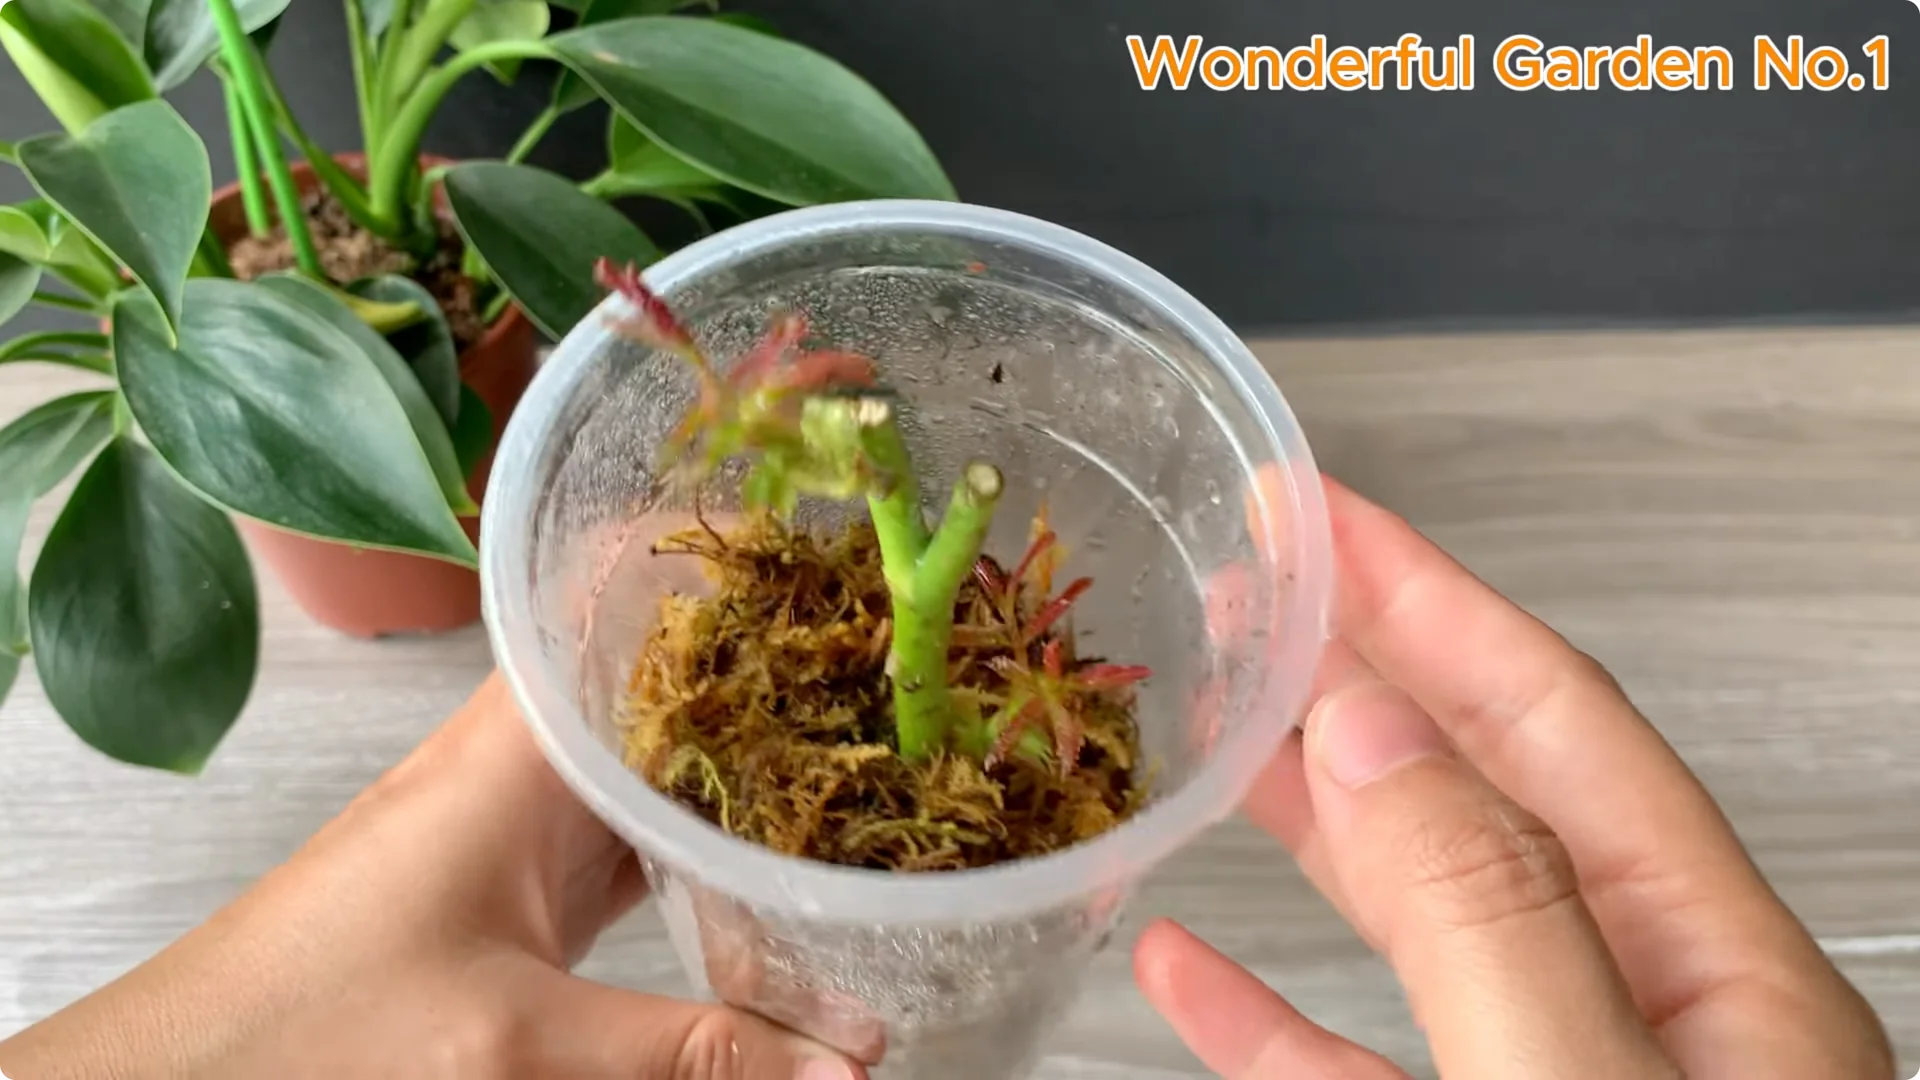
5. Moss medium for Rooting Rose Cuttings
Use moss as the growing medium. It has excellent moisture retention, is naturally breathable, and is very clean. It creates ideal conditions for young roots to form without getting waterlogged or infected.
Before using, soak the moss in the natural rooting solution you mixed. This adds nutrients and softens the moss so it can hug the branch. It creates a soft cradle for new life.
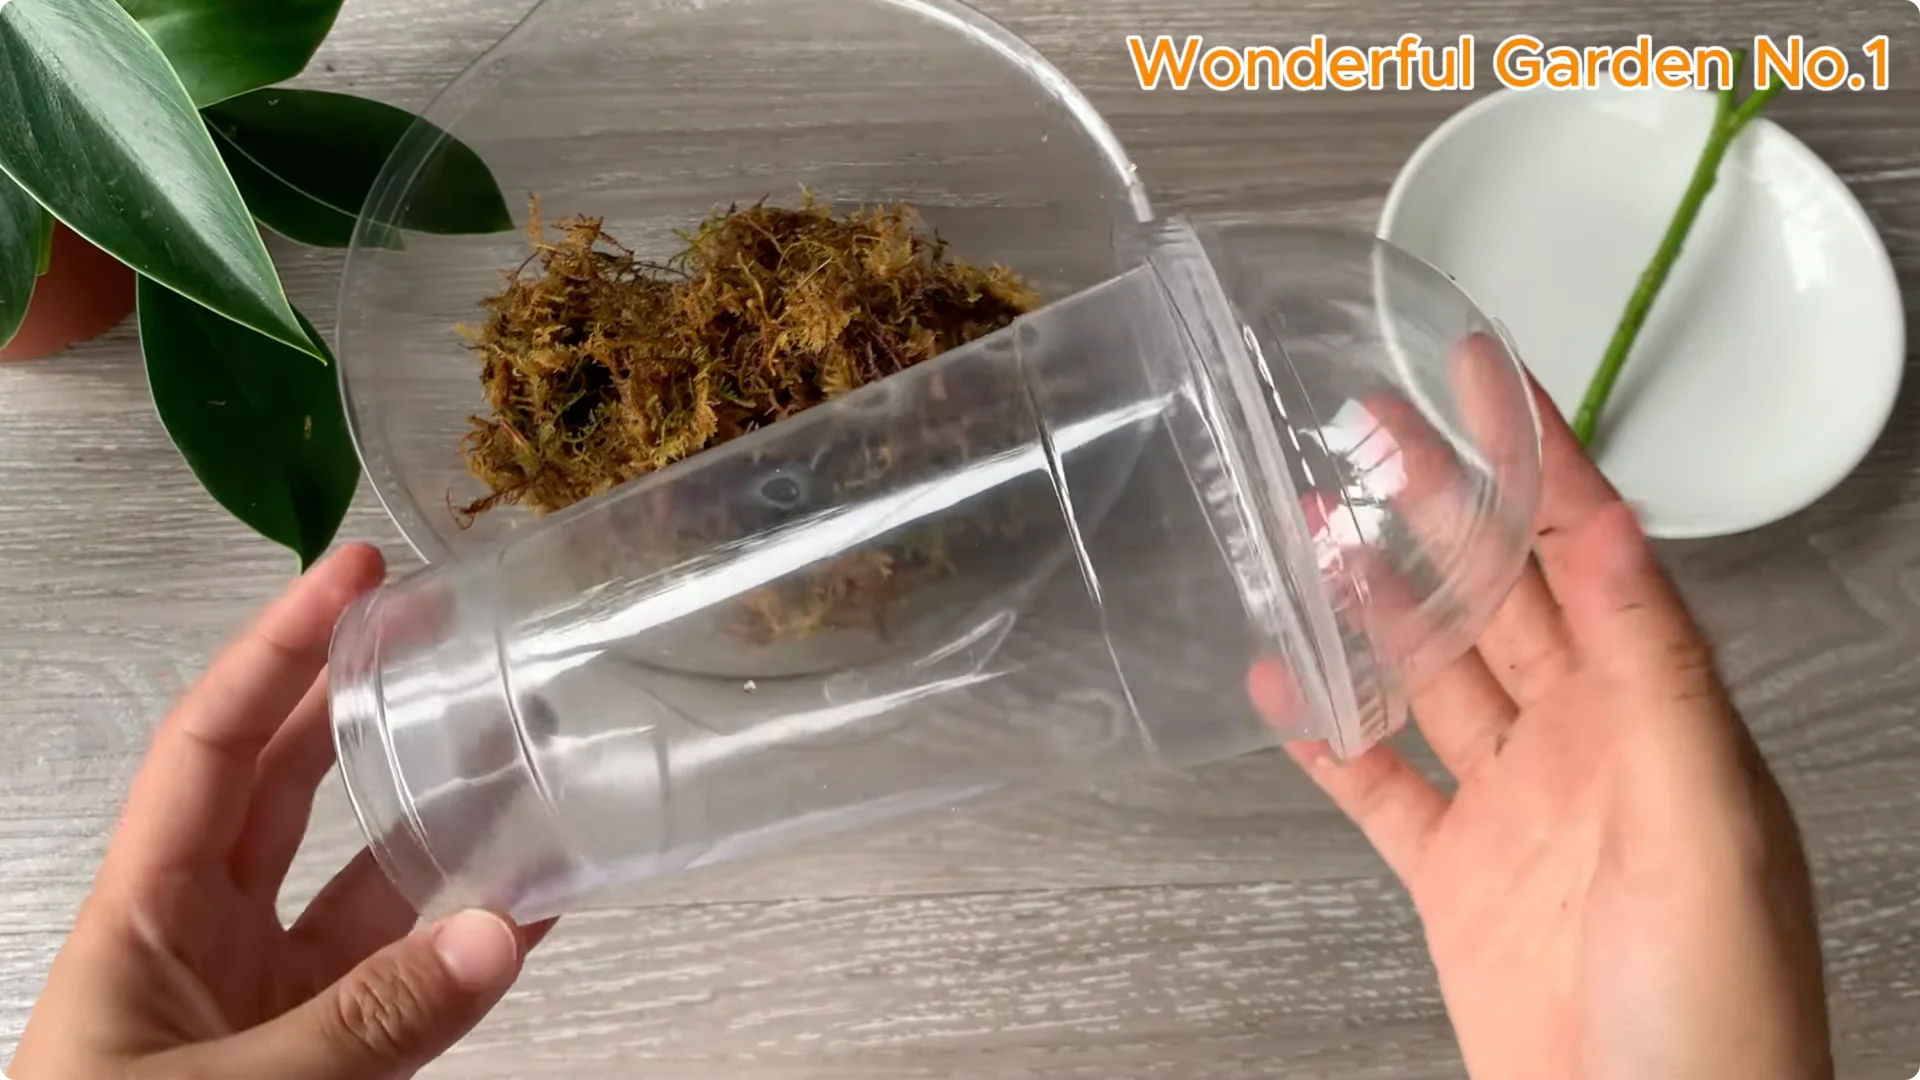
Put the soaked moss in a cup. Distribute it evenly and make sure it has enough moisture. You want a firm, gentle hold around the stem to support quick root development.
If you want another simple aid, see how a single pill can help cuttings grow roots.
6. Mini greenhouse care for Rooting Rose Cuttings
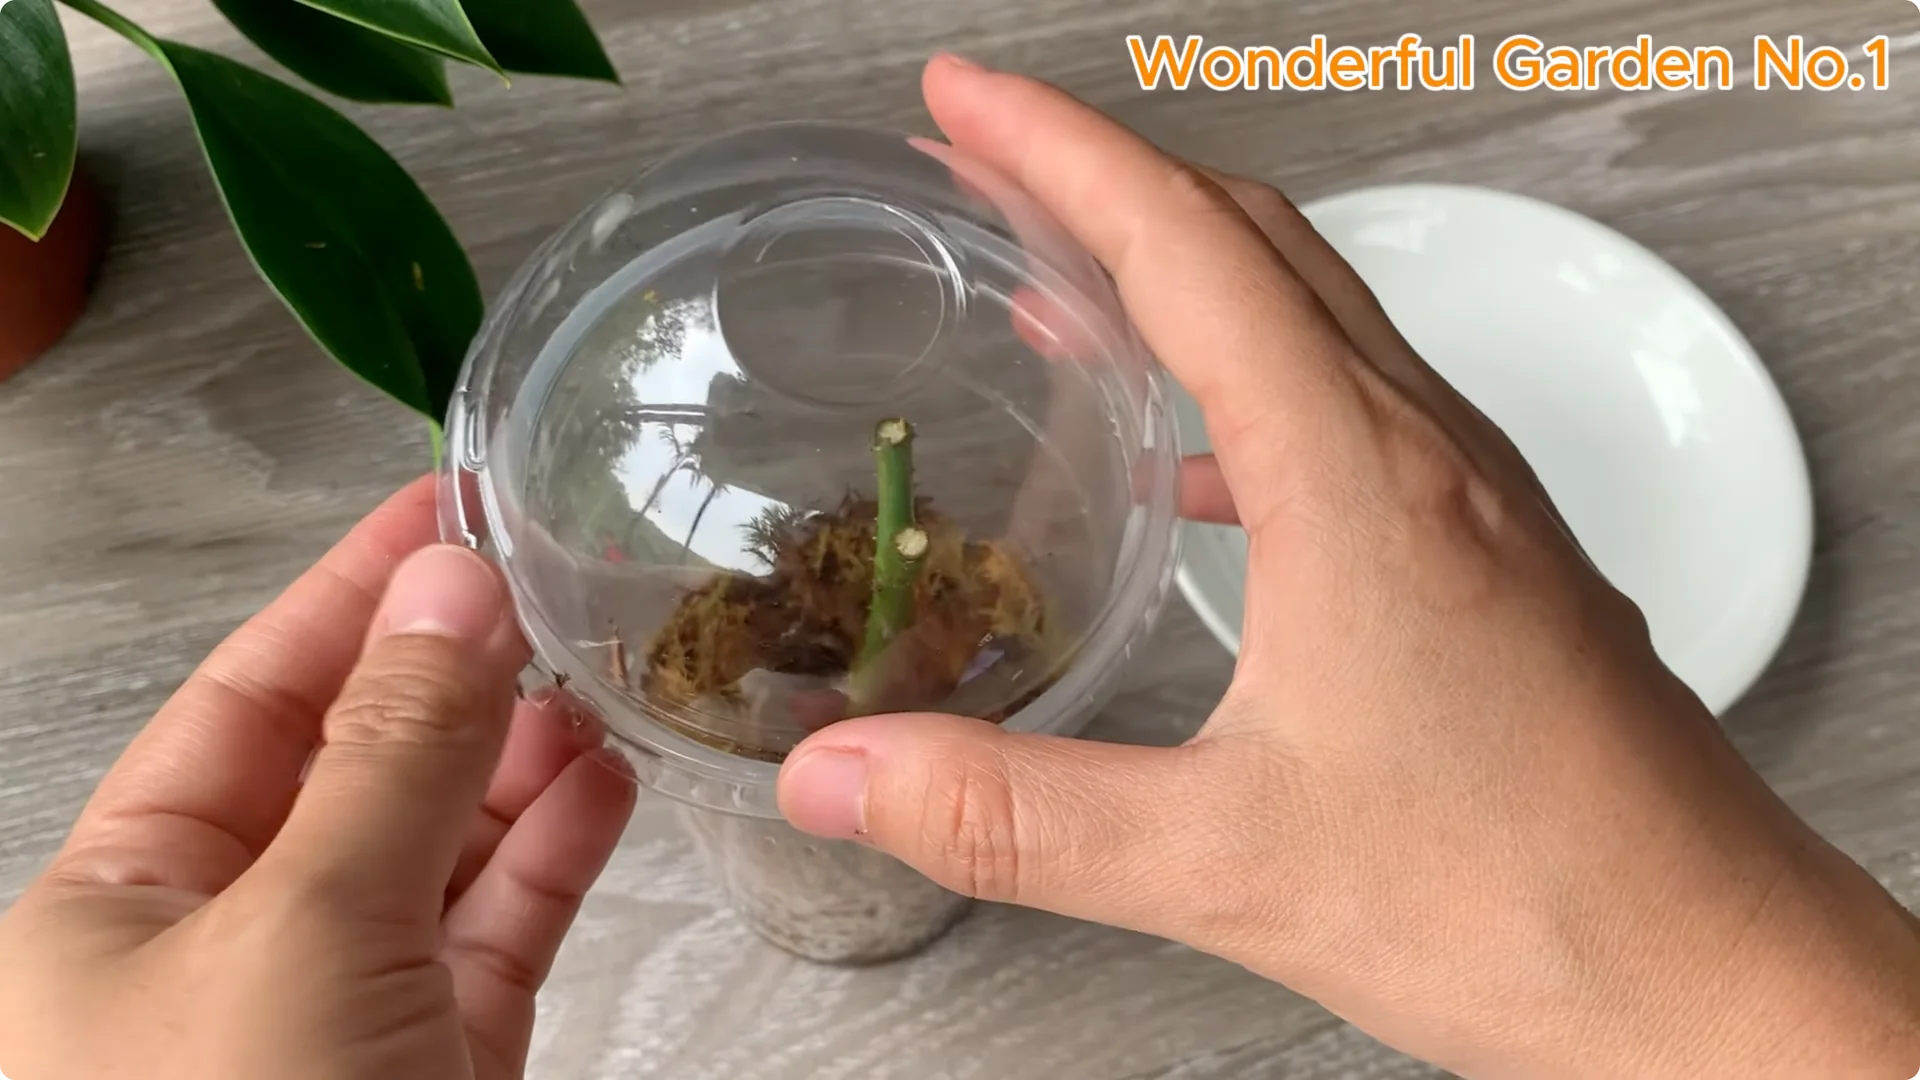
Cover the cup to create a mini greenhouse effect. This helps keep humidity stable and maintains a warm temperature. It gives the cutting a calm, steady environment to root.
Place the cup in soft light and avoid direct sunlight. Prevent dehydration or heat shock by keeping humidity moderate. Mist lightly each day, and avoid conditions that are too dry or too wet.
Open the lid several times a day to ventilate. This prevents mold and refreshes the air. Gentle airflow keeps the cutting comfortable.
7. Early signs in Rooting Rose Cuttings
With careful care, you will see small buds. The first buds slowly emerge from dormant points, green and soft like a promise of growth. Celebrate each tiny change.
At the same time, the root system develops inside the substrate. Thin, soft white roots gradually become stronger and grow deeper. They search for nutrients and water with quiet purpose.
As shoots and roots develop together, the cutting stabilizes. It becomes stronger and prepares to enter a mature stage. Bright, colorful blooms are on the horizon.
8. Potting up and acclimation for Rooting Rose Cuttings

Once the roots are strong and shoots begin to develop, transfer the cutting to a larger pot. Give the roots more room to expand. Keep the same gentle moisture and light.
After one to two weeks of acclimation, plant it in garden soil. Let it continue to thrive outdoors. Care and patience turn a small stem into a flourishing rose.
Final thoughts
With natural, friendly ingredients and a little patience, you can propagate healthy rose cuttings. Rice, coffee, garlic, turmeric, and moss form a simple path to success. May every new root carry a love song of nature into your garden.