If you’ve ever felt intimidated by the delicate beauty of clematis vines, you are not alone. Many gardeners admire these stunning vines from afar, convinced they are too tricky and fragile to grow. But clematis can thrive in your garden with just a few insider tips.
I am going to share five things you may not know about growing clematis to help reduce the stress and intimidation often associated with growing these queens of flowering vines. Each tip builds confidence and leads to better blooms. Let’s begin.
1. Types – Clematis Growing Tips
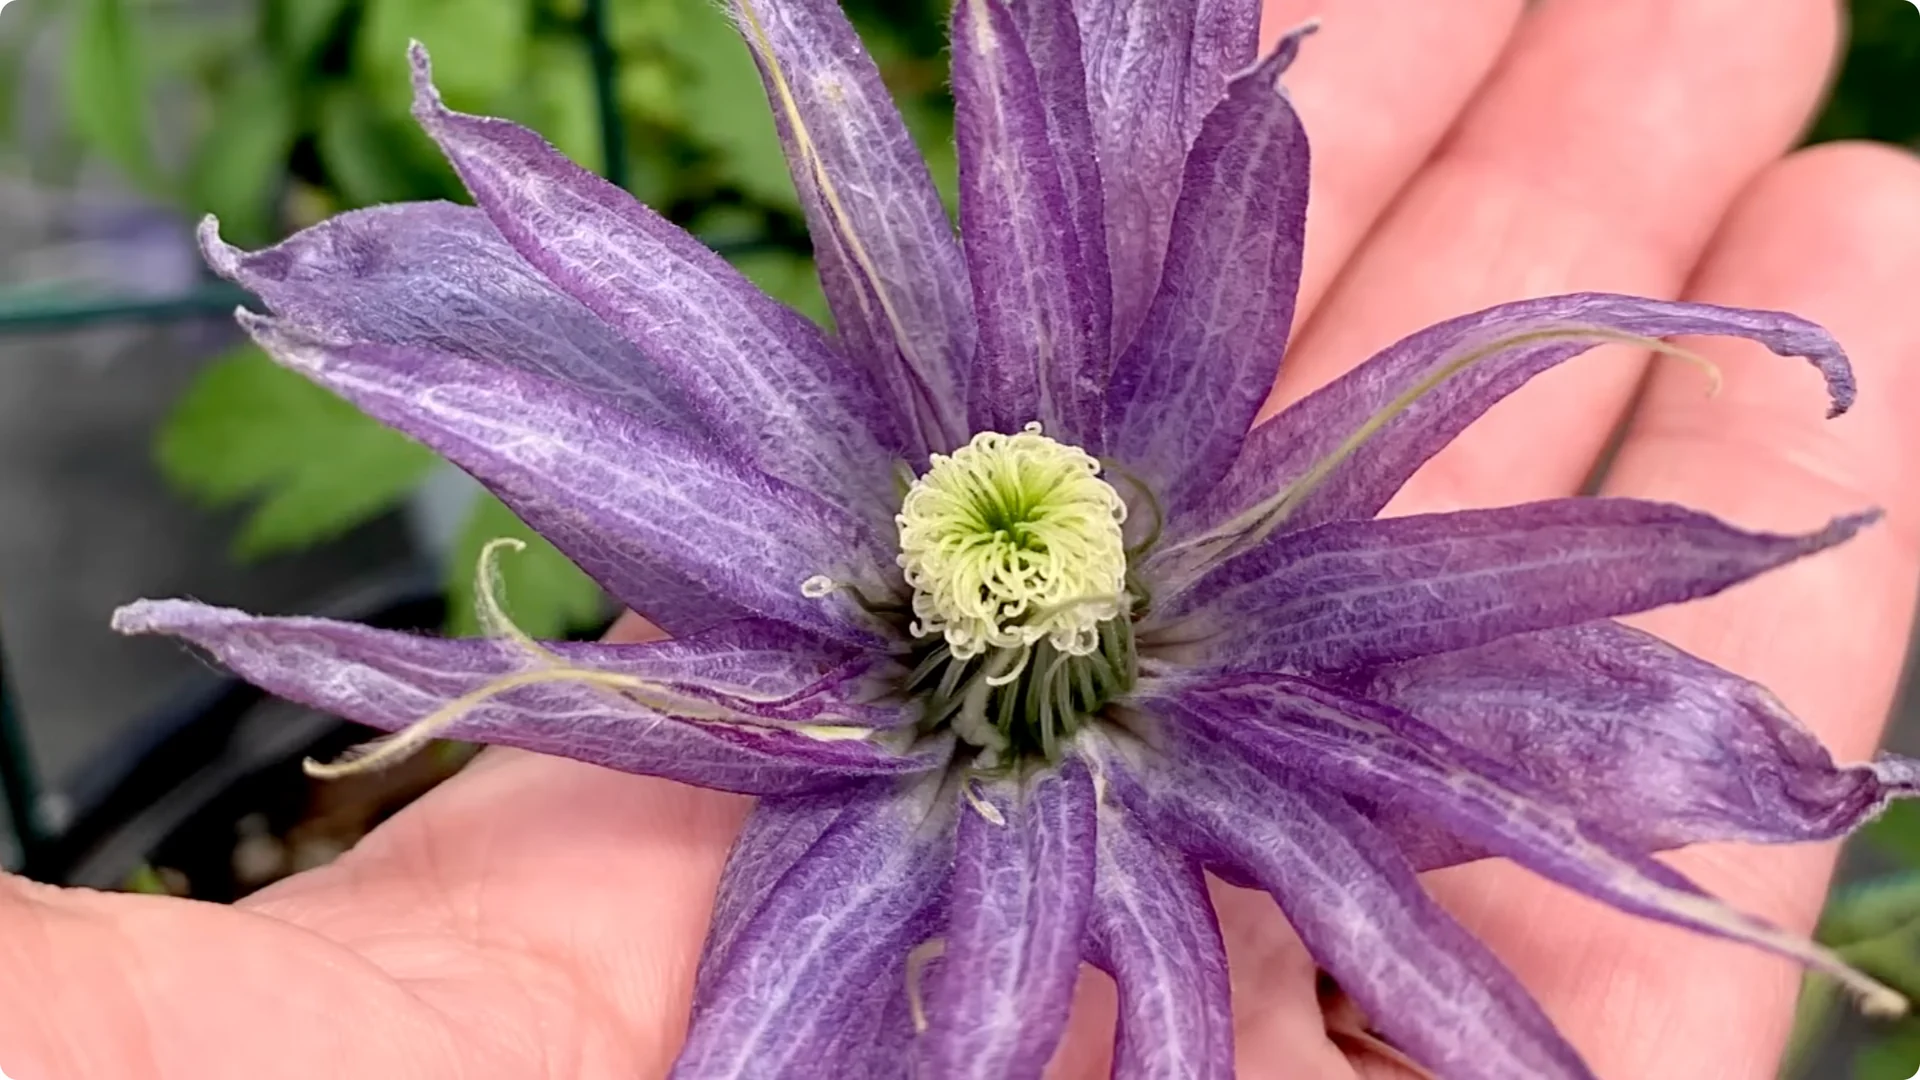
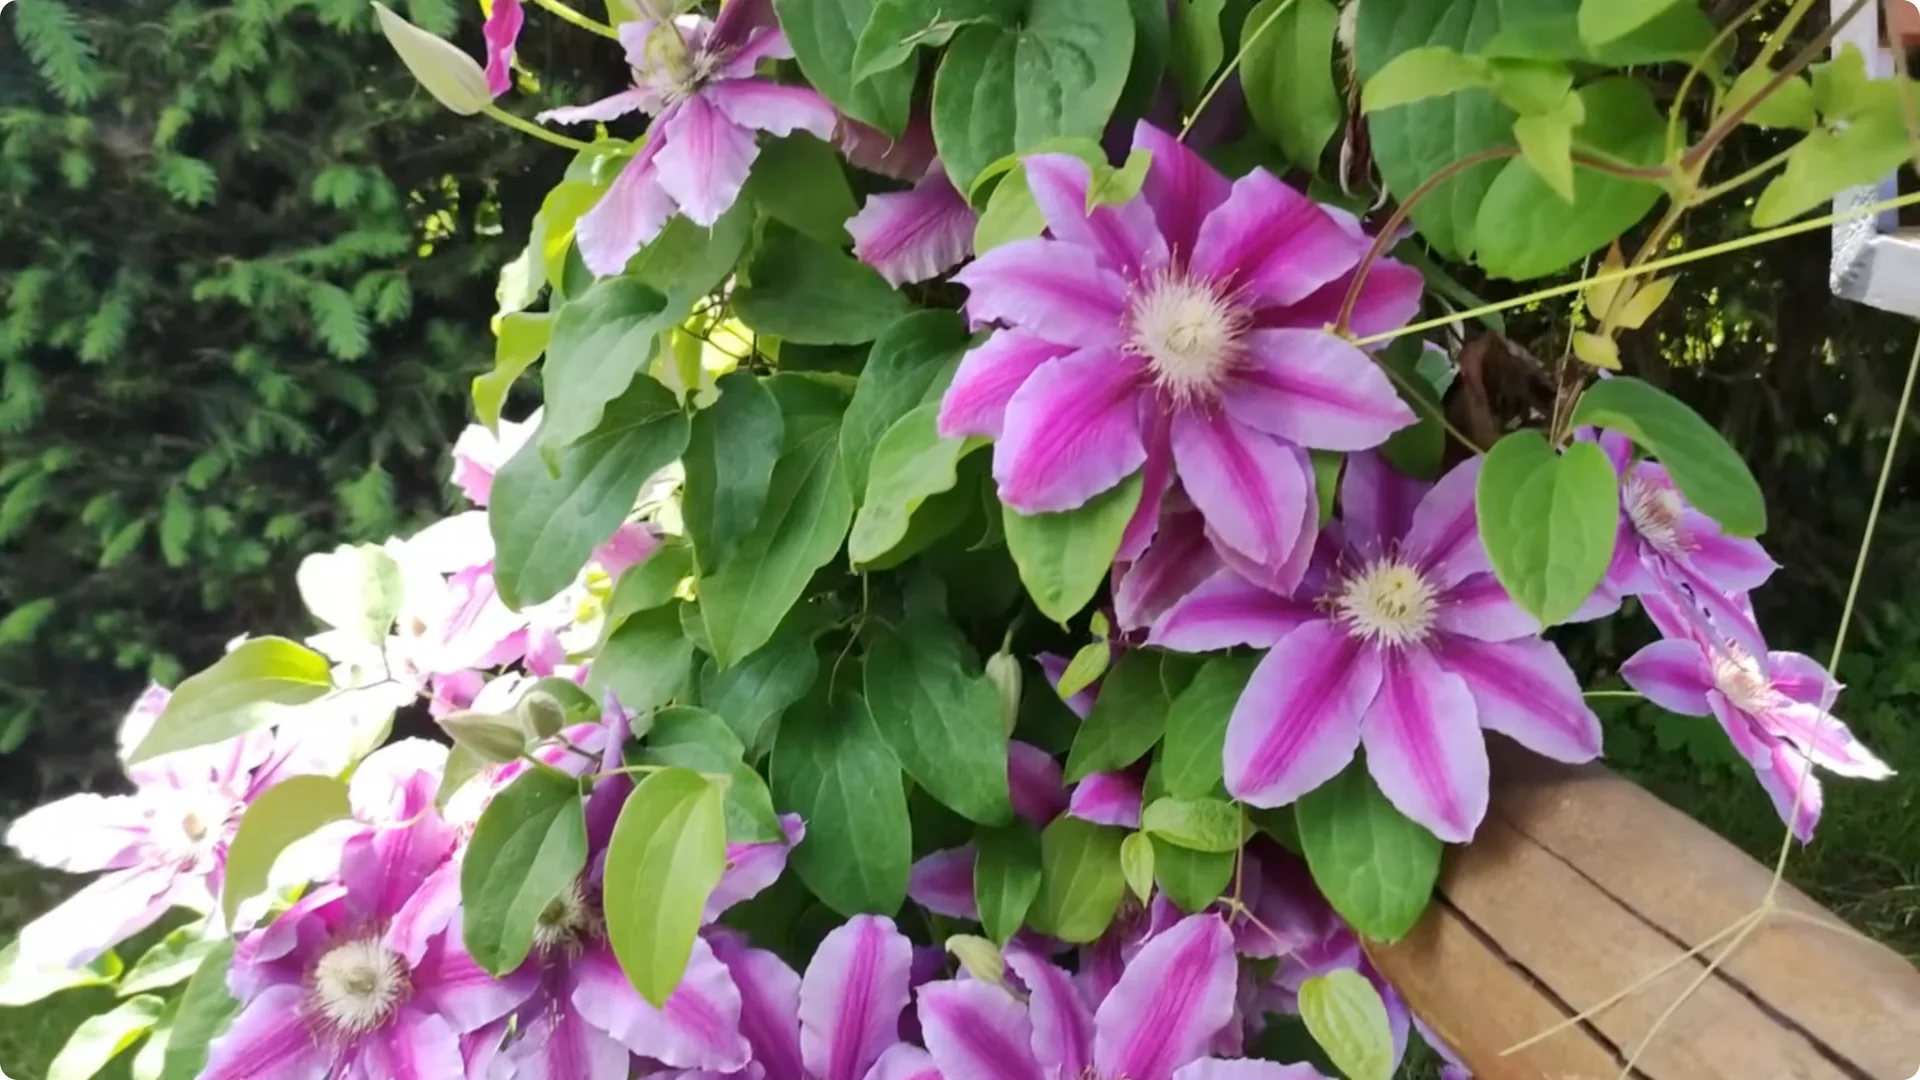
Clematis are available in a wide range of species, varieties, and forms, including bushy, dwarf, tall, and vining types. Knowing the differences can help you select the perfect one, or two for your garden. They are broadly categorized into groups based on their blooming periods and growth habits.
You can find them with blooms ranging from small and abundant to large and unique, up to 6″ across or more. Clematis vines are available in every shade of the rainbow, featuring a variety of flower forms such as flat, star-shaped, bell-shaped, and both single and double blooms. Some can bloom early on old wood and then bloom again on new wood, while others bloom later in the season.
Some even showcase an extended bloom time such as Sweet Summer Love, and the most popular variety of all time, Jackmanii. My Clematis Josephine is one of the many re-blooming types that begins its show in early May into June with a rebloom later in the season after cutting the plant back by half. This not only controls its overall growth but also encourages new flower buds to develop.
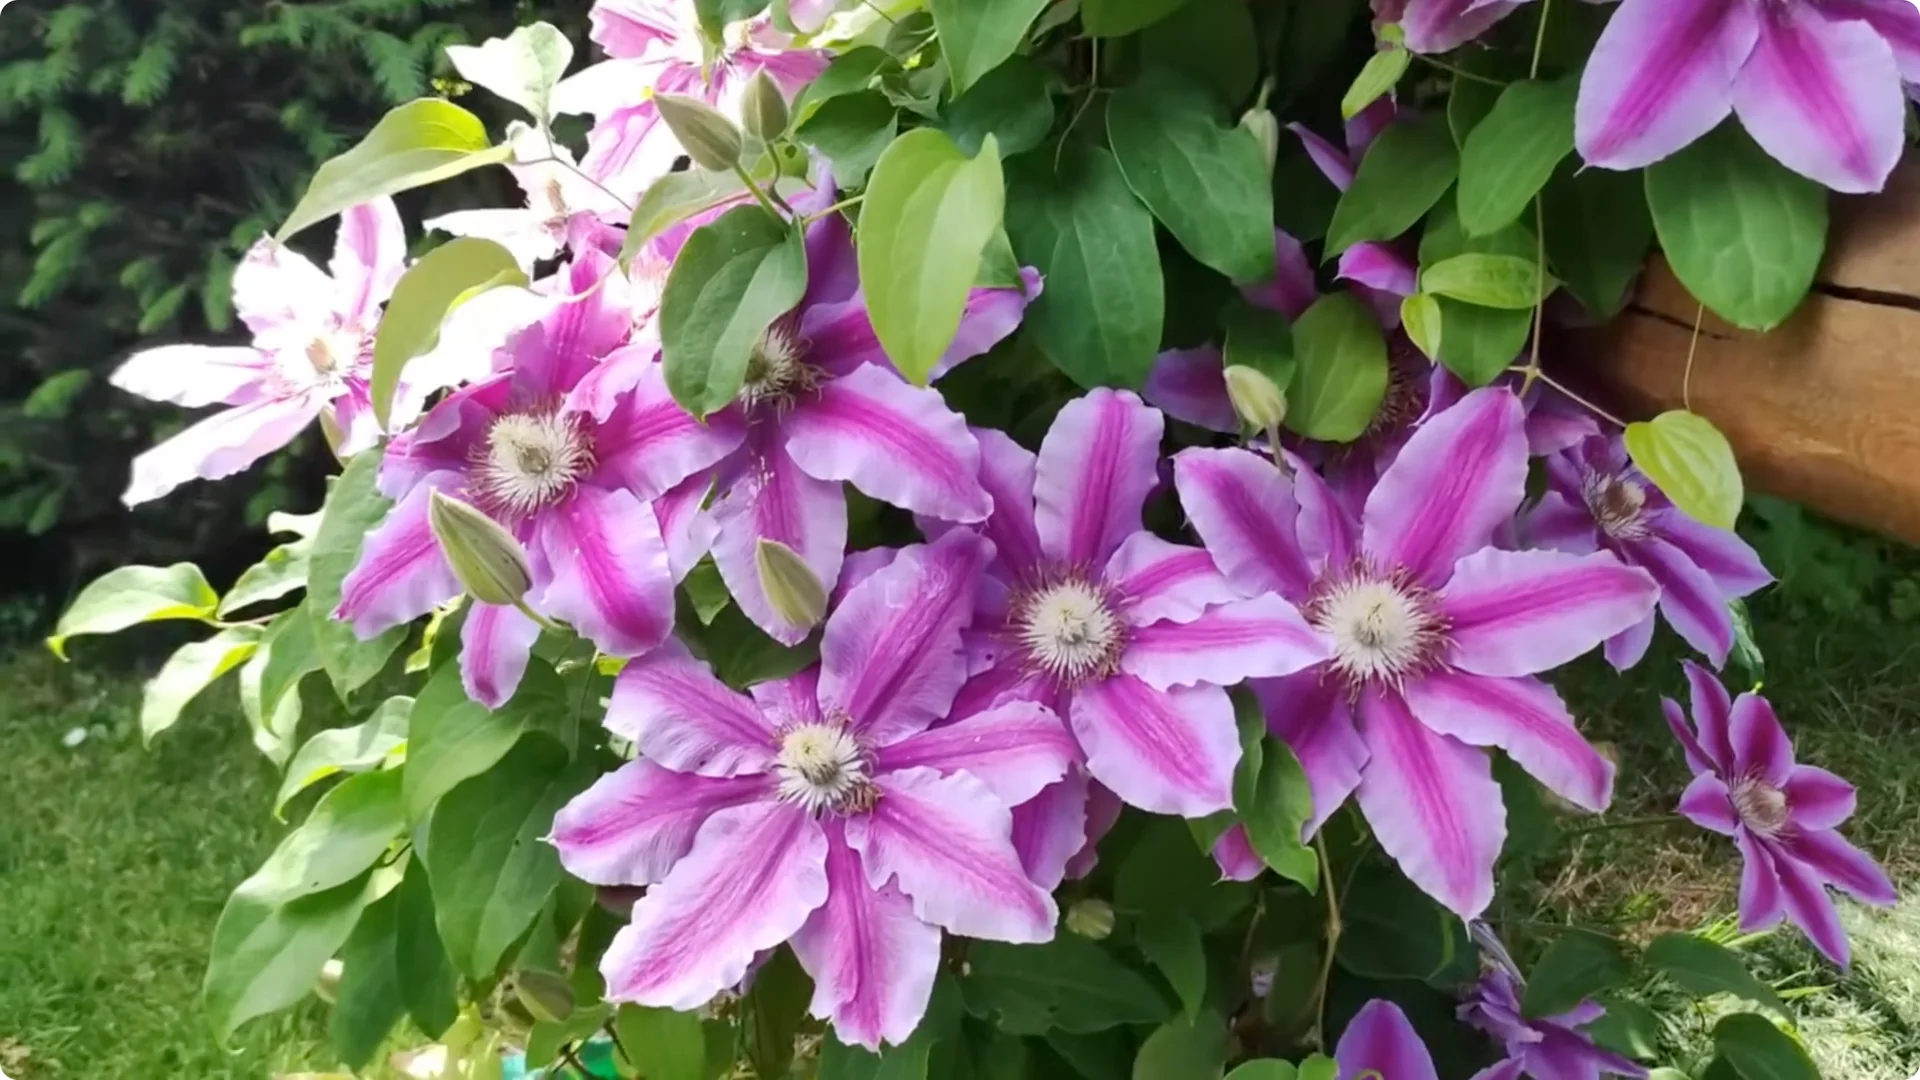
Another option for some are bush clematis that form a small hedge. In my garden, Clematis Chloe puts on a show for months on end and the reblooming power will amaze you. I do still offer a support trellis to keep it contained within the garden, but feel free to let this group run loose or even grow up an evergreen hedge.
Each type of clematis brings its own unique beauty and charm. Plant several different varieties in your garden to enjoy them for an extended period of time. You will love the variety of flowers and bloom windows.
Read More: Grow 100 Rose Roots Overnight
2. Pruning – Clematis Growing Tips
During my 20-year span as a manager of a local garden center, questions about clematis pruning came up daily. However, it is not as complicated as it may seem. Clematis vines have specific pruning requirements that relate to the timing and manner of pruning.
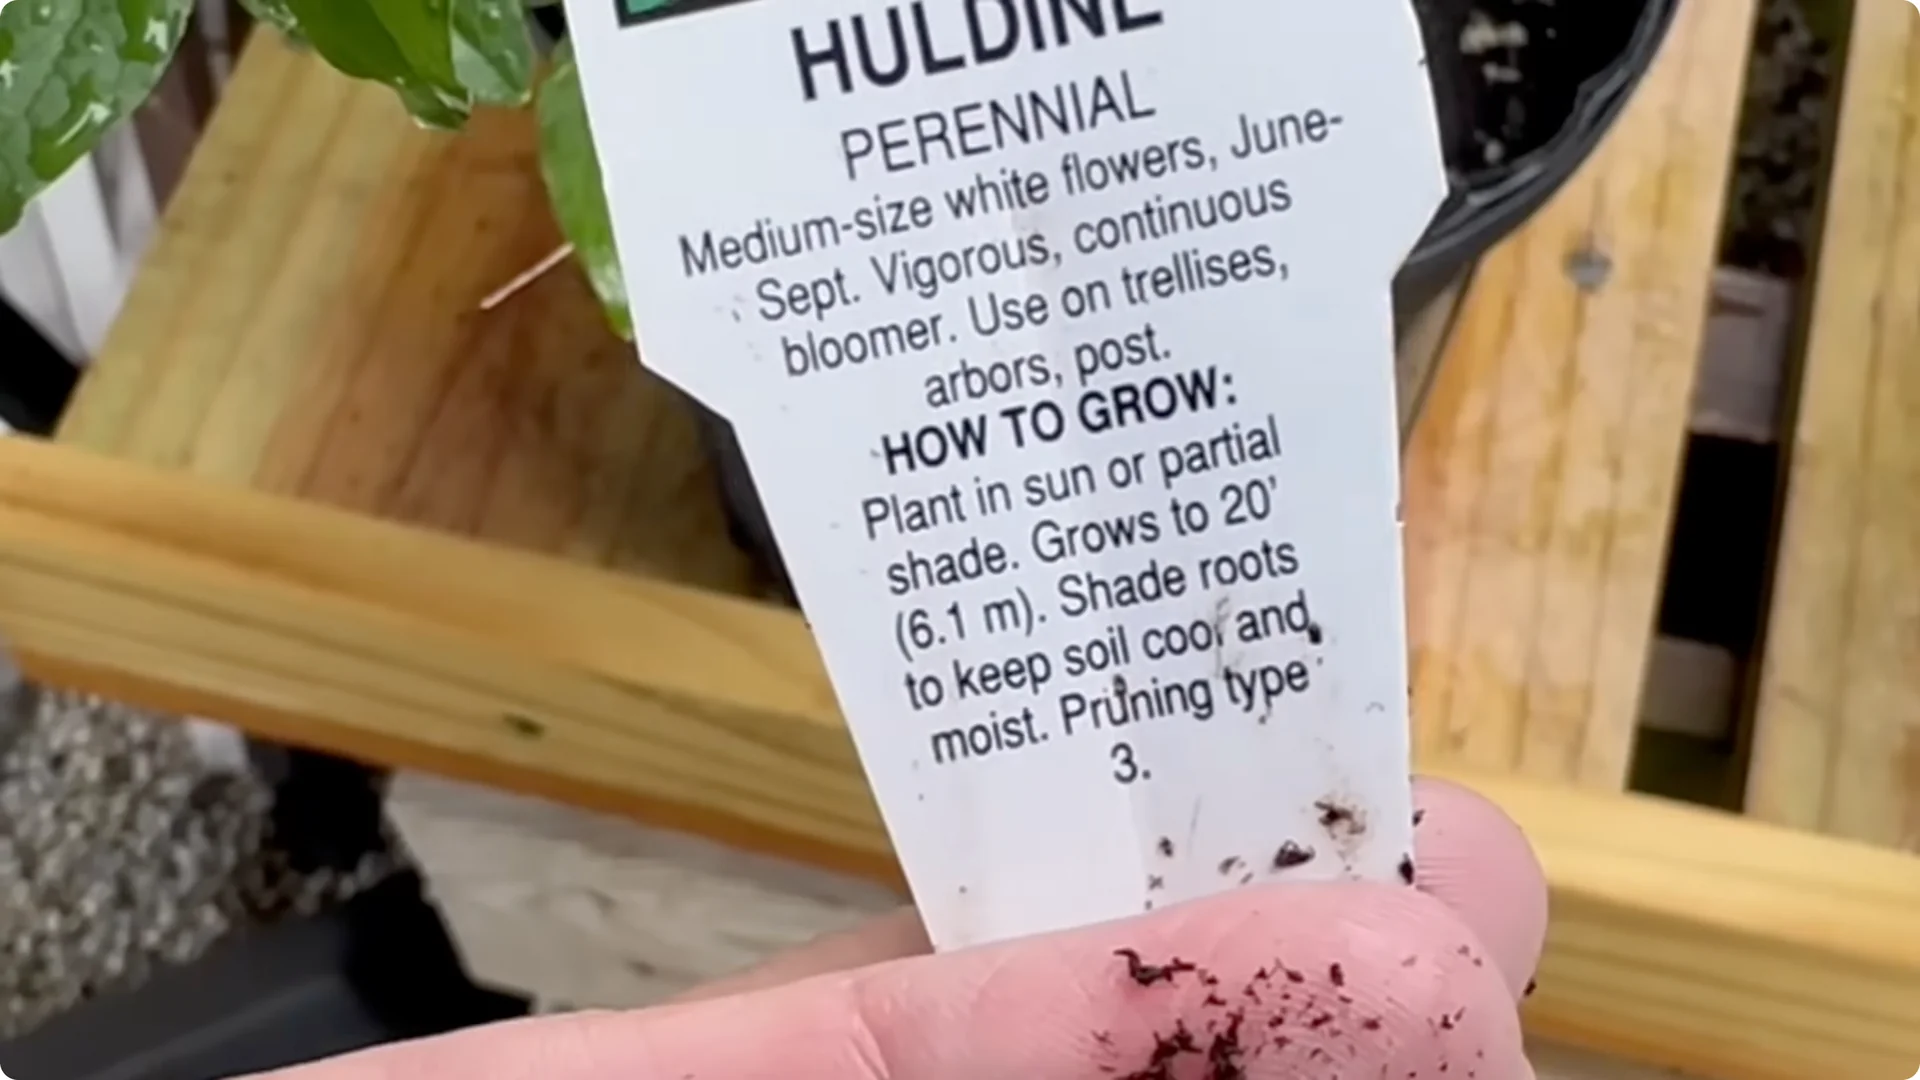
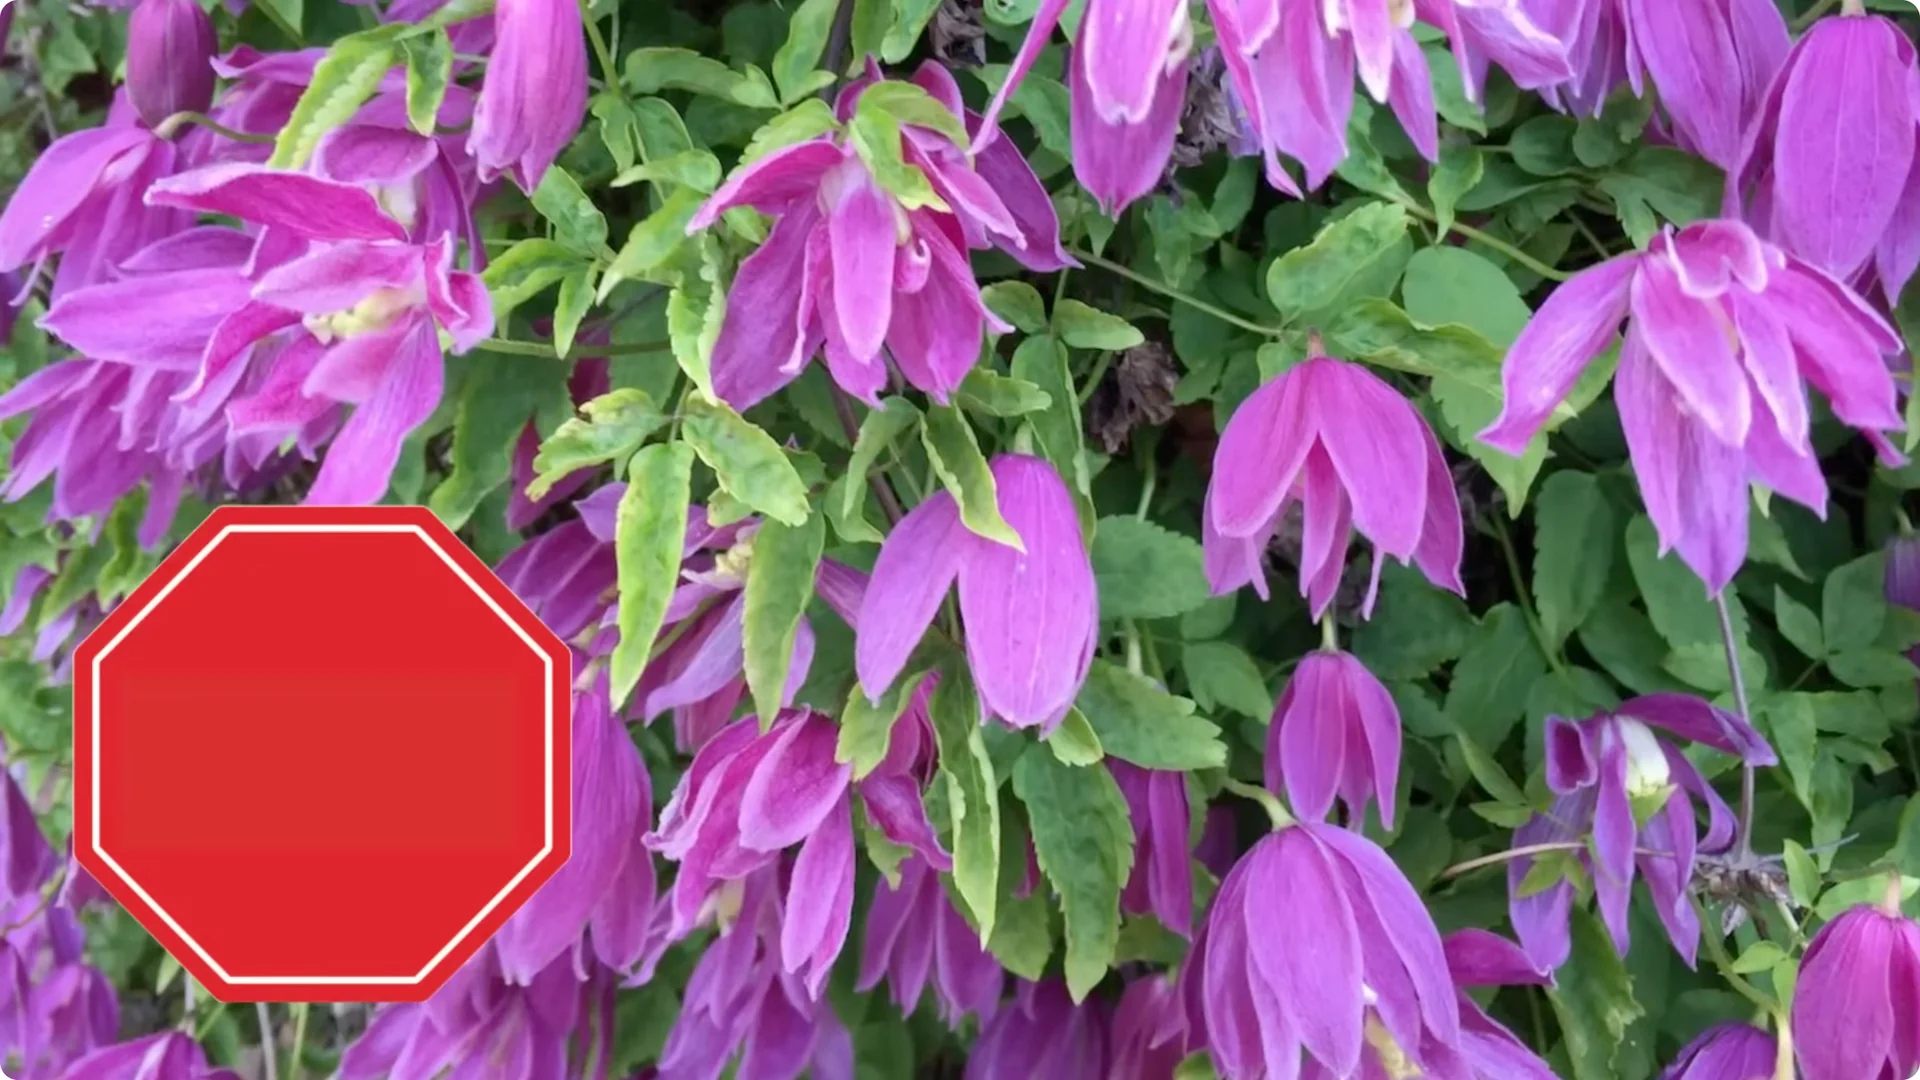
Knowing which type of clematis you have will help you achieve the best success. When shopping for clematis vines, you may notice signs around the plants indicating specific pruning techniques for the three main groups of clematis usually referred to as A, B, C or 1, 2, 3. I learned a trick from clematis expert Deborah Hardwick who grows thousands of cultivars in her central Ohio garden.
She suggested replacing the corresponding letters or numbers with that of a traffic light. A red light means stop, a yellow light means slow and a green light means go. This simple cue keeps pruning stress free.
Traffic light trick

Use green for cut-back, yellow for caution, and red for wait-to-prune. Match your plant’s group to the light. Then follow the timing below.
Group C (#3)
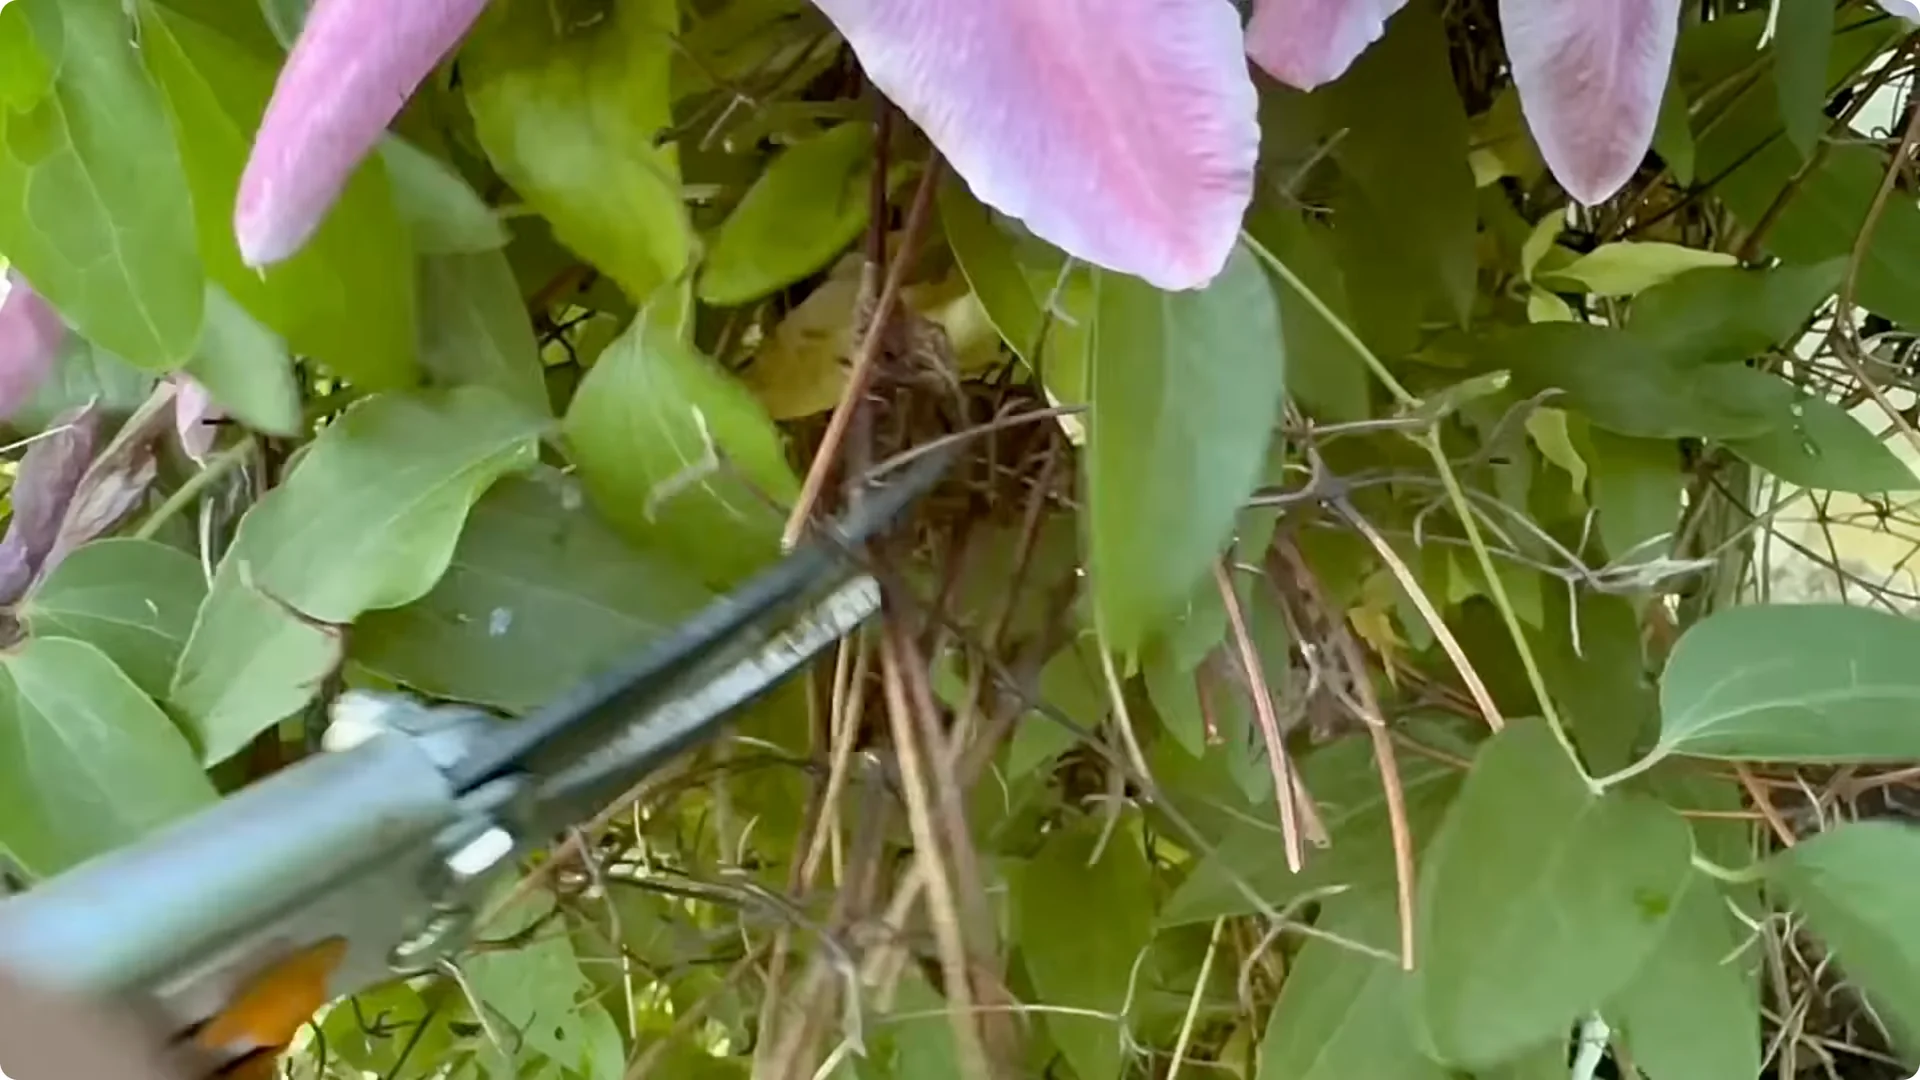
Group C corresponds to the green light. These types are vigorous bloomers that flower on current season’s growth. You can prune them as often and as hard as you like.
Your best option is to cut the vines back to the ground in early spring. This resets growth and concentrates blooms on new shoots. It also keeps plants tidy and manageable.
Group B (#2)
Group B corresponds to the yellow light. You may find more of this type available as it is preferred by many gardeners. Not only will it flower on new growth, but larger flowers can also bloom on older stems.
They should be pruned cautiously. In springtime, trim away dead and weak stems, then shorten the remaining ones to just above the topmost pair of robust, healthy green buds. This could be anywhere from just a few inches to a foot or two from the base of the plant.
Group A (#1)
Group A corresponds to the red light. Plants in this group bloom early in the spring from buds formed the prior season. Stop and wait to prune until after flowers fade.
If you prune too early, the buds would be removed. It is best to wait until after the first flush of bloom fades but no later than mid summer. This allows the plant to form new buds for the next season.
Read More: Just Tea Orange Rose Grow Roots
3. Support – Clematis Growing Tips
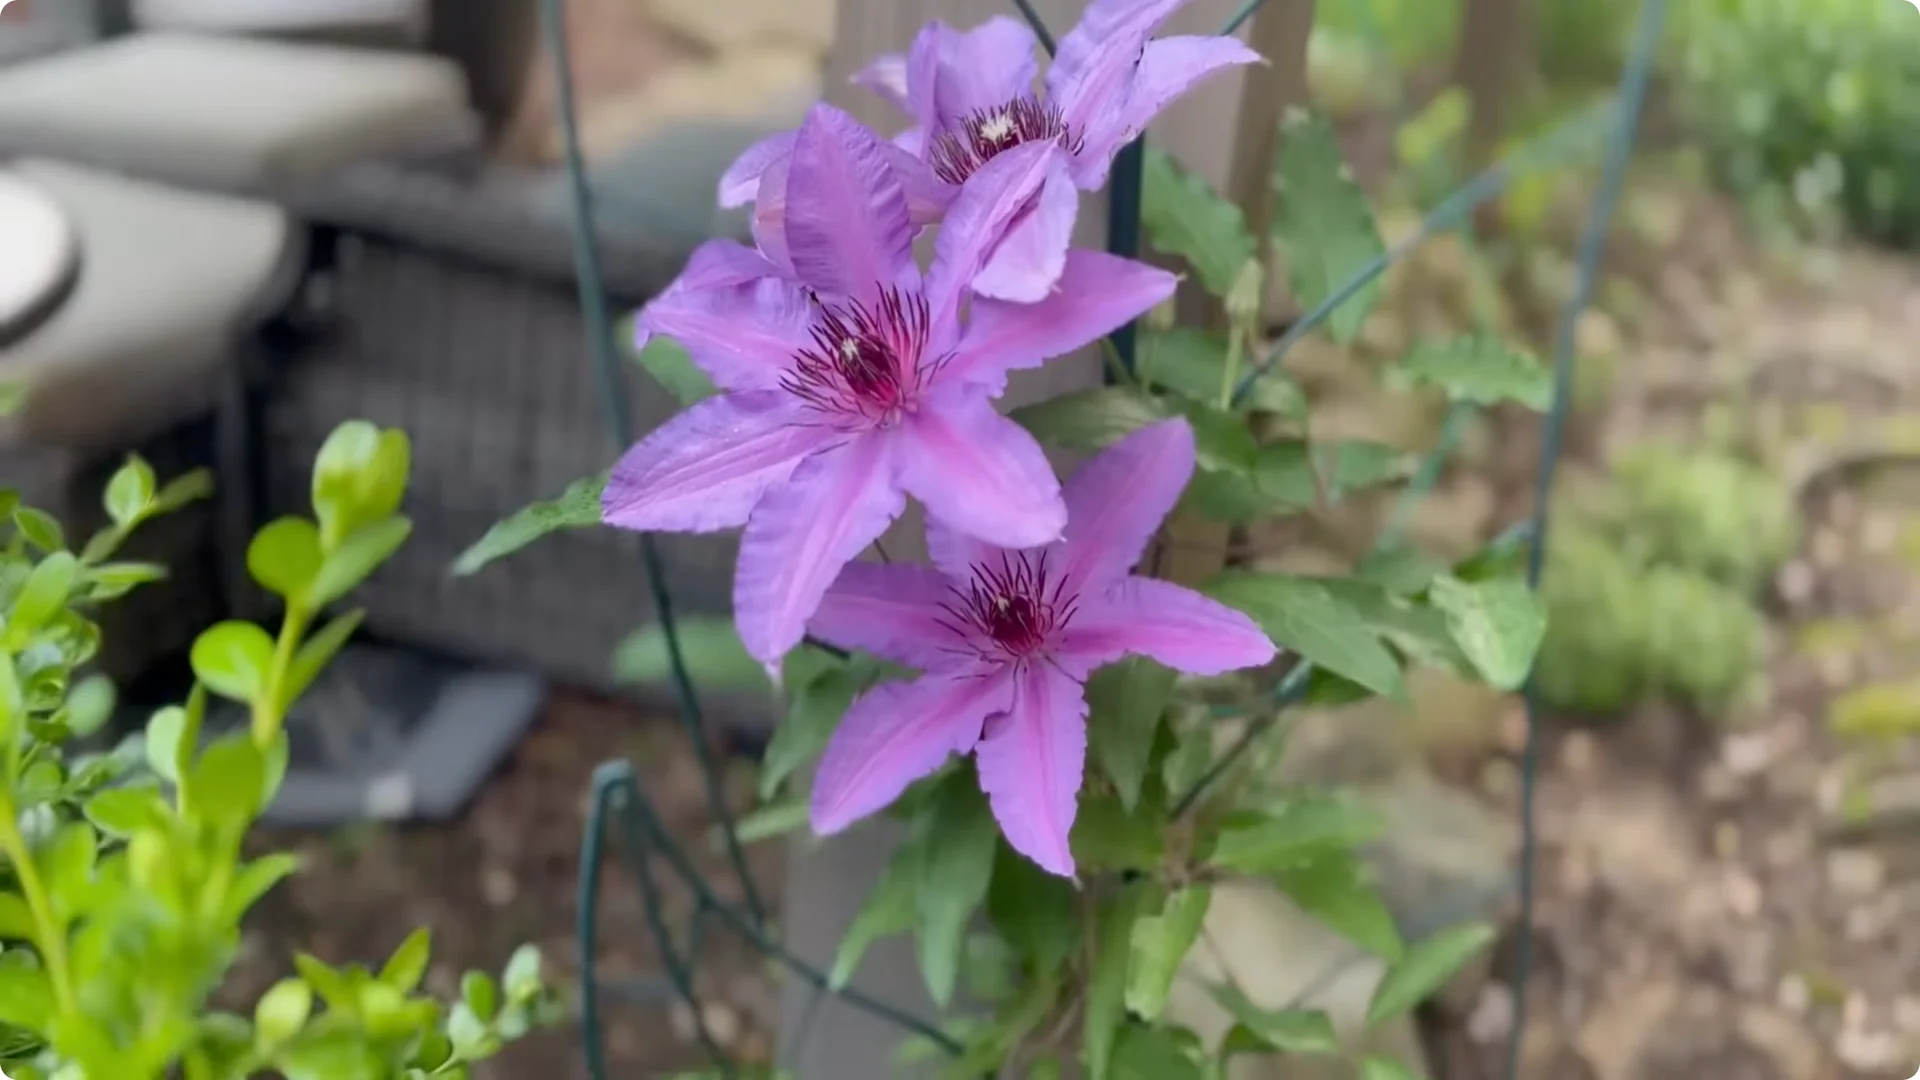
Make sure to plan ahead for how you will support the vine. Without proper support, clematis vines can become tangled, sprawl, or fail to reach their fullest potential. While they can be allowed to wind through shrubs or along the ground, they perform best when trained up a trellis, arbor, obelisk, or fence.
Either at planting time or early in the spring, install a properly sized support structure for your vine. If you’ve purchased a new plant, it may come tied to a small trellis or bamboo stake. This is not enough to support the plant as it grows, but do not try to remove it just yet.
Removing it too early may cause damage to the vine. Leave it intact and place it up against the new trellis. Keep an eye out for wayward stems and gently guide them back to the support when they stray.
4. Roots and shade – Clematis Growing Tips
The notion that you must grow clematis with their roots in the shade is somewhat of a myth. While there is some truth to the concept of having roots in the shade and leaves in the sun, it’s important not to plant right up against the clematis. Using mulch around your clematis roots is more beneficial than planting companions in close proximity.
If plants are spaced too close together, they can compete for nitrogen and nutrients needed to thrive. Other types of leafy plants can harbor slugs, which enjoy feeding on the surface of the stems. Give clematis breathing room and mulch well for best vigor.
Read More: Rose Roots Grow Stems Blooming
5. Pests and wilt – Clematis Growing Tips
Even though they look delicate, clematis are actually easy to grow and quite adaptable to most soil types, light levels, and moisture. While they do sometimes suffer from insect damage, root rot, and powdery mildew, one of the biggest myths surrounding these vines is a disease called clematis wilt. First reported back in 1885, this general term for vine damage is still not fully understood today.
Some believe it is an actual fungus while others say it is caused by overwatering. Many gardeners believe they have clematis wilt when in fact they do not. The decline could be caused by environmental factors or, most commonly, slugs.
As mentioned earlier, both slugs and snails enjoy feeding on young clematis stems, causing enough damage for the entire stem to die. If you remain diligent at the first sight of damage, using a bit of slug bait or removing them by hand will do the trick. This simple step can save your clematis from any further harm.
Final thoughts – Clematis Growing Tips
From selecting the right type to learning pruning techniques and setting proper support, clematis care is far simpler than its reputation suggests. Give roots space with mulch, watch for slugs, and follow the traffic light method for pruning. These straightforward moves lead to healthier vines and a longer, more spectacular bloom show.