I’m excited to show you a simple yet highly effective method for propagating roses at home by using cuttings, a wonderful way to multiply the beauty of your garden.
Rose Propagation from Cuttings
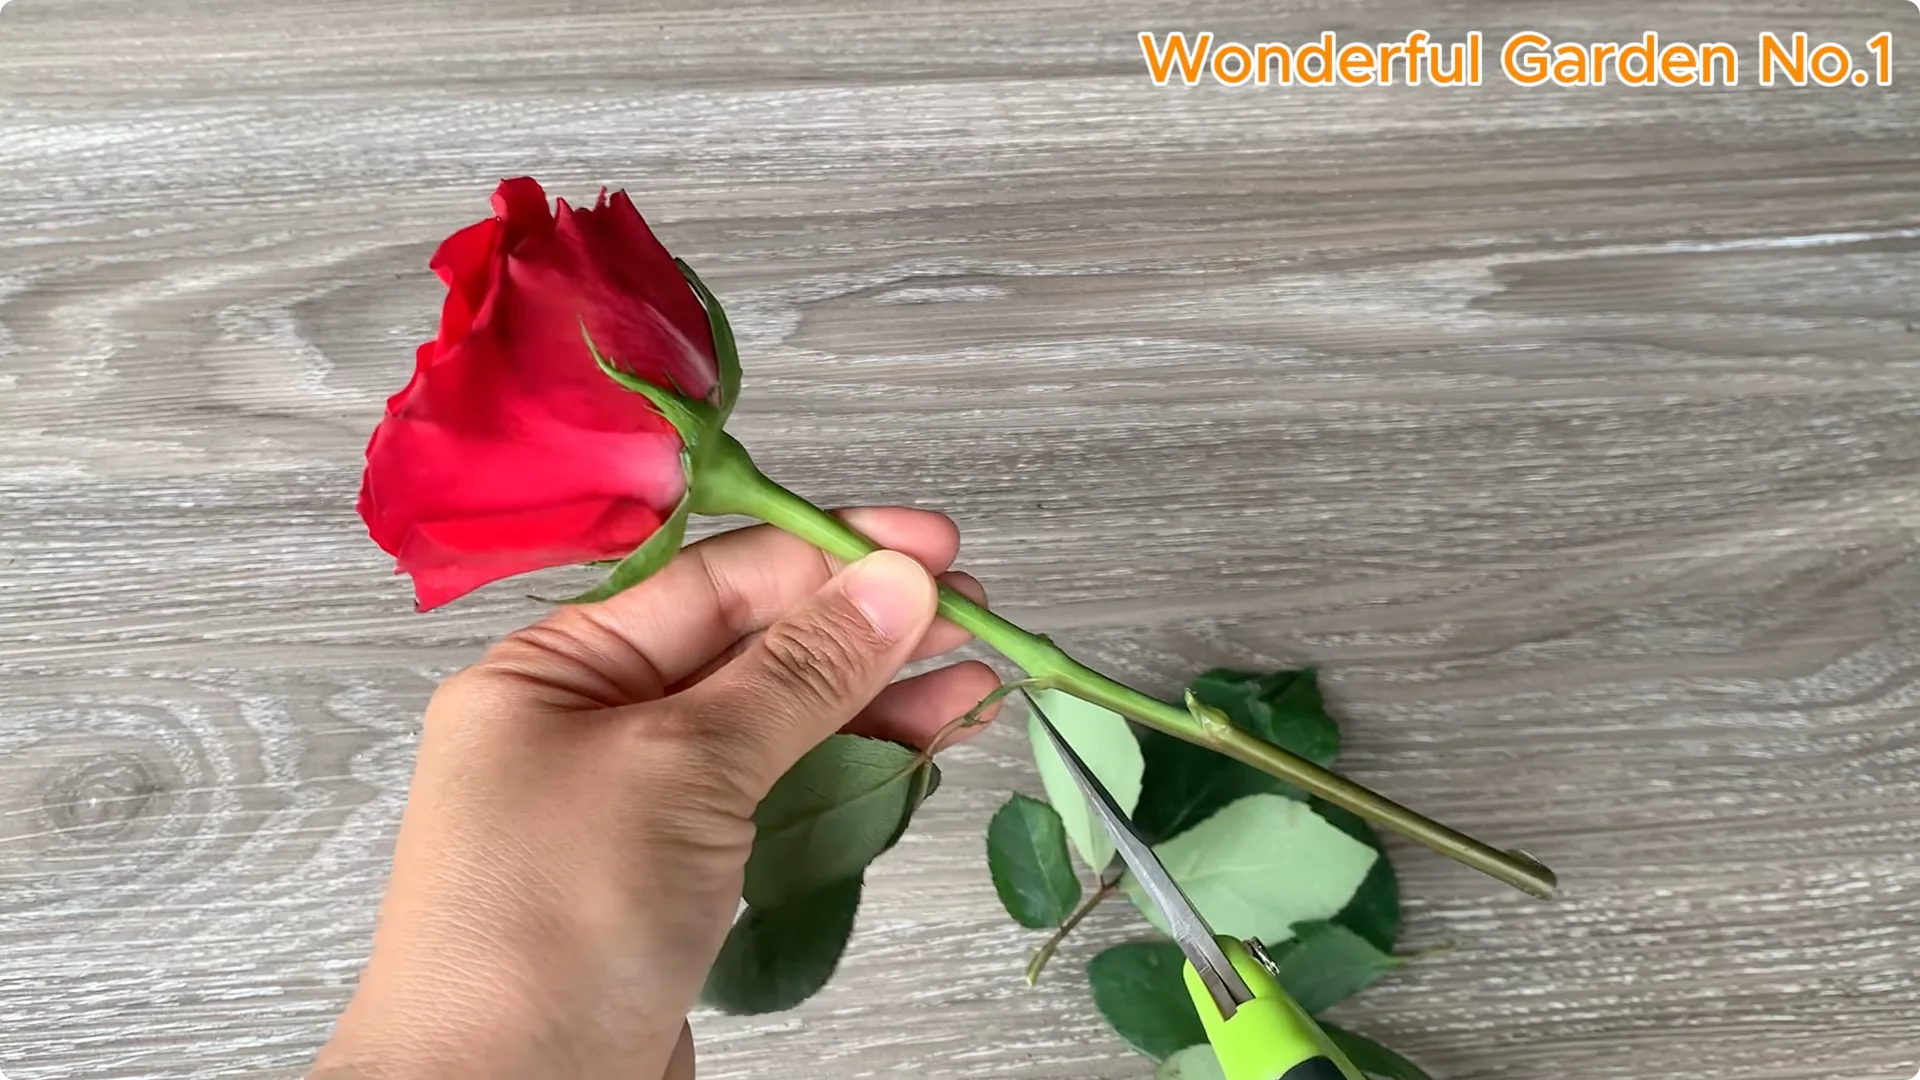
1. Select and Prepare the Cutting
First, select a healthy, strong rose stem and cut a segment approximately 15 cm – about 6 inches – long.
Remove all the leaves from the lower part of the stem.
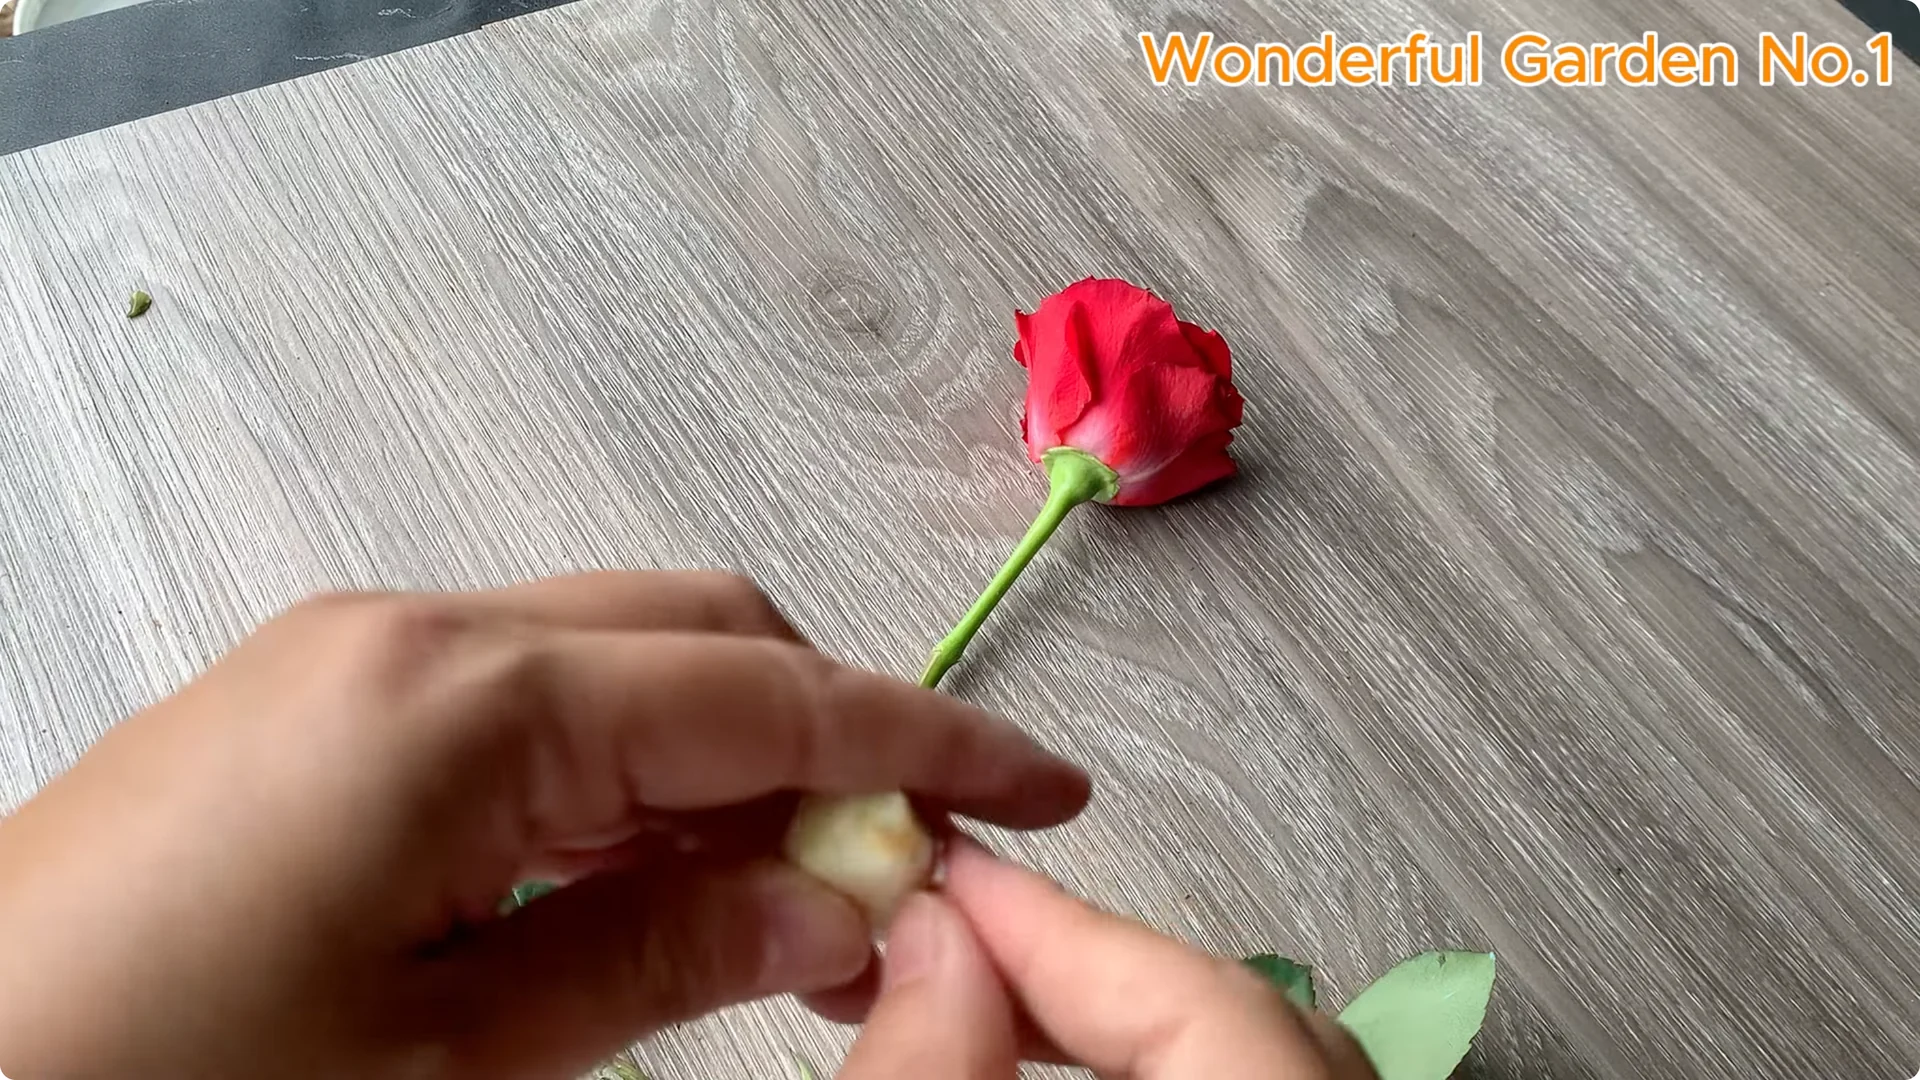
Carefully remove the leaves to expose the dormant buds that are beginning to develop.
Removing the lower leaves helps the cutting focus on root and bud development, key for successful propagation.
2. Disinfect the Cut
To protect the cut from infection, gently disinfect the cut area by rubbing a clove of garlic on it.
3. Prepare the Natural Rooting Solution
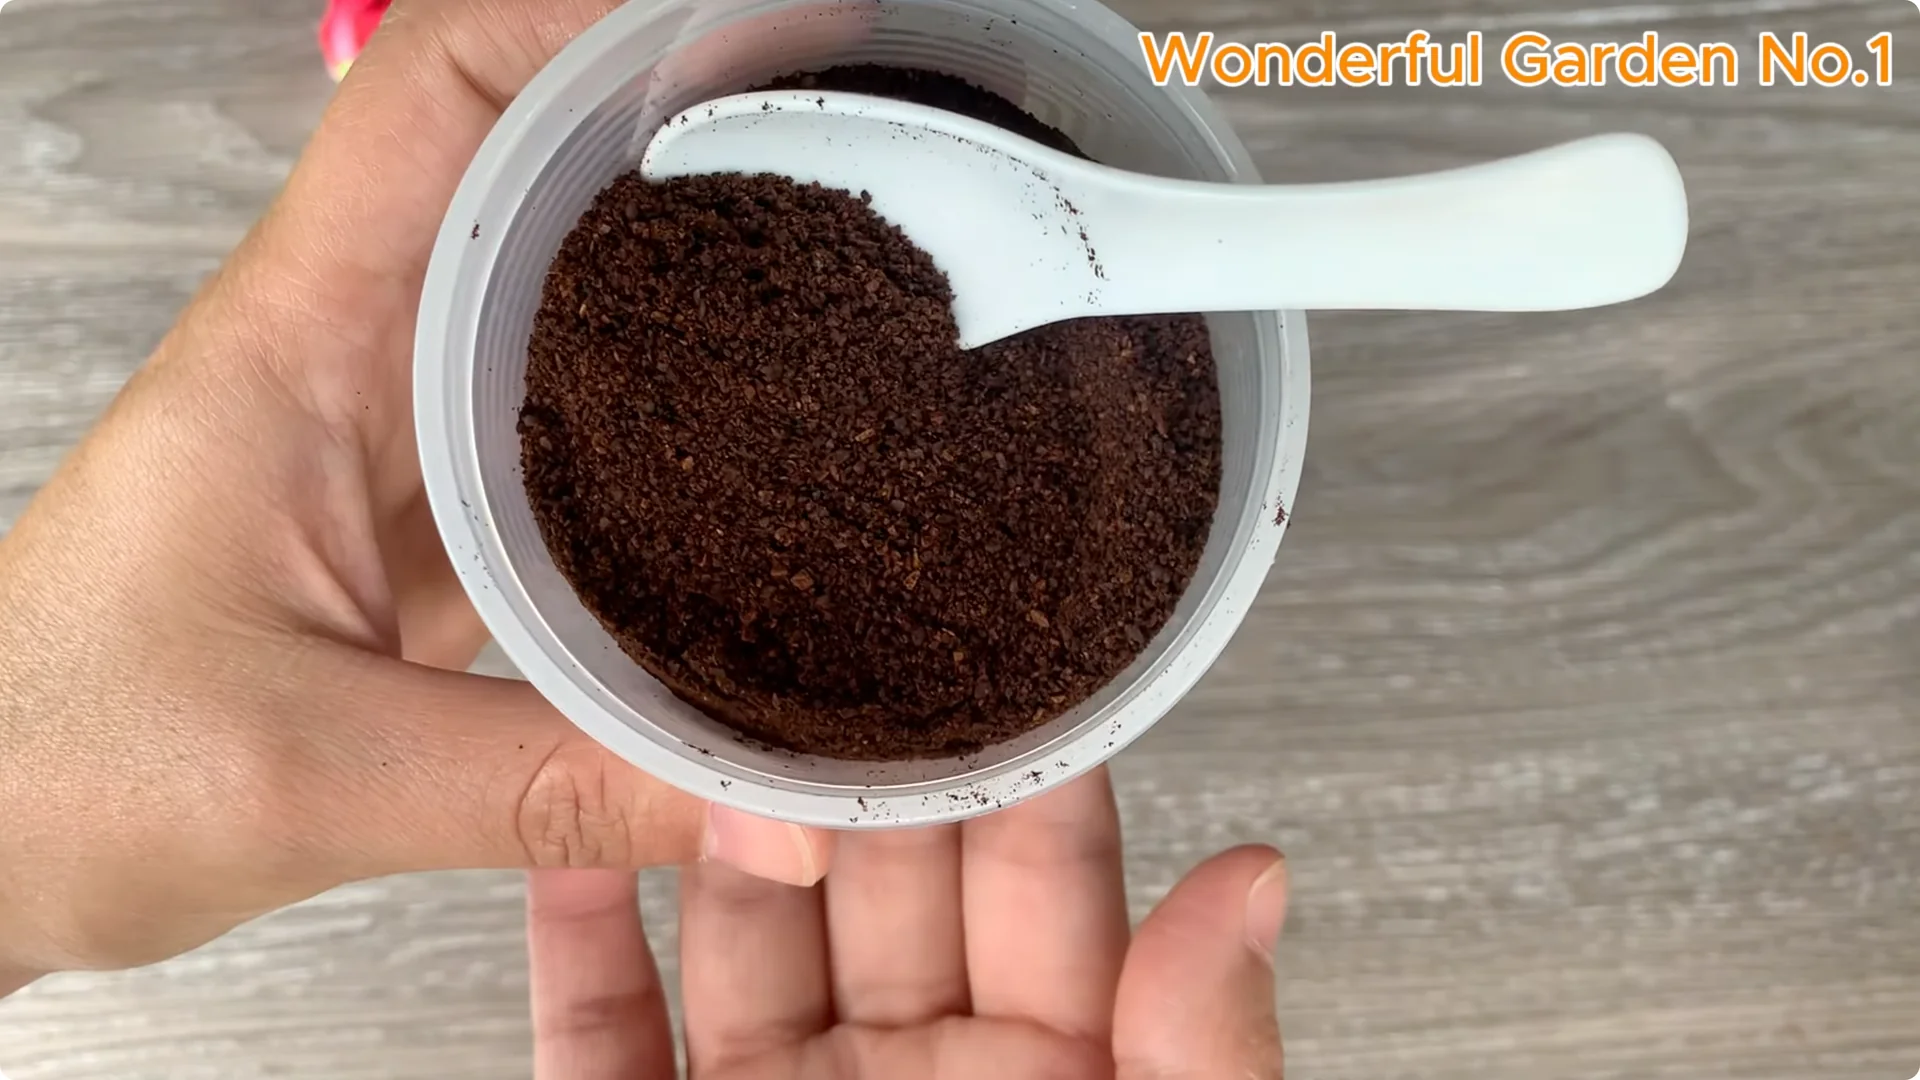
Ingredients and Mixing
Mix 3 tablespoons of finely ground coffee powder.
Add the gel from a freshly peeled aloe vera leaf.
Squeeze the lemon juice and mix the mixture well.
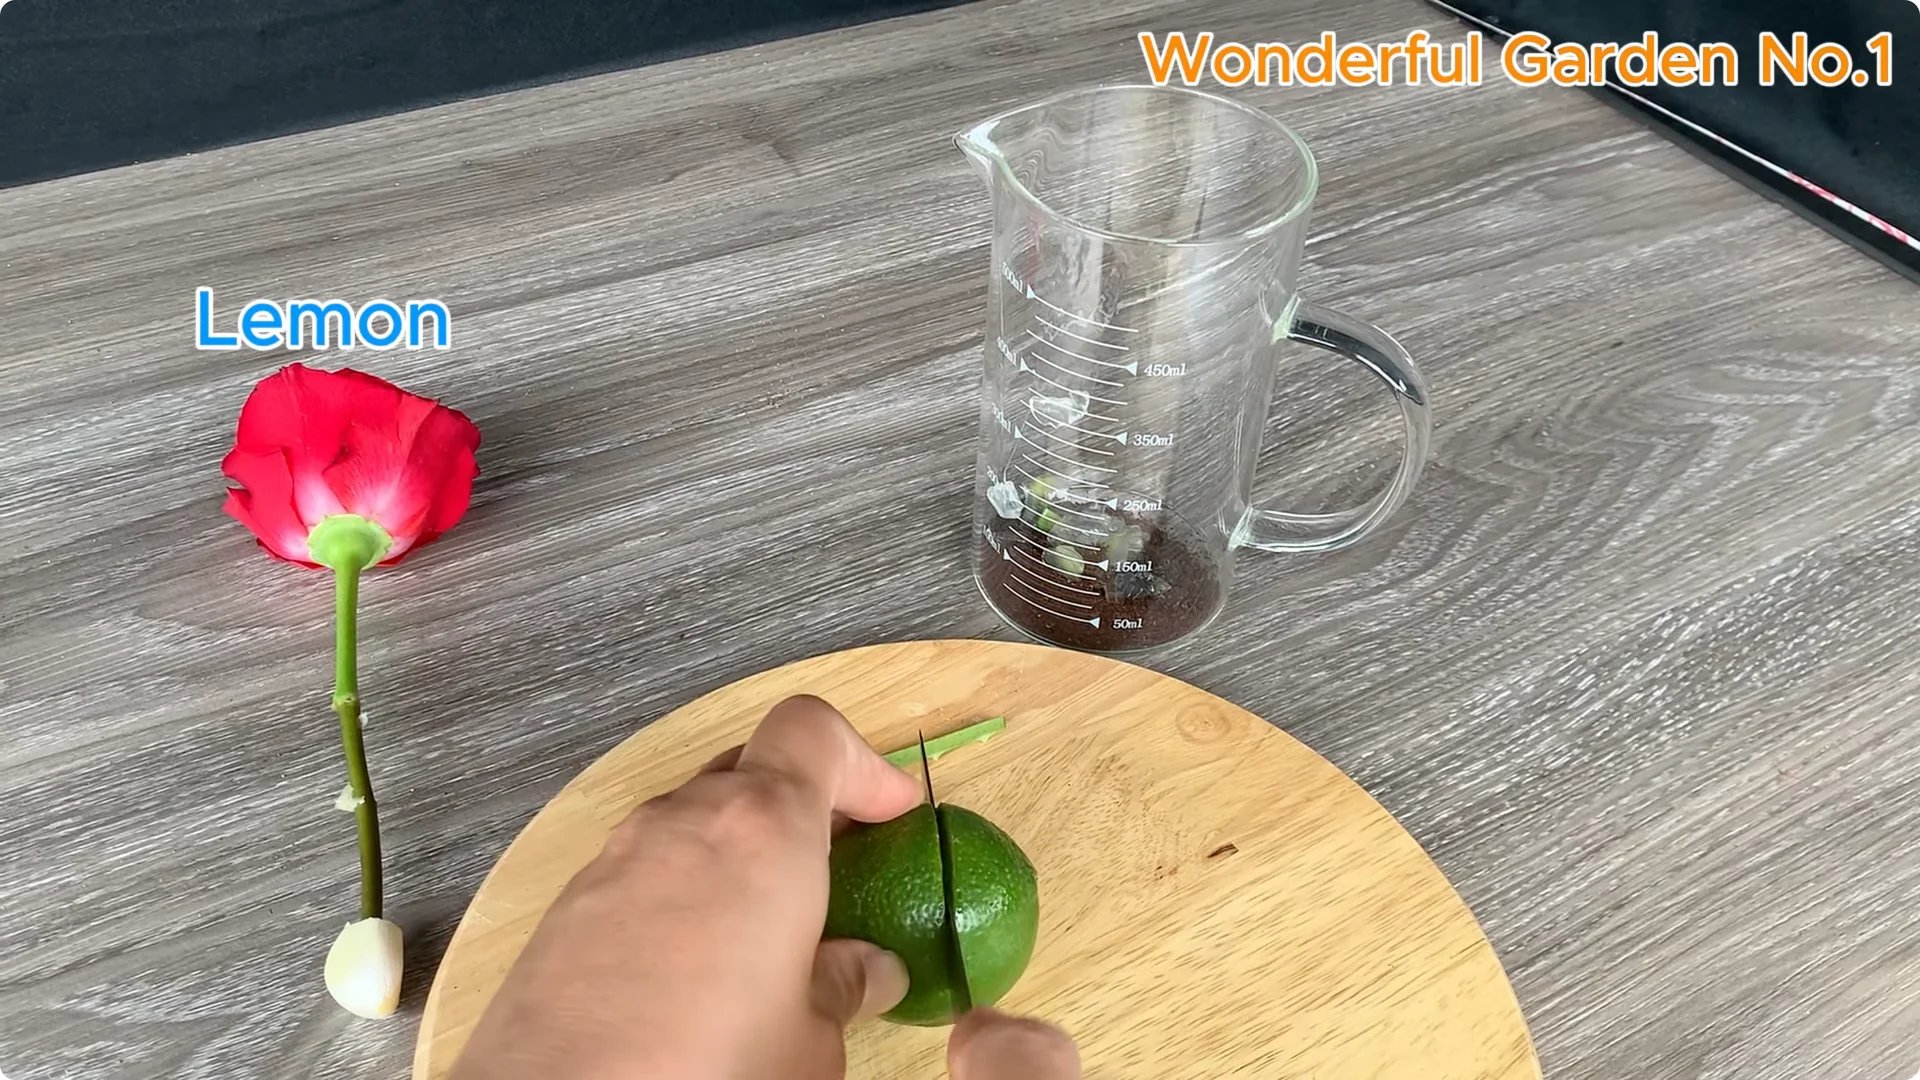
Add 300 milliliters of water and stir well.
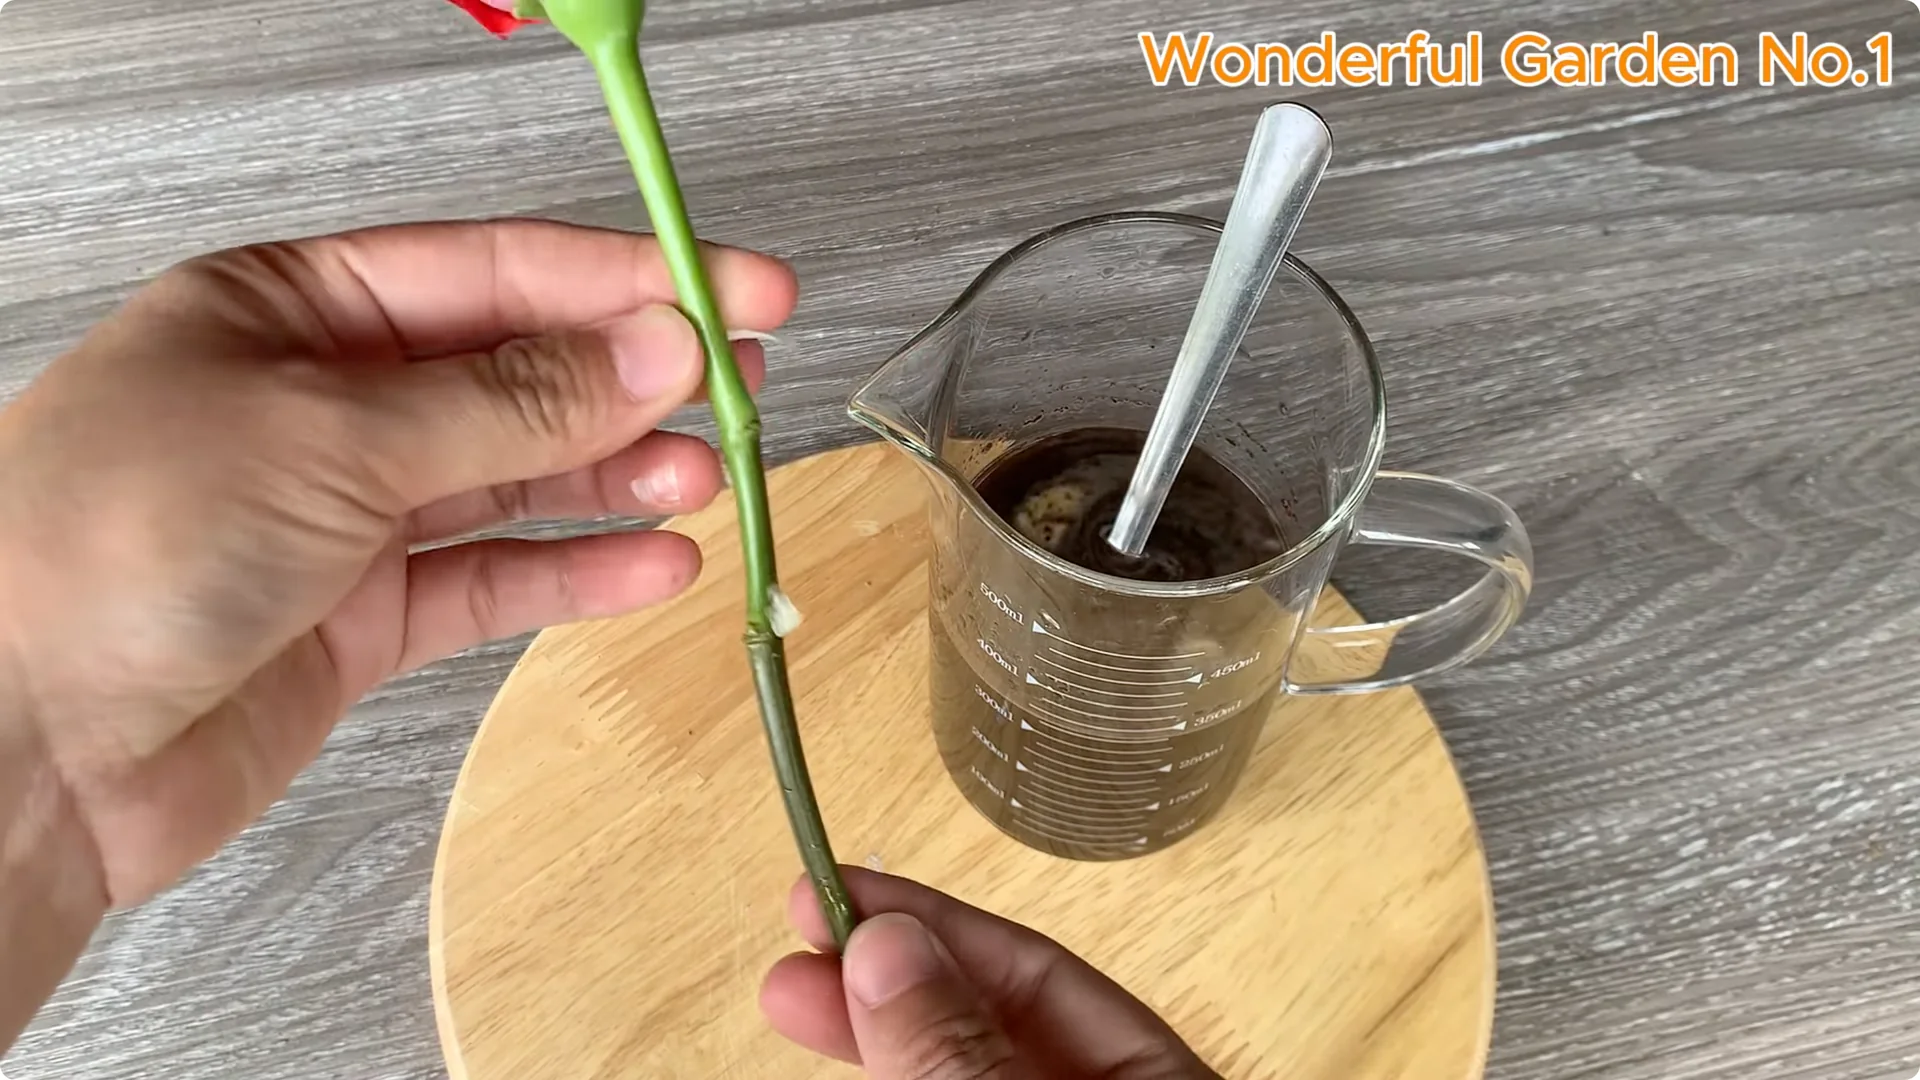
Soak the Cutting
Place your rose cutting into this solution and let it soak for around 10 minutes, allowing the natural nutrients to deeply penetrate and encourage root development.
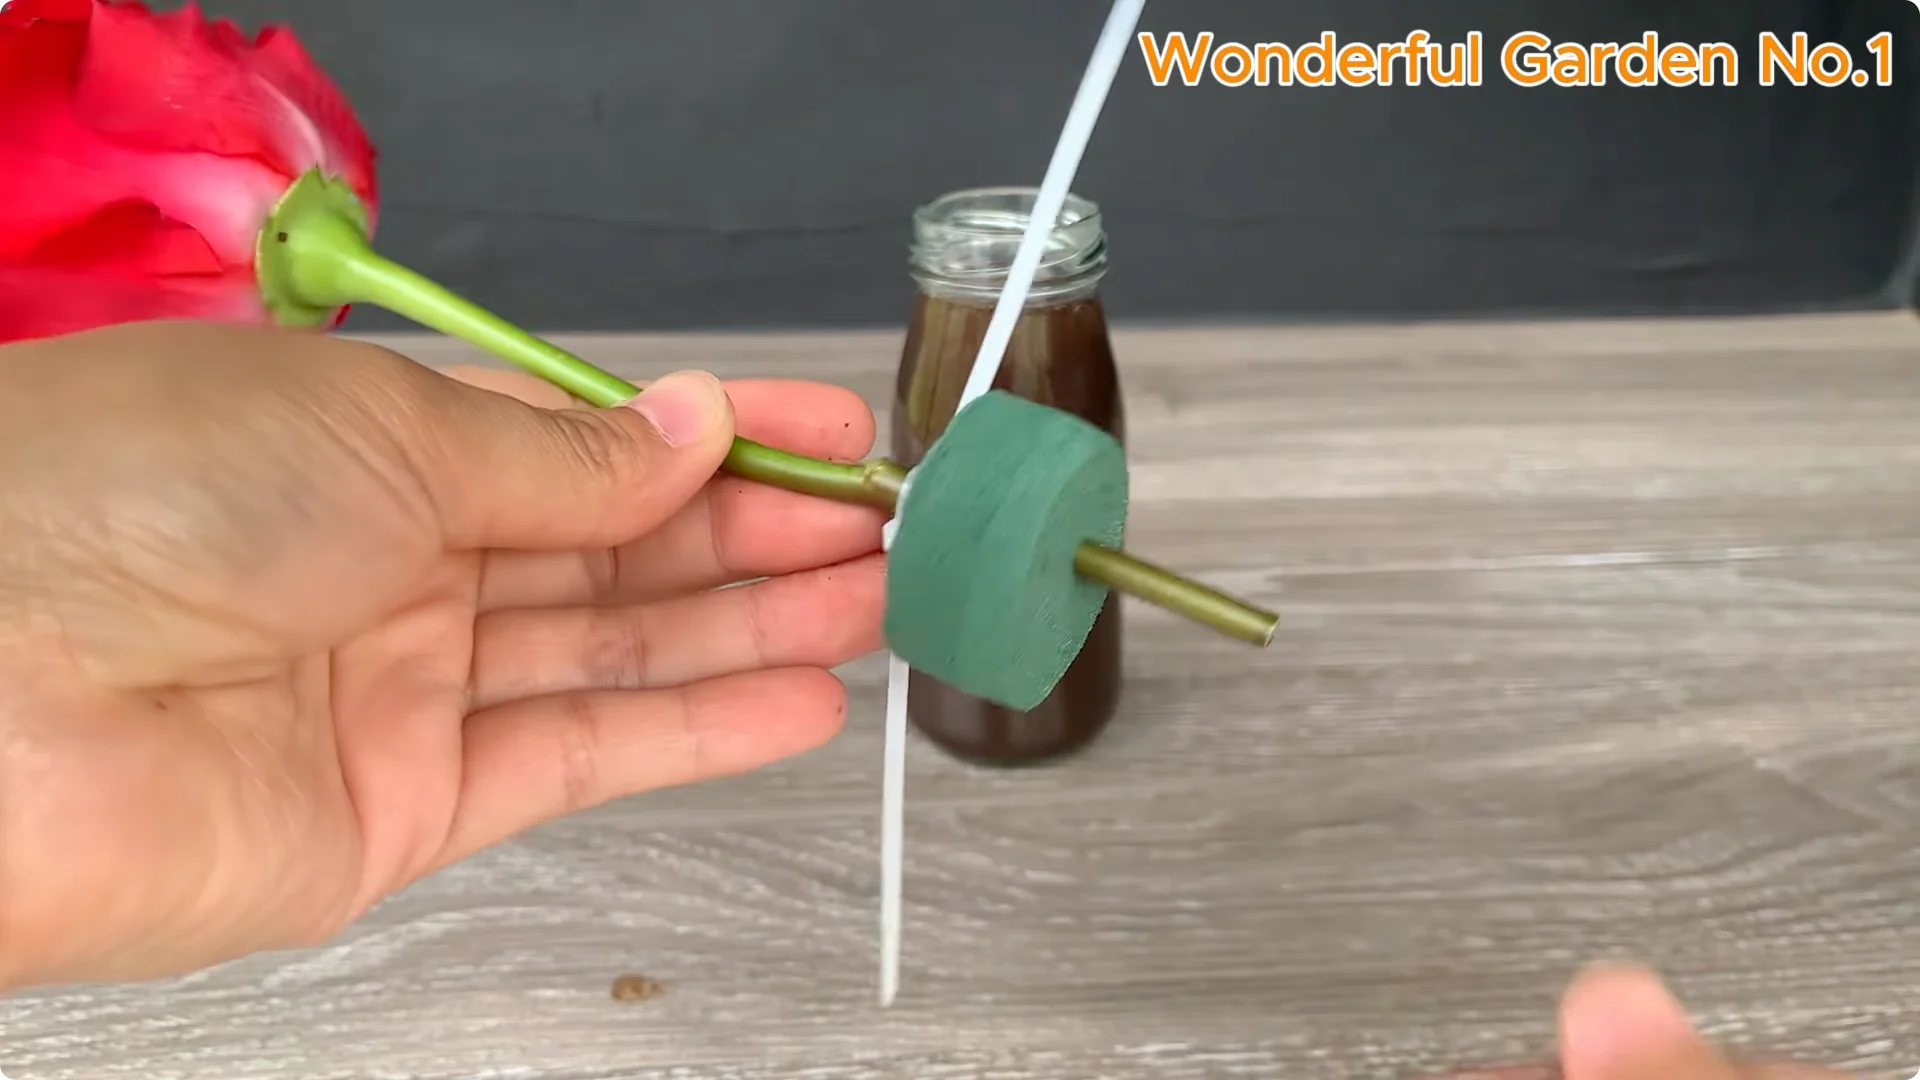
4. Create Moisture Control With a Sponge
Use a sponge as a cup lid.
The sponge helps retain water, stabilize branches, and prevent harmful insects and fungi.
After soaking, carefully strain the mixture to remove any solid residues, keeping only the liquid.

5. Insert and Seal
Insert the rose stem into the middle of the sponge so that the sponge hugs the stem tightly to maintain optimal moisture around the cutting.
Wrap the base in a plastic bag and seal it tightly with adhesive tape.
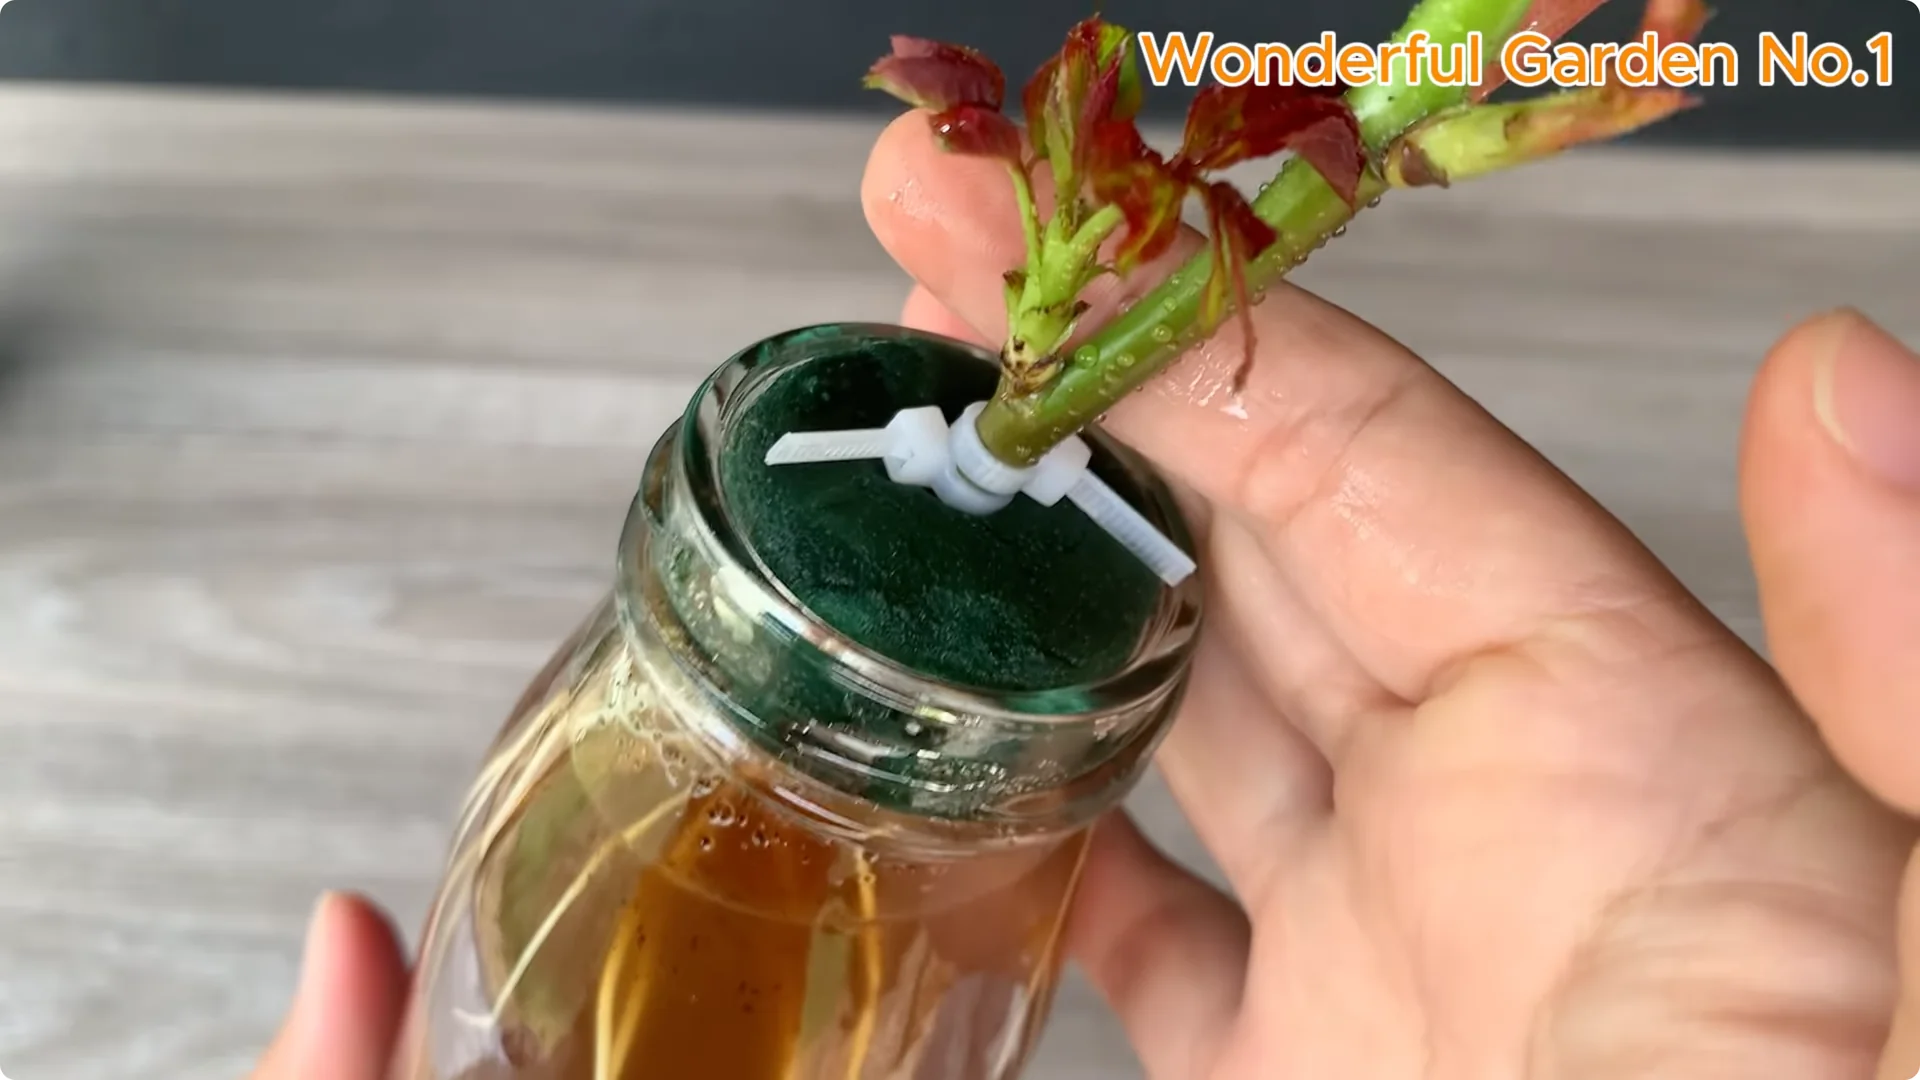
6. Place and Wait
Place the cutting in a cool, shaded area away from direct sunlight.
After just five days you should start to see small roots and new buds forming, a great sign that your propagation is successful.
Final Thoughts on Rose Propagation from Cuttings
This simple method helps your cutting focus on rooting, protects it from infection, and maintains steady moisture.
With a natural rooting solution and proper placement, you can encourage quick root and bud development at home.
Wishing you a lush, blooming garden and plenty of joy along the way.