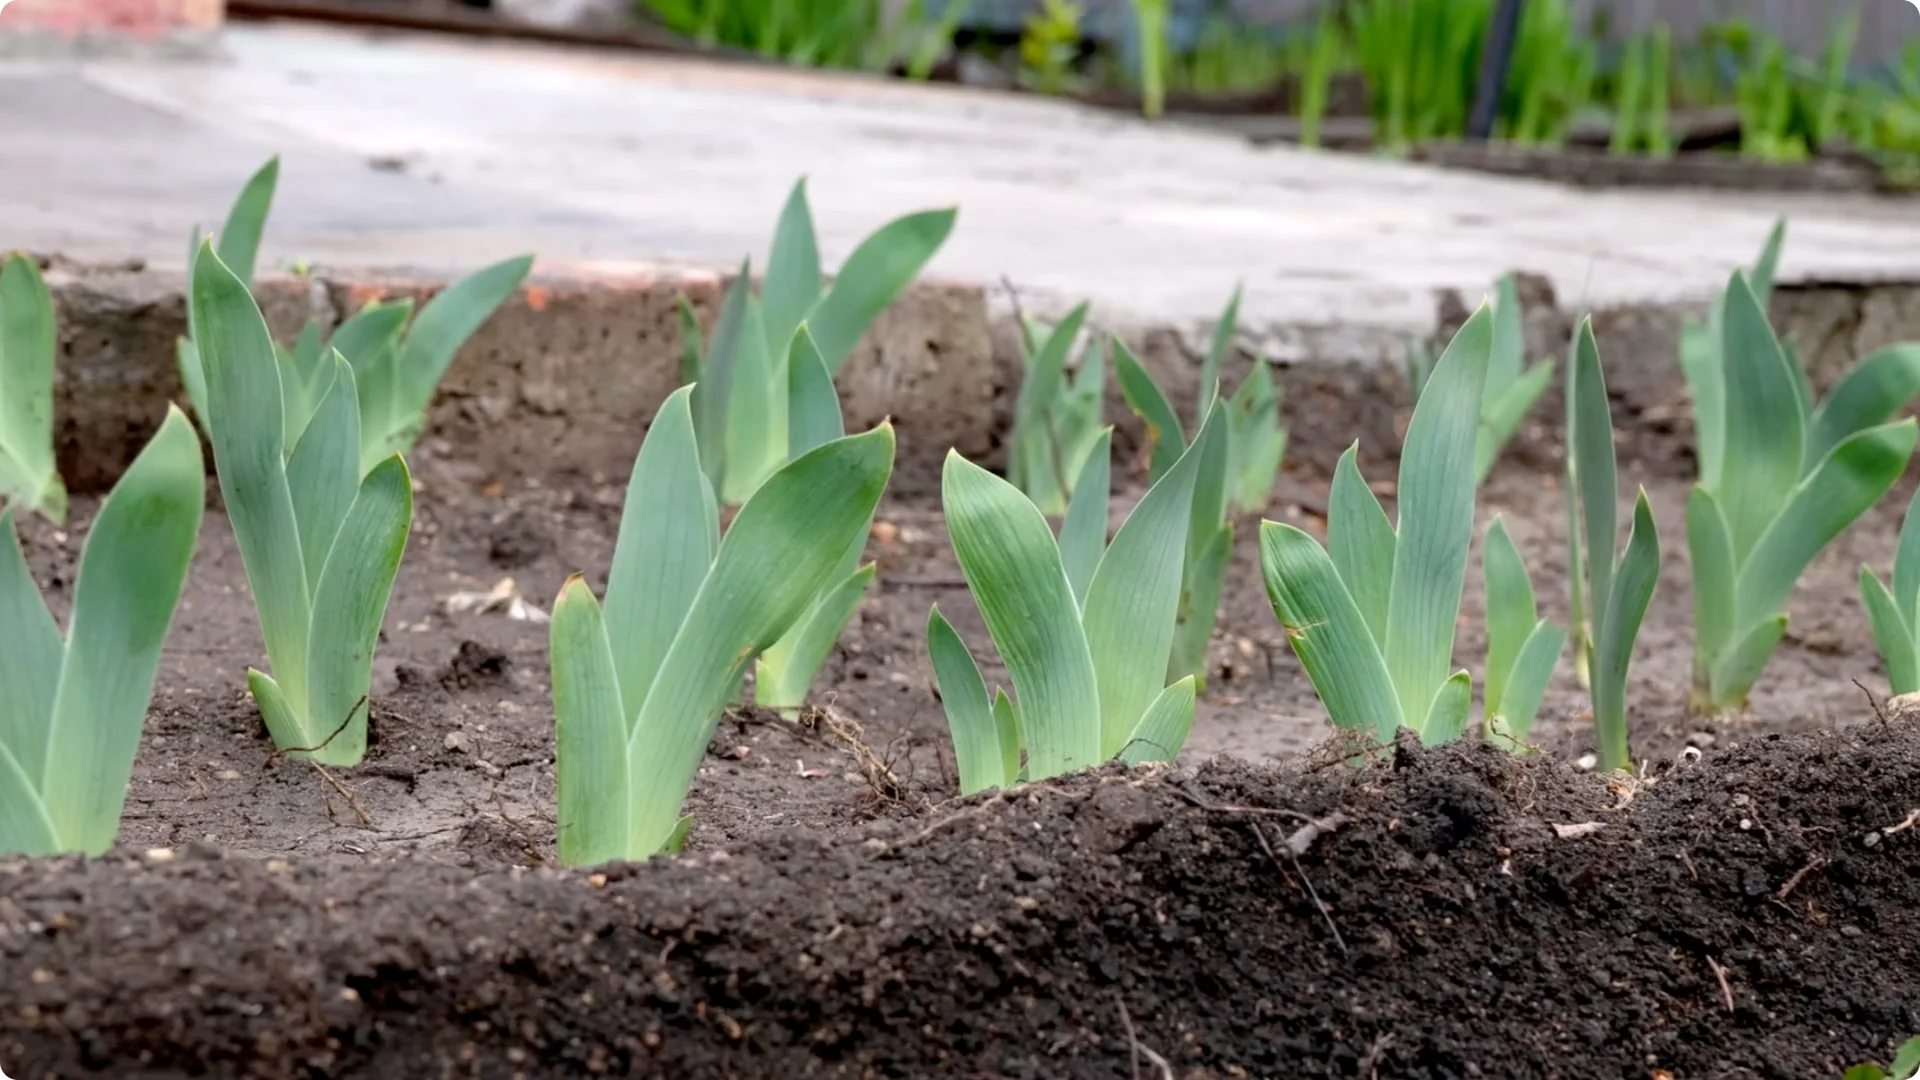
Iris are a favorite perennial among gardeners, but to keep them blooming beautifully and looking their best, regular division and transplanting are a must. I’ll show you why it’s important to regularly divide your irises and how you can do it in just a few simple steps.
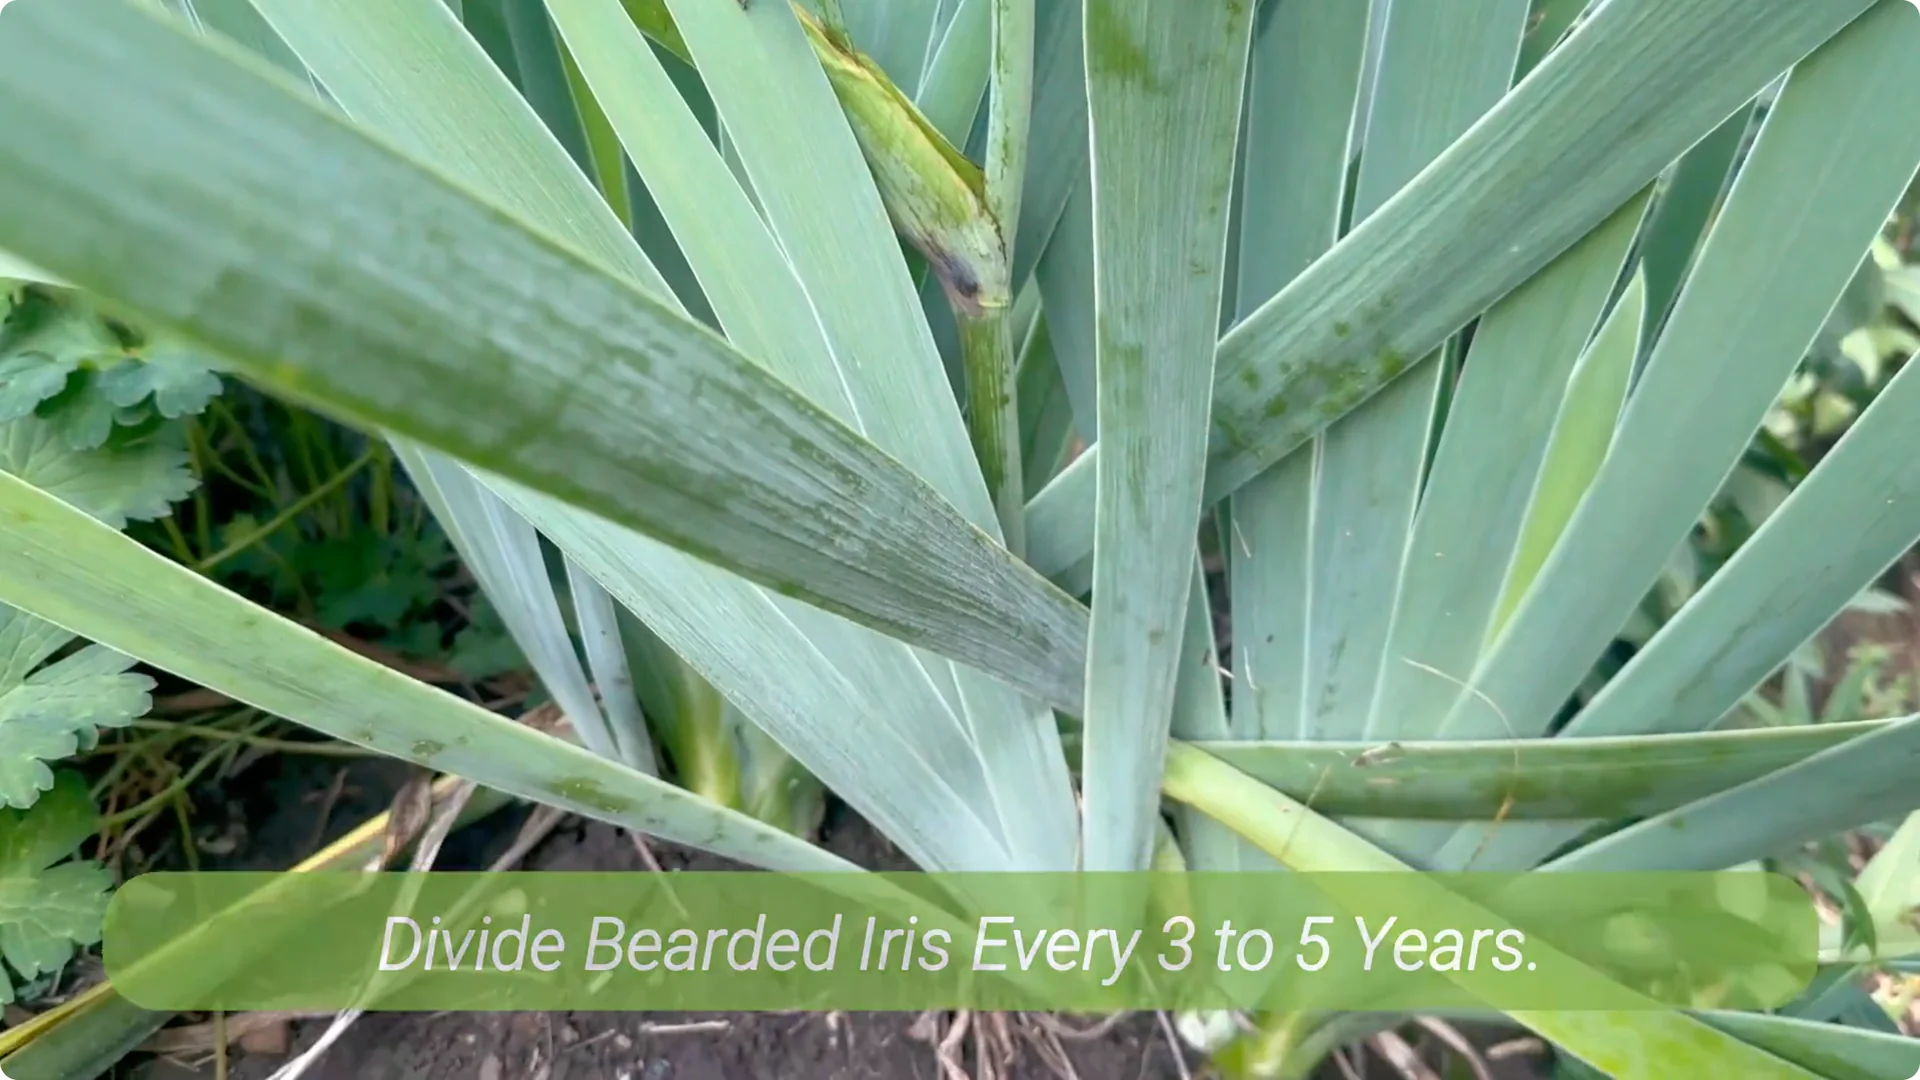
There are many types of iris available, including Dutch iris, Japanese iris, yellow flag, and more. One of the most common types, the bearded iris, typically requires more frequent division to keep the plants looking their best. Bearded irises should be divided every 3 to 5 years, as they can quickly become overcrowded.
1. Timing for Iris Division and Transplanting
The ideal time to dig, divide, and transplant bearded irises is mid to late summer, roughly 4 to 6 weeks after your plants have finished blooming. This timing allows the new divisions to establish themselves before winter, increasing the chances of blooming and thriving the following spring.
Other types of iris, such as Siberian iris, don’t need to be divided as often as the bearded irises. They should be divided when clumps become overcrowded, plant vigor declines, or when the clumps form solid rings with bare centers. Siberian irises are best divided in early spring or late summer.
If you also enjoy indoor flowering plants, see these anthurium care tips for indoor blooms.
2. Why Iris Division and Transplanting Matter
Over time, irises can become overcrowded, leading to fewer and smaller flowers, increased susceptibility to disease, and competition for nutrients and space. Regularly dividing your irises not only results in more beautiful blooms but also improves airflow and promotes healthier plants.
You’ll also have more iris plants to fill your garden for free or share with friends. It’s a win-win situation.
3. Signs You Need Iris Division and Transplanting
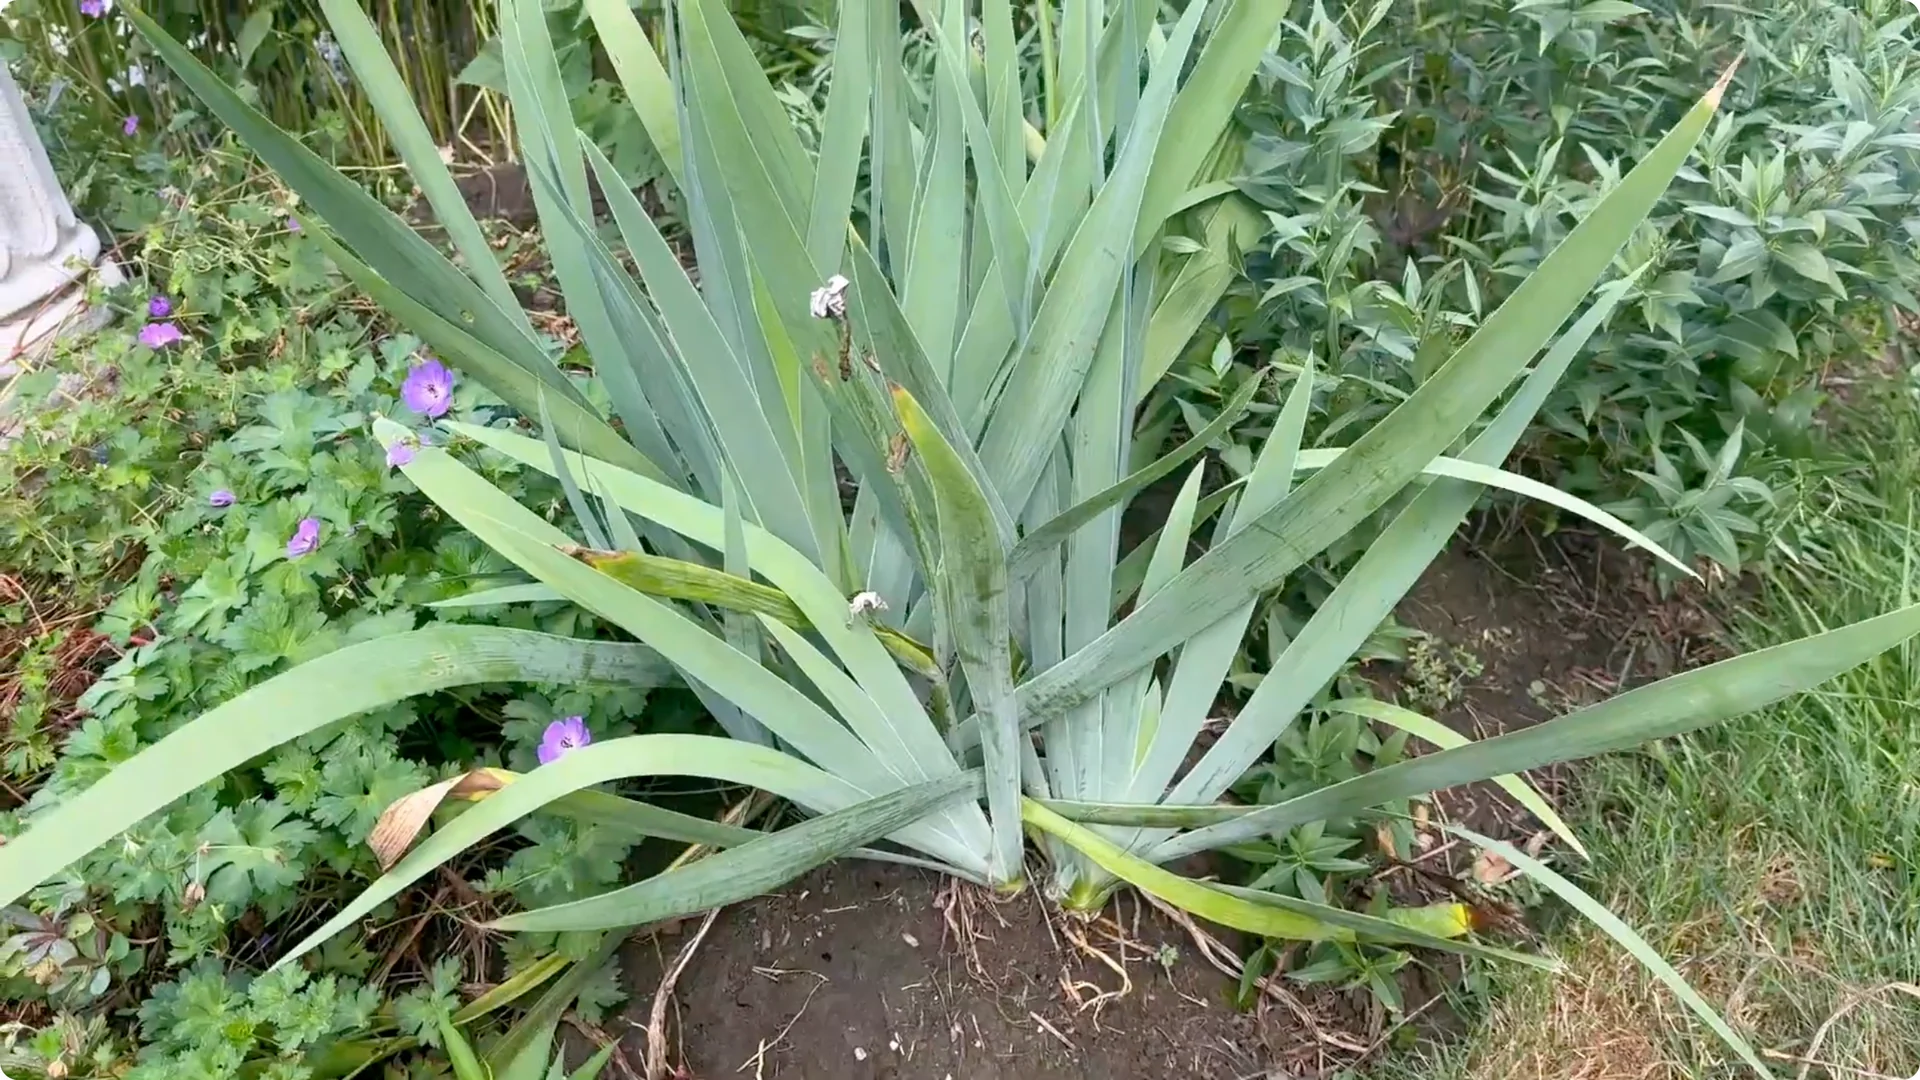
The first indication is a decrease in flowering, which suggests that overcrowding is inhibiting growth and reducing the ability to produce vibrant blooms. Watch for clumps that have slowed down or stopped blooming well.
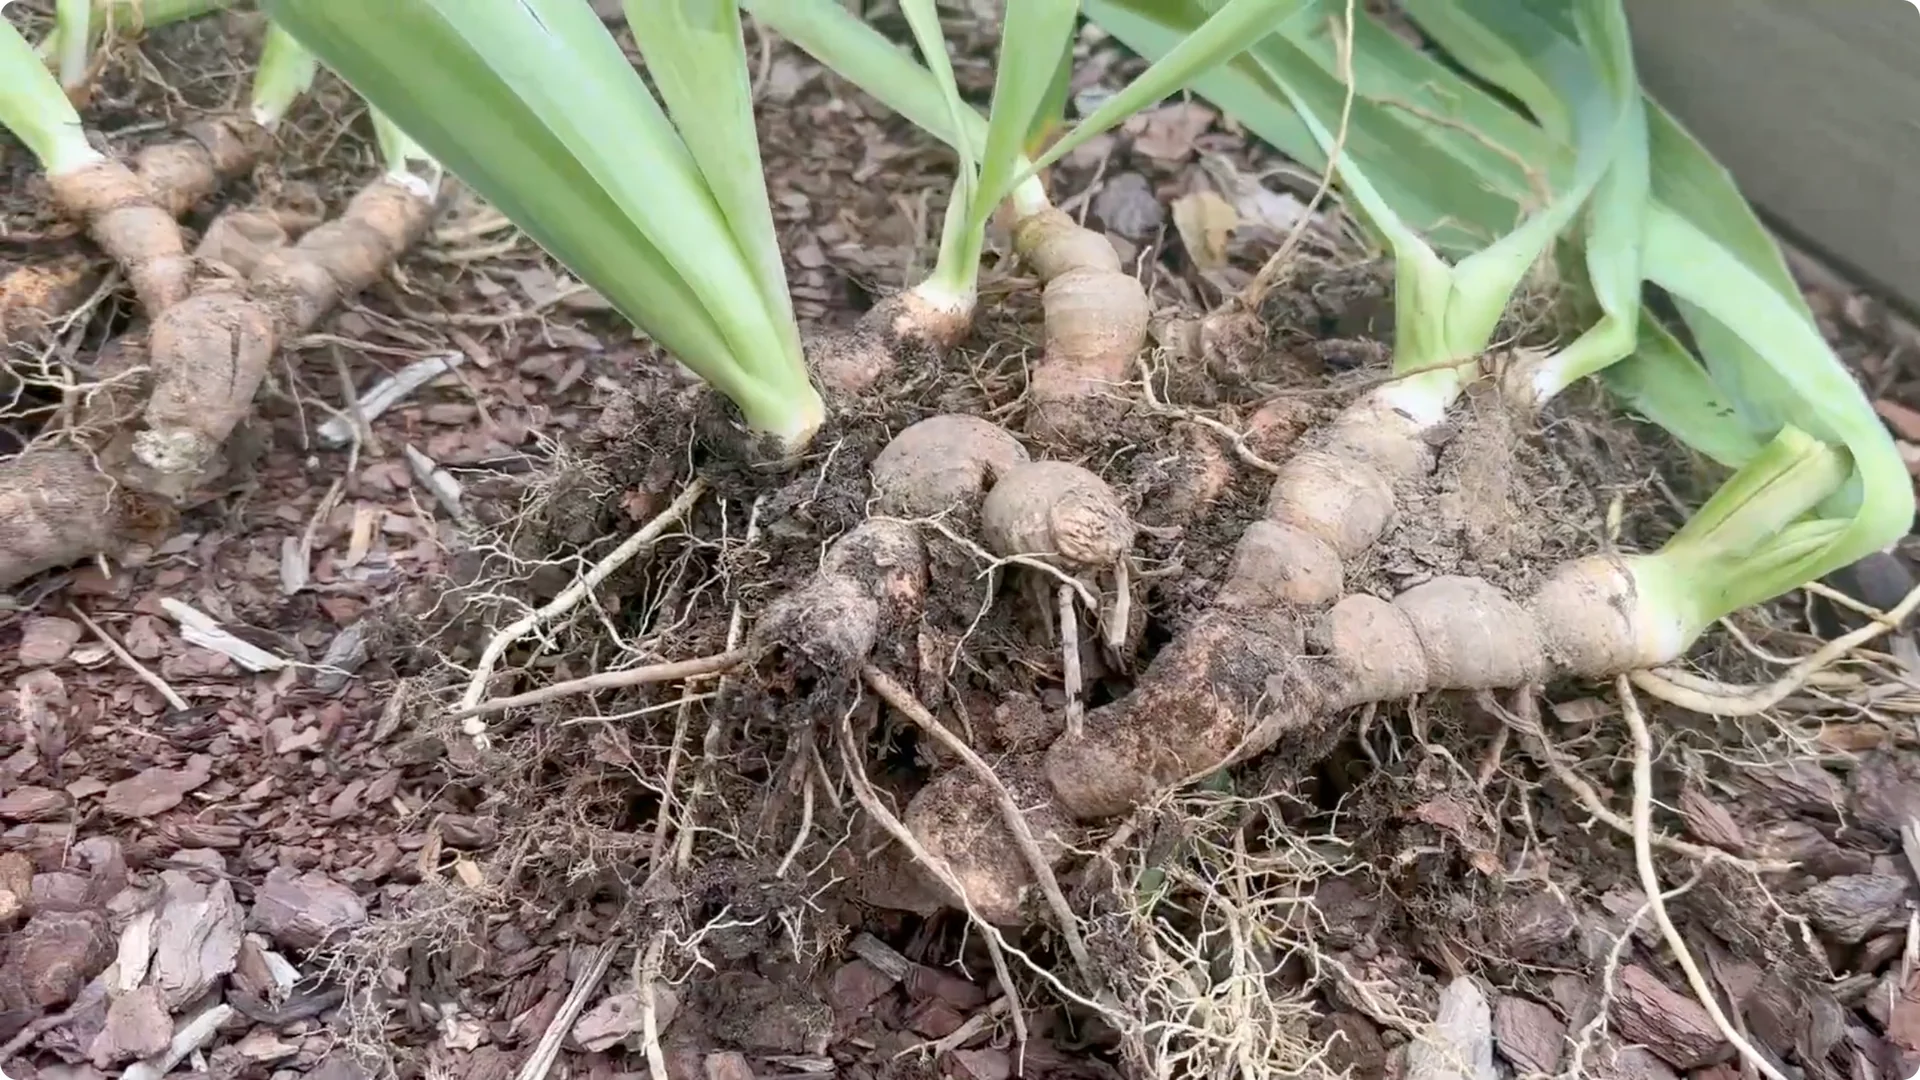
Another sign is when the roots, or rhizomes, begin to heave out of the ground. If you notice tightly packed, intertwined roots or roots emerging above the soil surface, it’s a clear indication that the plant is overcrowded and would benefit from division.
For ongoing plant care guides and seasonal tips, visit Bloomflowerblog.
4. Step-by-Step Iris Division and Transplanting

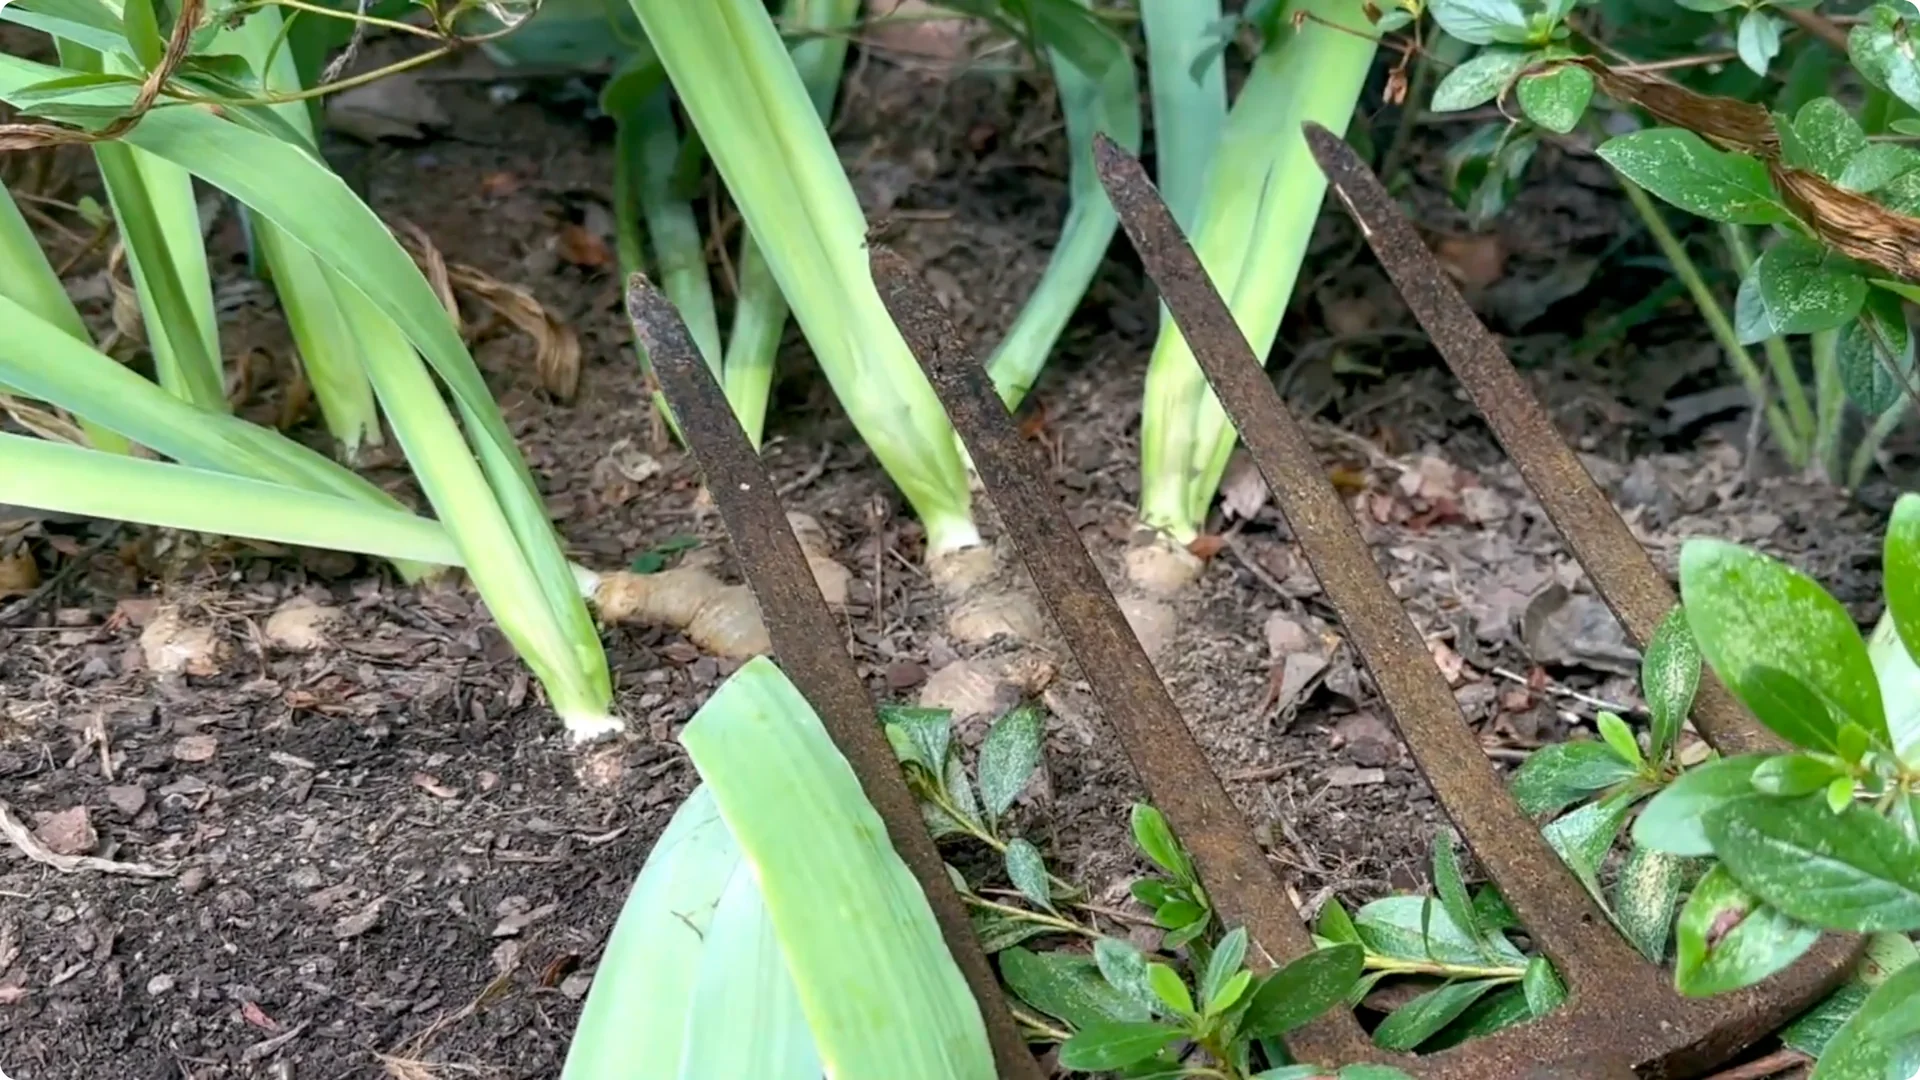
1. Dig up the clump
Begin by digging up the entire clump. Use a garden fork or spade to carefully lift them out of the ground, making sure to dig a few inches away from the rhizomes to avoid causing any damage. If possible, try to remove the entire mass at once.
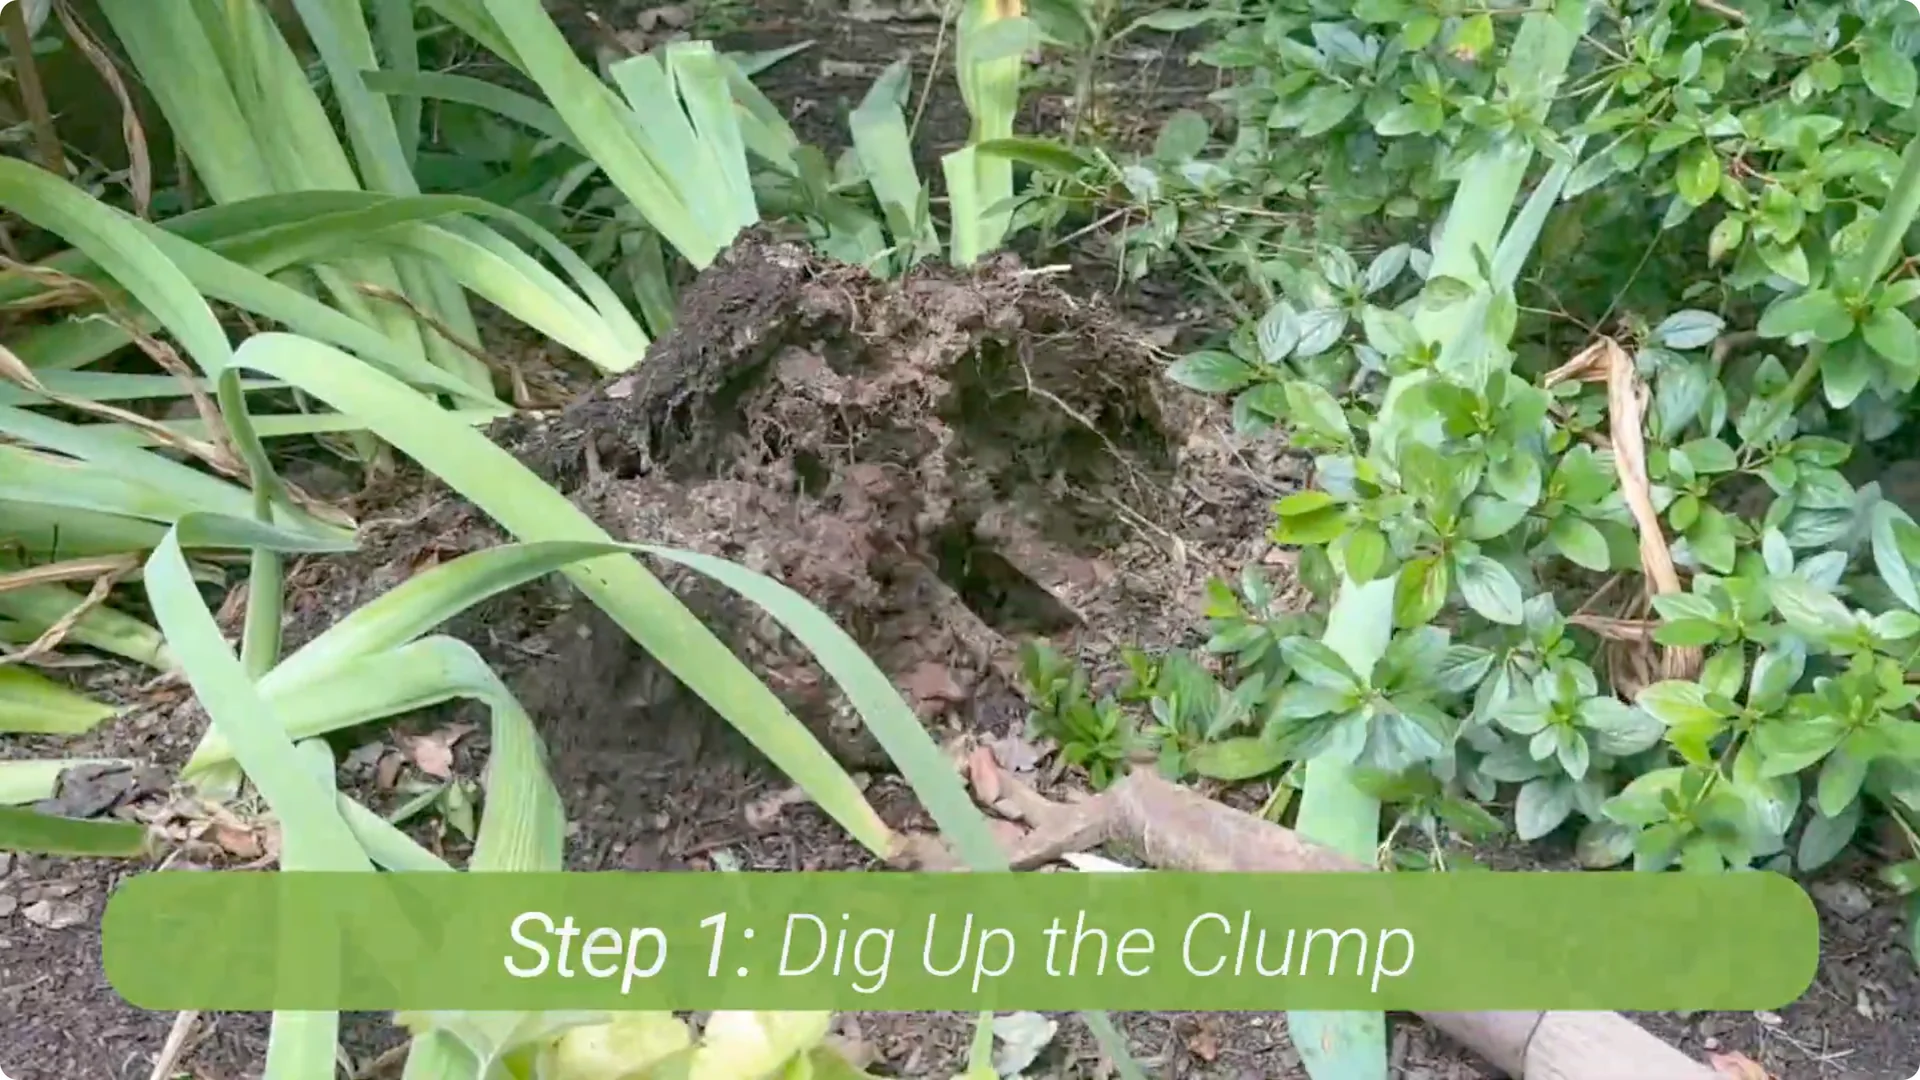
If that isn’t feasible, carefully break the clump into smaller sections and lift those out instead. Work steadily and avoid snapping healthy rhizomes.
2. Clean and inspect
Once you’ve removed the clump, gently knock off or rinse away any excess dirt to get a clear view of the root mass. Cleaning makes it easier to see what is healthy and what needs to go.
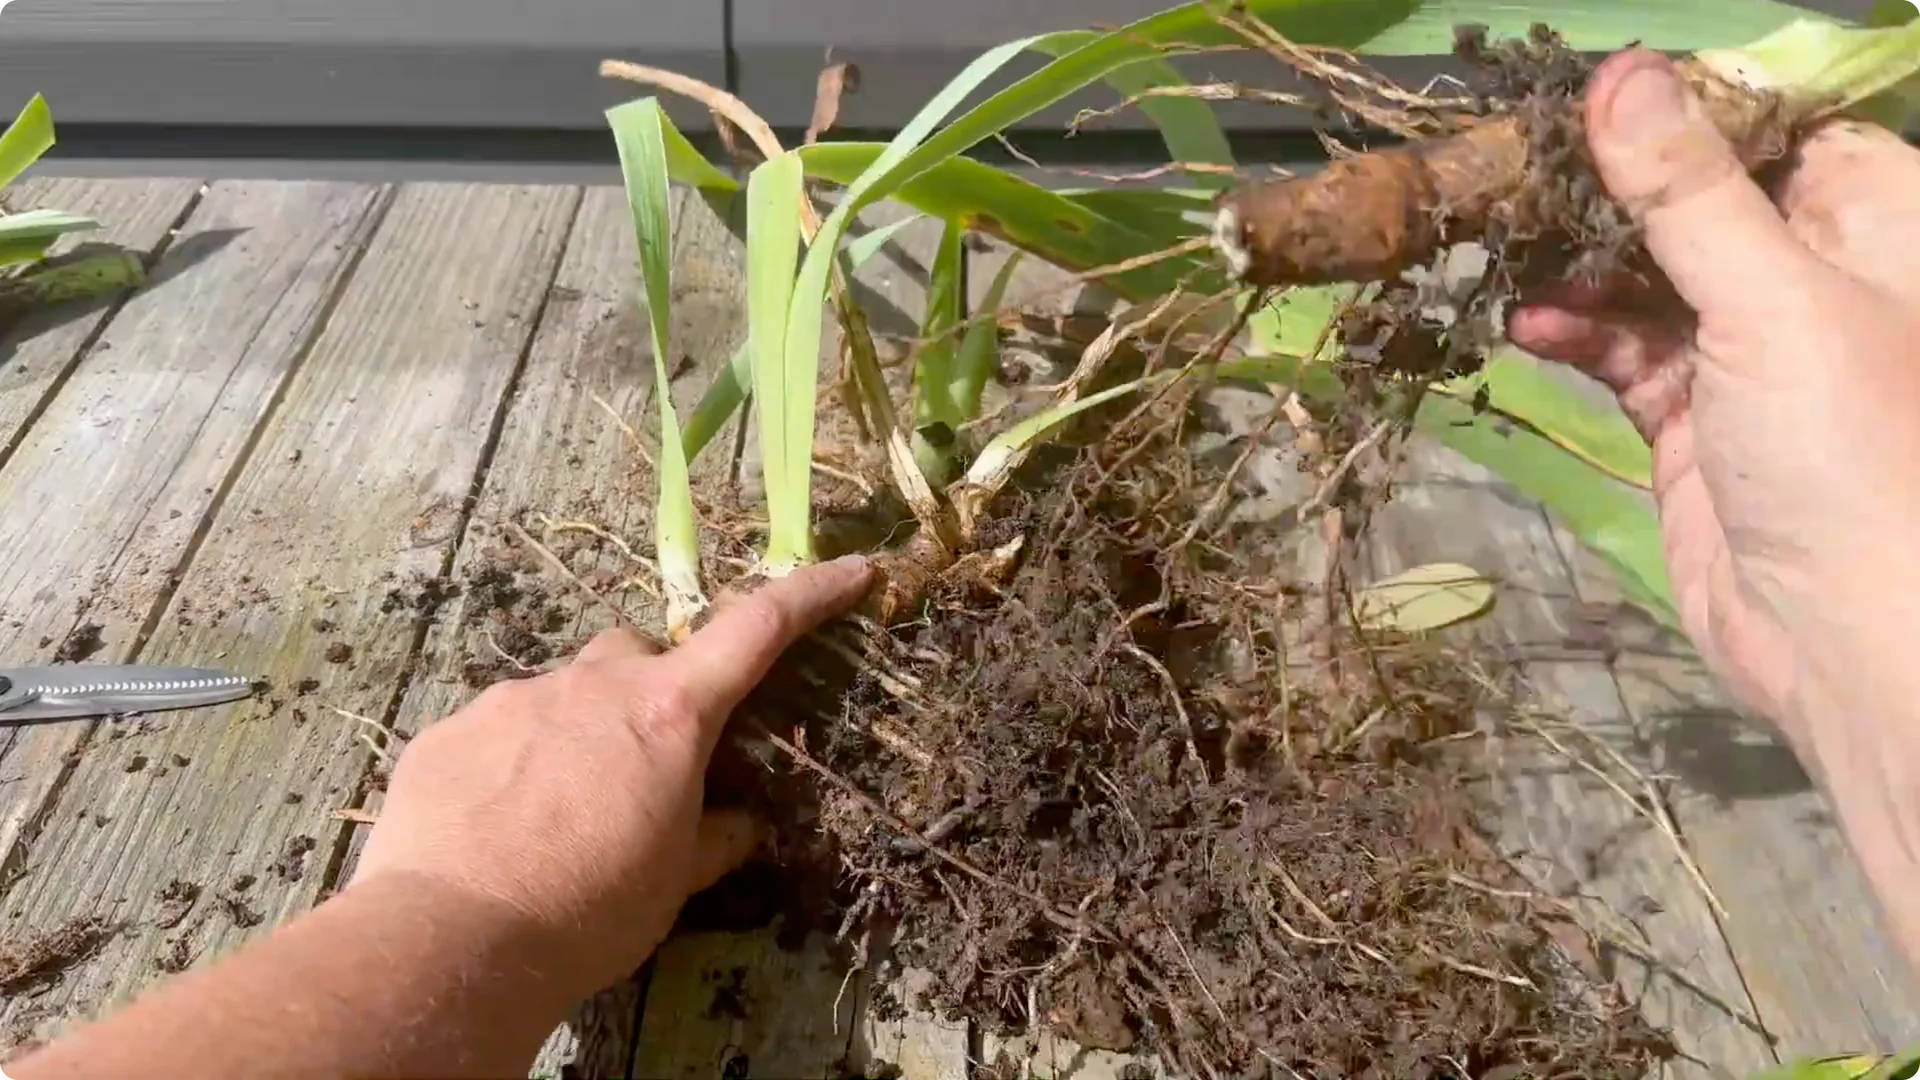
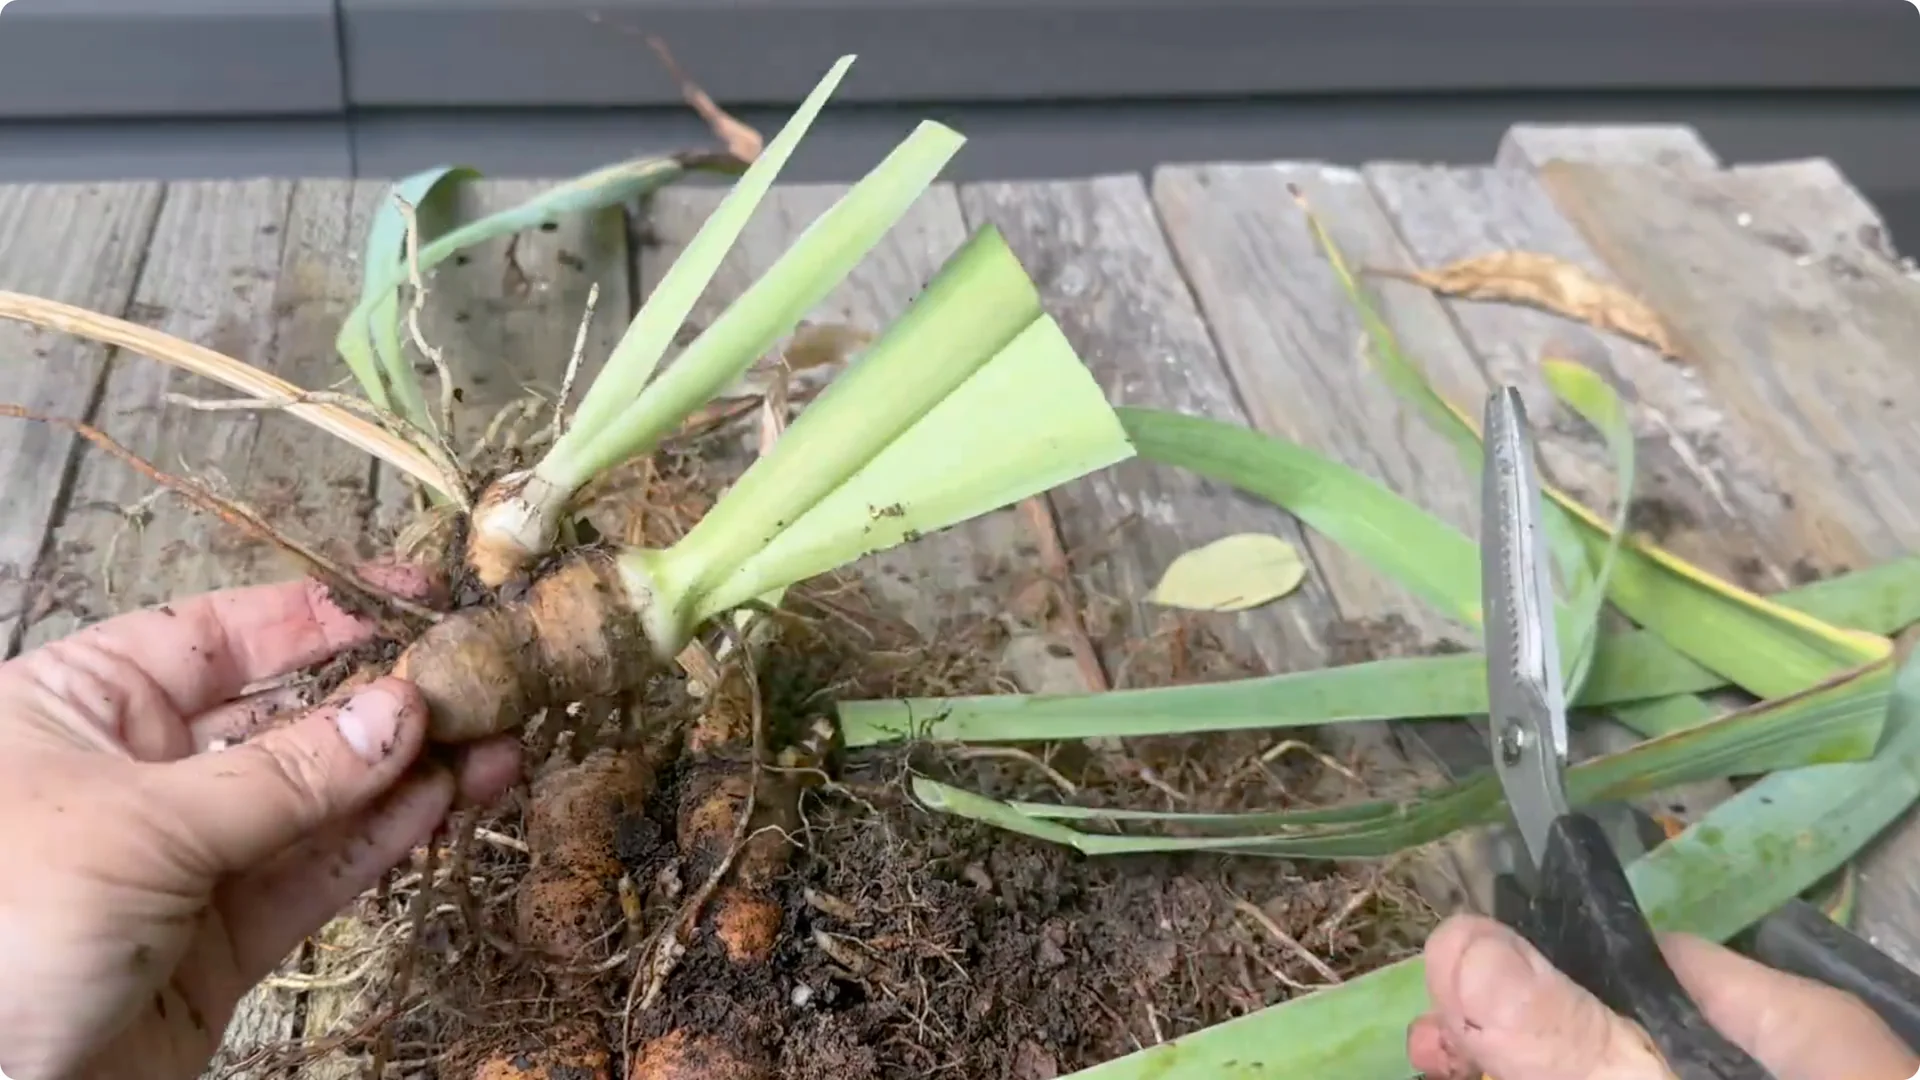
3. Separate healthy rhizomes
Break or cut apart the rhizomes, ensuring that each piece has at least one set of leaves and healthy roots. Some rhizomes can be easily separated by hand, while others may require a pair of pruners for cutting.
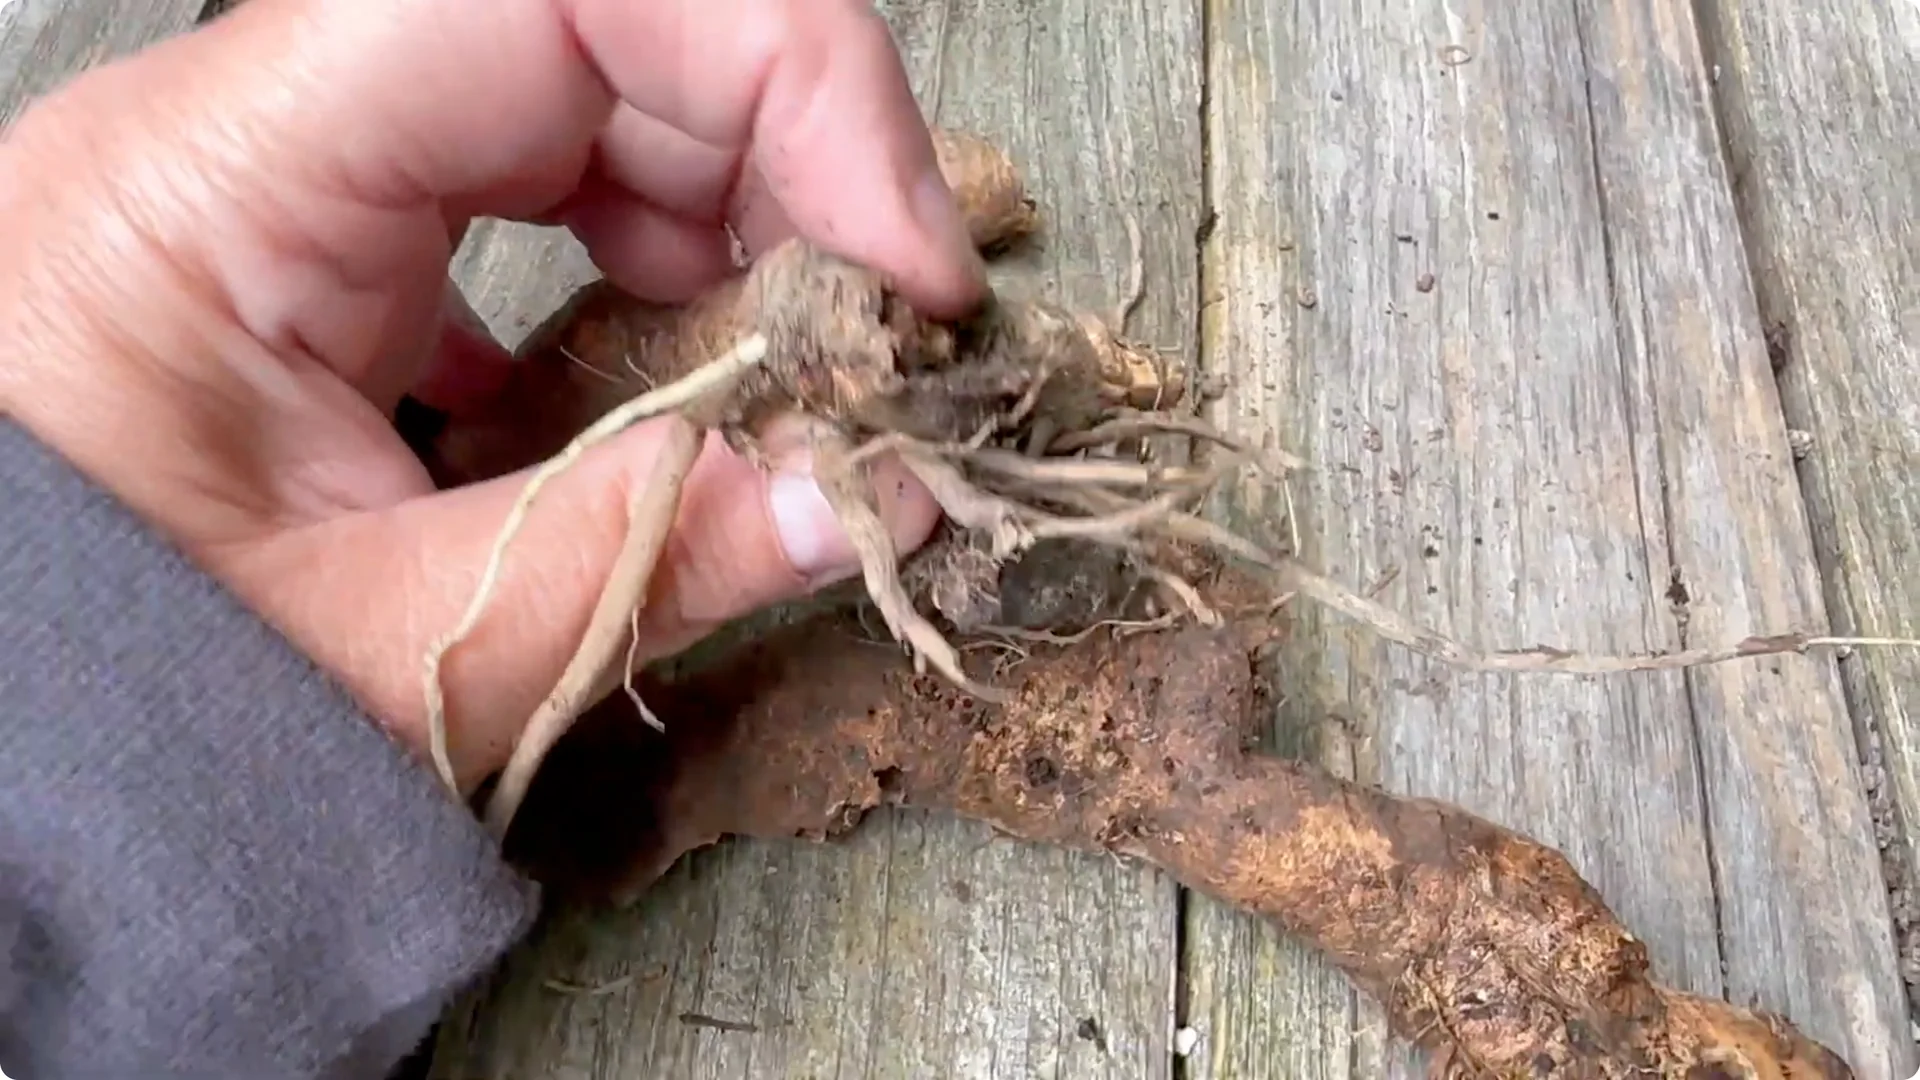
4. Remove problem pieces
As you work, you might come across rhizomes that appear weak, rotted, or show noticeable signs of disease or insect damage. Remove these compromised rhizomes and dispose of them in the trash instead of the compost pile.
5. Trim foliage
To reduce water loss and help the plants focus on root development, trim the leaves back to about 6 inches. Clip each leaf to approximately one-third of its height, making the plants easier to handle during replanting. Trimming the foliage at this stage also aids winter preparation and supports overall plant health.
6. Choose and prepare the site
Replant your irises in full sun, choosing a location that receives at least 6 to 8 hours of light per day. Amend the soil with compost or other organic matter to enhance fertility and improve drainage, as irises do not tolerate poorly drained, waterlogged soils.
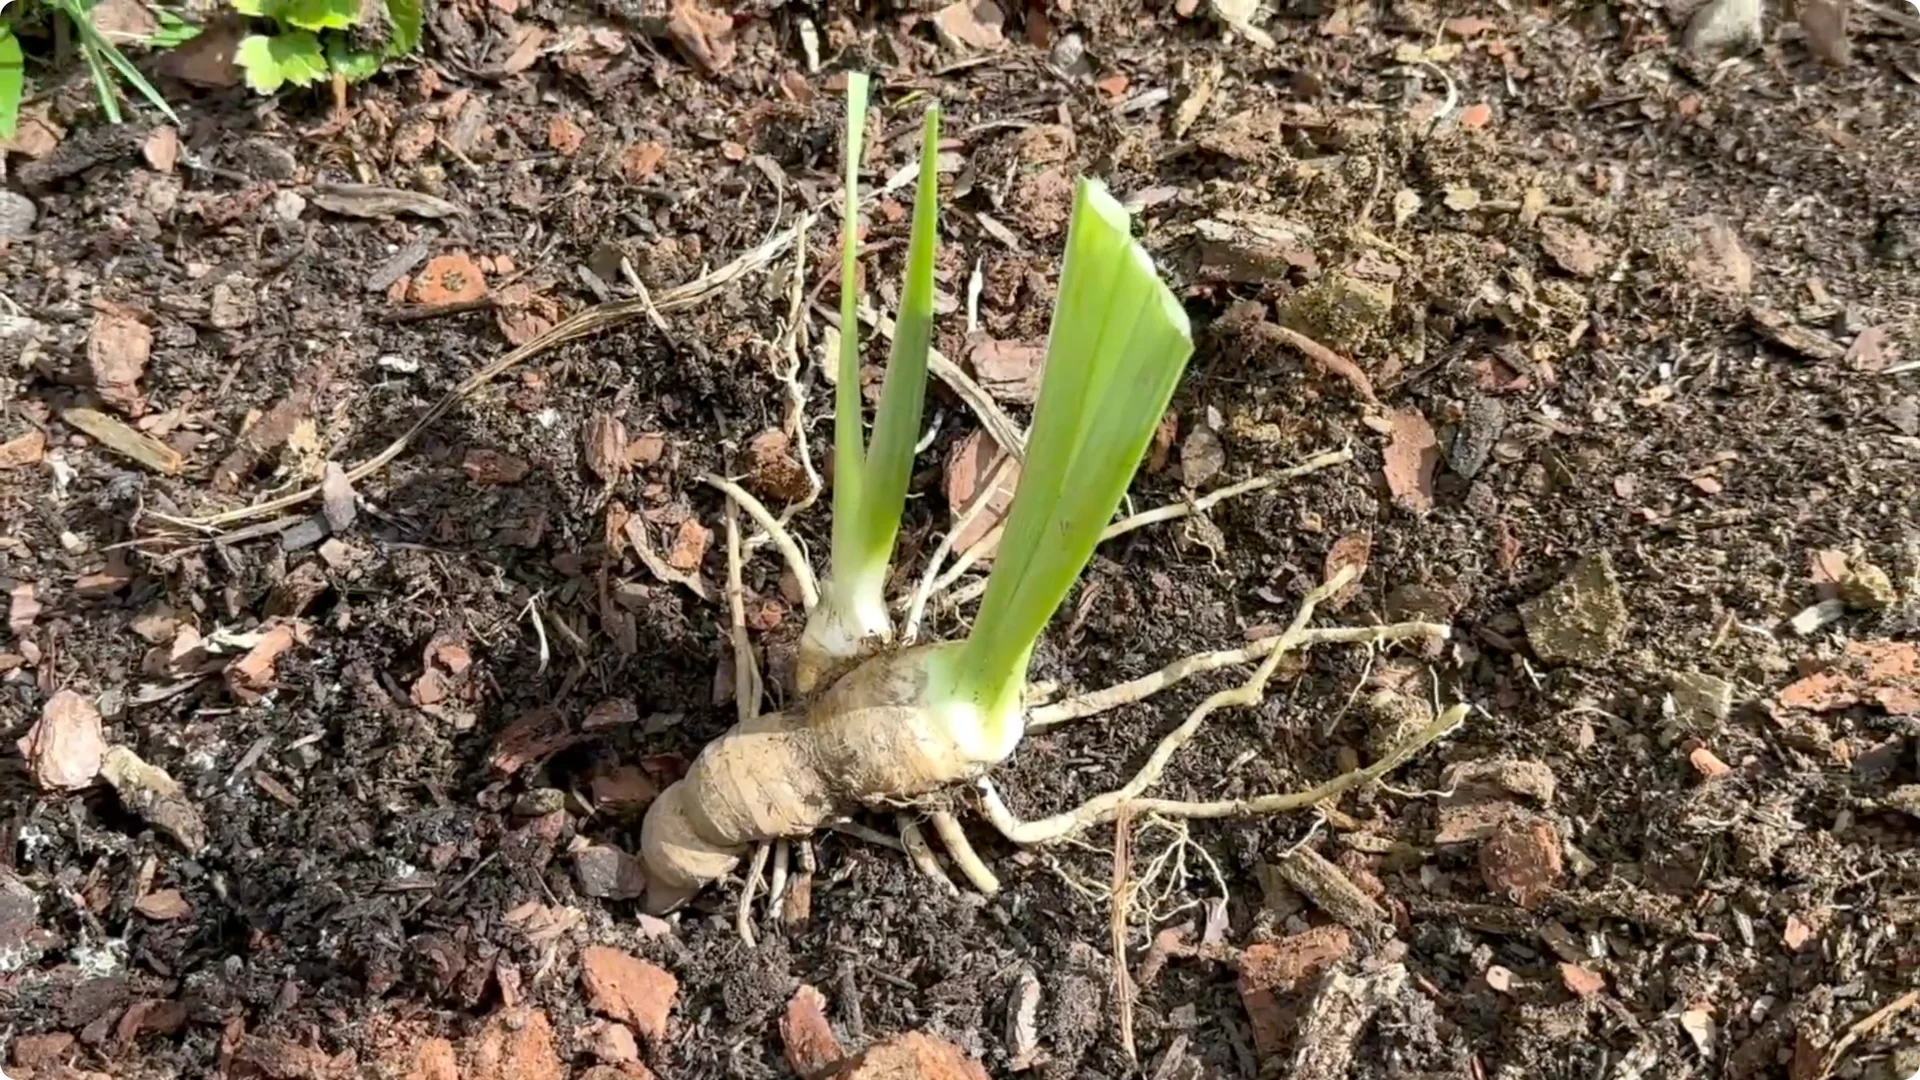
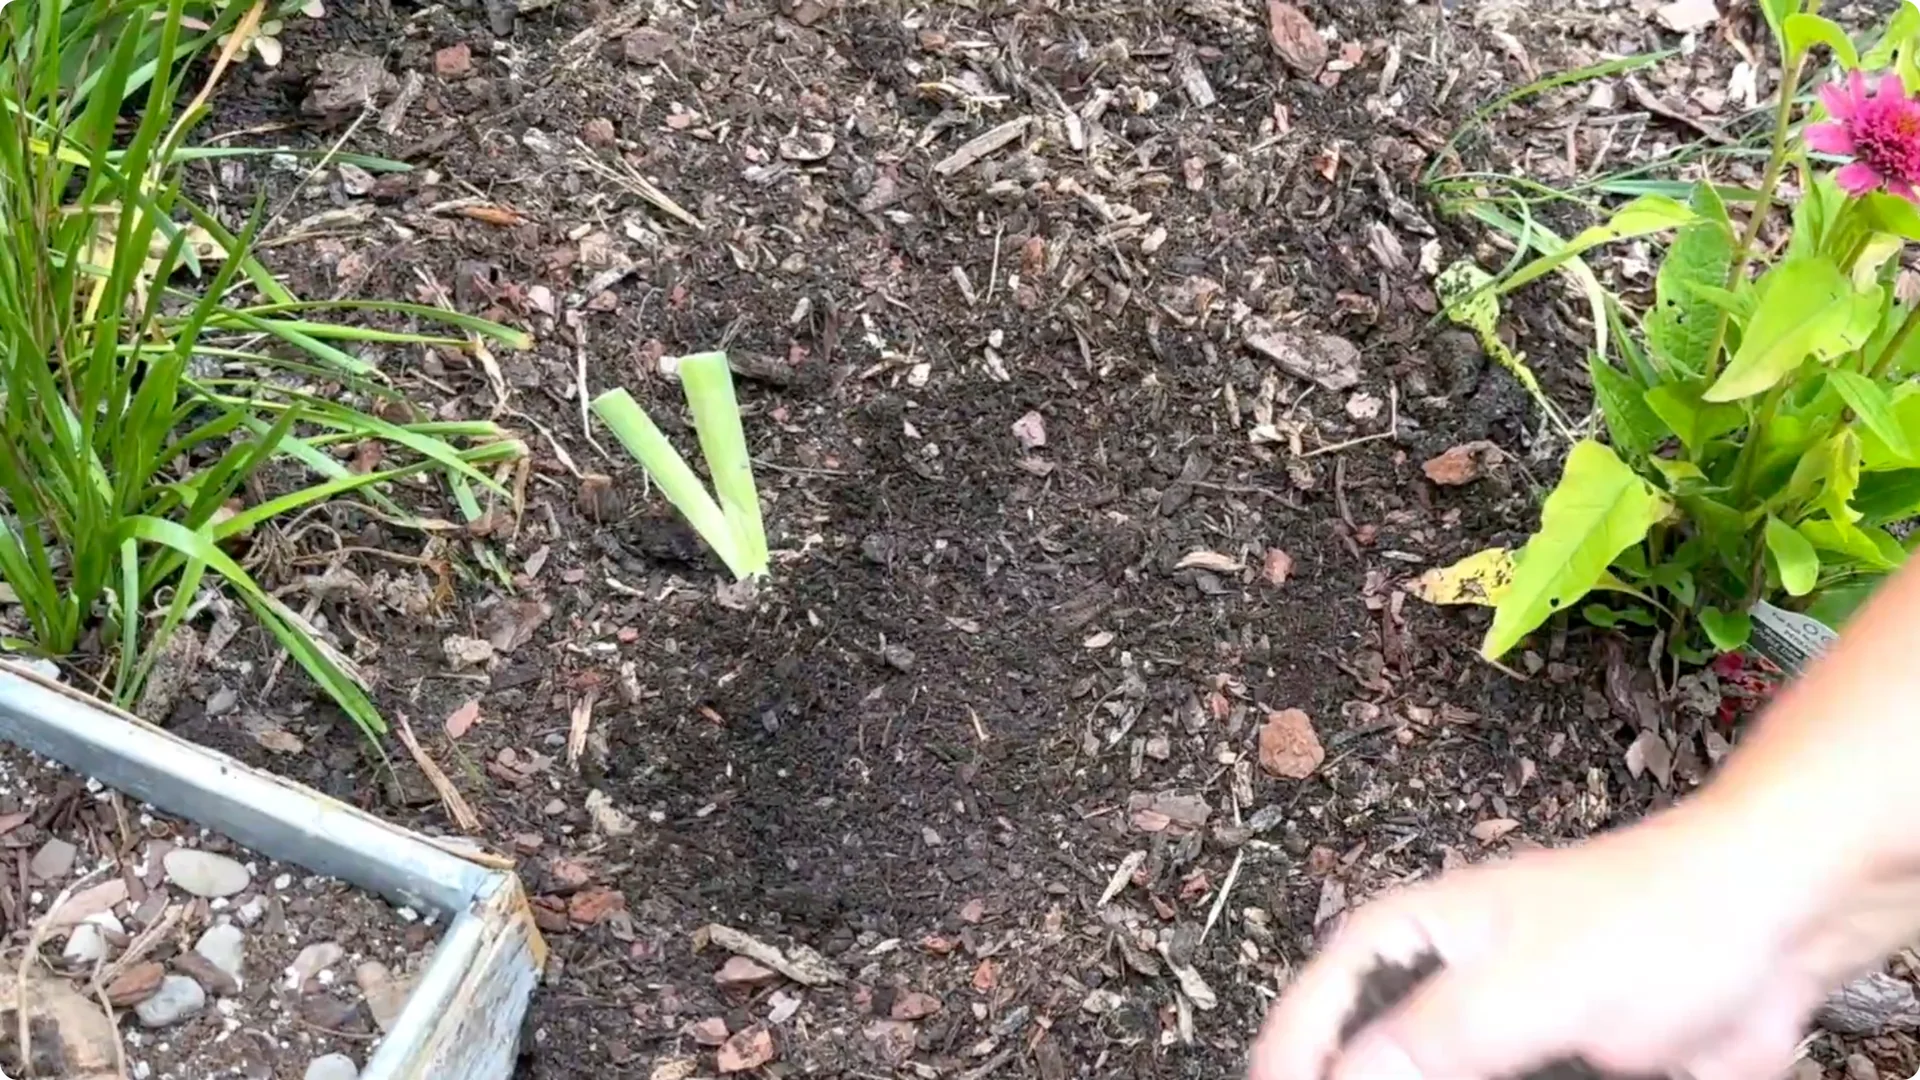
7. Plant correctly
Space the plants 12 to 18 inches apart to provide ample room for growth. Do not plant them too deep; position each rhizome so that the top sits just below or at soil level. Gently spread the roots out and cover them with soil, then water well after planting.
8. Water and mulch
In the first few weeks after transplanting, water the beds deeply to promote new growth and root development, as establishing a robust and healthy root system is essential. Applying mulch can help retain moisture and suppress weeds; however, do not cover the rhizomes.
For a winter-blooming houseplant that rewards good care, see these holiday cactus care tips.
Final Thoughts on Iris Division and Transplanting
Dividing and transplanting your irises is a simple task that will reward you with a healthier, more vibrant garden. You’ll have plenty of new plants to enjoy and share with others. Happy gardening.