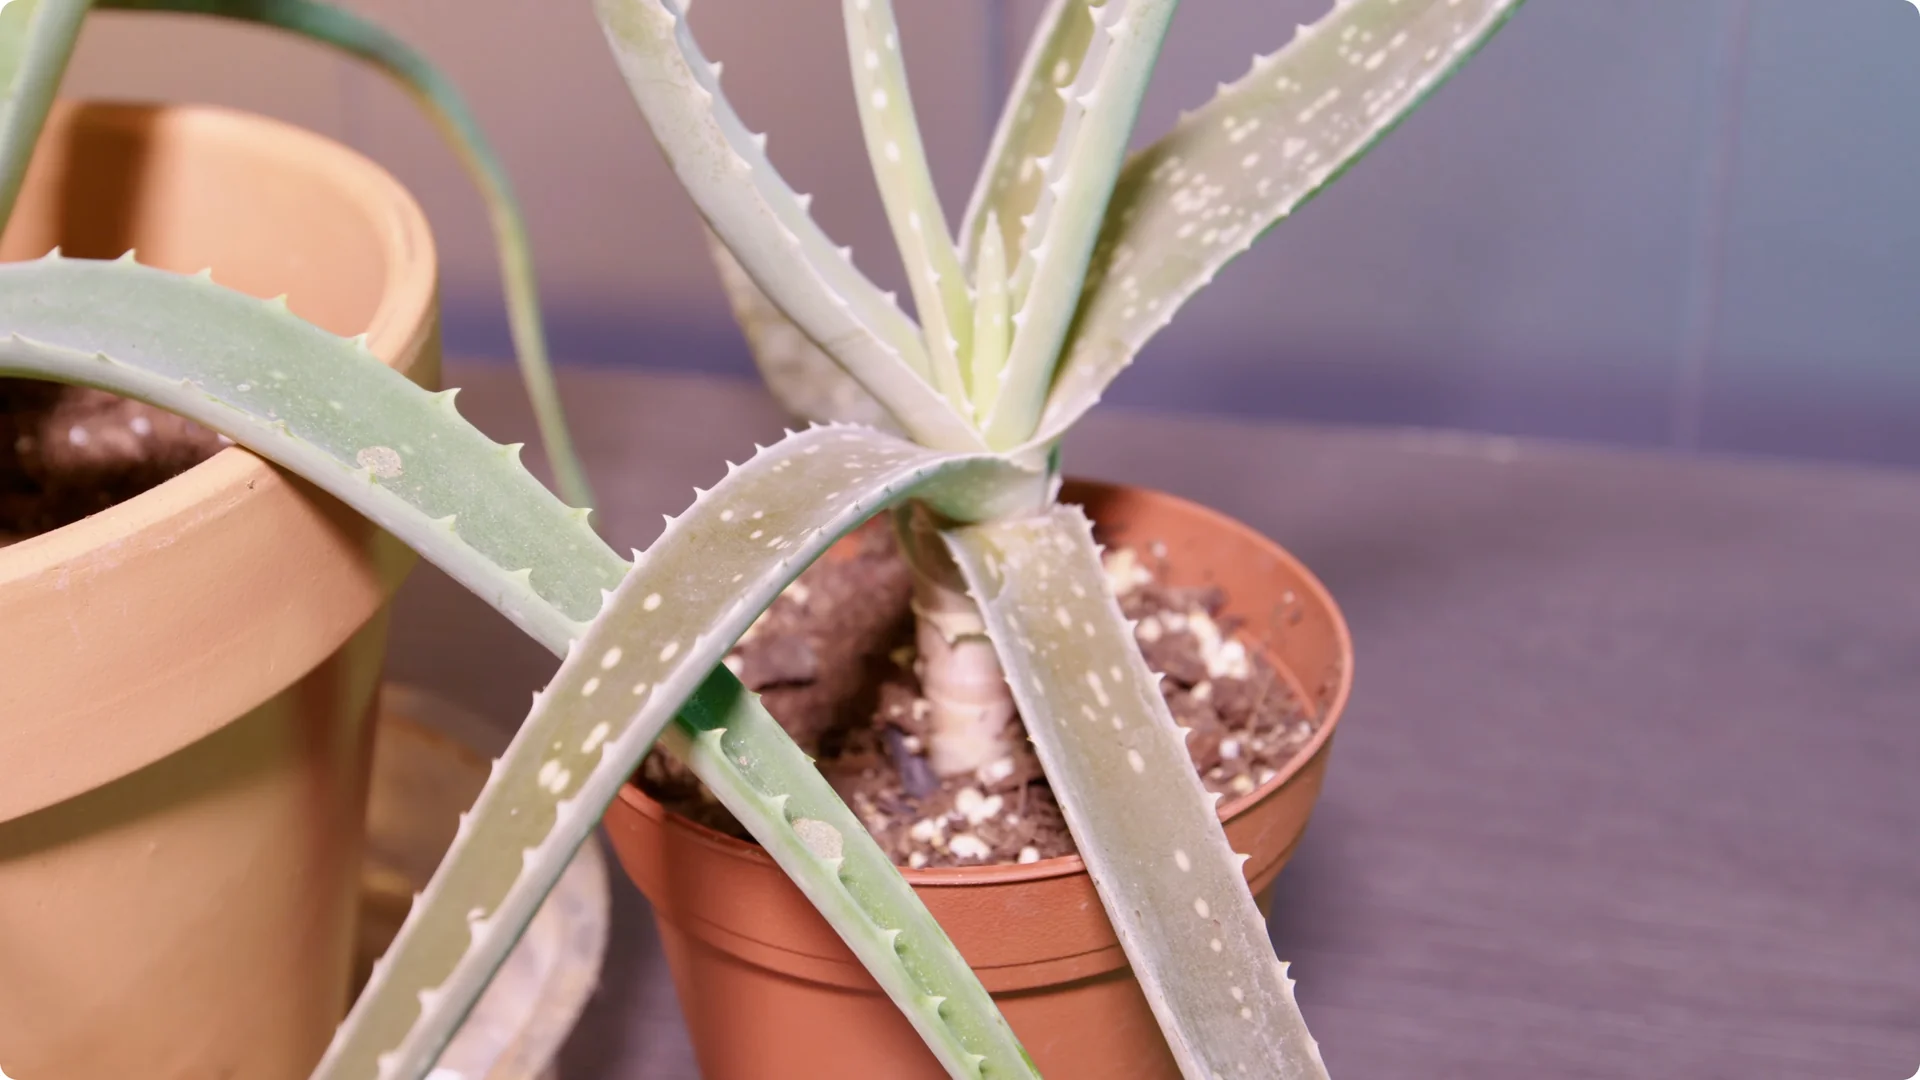
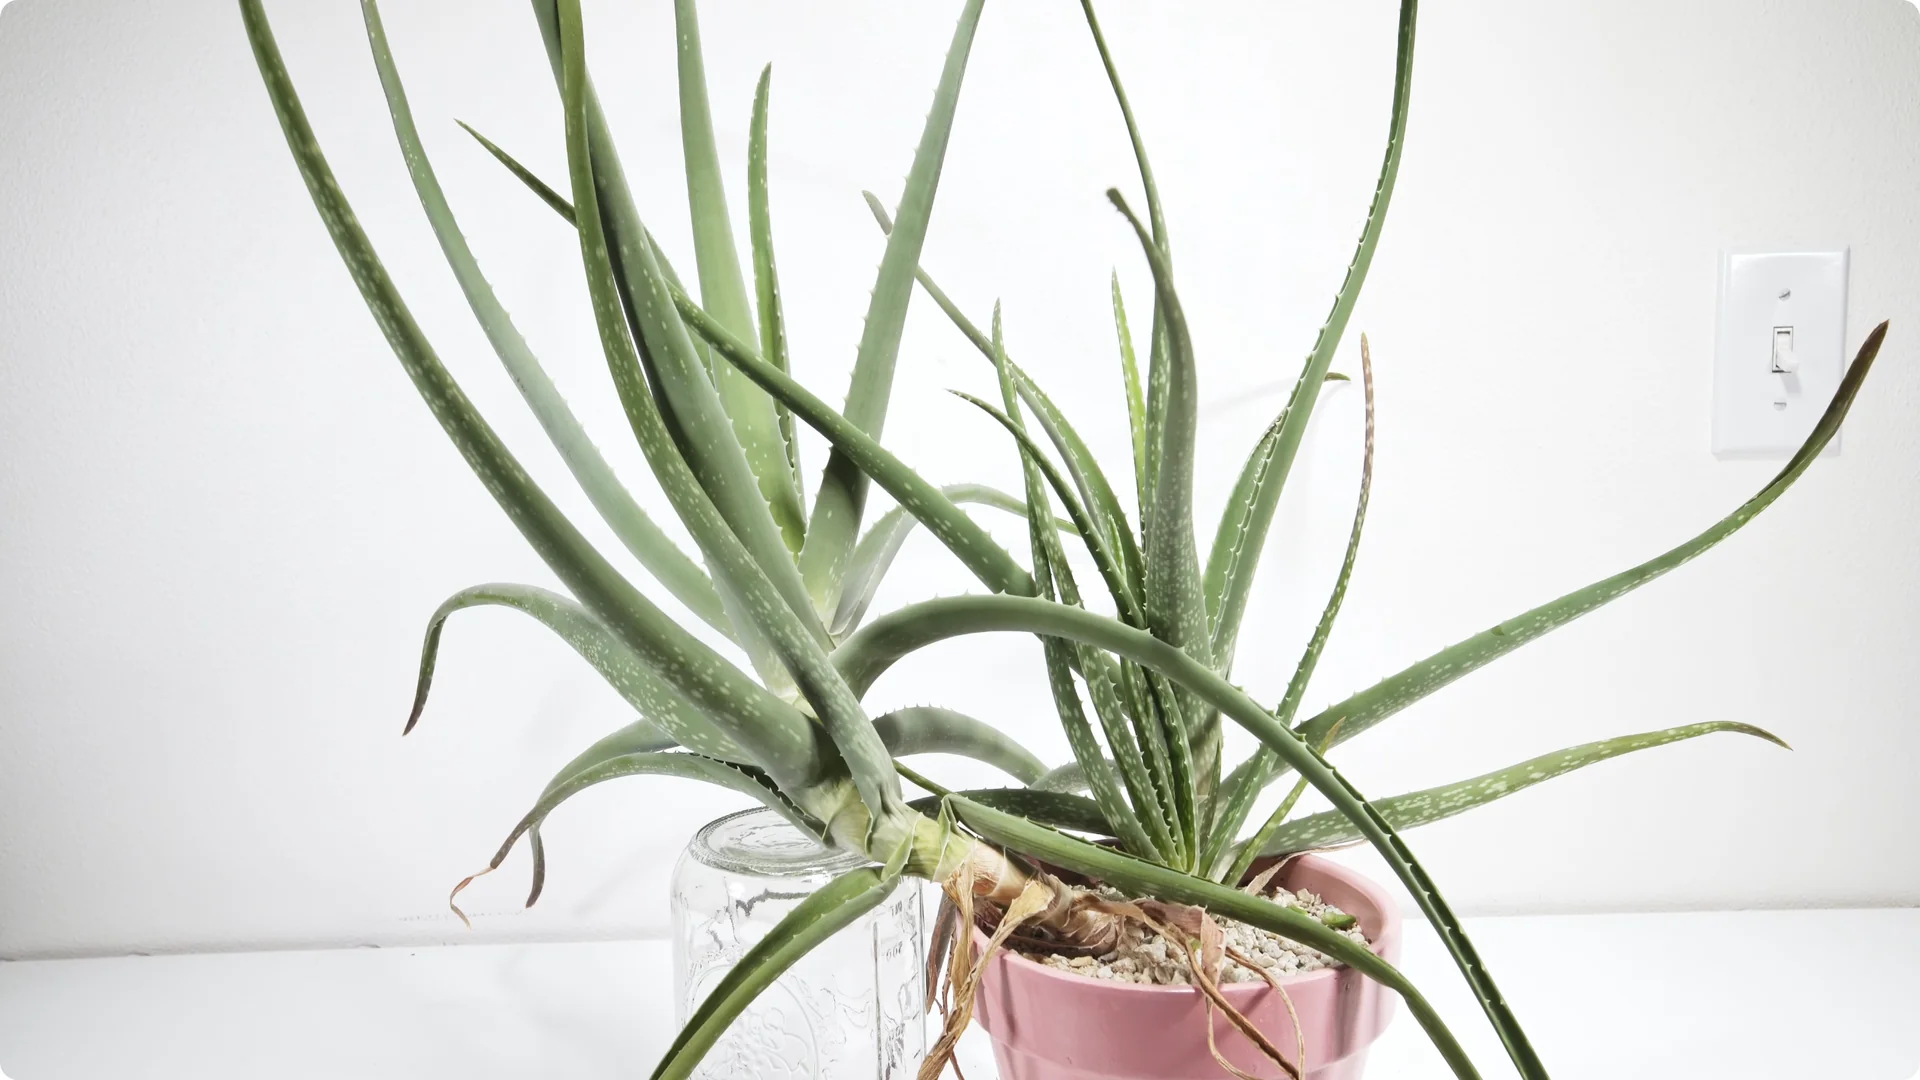
Aloe vera is actually quite simple to care for. The one in the center was the mother plant I split pups from about two years ago, and it has been quite successful. I want to share the tips that keep mine green and healthy based on a real, low-fuss setup.
I treat aloe as a plant that thrives on a bit of neglect. If you avoid overdoing the light and the water, it will usually reward you. Keep it simple and consistent.
1. Aloe Vera Plant Care – Lighting
A lot of people think aloe needs tons of light because it is a succulent and kind of cactus-like. In reality, it does not need much light at all to thrive. Mine live off to the side of my grow area and still look good and green.
I even kept one next to a washing machine in a basement with faint indirect light from a small window. It really got almost nothing and still did fine for months. I felt a little bad for it, but it was a decent experiment.
To show what too much light can do, I put an aloe under strong grow lights I use for cactuses and other succulents for only 3 to 4 days. The color change was drastic. Aloes do something called light stressing, where they change color to protect themselves from the sun.
If yours is getting blasted and starts changing color, ease it back to bright indirect light. You do not need intense light for it to be happy. Keep it comfortable and it will grow steadily.
For additional aloe basics and common pitfalls to avoid, see these aloe care tips.
2. Aloe Vera Plant Care – Watering
Watering is the part most people overdo. I water mine very rarely and very sparingly. The more neglect you give, the more it tends to thrive.
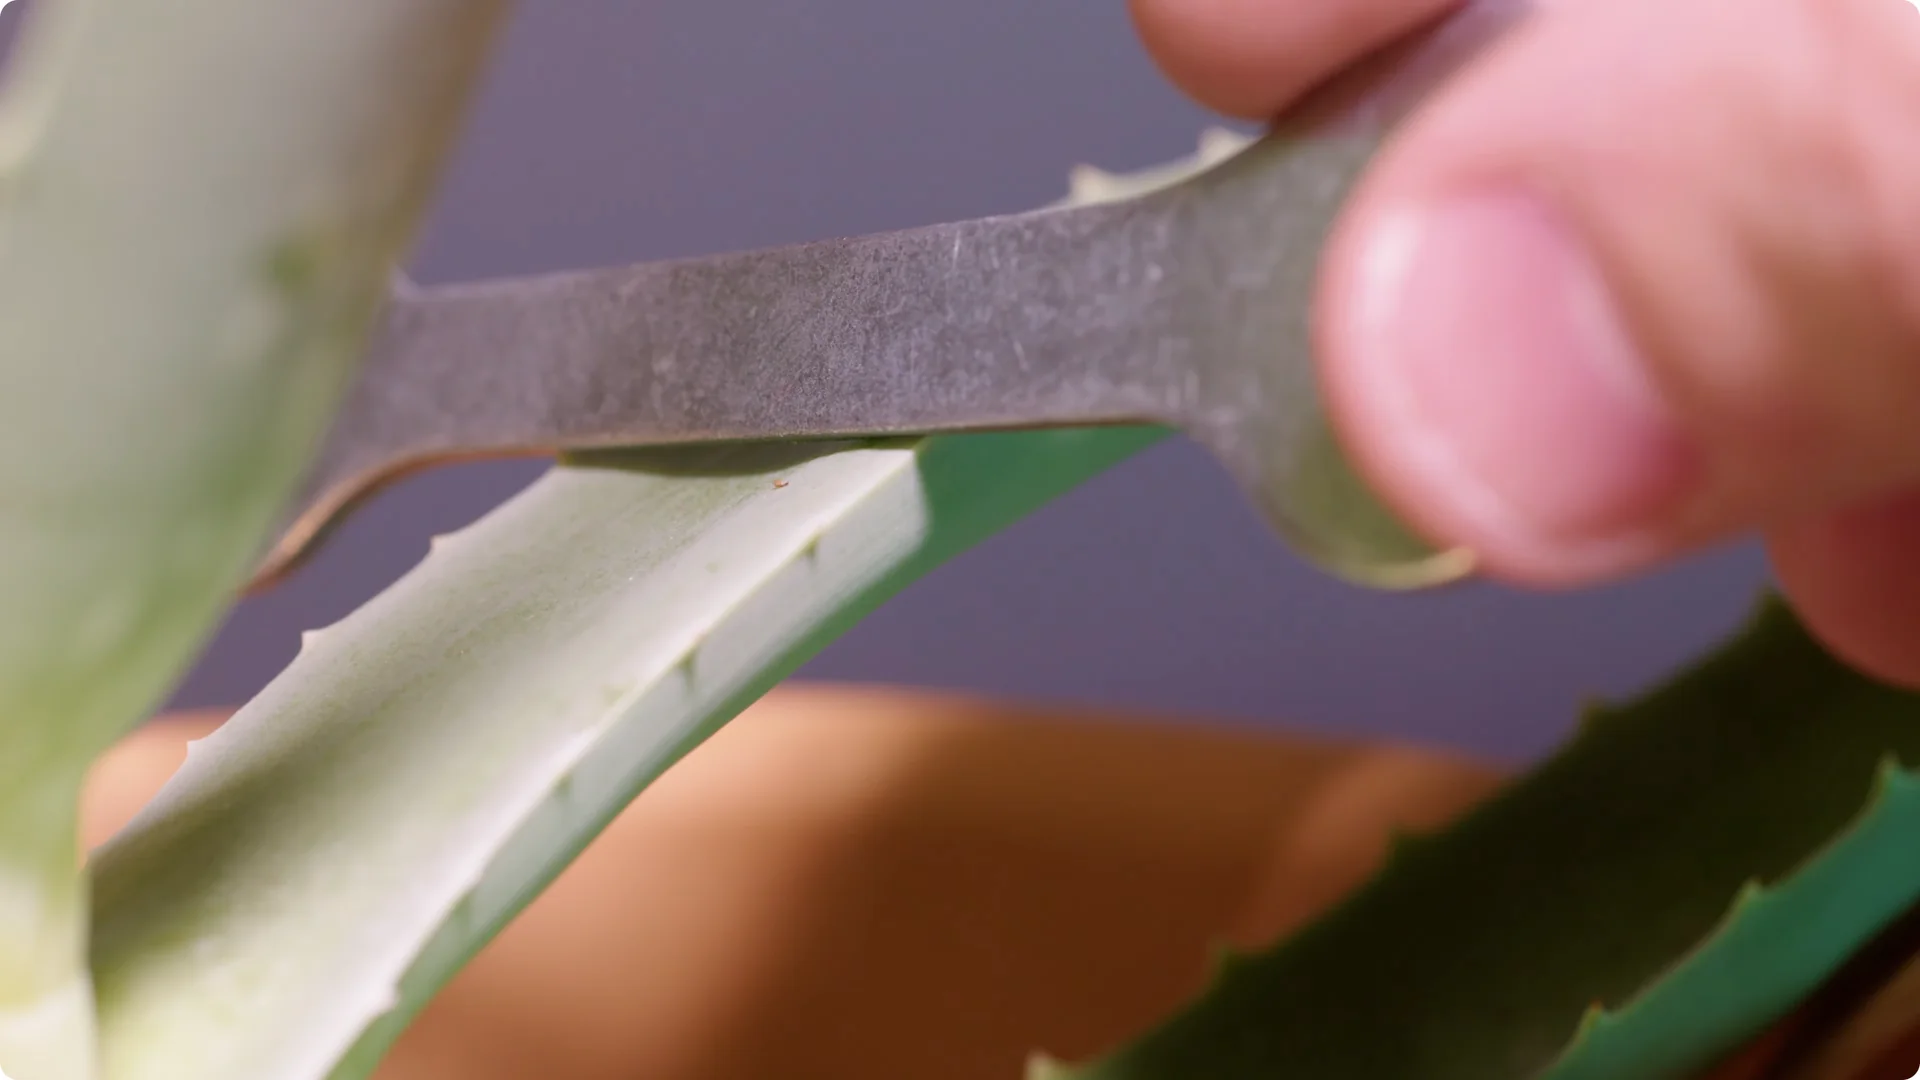
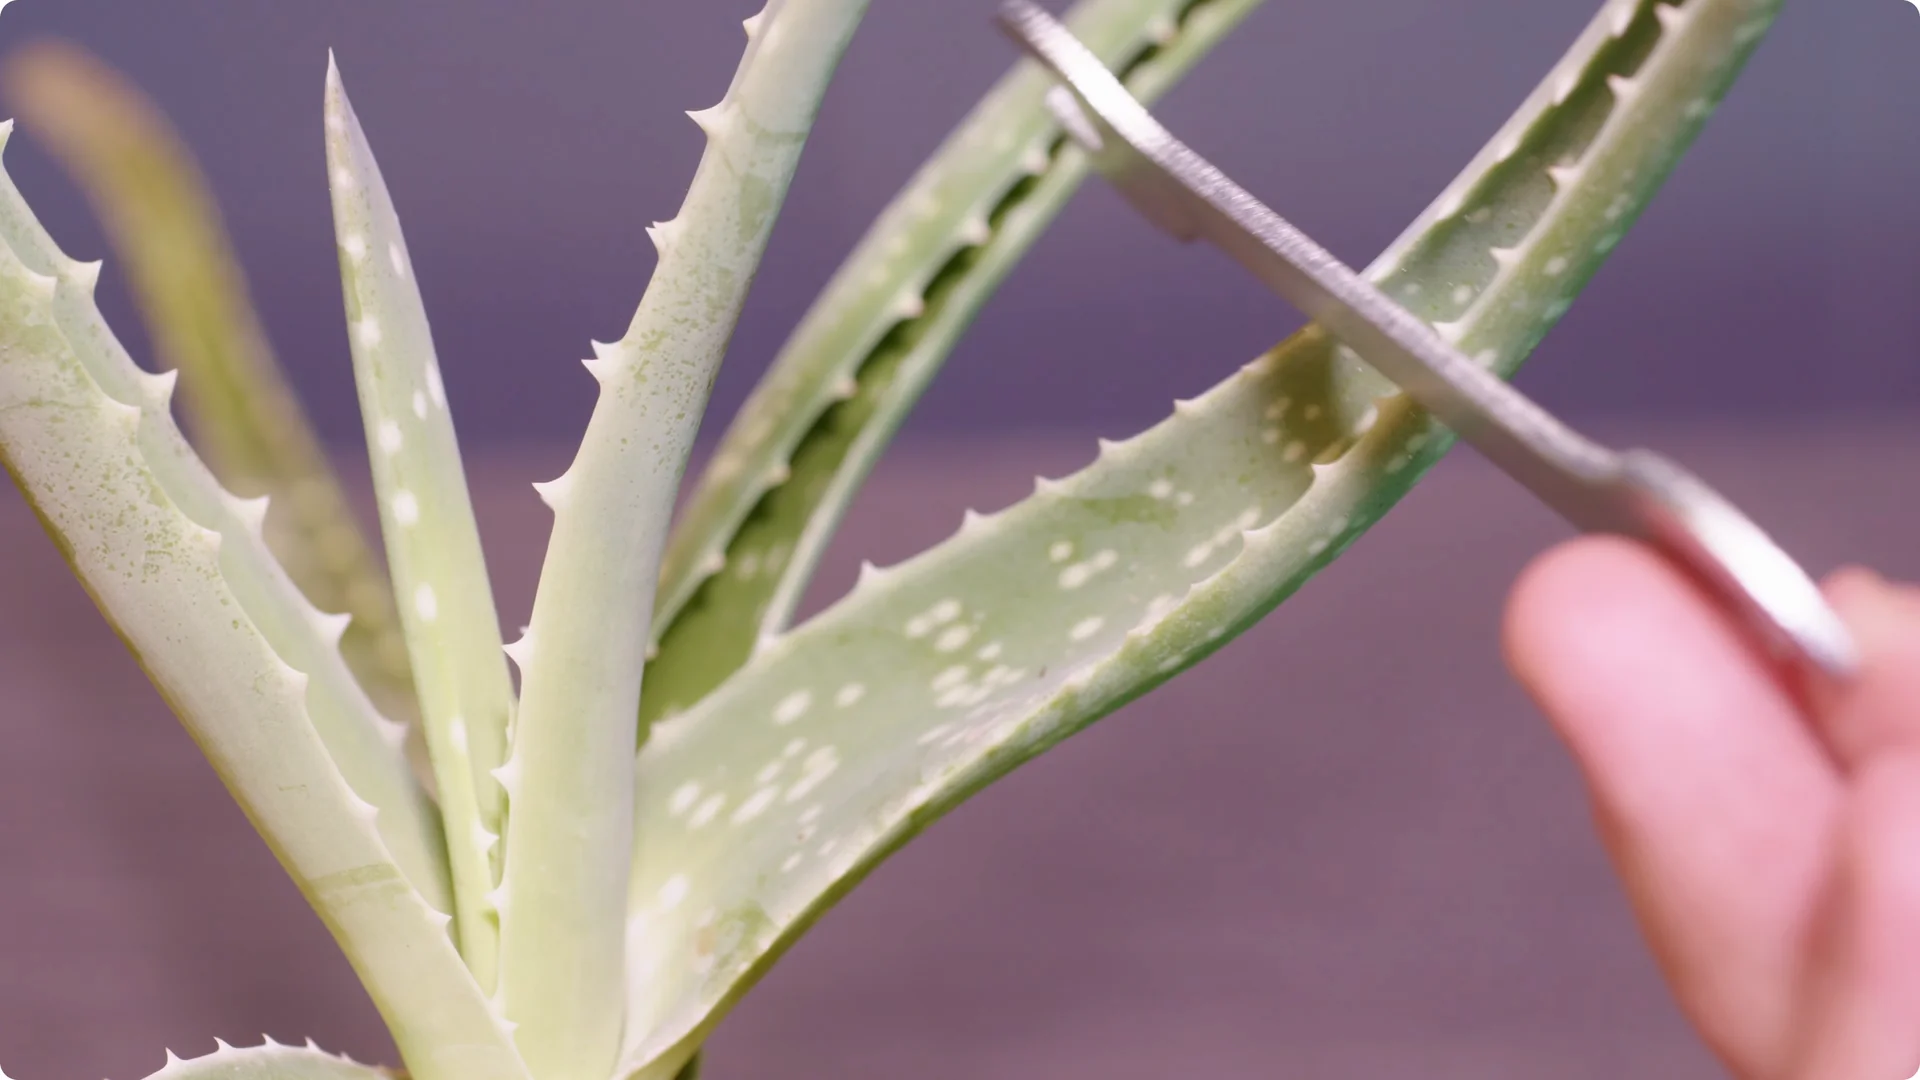
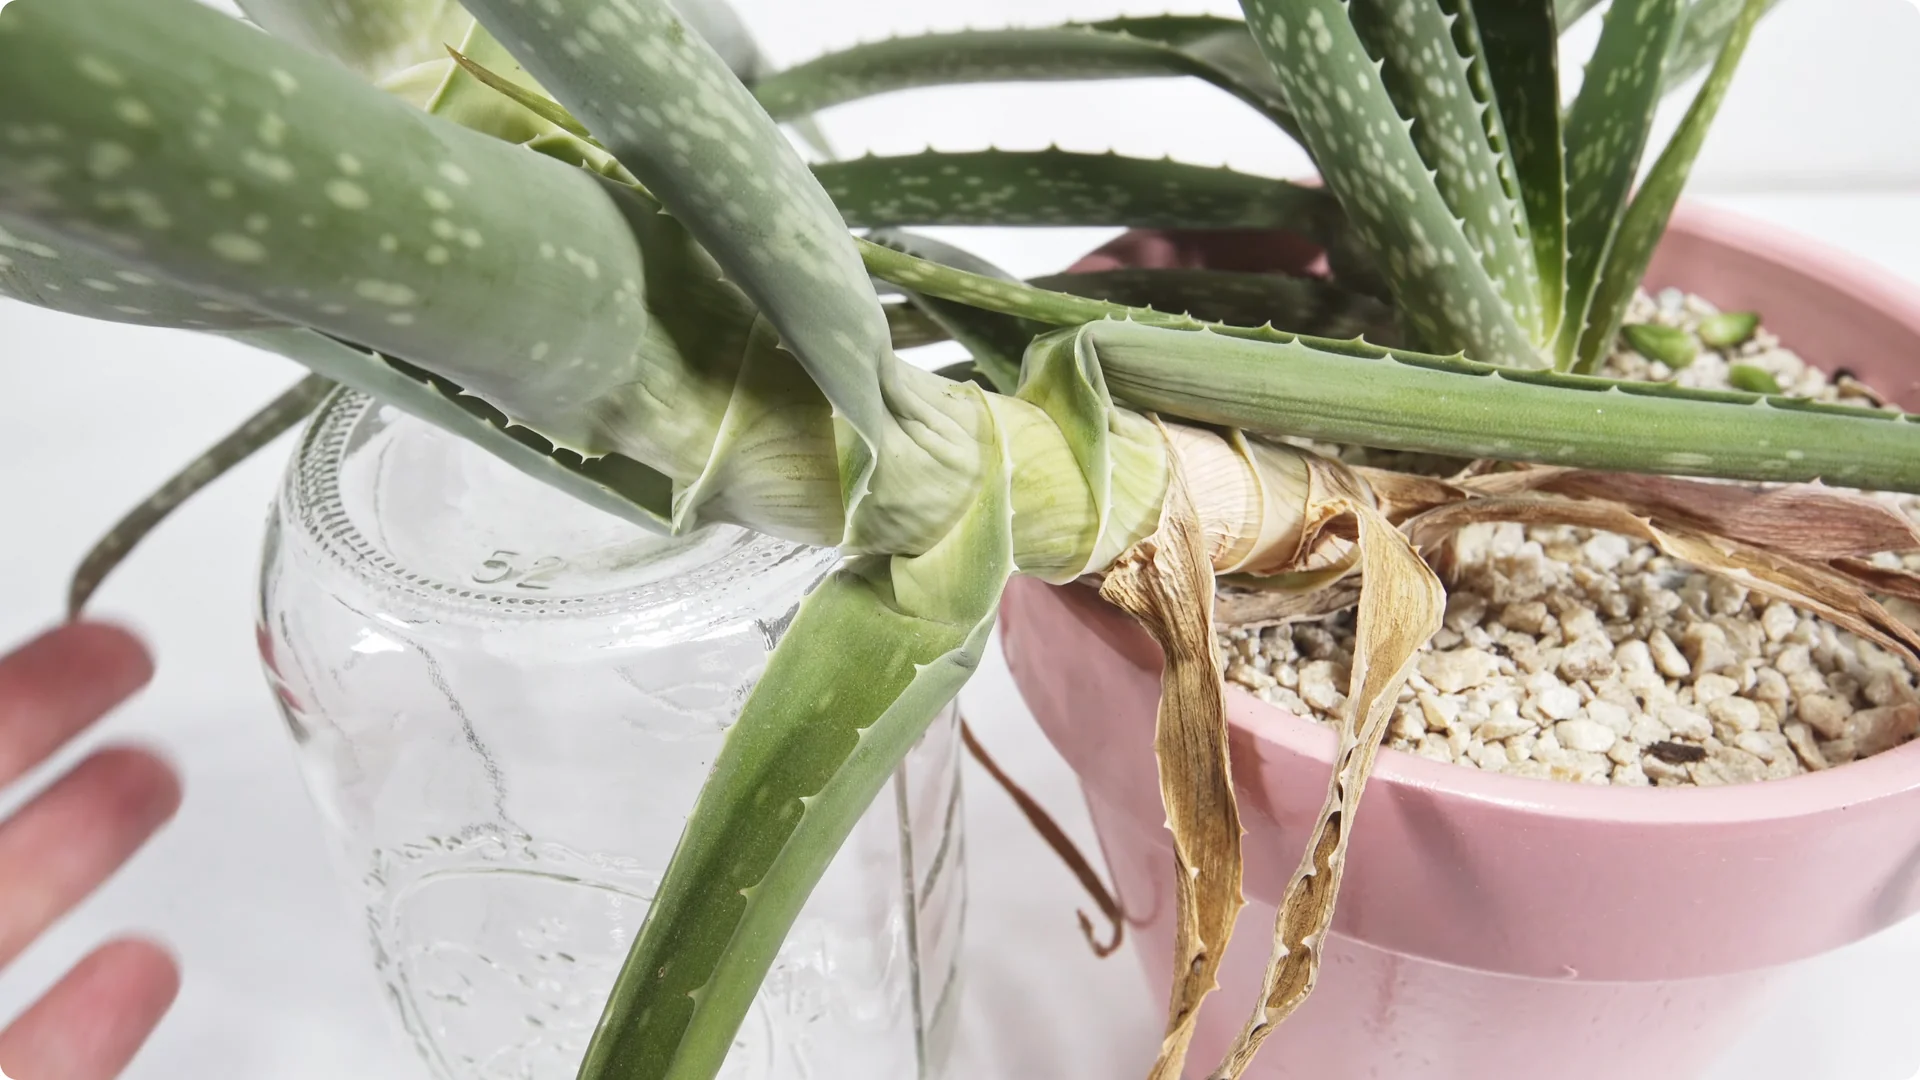
Too much water invites root rot, especially if light is low. My go-to method to decide when to water is to look at the leaf blades. If they form a really deep U shape, the plant is getting dehydrated.
Aloe stores water in the leaves. The more plump, firm, and thick they are, the less water they need because they are already stocked up. Flat or only slightly cupped leaves usually mean hold off.
You can use a straight edge across the leaf to spot the U shape quickly. Shallow U means fine. Deep U means it could use a drink.
If you discover a dehydrated aloe, do not panic and drench it. It will not instantly plump back up in one watering. Rehydrate it over time with modest, slightly more frequent sips.
Bone-dry soil is not an emergency with aloe. I have had pots go a week or two with zero moisture and the plants remained perfectly fine. As long as they are not baking in hot sun, they tolerate dry spells.
Watering frequency almost always correlates with light and heat. More light and warmth means more frequent drinks. Lower light means it can go a long time without water.
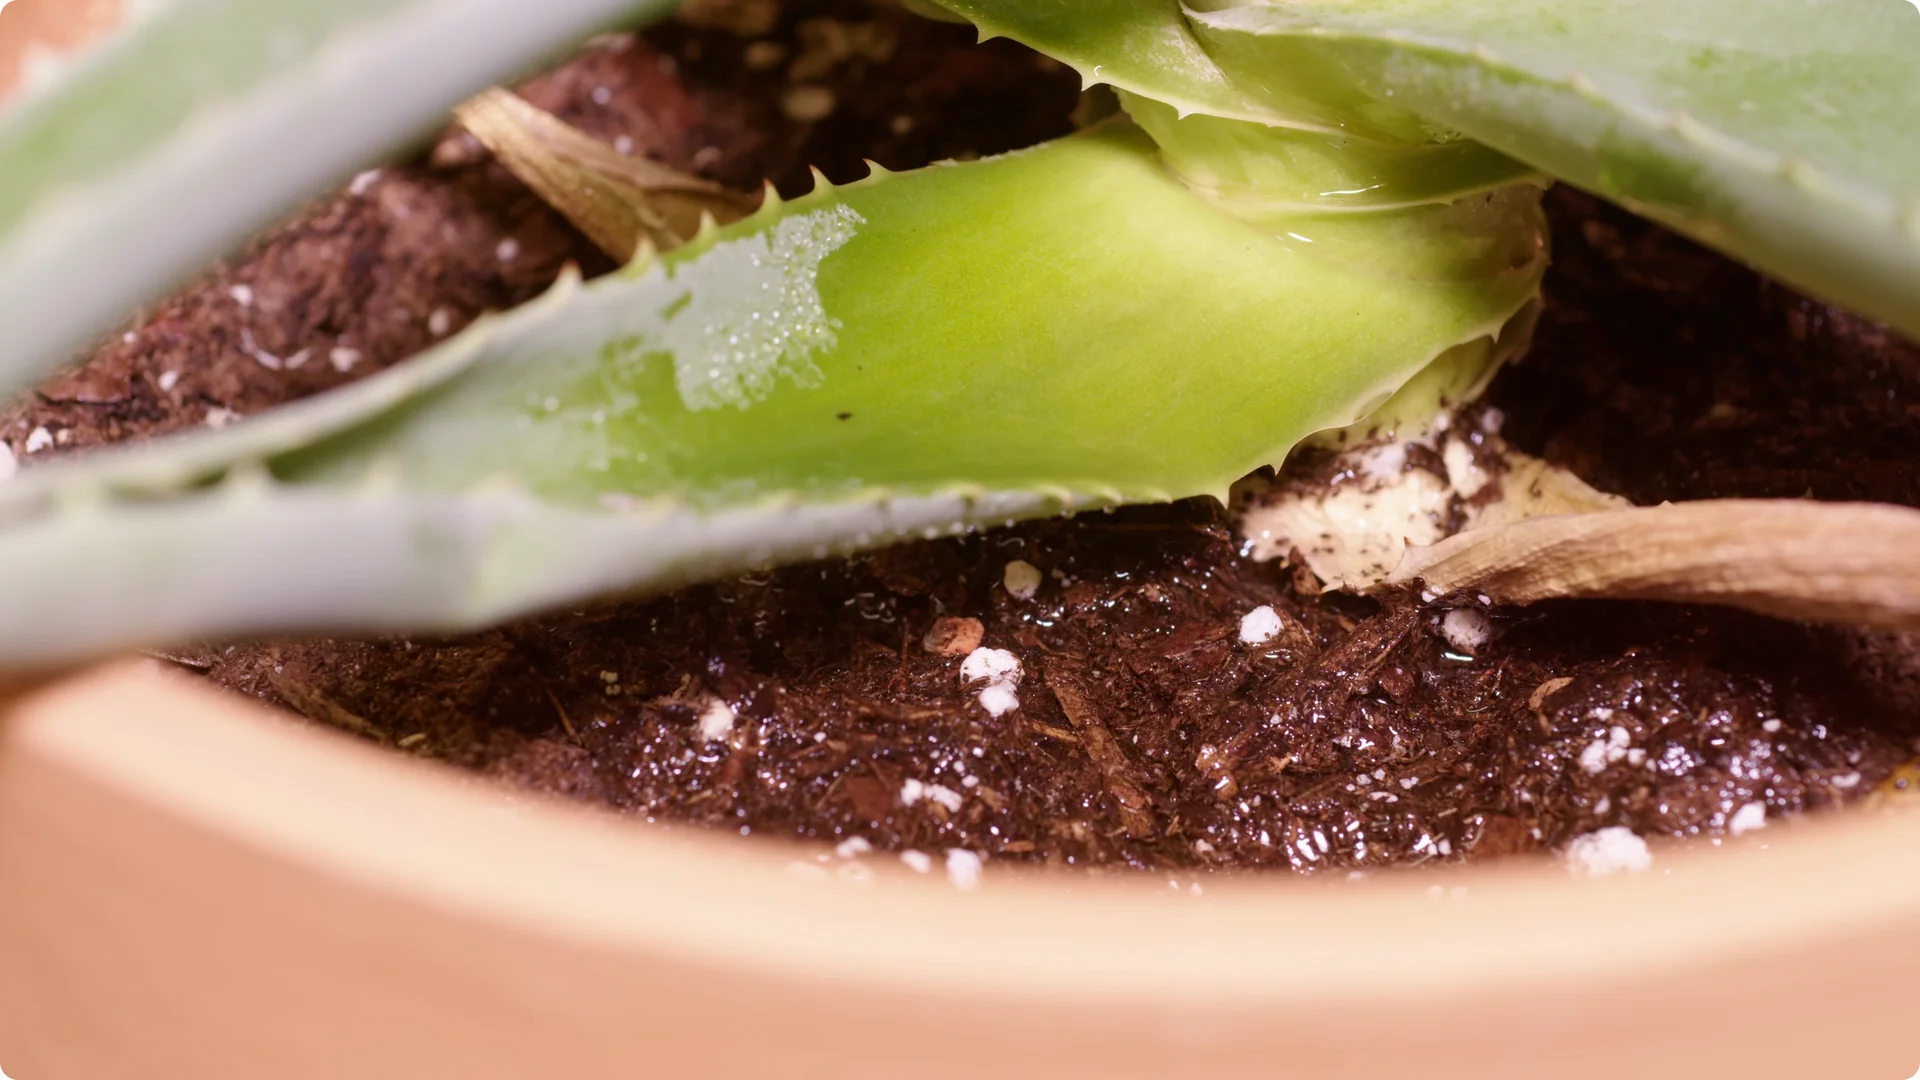
When I do water, I rarely saturate the entire pot. I target the base of the plant and wet the area around the crown. Capillary action spreads moisture just enough for the roots to sip and then dry promptly.
Saturating the whole pot is only helpful if the plant is in hot sun and drying quickly. A large pot that stays wet is a recipe for root rot. Keep water modest and let the soil breathe.
If you like plants that genuinely prefer being ignored, you might also appreciate this concise snake plant care guide. The watering mindset is very similar.
Step-by-step: When to water
1. Check the leaves first. If they are plump and firm, wait.
2. Look for a deep U in the leaf cross section. Deep U means thirsty.
3. If thirsty, water lightly at the base. Repeat small sips over time until leaves regain firmness.
3. Aloe Vera Plant Care – Pots and Soil
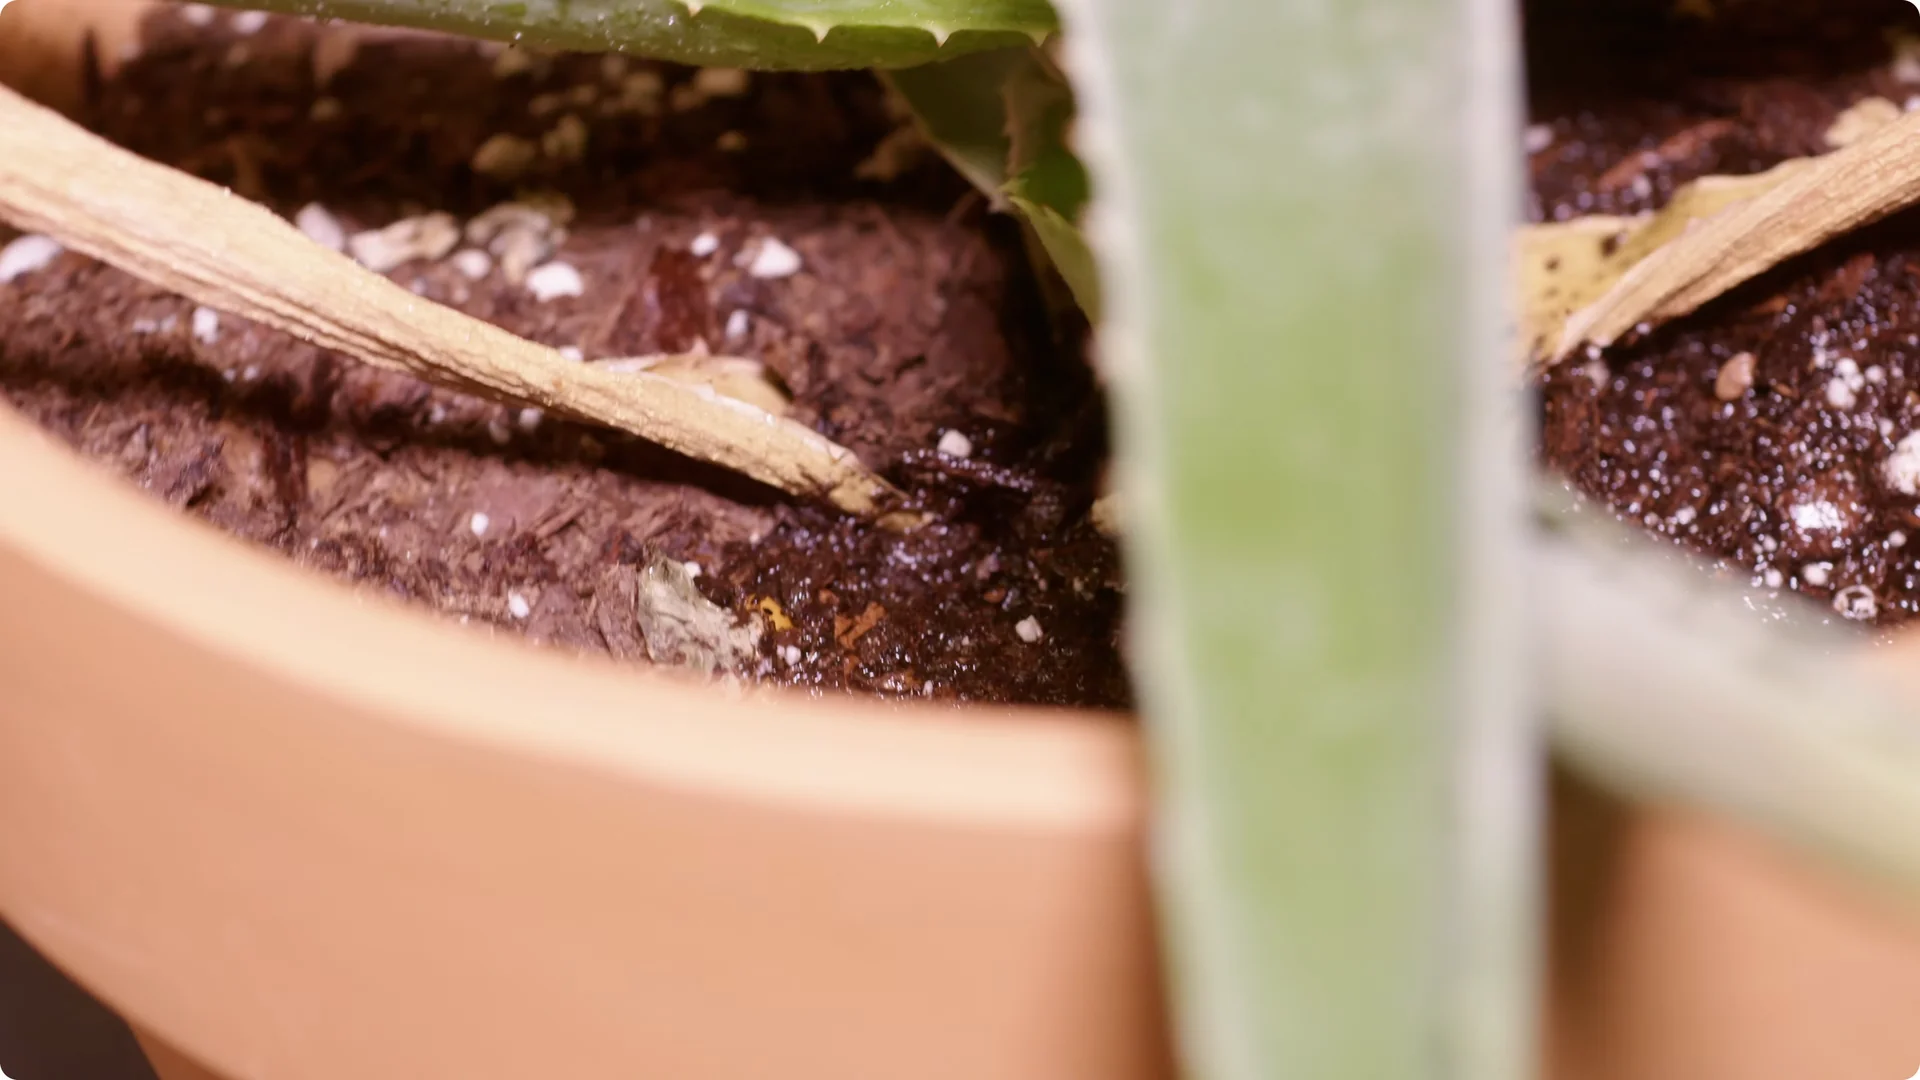
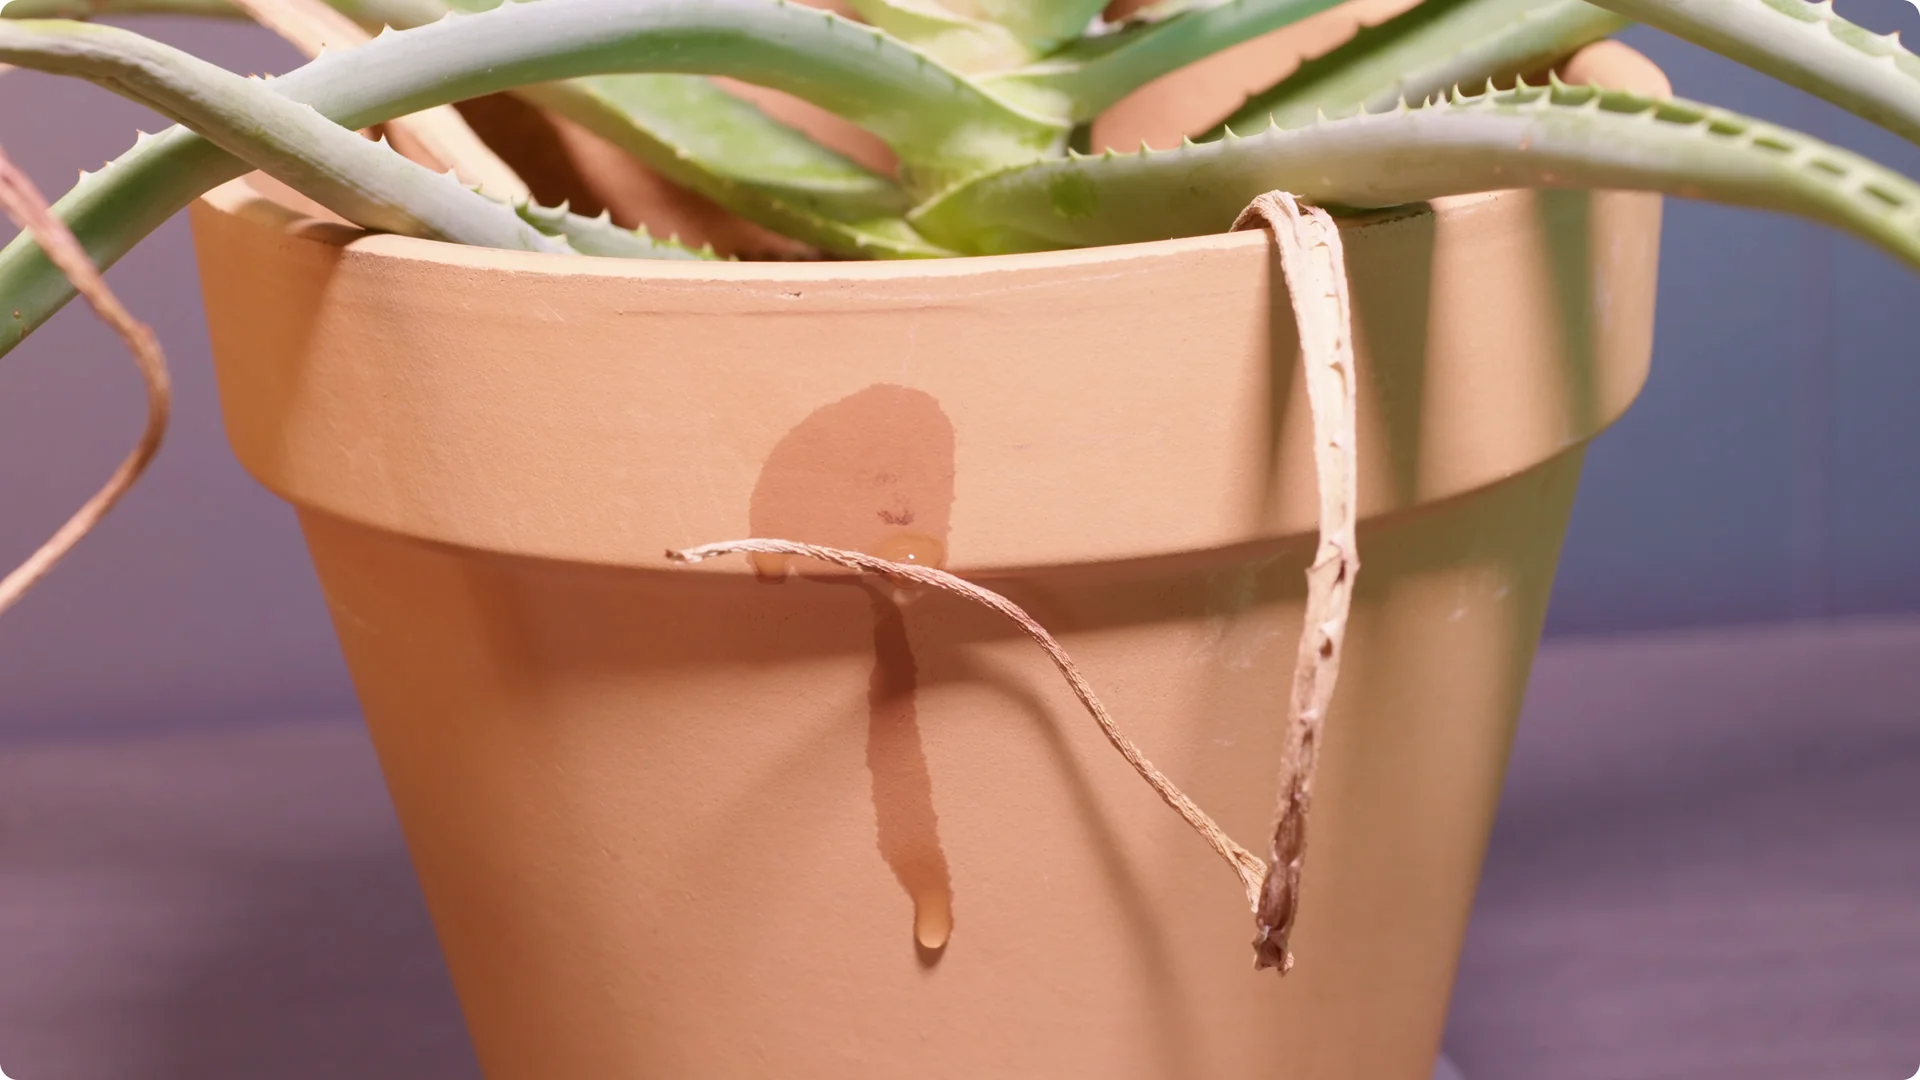
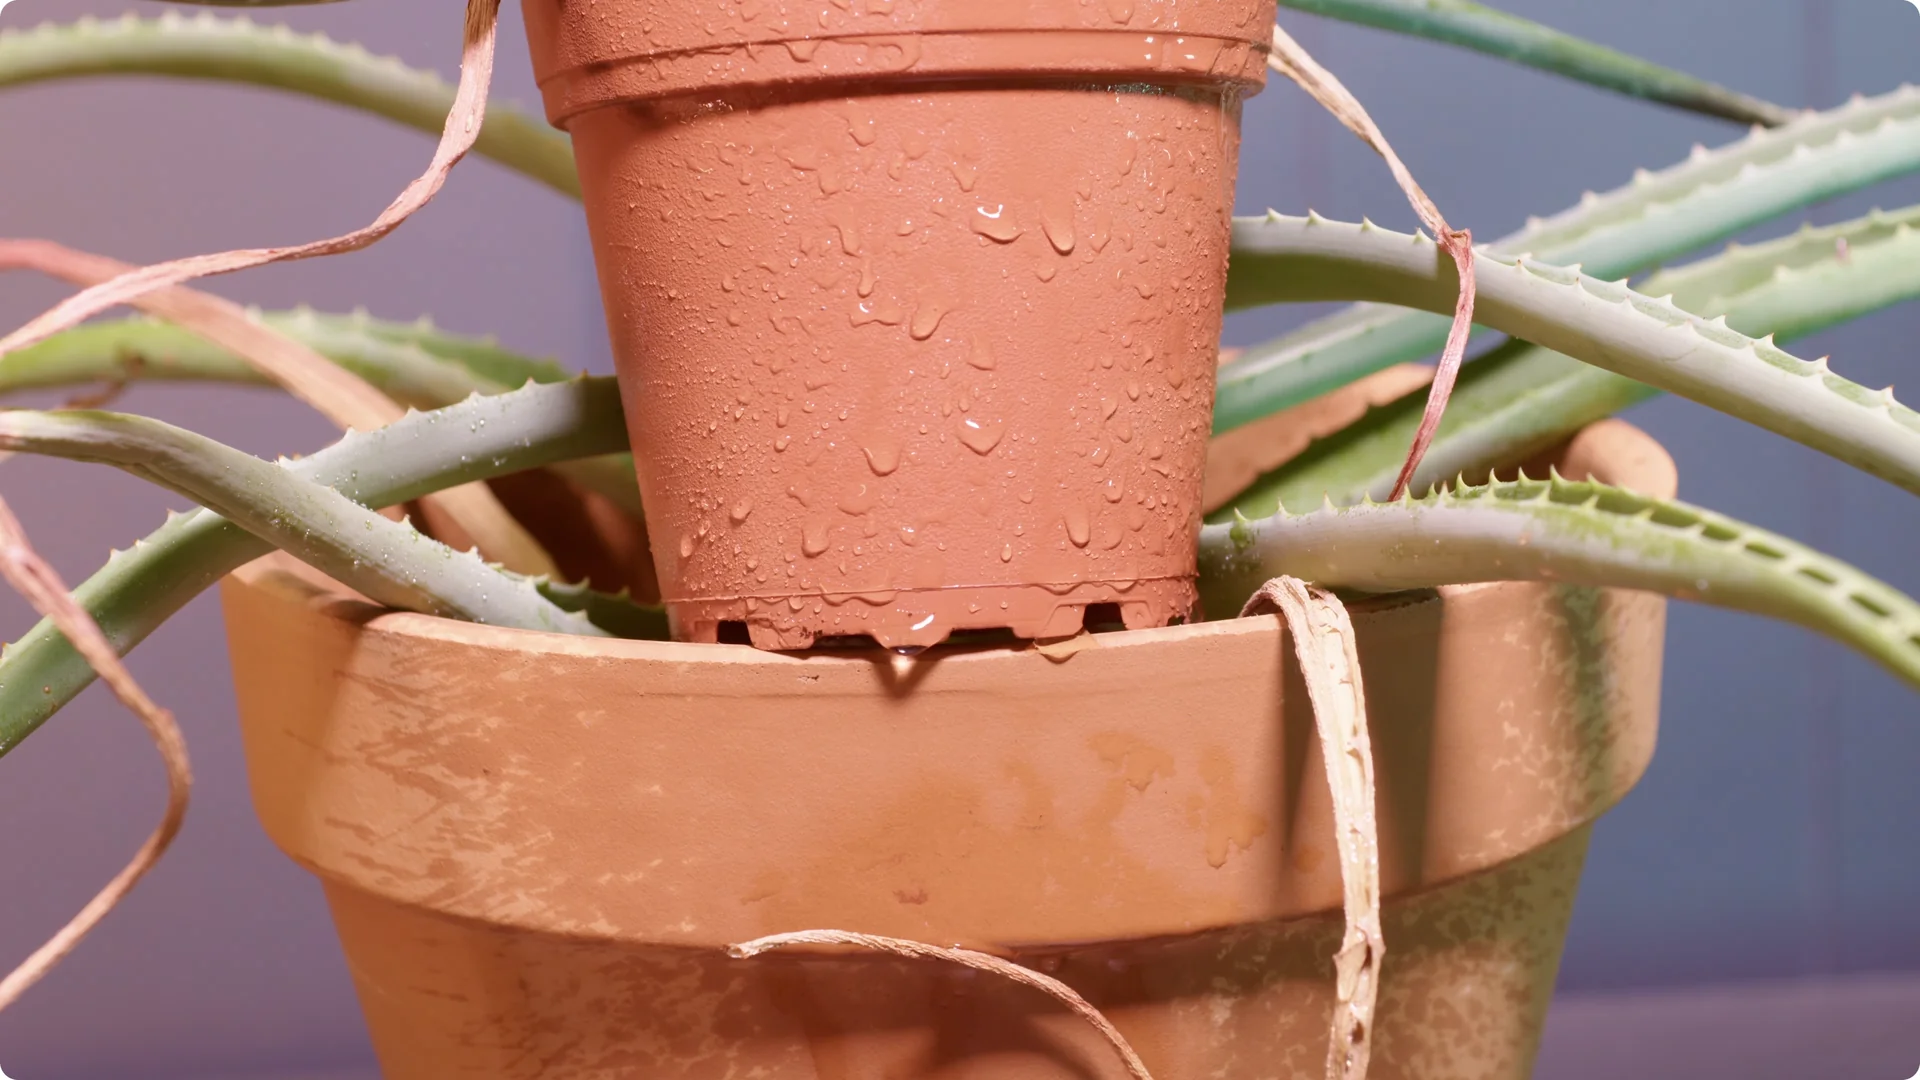
With pots, terracotta is hard to beat. It breathes well and wicks water from the soil into the air. That helps the mix dry faster and prevents soggy roots.
You can see this when water hits terracotta and quickly soaks in and spreads. Plastic does not breathe like that, and moisture lingers longer. Depending on your situation, plastic can be useful if the plant sits in hot sun and needs water held a bit longer.
Weight matters too. Aloe can get heavy and top-heavy, and a sturdy terracotta pot helps prevent tipping. It also feels secure on shelves and plant stands.
If you are unsure about your environment, start with a smaller pot. Less volume of soil means less water held at once and faster dry-down. Denser roots in a small pot also sip moisture more consistently.
For another easygoing succulent with similar potting preferences, explore these practical jade plant tips. The same terracotta-first approach applies.
Potting tips at a glance
1. Favor terracotta for airflow and faster drying. It reduces rot risk.
2. Use plastic only if heat and sun are high and you need longer moisture.
3. Size down to a smaller pot to avoid overwatering while you learn your conditions.
4. Final Thoughts on Aloe Vera Plant Care
As long as aloe is not in scorching sun or under very strong grow lights, you can mostly leave it alone. Keep watering sparse, let the soil dry, and use breathable pots. With that, it will do its thing for a very long time before you need to intervene.