Welcome to the wonderful garden, a place to discover the gentle yet proud beauty of roses. The flower associated with memory, love, and hope. I’m going to show you how to propagate roses naturally without chemicals using a few ingredients from your kitchen.
This is a gentle and sustainable approach to a garden that blooms all four seasons. The beauty of roses begins with healthy roots. We will start with a simple but effective step that supports quick, disease-free, and completely natural rooting.
1. Natural Rose Propagation Basics
Prepare a rooting solution from onion peel. This folk secret helps rose branches root quickly, stay clean, and grow strong. It is simple, safe, and kind to your garden.
If you want another simple method for multiplying cuttings quickly, see this practical guide: grow more roots from cuttings.
2. Natural Rose Propagation Rooting Solution
Onion skins
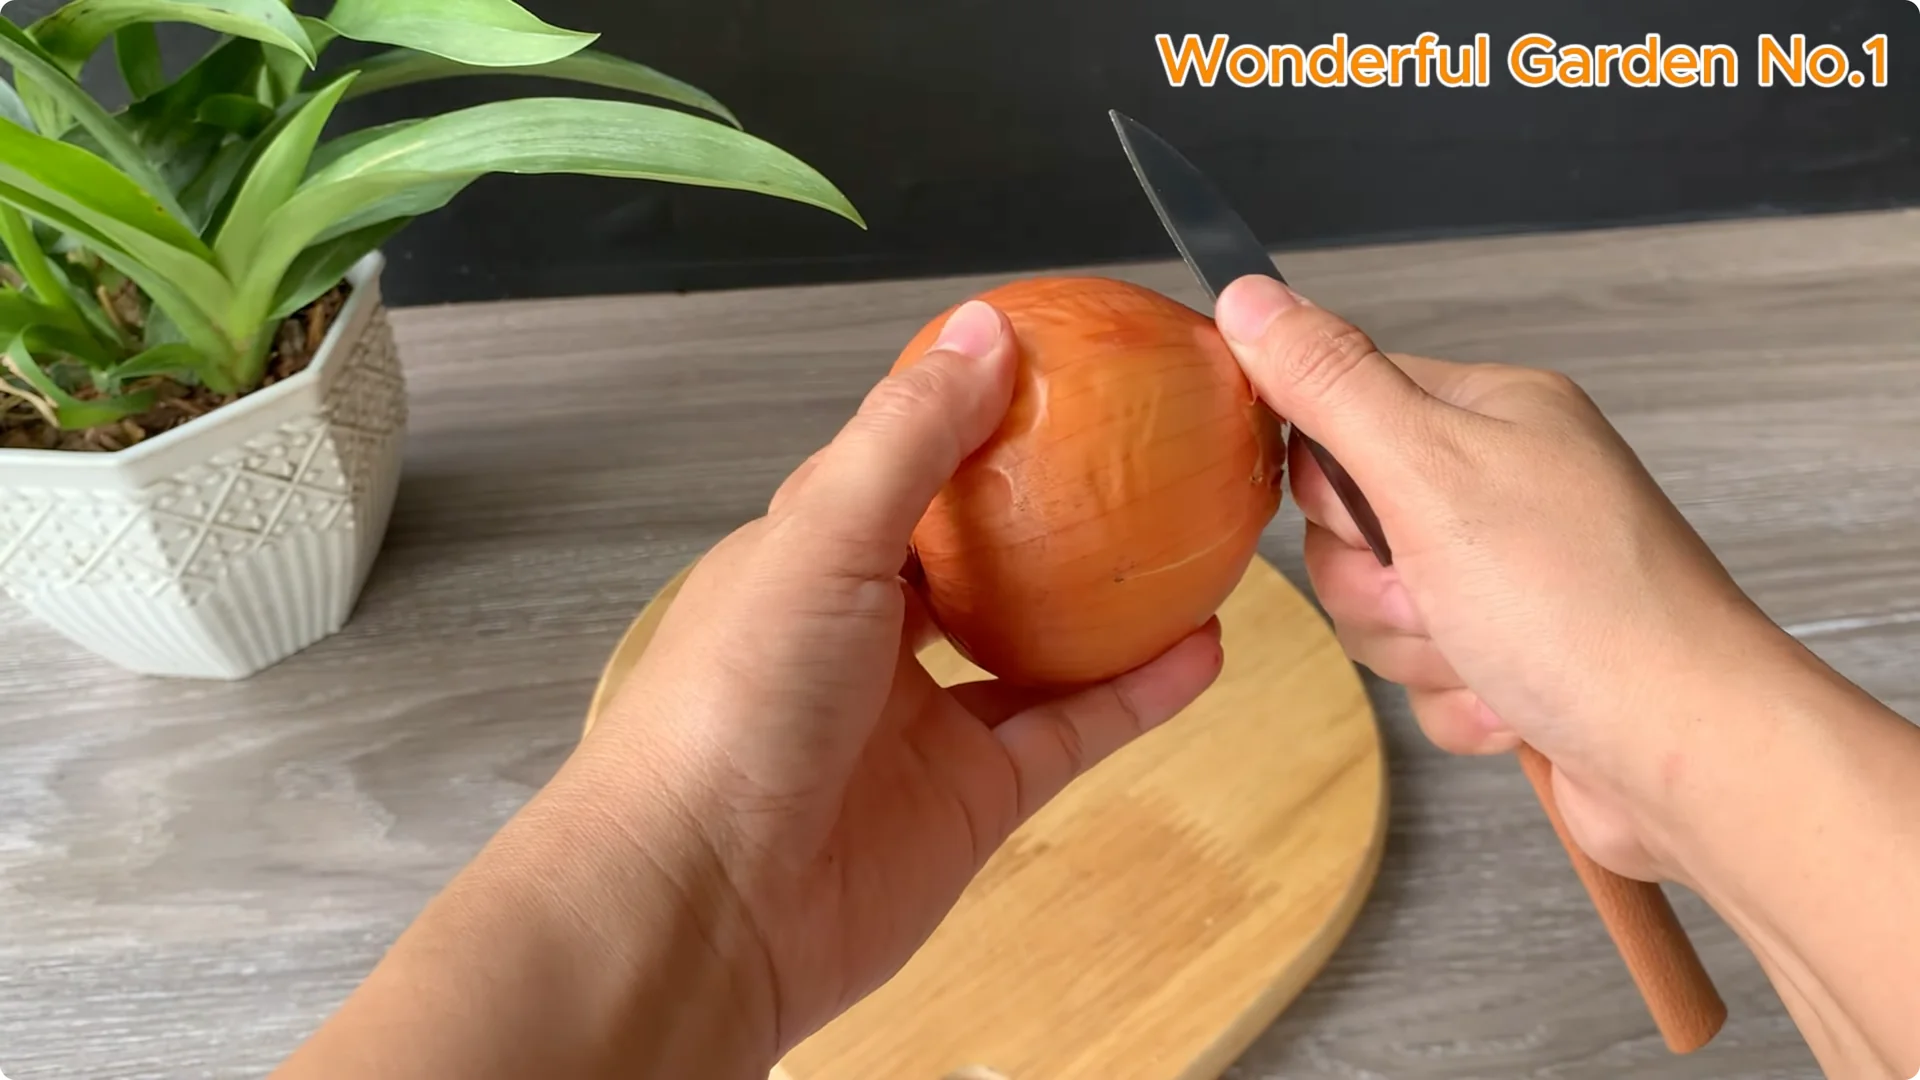
Choose dry whole onions. Gently peel off the thin outer layer that is yellow brown or light purple, slightly shiny, and crisp. Take only clean, dry shells with no mold, moisture, or blackening.
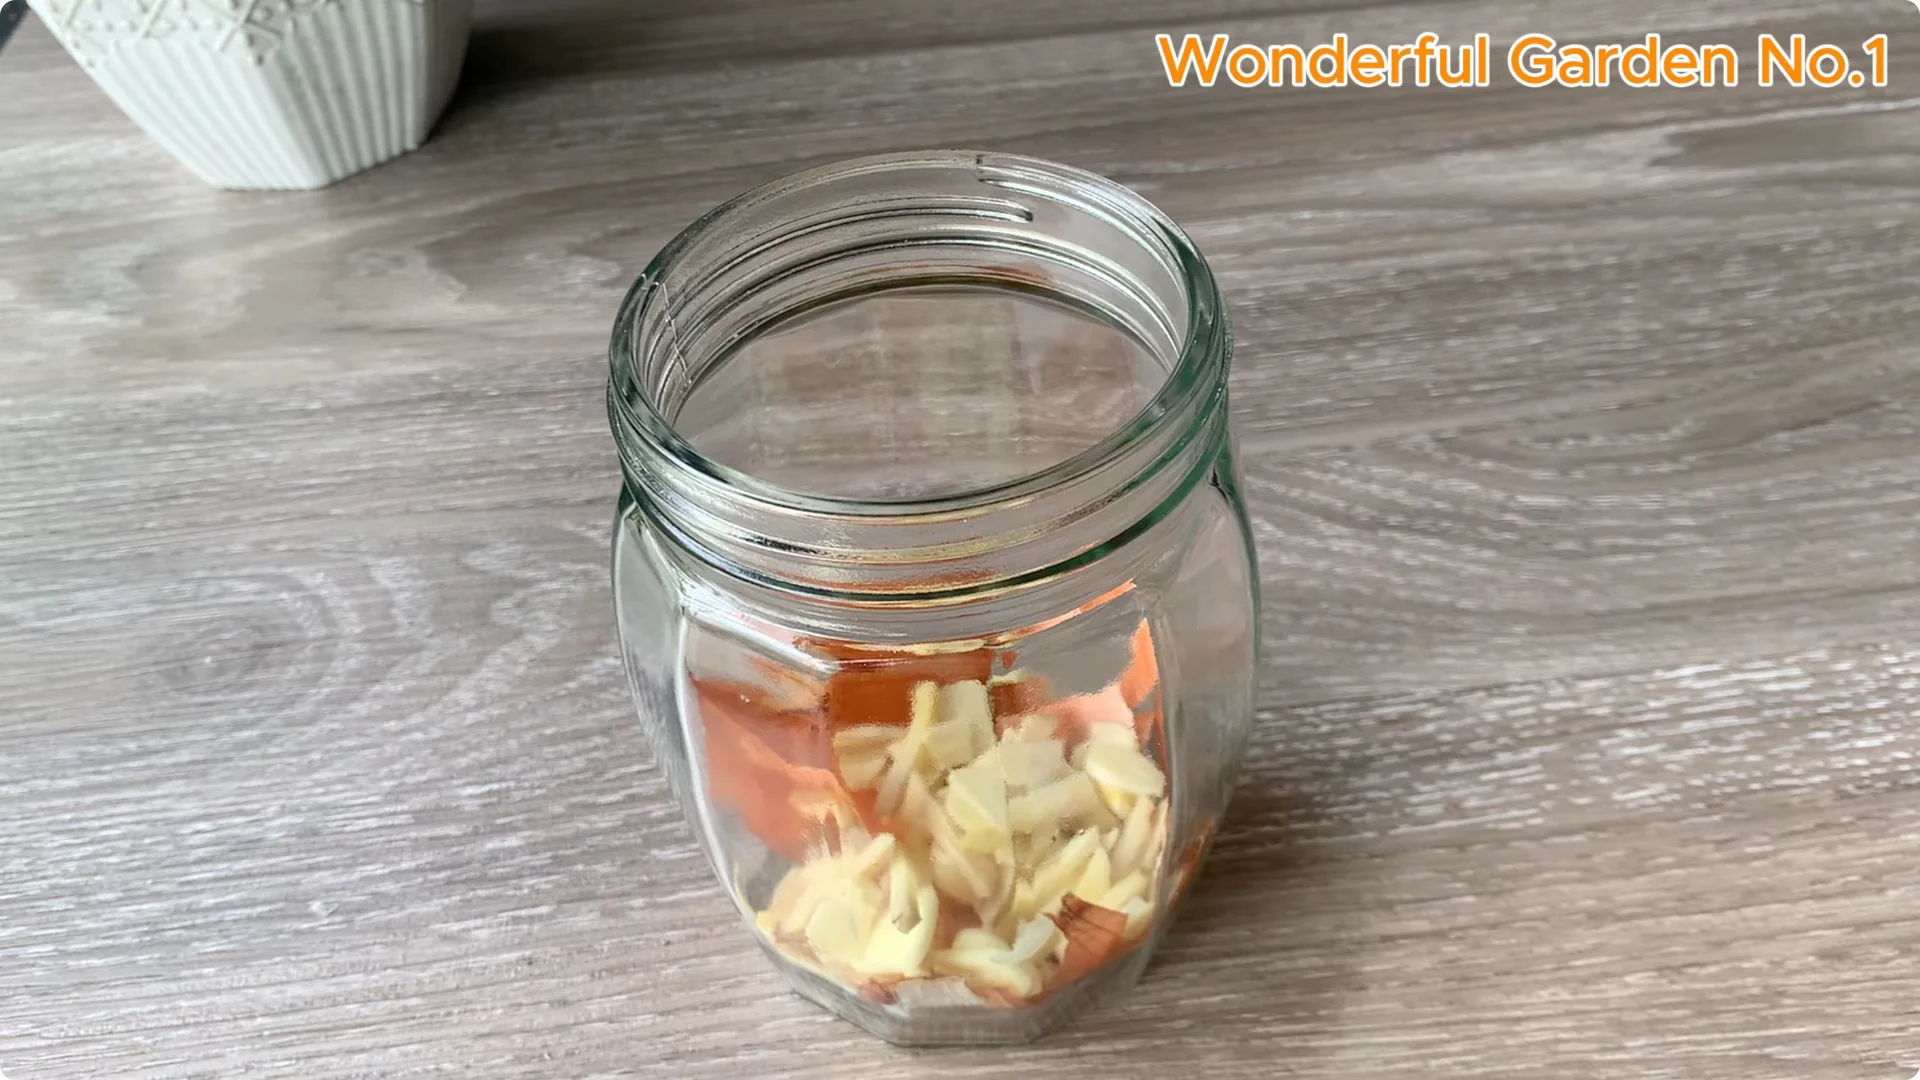
The seemingly discarded shell actually contains many valuable things for your garden. Place the selected onion skins in a clean, dry glass jar. Keep the jar ready for the next ingredients.
Garlic and ginger
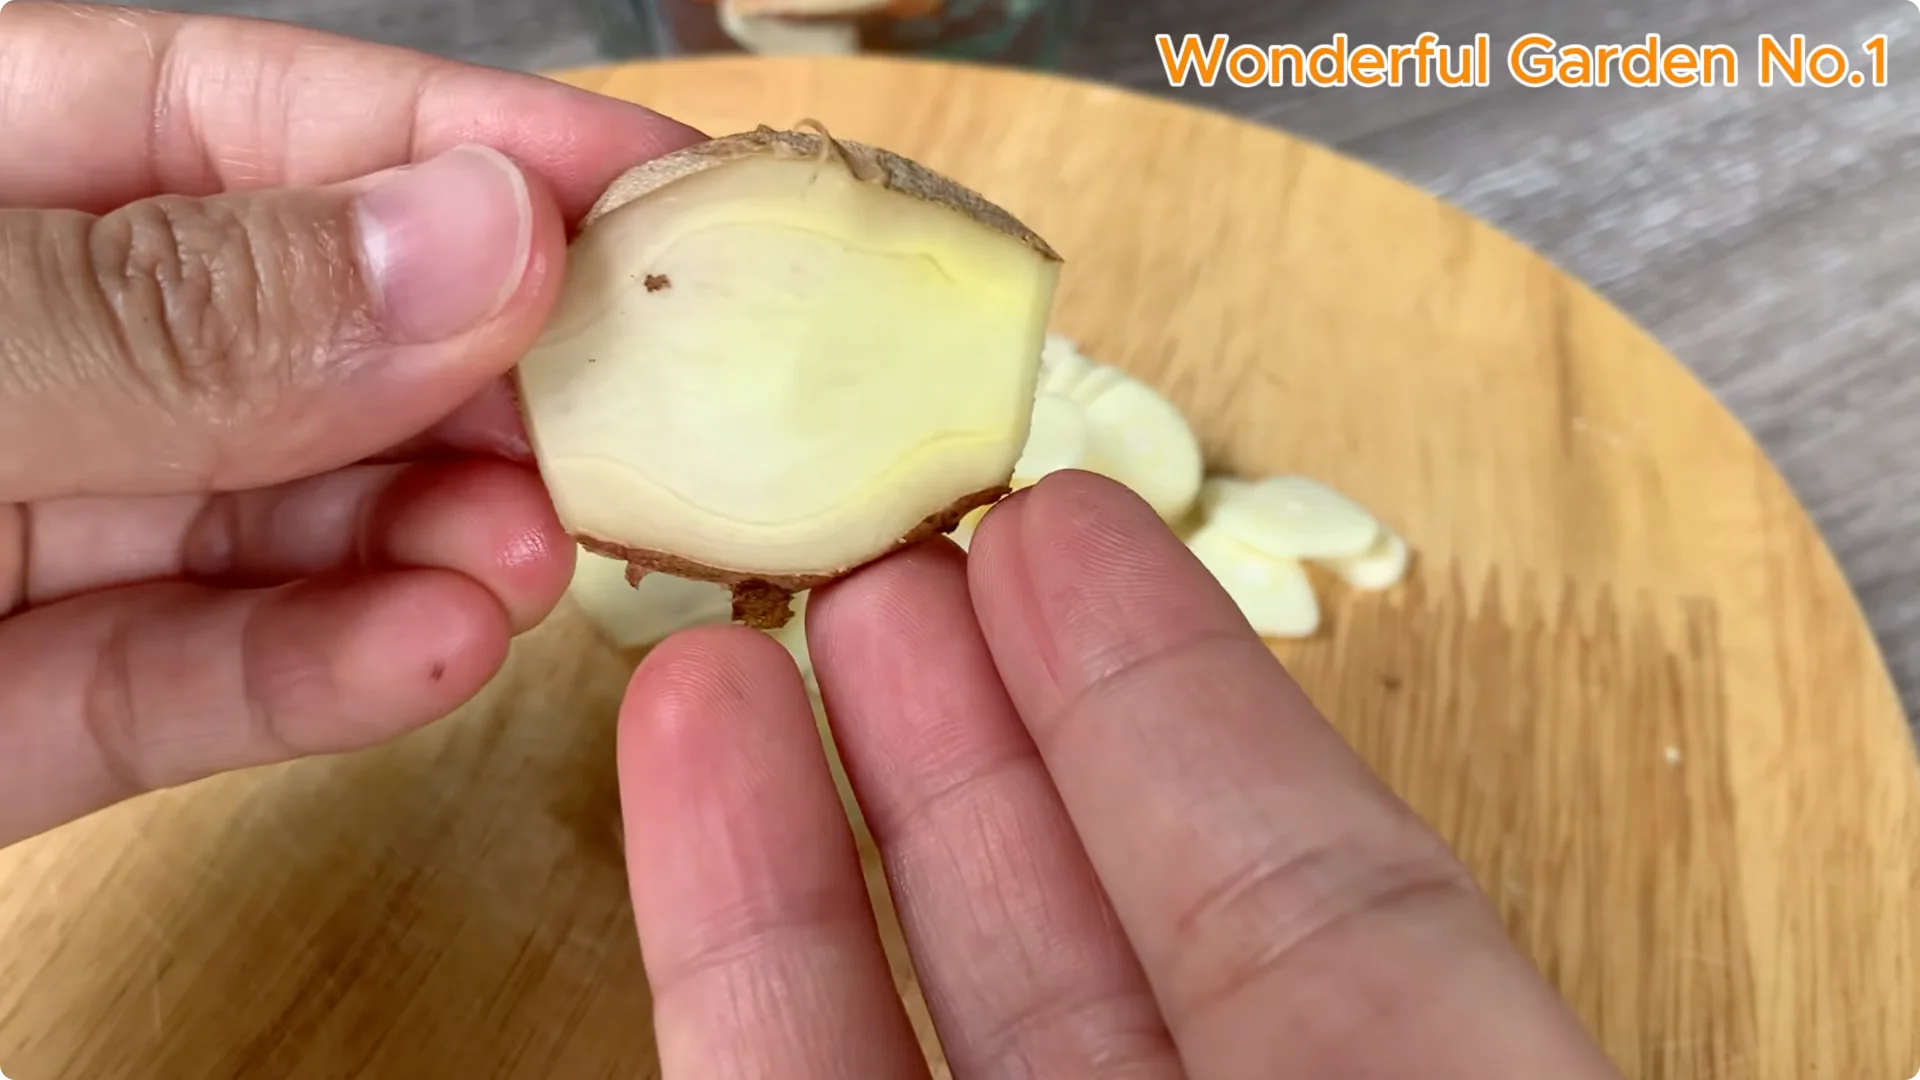
Prepare a few cloves of garlic. Peel and chop to release allicin, which has powerful antibacterial properties that protect cuttings from fungi and bacteria. You can also add a few slices of fresh ginger.
Wash and chop ginger to help fight fungus and add organic compounds that stimulate faster root growth. This simple mix supports clean rooting and healthy early growth. It keeps the process natural and gentle.
For an alternative natural booster, you can explore a simple pill trick that many gardeners use to help cuttings root: a pill method for rooting.
Steep the mix
Add the ginger and garlic to the jar with onion skins. Pour in about 100 ml of warm water at 40 to 45 C, not too hot, to protect beneficial enzymes and natural active ingredients. Leave it for 6 to 8 hours or overnight so the essence soaks into the water and creates a natural rooting stimulant.
Clarify the solution
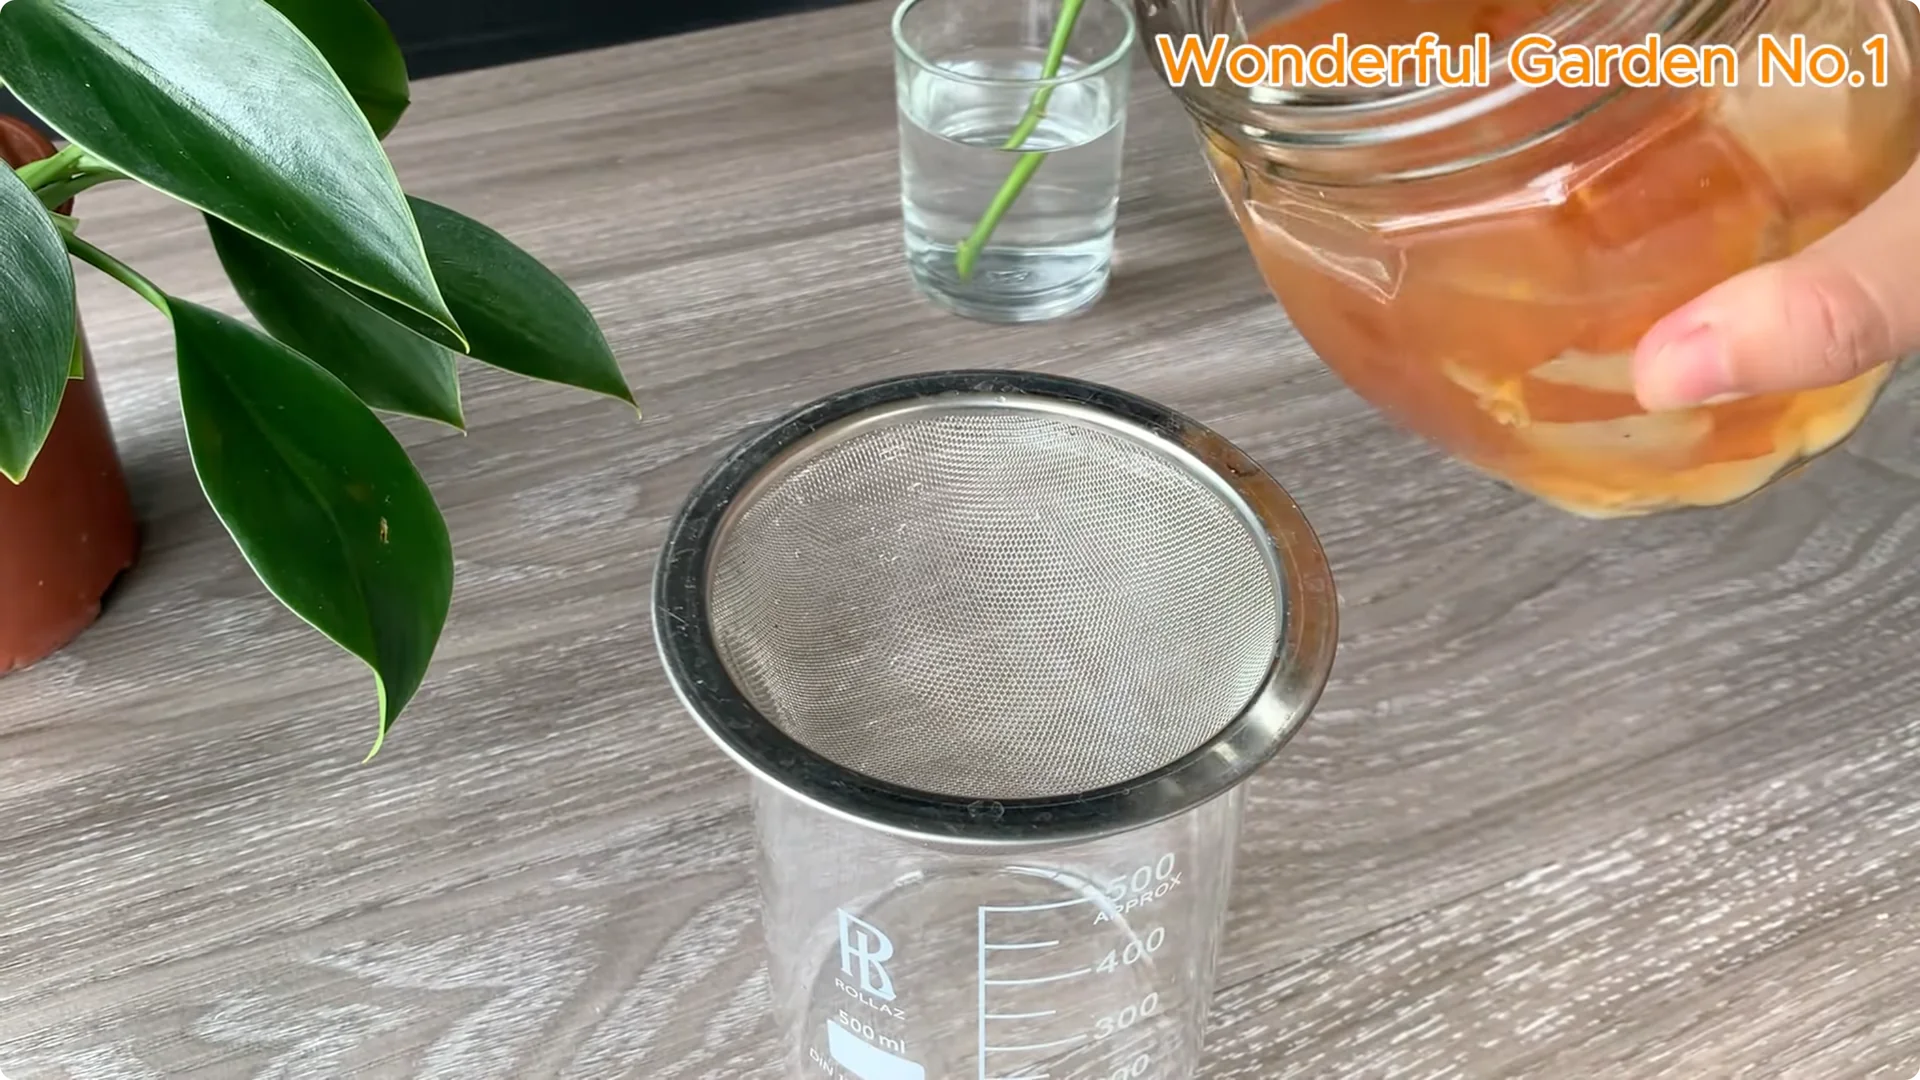
Filter out the solids to obtain a clear solution. Using a fine sieve or clean cloth, pour slowly to remove all residue. Avoid letting residue mix into the solution because it can cause water logging or mold when soaking the branches.
3. Natural Rose Propagation Cuttings Prep
Select healthy stems
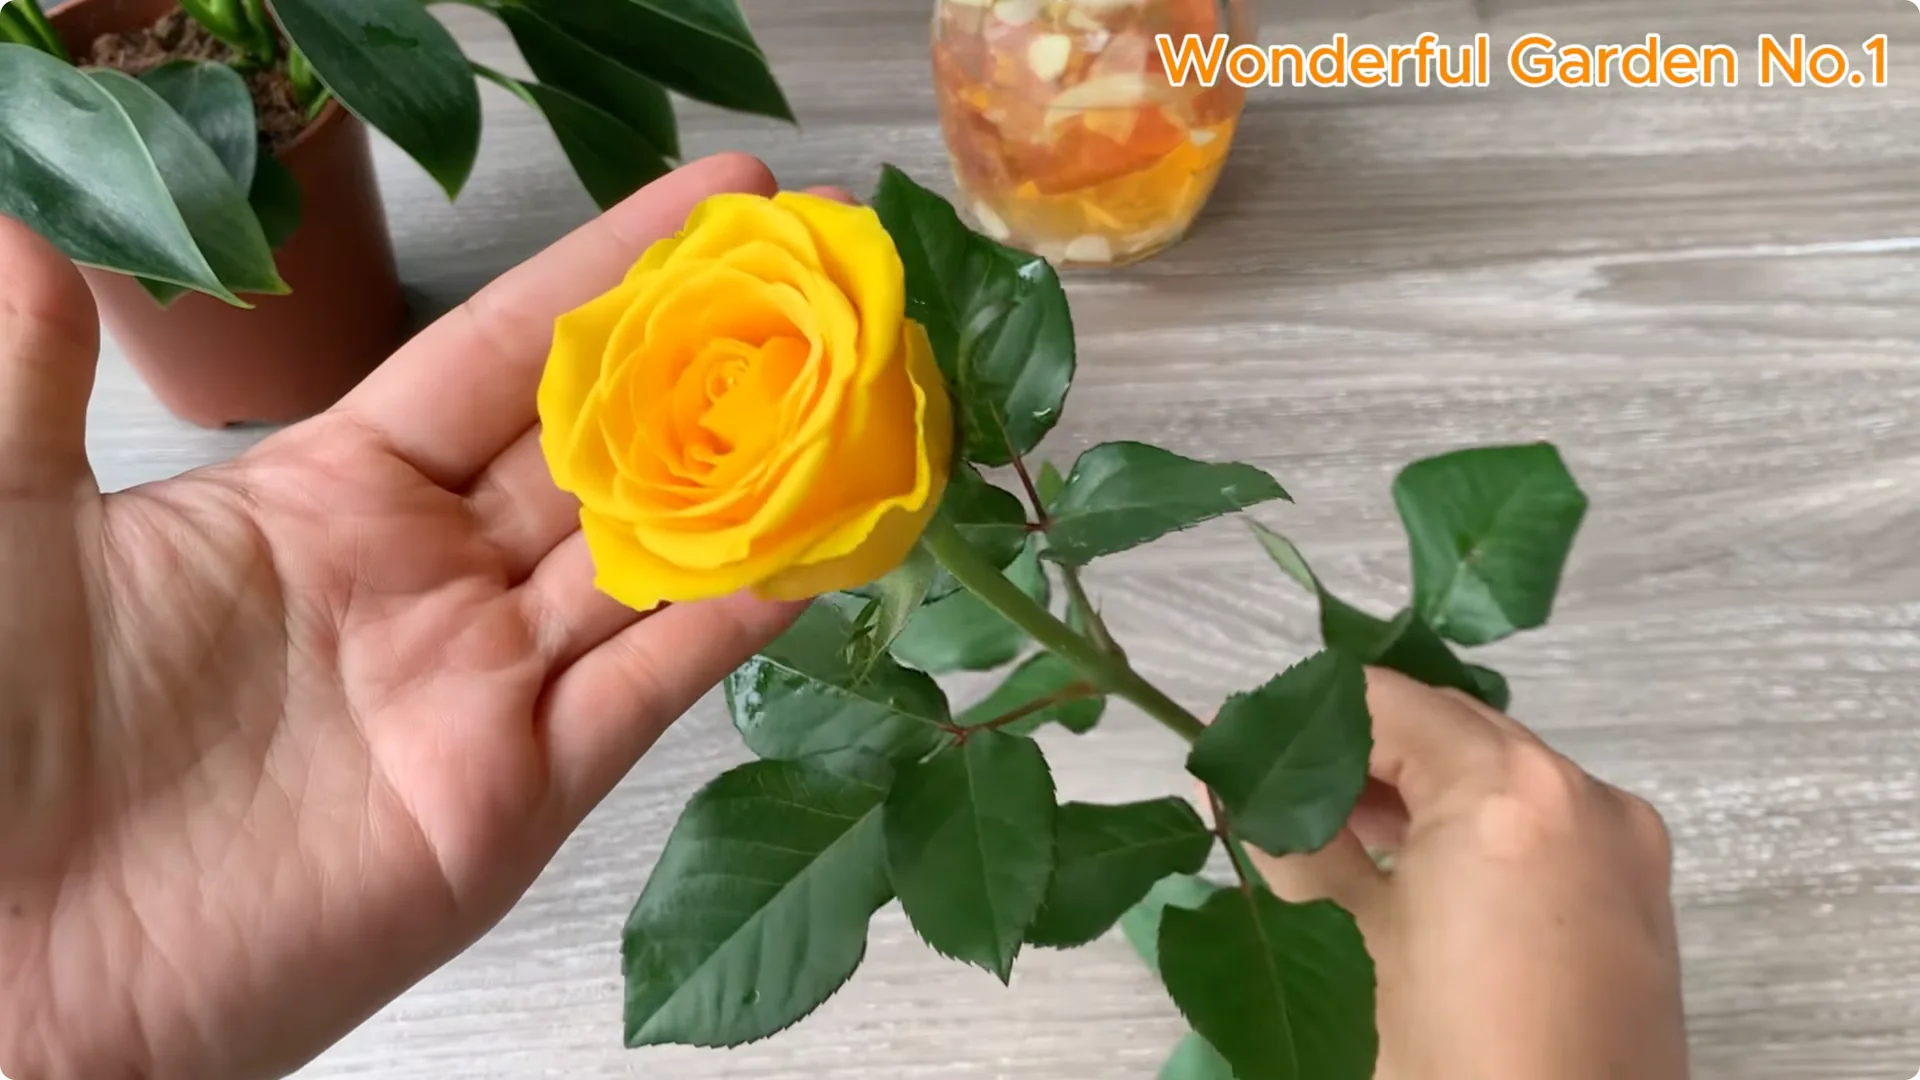
Choose healthy, disease-free, newly wooded rose stems about 15 to 20 cm long with at least three leaf segments or leaf nodes. Cut at a 45 degree angle just below the leaf node closest to the base. This diagonal cut increases the surface area and helps the plant root more easily.
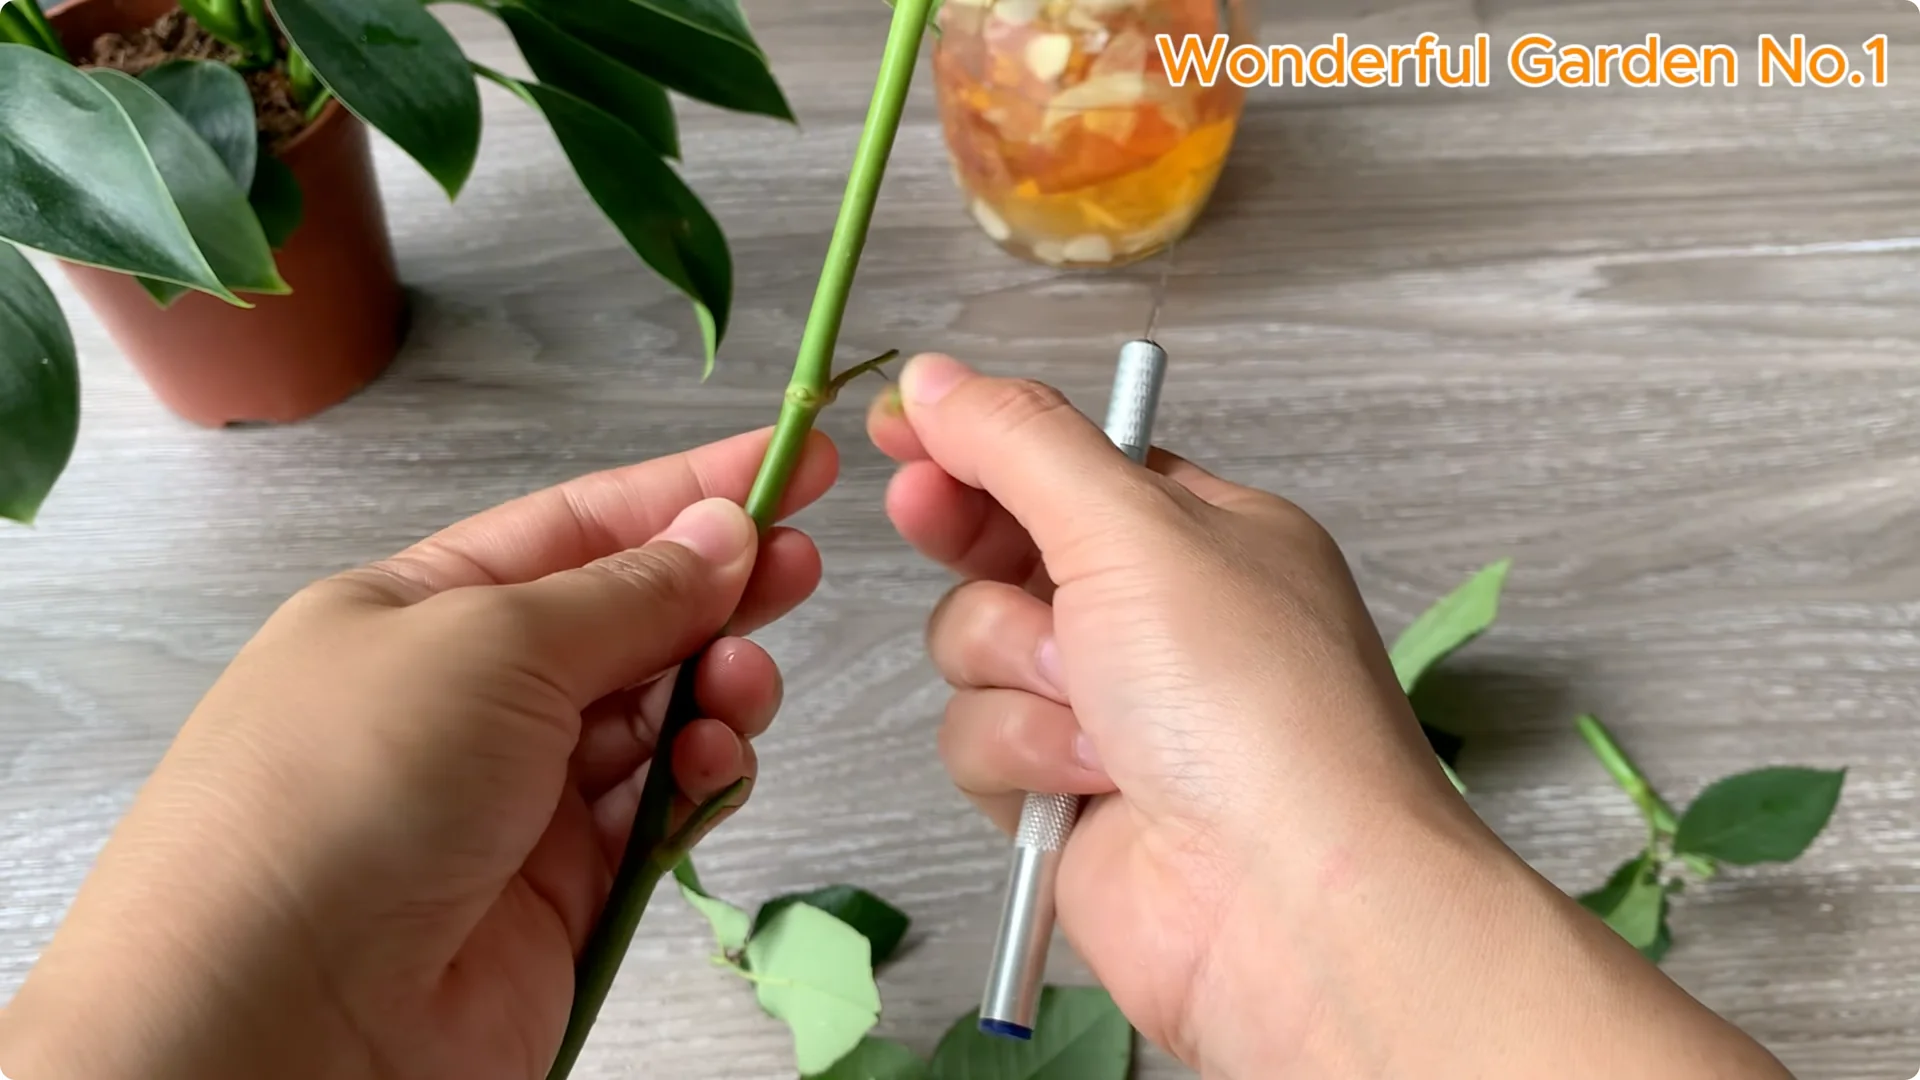
Gently cut off all the leaves from the lower stem to reduce water loss and focus energy on rooting. If there are thorns near the base, use a small knife or clean scissors to remove them. This helps the rooting solution penetrate more evenly and avoids damage when planting in the substrate.
Add initial moisture
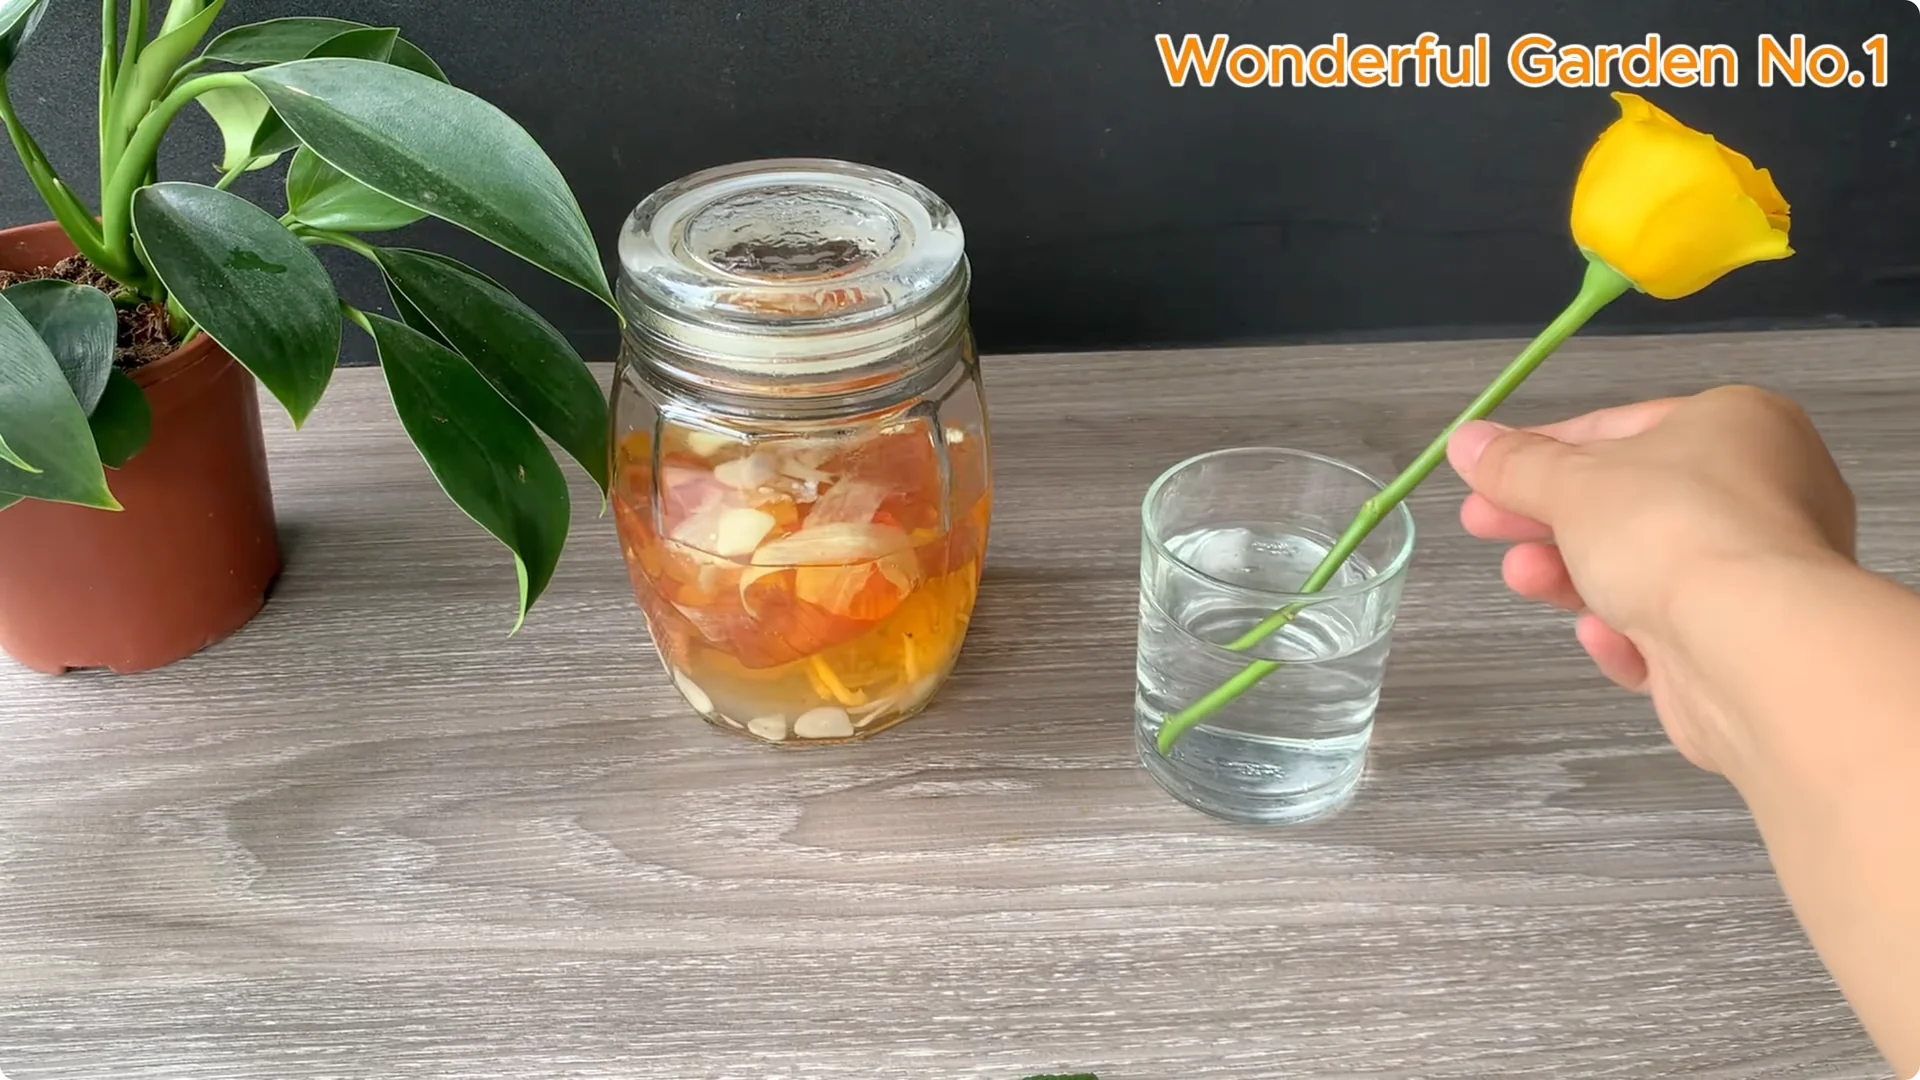
Soak the stem in clean water for about 15 to 30 minutes. This adds moisture to the stem before contact with the rooting solution. It helps the cutting stay turgid and ready to absorb the natural stimulant.
4. Natural Rose Propagation Soak and Plant
Soak in the solution
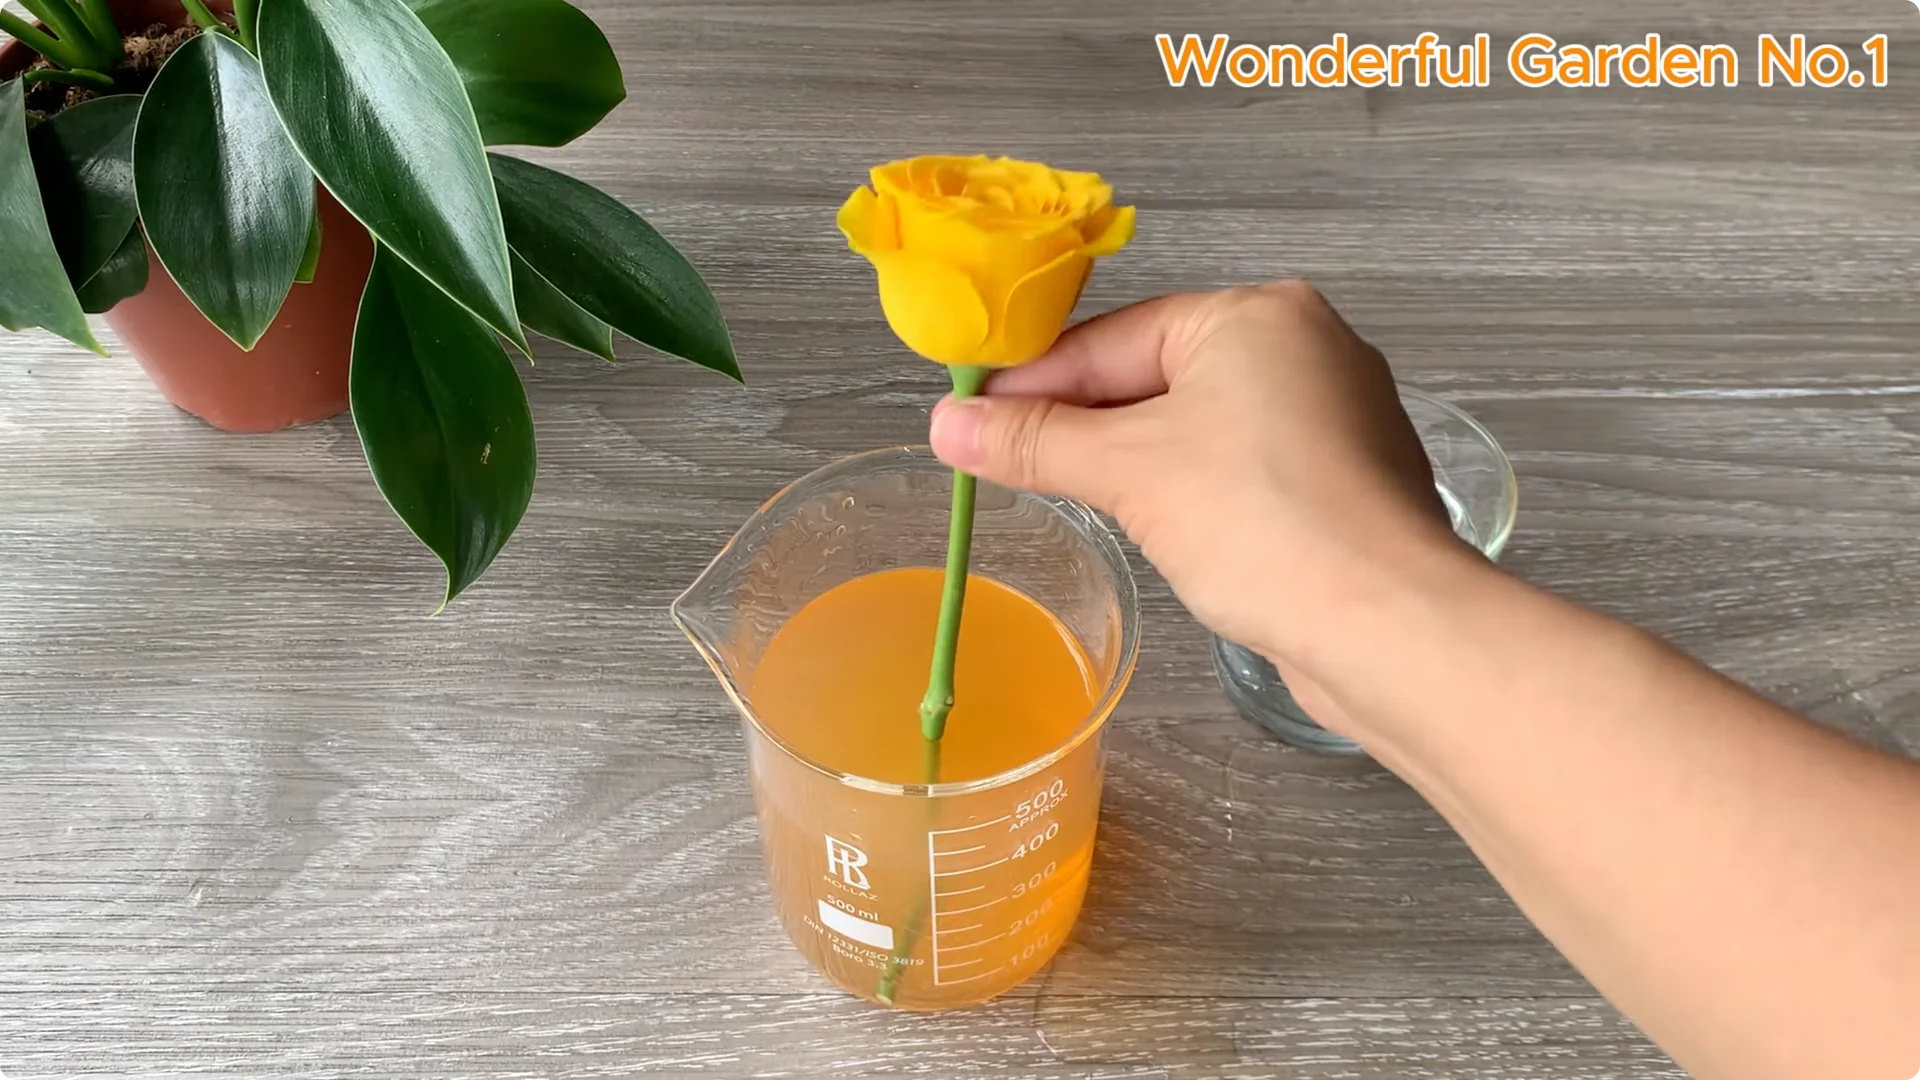
Soak the rose stem in the prepared rooting solution. Make sure the base of the plant is completely submerged. The ideal soaking time is 2 to 4 hours.
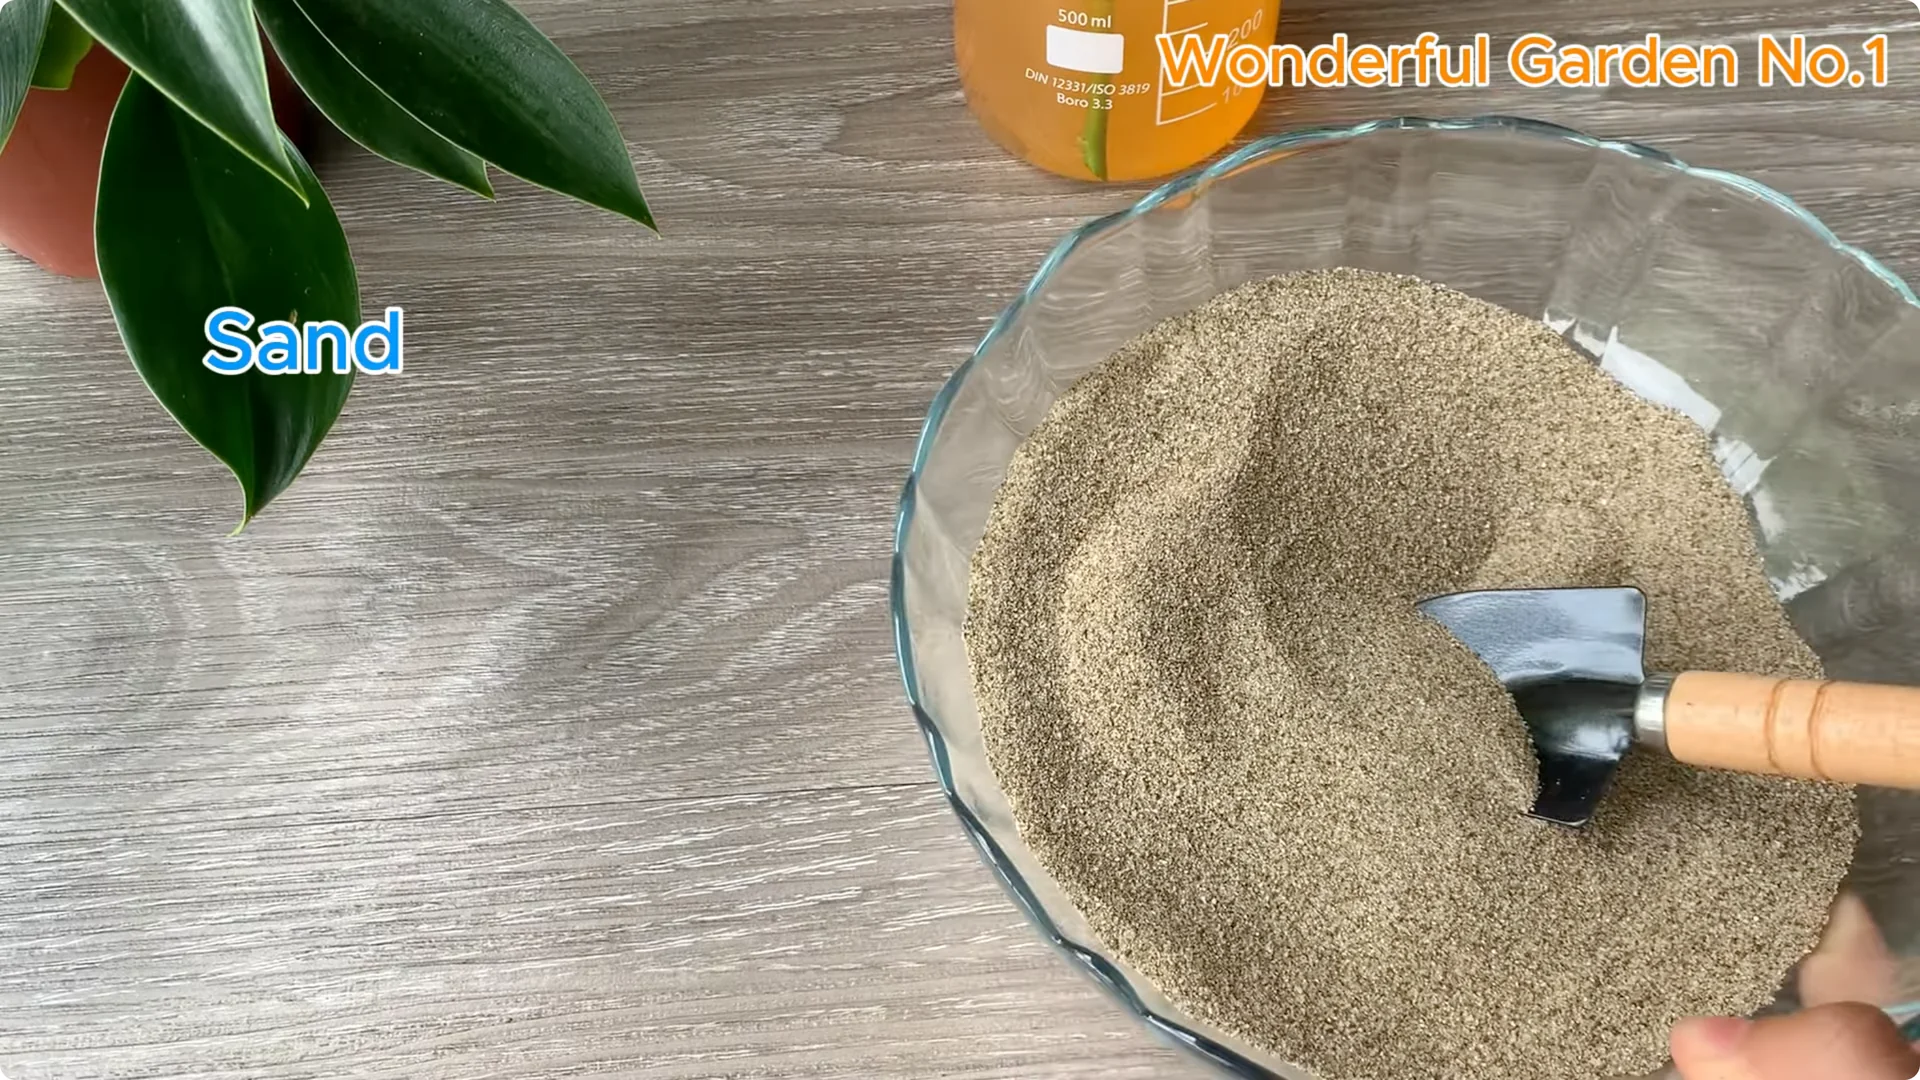
Sand medium
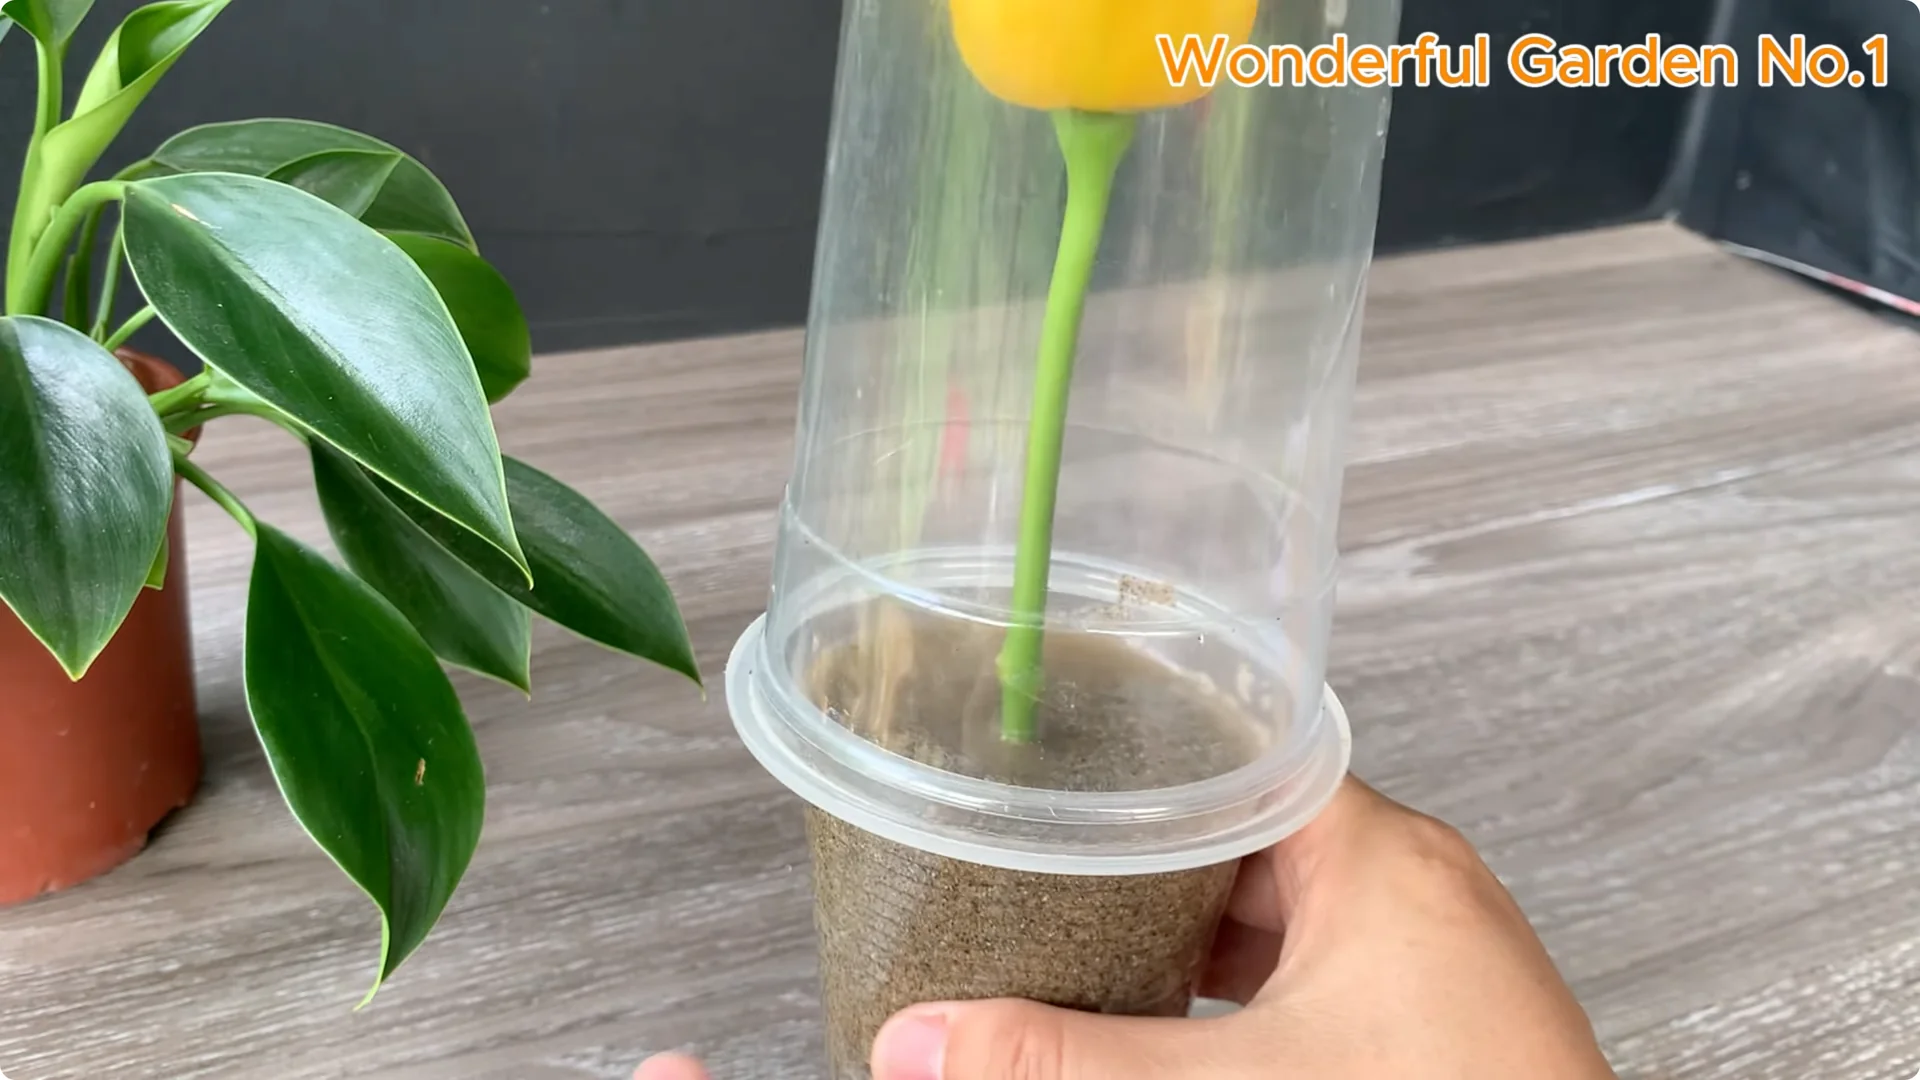
Use sand as the growing medium. Choose clean, fine sand free of impurities or clay to ensure good drainage and avoid water logging. Pour the sand into a plastic cup and lightly moisten it with the rooting solution.
Insert the rose stem into the center of the sand cup. Let the sand hug the outer leaf node tightly to secure the stem and retain moisture around the growing root area. Use a larger plastic cup to cover the rose cup and create a small greenhouse effect.
If you want to try a no-soil approach for early rooting, explore this method: rooting roses without soil.
Placement and care
Place the cuttings in a bright location out of direct sunlight. Check the sand’s moisture regularly and mist lightly if it feels dry. Keep temperature steady and avoid strong winds or extreme temperatures for optimal rooting.
5. Natural Rose Propagation Progress and Transplant
Watch for signs
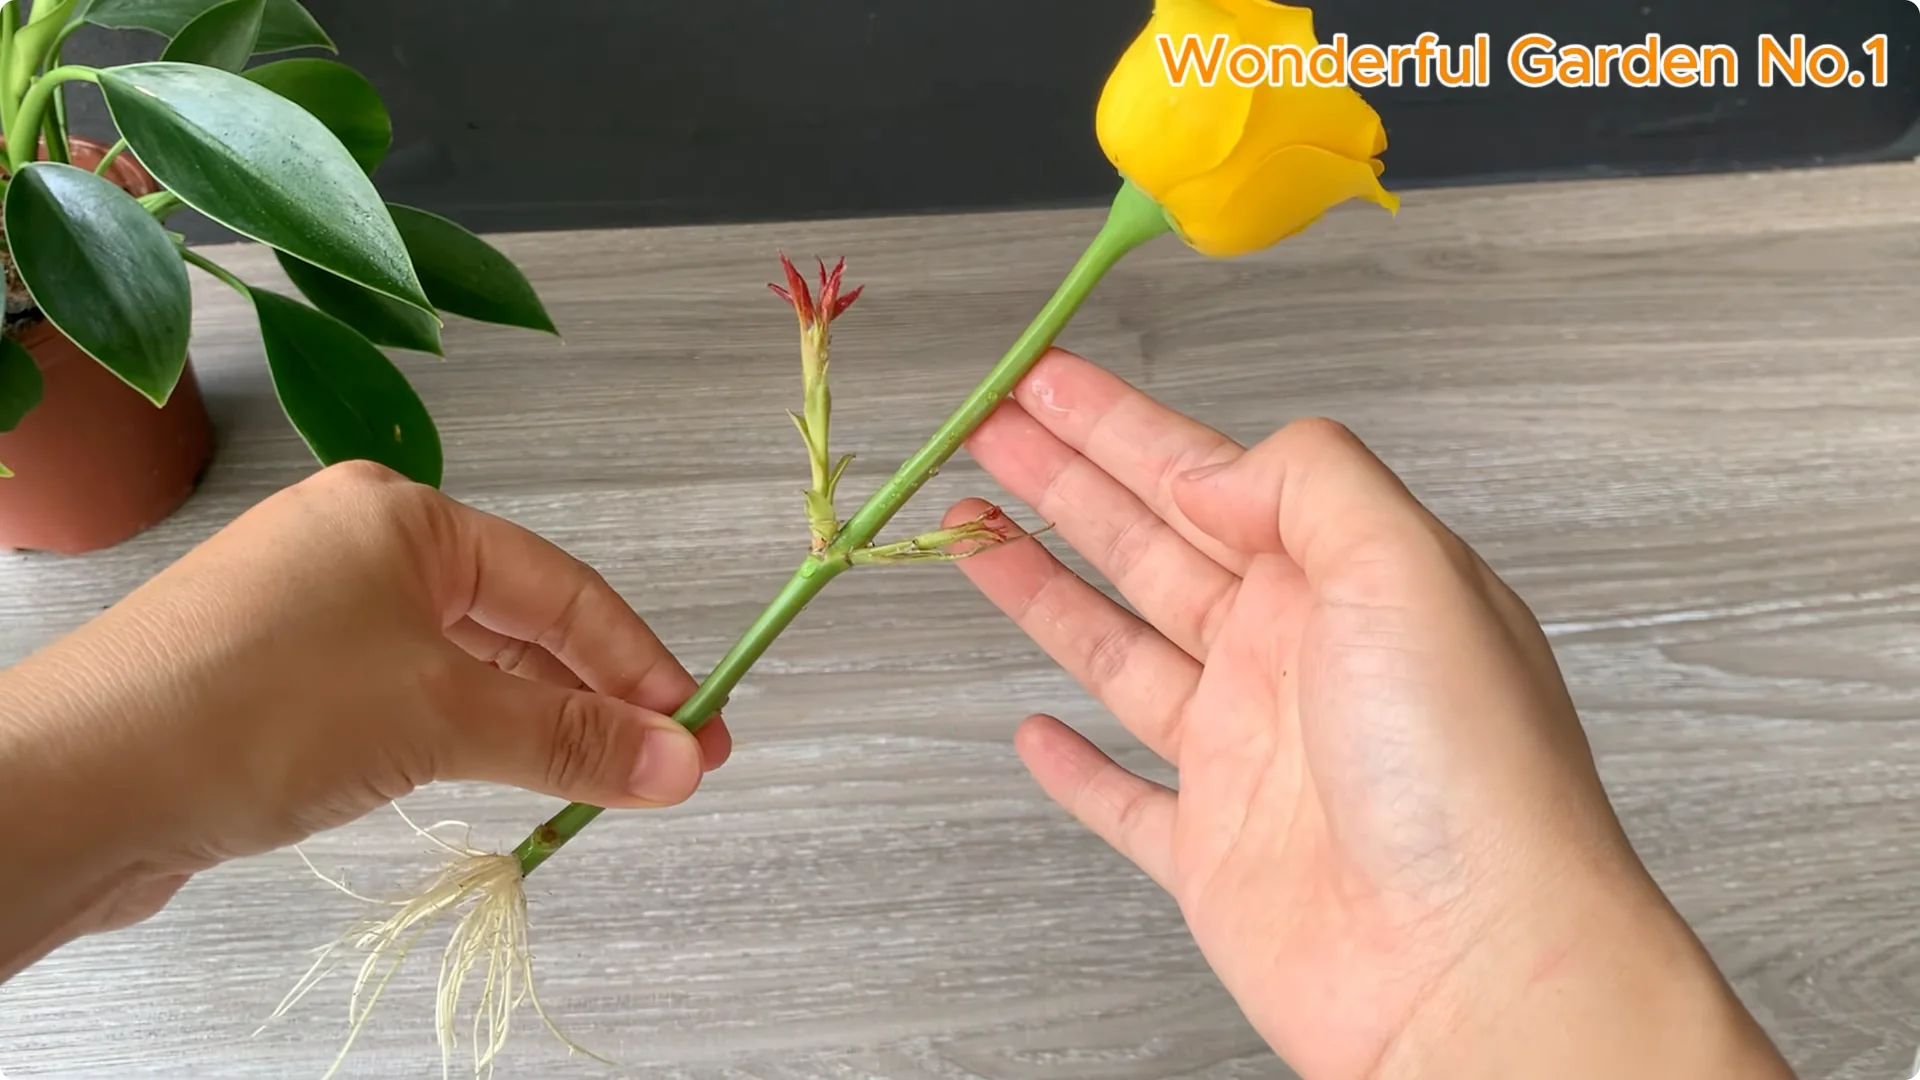
After 2 to 3 weeks, you will see clear signs of development. New shoots begin to grow from leaf axles or branch tips, green and healthy. Fine white roots grow from the base of the cuttings under the moist sand.
Roots should be evenly developed without rot or blackening, indicating a suitable moist and nutrient rich environment. At this point, the plant has begun to absorb water and nutrients well. It is ready to move into a more vigorous growth phase.
Potting up
Once the roots have developed well, transfer the cutting to a larger pot. Use loose coconut fiber soil to retain moisture, improve air circulation, and support healthy root growth. Let the plant continue to grow steadily before placing it in garden soil.
Final Thoughts on Natural Rose Propagation
These simple, easy steps help you create lush, healthy, and sustainable rose gardens. Continue to care for each flower so the beauty of nature is always present around you. May your garden bring you joy and steady blooms.