
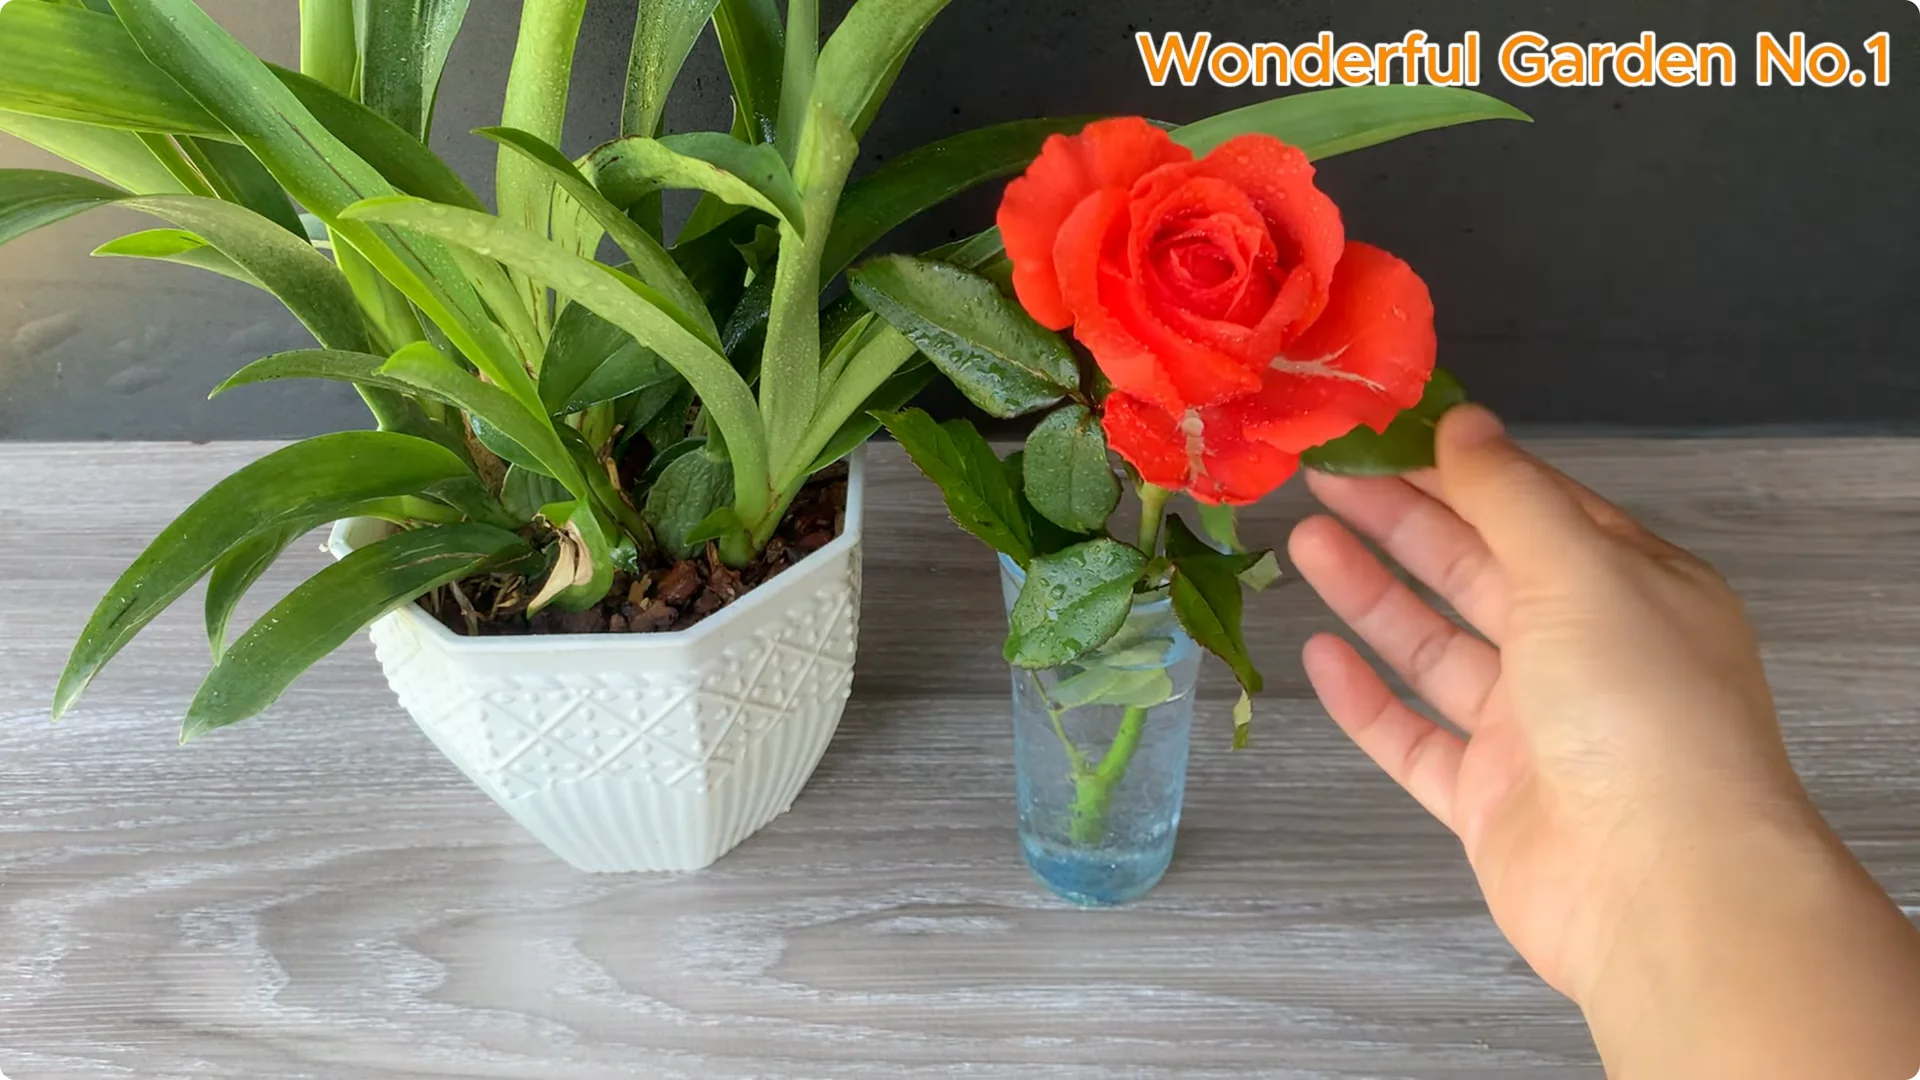
Roses are symbols of beauty and love and have always inspired the art of gardening. Rose breeding is not just a technique but a poetic journey where patience blends with nature. I will share how to propagate rose cuttings completely naturally, helping the cuttings root quickly and healthily without using chemicals.
For a simple kitchen boost that pairs well with this method, see this spoonful tip.
Natural Rose Cutting Propagation
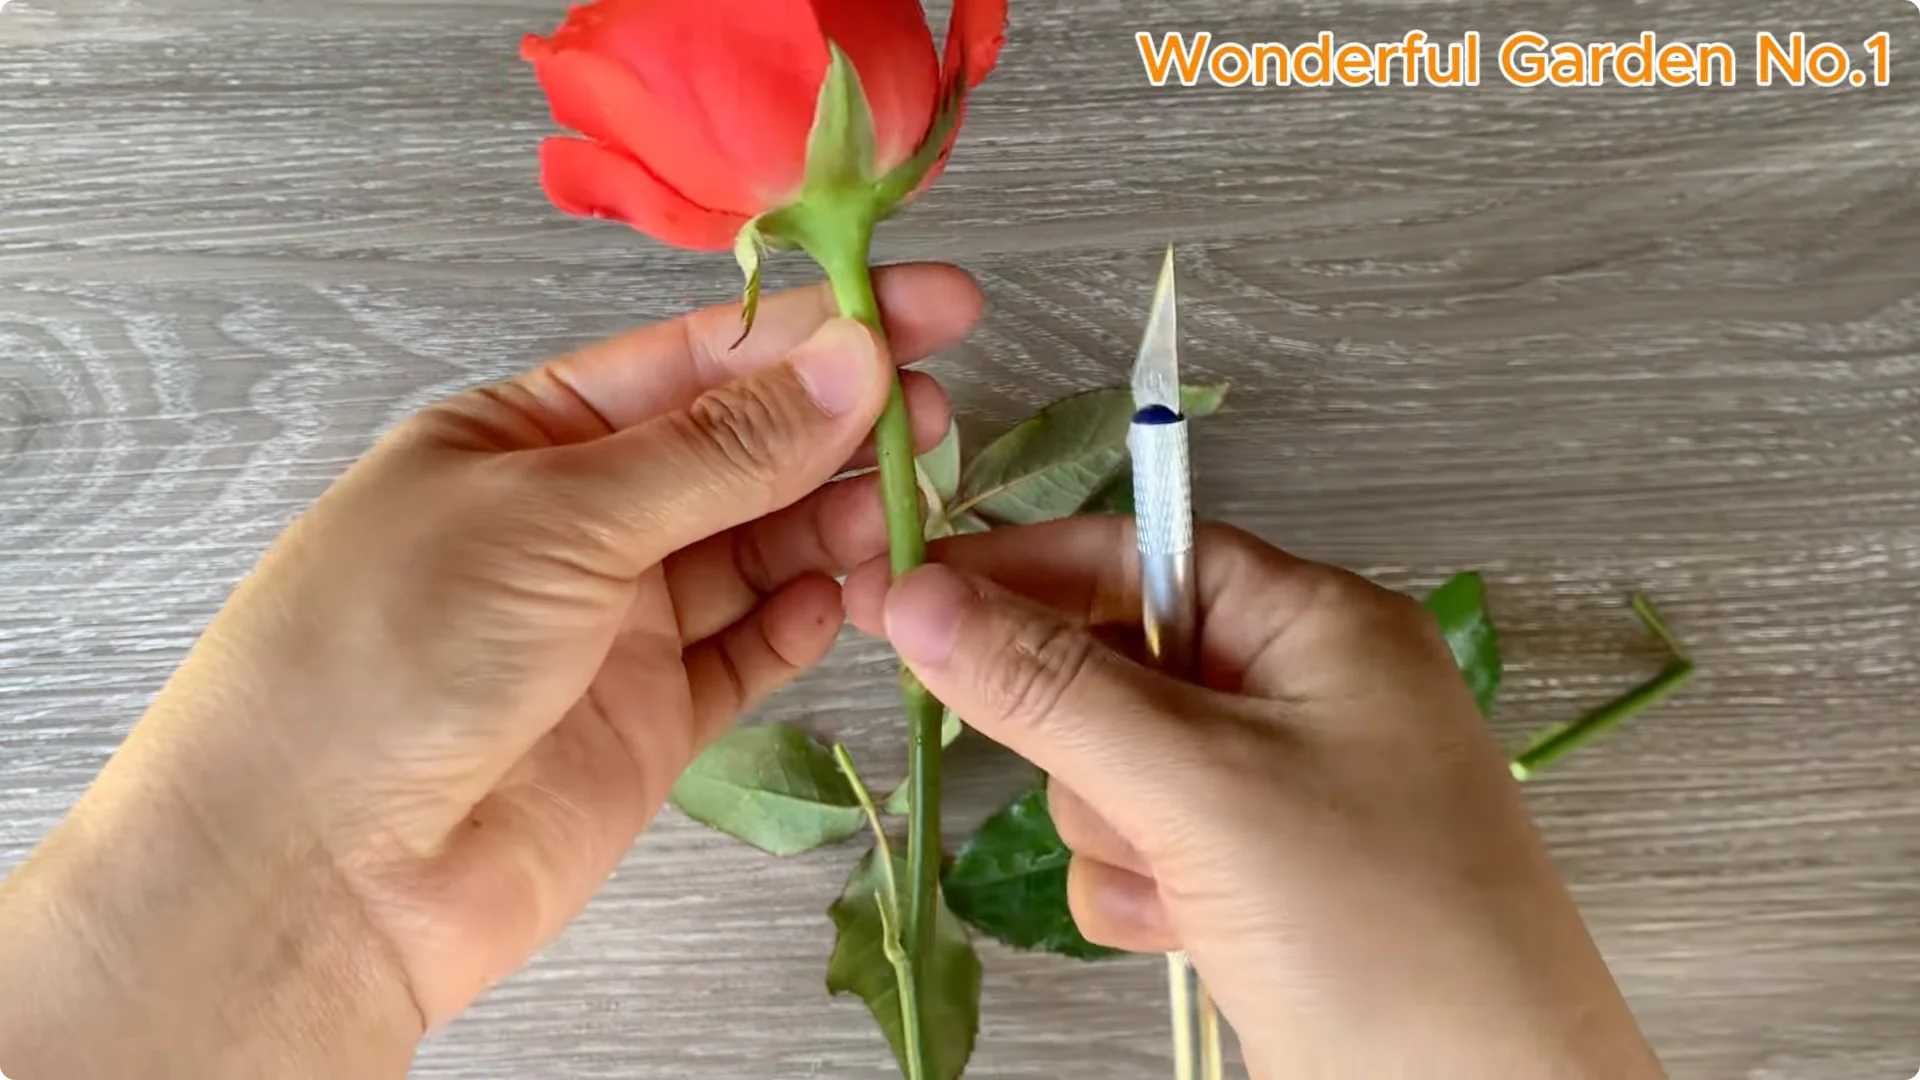
1. Prepare branches

Choose a healthy rose branch that is free of pests and diseases. Remove all leaves to limit water loss.
Cut the branch about 15 cm long, leaving two to three dormant buds at the top to stimulate new buds to grow later. Use a sharp knife to cut the base of the rose branch at a 45 degree angle to increase the contact area and support the moisture absorption process, stimulating the roots to grow more effectively.
2. Mix natural nutrients
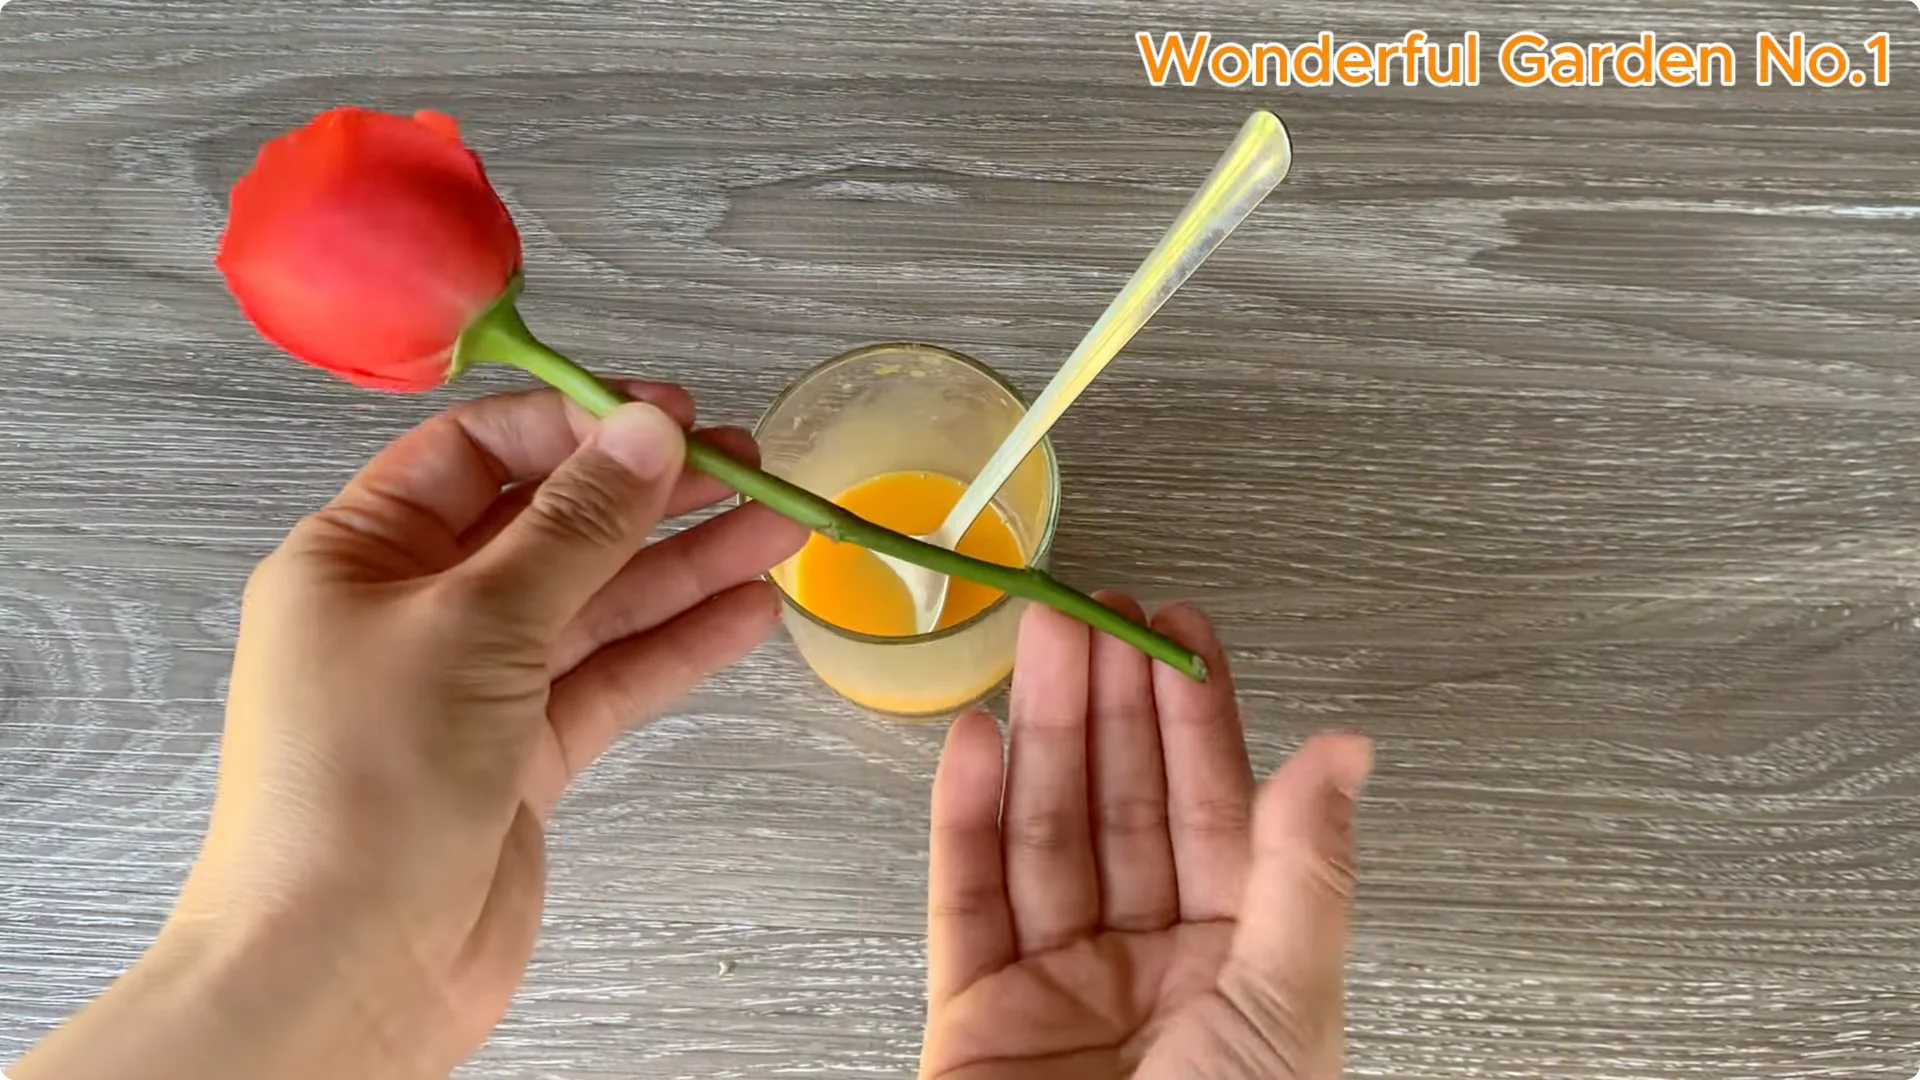
Leave the eggs in the refrigerator for about 30 minutes to separate egg whites from yolks easily. Pour egg yolks into a clean cup.
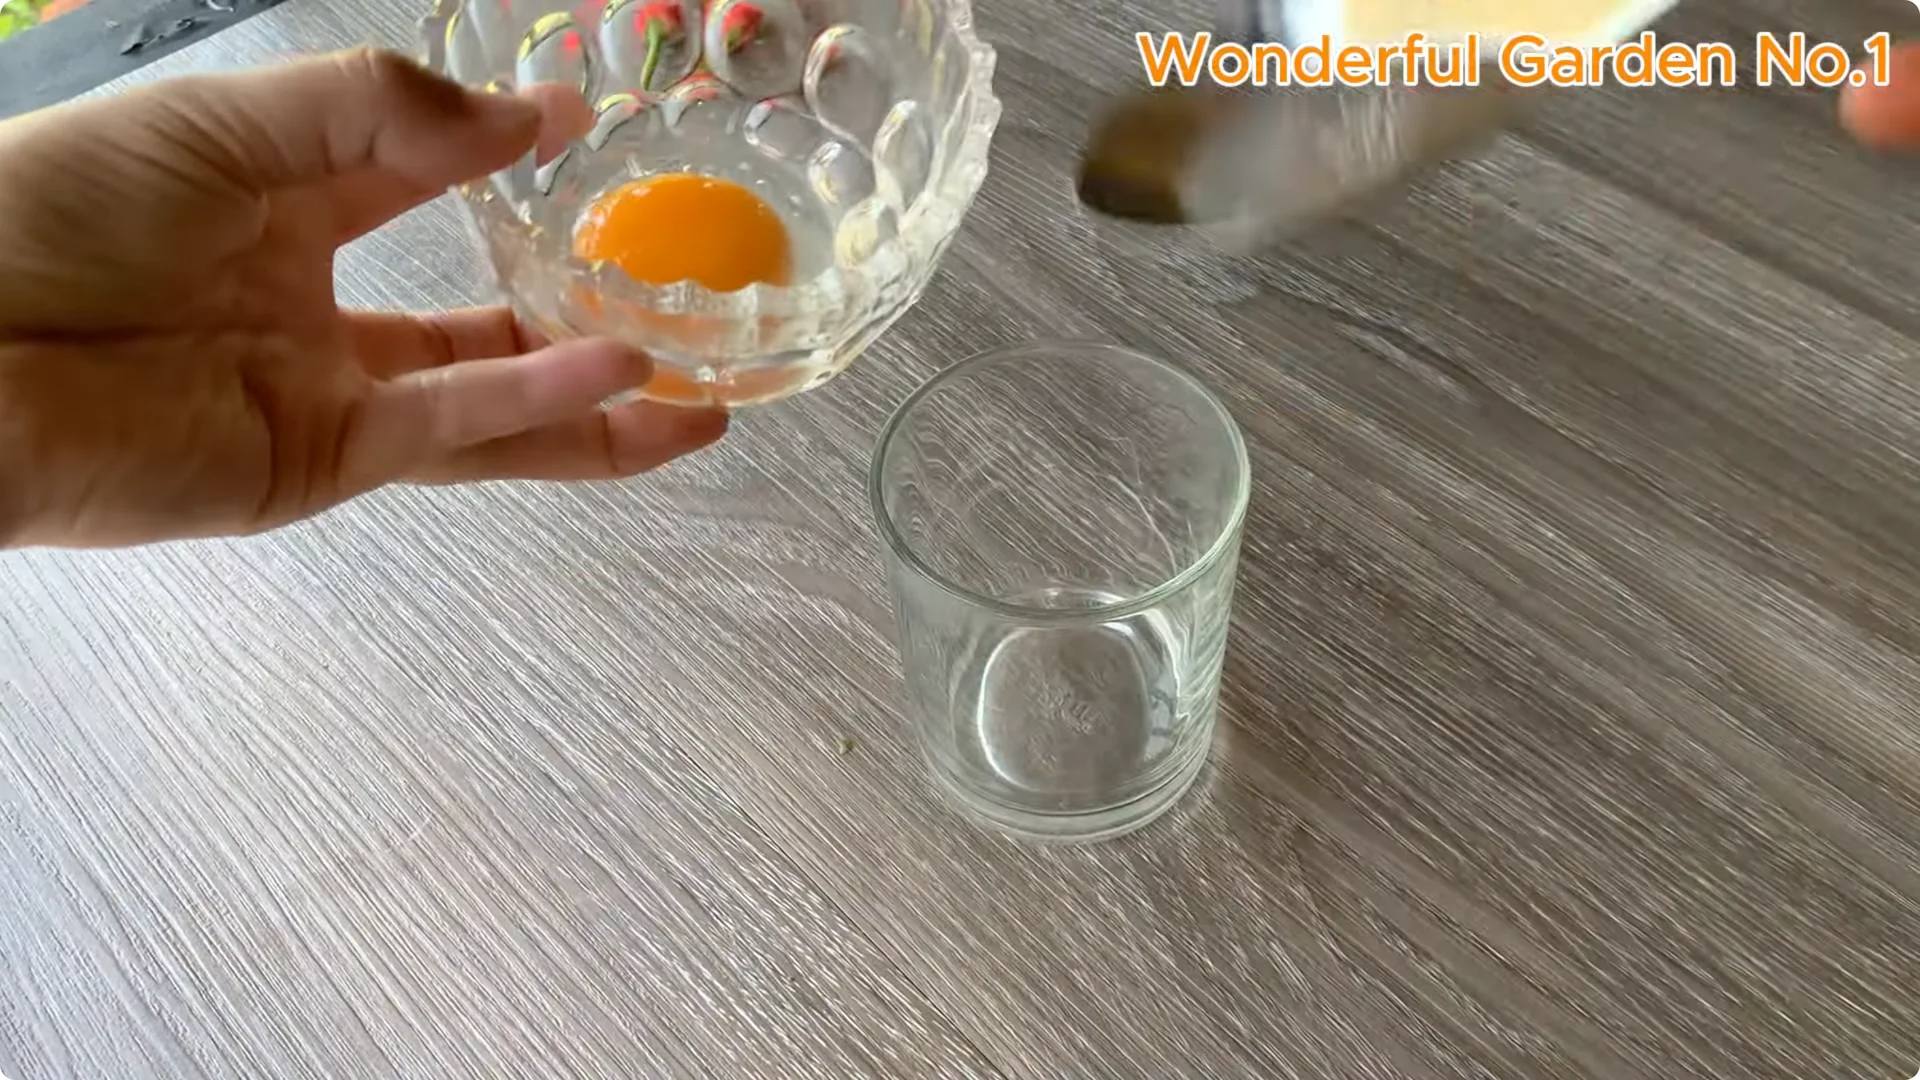
Squeeze half a lemon into the cup and stir well to form a uniform mixture. Soak the base of the rose cuttings in this mixture for 10 minutes. This step helps to add natural nutrients and stimulate root formation.
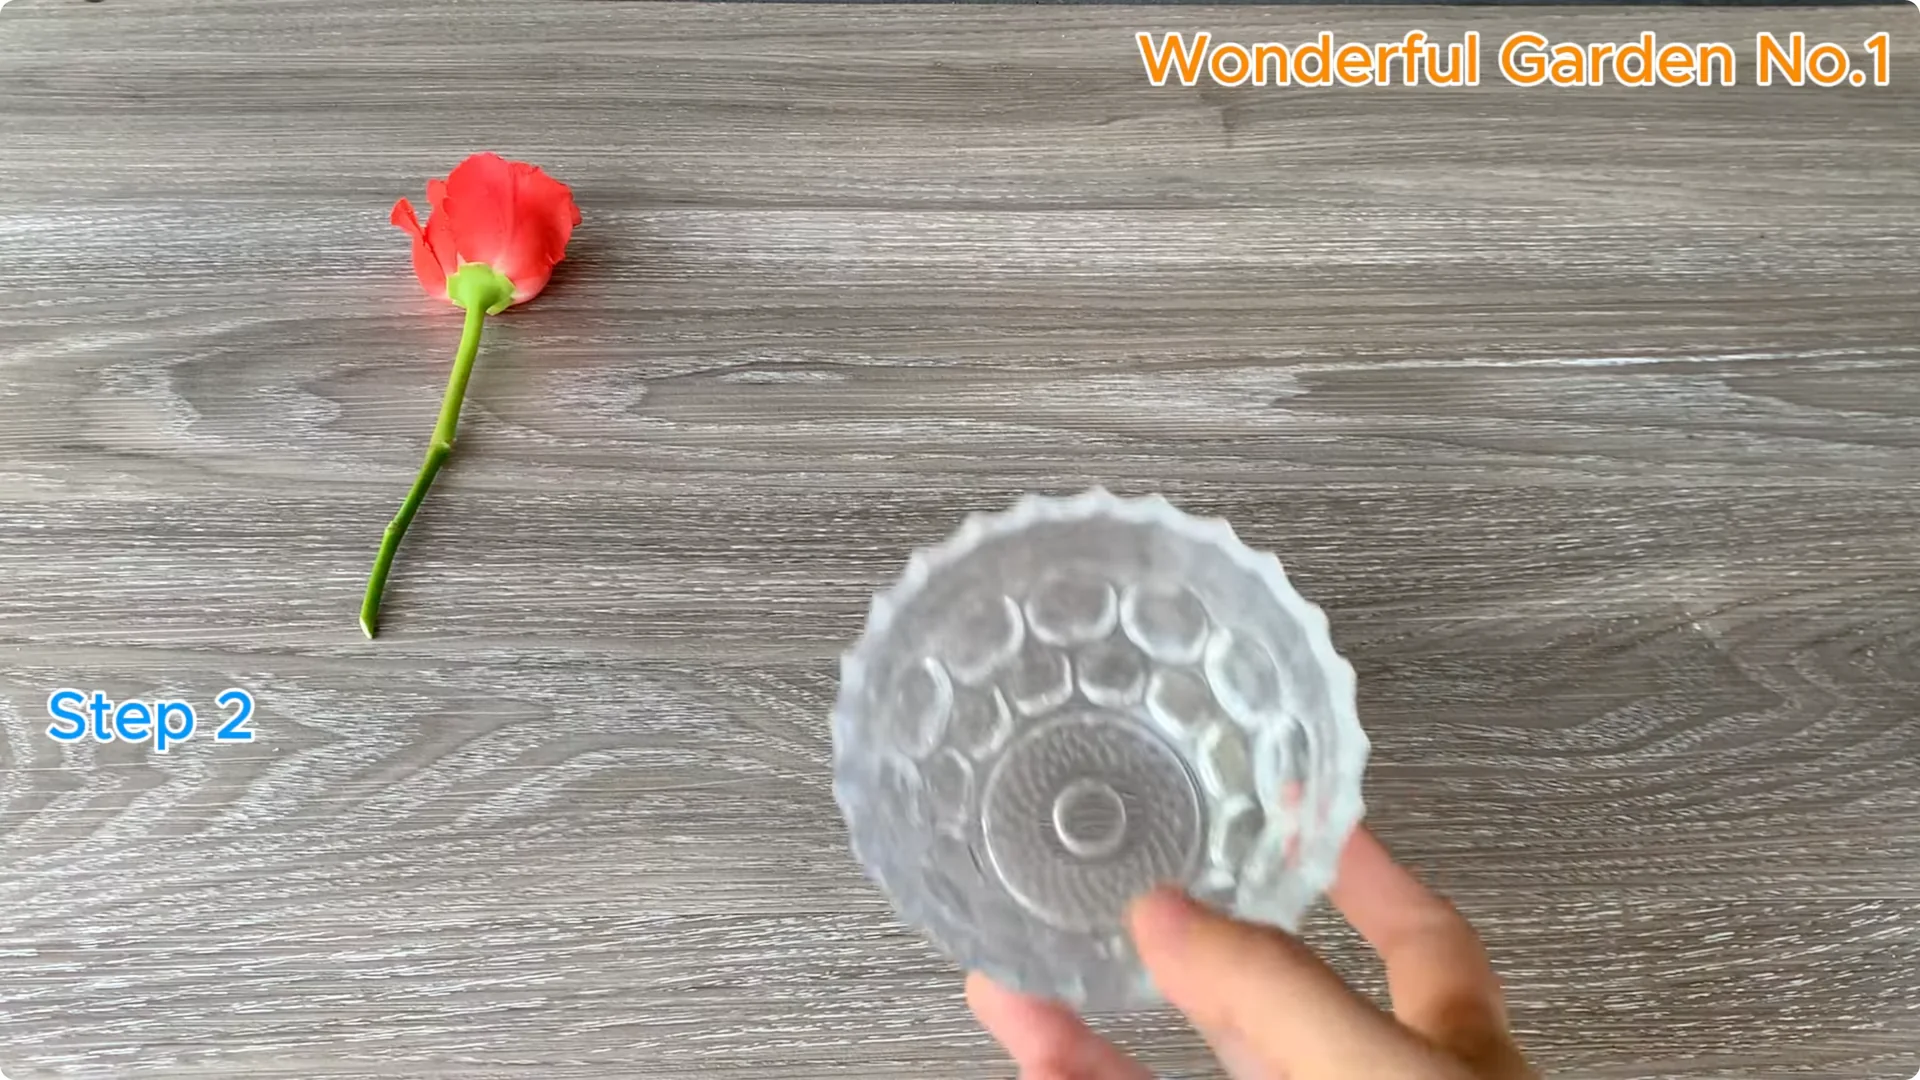
3. Watering solution and substrate
Garlic-lemon mix
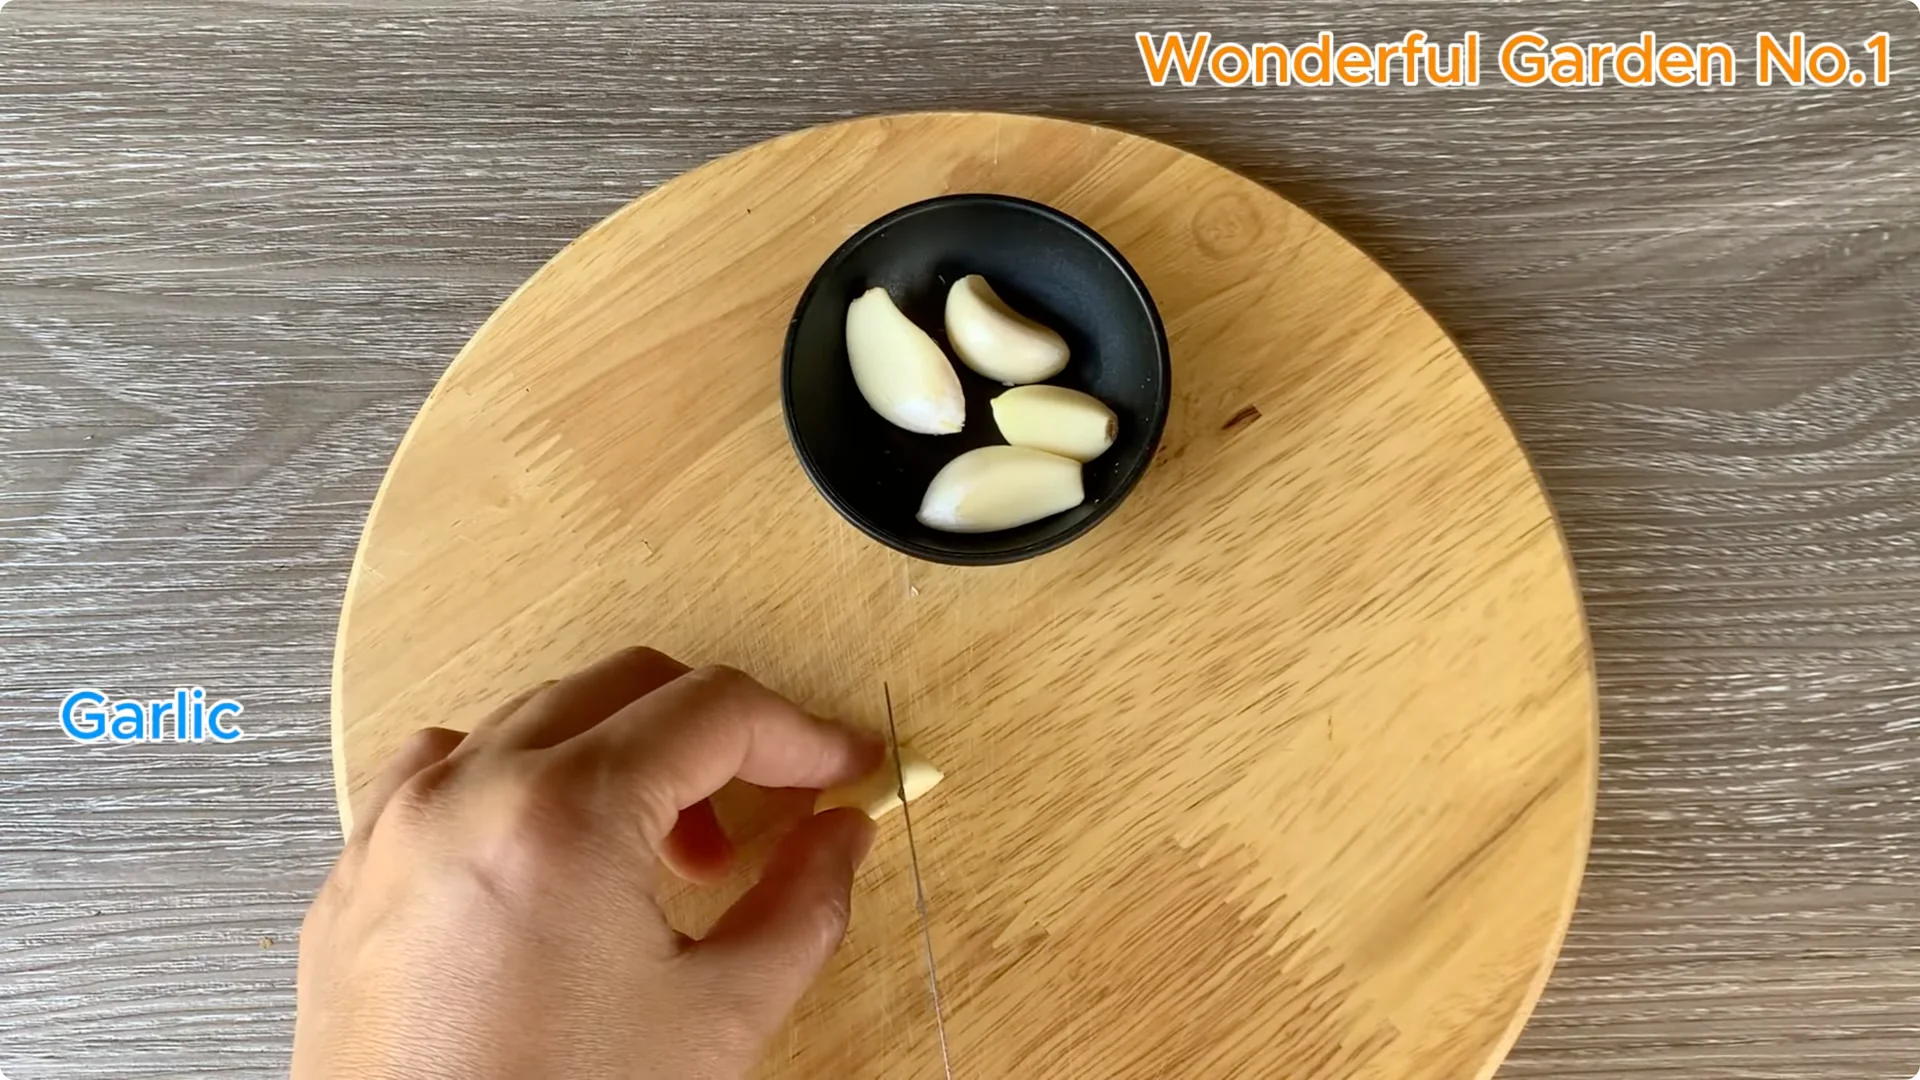
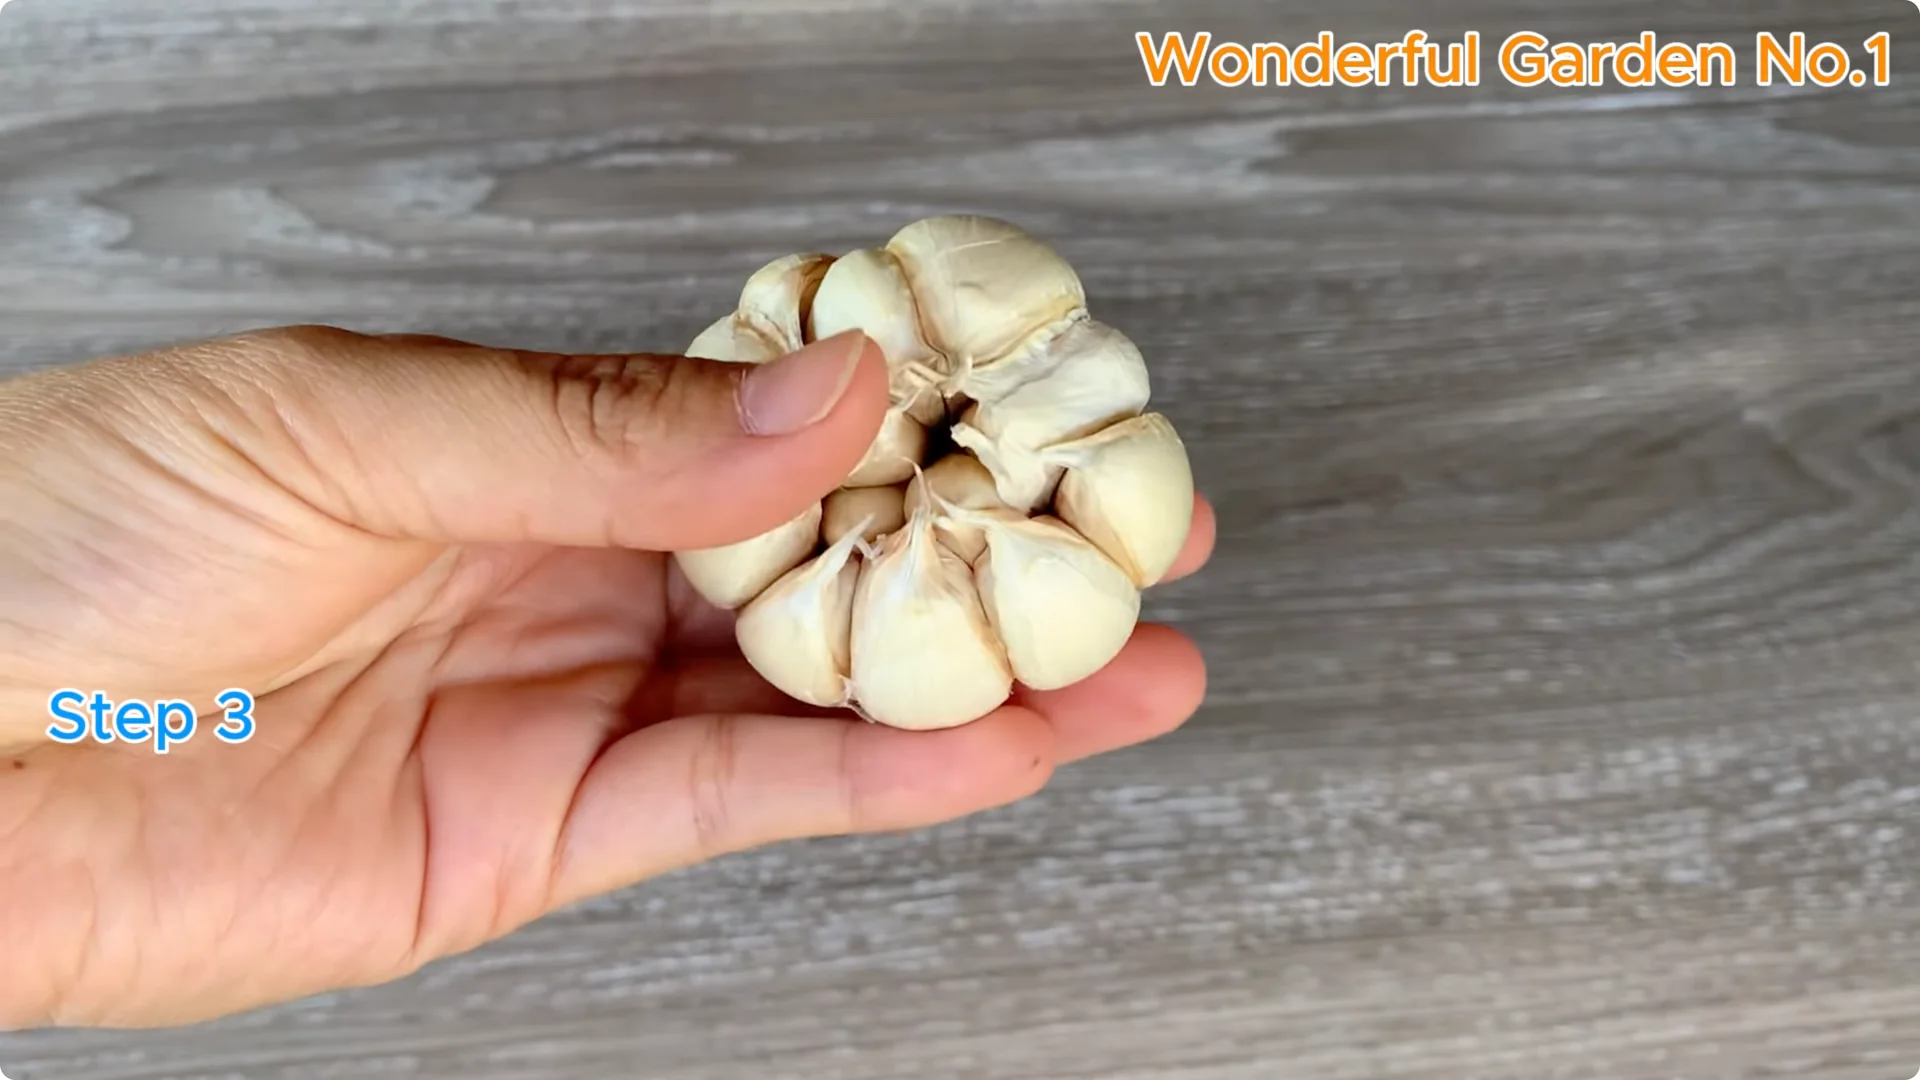
Peel and mince five cloves of fresh garlic, then puree using a mortar and pestle or hand blender. Garlic is a powerful natural antibacterial thanks to its allicin content, a compound that helps prevent the growth of mold and bacteria, thereby protecting cuttings during the rooting stage.
Put the crushed garlic in a glass cup. Squeeze the remaining half lemon into the mixture. The lemon peel is also chopped and mixed together.

Lemons contain citric acid with gentle cleansing and antiseptic properties while also helping to balance pH levels and support plant tissue to function more effectively. The essential oils in the peel have antifungal properties and create a pleasant scent which helps deter small insects from nesting around cuttings.
Add water and rice

Pour in 300 ml of clean water and stir the mixture well. Then add 3 tablespoons of rice.
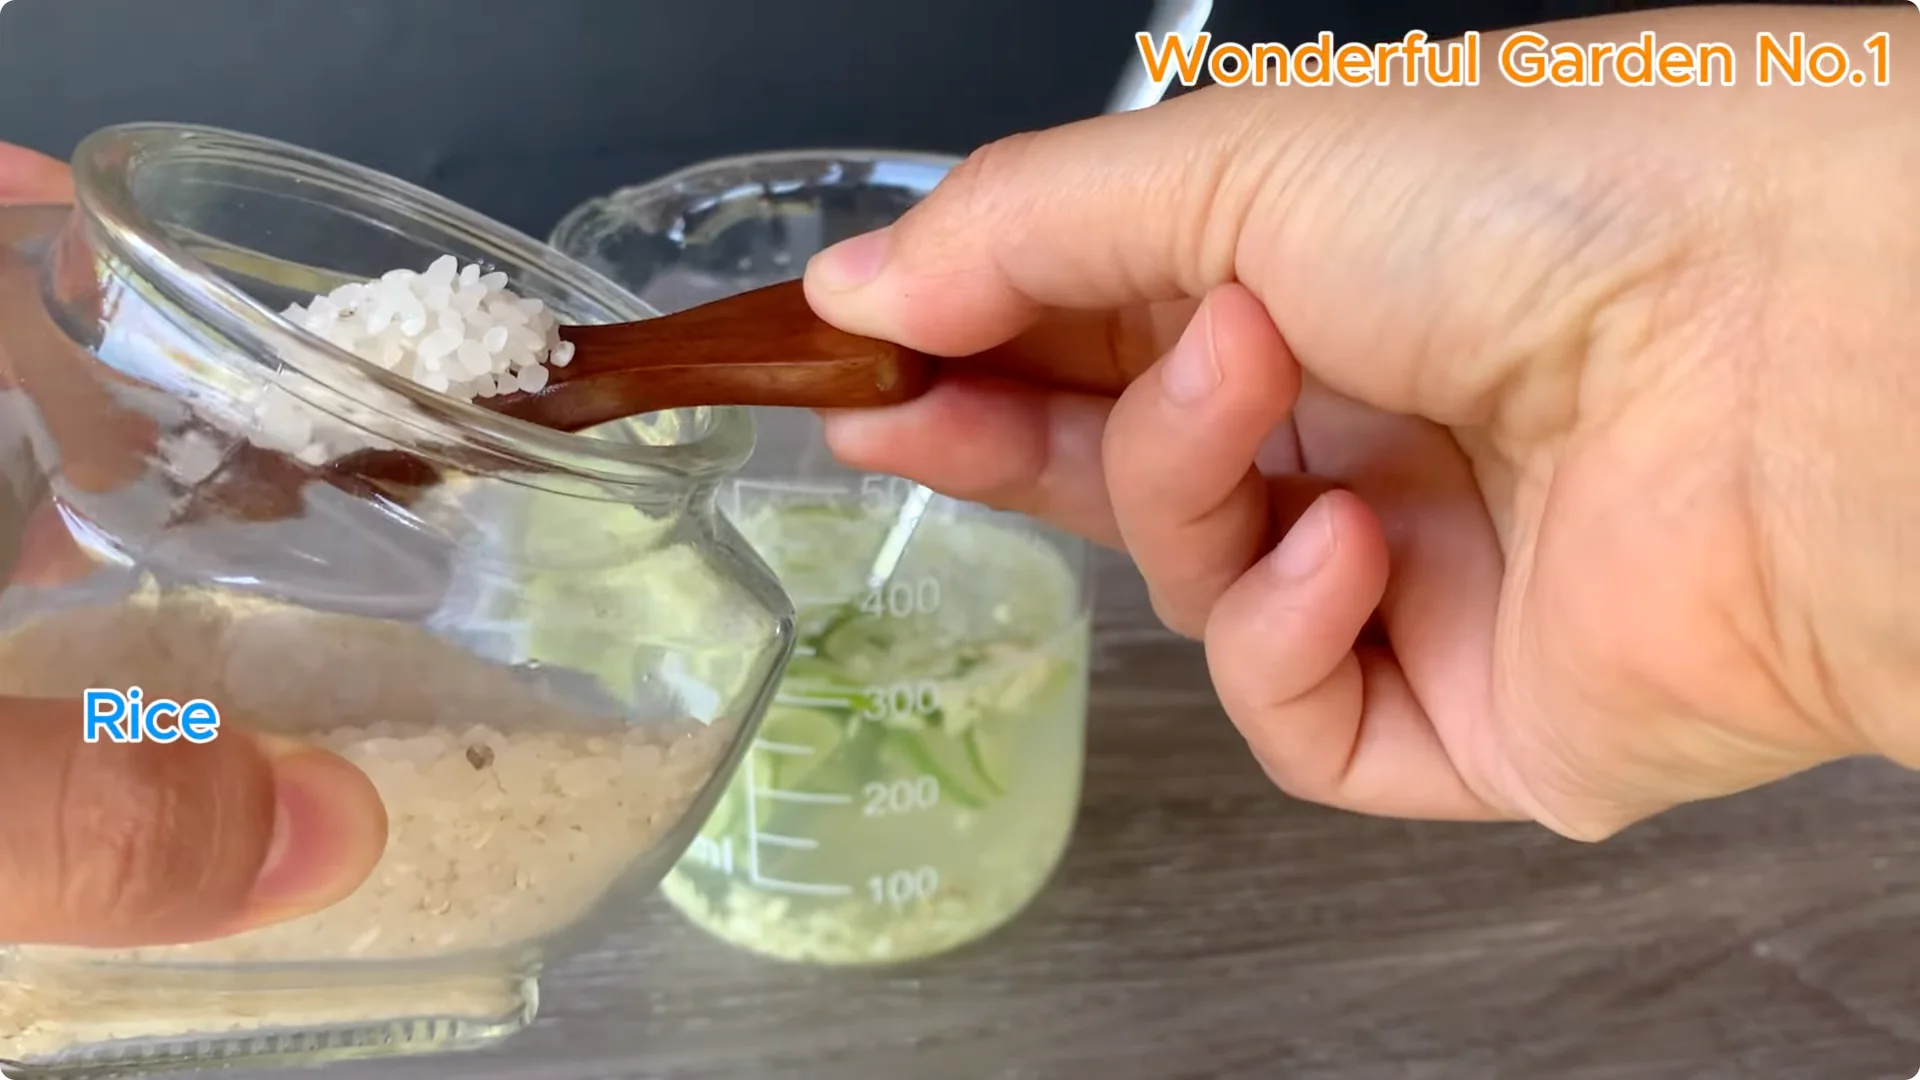
Rice acts as a natural source of starch which, when decomposed, creates a carbon-rich environment promoting the activity of beneficial microorganisms that help soften the substrate and support root formation.
Filter the solution
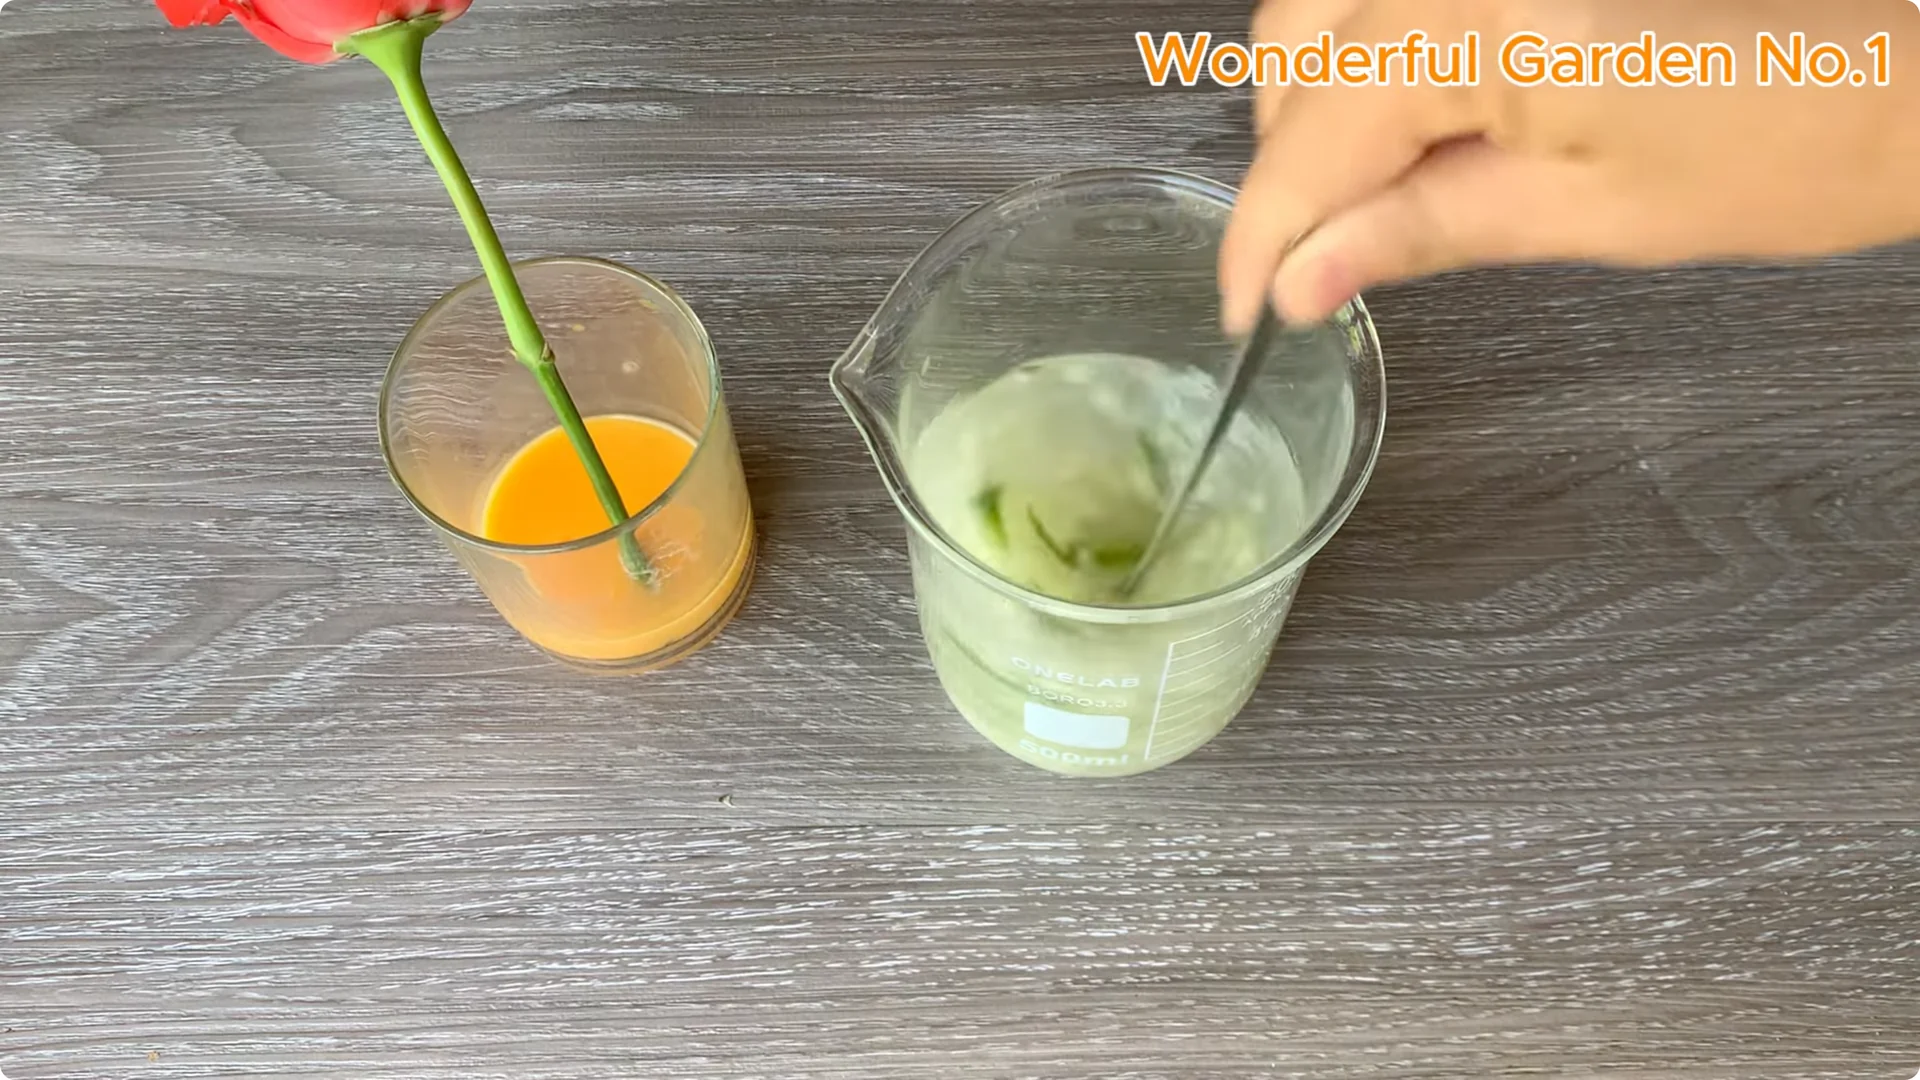
Use a sieve to separate the clear solution and remove the coarse residue. The resulting filtered water will be used to moisten the growing medium.

It creates a balanced, clean, biological environment rich in natural active ingredients that support rapid and safe root growth.
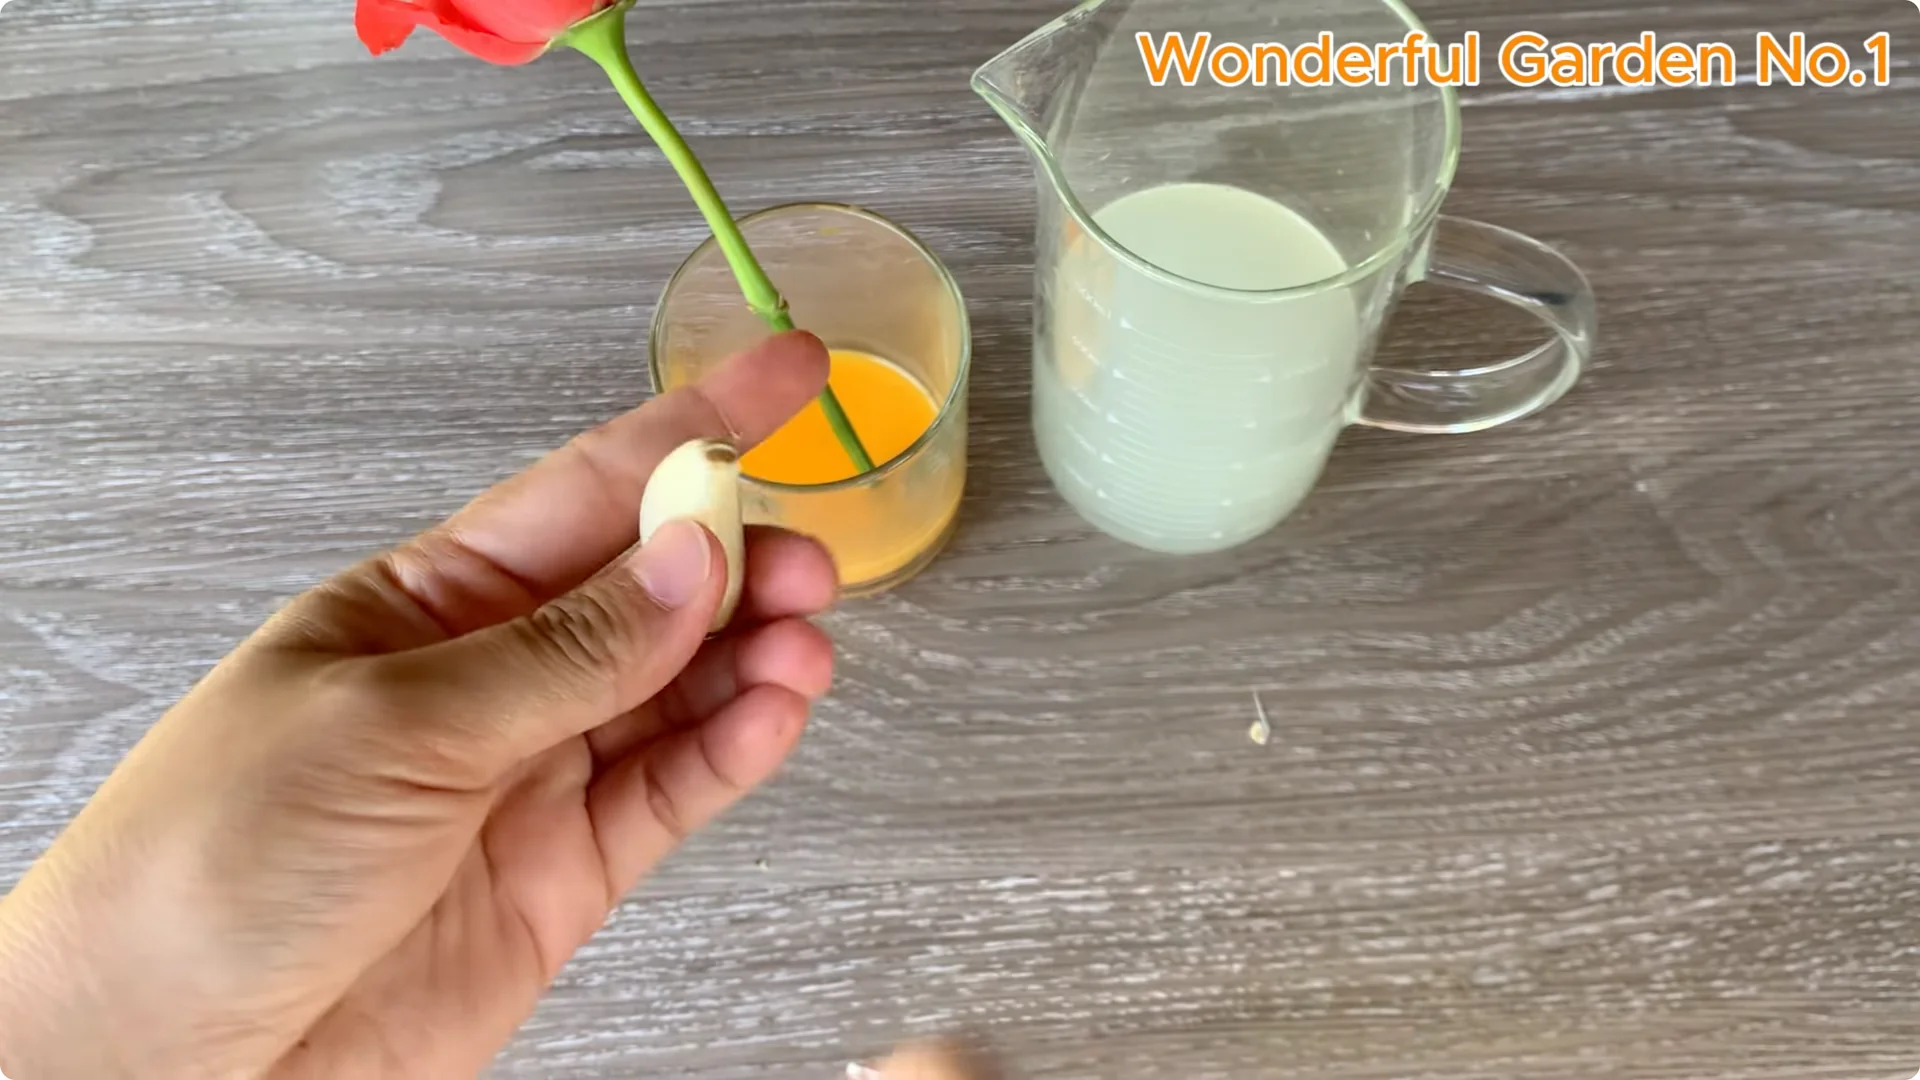
Garlic collar
Take a clove of garlic, make a hole in the middle, and stick the base of a rose stem in it. This is a natural antiseptic and a powerful stimulant for root growth.
For another household approach to rooting, see the potato method.
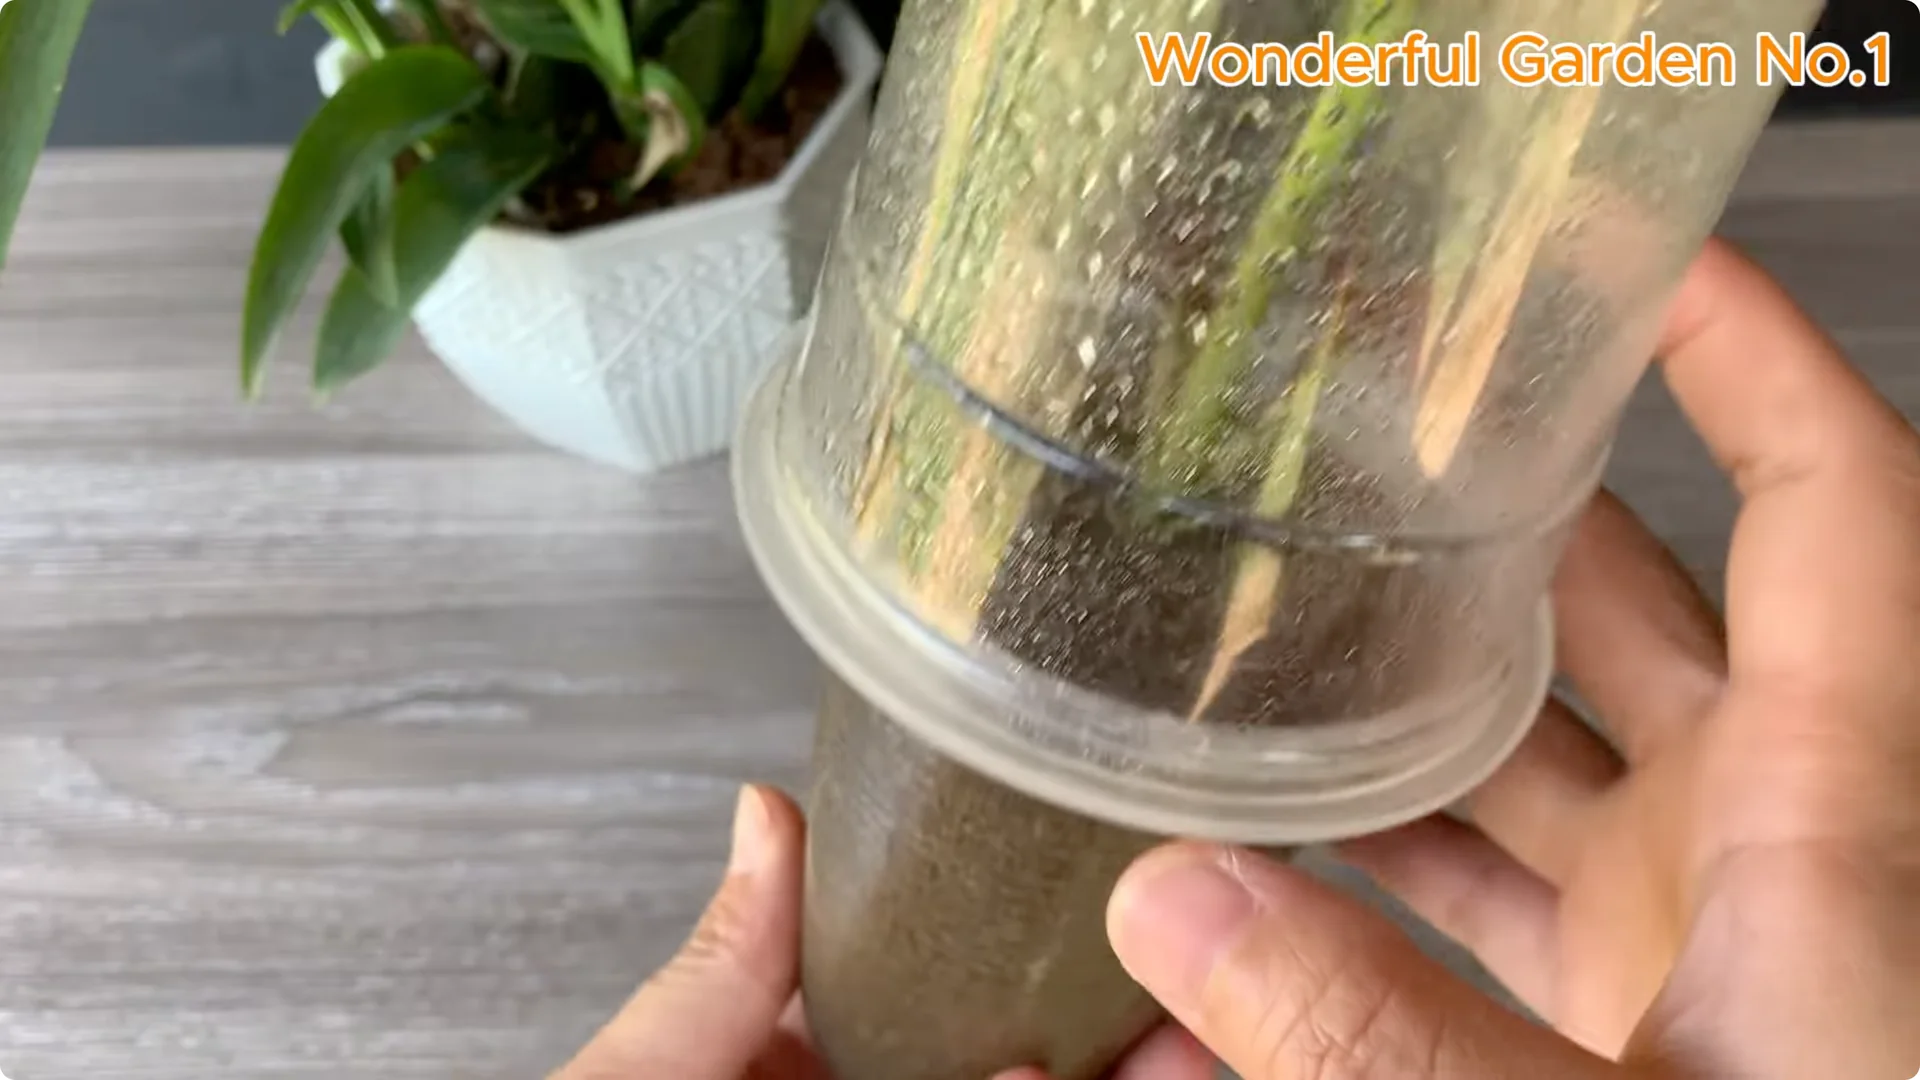
4. Set up the medium
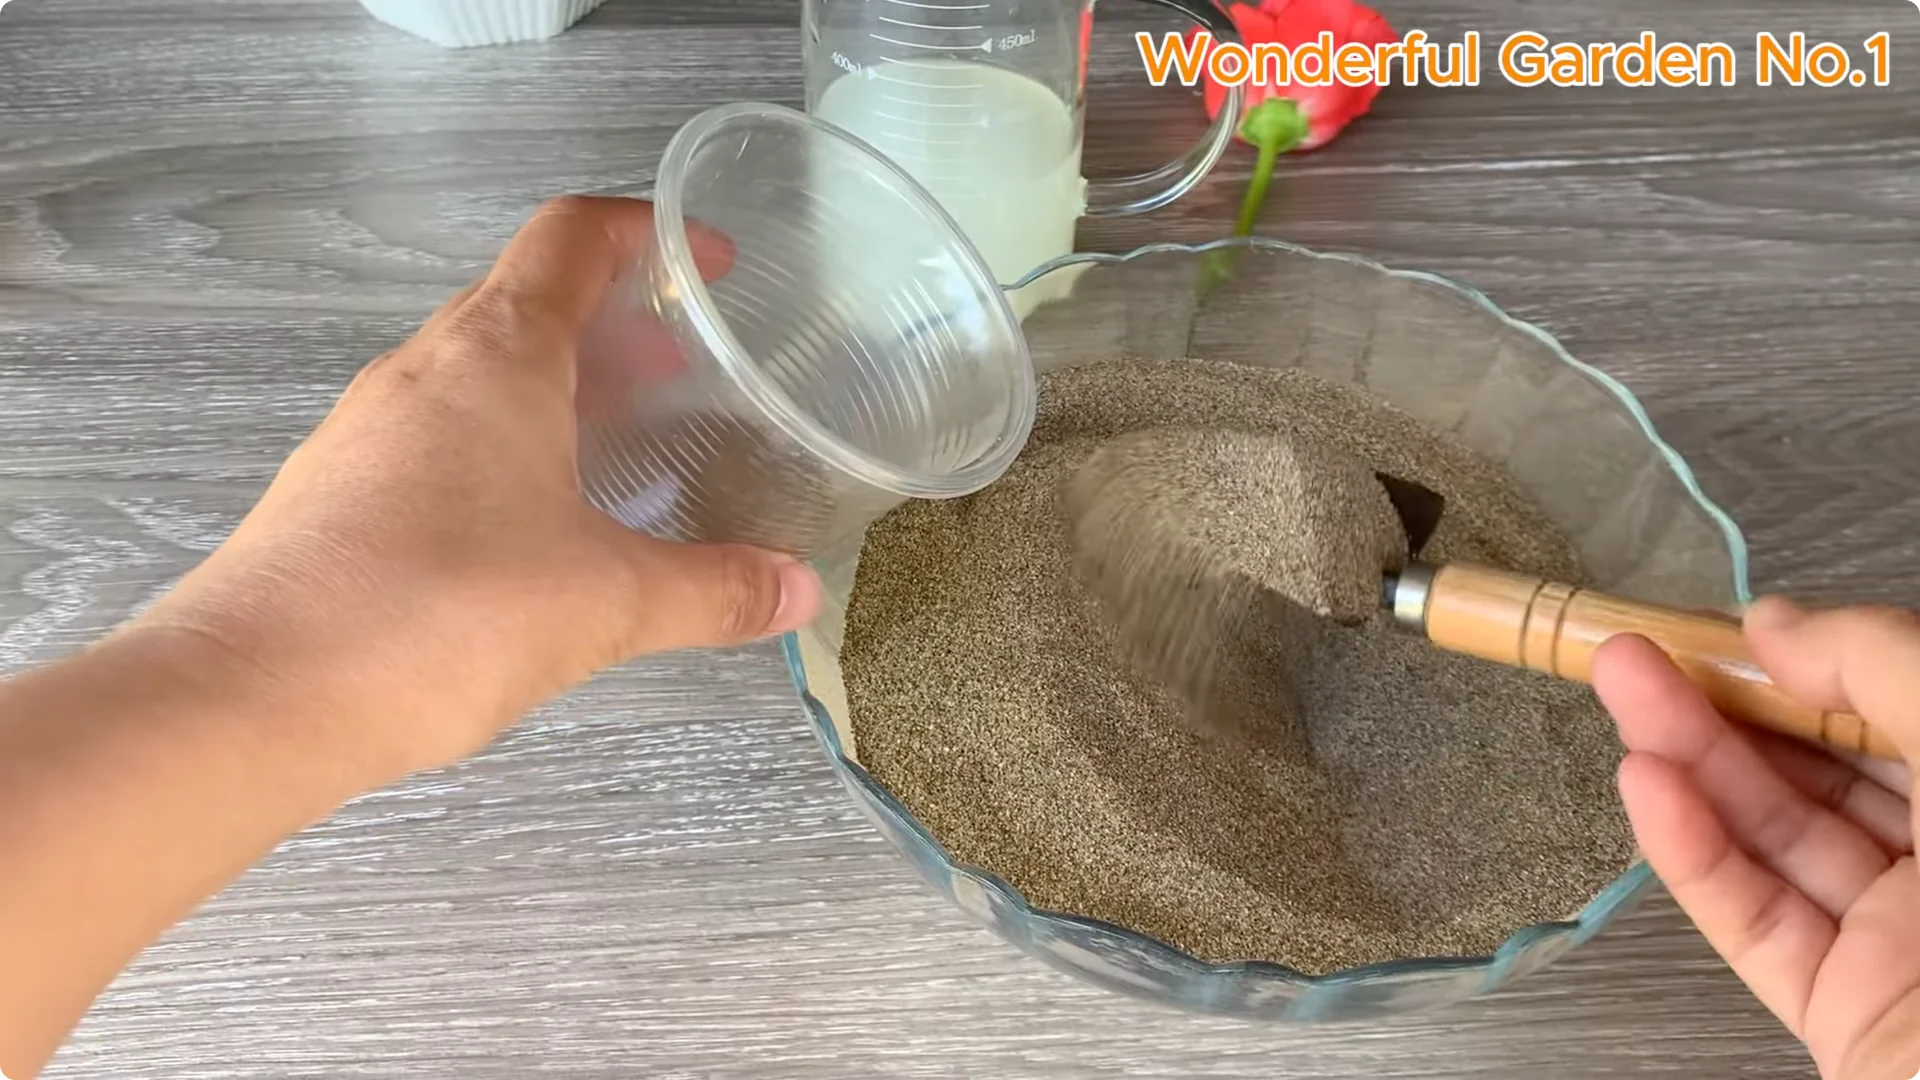
Plant in sand
In this propagation method, use clean sand as the main growing medium. Sand drains well, limits fungal diseases, and helps keep the environment around the cuttings well ventilated.
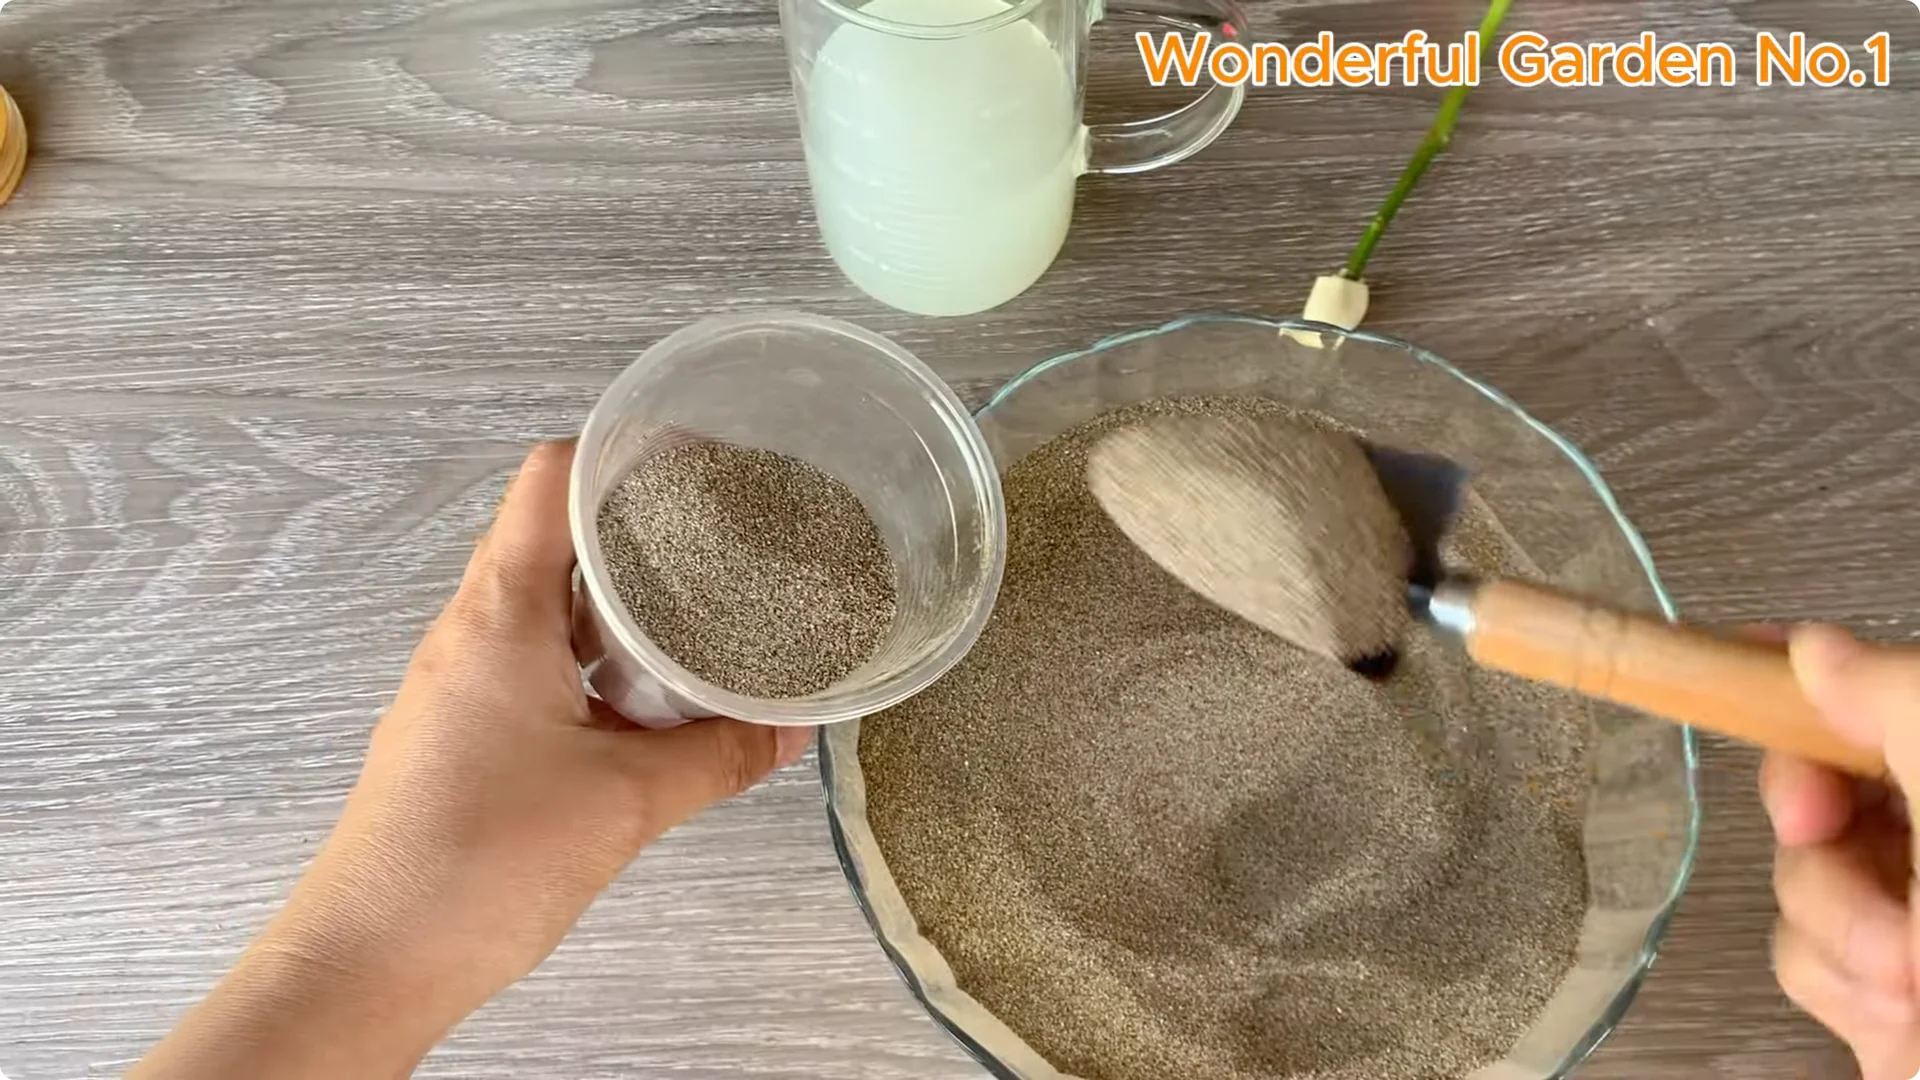
Using clean sand helps young plant roots grow easily and minimizes the risk of water logging or rotting due to too much moisture. Gently insert the base of the rose stem into the sand-filled cup. Make sure that the leaf nodes near the top remain above the rim.
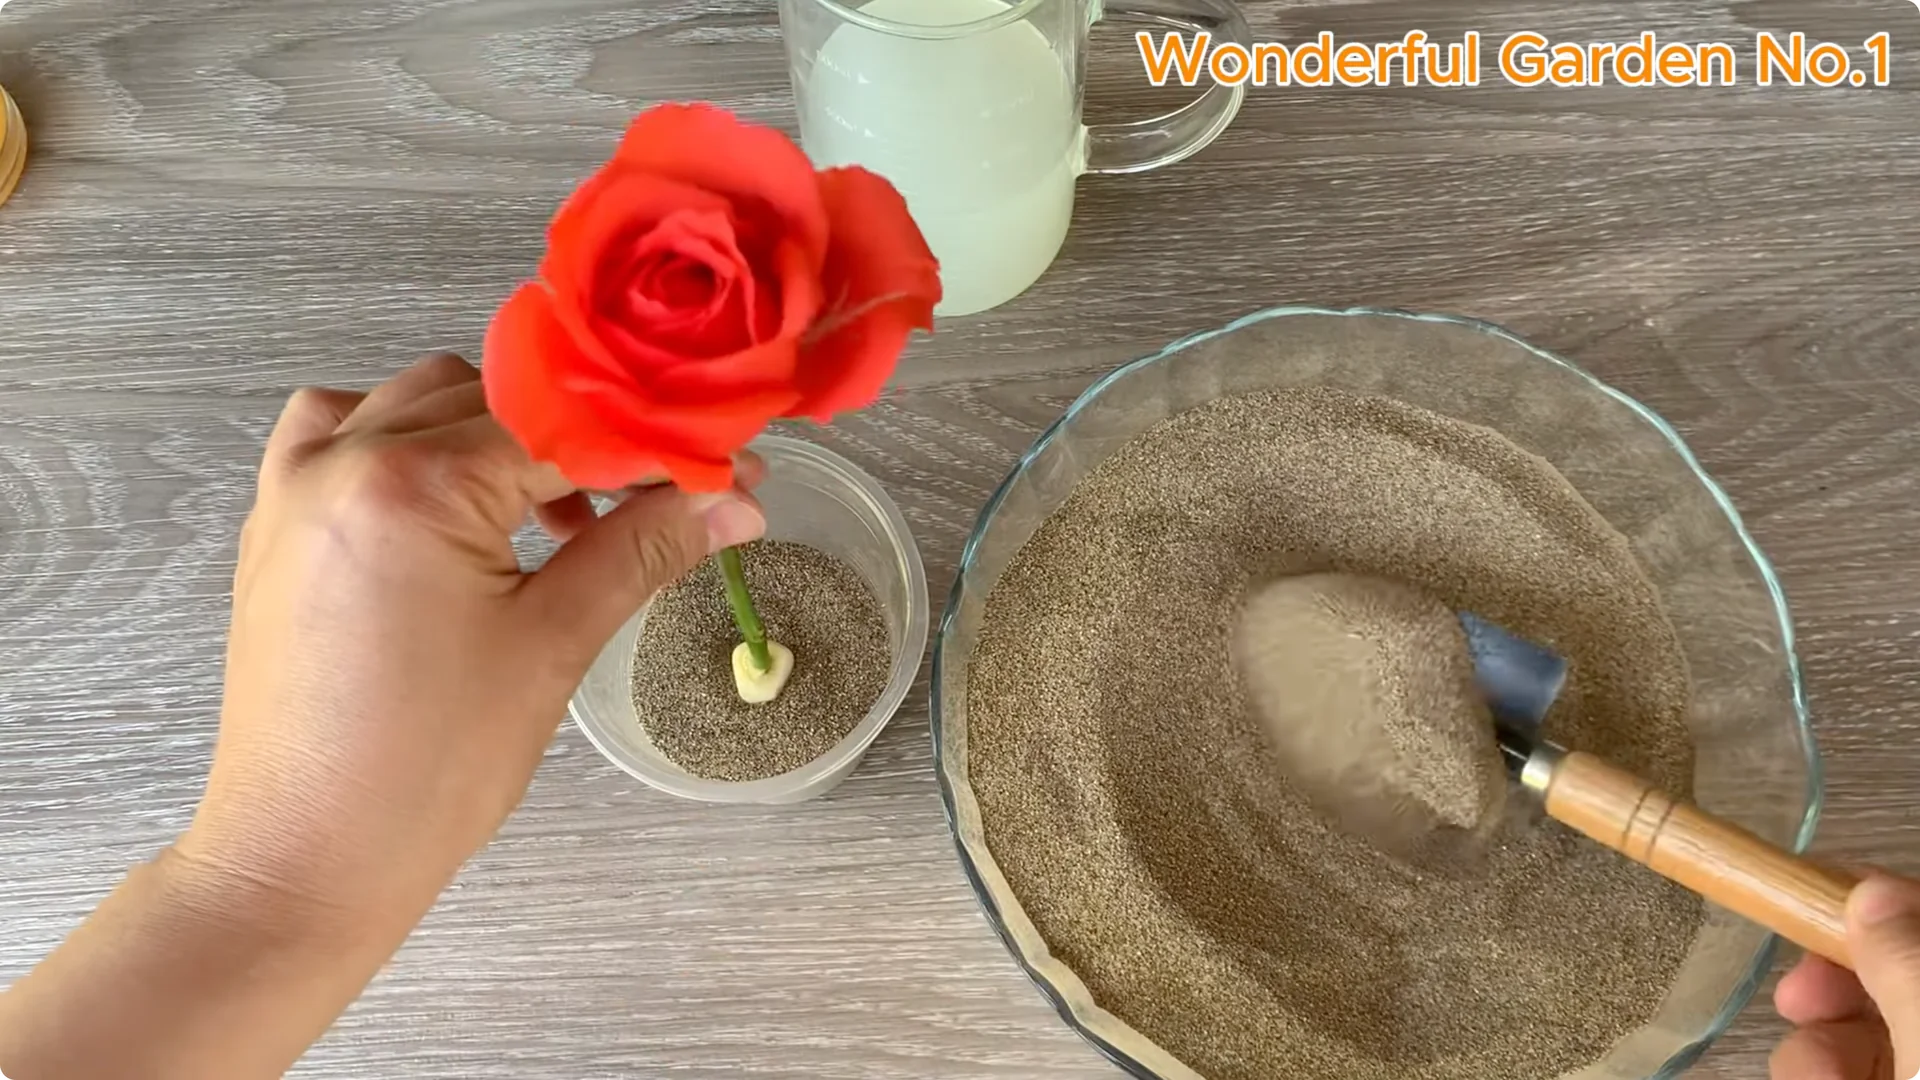
These open leaf nodes will allow new buds and shoots to appear as the plant begins to root. Moisten the sand-filled cup with the natural solution you prepared. This creates a balanced nutrient-rich environment that supports healthy root growth while helping prevent fungal growth.

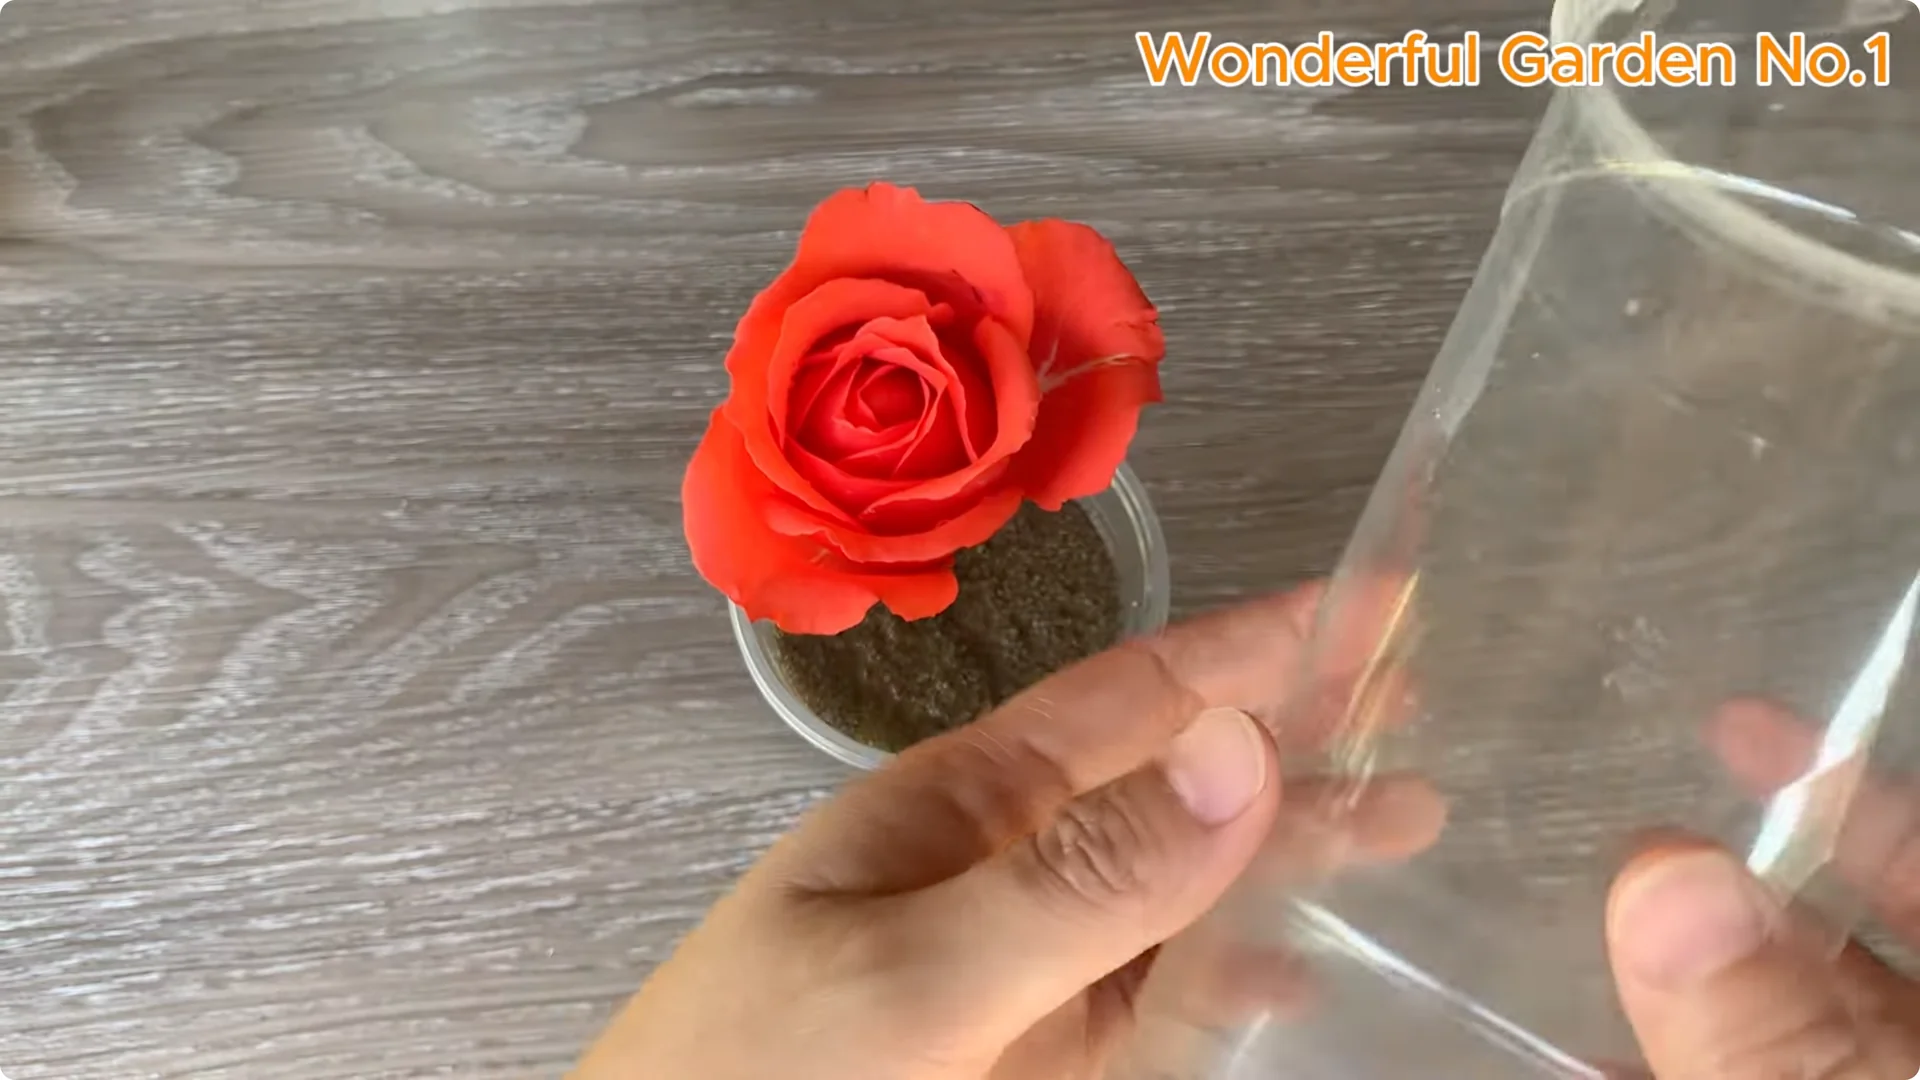
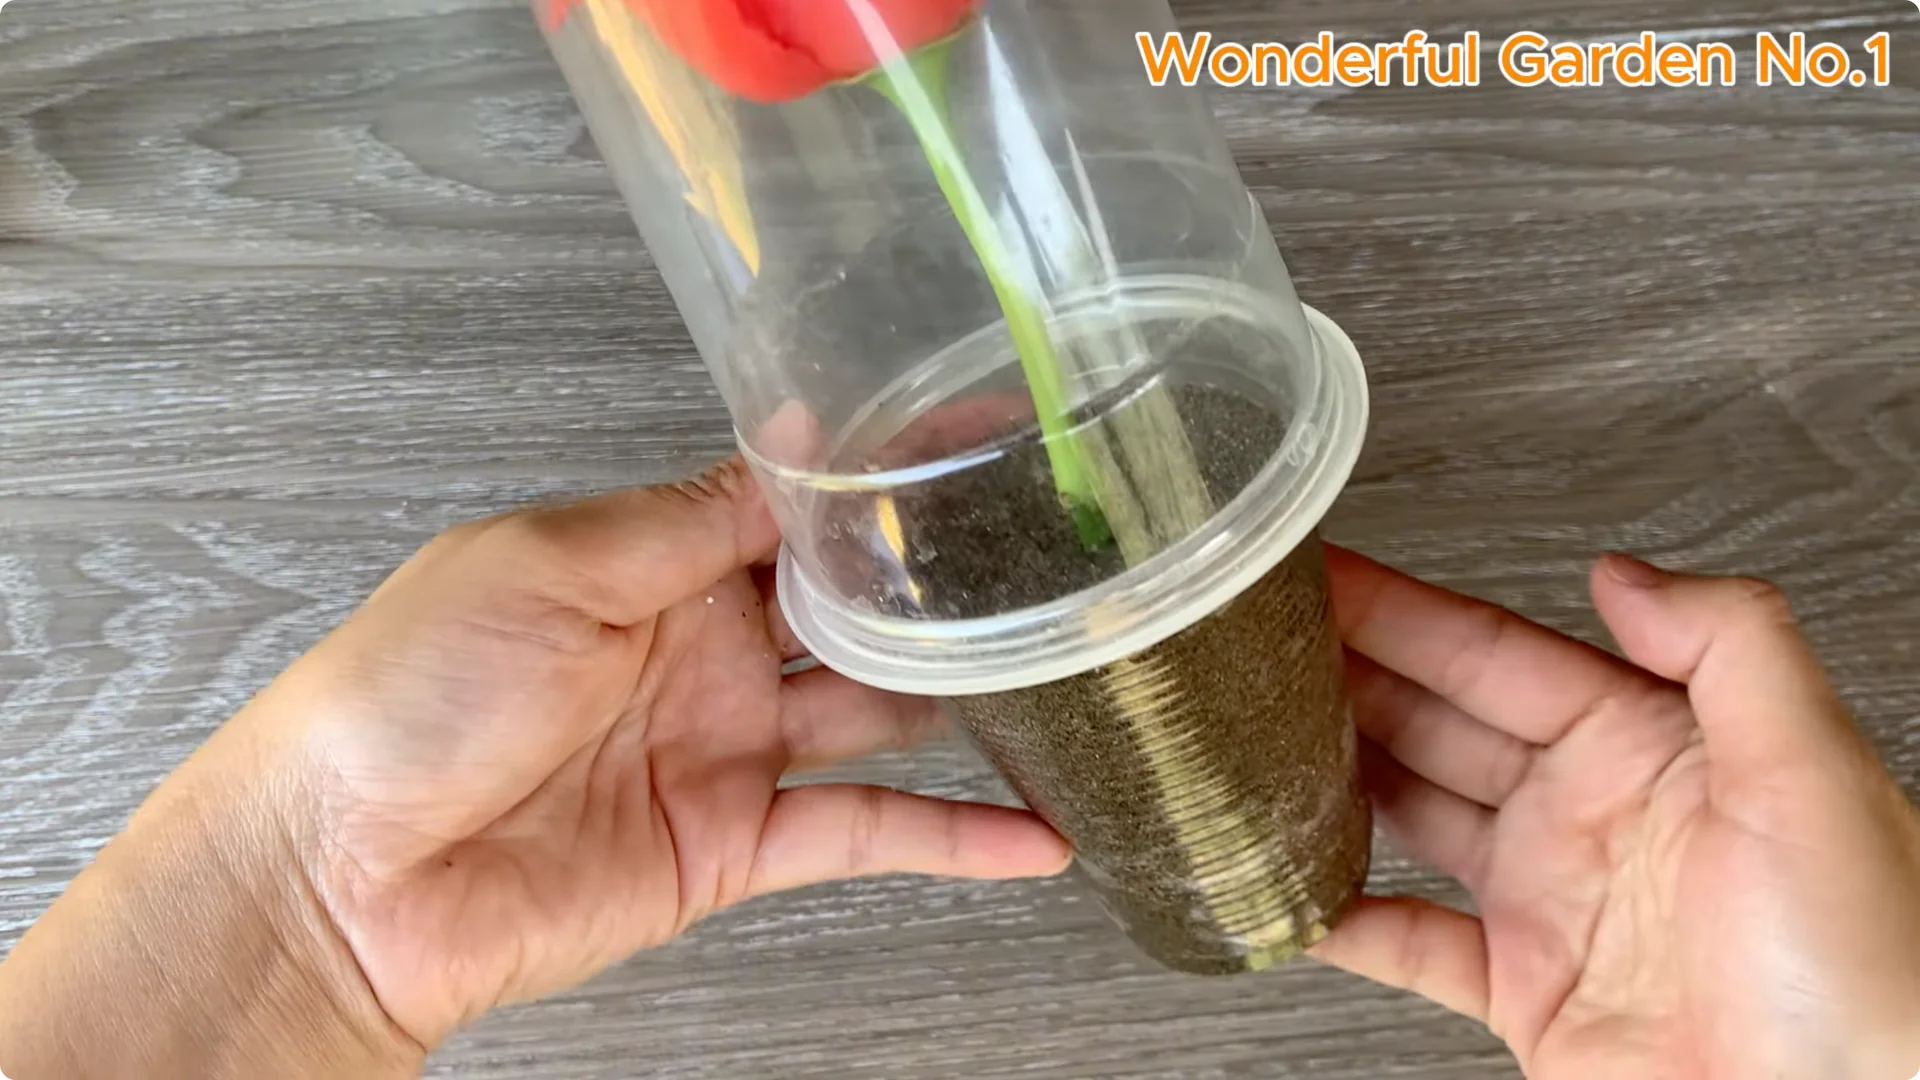
Humidity dome
To maintain optimal humidity and create a stable environment for rooting, cover the cup with another clear plastic cup upside down. This mini greenhouse effect helps retain humidity, regulate temperature, and protect the cuttings during their most delicate stages.
Light and placement
Place the cup in a cool area away from direct sunlight, but still with diffused light. Wait for about 1 week. Nature always surprises us.
5. After 1 week
You will see small new buds starting to emerge and the first roots forming, firmly anchoring themselves in the growing medium. Gently remove the rooting medium, being careful not to damage the young roots.
Transplanting
Transplant the cutting into well-drained, nutrient-rich soil to support continued healthy growth. To encourage faster bud development after transplanting, try this simple fruit trick.

Final thoughts on Natural Rose Cutting Propagation
This method is simple and makes the most of natural ingredients available in the kitchen. It supports quick, healthy rooting and is environmentally friendly.
Natural Rose Cutting Propagation becomes easy and fun with patience and gentle care. Happy gardening, and good luck with your plants.