Welcome to the little garden where time stands still and each leaf is a story of care and patience. Have you ever dreamed of growing roses the easy way, with no seeds or purchased plants, just a rose stem and a few things you already have at home. I’m going to show you a gentle organic method, no chemicals, no fancy tools, just nature working its quiet magic.
Pause for a moment. This may change how you connect with your garden.
1. Rose Cutting Propagation: Prepare the Cuttings
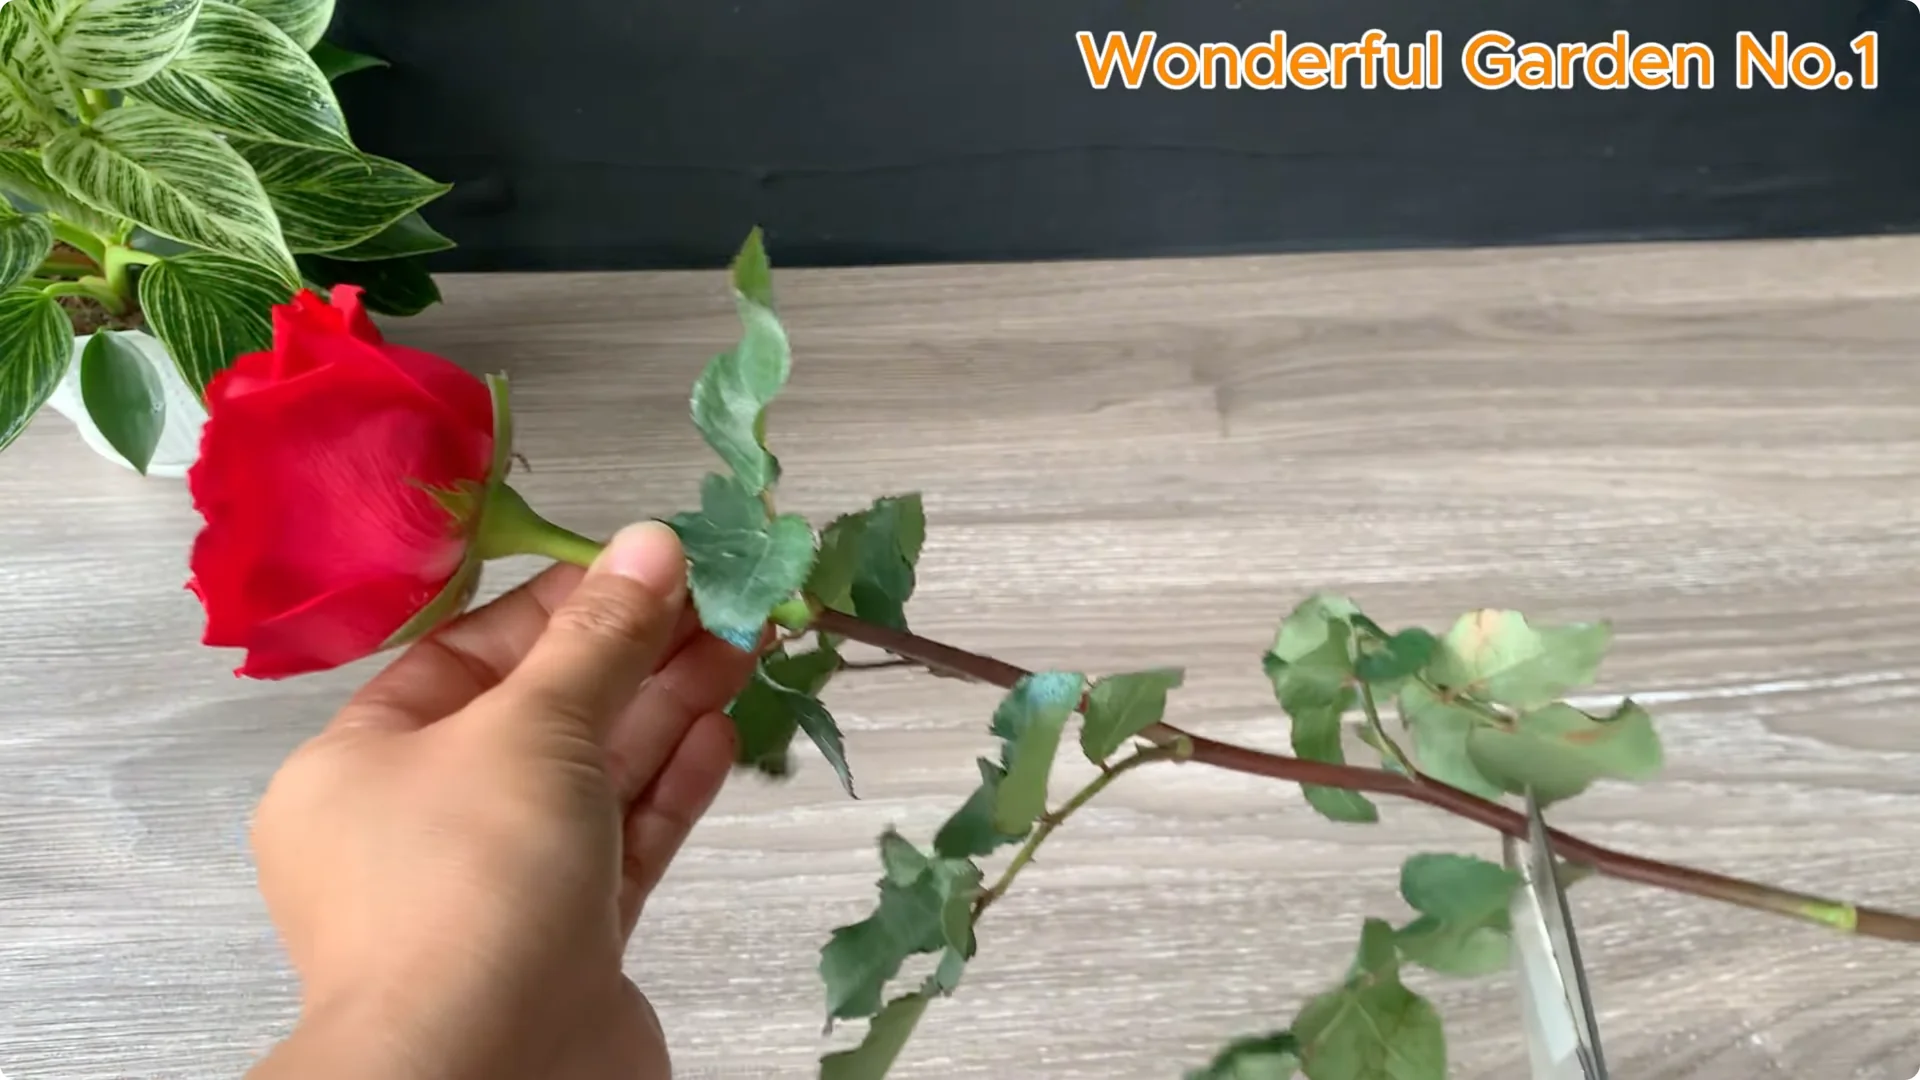
Choose a healthy stem, ideally 6 to 8 inches long and free of pests and diseases. Gently remove all the lower leaves, leaving just one or two at the top. This helps the plant focus on root growth while still allowing for some photosynthesis.
Be careful not to damage the leaf nodes. This is where new shoots can develop. Cut the stem at a 45 degree angle to increase the surface area for water absorption and rooting.
Place the cutting in fresh water for a few minutes. This helps hydrate the stem and reduce air bubbles in the tissues, giving your cutting a better start.
2. Rose Cutting Propagation: Natural Rooting Solution
Coffee and Baking Soda Base
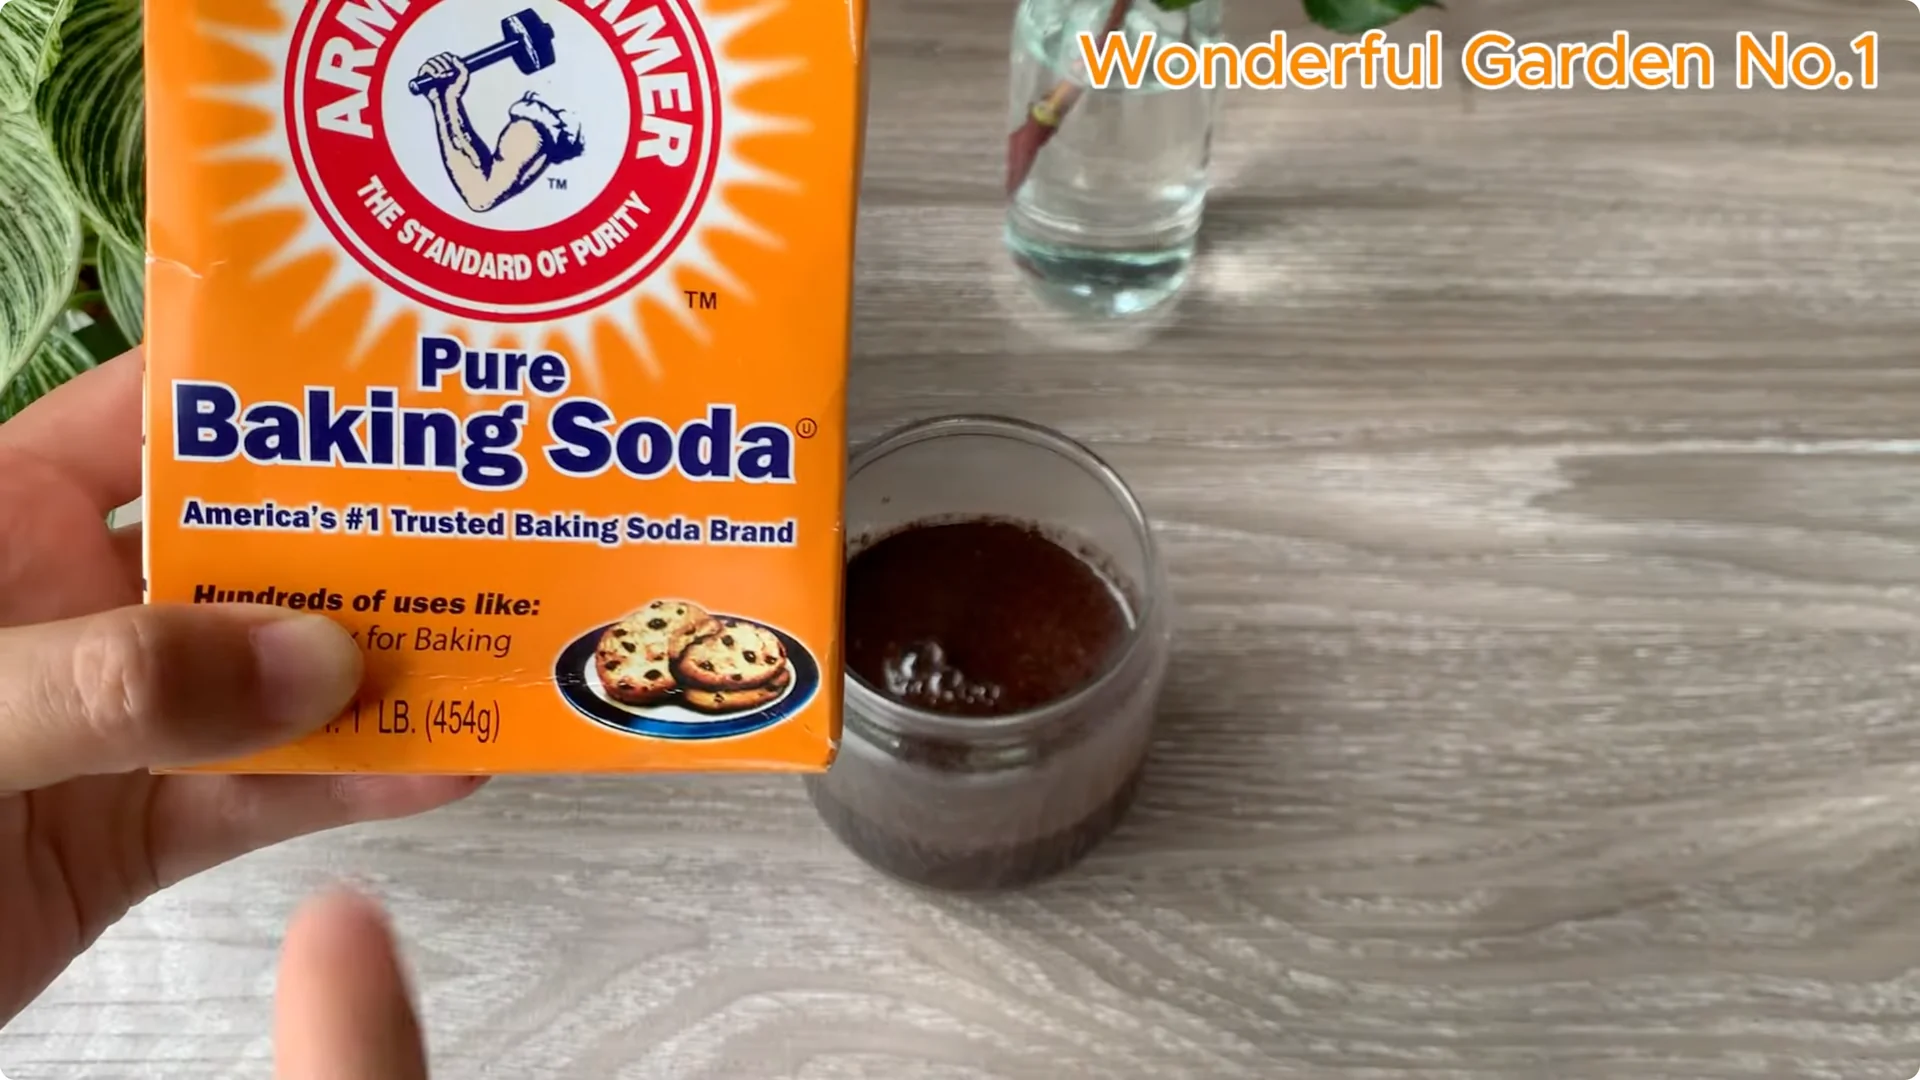
Start with 1 teaspoon of ground coffee in a glass cup. Coffee contains natural enzymes and mild acids that gently stimulate root growth and make the cuttings healthy. Add 200 milliliters of warm water, because warm water helps to extract the beneficial compounds more effectively.
Next add 1/2 teaspoon of baking soda to the coffee water. Baking soda helps balance the pH and prevents harmful bacteria or fungi from growing. Stir the mixture well and let it sit for 1 to 2 hours before using.
For another gentle approach that uses a single spoon of ingredients to boost rooting, see this spoon-based rose cutting method.
Aloe and Honey Enhancers
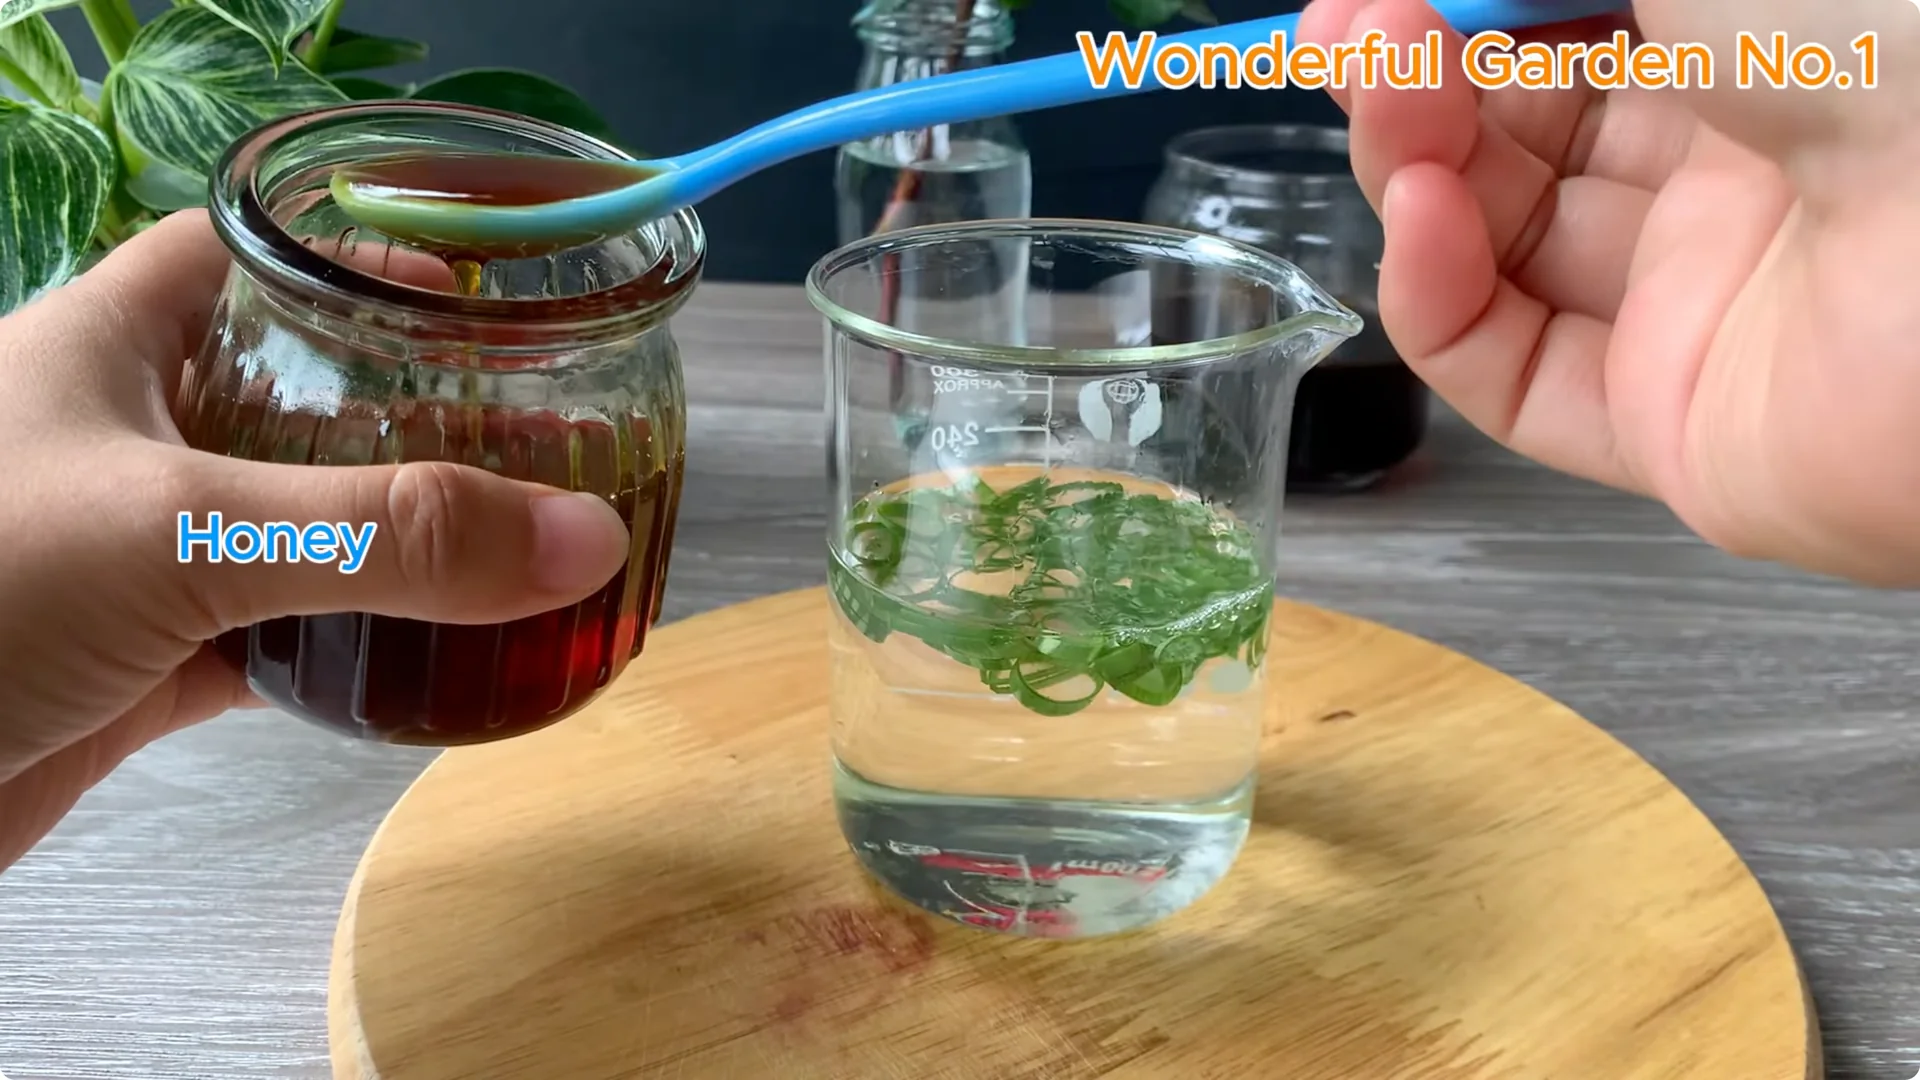
Add a small piece of chopped aloe vera to the cup. Aloe vera contains natural hormones and antioxidants that promote root growth and protect against infection. Pour in 200 milliliters of water to help release the nutrients of the gel into the mixture.
Then add 1 teaspoon of honey. Honey has antibacterial properties and acts as a gentle rooting agent, helping to keep the cuttings healthy and resistant to rot. Stir the mixture well and let it sit for a while.
This mixture will nourish your rose cuttings and promote healthy, clean root growth.
3. Rose Cutting Propagation: Prepare the Rooting Medium
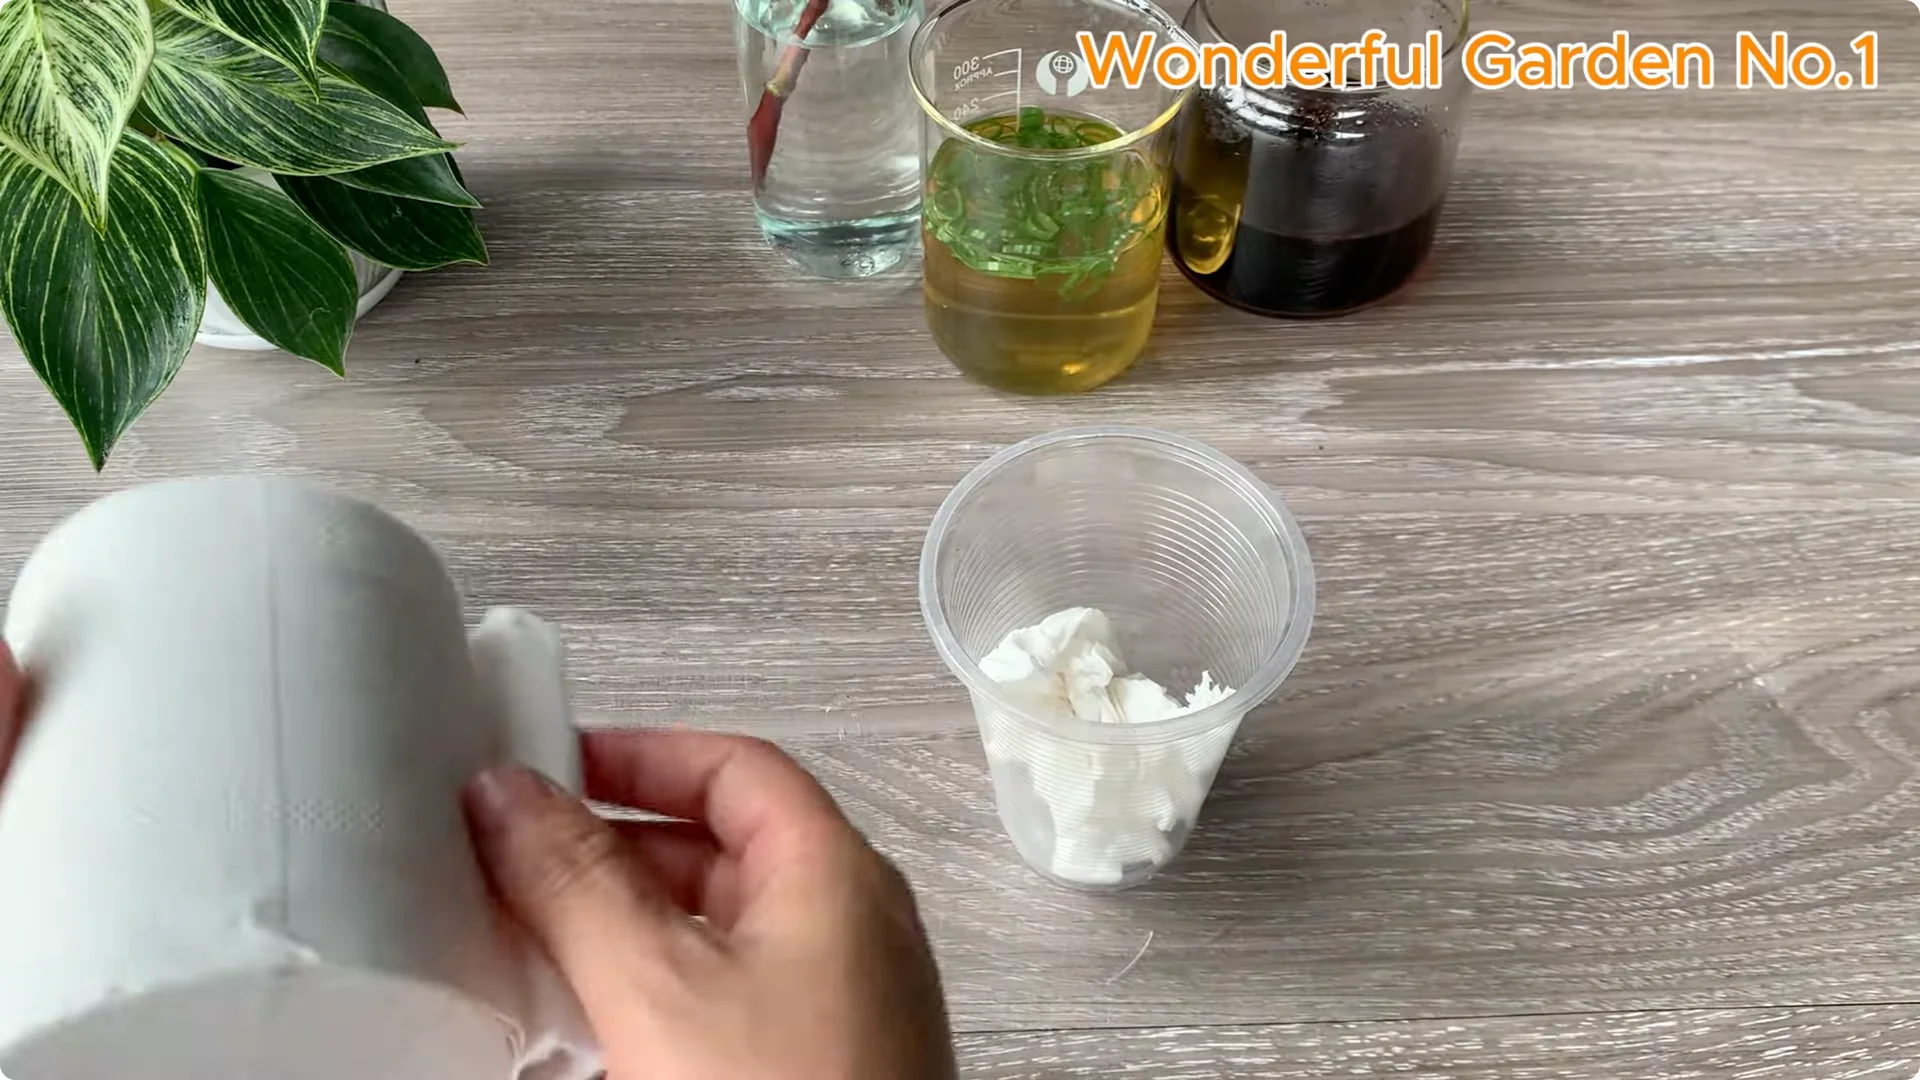
For this method I use toilet paper as a rooting medium. It is soft, retains moisture well, and creates a gentle environment for the young roots to grow. I use plastic cups as containers for the rooting medium, with drainage holes in the bottom to avoid excess moisture and reduce the risk of rot.
Fill the plastic cup with several layers of toilet paper until it is full. This creates a soft, moist base that gently cradles the cutting.
Combine and Moisten
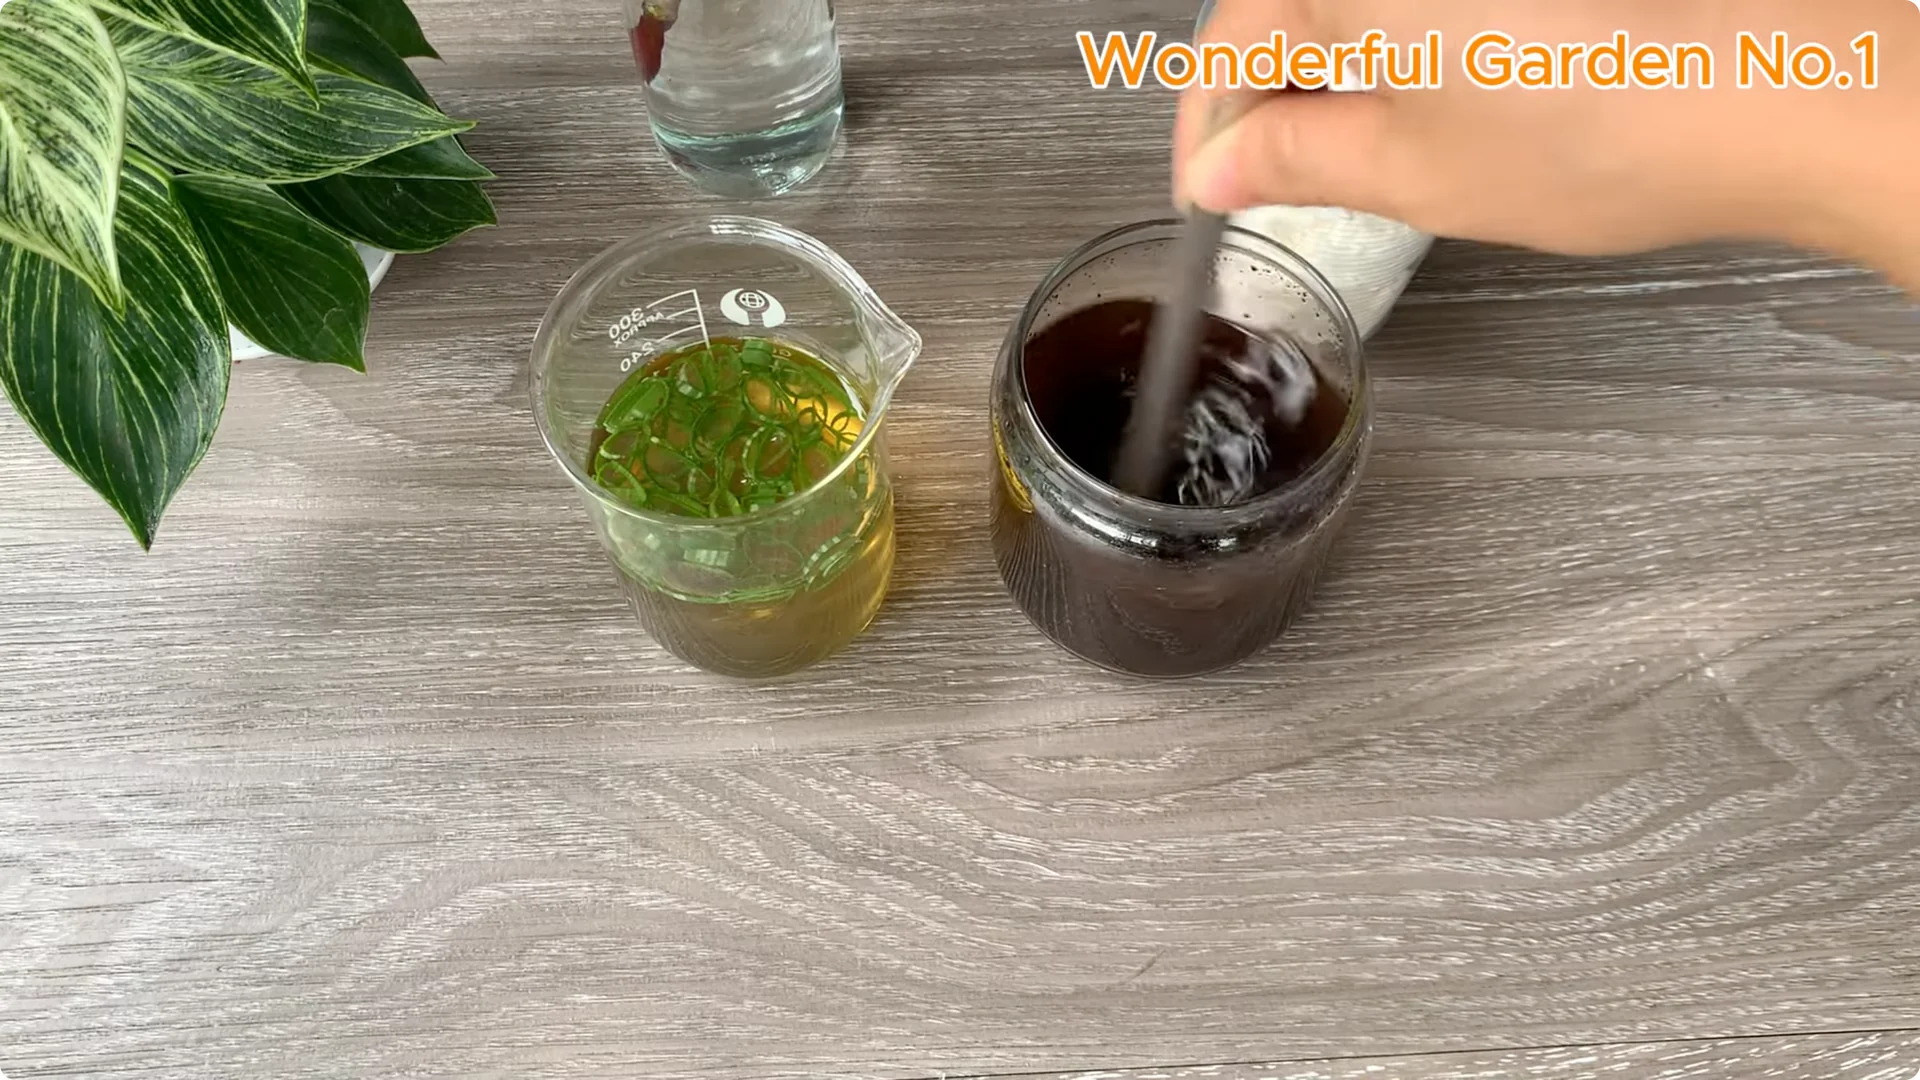
Combine the two soaking solutions by straining out the solids with a fine mesh sieve or cheesecloth. Keep only the clear liquid to avoid clogging and ensure even moisture. Use this liquid to moisten the toilet paper inside the cup.
It nourishes the medium, stimulates rooting, and keeps the medium lightly hydrated for the cuttings to grow. For more cup-based rooting ideas, explore this cup method for rose cuttings.
Set the Cutting
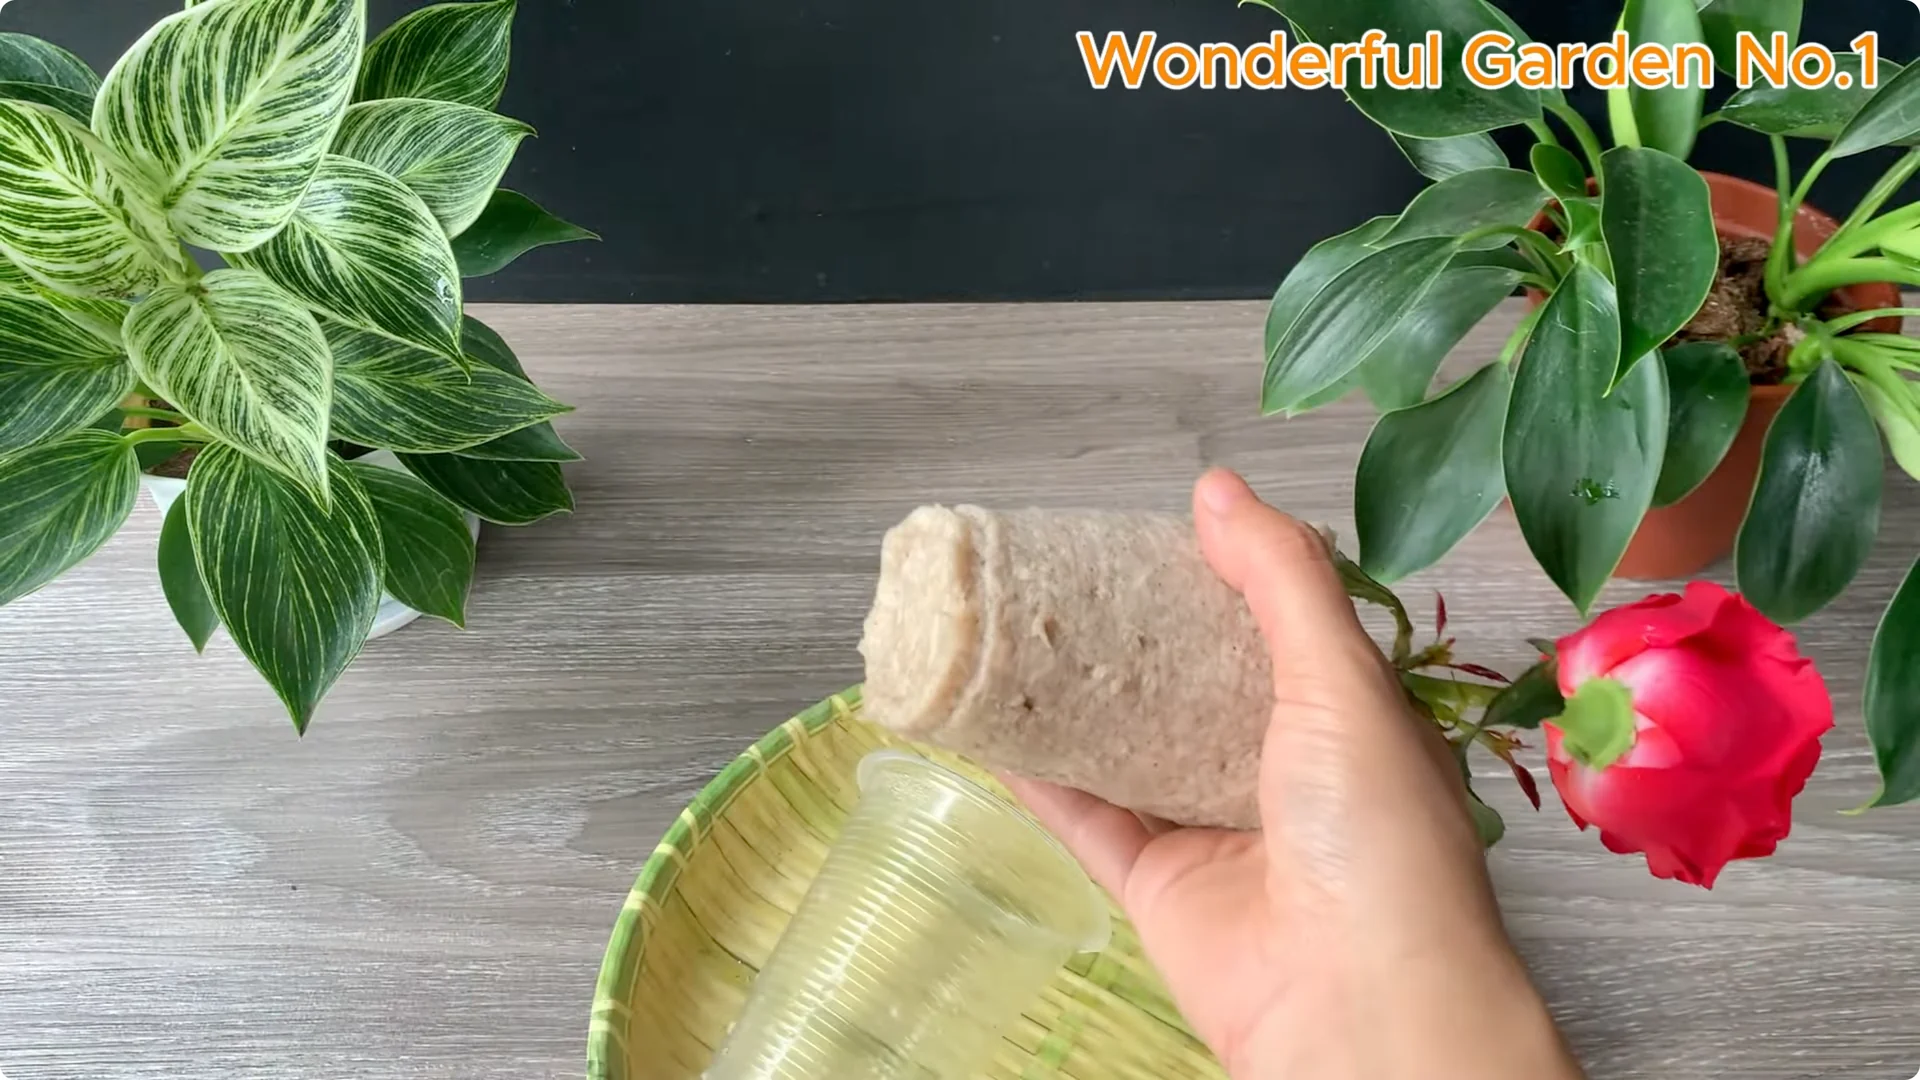
Cut a small hole in the center of the paper to insert the rose stem. Wrap a thin layer of damp paper around the stem, leaving the leaf nodes exposed so new buds can grow out. Gently insert the stem into the hole and press the paper around it to secure it.
Cover the cup with a larger plastic cup to create a mini greenhouse effect. This will help maintain high humidity and protect the stem. Place the pot in a cool, bright location away from direct sunlight and monitor the humidity regularly.
With care and patience, your rose will soon begin its quiet journey toward new life.
4. Rose Cutting Propagation: Signs of Success
After 3 to 4 weeks, a quiet transformation begins. Small green shoots begin to emerge from the leaf nodes, soft, fresh, and full of life. These shoots are the first visible sign that your rose cutting is waking up, preparing to grow into a healthy new plant.
Meanwhile, fine white roots begin to form at the base of the stem. They gently reach into the moist environment, anchoring the plant and drawing in water and nutrients, essential steps for long term survival. This delicate balance between new roots below and fresh growth above marks the true beginning of the rose’s second life.
For a simple one cup approach that helps branches root and bloom, see this one-cup branch rooting guide.
5. Rose Cutting Propagation: Potting Up

Before planting in the ground, transfer the cuttings to a larger pot. This helps the young roots acclimate gradually, gives them more room to grow, and allows you to monitor moisture and health more easily. It is a gentle transition before facing the open garden.
Use coconut coir or a light, well draining soil mix to provide a soft, airy environment for your young rose plants. This will help prevent root rot and promote healthy early growth.
Final Thoughts
That’s all there is to it, a simple process for growing roses from a single stem with patience and a little help from nature. Care, attentiveness, and a quiet setup can guide the cutting into its second life. May your garden bloom with peace and joy.