
Hello everyone. Wishing you a relaxing and inspiring day surrounded by familiar rose branches. Today, I will share a rather special method of rose cutting propagation that yields surprising results when applied correctly.
This method is suitable for those who love a natural approach, wanting to stimulate strong root and shoot growth in rose cuttings while ensuring safety for the plant and the environment. First, choosing the right rose cutting is a fundamental step that determines more than half of the success rate. I keep the process simple and careful from start to finish.
1. Ginger-Assisted Rose Propagation basics
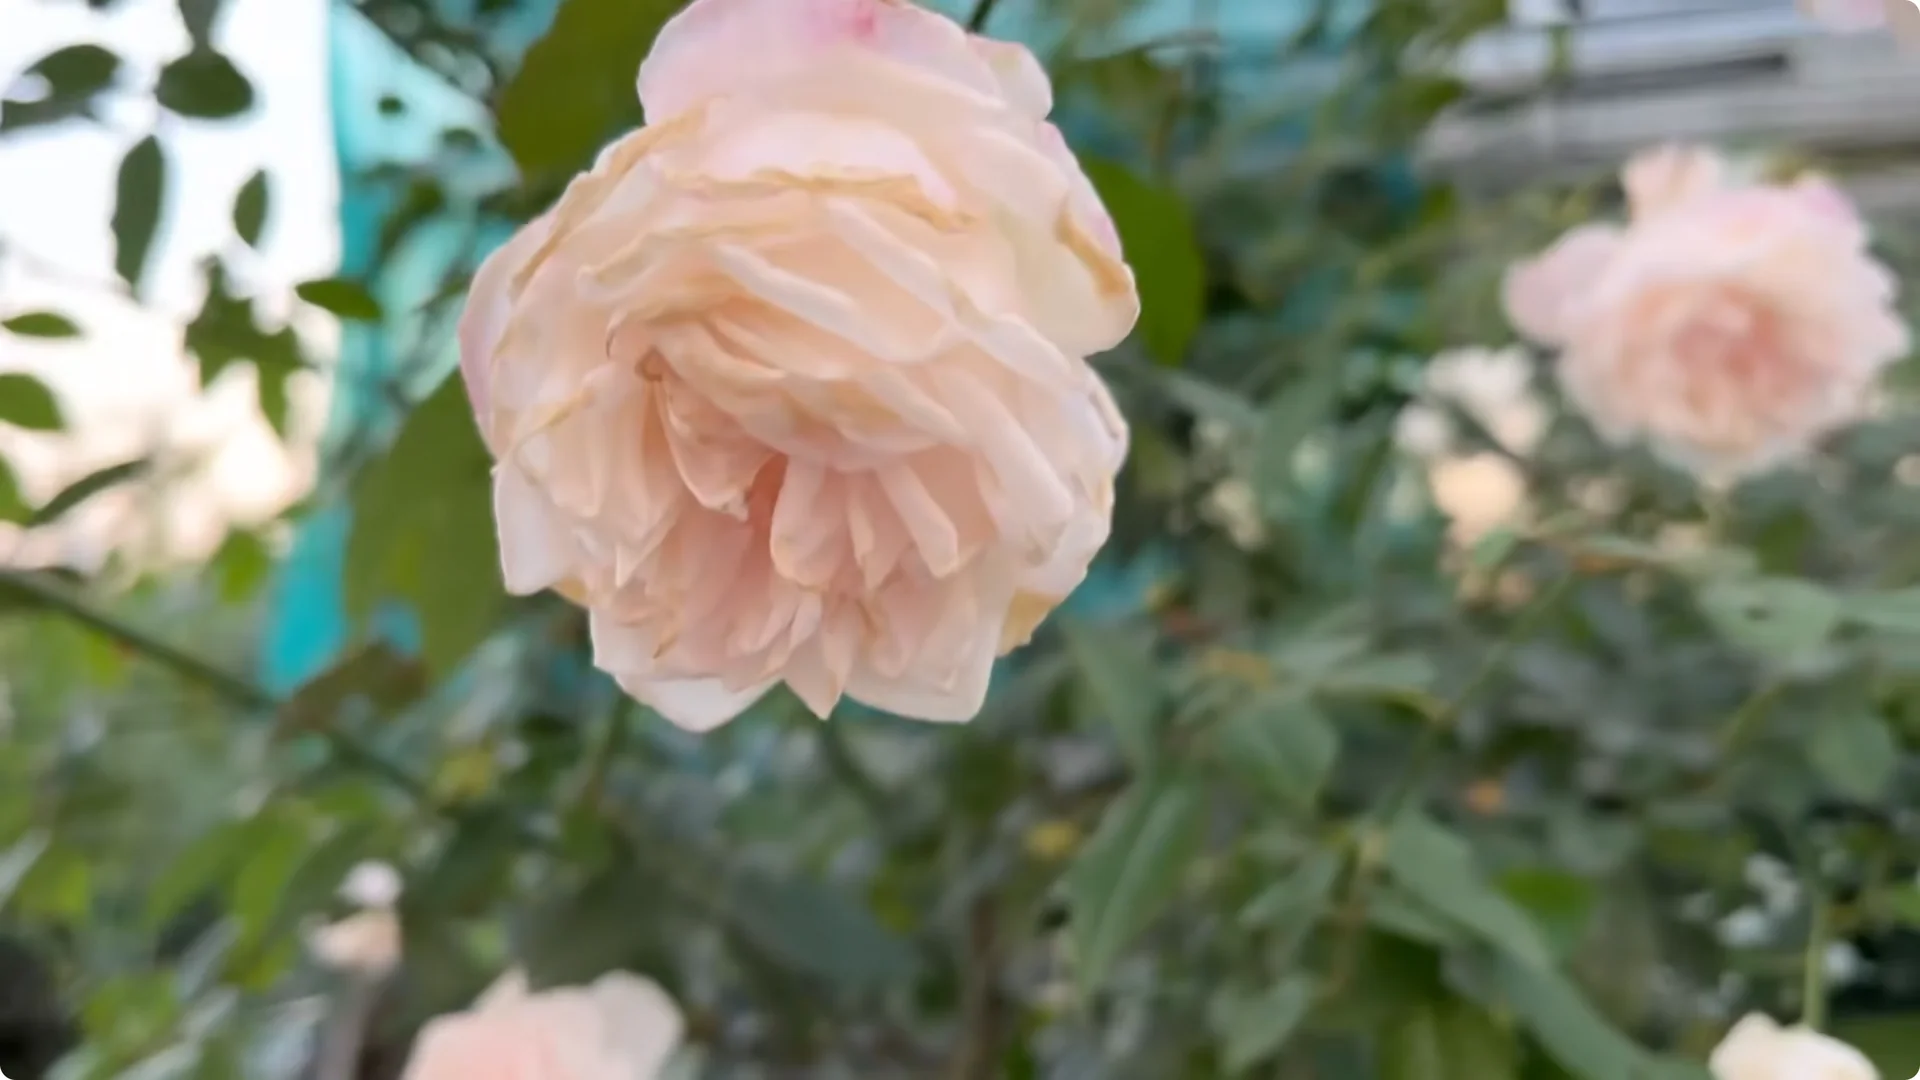
You should choose a healthy rose cutting that is free from disease, pests, or fungi, and of the right age. Cuttings that are too young are often soft and waterlogged, making them prone to root rot. Cuttings that are too old are difficult to stimulate new root growth.
After selecting a suitable cutting, remove all leaves and thorns to minimize water loss and avoid injuring your hands during the process. Trim the rose stem, leaving it about 15 cm long. This length allows the stem to concentrate nutrients on the base and makes it easier to adapt to the rooting environment.
2. Select and prepare the cutting
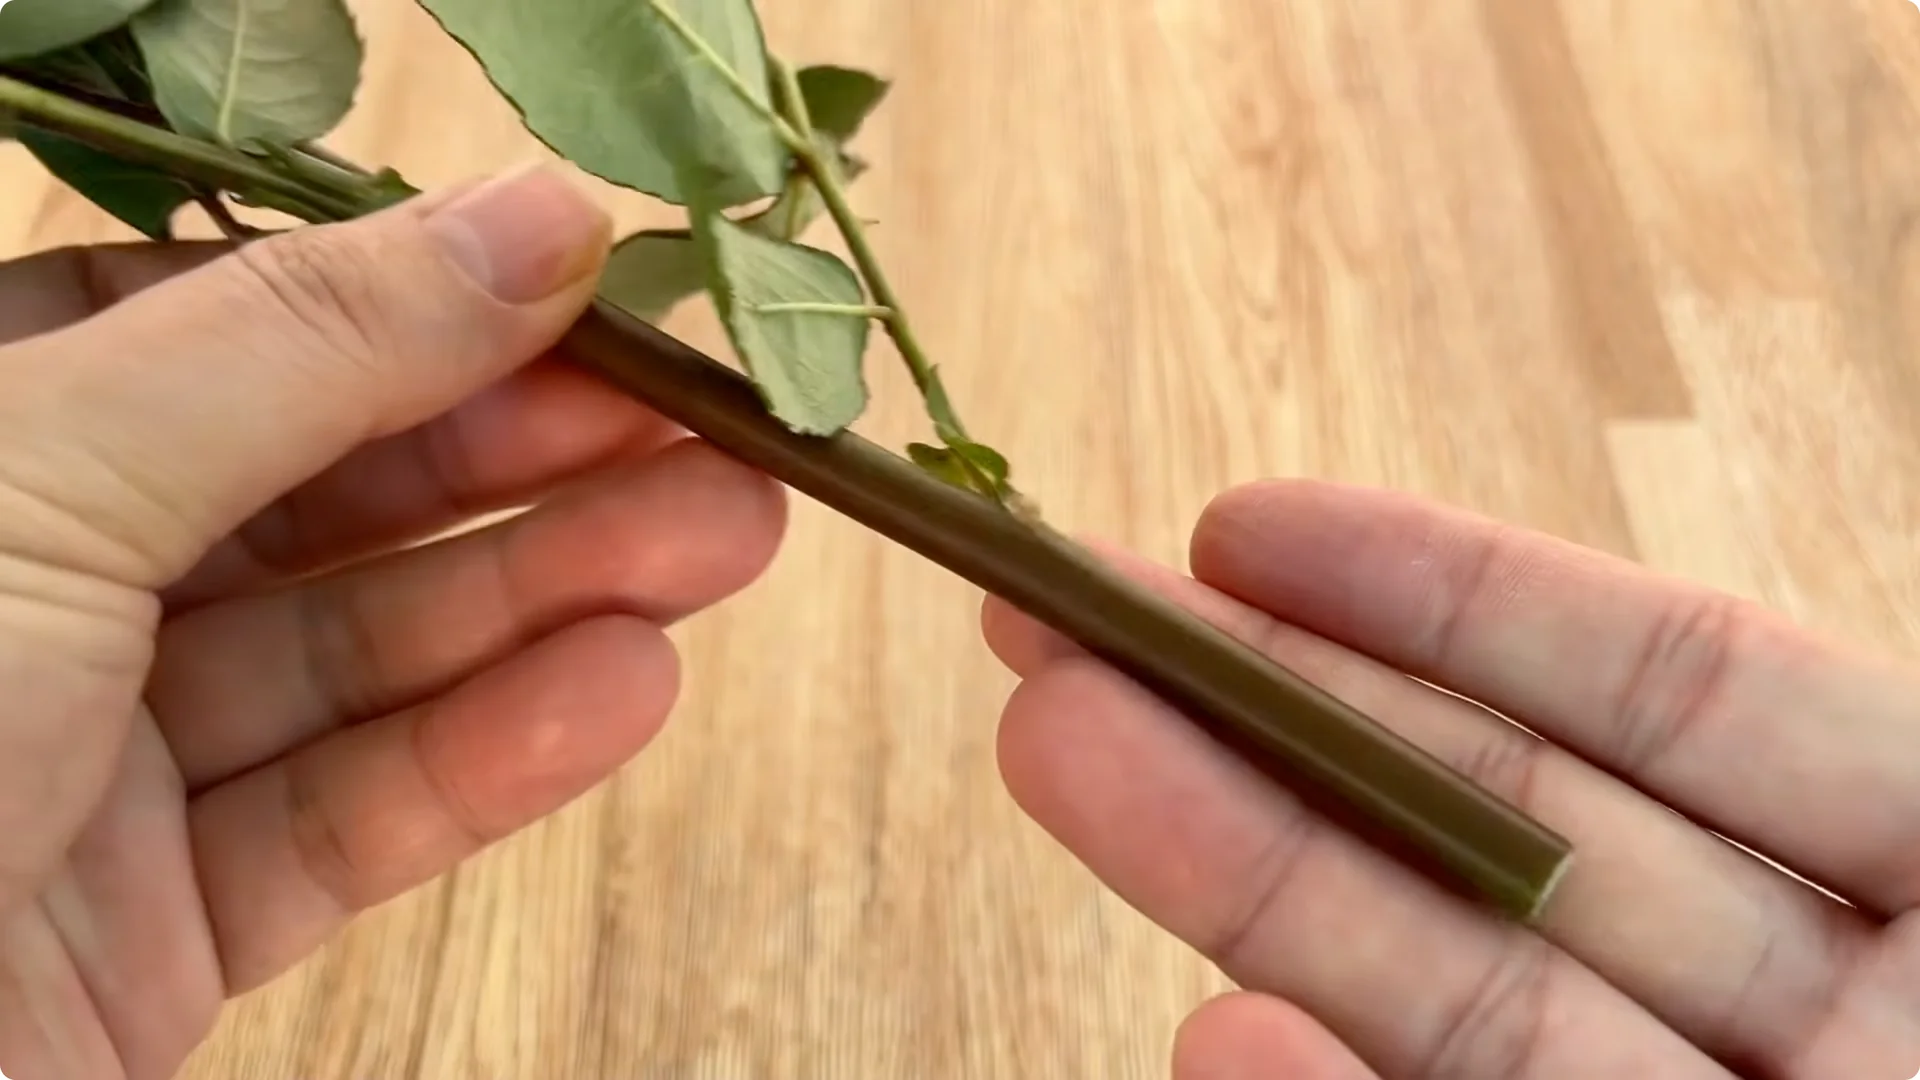
Step 1 Choose a healthy cutting
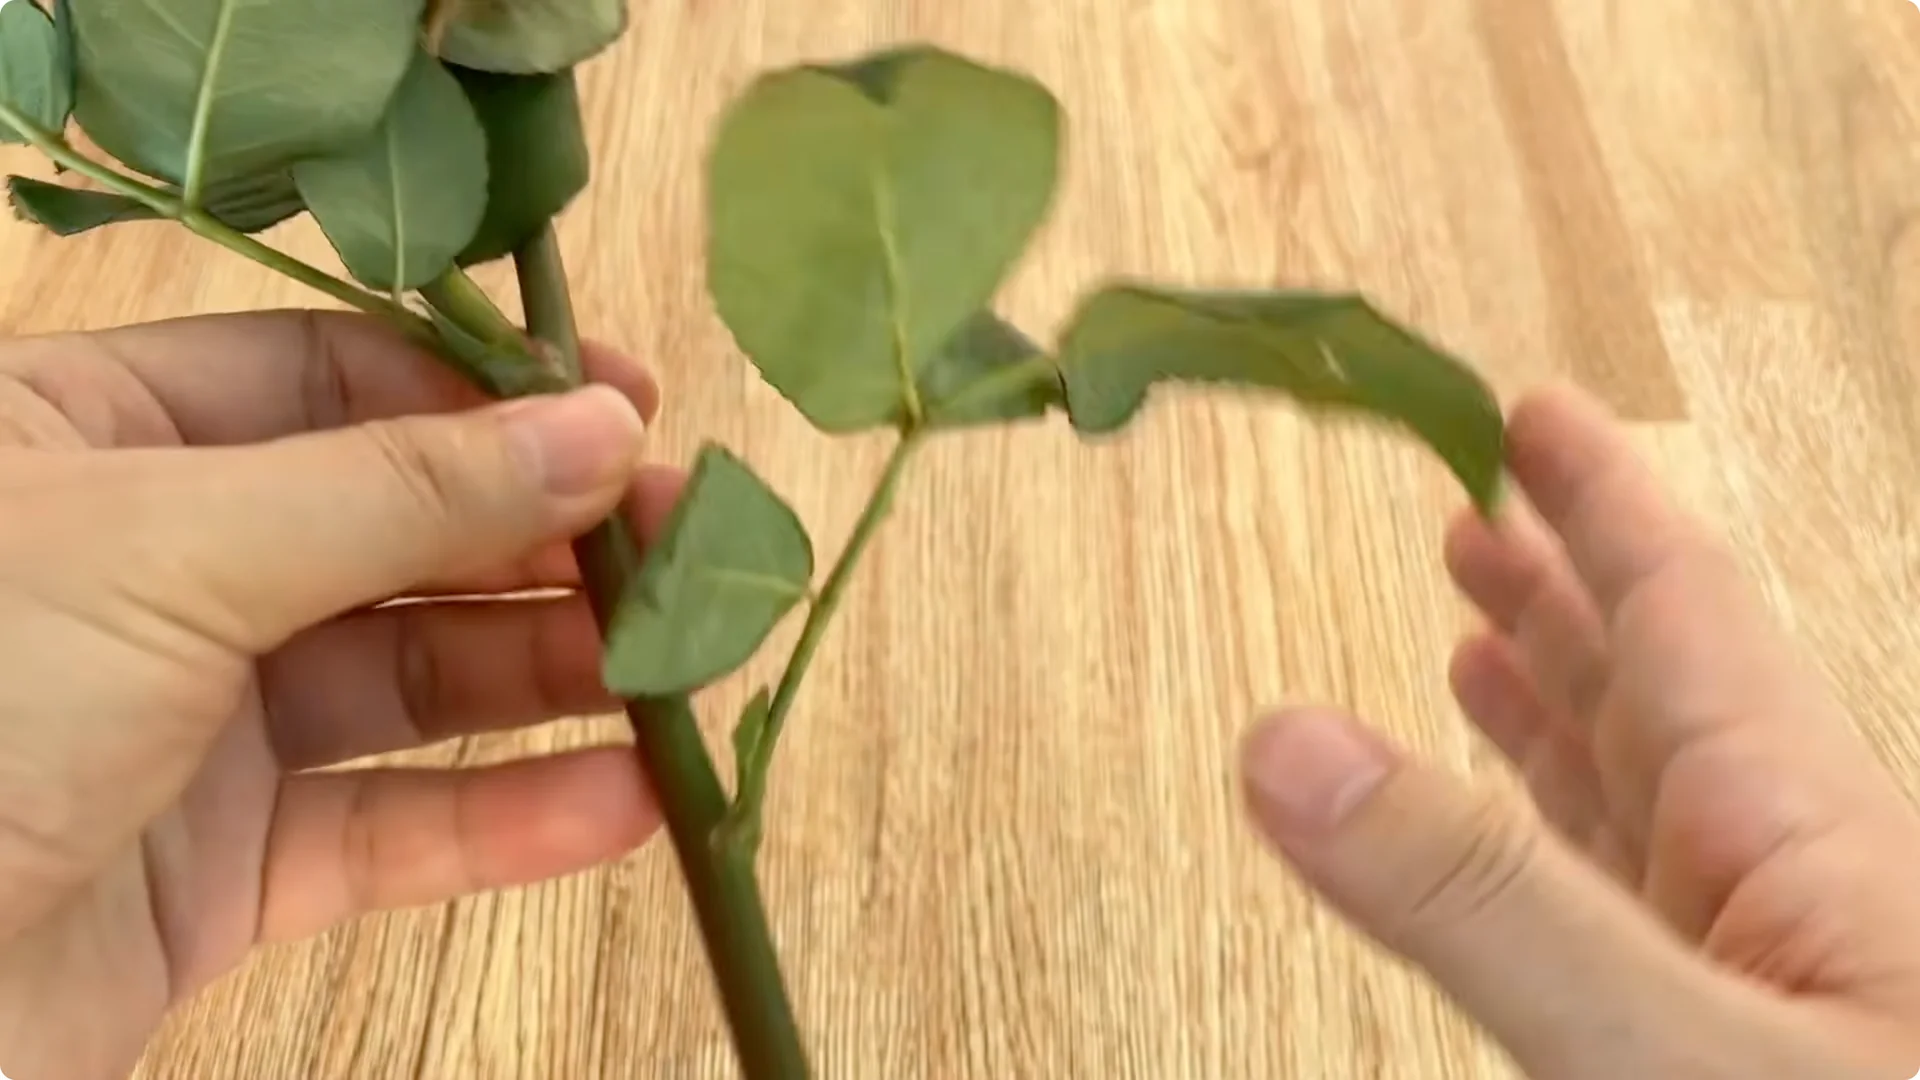
Pick a firm, disease free stem with clean nodes. Avoid overly tender or woody pieces. This simple choice saves time and increases success.
Step 2 Prepare the stem
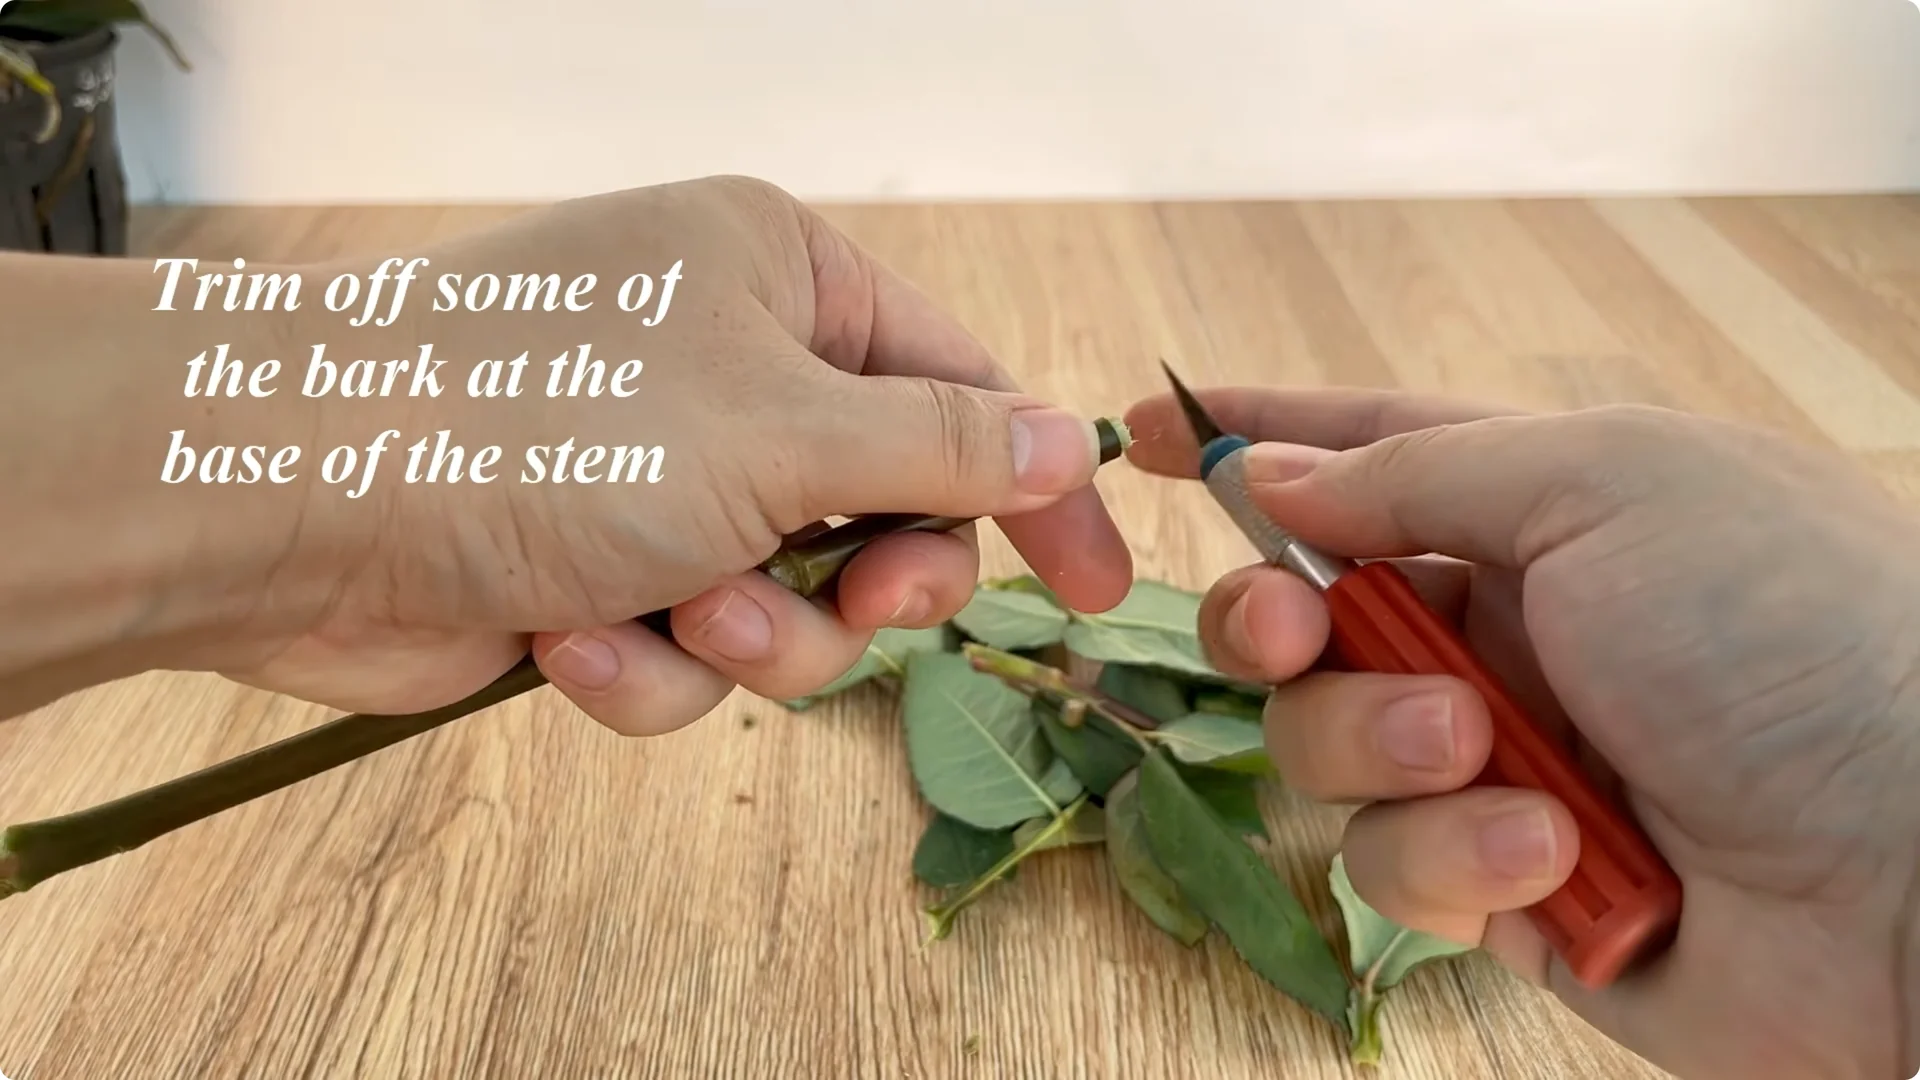
Use a sharp knife to trim away some of the bark at the base of the stem. This helps break the outer cuticle, stimulates the meristematic tissue to become more active, and facilitates the rapid formation of new roots. Keep cuts clean and precise.
For a compact approach that keeps moisture steady, see this single cup rose rooting method: single cup rose rooting method.
3. Make the ginger solution
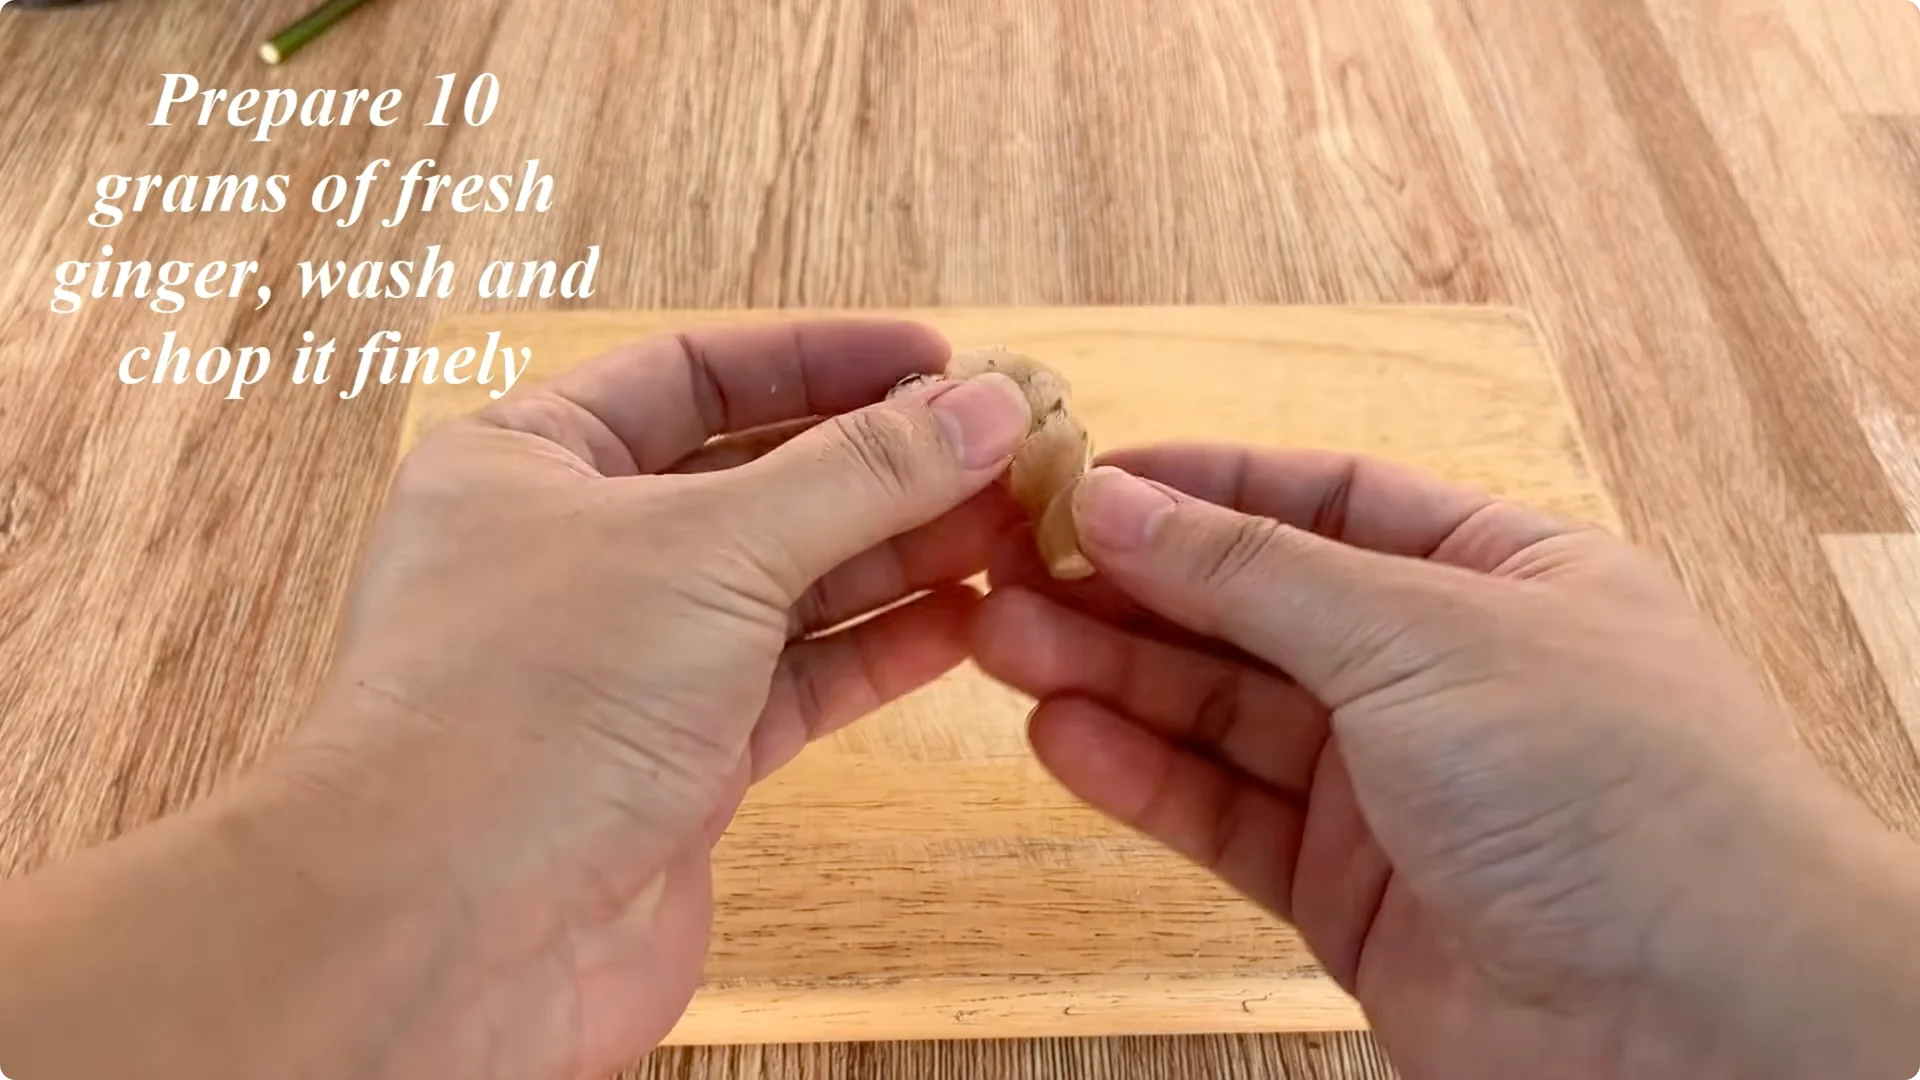
Step 3 Prepare ginger water
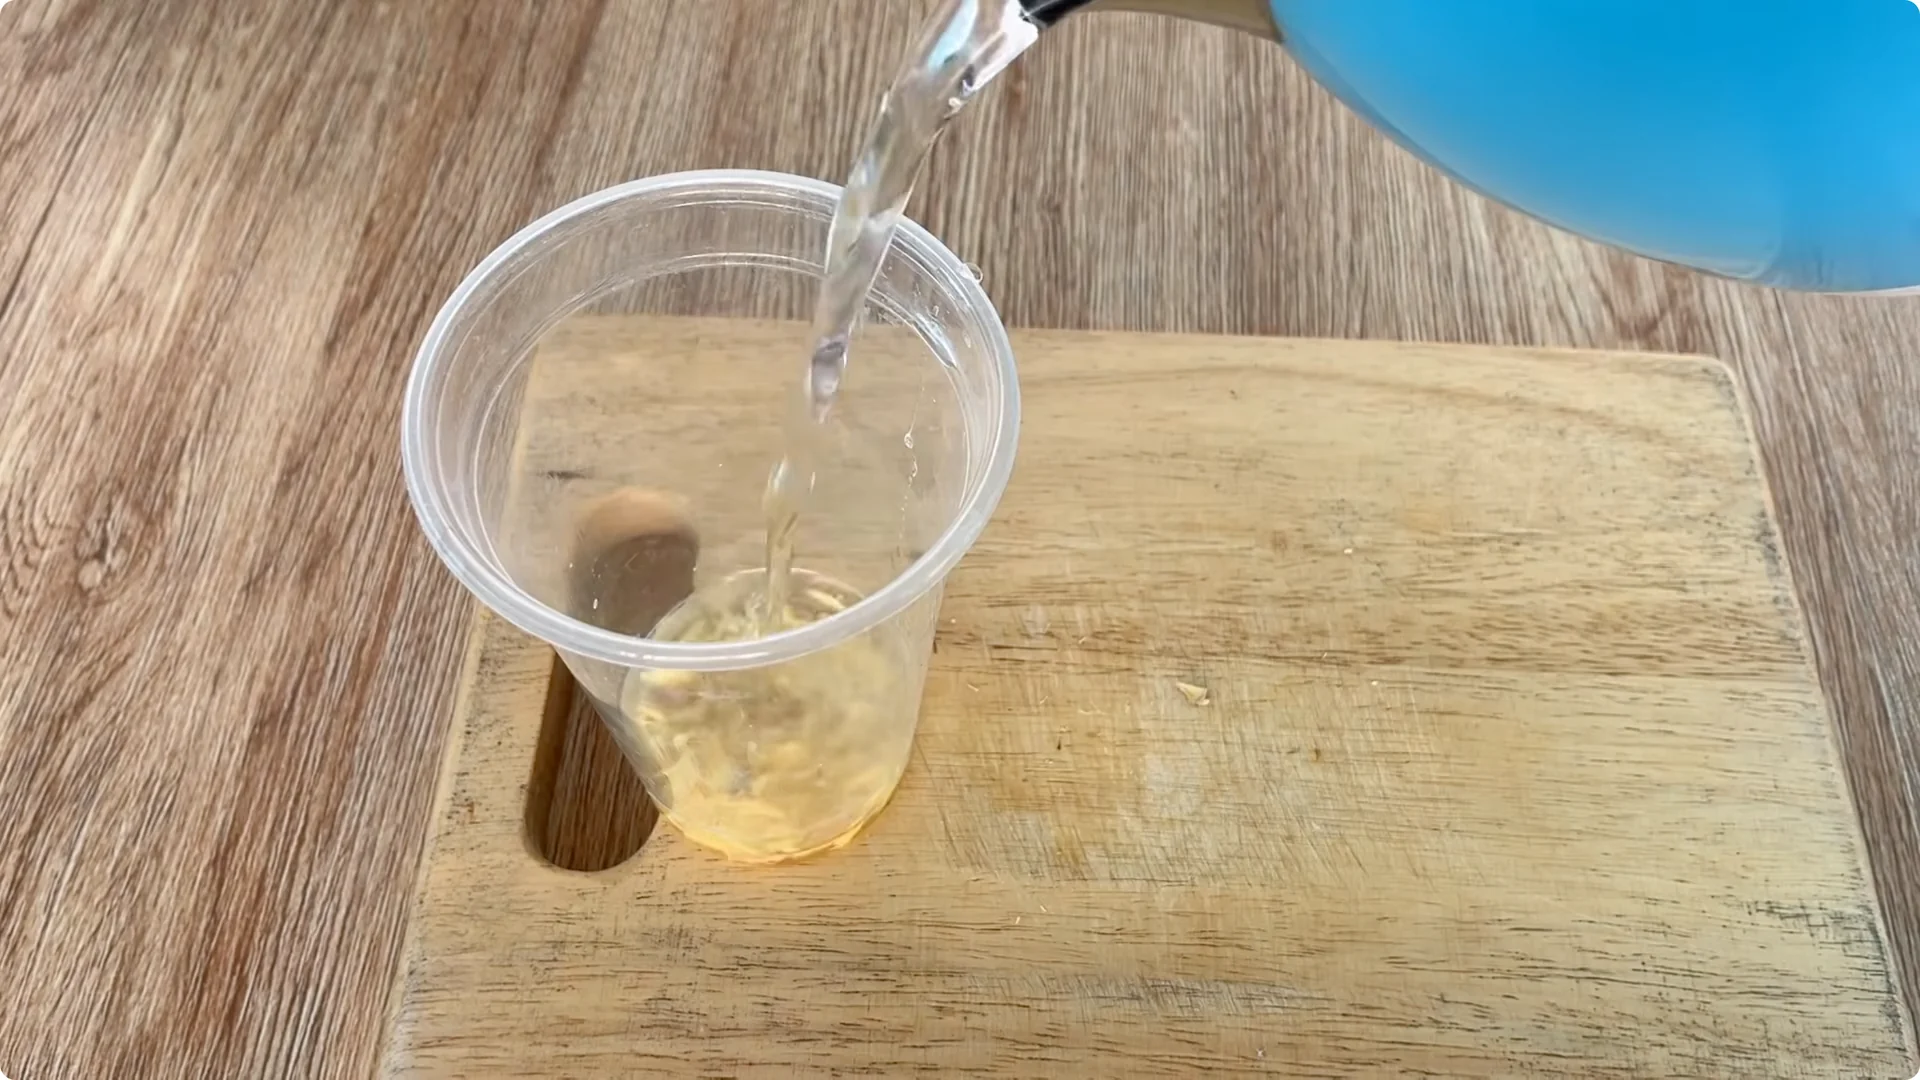
Fresh ginger is warming and contains many natural antibacterial compounds, helping to clean the cut and prevent fungal infections. Take about 10 grams of fresh ginger, wash it thoroughly, and chop it finely. Put all the chopped ginger into a clean plastic cup, add 500 ml of clean water, and stir well to dissolve the active ingredients in the ginger.
Gently soak the rose stem in the ginger water for about 30 minutes. During this time, the ginger solution will help disinfect and gently stimulate the root tissue. It prepares the cutting for rooting later.
If you like natural boosters, you can also explore an aloe vera and rice rooting technique here: aloe vera and rice rooting technique.
4. Make the apple and coffee solution
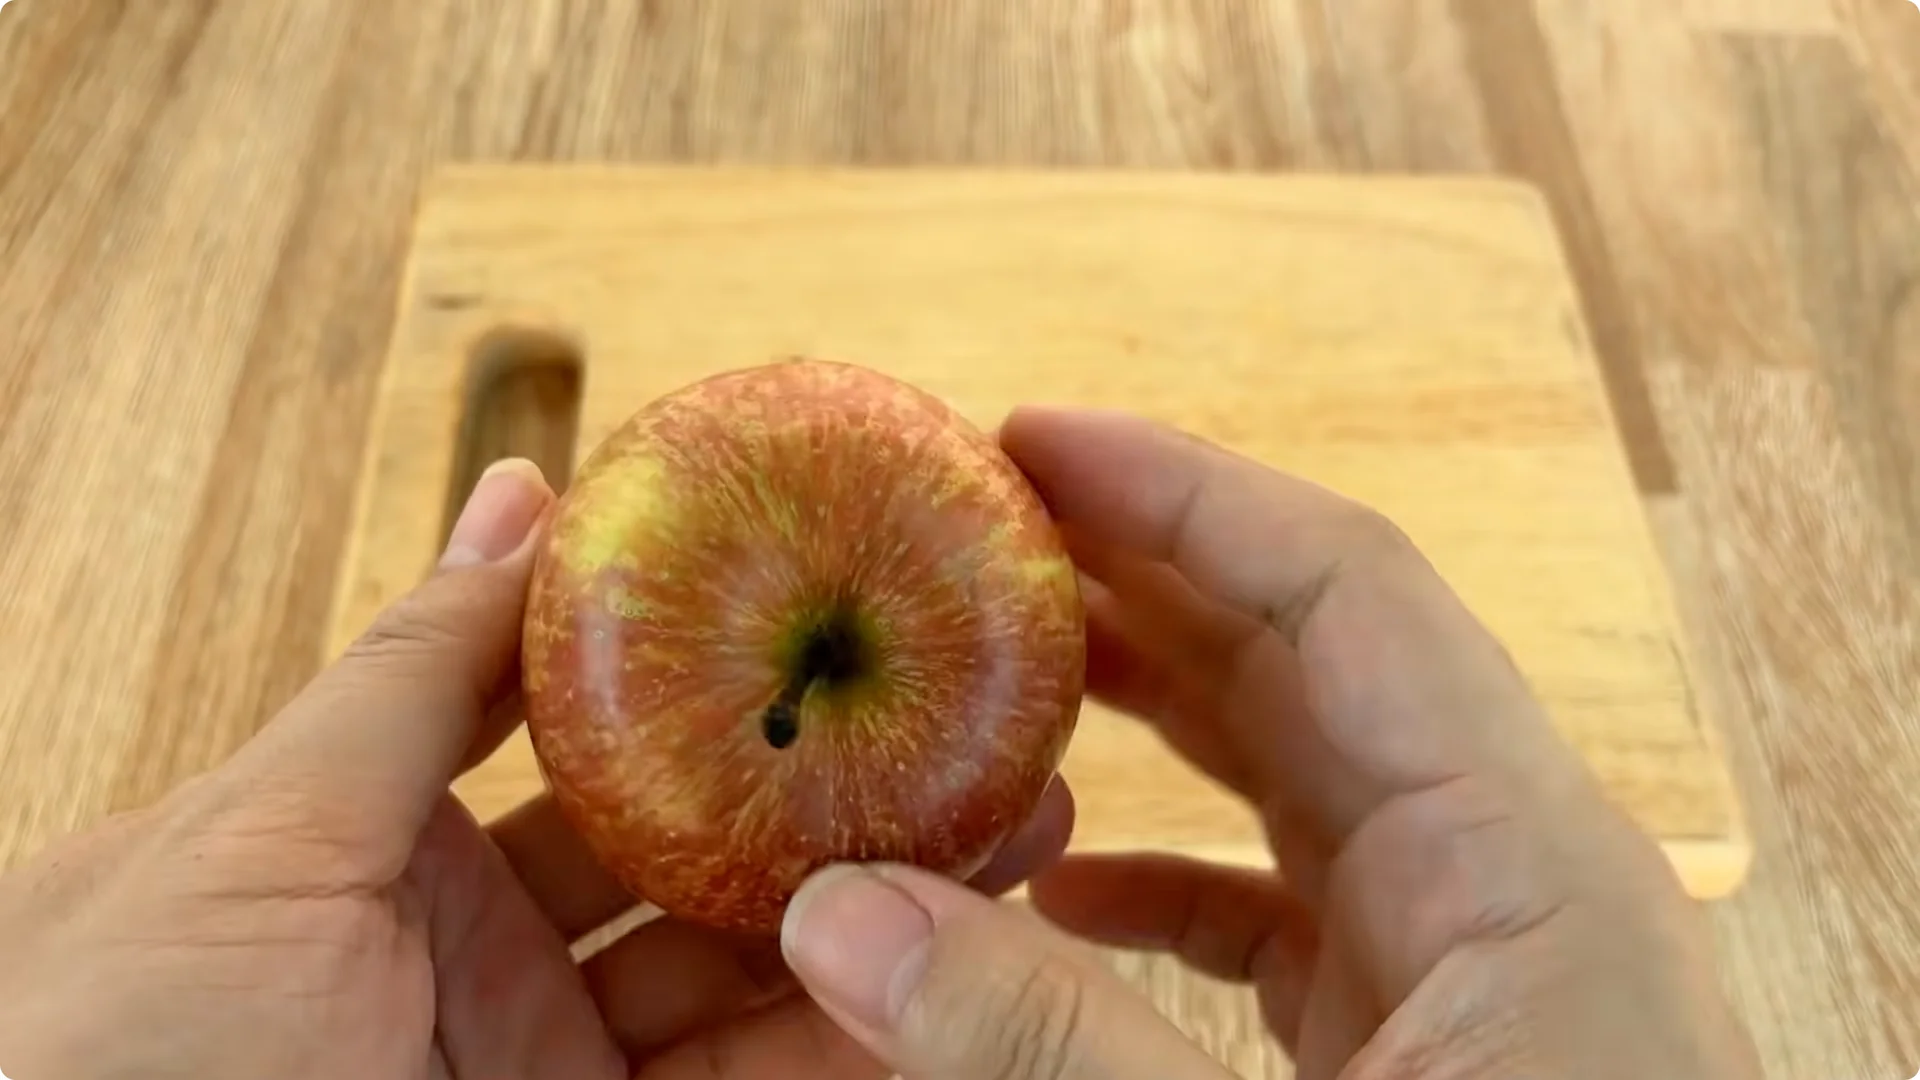
Step 4 Mix apple coffee
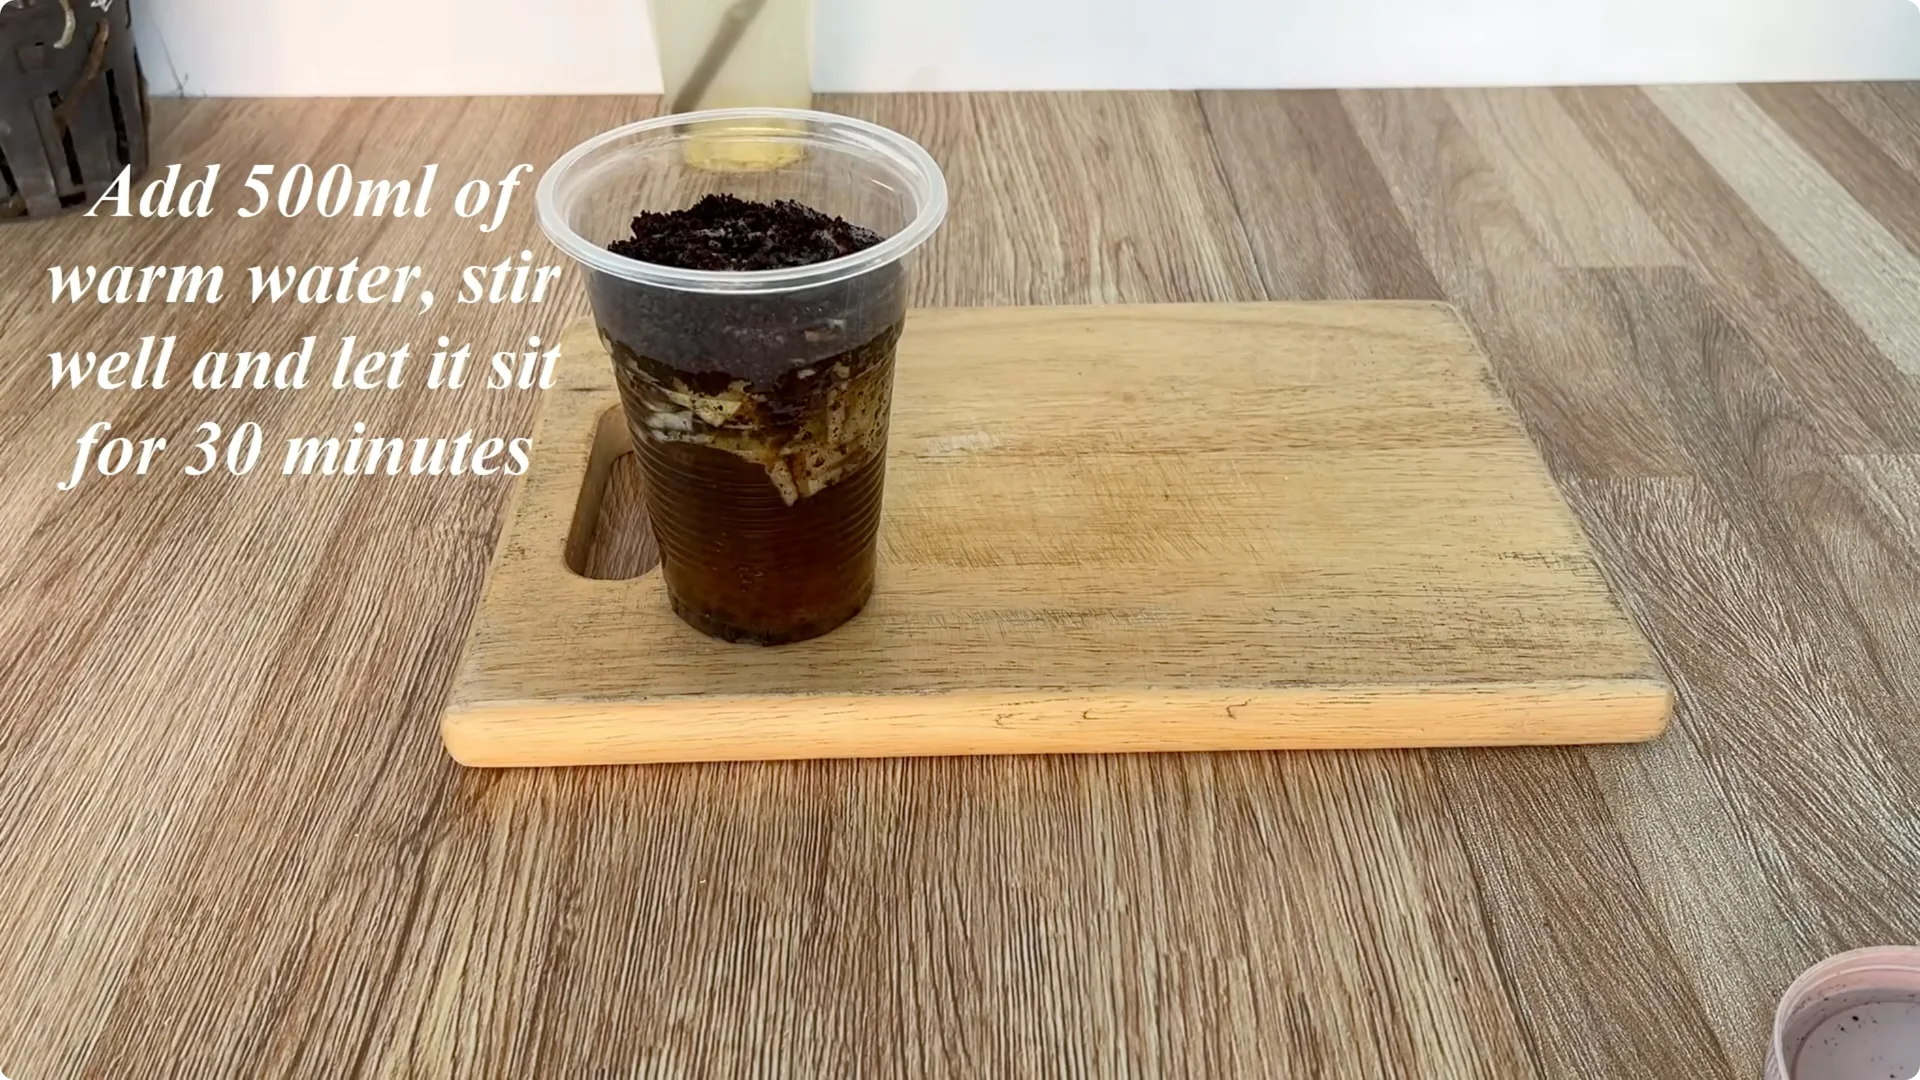
Fresh apples contain many natural sugars, organic acids, and vitamins, which help provide energy to the cuttings in the initial, rootless stage. Take a clean apple, wash it thoroughly, and cut about 30 grams, then chop it into small pieces and put it in a clean plastic cup. Add about 2 spoons of coffee powder to the cup.
Coffee contains a small amount of minerals, especially nitrogen and organic compounds, which help stimulate biological activity around the base of the cutting. Pour 500 ml of warm water into the cup, stir well, and let it sit for about 30 minutes. This allows the nutrients to dissolve completely.
5. Set the rooting jar
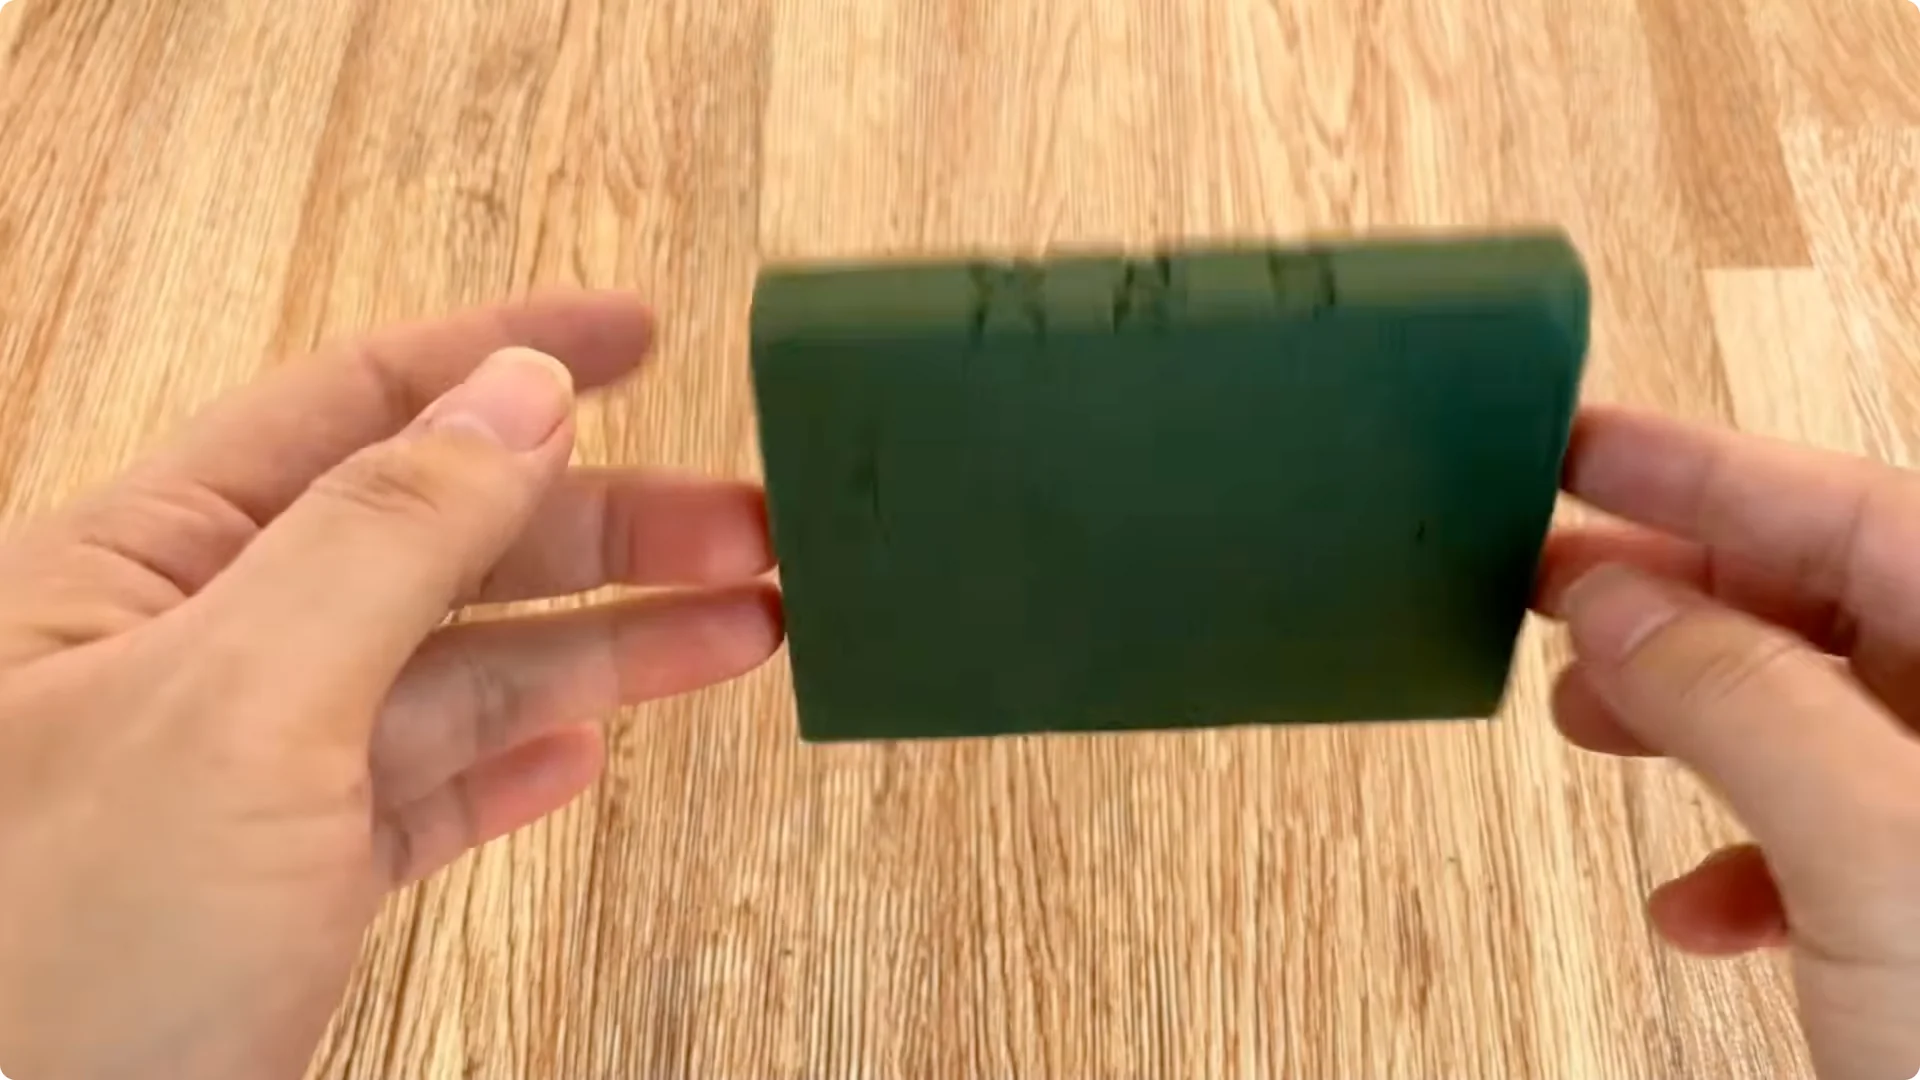
Step 5 Prepare jar and foam
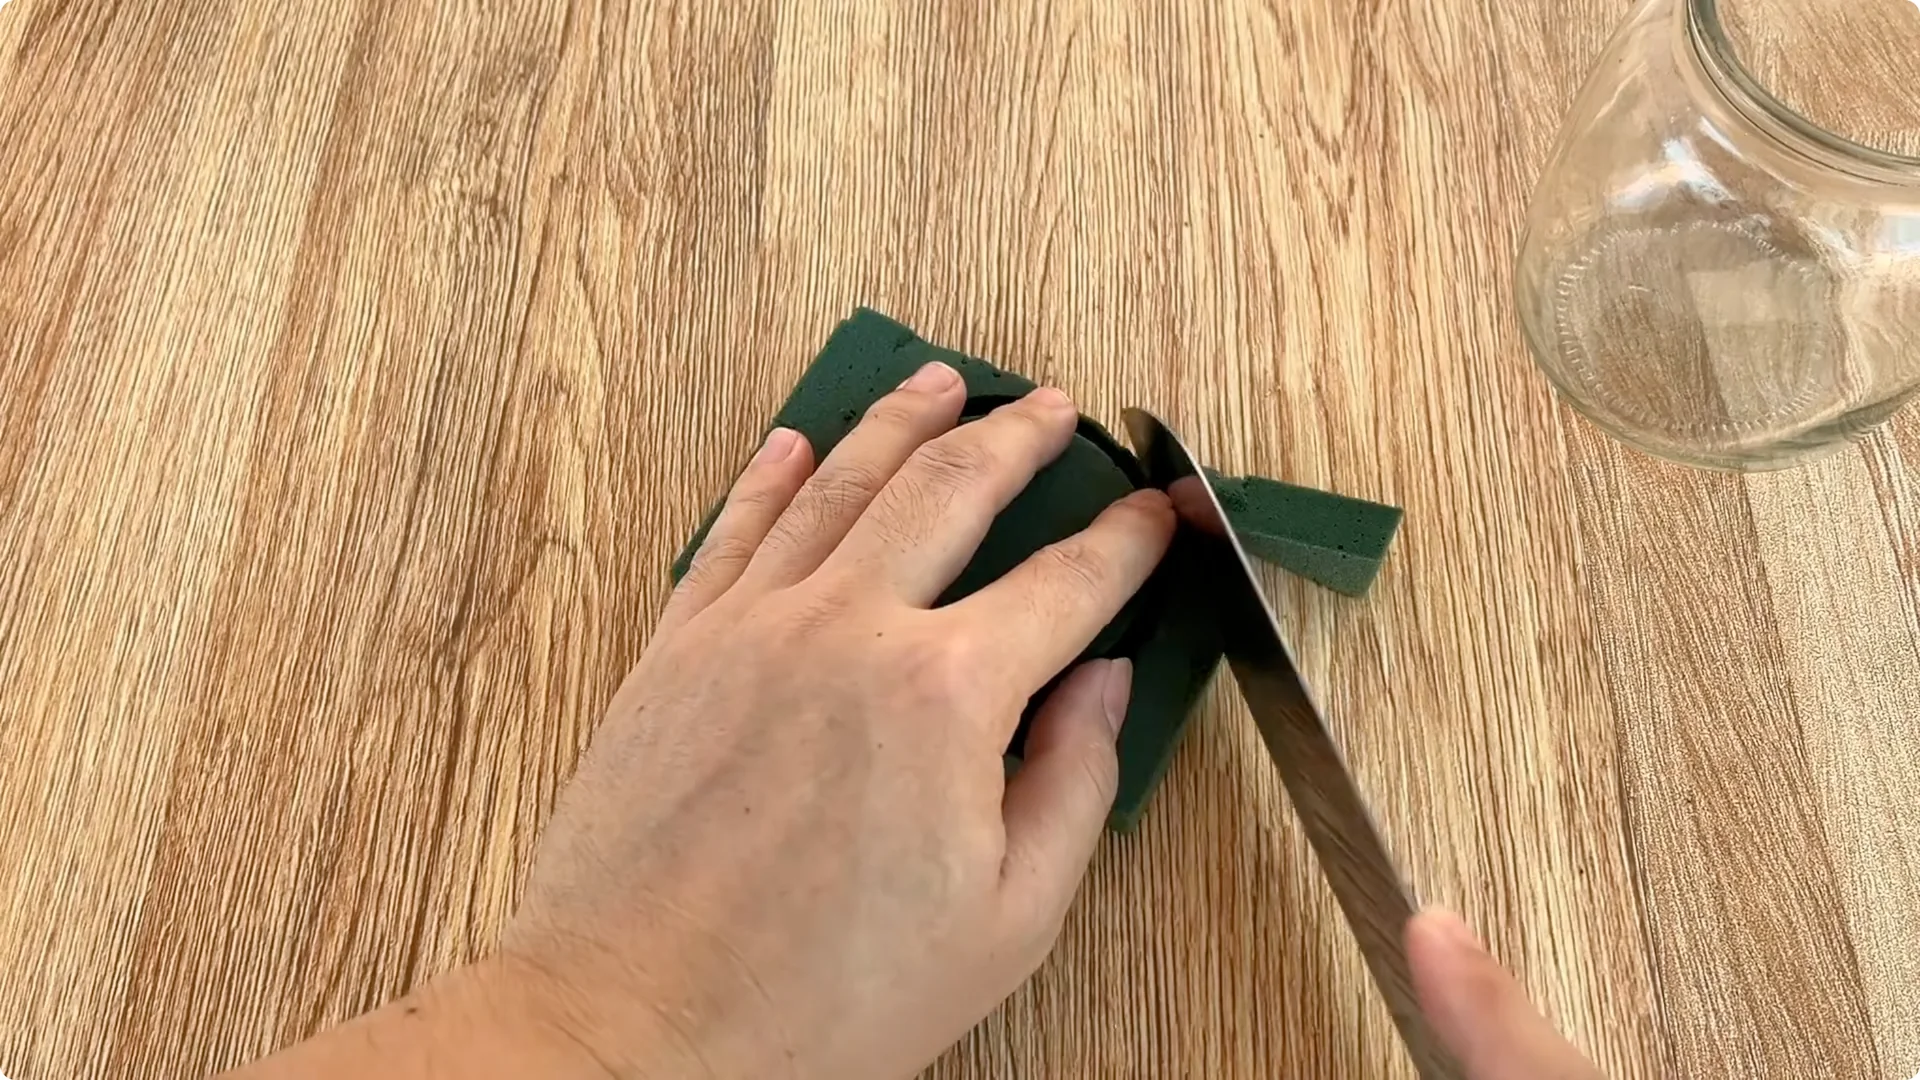
Prepare a clean glass jar and a piece of foam. Cut the foam to fit snugly over the mouth of the glass jar. This foam will help secure the rose cutting, keeping it upright and preventing dust and insects from entering the solution.
6. Combine solutions and start rooting
Step 6 Mix and insert
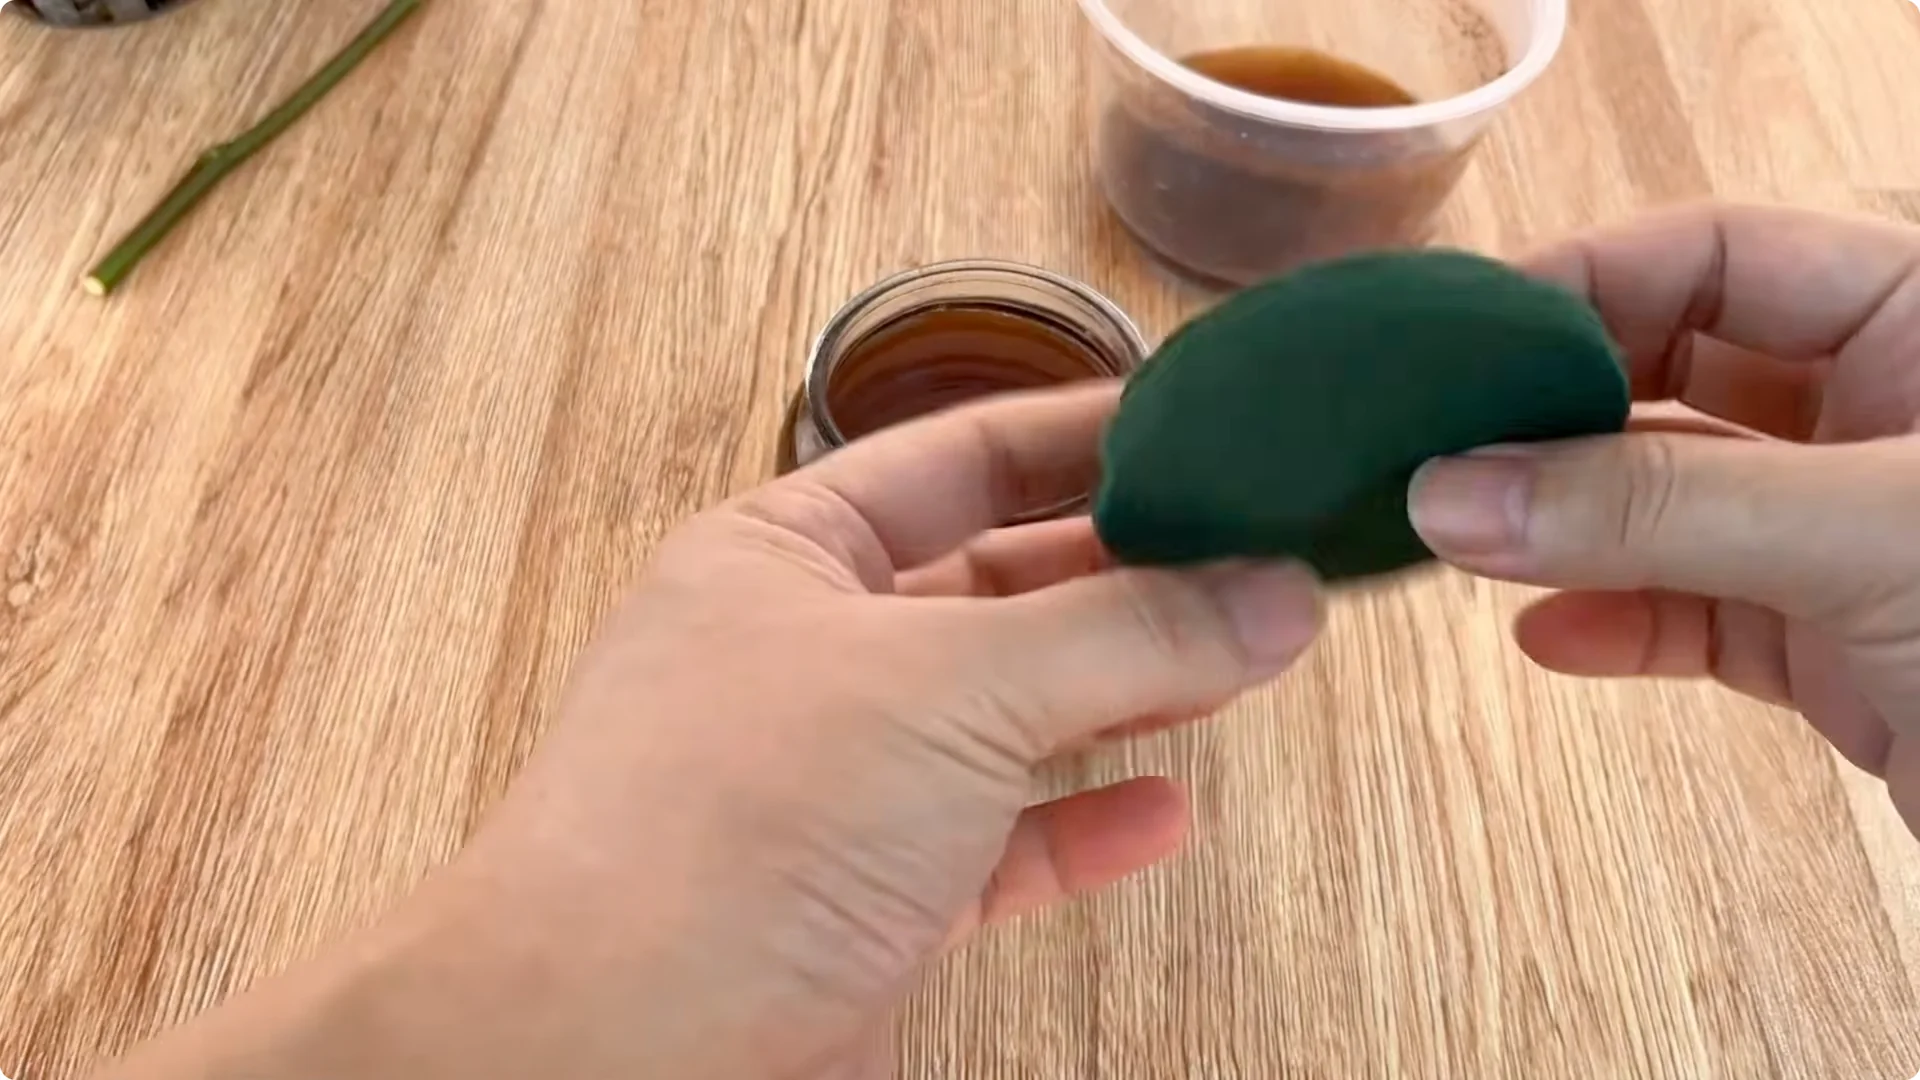
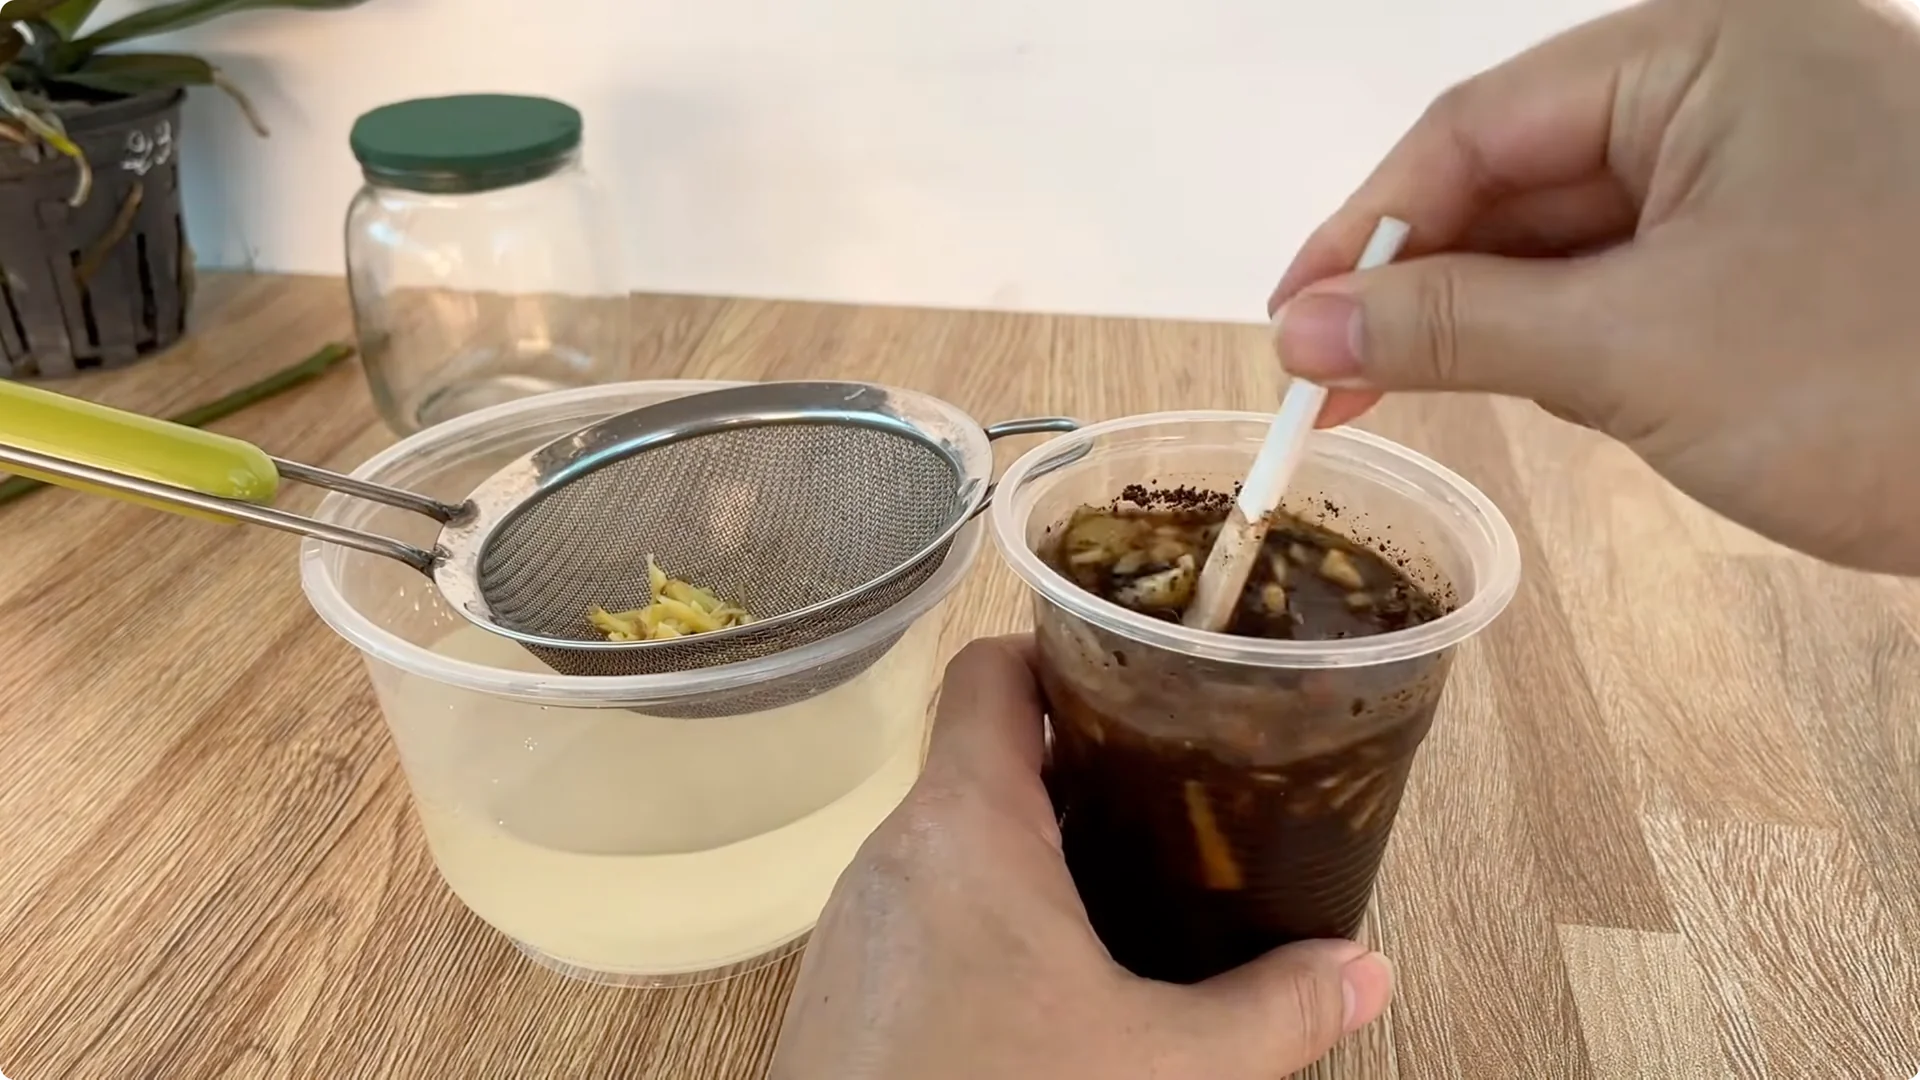
After soaking the rose cuttings in ginger water for the required time, gently remove them, strain out the ginger pulp, and keep the liquid. Strain the coffee apple solution and mix it with the ginger solution. The resulting mixture is rich in natural active ingredients, which both disinfects and provides energy and minerals to the cuttings during root formation.
Pour the entire prepared solution into a clean glass jar. Insert the rose cuttings through the prepared foam, ensuring the base of the cutting is submerged in the solution and the stem is securely fixed. Cover the jar tightly with the foam to minimize evaporation and maintain a stable environment inside.
Step 7 Create humidity and place
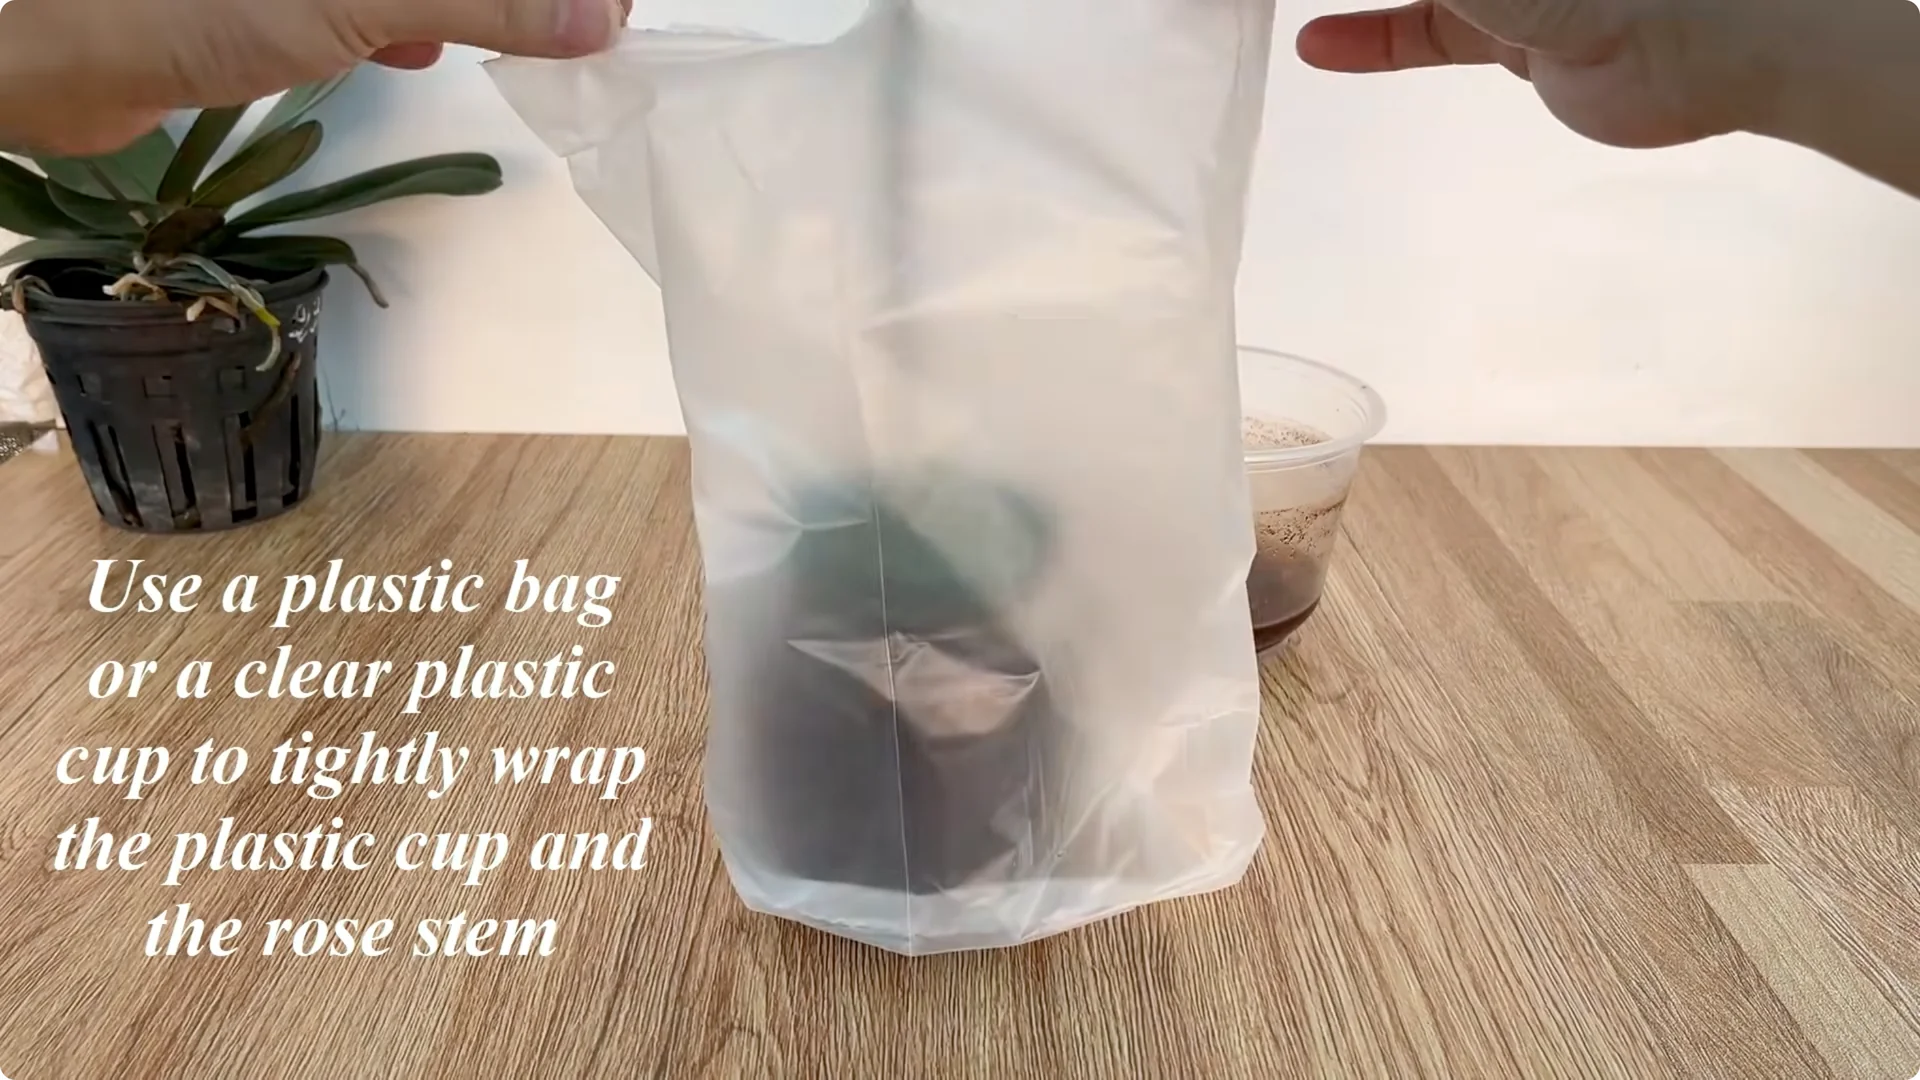
Use a clear plastic bag or cup to cover the entire glass jar and rose cuttings, creating a humid space similar to a mini greenhouse. Place the jar in a cool, well ventilated area, avoiding strong winds and direct sunlight. Only soft, diffused light is sufficient.
If you prefer a tidy, space saving setup, this approach shows how to root cuttings in a single cup with great control: root cuttings in a single cup.
7. After ten days and potting
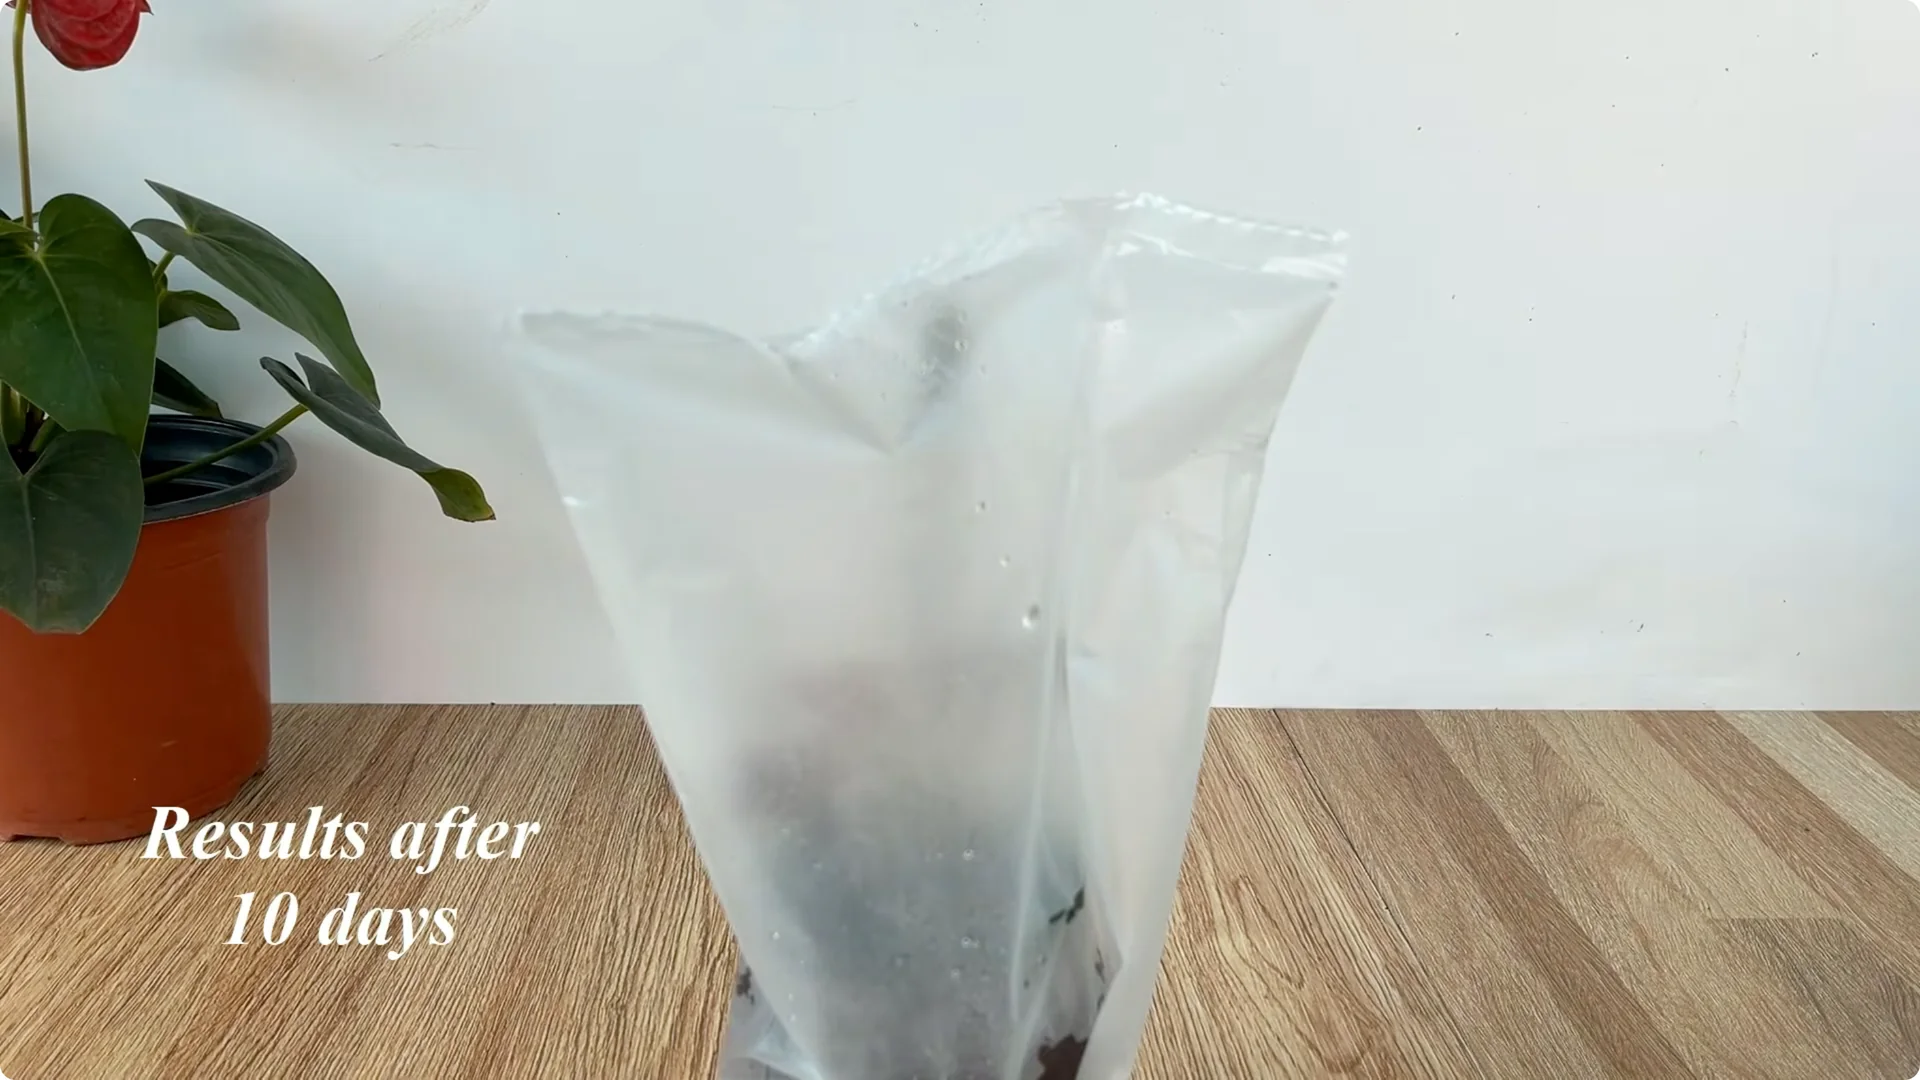
After about 10 days of proper care, you will easily notice positive signs. The rose cutting will begin to sprout new, vibrant green shoots with healthy, tender leaves, showing no signs of wilting or darkening. Carefully observing the base, you will see many new roots growing, white, plump, and evenly distributed around the base of the cutting.
This is the appropriate time to transfer the rose cutting to a pot. Choose a pot with good drainage holes and use treated river sand as the initial growing medium. This helps the young roots gradually adapt to the soil environment.
To boost rooting in a gentle, kitchen friendly way, you can also try this method that uses bread to support strong early growth: bread trick for rose cuttings.
8. Final thoughts on Ginger-Assisted Rose Propagation
We can see that the combination of ginger, apple, and coffee not only uses readily available materials but also creates a very effective root stimulating environment for roses. The most important thing in this process is not about speed, but about carefulness, patience, and meticulousness in each step. When you dedicate enough time to observing, adjusting, and caring for them, each rose cutting becomes a result of your bond and understanding with the plant.
It is from these small beginnings that your garden will gradually become greener and more vibrant. May this gentle method bring lasting joy every day. Good luck and happy rooting.