
If you love roses and have always wanted to propagate them at home with strong roots, lush foliage, and year round blooms, let nature work its magic. Here is a gentle, nutrient rich method I use to root cuttings and grow healthy new plants. It is simple, natural, and effective.
We will make an all natural rooting hormone mix, prepare clean cuttings, and root them in a simple hydroponic setup. Follow each step and give the plants time to respond. The results are sweet.
1. Natural Rose Cutting Propagation – Rooting mix
Ingredients and temperature
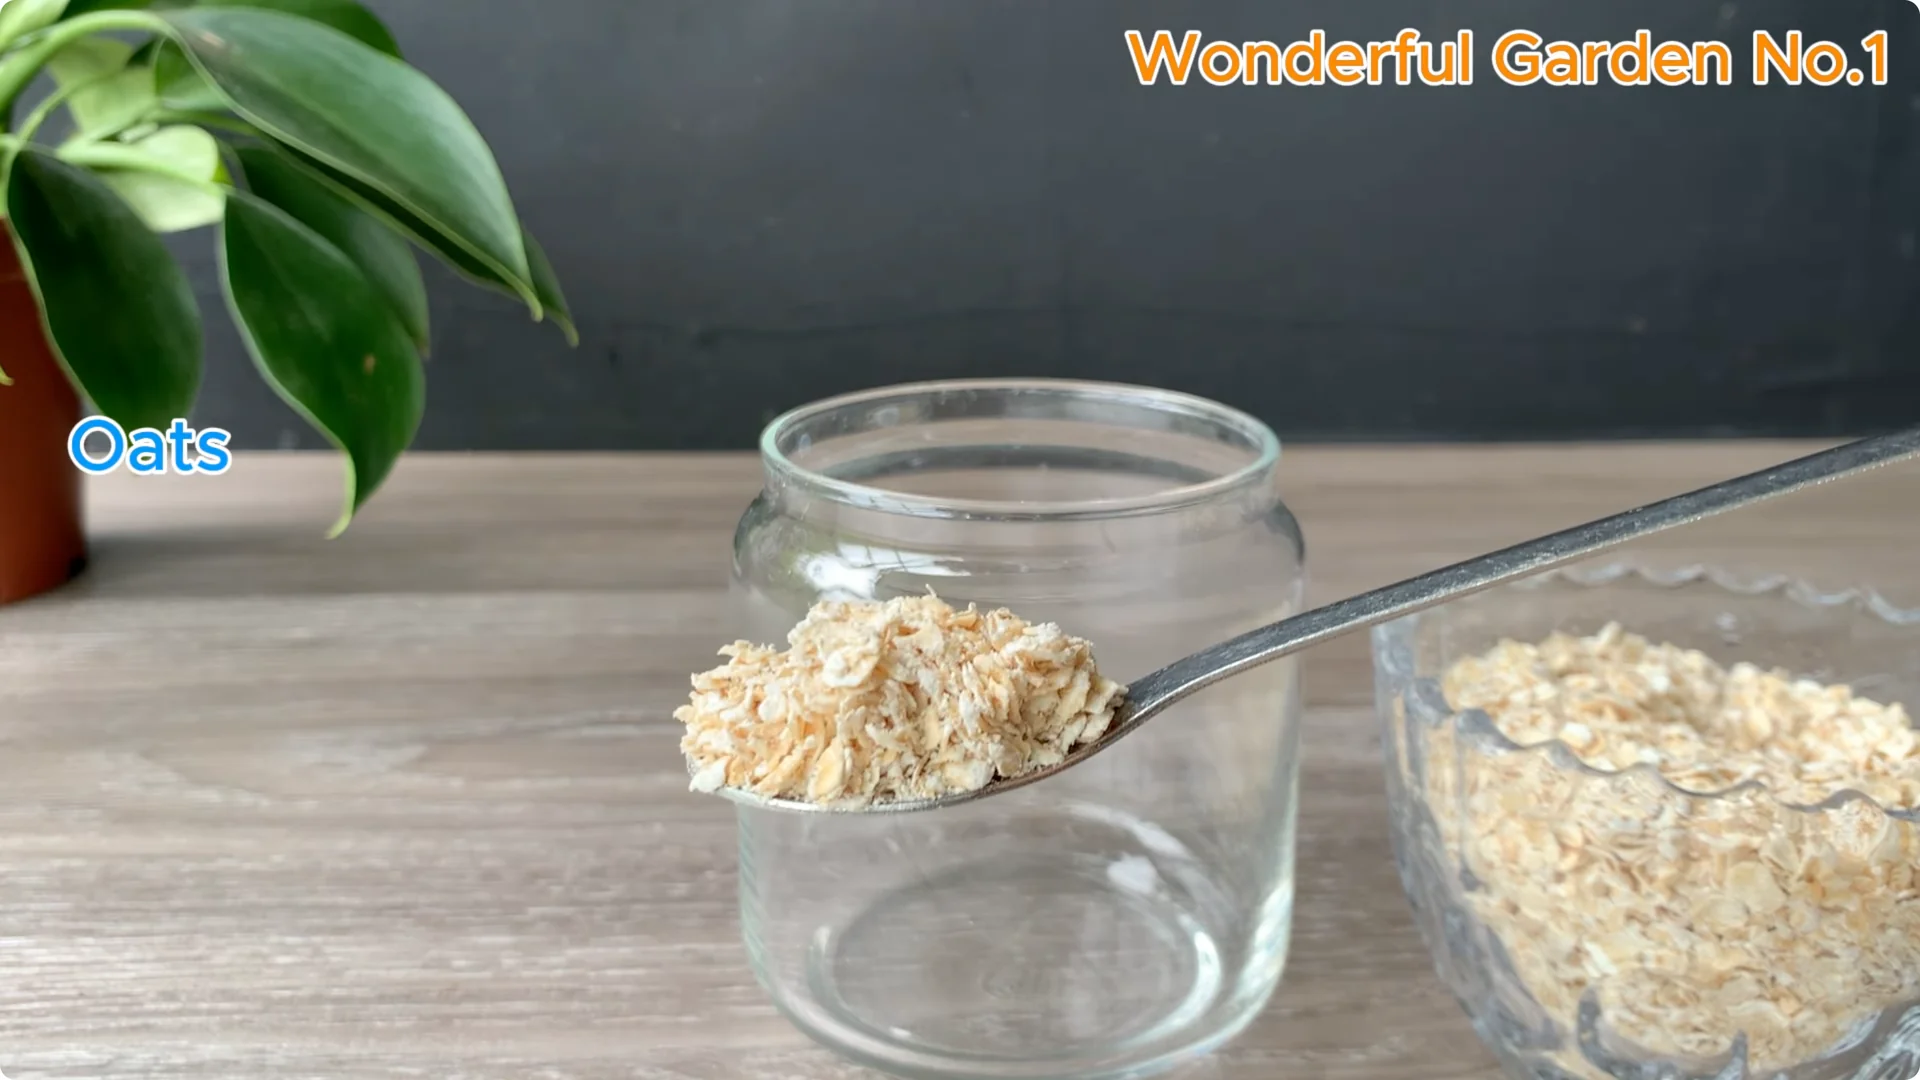
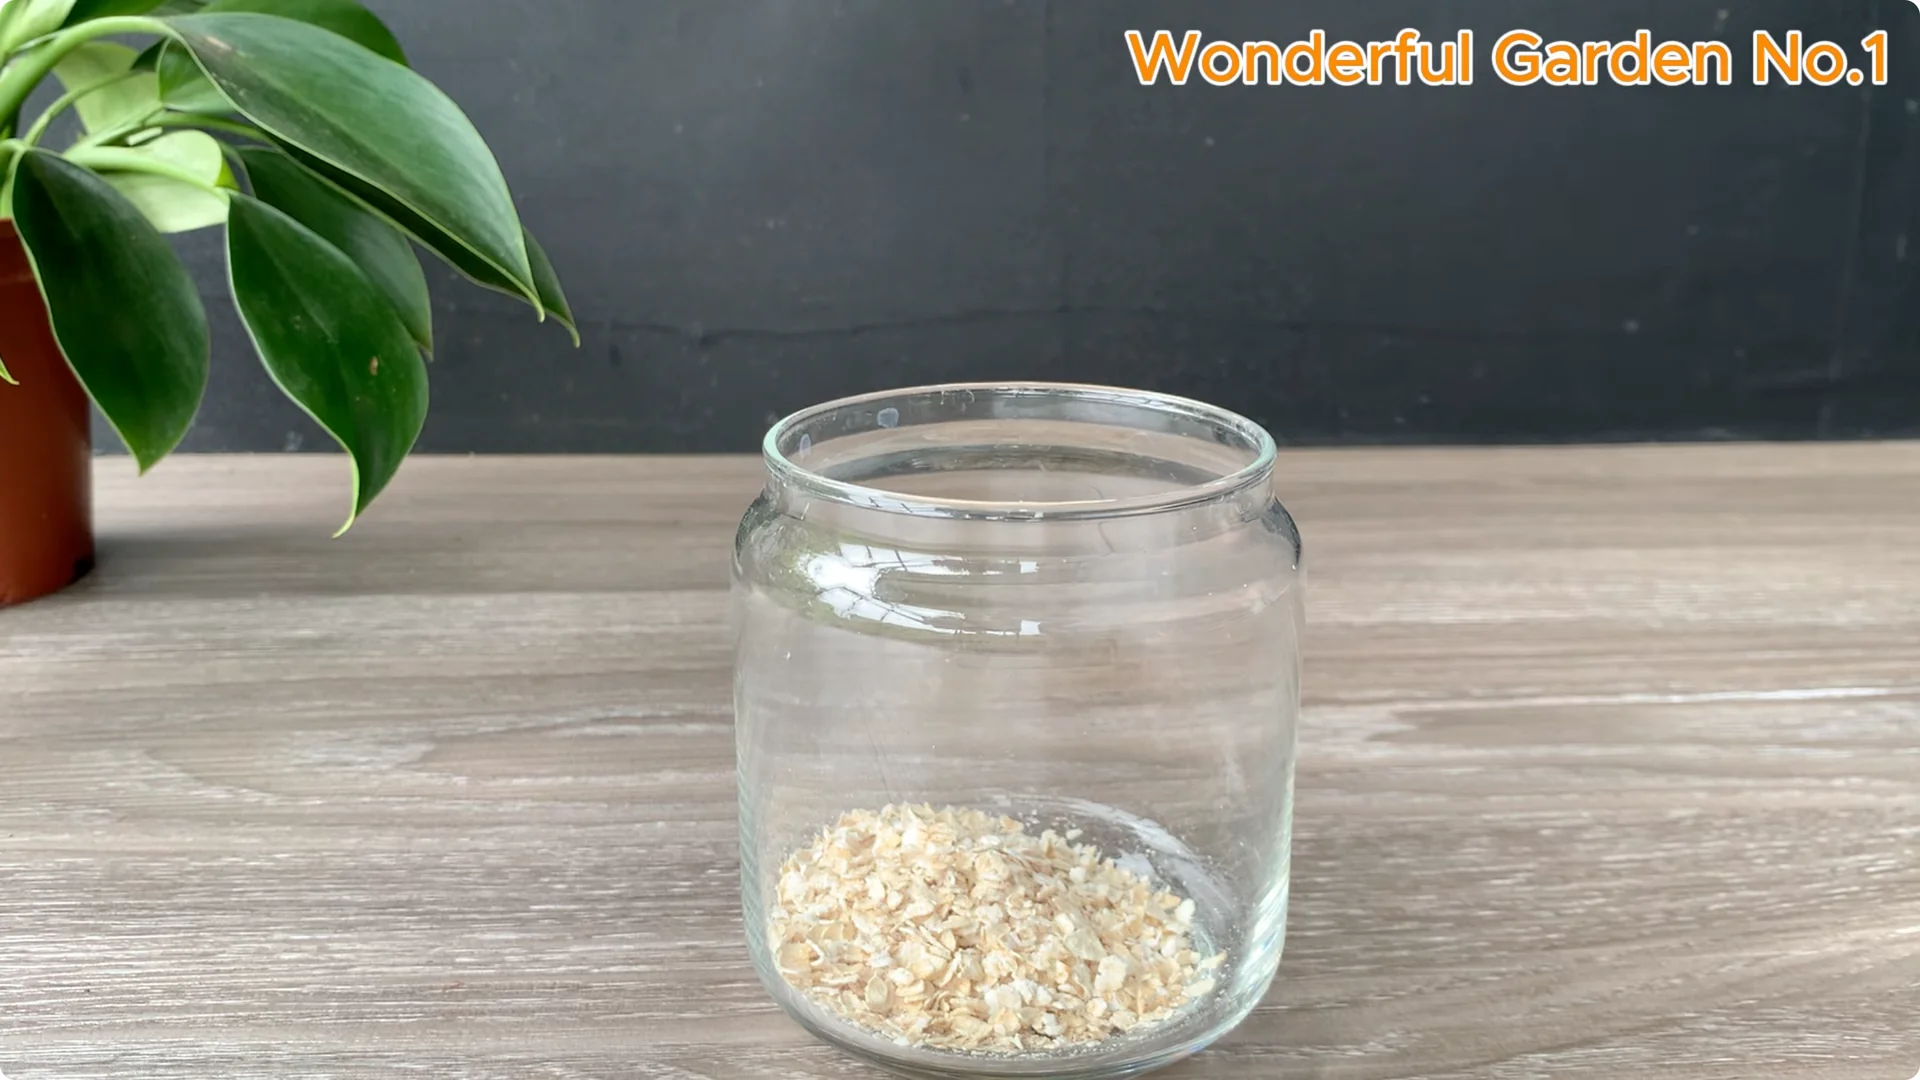
First take 3 tablespoons of oatmeal and put it in a clean cup. Pour in 200 milliliters of warm water at 35 to 40 degrees Celsius. Warm water helps soften the oats and release nutrients like B vitamins and minerals, creating a nutrient rich mixture that is ideal for stimulating new root growth.
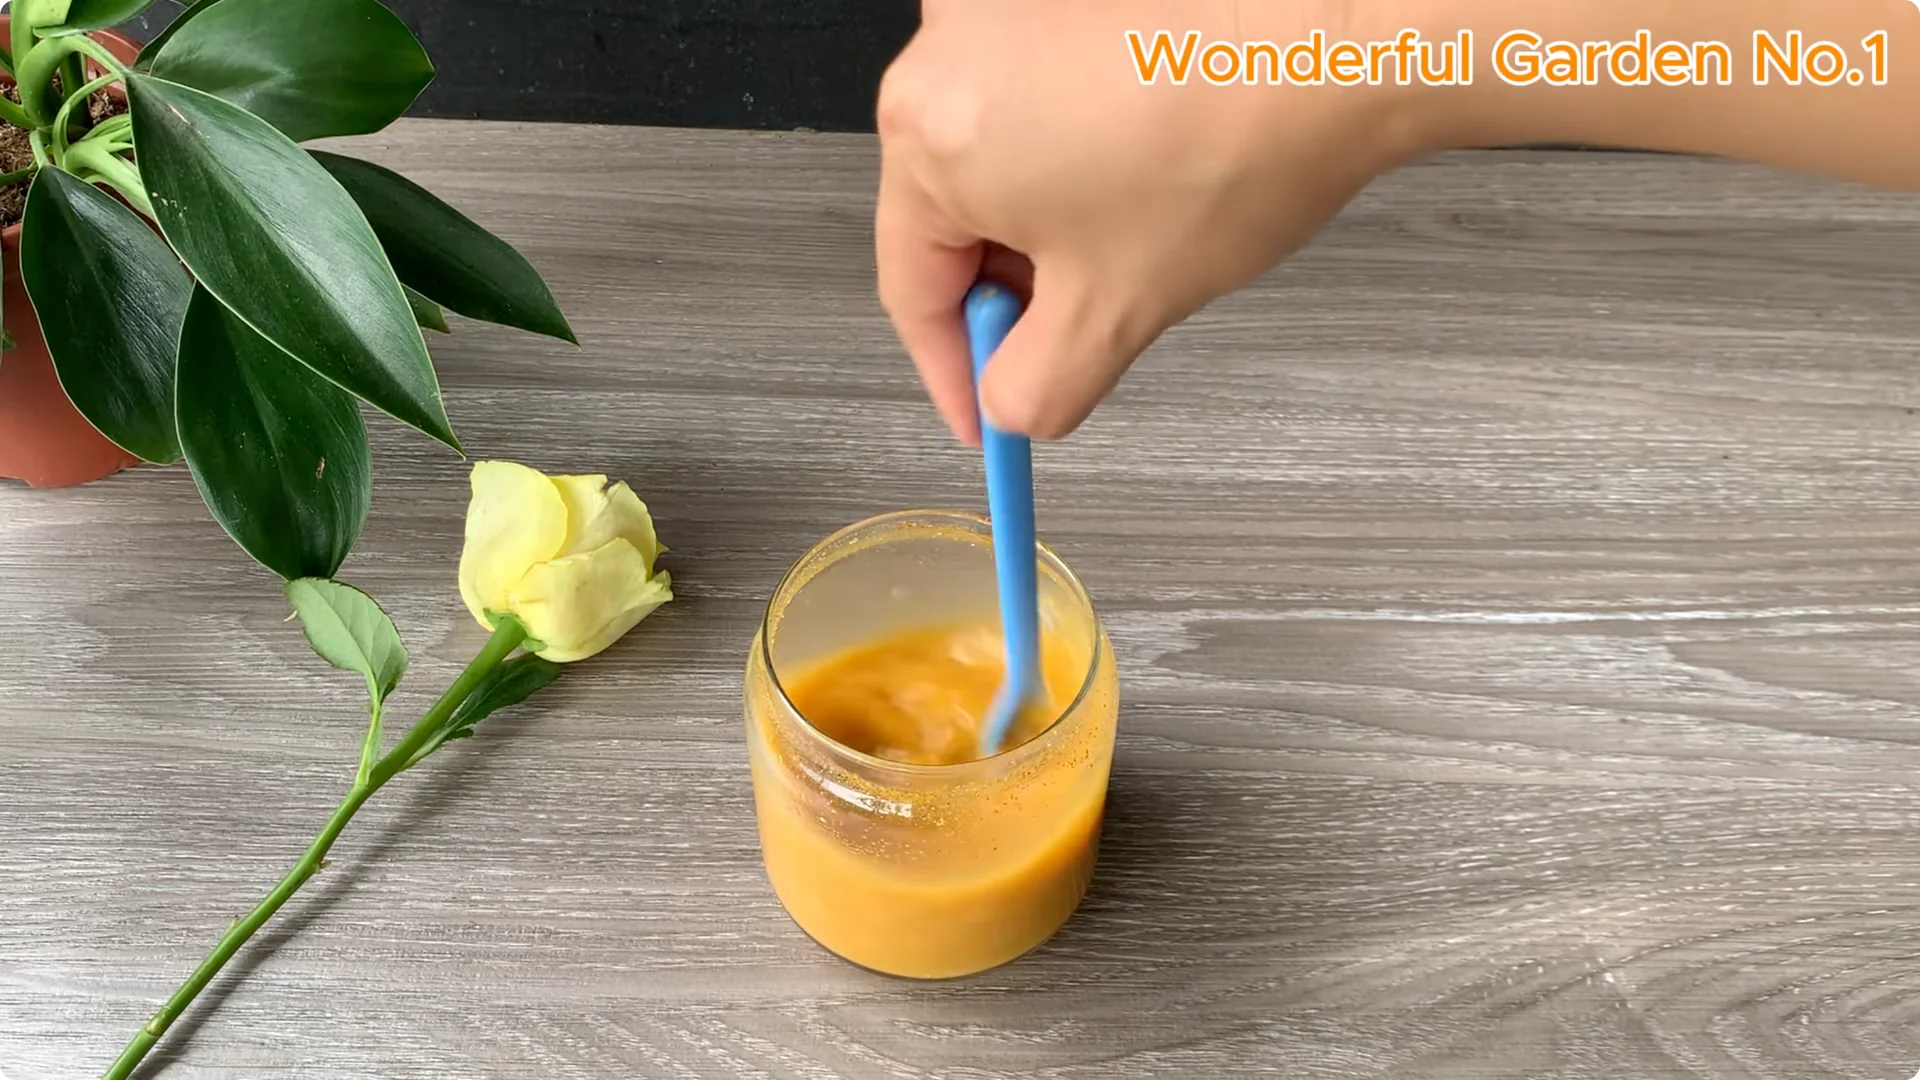
Add turmeric and steep
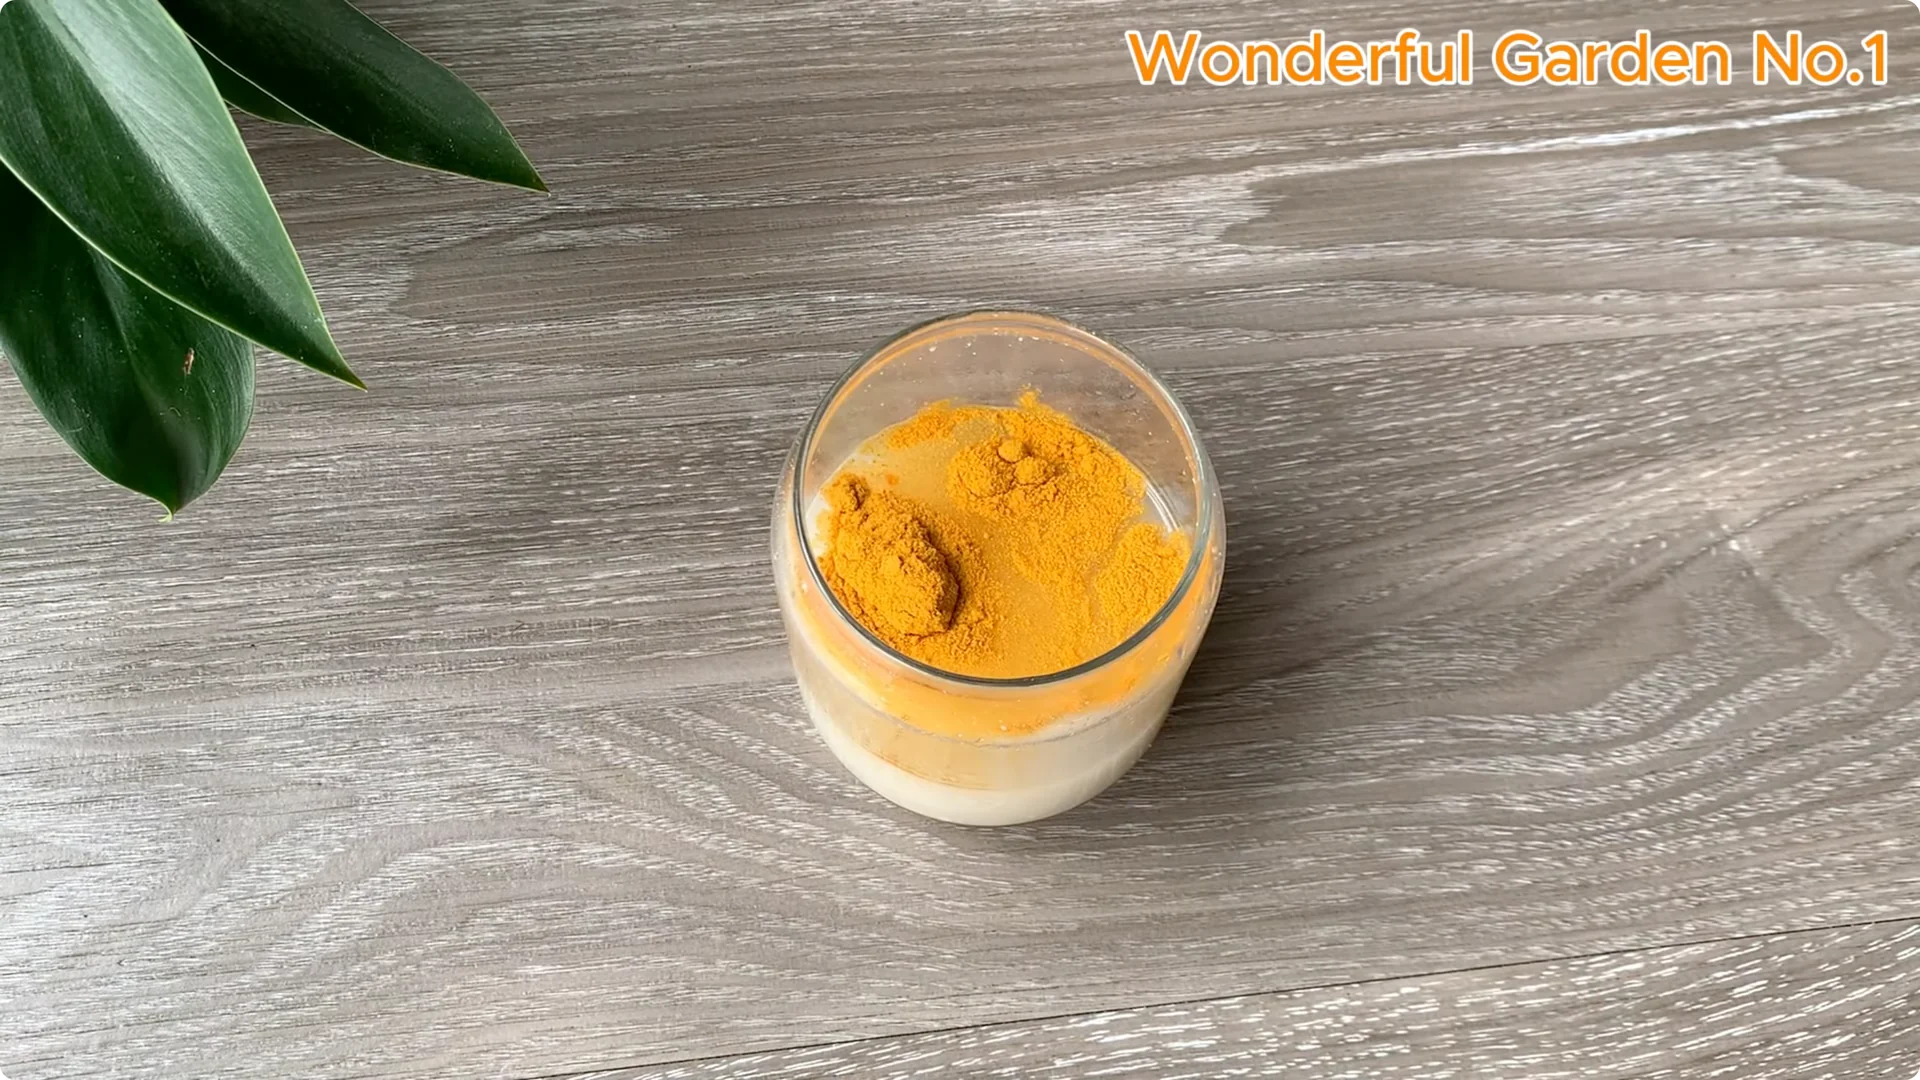
Once the oats have soaked and the nutrients have begun to leach into the water, add 1 teaspoon of turmeric powder. Stir until completely dissolved in the cereal water mixture. Soak the oatmeal and turmeric mixture for about 15 to 20 minutes.
For a simple spoon-based variation that also boosts rooting, see this one-spoon technique.
Add honey for protection
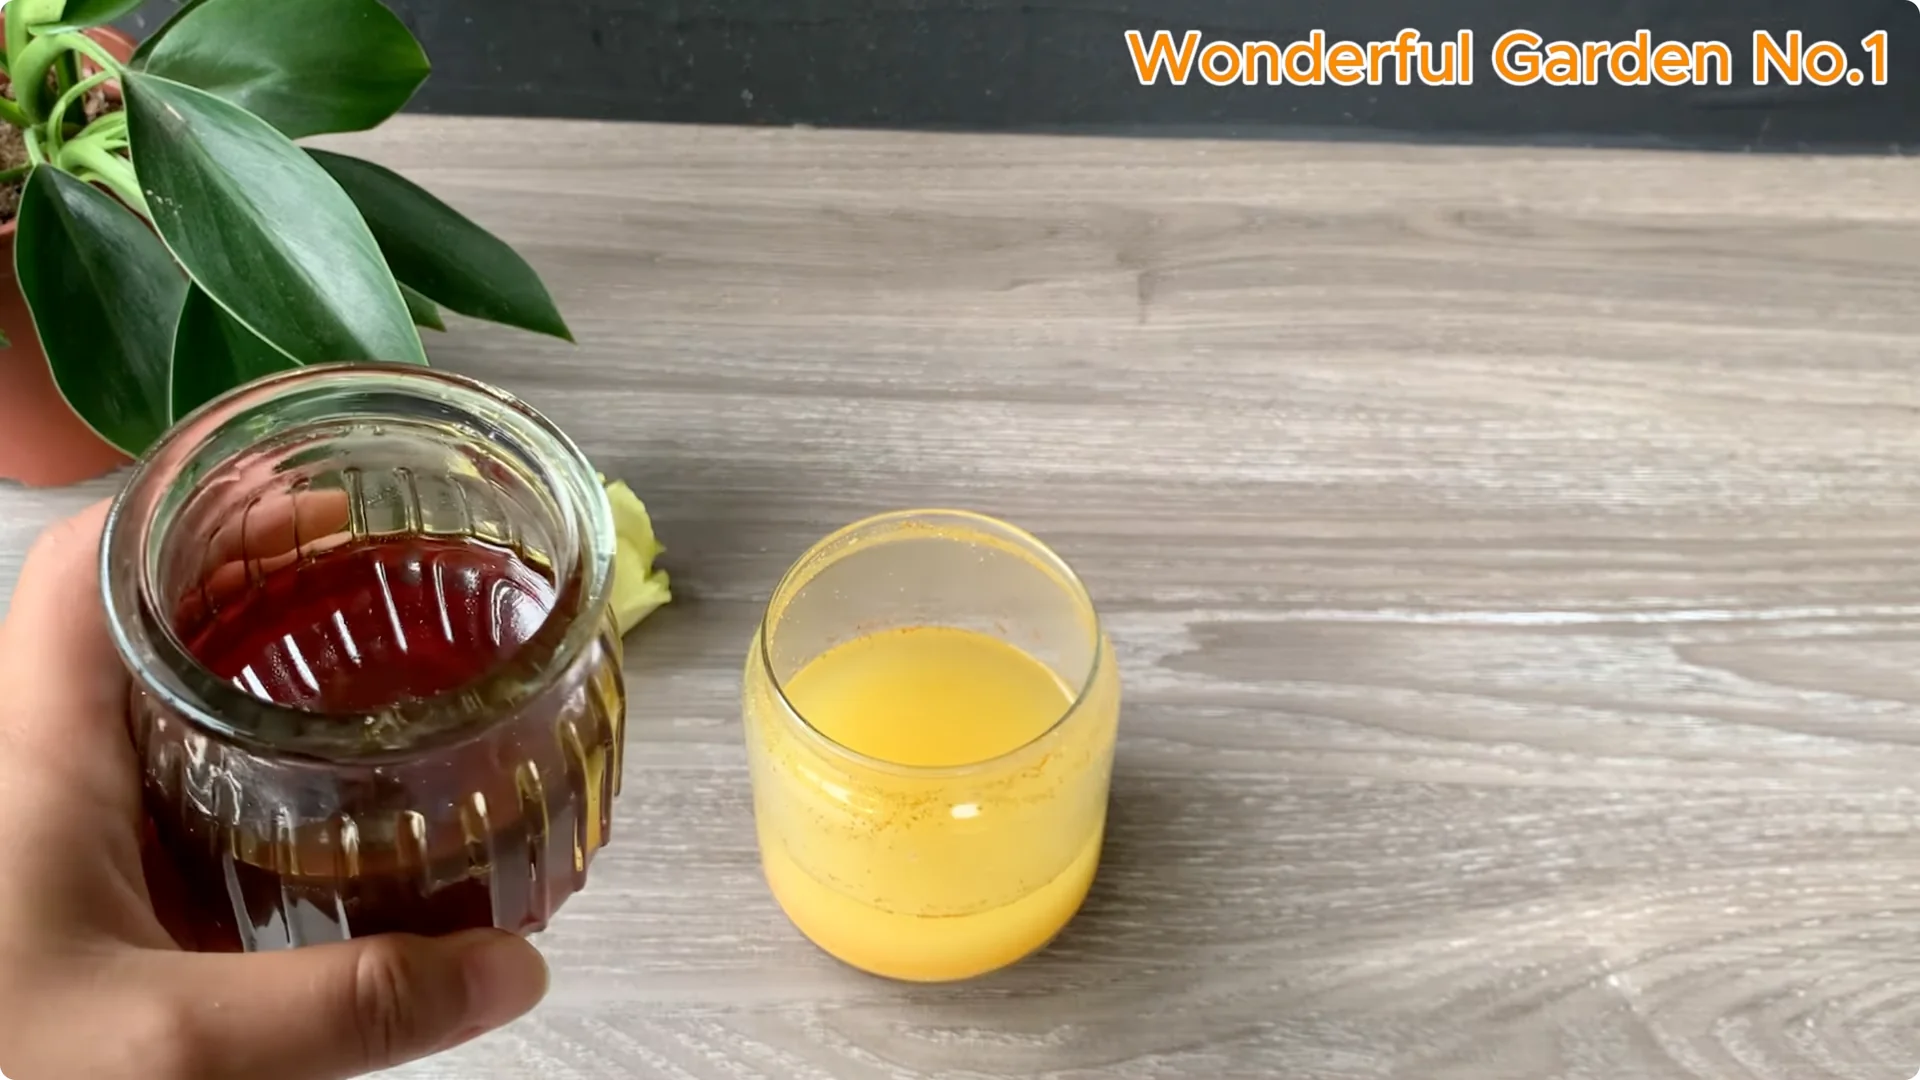
Add 1 teaspoon of honey to the mix solution. Honey has natural antibacterial properties which help protect the cut and stimulate rooting. Stir the mixture well.
2. Natural Rose Cutting Propagation – Prepare the cuttings
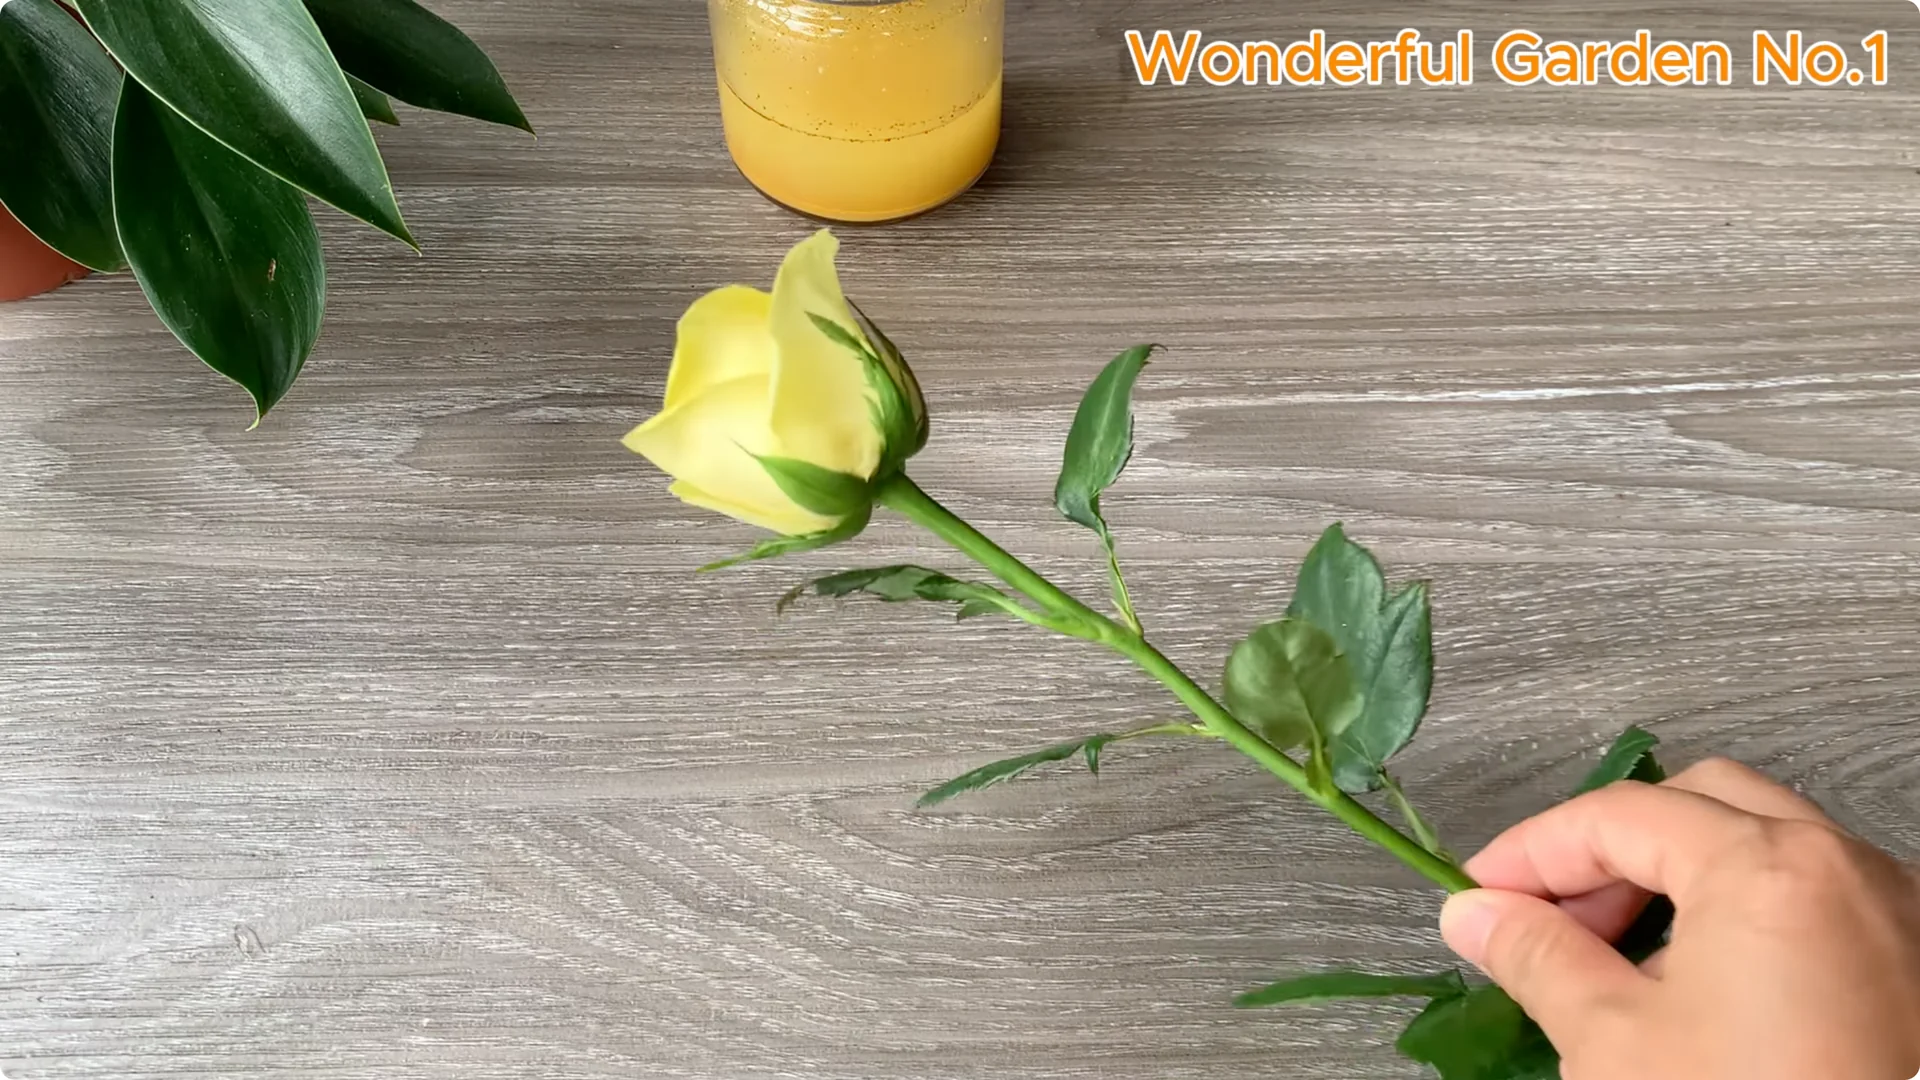
Choose a healthy, pest free rose branch about 15 to 20 cm long and about the diameter of a chopstick. Gently trim all the lower leaves, leaving only one to two leaves on top so the plant can still photosynthesize without losing too much water. Be careful not to damage the dormant buds where new growth will begin.
Use a sharp knife or scissors to cut the base of the branch at about a 45 degree angle. This cutting method increases the contact area with the rooting solution. It also helps new roots grow more easily.
3. Natural Rose Cutting Propagation – Soak and hydroponic setup
Soak the cuttings
Soak the base of the rose branch in the solution for 20 to 30 minutes to allow the nutrients to penetrate deeply. This supports more effective rooting stimulation. Soaking the stem helps soften root tissue, absorb nutrients, fight bacteria, and prevent root rot.
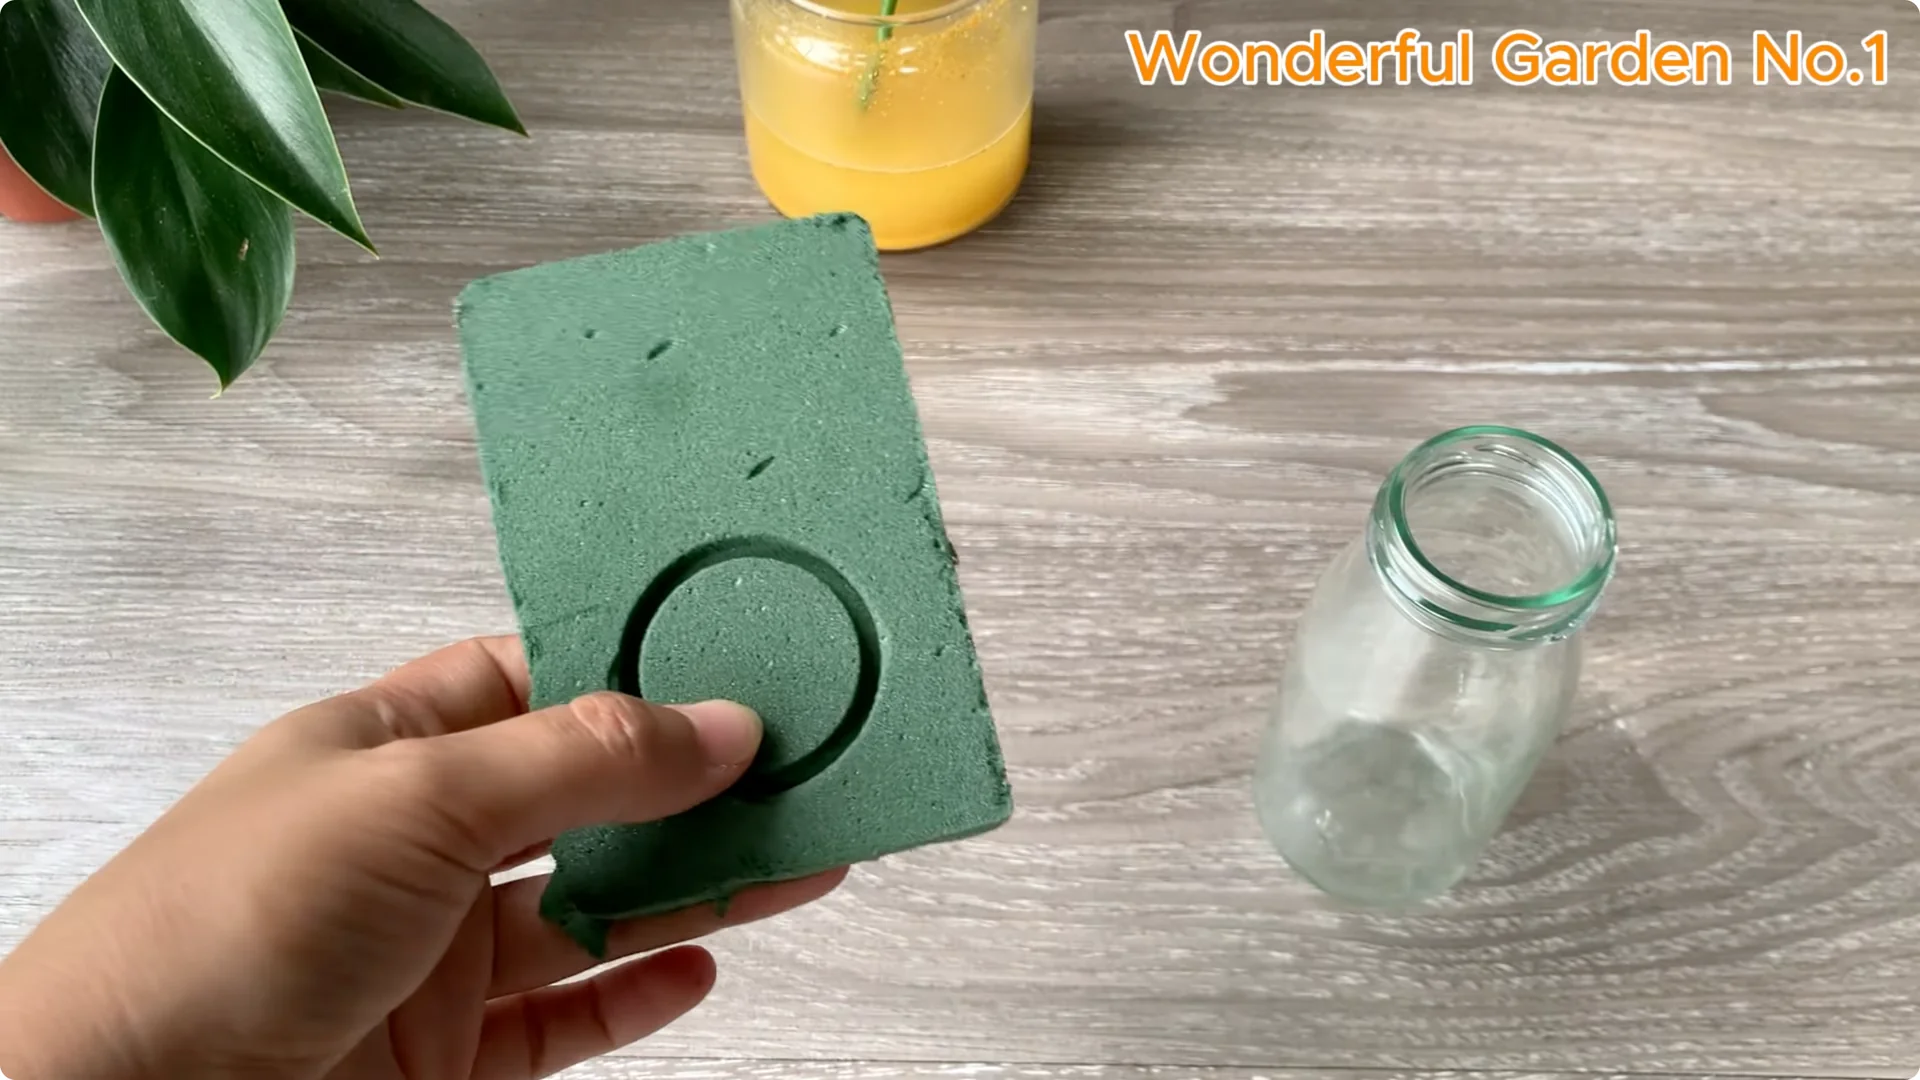
Set up a simple hydroponic jar
I use simple hydroponic cuttings at home. All you need is a clean glass jar filled with prepared growing solution and a piece of sponge as a lid to hold the cuttings in place. Hydroponics keeps cuttings moist, makes it easy to observe root growth, and limits fungal diseases in the early stages.
After soaking, filter out the residue, keeping only the clear water to help the cuttings absorb nutrients more easily. Use a sieve or thin cloth to remove dirt, avoiding debris sticking to the trunk and branches that could cause rot or hinder the rooting process. Add 100 milliliters of filtered water to dilute the mixture so the nutrients penetrate more evenly while staying gentle on young tissue.
Pour the mix solution into the prepared glass cup. Use a small stick to gently poke holes in the sponge, then insert the rose stem so the stem is submerged in the solution about 3 to 5 cm. Keep the leaf nodes above the surface to create conditions for new buds to develop.
You can also explore a one-cup approach for rooting branches if you prefer a compact setup.
Create a humid microclimate
Cover the cup with a clear plastic bag to create a miniature greenhouse effect that retains moisture and stabilizes temperature. Use a thin layer of tape to seal around the cup, preventing air from getting in and maintaining stable humidity. Place cuttings in a cool, indirect light spot to avoid drying.
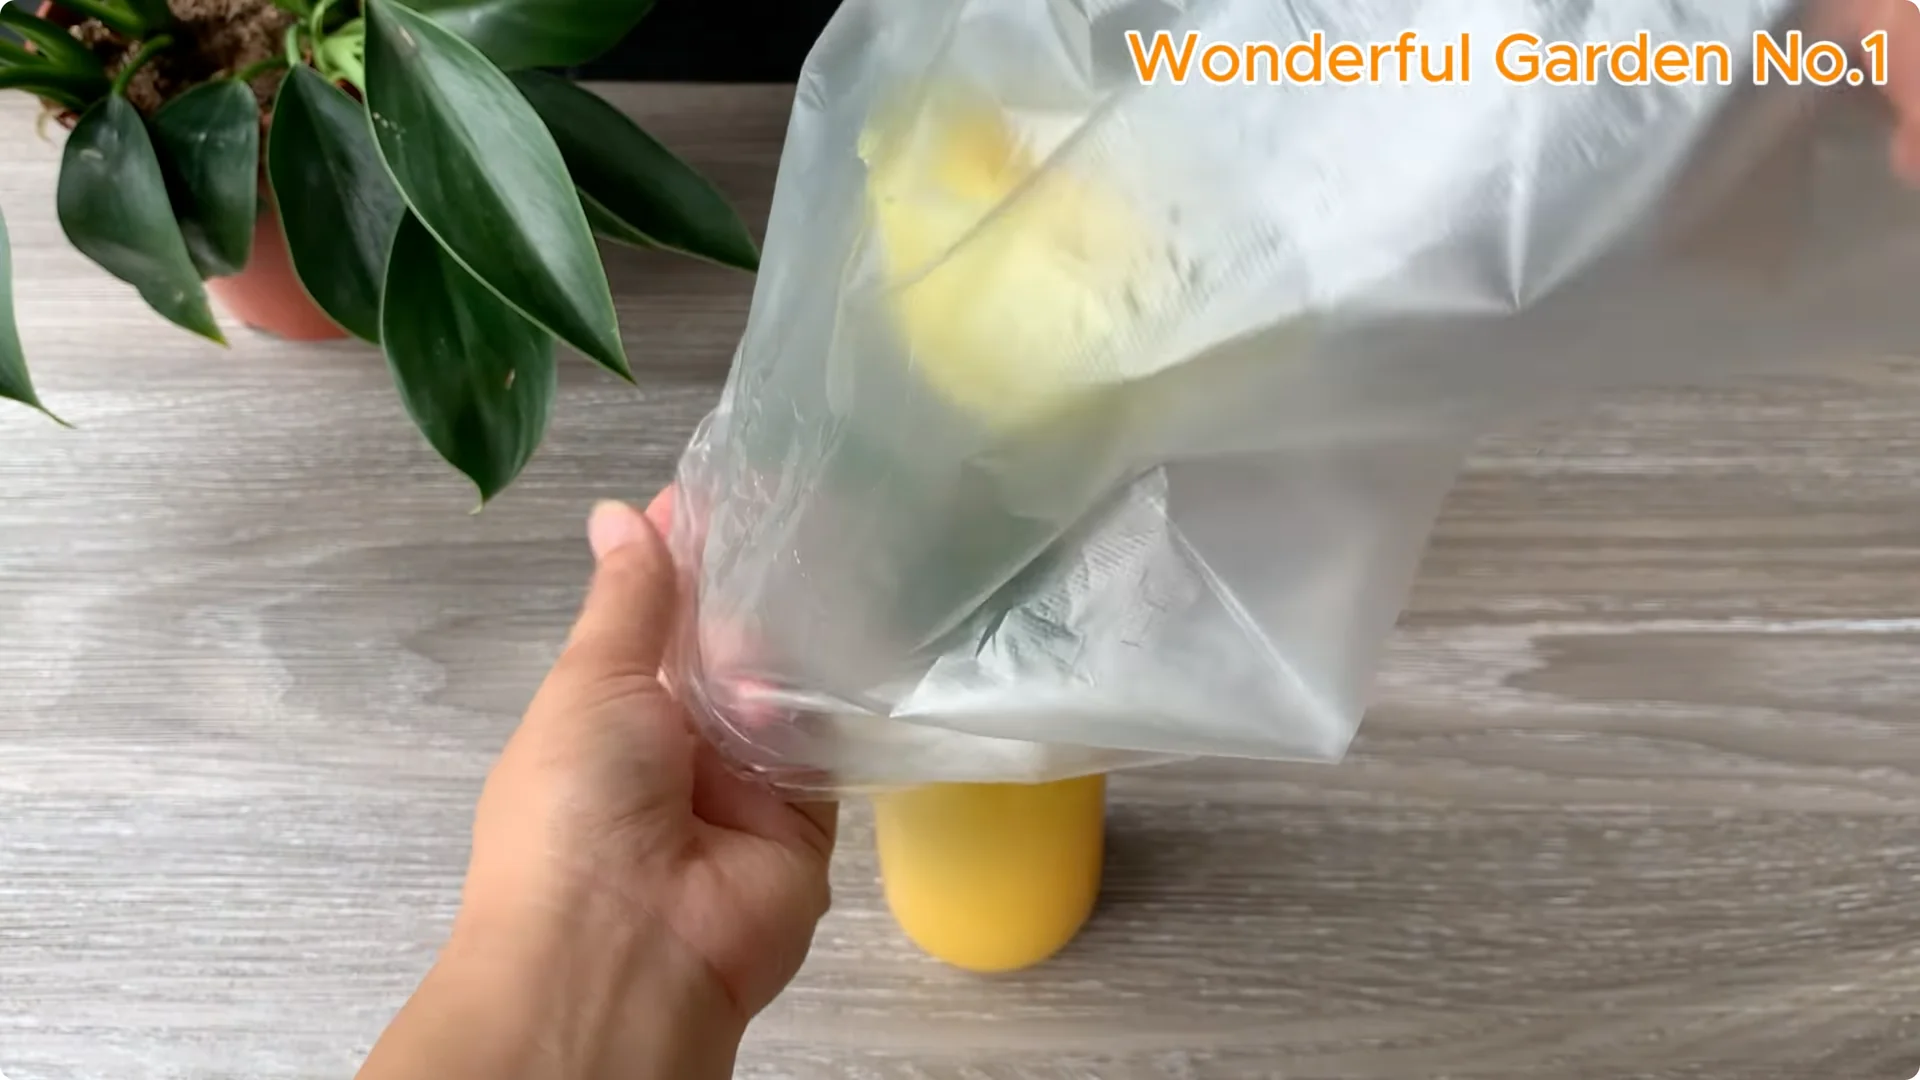
Check humidity regularly. If you see too much condensation in the bag, open it slightly to let the steam out, then close it again. Keeping the environment moist and well ventilated is key to helping rose cuttings root healthily.
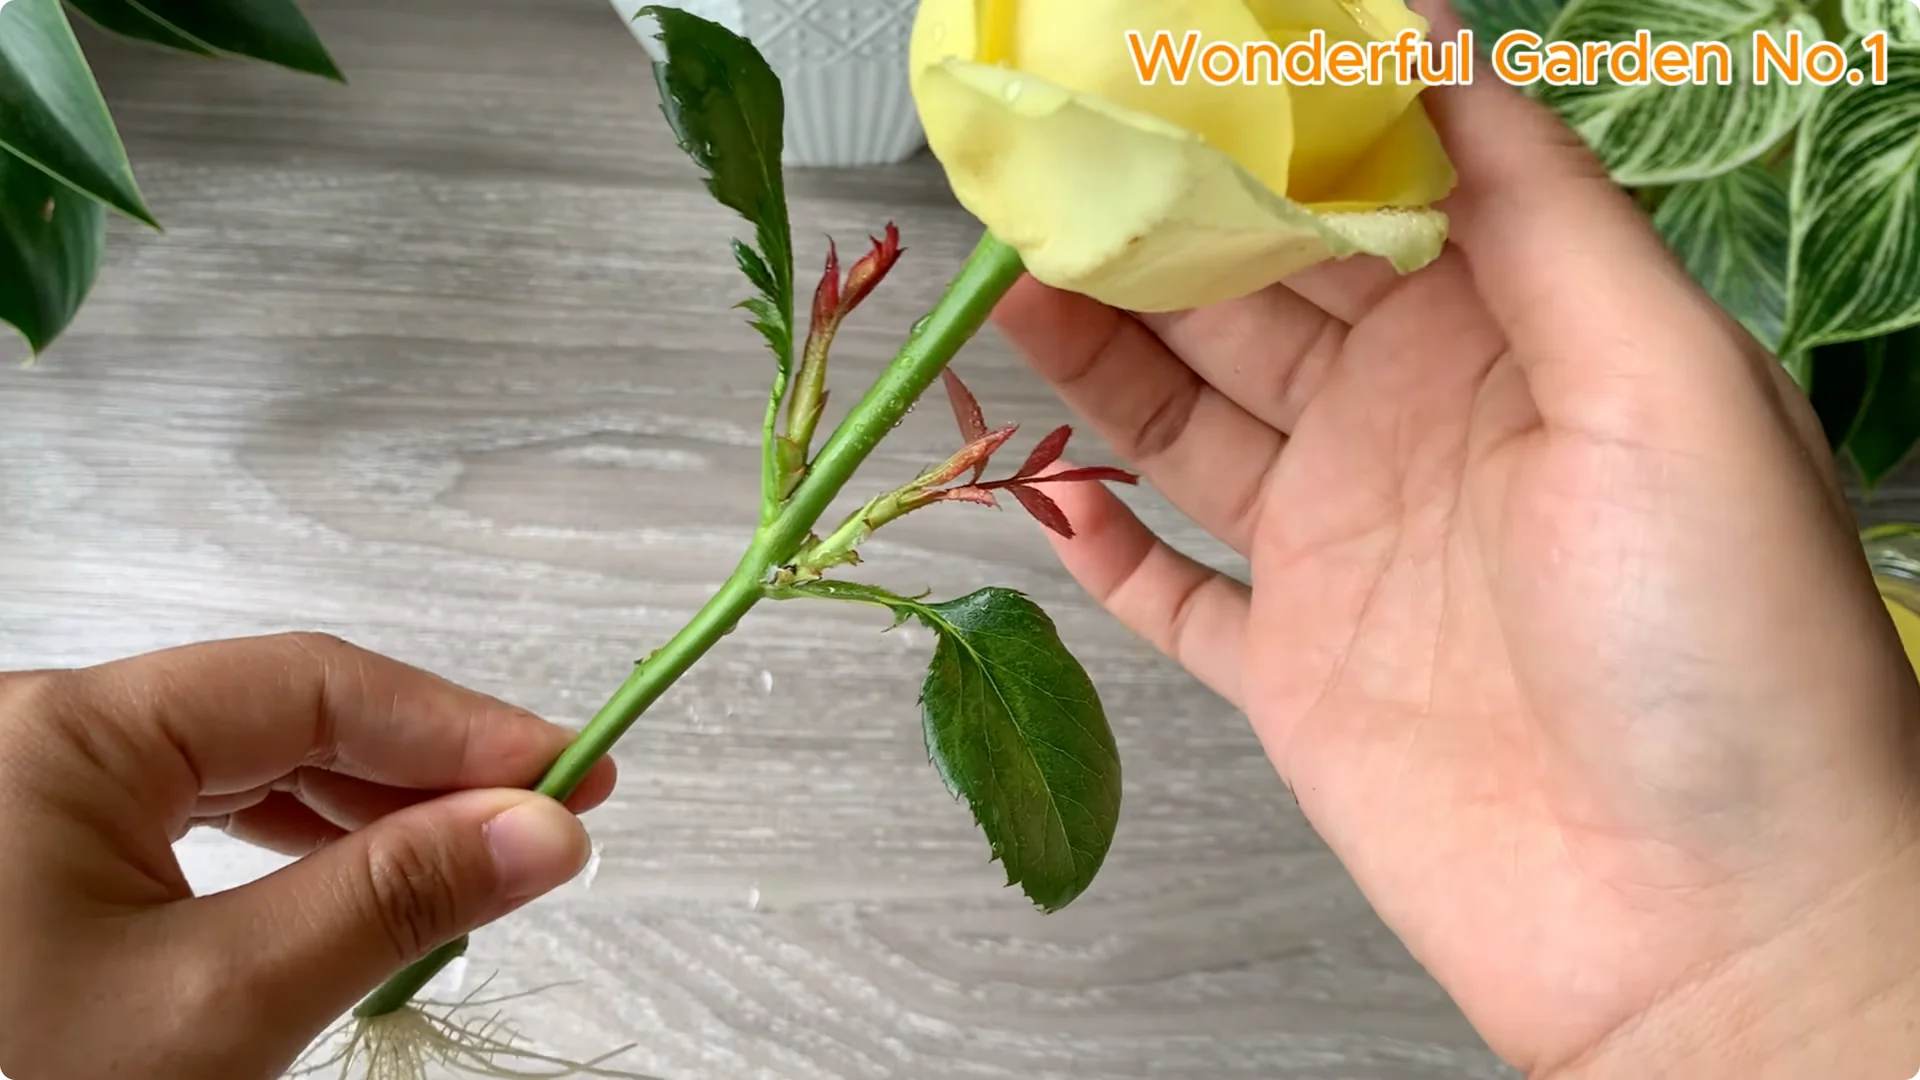
4. Natural Rose Cutting Propagation – Signs after 3 to 4 weeks
After about 3 to 4 weeks, you should begin to see obvious signs of new life. At the top, dormant buds begin to open, forming bright green shoots, showing the branch is acclimating and preparing to grow into an independent plant. On the stem submerged in the solution, thin white roots will grow from the cut point or near the soaked leaf nodes.
These first roots are very sensitive, soft, and vulnerable, but they are the foundation for healthy growth later. This is an exciting time when nature begins to speak and the rewards of patience are revealed. If you focus on red varieties, consider this helpful teaspoon method for red rose cuttings.
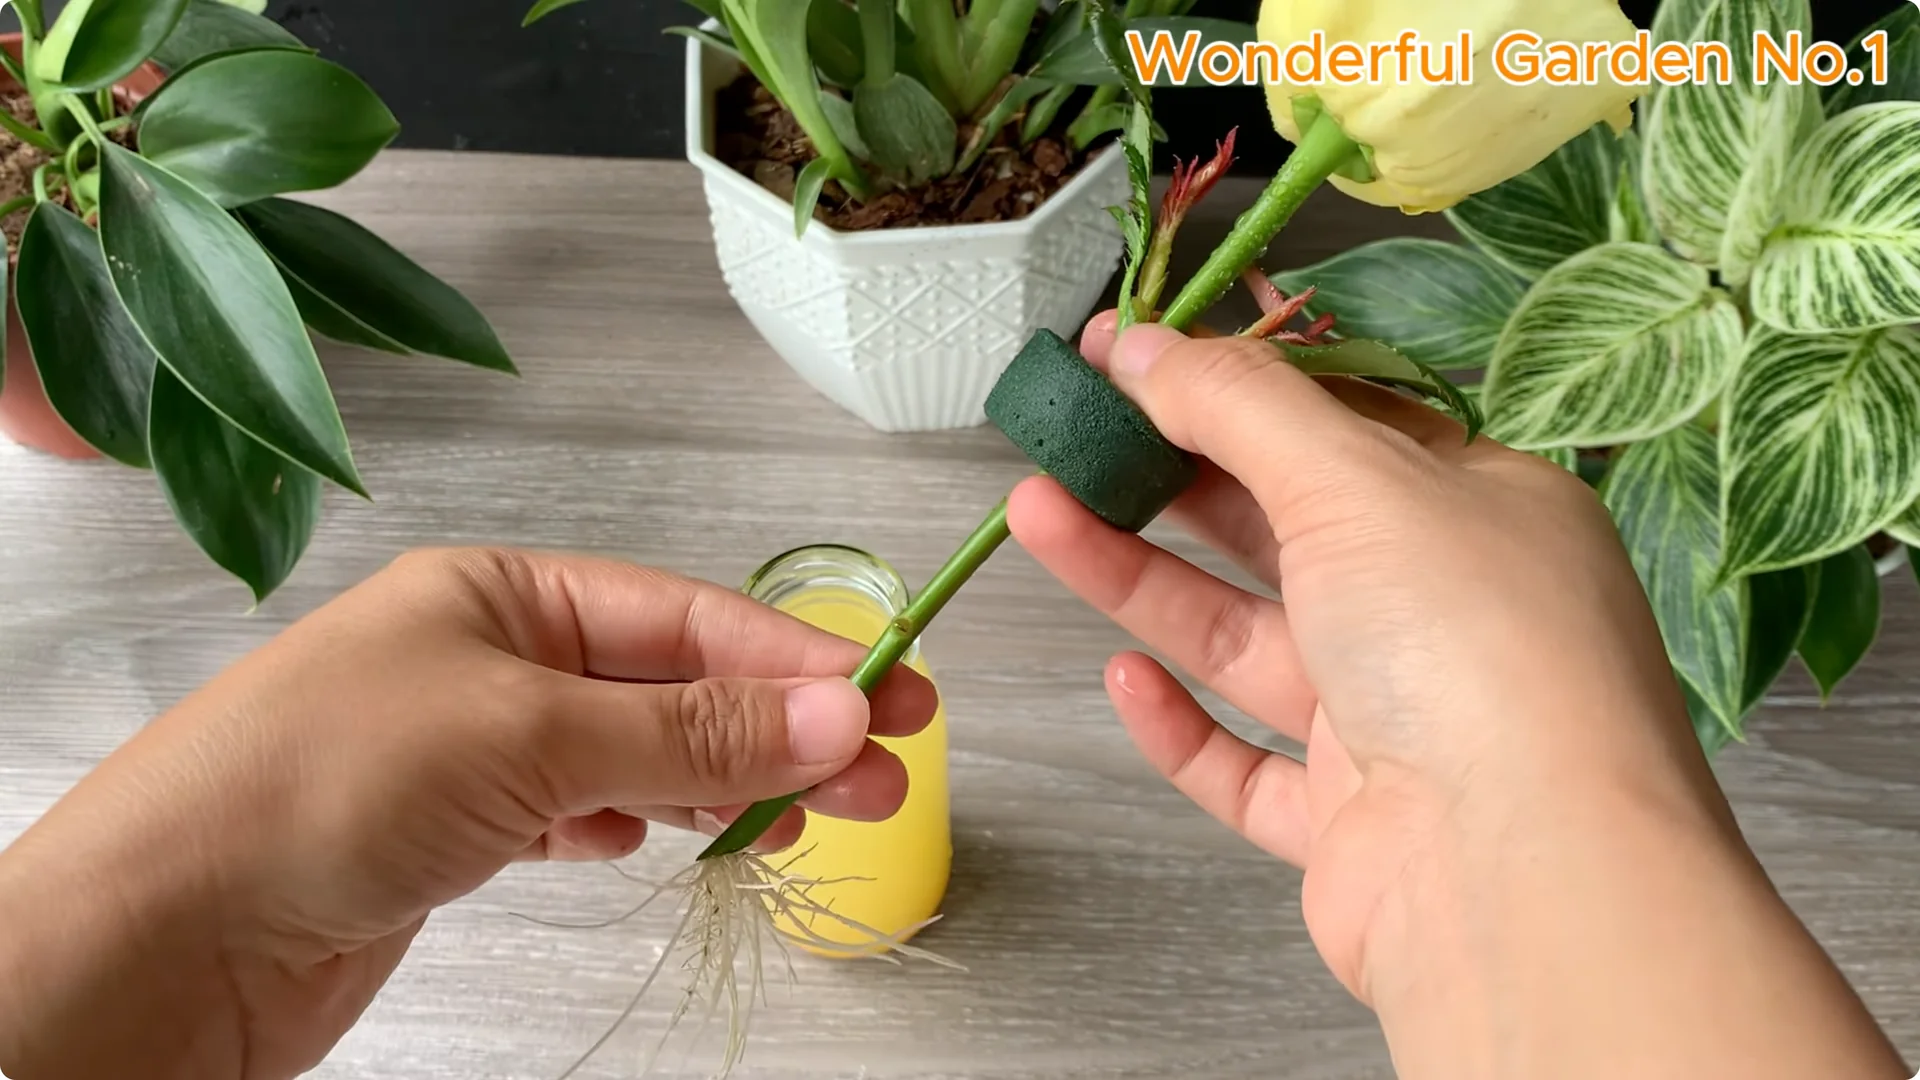
5. Natural Rose Cutting Propagation – Potting up
Once the roots are established and new shoots are developing, move the plant to a larger pot to allow more room to grow before planting in the ground. I use treated coconut fibre as the main growing medium because it retains moisture well, is breathable, light, and very suitable for newly formed young roots. Choose a pot with drainage holes.
Place the plant in the center, fill with soil, and water lightly to keep moist. This step helps the plant gradually adapt. Give it time to settle before moving it into the garden.
Natural Rose Cutting Propagation – Final thoughts
This gentle, nutrient rich method helps rose cuttings root strongly and grow with confidence. Keep the environment humid, bright, and stable, and let patience do the rest. May these steps bring inspiration and joy to your small garden.